The Scarecrow – Wizard of Oz Style
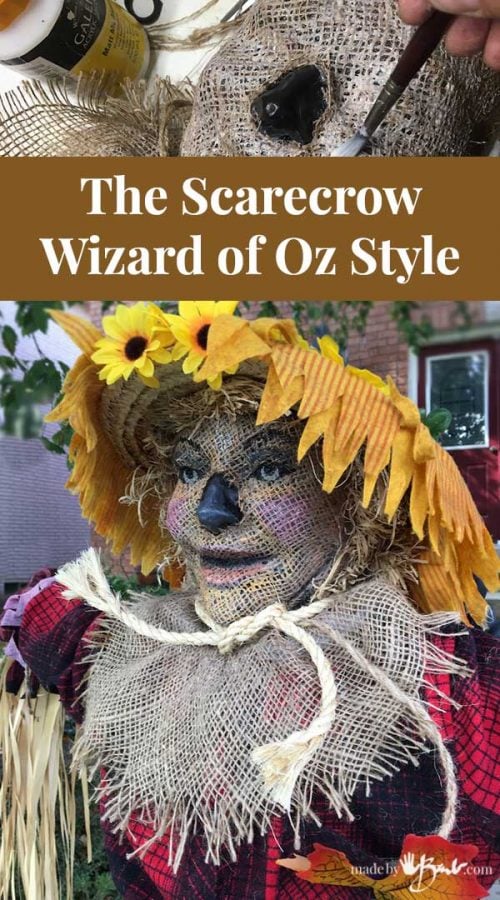
Happy Thanksgiving! (from Canada) The spirit of the season can be found in many colourful decorations but who can resist a ‘GOOD’ Scarecrow?! You won’t see any like this out there… The Scarecrow – Wizard of Oz Style.

The leaves are turning colour already (come up here and visit) and the turkey is roasting. I’m the fussy type that doesn’t like really typical decorations; the curse of being a visual person, always assessing…
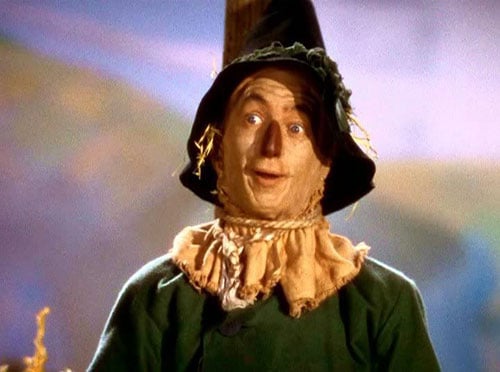
The Wizard of Oz Style Scarecrow
Whenever I’d see a scarecrow I’d reminisce about the wonderful one in the wizard of Oz. He had a burlap covered head and his nose would poke through a hole. That’s the look I wanted! – A great face!
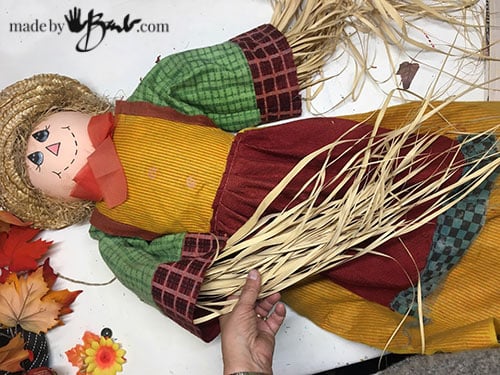
Here’s my starting point; a pathetic but cute typical scarecrow that had see better days. It did have some nice grasses and frame so it would save a bit of work. Sometimes it makes much sense to buy before spending much time and energy to start from complete scratch.

The Important Face
Since the ‘Oz scarecrow is all about the great face I had been wondering how I could do that… Hmmm. I finally saw some inexpensive clear masks made to be a simple formed face cover. I painted the nose black and around the eyes. It was really only the form of the face that I was in need of here.

Here comes the burlap! Using an extra large square the is on the diagonal I covered the face and glued in spots to keep place. The diagonal will allow the stretching into the details and form of the face.

Once in place I gave him the typical rope around his neck and tucked the extra burlap behind his head (as a hat will be covering that anyways)
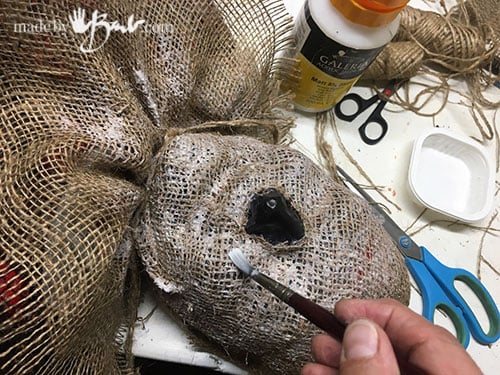
To make it all as one and weather friendly I gave the burlap a coating of Matt medium. That also secures it to the mask and it keeps the face shape. Doesn’t he look creepy real?!

Scarecrow’s Formed Face
Isn’t it amazing how much more character this fellow has now?! There’s no excuse for shoddy scarecrows…
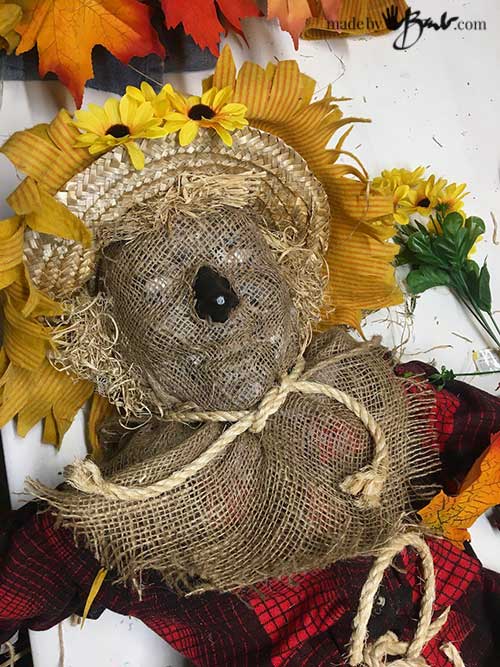
The rest is pretty easy and can use whatever you have. Take a thrifted red plaid kids shirt and some old straw hat and add some sunflowers and red leaves.

Add the Details:
The eyes need a bit of painting to come alive ( a bit of acrylic paint). I used the fabric from the old dress and made fringe around his hat – there are no rules.
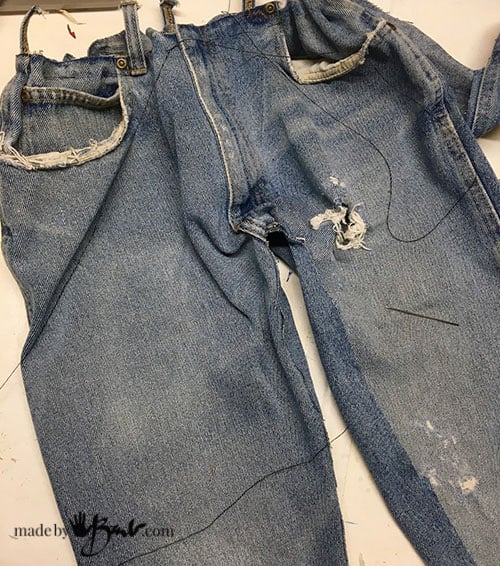
A pair of my kids old jeans were sized down with a bit of hot glue seams and tied at the ankles and waist. Much hidden hot glue and ties make it come together super easy and fast. A stick across his shoulders and he’s ready to get to work… To bulk up the body I use old plastic bags so they do not hold the moisture. Yes, he gets wet but will dry again quickly.
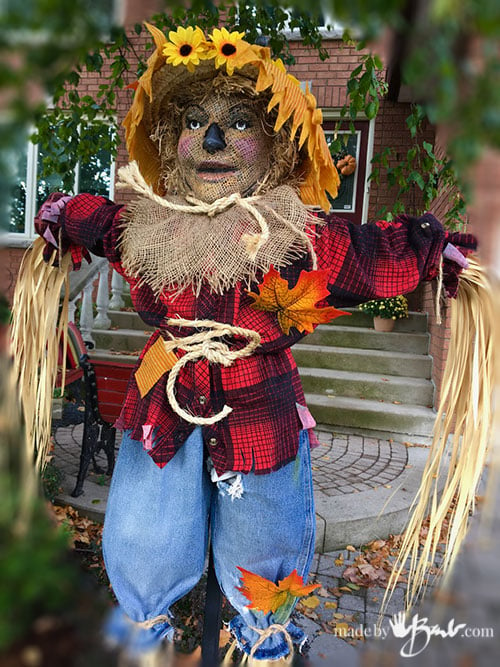
I have a metal 2-arm post that hangs planters in the summer and it becomes his roost in the fall. The warm reds and oranges accent all the fallen leaves.
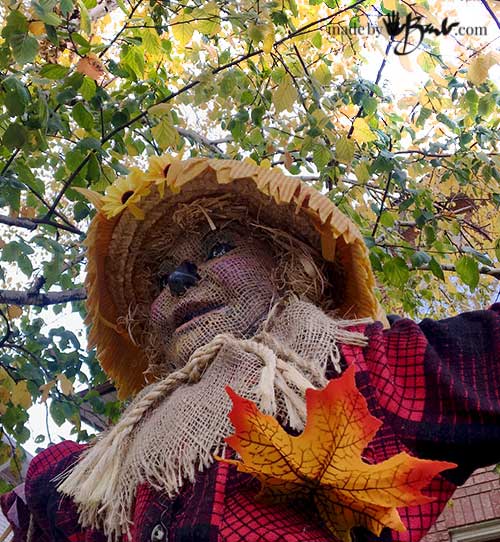
Go ahead, upgrade your scarecrow or make a new one – Wizard of Oz style! I will be happy to bring him out each year. If you prefer decorations made of concrete I can help you with that as well.
In any event, take time to show thanks for all your blessings, big or small… I hope I’ve just made you smile if nothing else!
Barb hope you’re healing well! I love, love, love your scarecrow!! Happy Thanks Giving to you and your family. Did you get the message on your phone I sent you with the pictures of my brother opening the skulls? Take care.
Fabulous ! What an imagination you you have Barb ! Thanks for all that you share with the world. Have a Happy Thanksgiving to you and yours, Most thankfully, Joan…
Love your scarecrow…however.I would not have painted the nose black. Think about it!!! Just a little food for thought.
I was going for the look from the movie! (no mimic hole)
Barb, Hi… Your ScareCrow is My Favorite!!! You Definitely Brought him to Life… Love Lov Lov Him… Thank You For Sharing… Patty P* Stay Safe…
yikes…where am I going to find the time to do all these cool things????
Love, love, love him!! Thank you for sharing.
Hi Barb, That face is beautifully spooky, so much that it makes me have the shivers lol. I think I would have tried to make the body just about full size., Sat him realistically on either a chair or a bale of straw in front of some corn stalks and pumpkins and a few fake crows, one on his head and a few on the ground and on the bale of straw. That all being said, yours came out beautifully. Thank you for sharing how you did it. 🙂
Is there anything that you can’t do? You are the most amazing artist I have ever seen!! I first discovered you while looking for a face mask pattern way back at start of pandemic .Since then you haven’t ceased to amaze me!! Every new post opens up another great project! I have a craft room in my house but with your versatility you must have a warehouse!! I do so enjoy your art and am very grateful that you share with us. I can’t wait for your next brilliant project!!
‘That’s too kind! My secret; my amazing mother (I hope they have wifi in heaven so she can partake) always encouraged my creativity & she never shied away from a chance to ‘make’ something. There was no such expression as ‘I can’t do that’. She reupholstered our furniture, drywalled the rec room, laid interlock patio, and sewed our clothes. Add to all that learning from her and becoming an illustrator gave me way too many creative outlets. As for ‘supplies’; ya, it can get a bit crazy since I know how to reuse everything. Thank goodness that I’m also so visual and can’t work in a mess, otherwise it could become ugly. It’s really a mindset! Sorry for the long answer…
Love this, thanks for sharing. The mask for the face is brilliant 👏
Thanks! It may a bit difficult finding halloween stuff at the moment. ‘So much more personality now…