Eco Printed Trivets & Placemats

Don’t you wonder what you can make with all those Eco Printed fabrics?! (actually any fabric will work) There’s really no faster way of quilting than Free-motion Embroidery – I love this super quick sewing project: Eco Printed trivets & placemats made with rope and simple supplies… Who doesn’t need a way of making gifts or useful things with up-cycled materials?
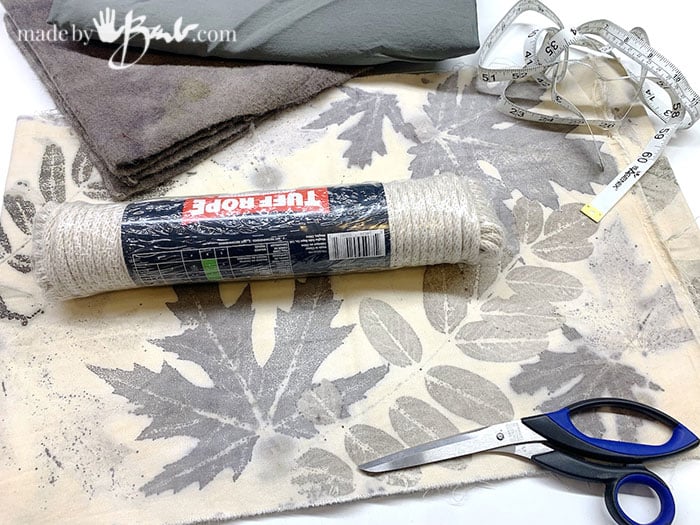
The Supplies:
One of the reasons I got so hooked on making Rope Bowls was that I could buy rope locally at hardware stores. There are a variety of sizes and colours but I like the 7/32″ cotton clothesline rope (feel free to check the local shops). My domestic sewing machine (Vintage Old Kenmore Machine) does handle that size nicely. You can also try 1/4″ rope (larger) or a bit smaller, but the thinner ones will be less stiff, less durable and floppier.
- Eco Printed Fabric (or other desired prints) in Cotton or natural fibres
- Backing fabric of coordinating colour
- Scissors, sewing supplies. (machine adjusted for Free-motion sewing, jeans needle), thread,
- Thick wool, cotton, batting (to provide thickness inside)
- Rotary cutter and straight edge
- Rope: cotton or otherwise 7/32″ or similar

Instructions for Rough Cut Panels:
Plan for whatever size you’d like and then add a bit extra around the edges. Rule of sewing; you can always cut off but NOT ADD! There are 3 layers; the printed fabric, the middle layer of something with bulk (I like to up-cycle wool or fleece blankets, anything that will give me the thickness needed), and a bottom layer of fabric (can be plain)
Since these mats are free-motion sewn it can be a bit more difficult to sew near the edges, and I like to be able to have something to hold onto so the extra bit helps. They may shift a bit during the embroidery as well so I often use a layer of Heat-n-Bond, pin well, or zigzag around the outside.
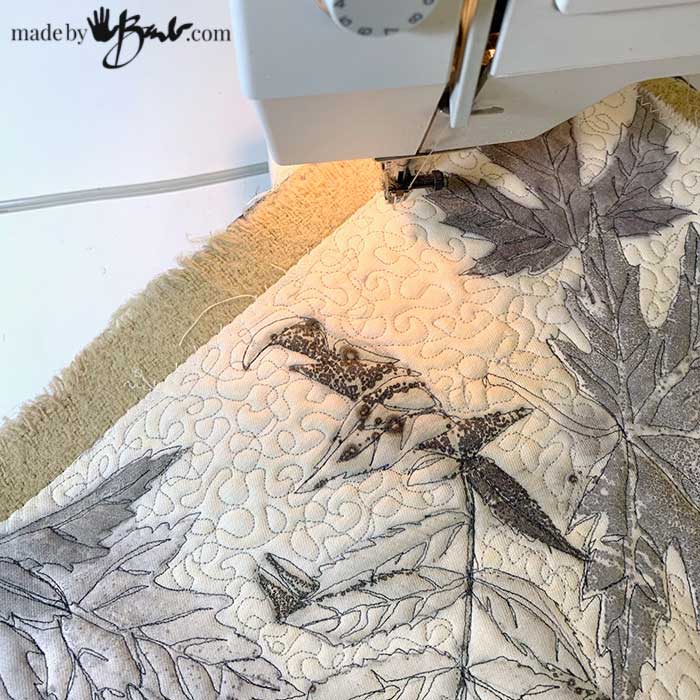
Free Motion Sewing Fun:
The layers are sandwiched as flat as possible and then the sewing machine is adjusted for free-motion sewing. There is often a darning foot available for most machines. The presser foot then does not stop you from moving the fabric around under the needle as you sew, like a freehand version. I know it may seem a bit daunting at first but it isn’t that difficult – somewhat like drawing without taking your pen off the paper. It do not try for too perfection, and leaves are pretty forgiving in the shapes as well.
As you may notice the background can also be freely sewn to fill the whole shape. This will give it a stiff stable thick feel perfect for a trivet. If you are concerned about the lines you can use a thread colour that does not stand out too much. I get quite the kick out of the free-motion sewing – being able to hit the pedal to the floor…
Do check that your tension is good (top and bobbin, look on bottom) as it may need to be adjusted. I hate finding out it wasn’t and have a lot to rip out!

Cutting the shape:
Once all the free-motion sewing is done, I then cut the final shape. To be able to mark and decide I use a pen that has heat sensitive ink; Frixion Pens so that later when I iron it disappears – I love these!

If you use a straight edge, quilters rule or someway of having a perfect 90º at the corners to mark. After marking the line I sew a straight stitch along it to hold the layers at the edge.
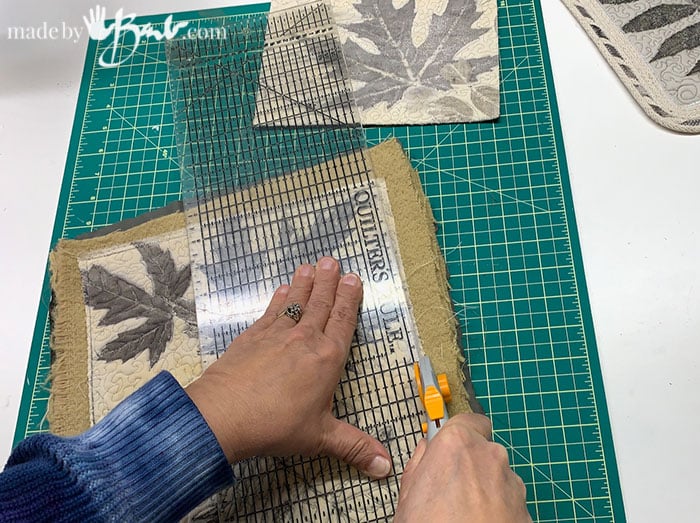
The best tool for cutting a perfect straight line is a rotary cutter (and cutting matt) but some super careful scissor cutting could work in a pinch since we still have edging to add. Cut just outside the straight stitch that was sewn on the line so it holds the edge.

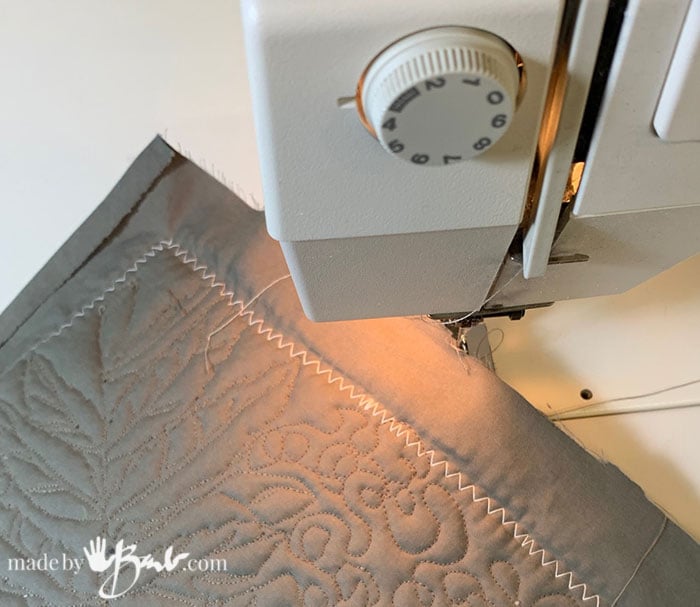
I add a bit of curving to the corners and stitch a satin stitch (very close zigzag stitch) around the outside that is about a ‘3’ width on my machine.
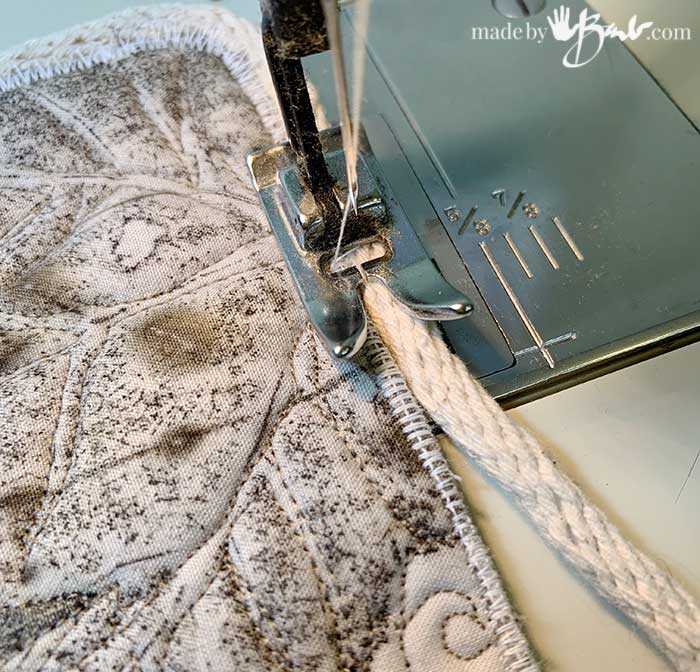
Adding the Rope Edges to the Placemats:
Now comes the fun part of just adding the outside edging made of cotton rope, very much like when sewing rope bowls. If you are ingenious you could also twist your own fabric into the length of rope, the possibilities are endless and could up-cycle so much. A wide zig zag stitch sews the rope to the matt and the later itself, but you could also use a decorative stitch as long as it has width. (you now use the regular presser foot again) Check out my quick video.

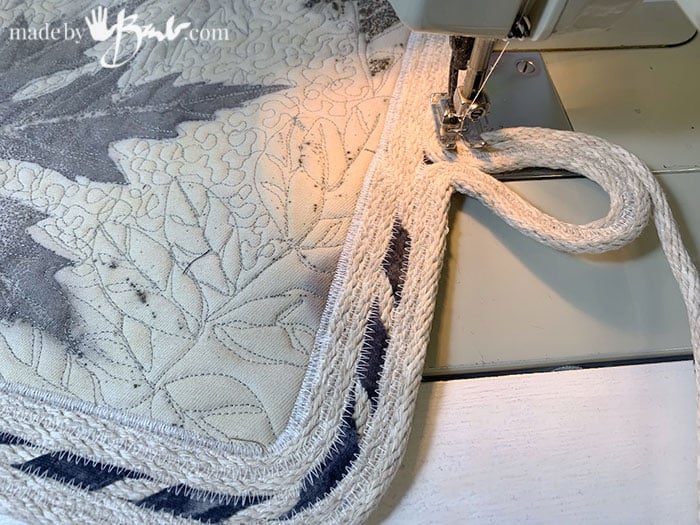
Start where you plan to finish, as the the end will also stop there and give a consistent number of rows. Plan what type of handle you’d like. It can be loops of rope or just a small ‘wave’.
There are no rules to how many rows or style so have fun… It is so much like the rope bowls and the most unique rope bowls. I used this similar technique to make bowls with eco printed bottoms. These place mats are an idea inspired by a rope rug…
Finishing the ends:
Since the ends fray I like to use a scrap of leather hot glued to cover the end cut. You could customize the leather with some stamping as well.
To add a bit of flare and detail I cut some fabric strips of scraps of eco prints on the bias (45º so to not fray) and twist that as I sew the rope together… round. round we go…
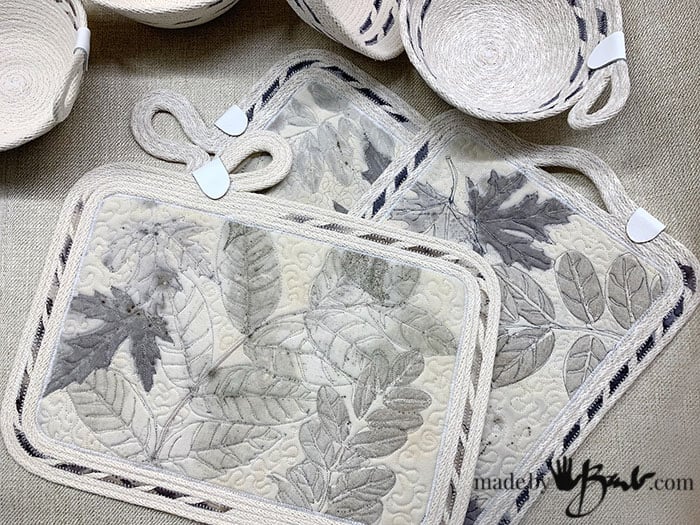
The details make these like small pieces of art, and could be hung on a wall as well. They come together quite quickly and I used some of the fabrics that I use as an iron blanket in the eco printing bundle since some sections of print can be so amazing! The neutral tines work well for the rope colour.

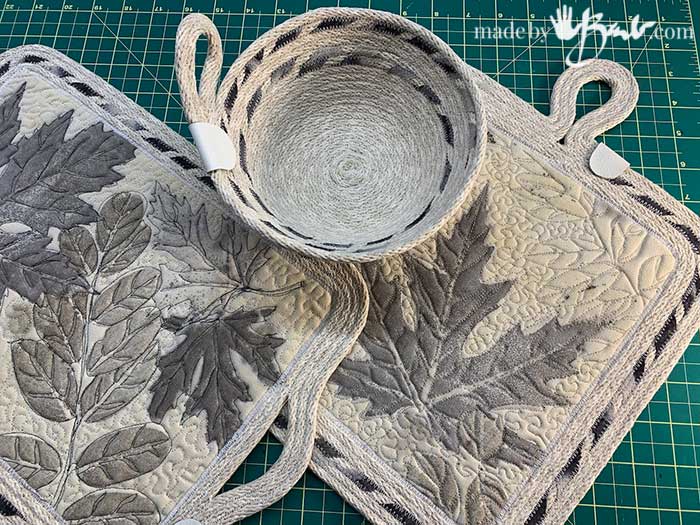
The cotton rope comes in 100′ rolls so you can make many with one skein of rope ( I made 4 bowls and these) I imagine some coasters could be part of the set make various projects including chargers under plates.
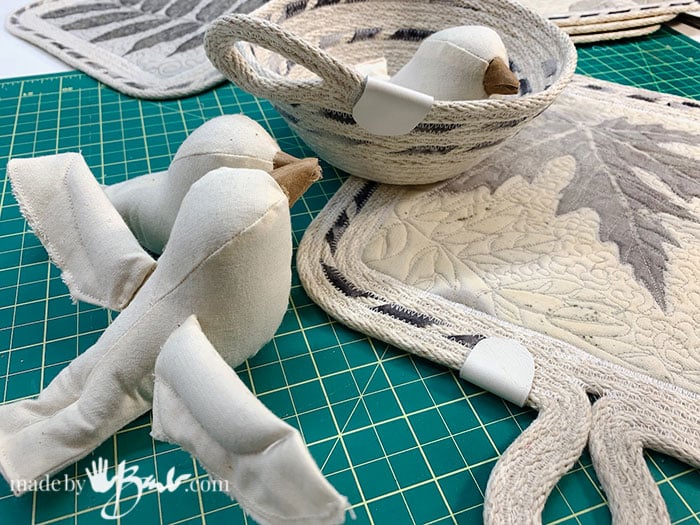
These fellows keep hanging out in my bowls and a perfect match… There is just too much fun happening on my sewing table.

Another great thing about this project is it presents like a piece of art but is totally useful. Add a bowl and it becomes a great hostess or Christmas gift. Fill with some cookies or whatever and it’s lovely in cellophane wrapping. ‘Easy wrapping and heart-felt gift makes my life easier.
Aloha Barb,
Perfect timing. I have plans to make coasters out of some shibori fabric I have created. You mention a quick video that I believe is for sewing on the rope edge. I am not seeing it here on the blog. Please direct me to that link. Also if you have any tips for making coasters….. do tell. Thank you for sharing your creative passions.
.
There’s a lot of options, you can just sew them like pillow with some batting and then quilt/topstitch after turning or follow like these but smaller with a couple rows of rope around and then a loop to end. The Rope bowl post has a video embedded…
These are beautiful. I will have to go back and review the eco printed fabric directions, so I can make some. What great gifts!!
Thanks so much. You offer such gifts… sometimes a little inspiration goes a long way in my personal happiness. You get me out of the lazy-boy and into the studio! Happy New Year
I’m glad to hear that! It also keeps me going… Happy New Year!