Tips for Dipped Concrete Jeans
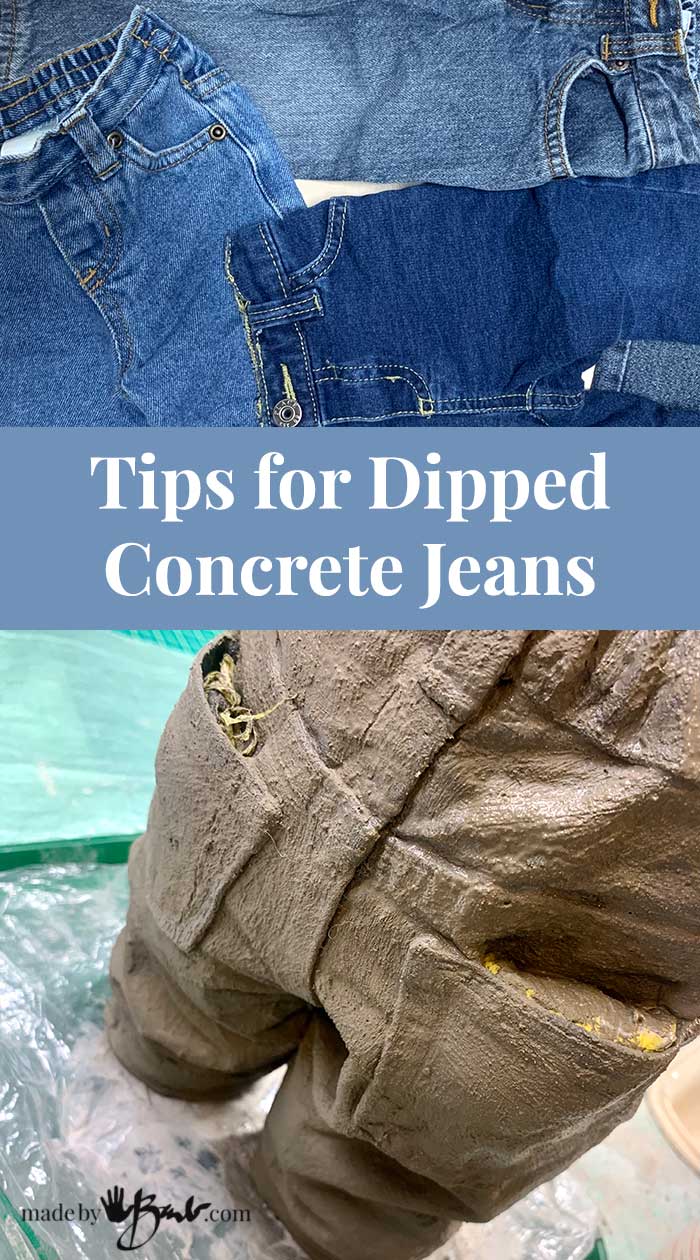
Oh golly b’gosh; actually Osh Kosh! I bet you are smiling at how cute these ‘lil concrete jeans are! This is such a simple concrete crafting project; including loads of tips to make Dipped Concrete Jeans.
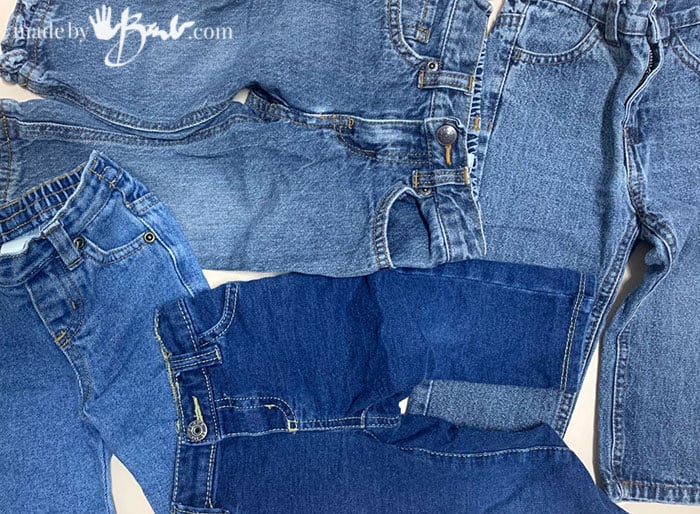
No Sewing needed:
When I was going through some little pants from my grandson that he had outgrown I asked myself – ‘what can I do with these?’ ‘And a new concrete special concrete project was born! I love the fact that they are small enough to be easy to work with and seem to readily available at the thrift shops too!
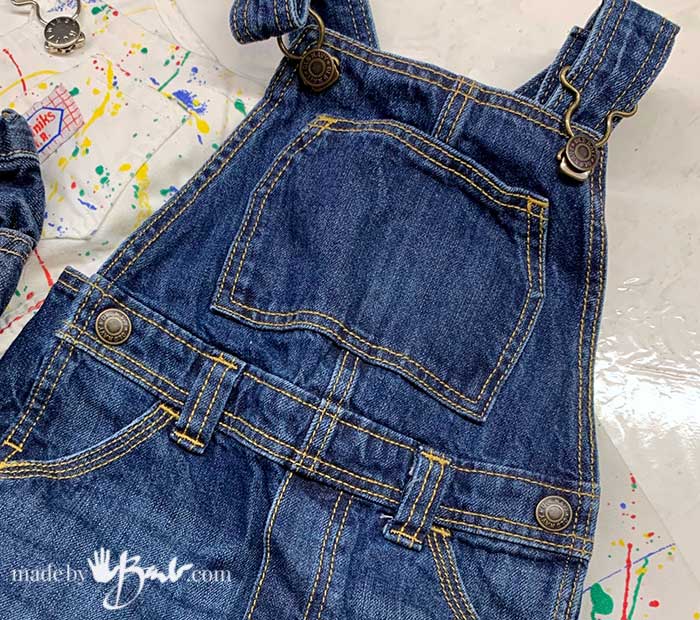
There’s really no limit to what you can dip into concrete but there’s a few things to keep in mind. The larger the item is the more weight it will hold once dipped and therefore need more stability.

How to stabilize:
Before you get into any of the concrete messiness make sure you have a plan for how you will be able to keep the item stable and structured while it cures by doing a dry-fit. This project has so many options. Things that will be thrown away are great to reuse.
Putting filled bags full of crumpled waste paper inside the forms until it is cured will hold the shapes quite well. These are easy to pull out afterward, cut open if need be. Only using newspaper can be problematic as it absorbs the water from the concrete and also tends to get soggy and stay wet. You can also use some plastic vessel inside if it fits, whatever works. I do try not to use any wood or porous material that will not be able to be pulled out as it will possibly expand when freezing and crack the concrete.
The ‘Concrete’:
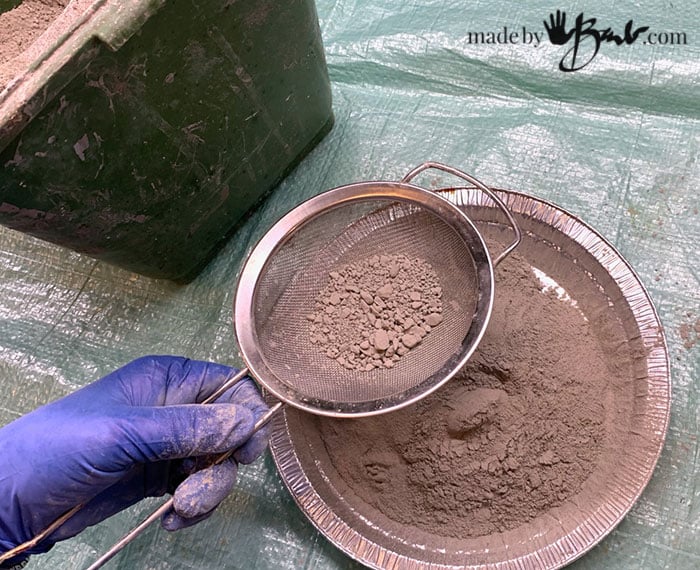
Technically this is not really a ‘concrete’ since there is no aggregate in this mix. When I started ‘making’ with fabric dipped in concrete I had also added sand to the Portland Cement but it would not absorb and just stayed in the bucket.
Nowadays I only use Portland cement (the active component of concrete mix) as it dissolves quite fine in water. I like to strain the cement so I do not get lumps. There is also the option of adding some acrylic paint to colour the mix and add a bit more strength. I do notice the paint does make the slurry thicken immediately so adjusting is needed. Do not add too much paint as then the concrete chemical composition will be altered too much, keep at less than 10%.
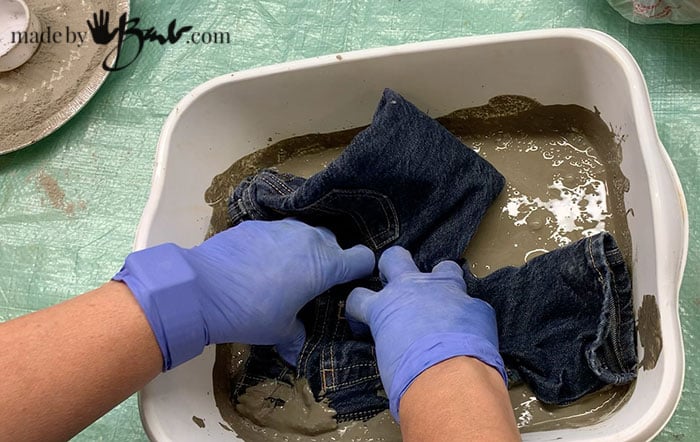
The Cement Slurry:
Dampen the cotton fabric to prevent it from ‘stealing’ the moisture from the mix. The cement slurry should be fluid enough to soak into the fabric well. It is similar to melted ice cream consistency.
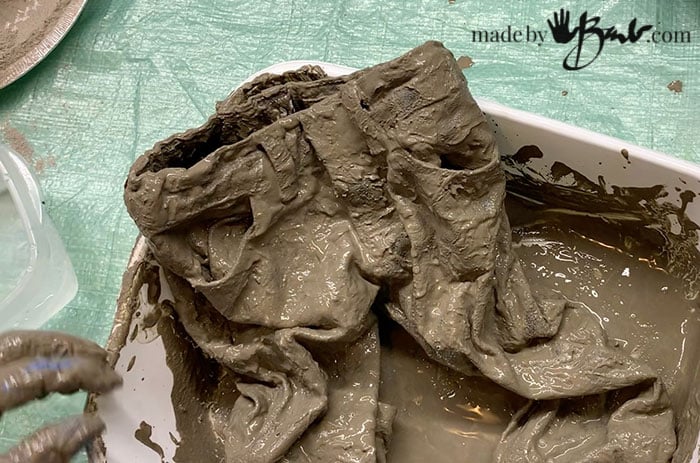
With rubber gloves on work the cement slurry into the insides as well, the more that the fabric absorbs the stronger the structure will be. You should not be able to see the denim fabric, if you do there may be too much excess moisture.
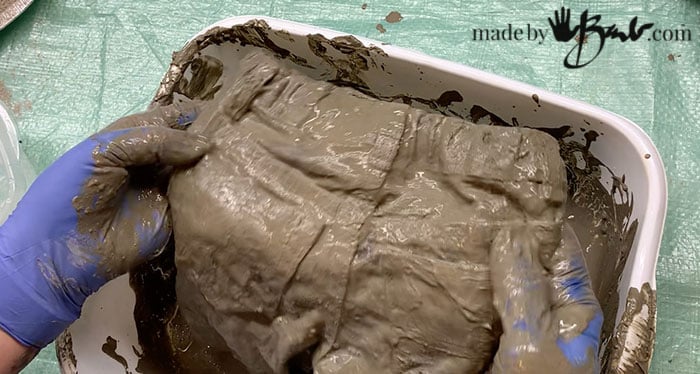
The wet concrete mix is much like mud; and you can scrape and squish it until it is everywhere.
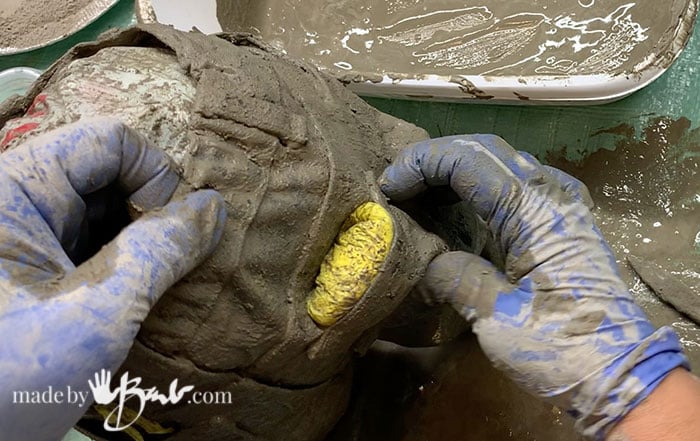
Once you are satisfied that the wet cement mix is well incorporated you can fill it with the preplanned filler bags to hold the shape. I then manipulate the shape as I want it to be. You can even add some little filler pieces of plastic into the pockets to mold some voids once cured.

Adjust the wrinkles in the garment, on every side of the fabric, and to have a smooth finish use a brush. Since the mix can make the fine details get full of too much cement you can use a dull kitchen knife to scrape & define the edges.
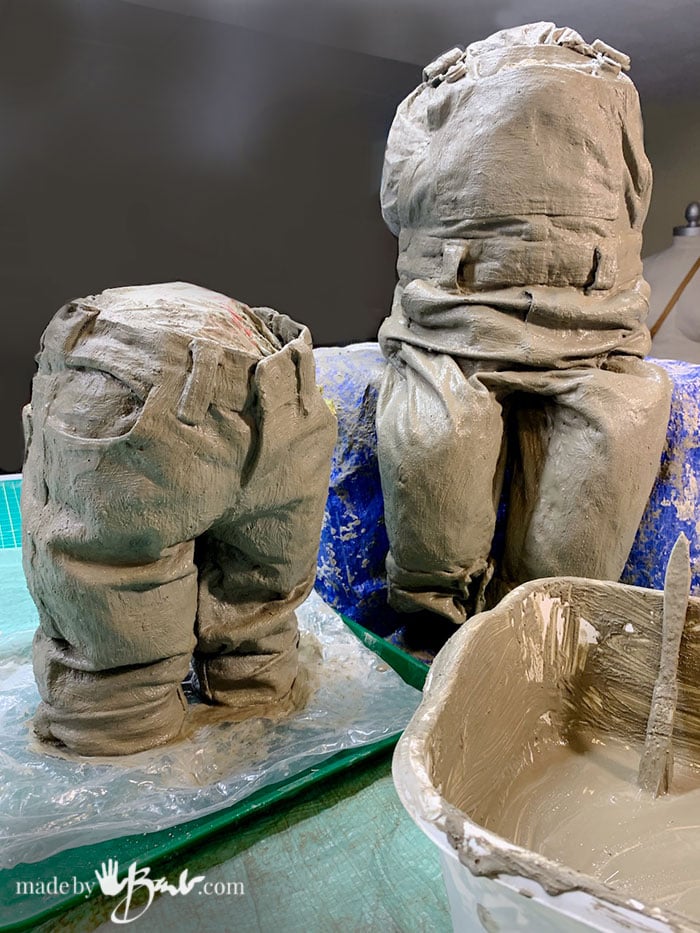
Sit or stand these DIY structures with balance. To make them less tall I fold over the pant legs or even have them sit – so much fun can be had. These tutorials can really be adjusted for any garment; even polyester or upholstery, white cloths, anything that will absorb the cement mix.
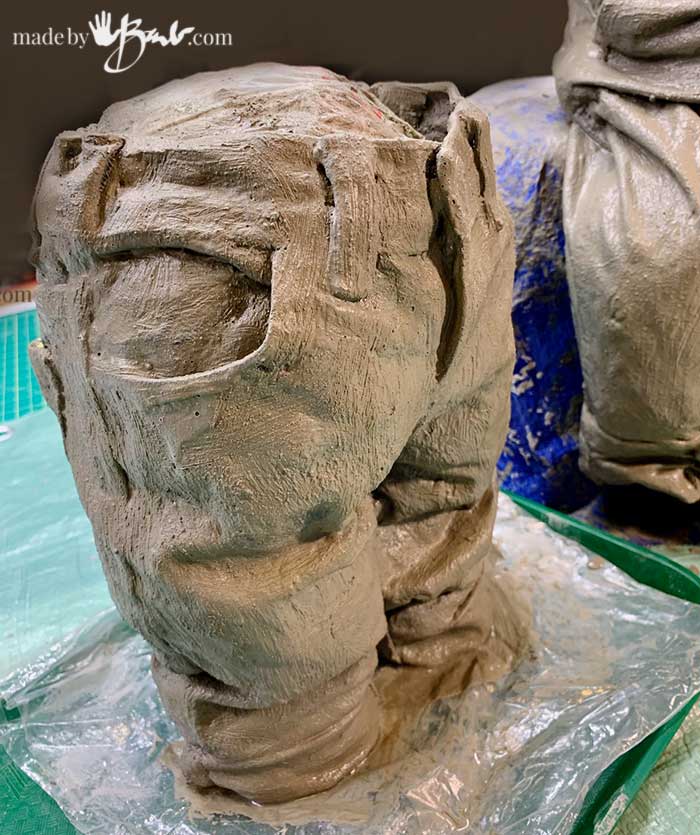
The Cure:
Making these simple concrete crafts is fun since the garment is ready made. and only dry cement and water is needed. Be creative, have some fun with the shapes and ‘cuteness factor’.

Depending on the temperatures and wind make sure to cure slowly so that the moisture allows the cement reaction. Cover it loosely with plastic and mist with water to not dry out too fast.
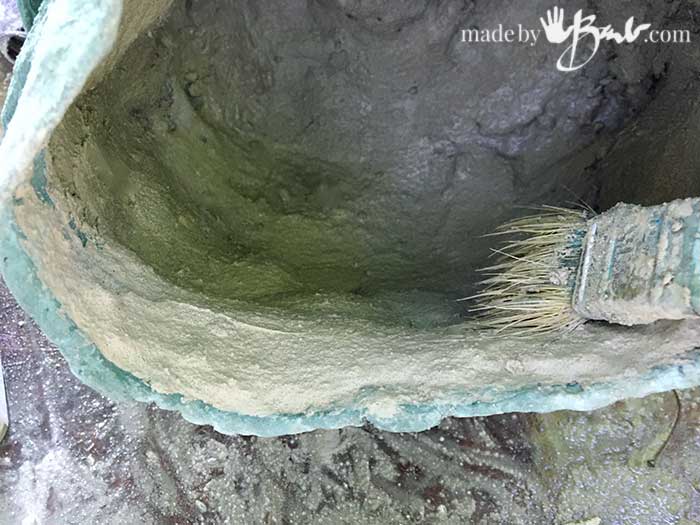
Finishing the ‘Insides’:
I will add extra reinforcement to any areas that need it after I have pulled out the ‘fillers’. Dampen the cured structure and add some small pieces of fabric dipped in the cement slurry. Adding a layer of fast set concrete mix like Rapidset Cementall to just the inside is another good strong option. The main purpose is to make its strong so it doesn’t matter how it looks.
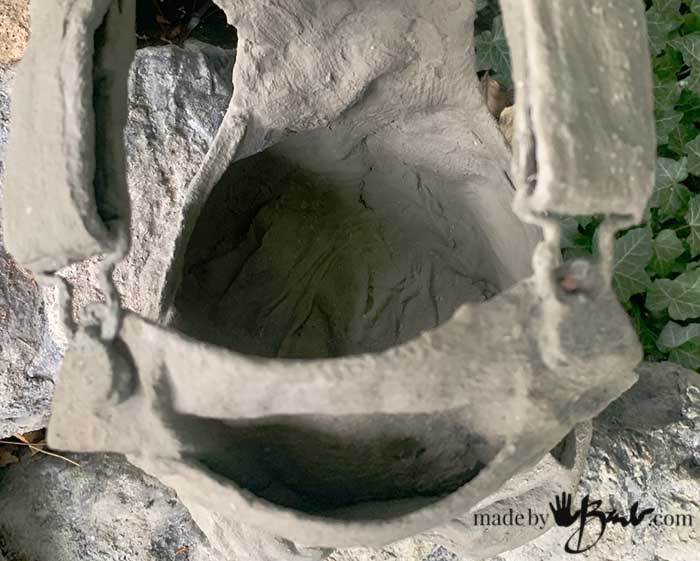
Since this may become a planter or a bowl, you may want to fill the ‘leg holes’ in some way. I added some fabric dipped in cement slurry to cover the ‘leg holes’ inside. Another option is simply adding some styrofoam to roughly fill those voids and that will allow some drainage for plants.
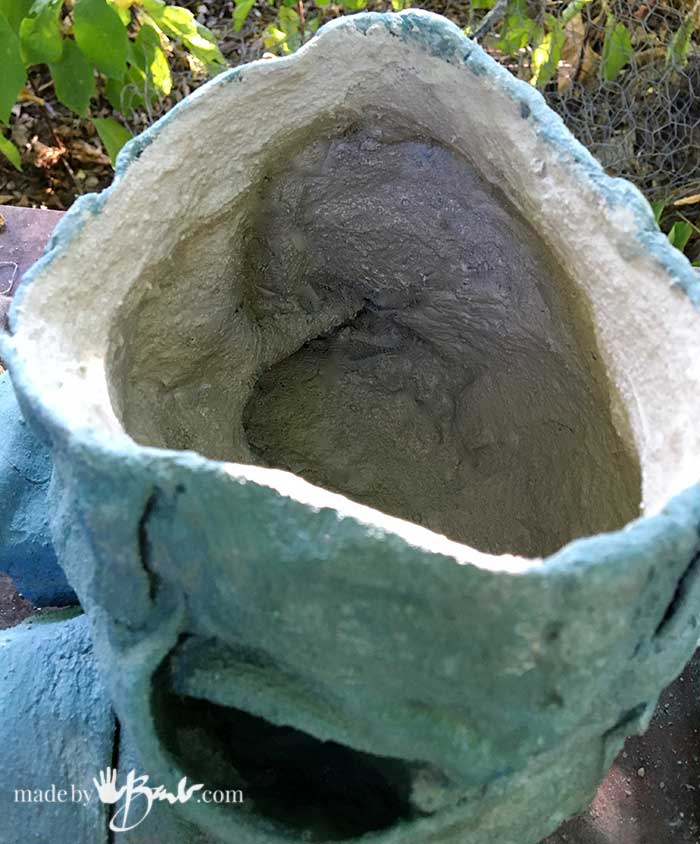
You can also add some brushed on cement slurry mix to the outside to add thickness. Do not add too much as it will fill all those nice details that jeans have.
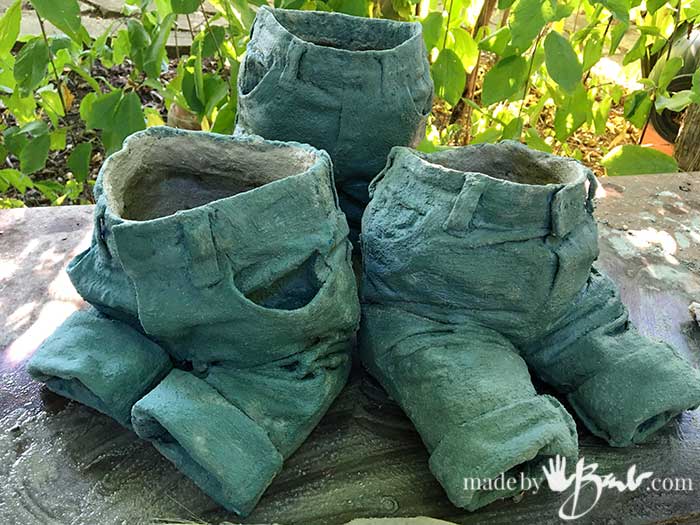
Once I got going… I could not stop! These have some blue paint added to the cement and are just about cured. I will be sharing how I add the final details and finishing touches.

Can it get much cuter?! Maybe you’ve got a munchkin’s jeans that you want to keep forever?! This is a sweet way to make smiles… Stay tuned for Part 2 – the finishing!
How super cute!!! This is pure genius….. I will show this to my daughter and maybe have a girlie day.
Thank you so much for sharing
Do you have an email list to join? LOVE this!!
For sure! Check side bar or on page… fill in the form please.
You continue to amaze. So wish we were neighbors!
Ah yes! Sometimes mine like to sneak a peek at what I’m doing. It’s hard to stay secret…
Hey, Barb!
What Mom or Grandma wouldn’t love one of these with the kiddie’s name and age recorded on it. When he grows up, he won’t be as embarrassed by his old jeans as he would by all those “baby pictures”. He might even make one for his own son. nv
Oh that is a great idea! Imagine these as a centrepiece at a baby shower too! My little grandson had a bit of a puzzled look yesterday when he saw the tiny pair…
Those jeans are a great idea!! I have had it in my mind to make a lifesize ‘sculpture” of myself kneeling in the front garden weeding. I was planning to try it totally in chicken wire, but I’m now thinking I could do concrete jeans and t-shirt with added chickenwire limbs!! Do you think this would work?? I love your idea of making slots for added items in the pockets – genius!!
It will depend on the size of the garments as they get heavy quite quickly. I did try the chicken wire a bit in the legs but it gets so stuck in the fabric that I ditched that idea. I probably should have tried wrapping it in plastic (duh) You could also try to use some pop/water bottles (maybe even filled with rocks or whatever) to stabilize. Then it can be cut and pulled out probably. Some styrofoam can also be shoved in. Just give it all a dry-fit try and see how well it holds… How about a kid size version…
Hi Barb!
Enjoy seeing your projects. This has got to be my favorite – so cute!
Thanks! Yes, and it’s so easy and fun…
Hi Barb, have you read this article yet? Riddle solved: Why was Roman concrete so durable? | MIT News | Massachusetts Institute of Technology — https://news.mit.edu/2023/roman-concrete-durability-lime-casts-0106
Yes, I read this too! ‘Something to try next summer! The trick will be to keep it damp as well and warmed up, sort of like how they cover with plastic during the curing!
I loved this idea! I’m going to take your idea and run with it… some cute overalls would be cute too! Thank you for sharing ❤ 😊
I also did a pair of overalls. They made it through the winter quite well…
Barb im having trouble knowing how to seal te bottom of the legs
Am having trouble sealin off the bottom of the legs
There’s a few things you can do, perhaps a few scraps of styrofoam and then some pieces of dipped fabric. You could also ball up a dipped pieces of scrap fabric and put in. I was not that concerned if it wasn’t completely full as then it could be drainage. Depending where you plan to place you could leave open and use landscape fabric inside to hold the soil and allow drainage if outside. ‘Hope that helps!