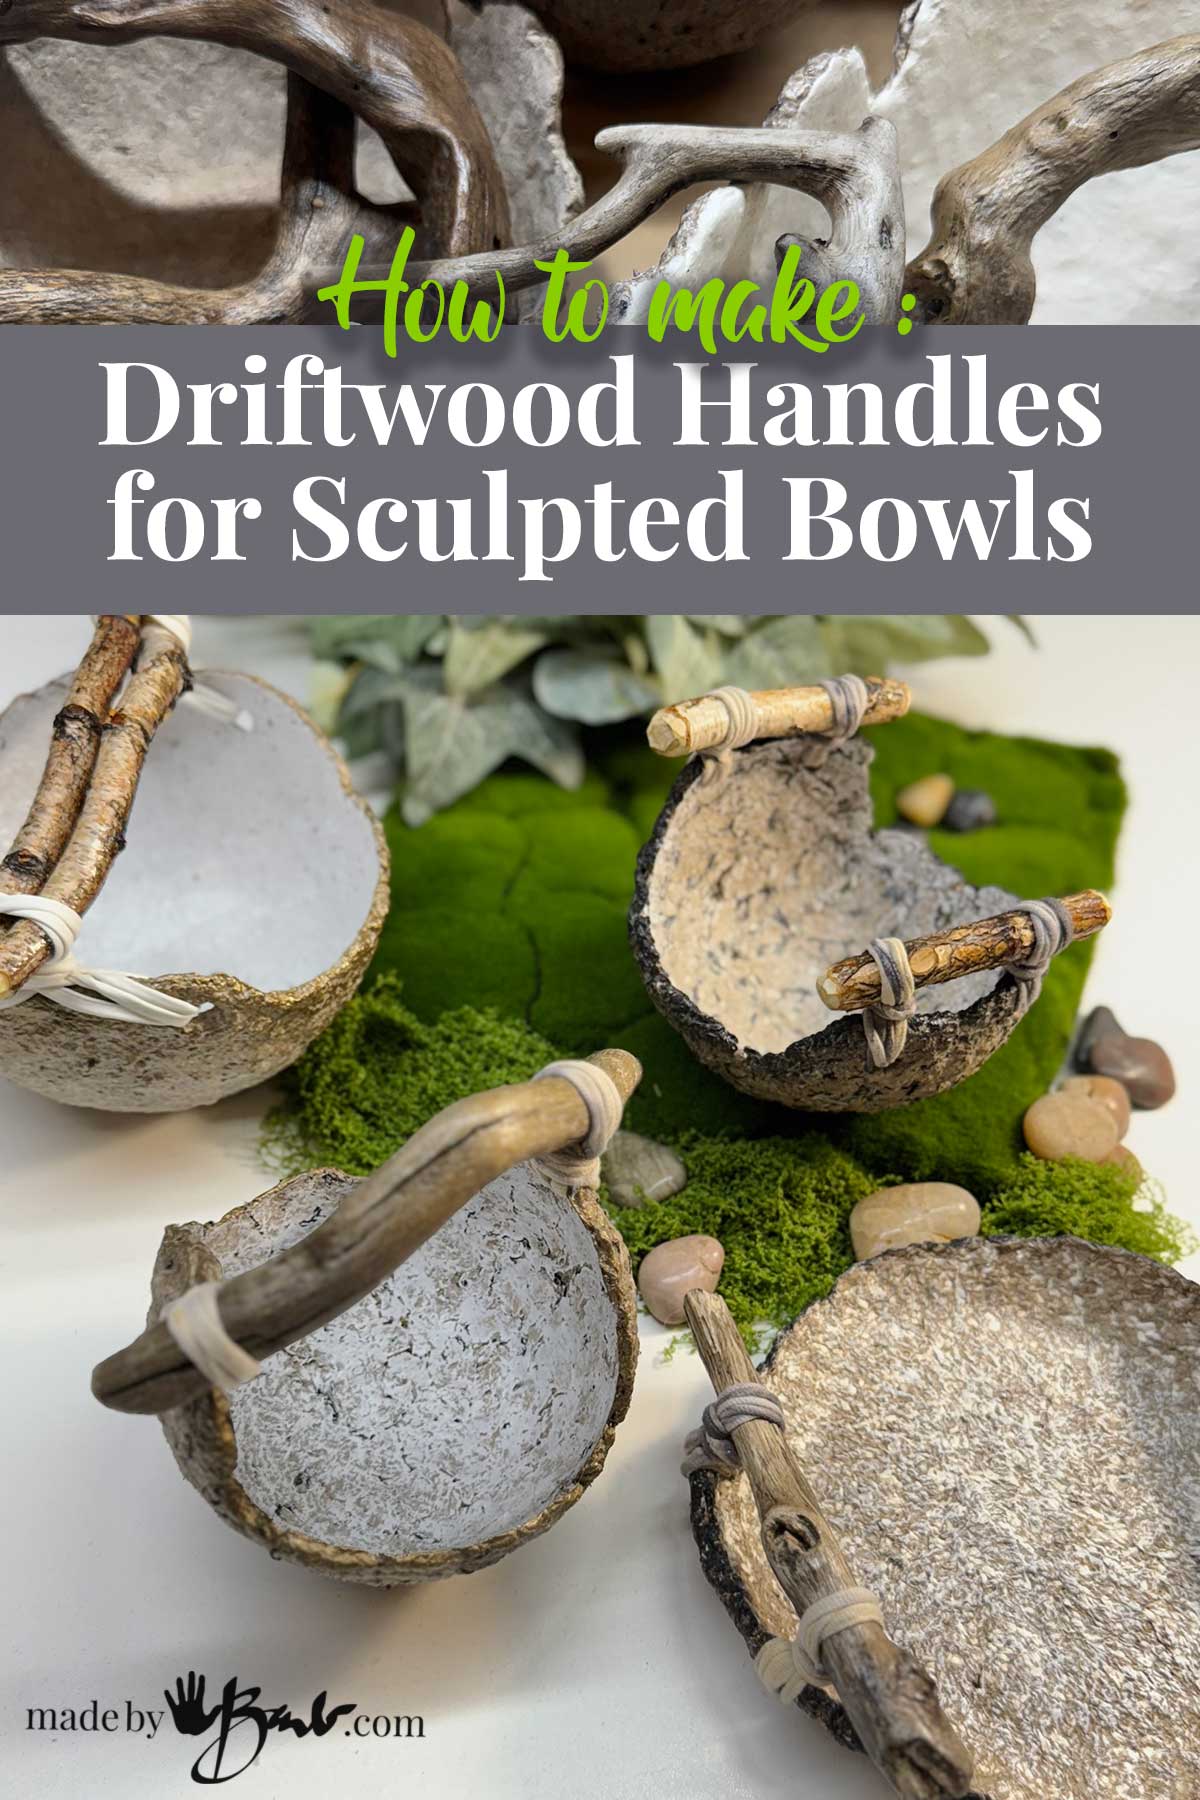
How to make Driftwood Handles for Sculpted Bowls
There’s something magical about driftwood—it carries the memory of water, sun, and time. Each piece is already sculpted by nature into a one-of-a-kind form. When paired with handmade bowls—whether from concrete, clay, or even paper fibre clay—driftwood makes the perfect rustic handle, adding both beauty and function.
Why Driftwood Handles?
- Natural charm: No two pieces of driftwood are the same, giving your bowls a unique, organic character.
- Functionality: They provide sturdy grips, turning a simple bowl into a serving piece or display dish.
- Sustainability: Found materials add a story of place and a touch of eco-conscious craft, not to mention that they are usually at no cost!
Materials You’ll Need
- A finished sculpted bowl (concrete, paper fibre clay, air-dry clay, or similar)
- Pieces of driftwood (washed and dried)
- Drill with a small bit (optional, for attachment) Hint; pre-plan and leave holes for handles
- Strong string/lacing or adhesive (epoxy, E6000, or waterproof wood glue)
- Sandpaper (to smooth any rough wood edges)
- Wood Hardener for wood that is damaged
- Acrylic Medium (optional, to protect the driftwood)
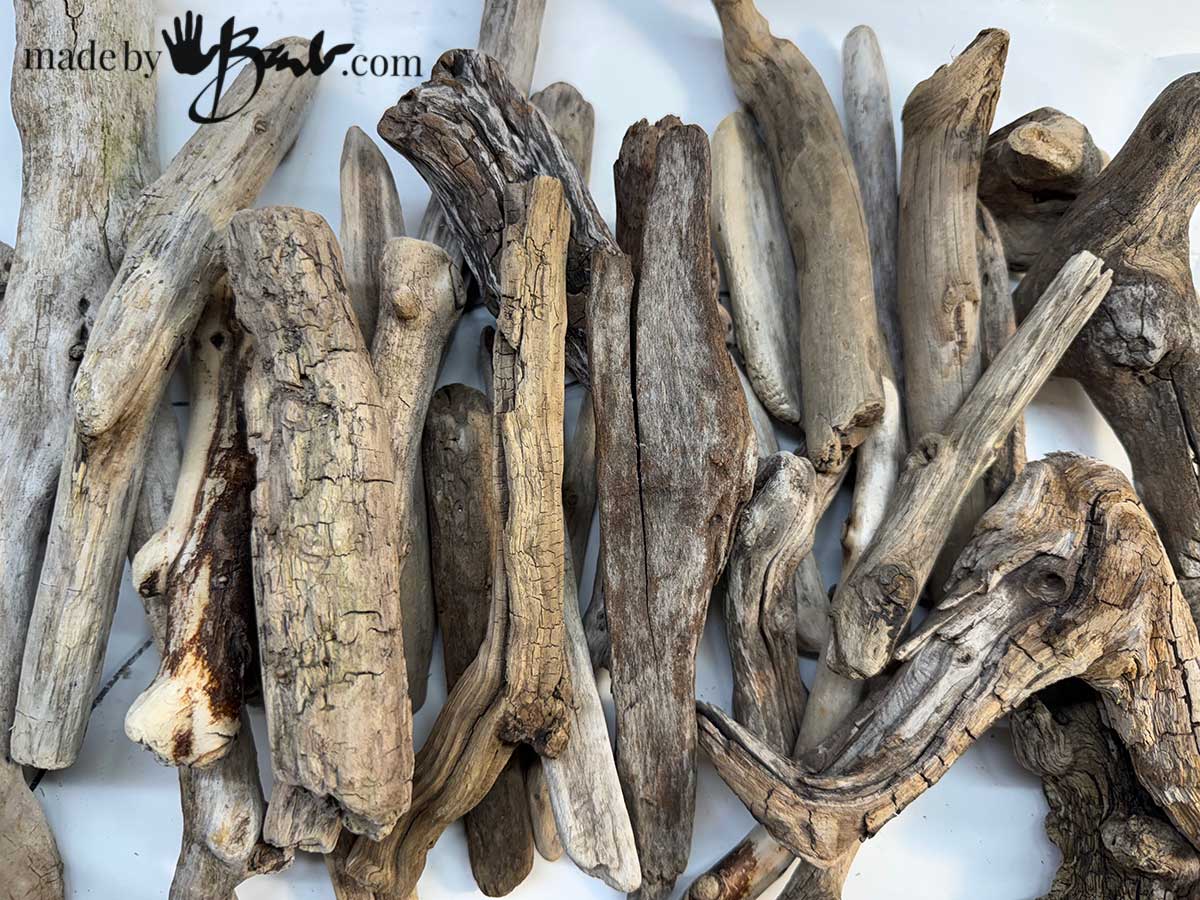
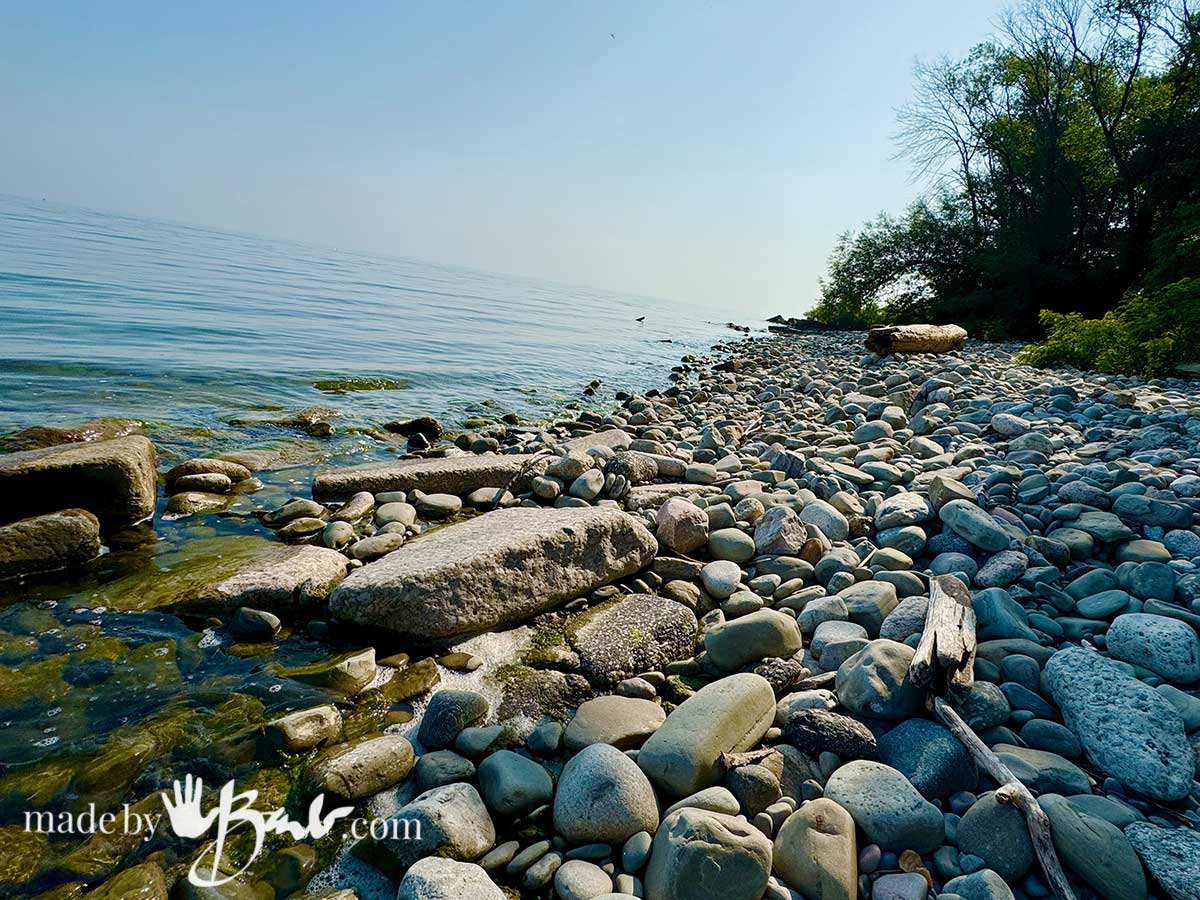
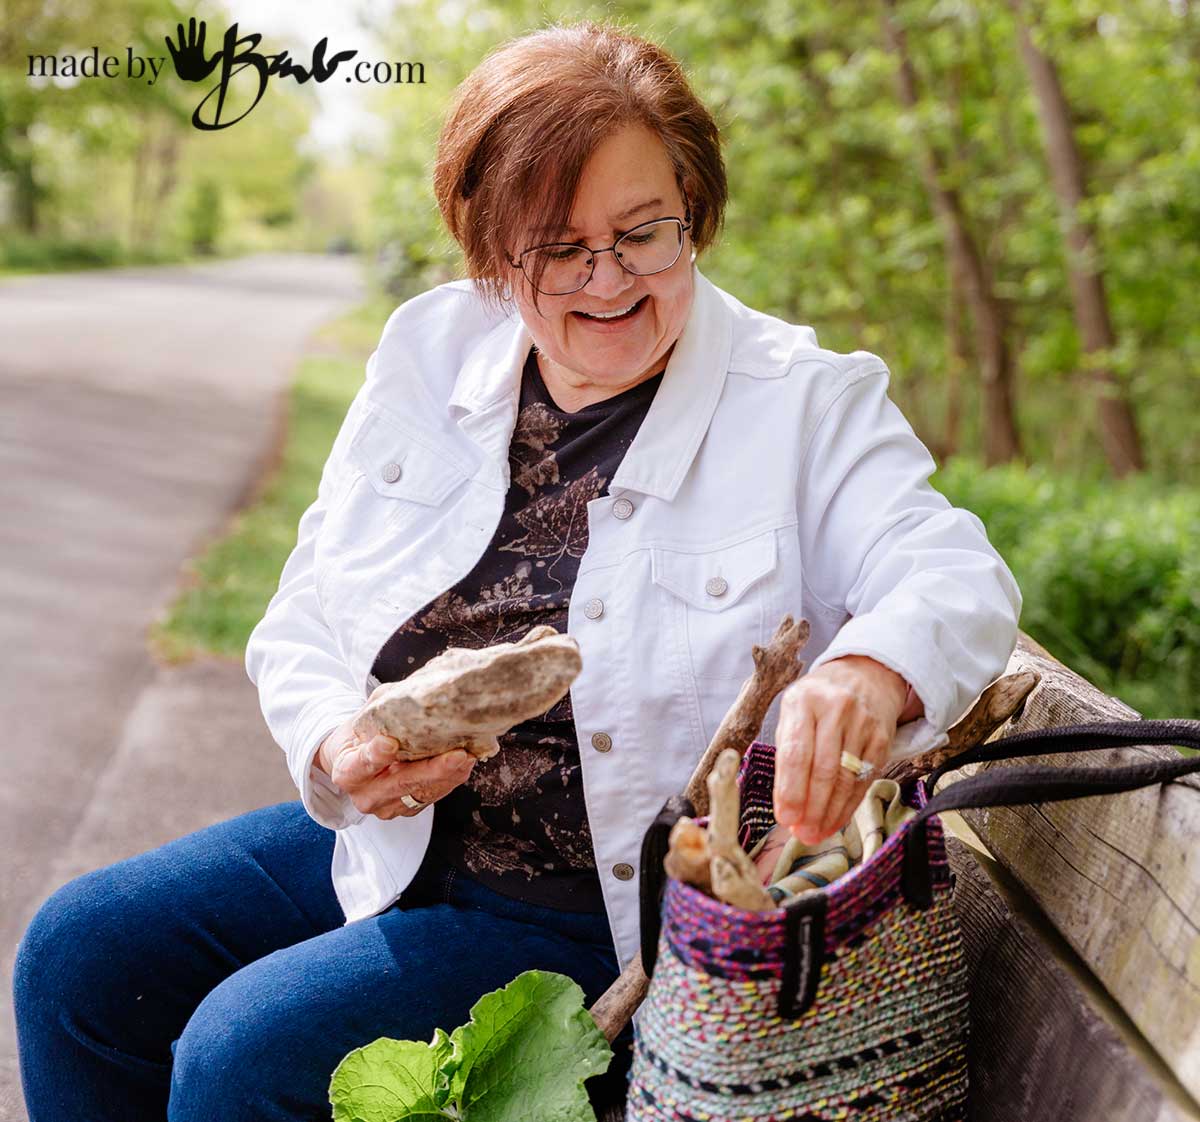
Step 1: Find the Perfect Driftwood
Head to the shoreline, riverbank, or even a wooded trail to collect small, weathered branches. Look for pieces that:
- Fit comfortably in your hand
- Have natural curves that complement your bowl
- Are strong and free of rot.
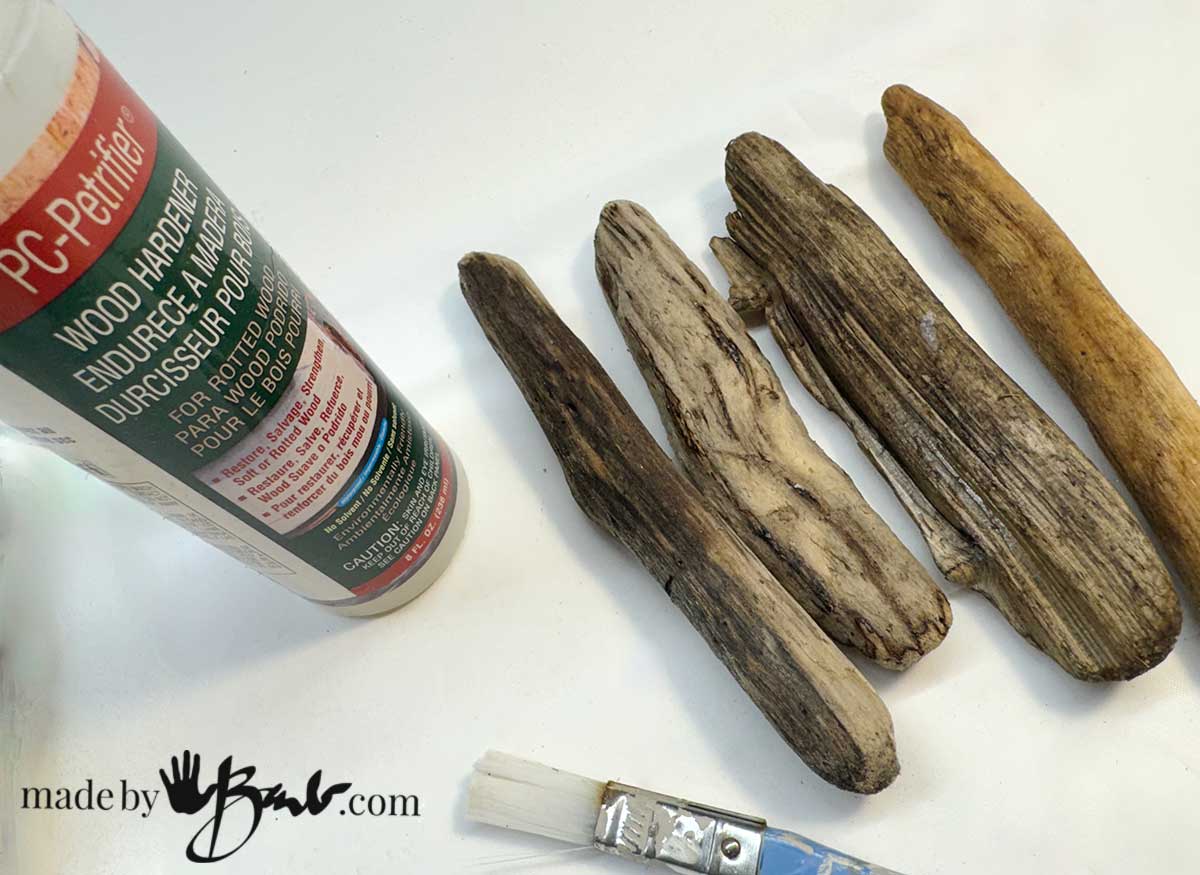
If there are sections of wood that seem a bit soft you can harden them with this product; Wood Hardener does work nicely. I often used it for the wood that I used with resin to make jewelry.
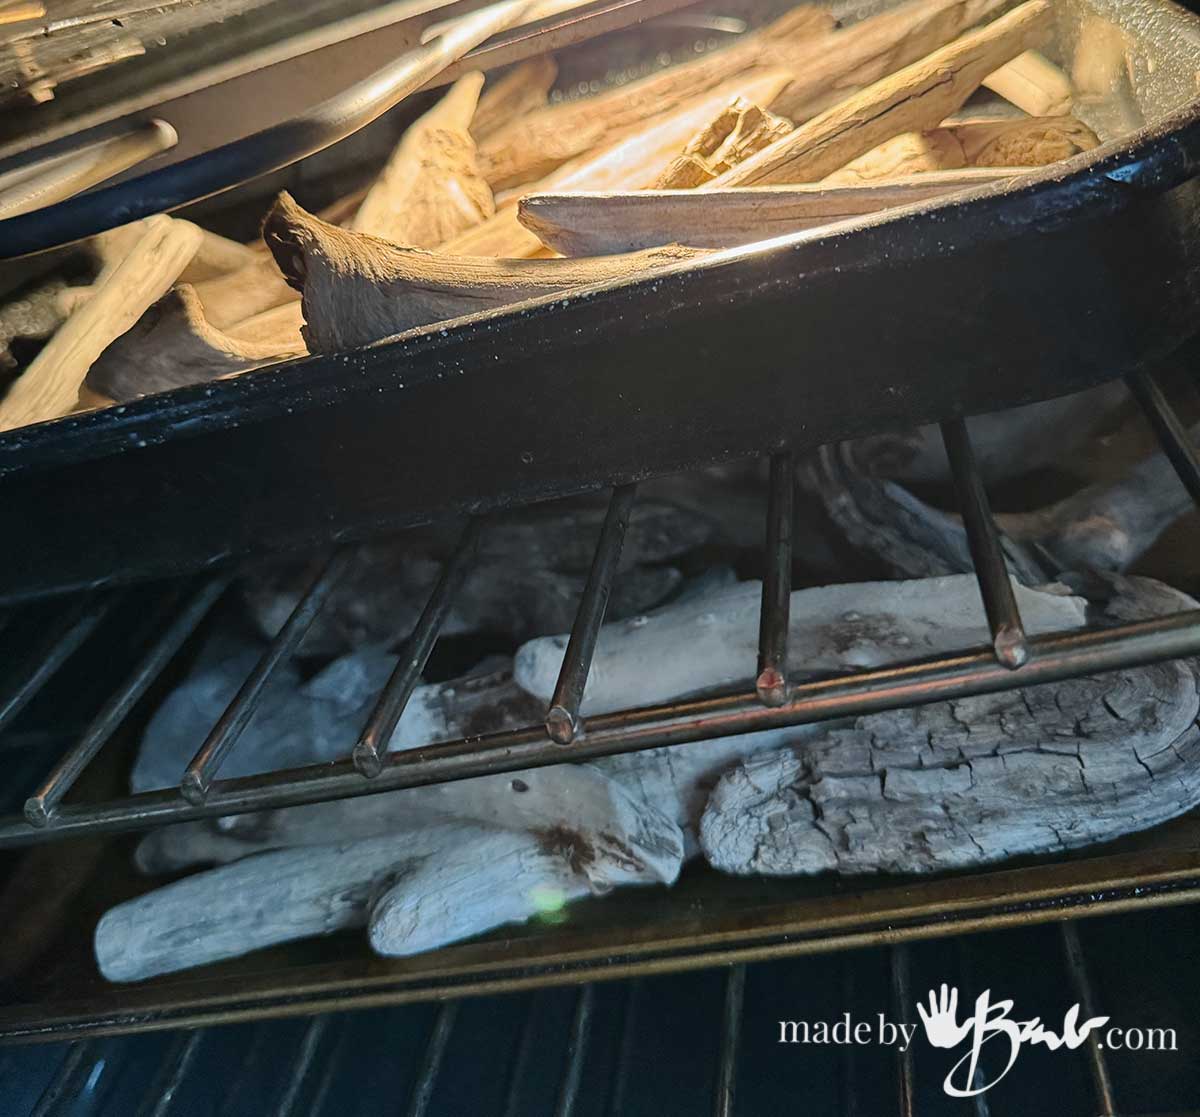
Yes, you may wonder about the critters and bugs so I make sure to let them dry and also dry out in an oven 150ºF – 200ºF. Bugs; cooked!
Step 2: Clean & Prep the Driftwood
- Scrub driftwood with a stiff brush and warm water to remove sand or debris.
- Let it dry fully in the sun and possibly bake in the oven.
- Lightly sand sharp spots or splinters, but keep the natural texture intact.
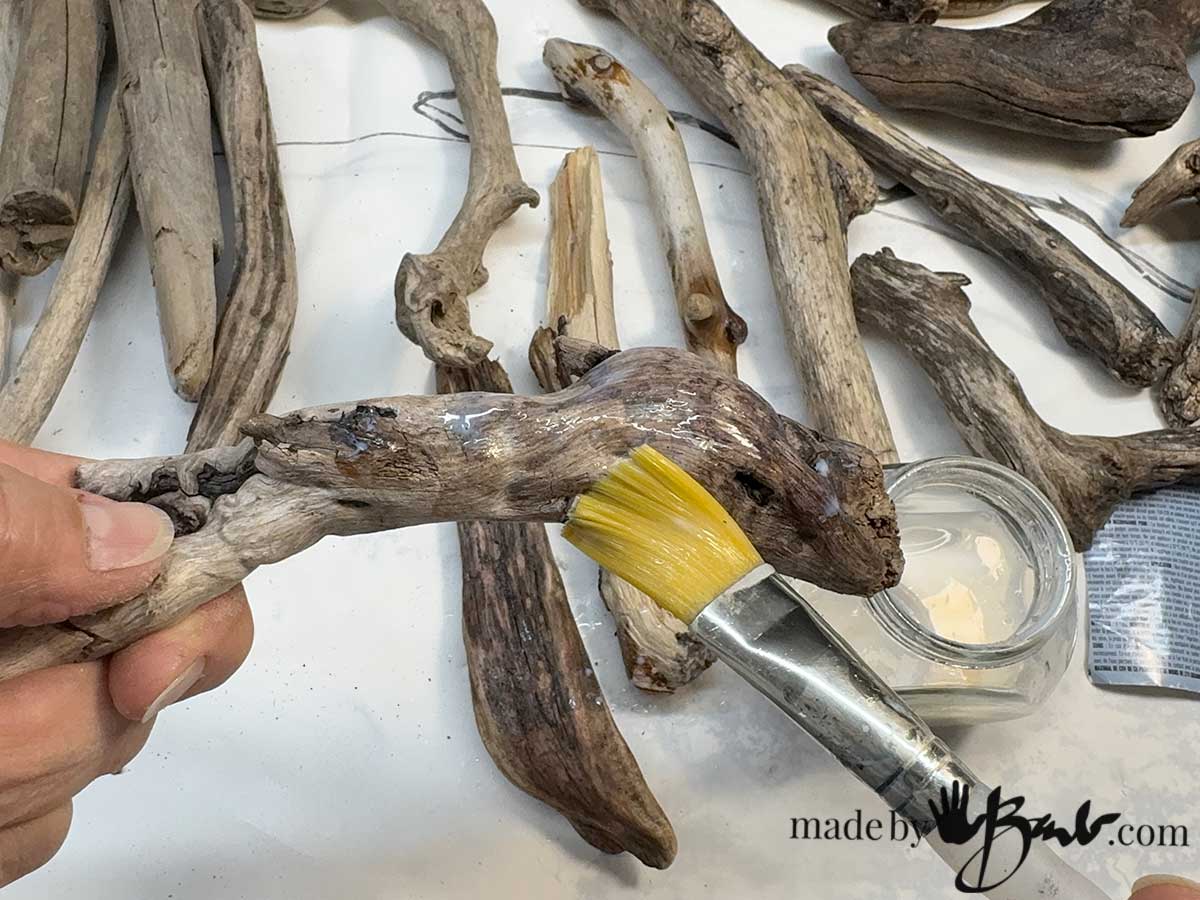
- Seal with a matte varnish or natural oil if you’d like to darken and protect it.
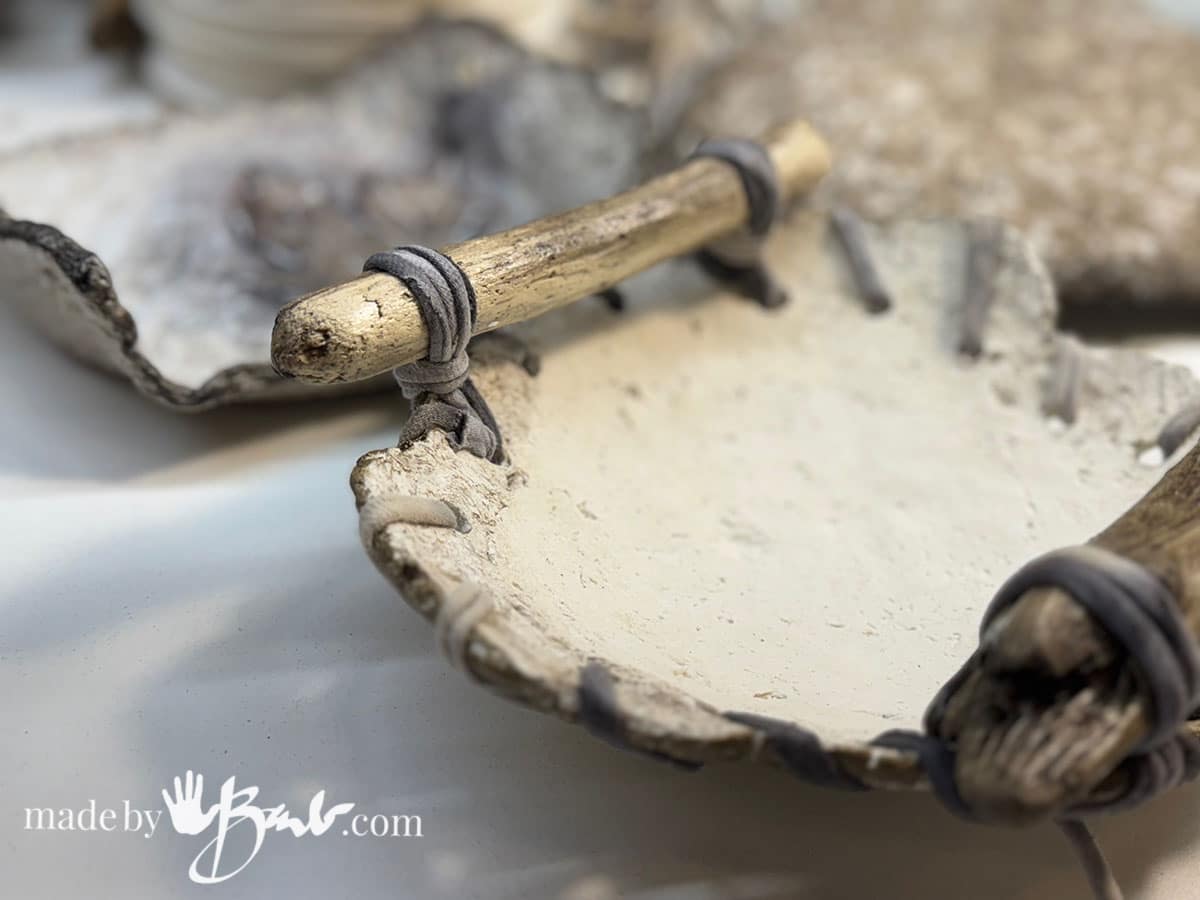
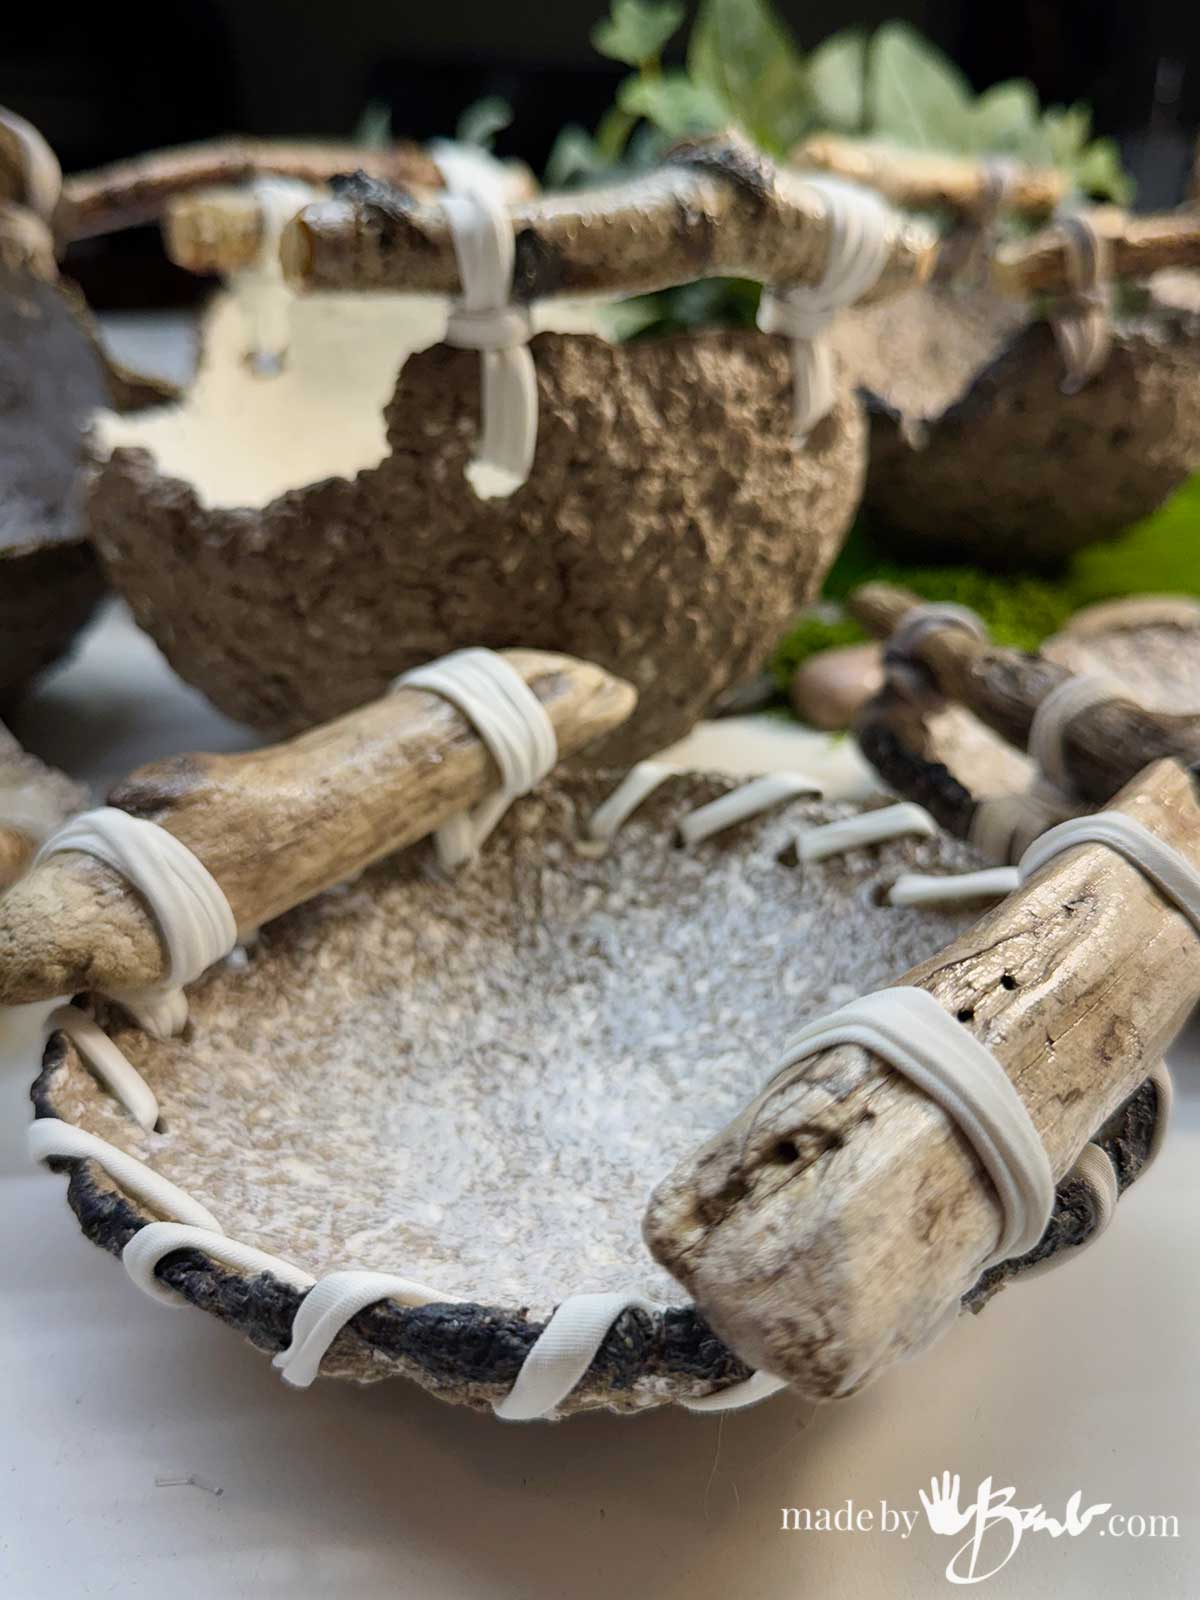
Step 3: Attach the Handles
- Position the driftwood: Rest your driftwood piece across the rim of your sculpted bowl to decide the placement. Handles can sit across the top like ears, or attach at two opposite sides.
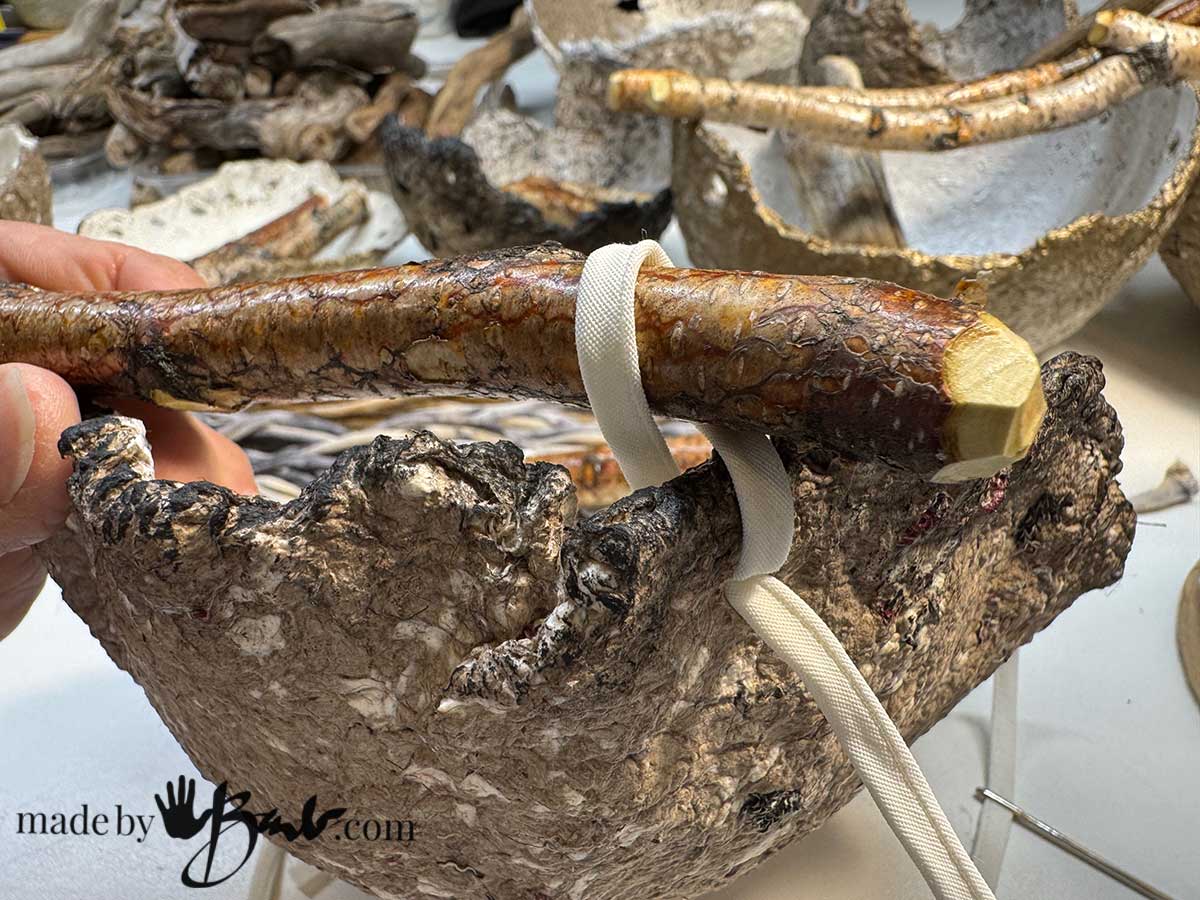
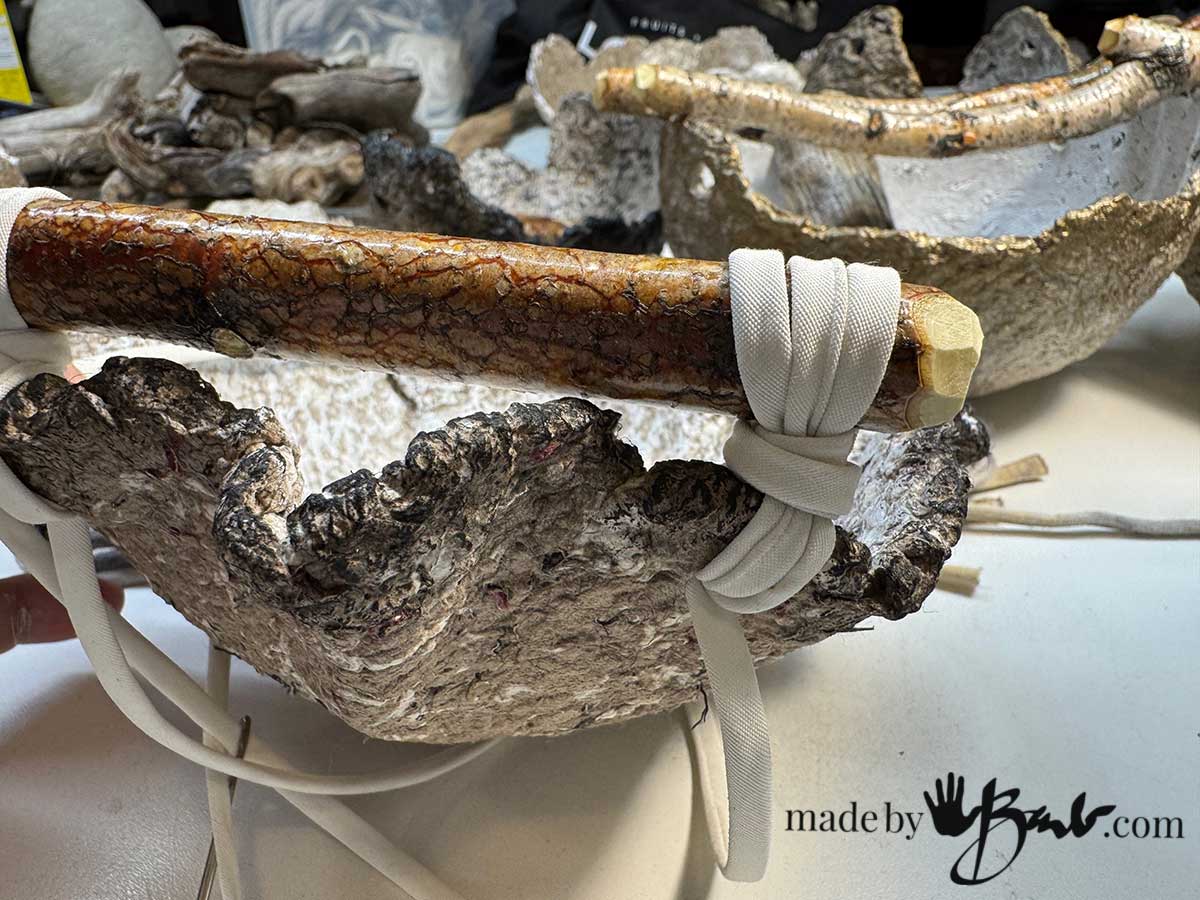
- Adhere securely:
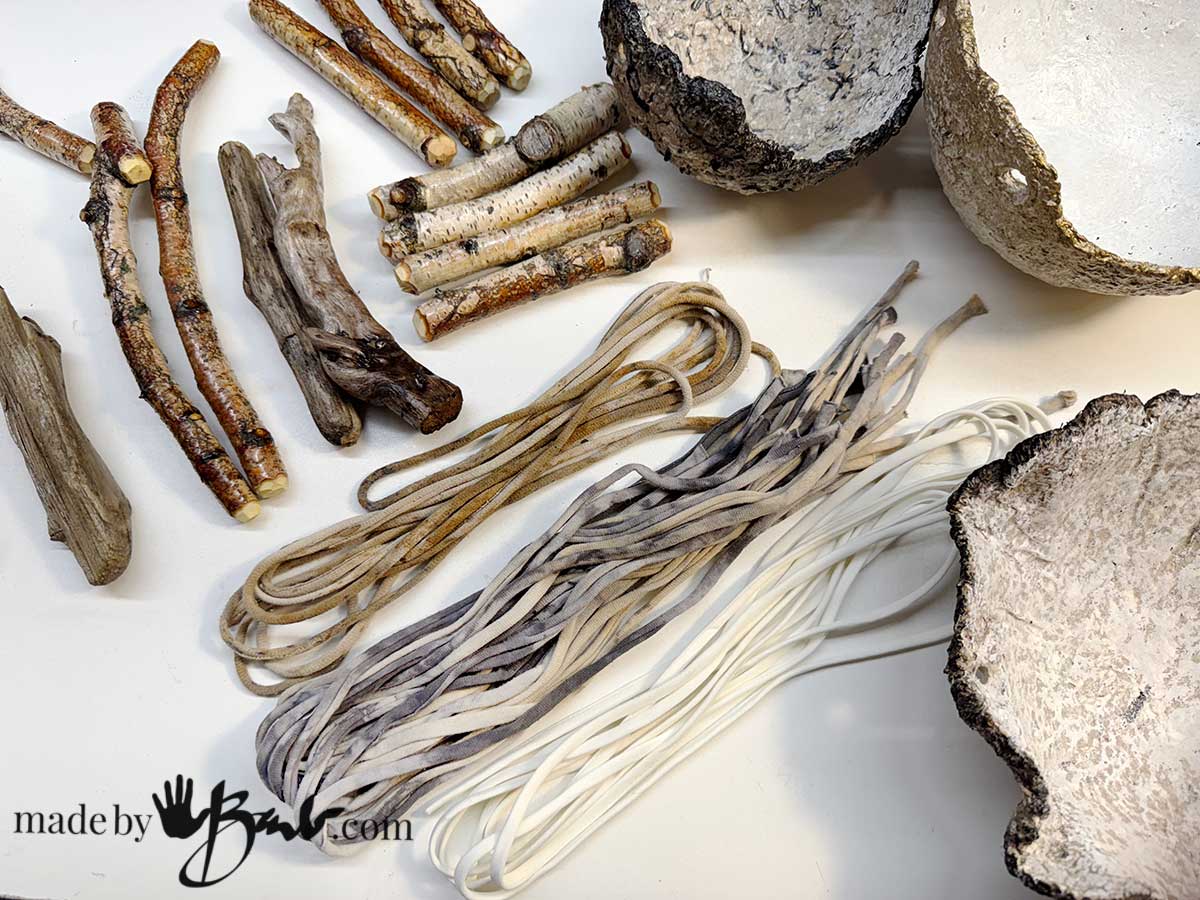
- For maximum strength, you can drill a small hole (or per-plan) and use lacing or rope to attach the wood. I like to use old t-shirting cut into strips.
- Looping around multiple times, twisting tight, hide ends under loops.
- You can also use a strong epoxy or waterproof glue to bond the wood to the bowl. Hold in place until set.
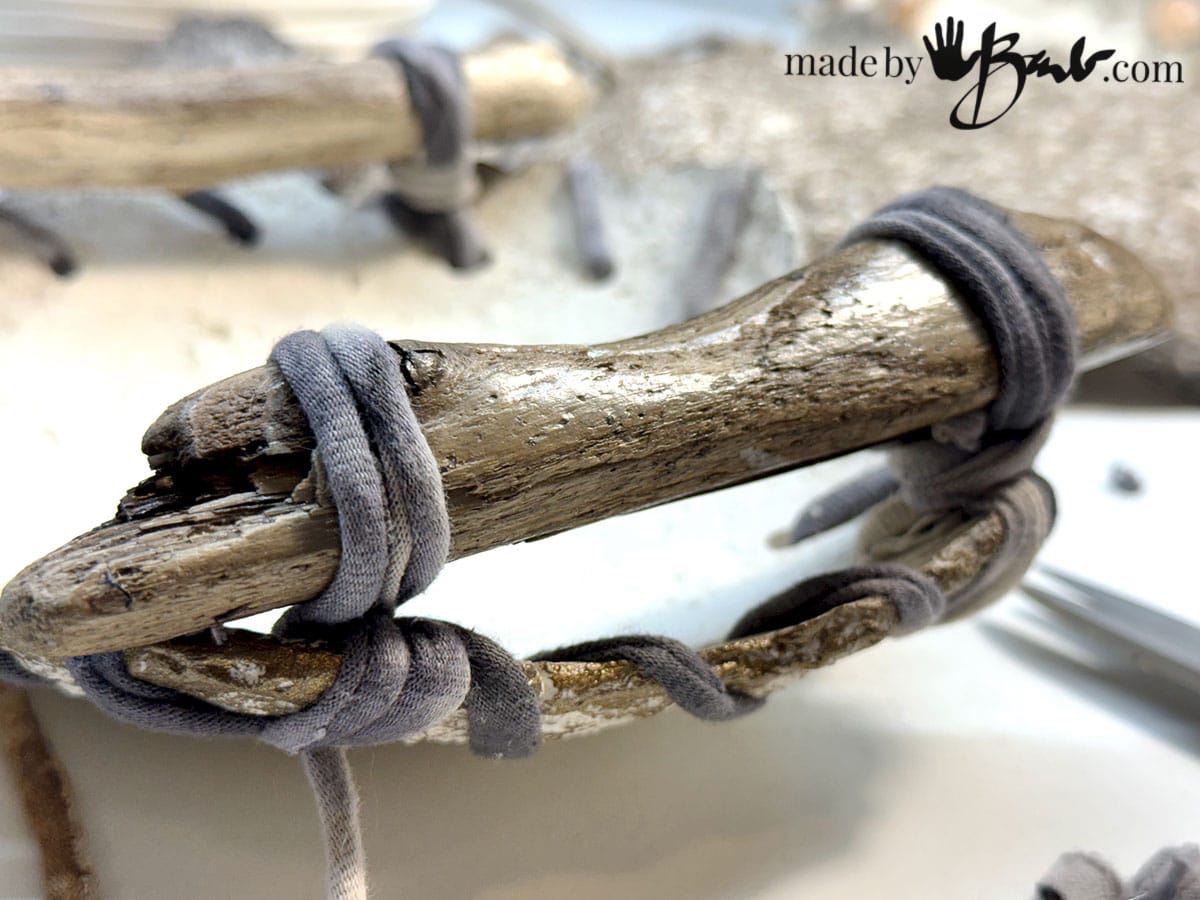
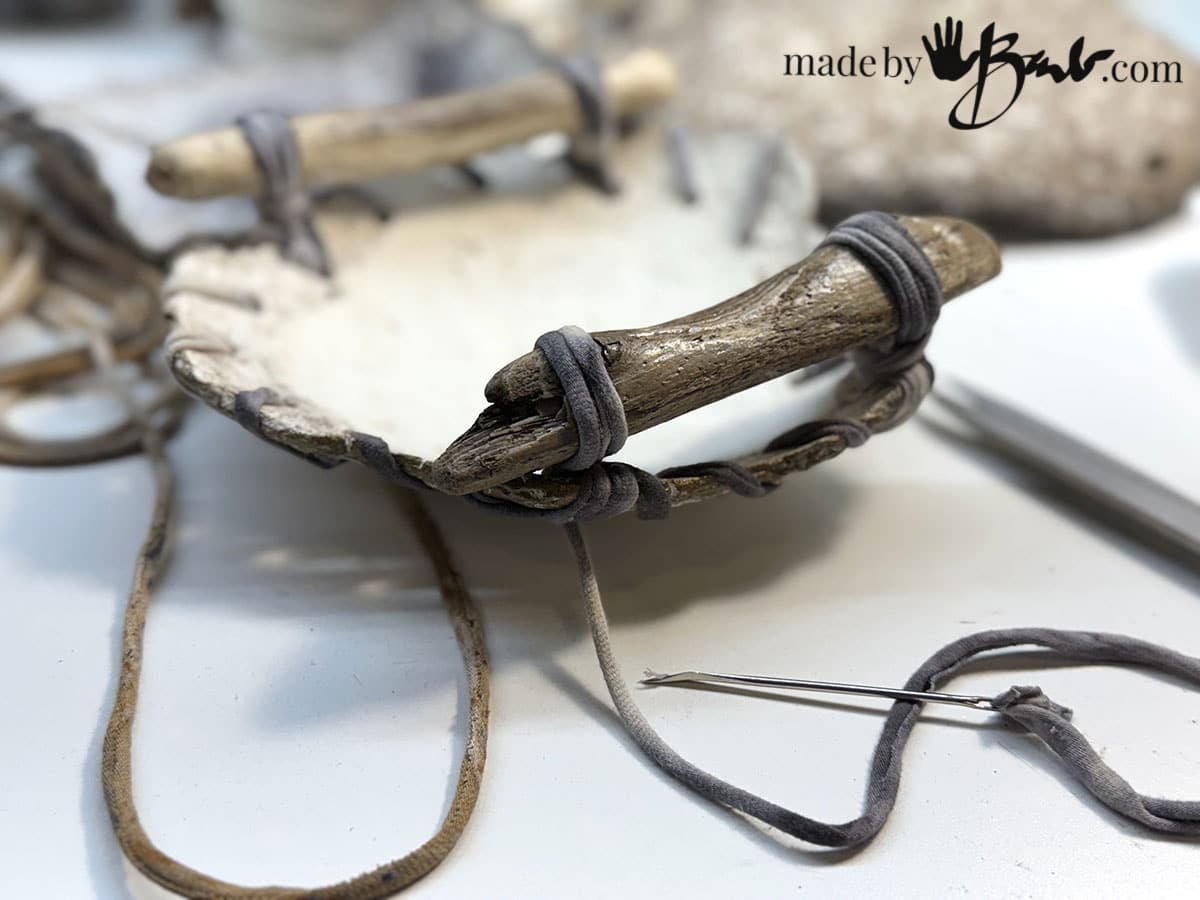
Leaving holes around the bowl also allows some pretty stitch details!
Endless design options!
Step 4: Finishing Touches
- Once the handle is attached, check stability.
- Add a coat of sealer to the bowl and handle if it will be used outdoors.
- Enjoy the contrast of smooth sculpted form against the raw, natural driftwood.
Inspiration Ideas
- Concrete bowls with driftwood handles for a modern-rustic look.
- Paper fibre clay bowls where the wood adds an earthy balance.
- Mixed-media vessels that combine stone, clay, and wood in unexpected ways.
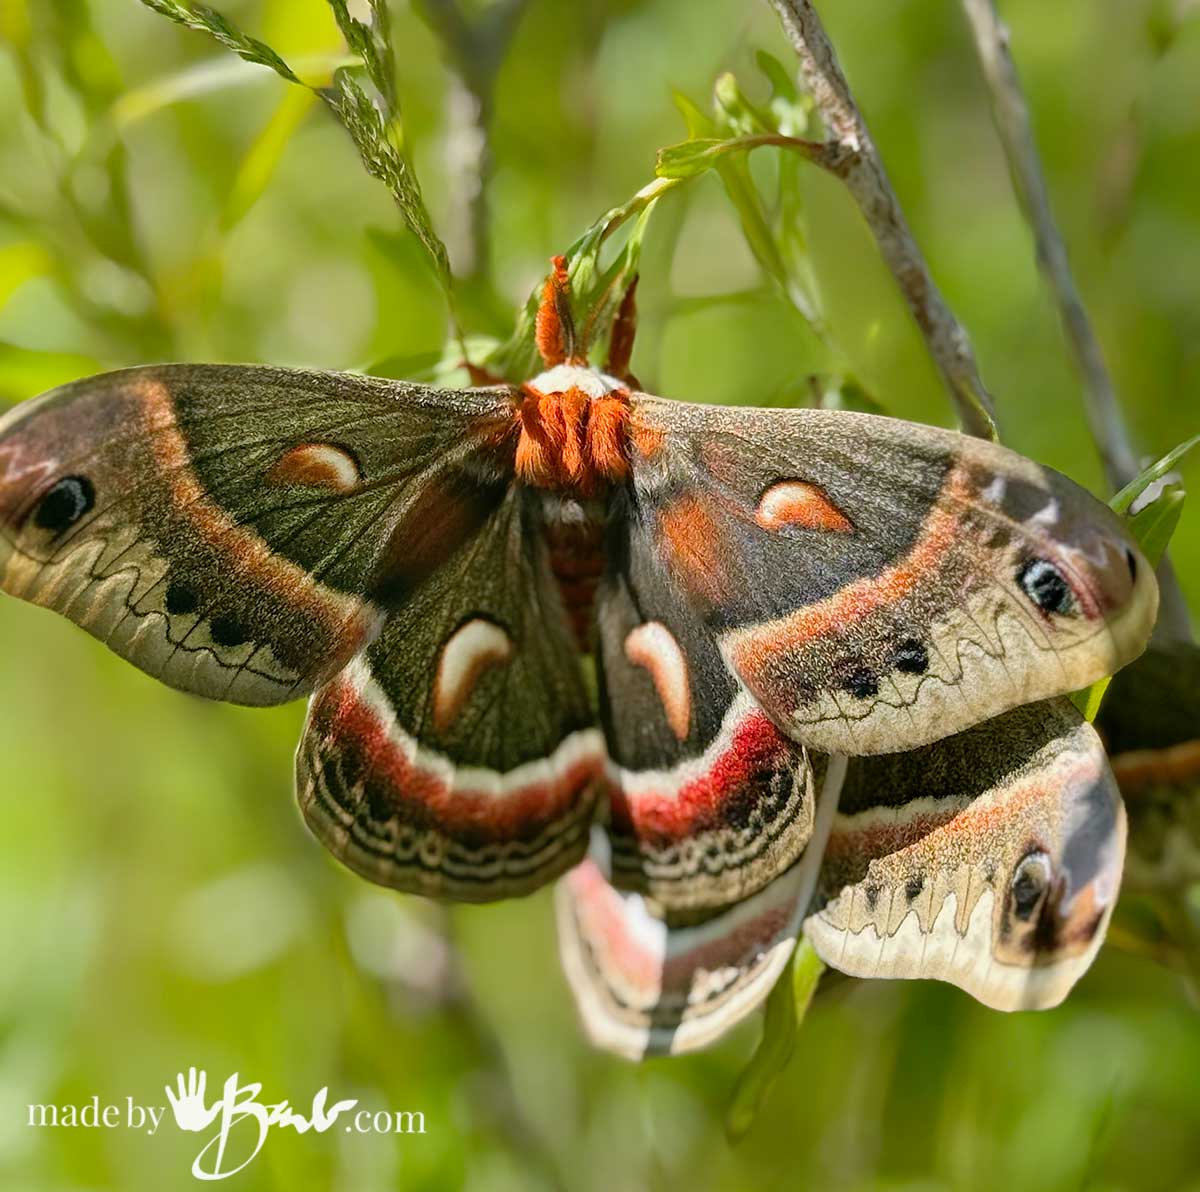
Amazing Discovery:
When I was searching for some great specimens I came upon something I have not seen in many decades! Can you believe this? This beauty – Cecropia Moth was just hanging around at the beach!
What do you think?
Adding driftwood handles transforms sculpted bowls into functional works of art. Each handle tells a story of where it was found, making every piece completely personal. It’s the perfect marriage of handmade craft and nature’s design—raw, rustic, and timeless.
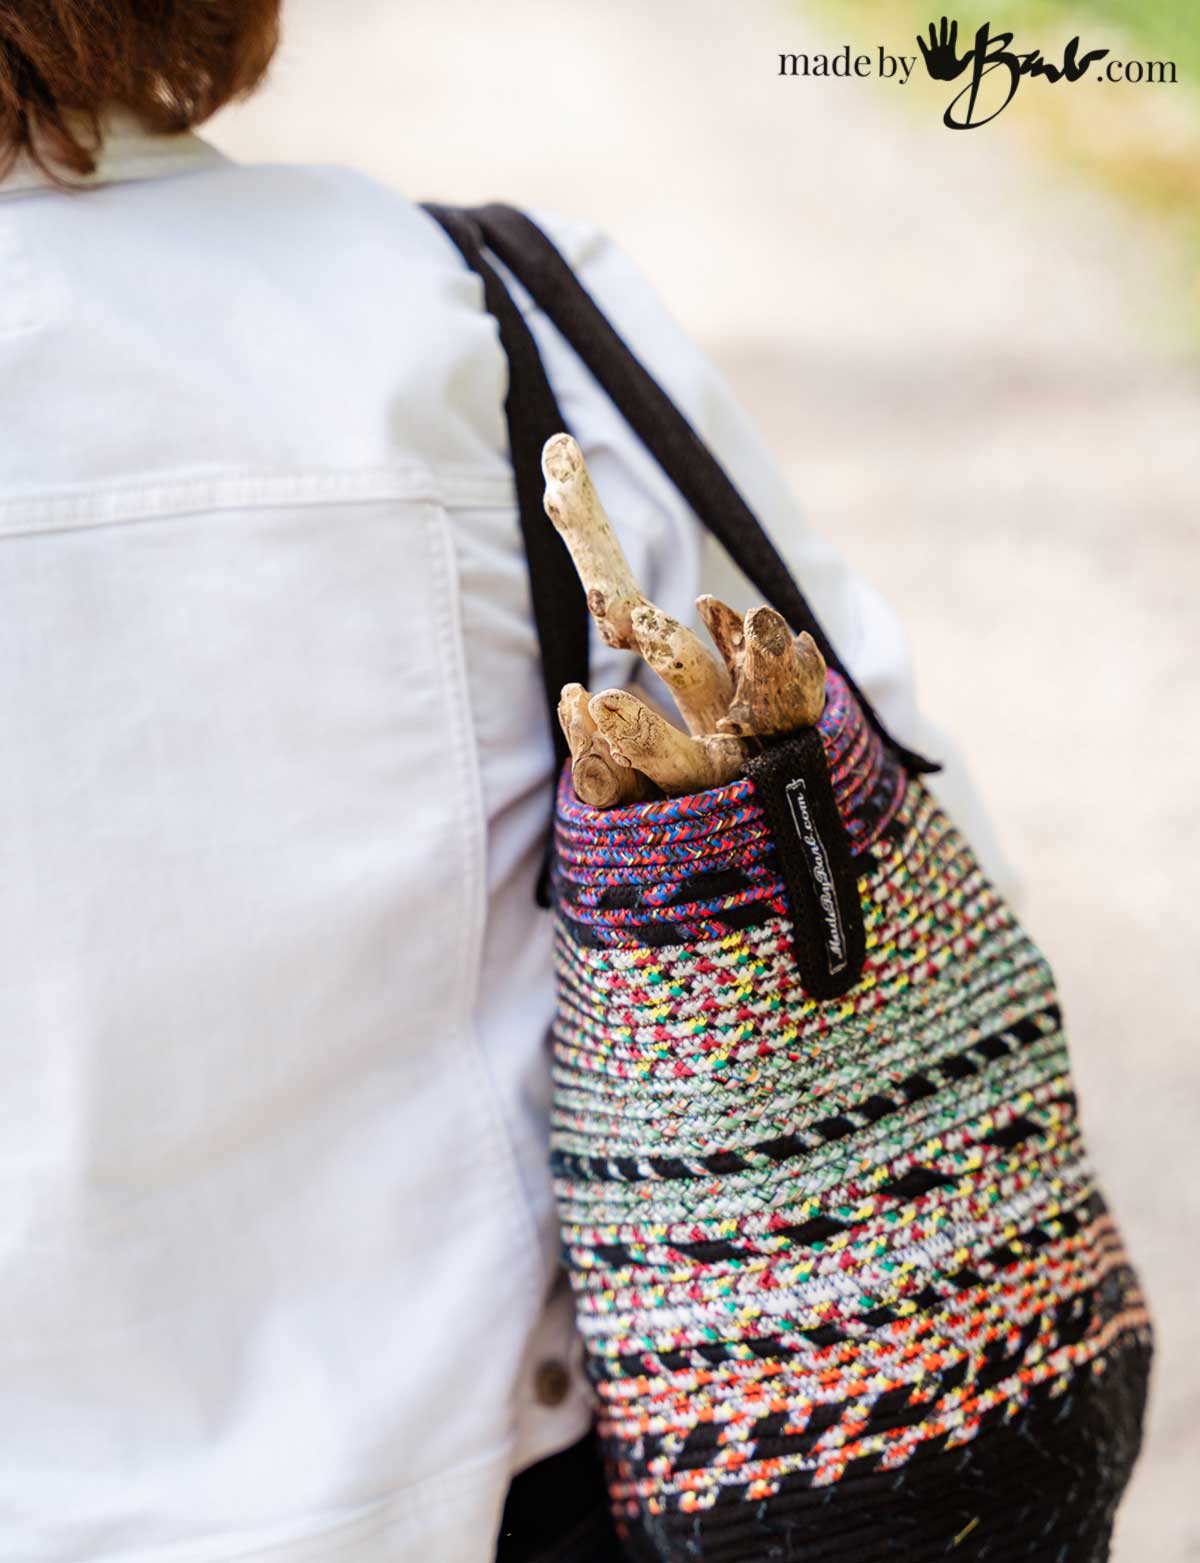
You may just become an ‘odd’ person with a bag of driftwood…