A Plunger and a stick = An Amazing Christmas tree
(Yes… really! Trust me on this one.)
One of my favourite things about creating is seeing potential where most people don’t—even in the cleaning aisle. And if you’ve followed me for any length of time, you already know I love transforming humble materials into beautiful, display-worthy décor.

So today’s project might make you laugh at first, but once you see the finished result, you’ll never look at a plunger the same way again.
Because yes…
A plunger + a stick = the most amazing little Christmas tree you’ll ever make.
Why a Plunger Makes a Perfect Tree Base
A basic dollar-store plunger has:
- A wide, sturdy base
- Easy Disassembly
- A price tag that makes it practically irresistible
The moment you add some rustic character and nature inspired branches it magically becomes a charming Scandinavian-style Christmas tree. Nobody will believe it started as bathroom hardware.
What You’ll Need
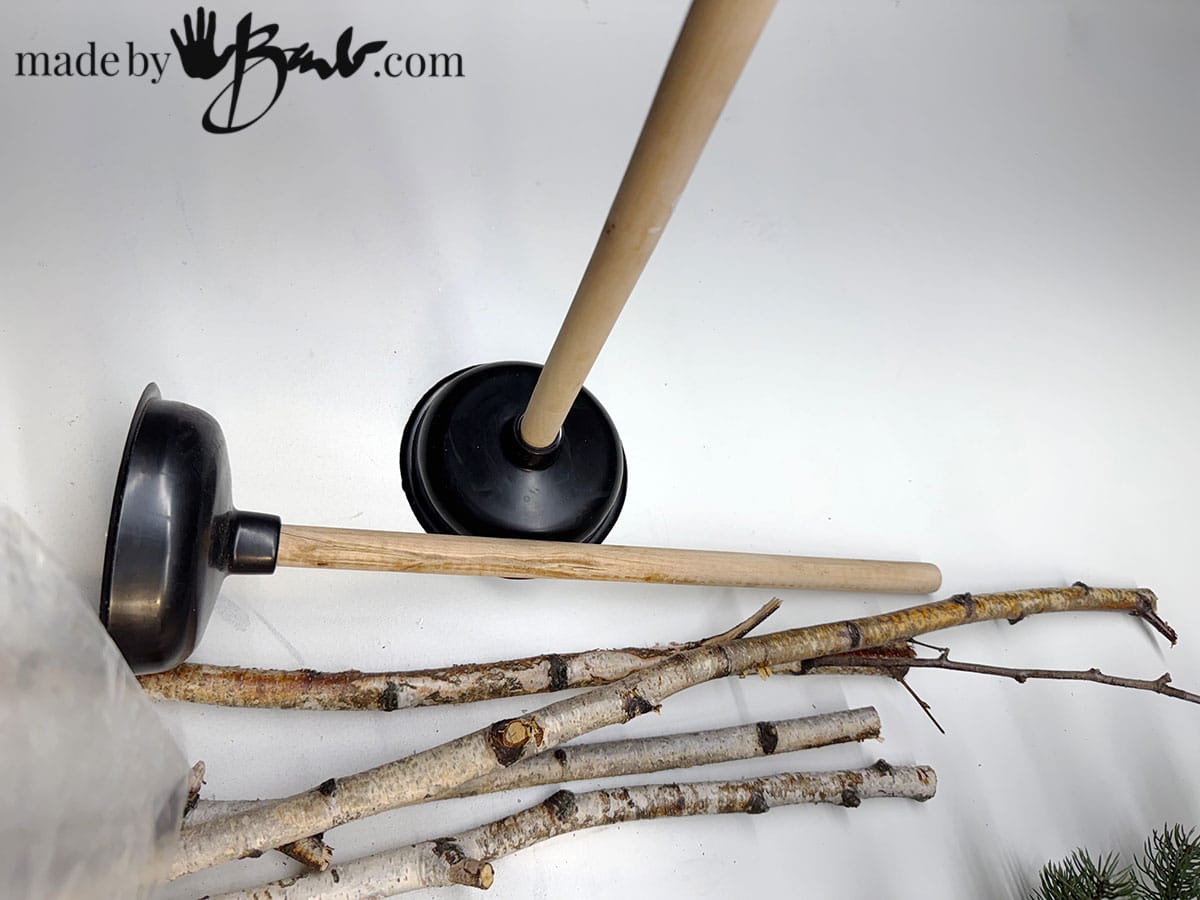
- 1 wooden-handled plunger (Dollar Tree or similar)
- A stick similar thickness as the plunger handle
- Hot glue gun + glue sticks
- Faux Pine Branches (recycled from Old Christmas tree or Garland)
- Optional:
- Lights string
How to Make It
1. Start at the Very Bottom
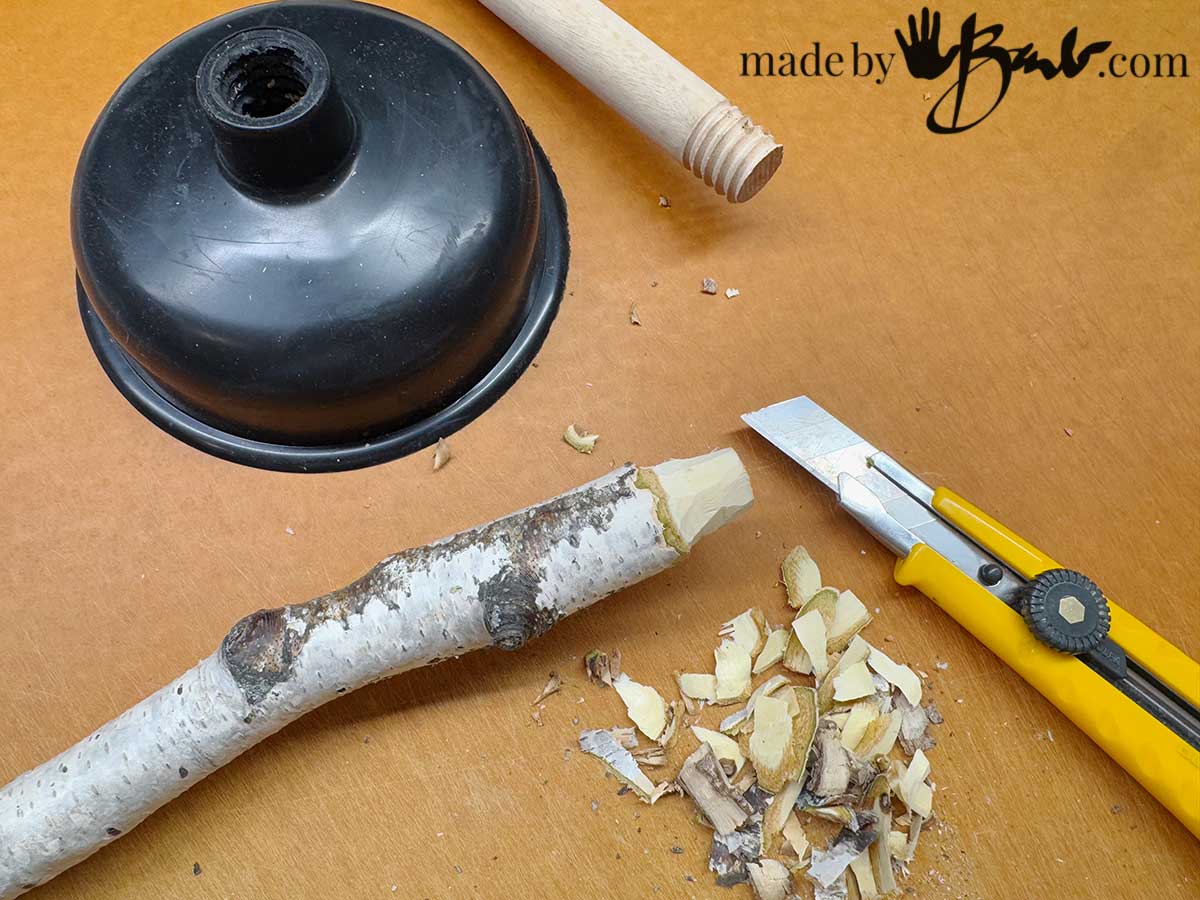
Unscrew the wooden handle out of the rubber plunger base. If you want to even simplify more you could use that as the trunk, but I like the real look of branches.

2. Drill holes
Make sure the stick will fit into the plunger base, or adjust with some whittling (with Xacto knife) To mimic branches from the trunk drill holes around the stick, try to space evenly
3. Prepare the Branches
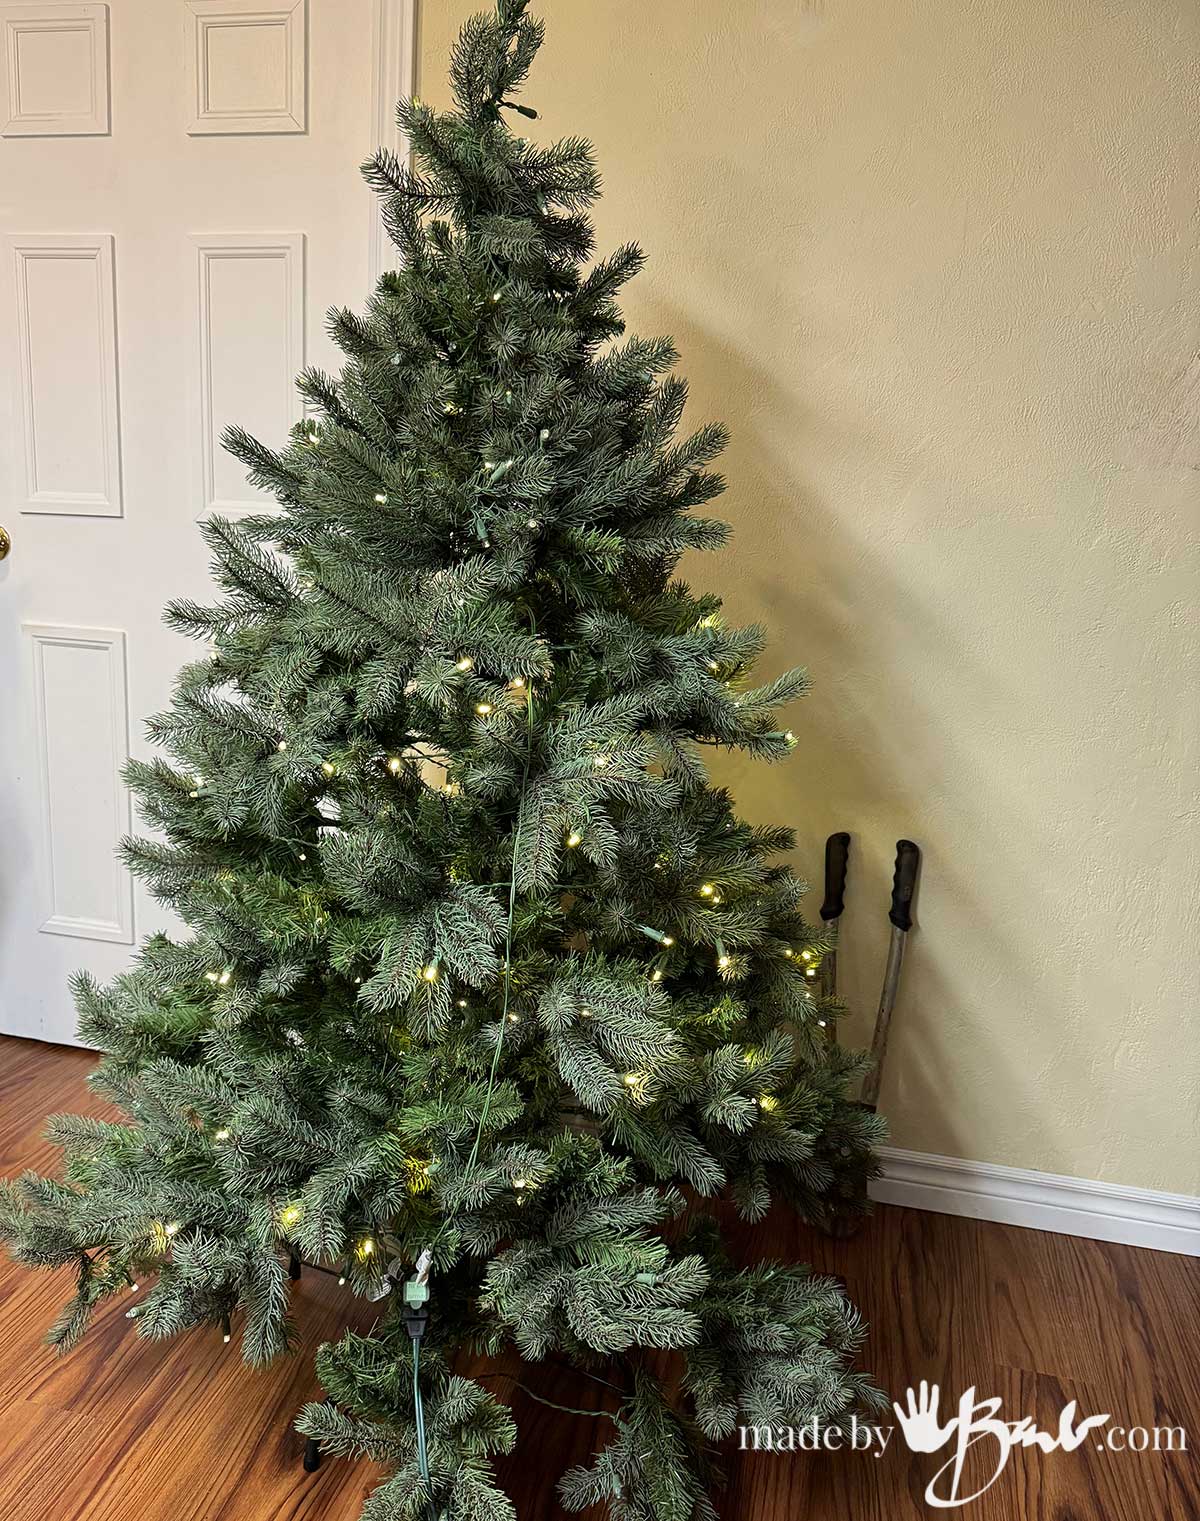
Since used trees are quite inexpensive and easy to find I like to cut them for my needs. I do not want to massive trees anymore. Look for the most real version (molded is often best) and preferably ones with wire stems. (this big tree ended up being enough to make about 7 Slim trees and 3 Plunger Trees)
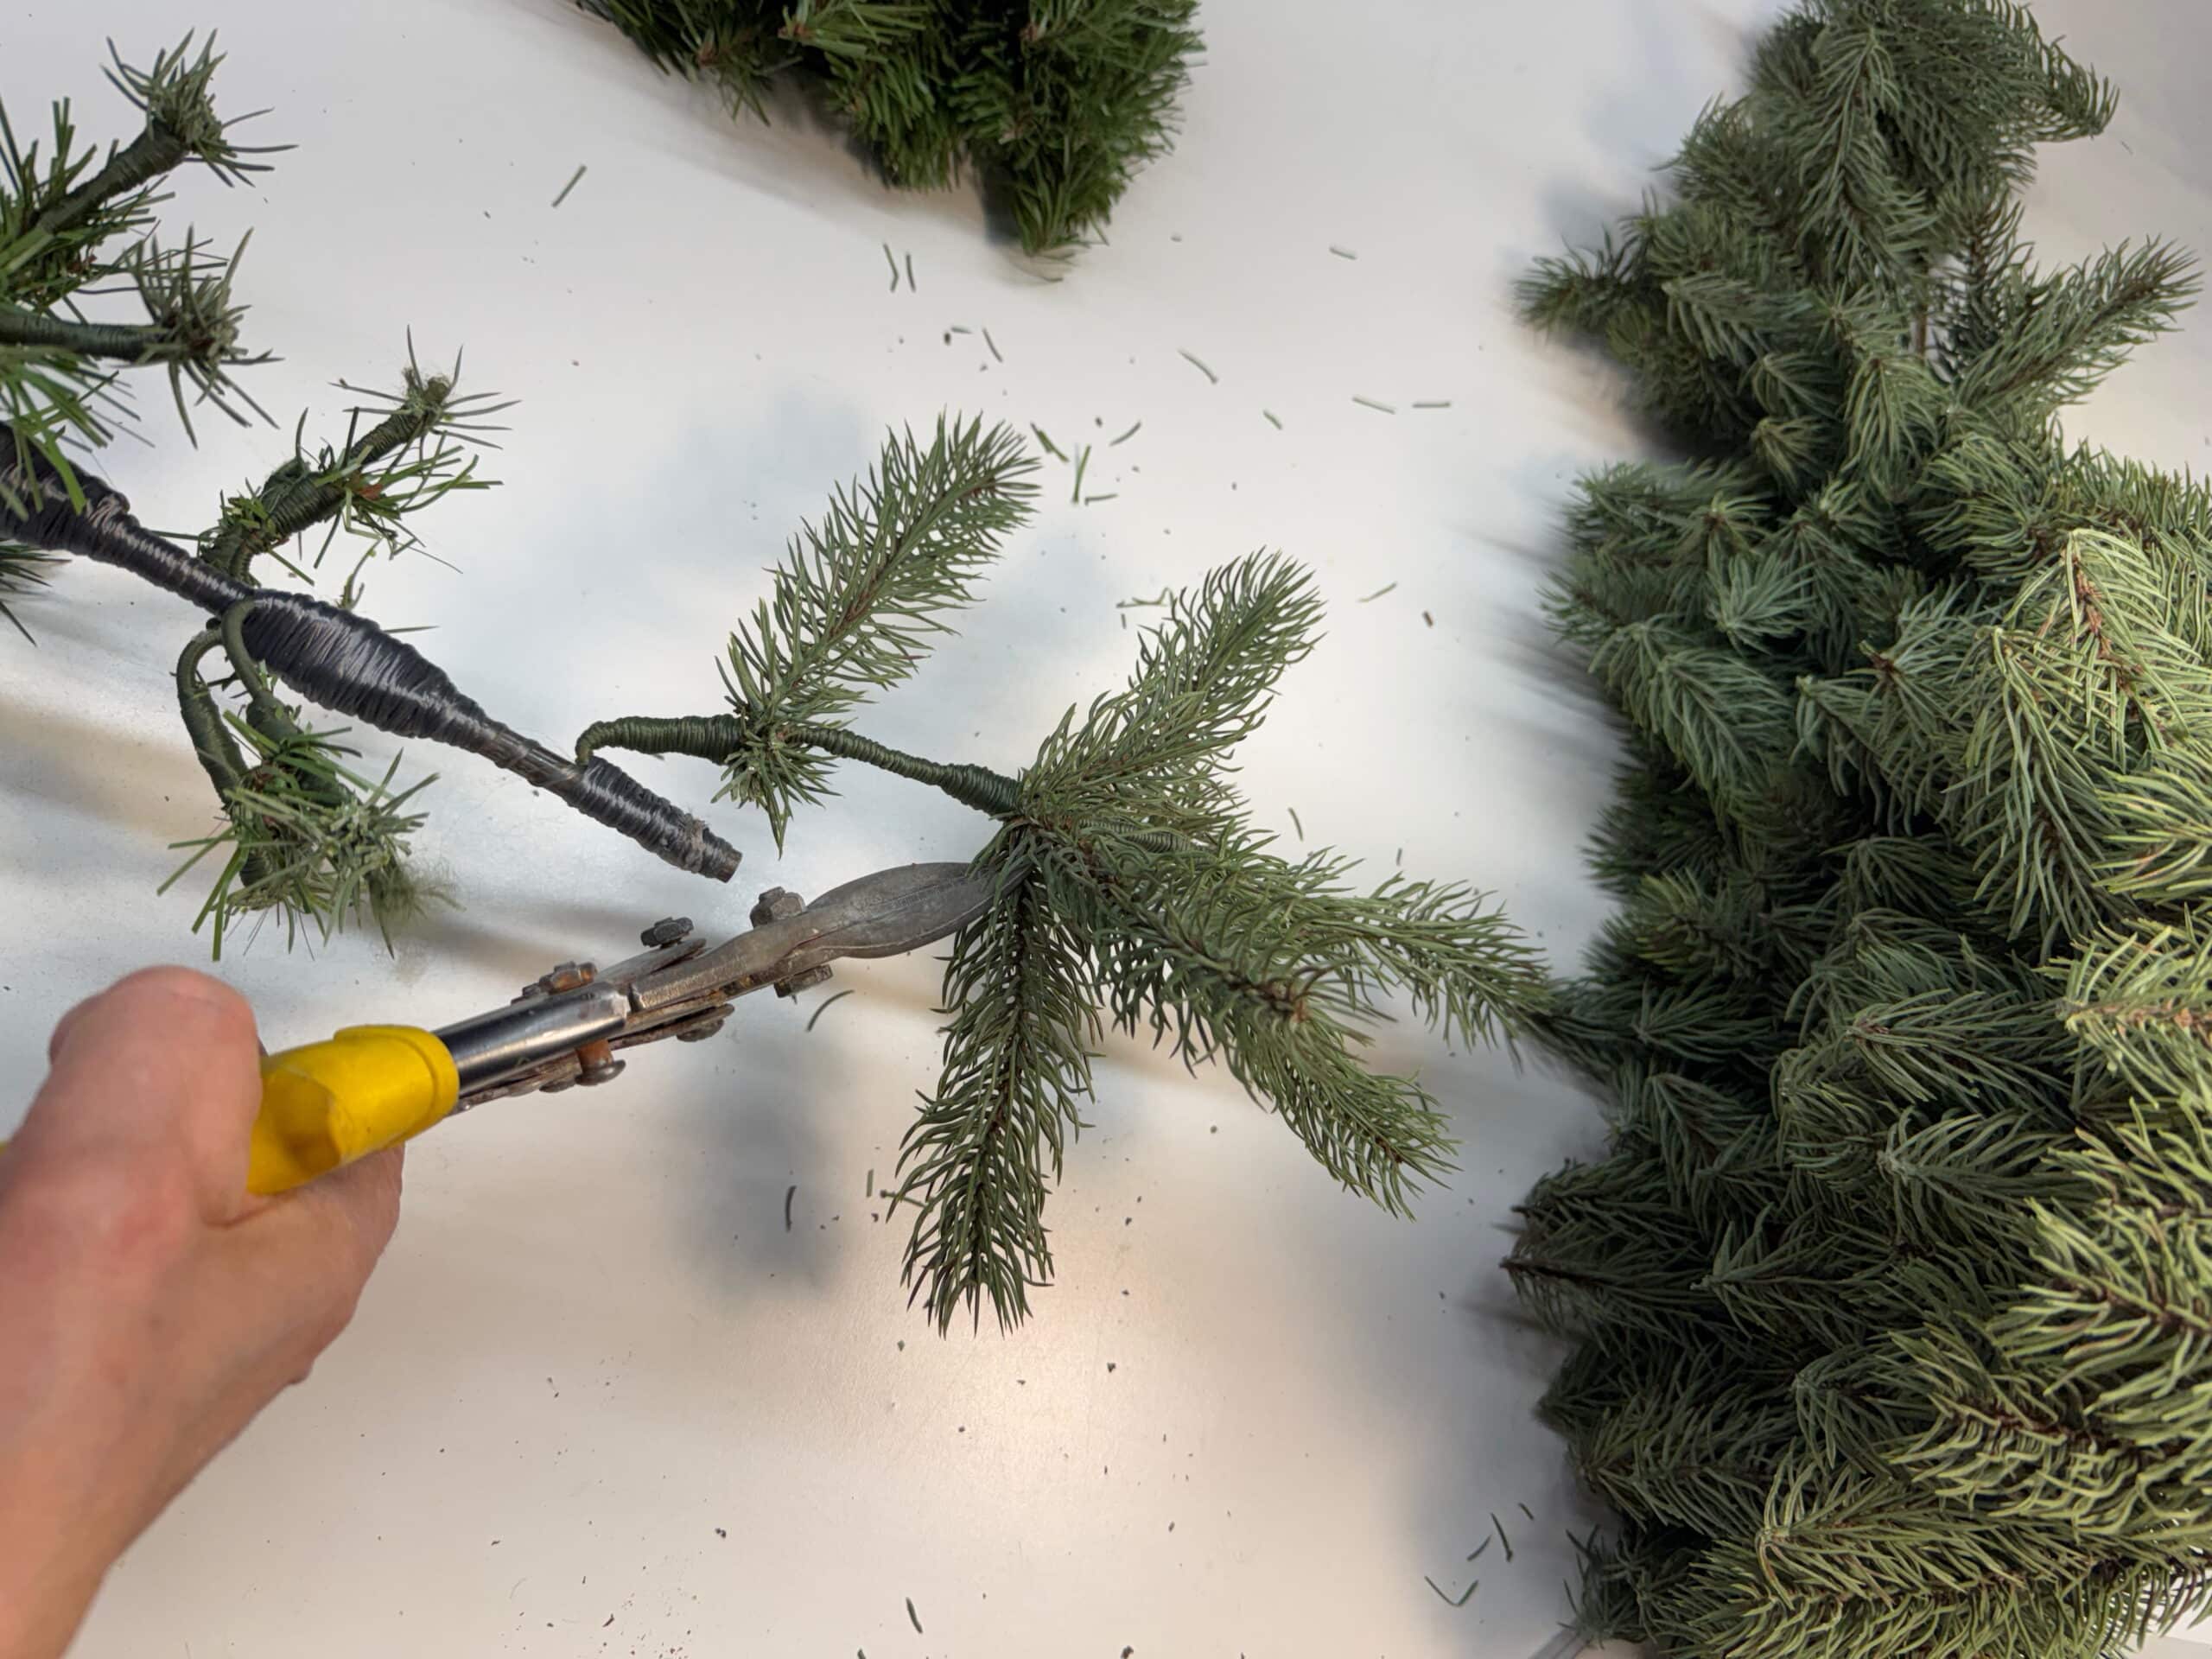
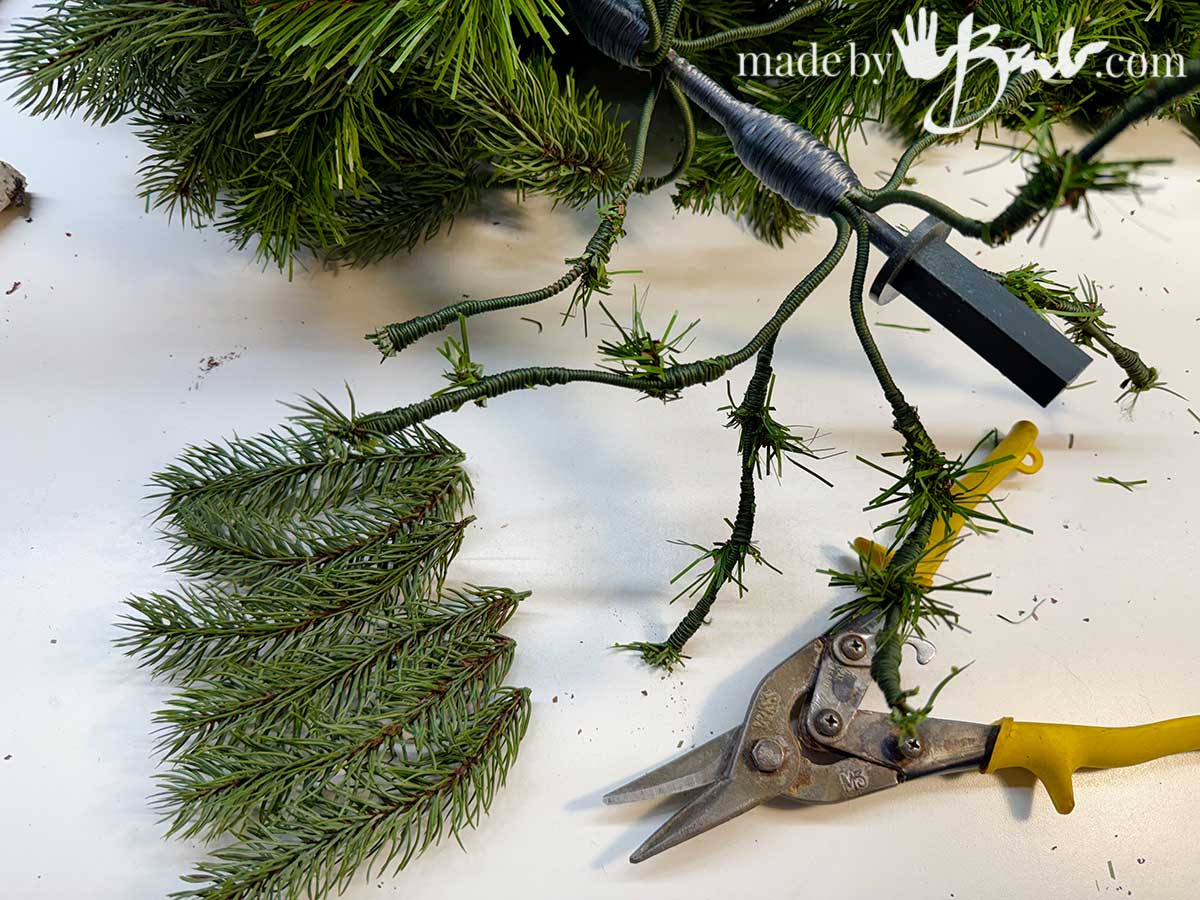
4. Insert Branches
Glue the branches into the drilled holes on the trunk. Use shorter ones near the top and longer towards the bottom. Camouflage the stick end with a vertical sprig of pine.

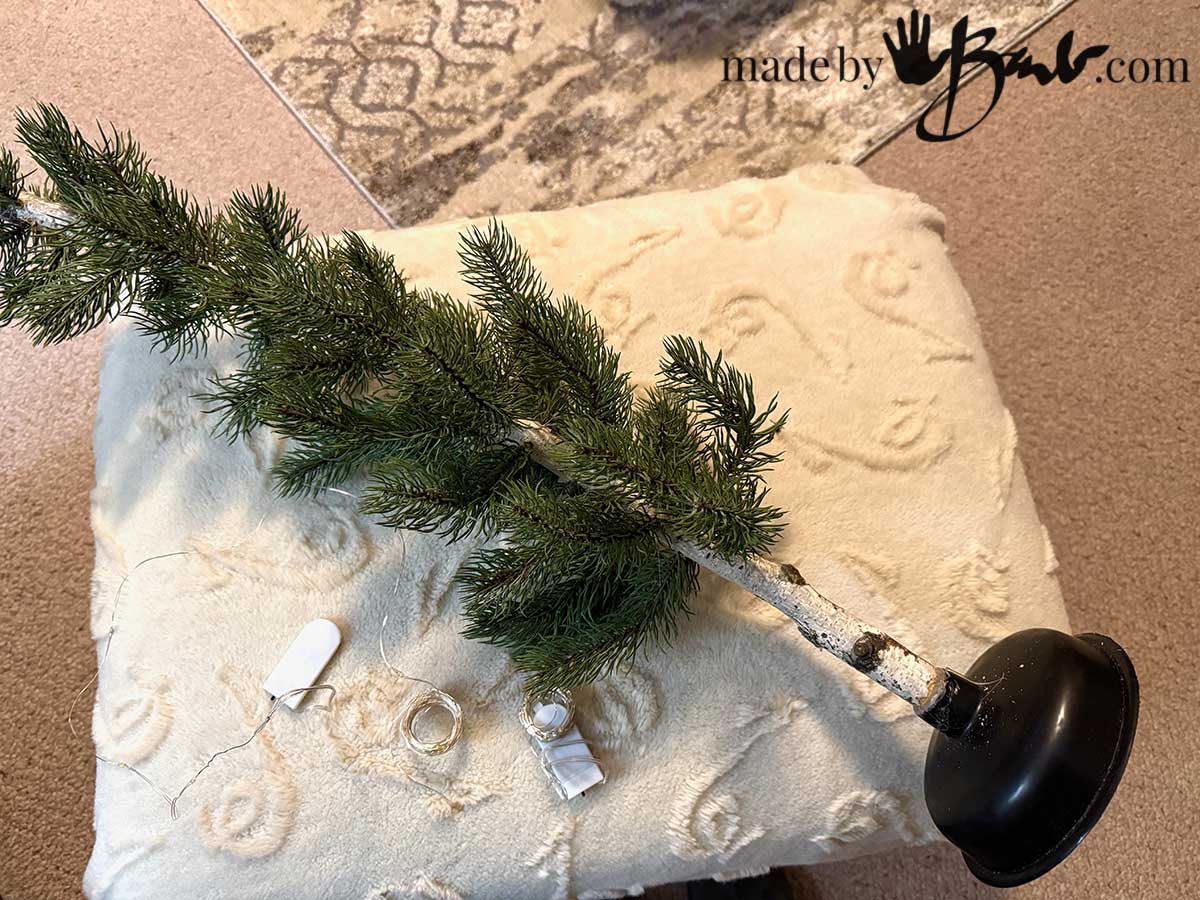
5. Attach to the Base
Glue the ‘stick trunk’ into the plunger base with hot glue and make sure it is sturdy.
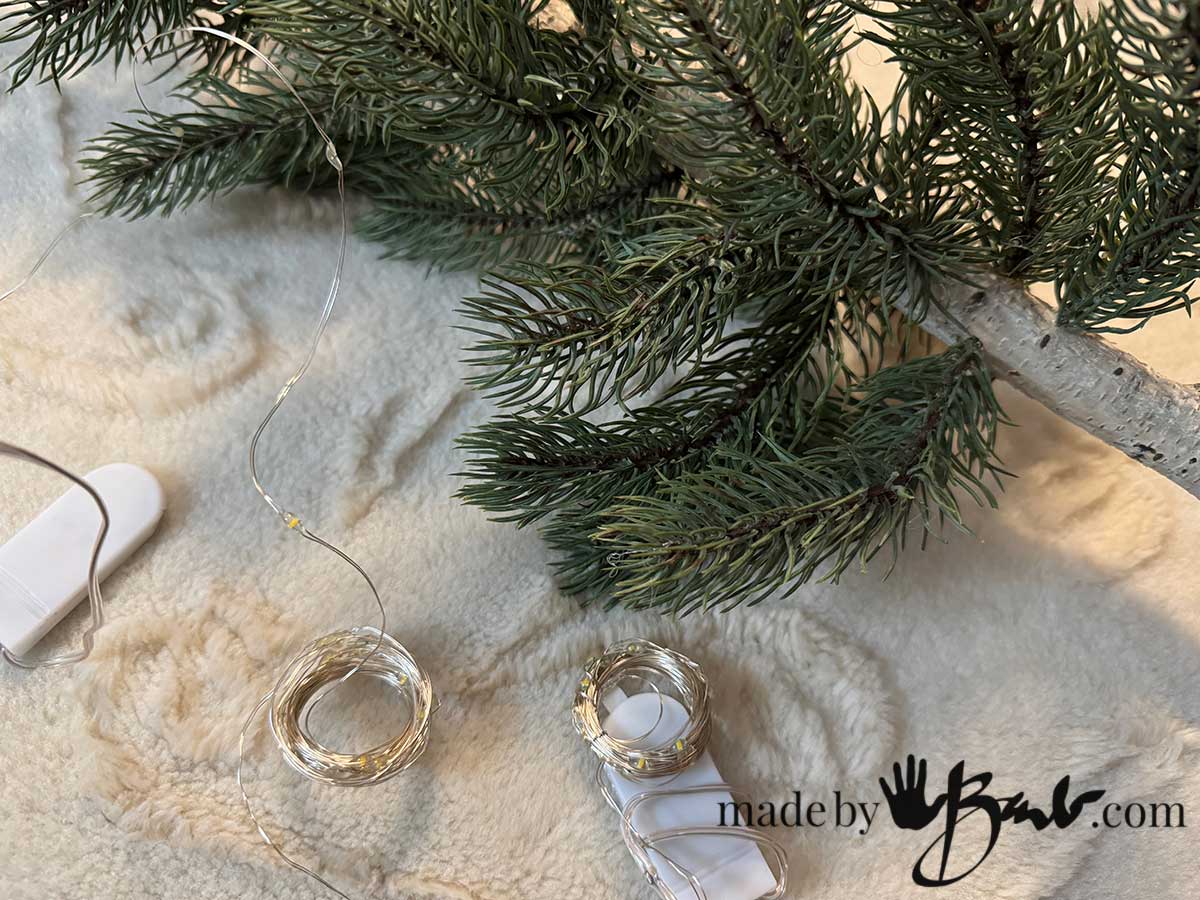
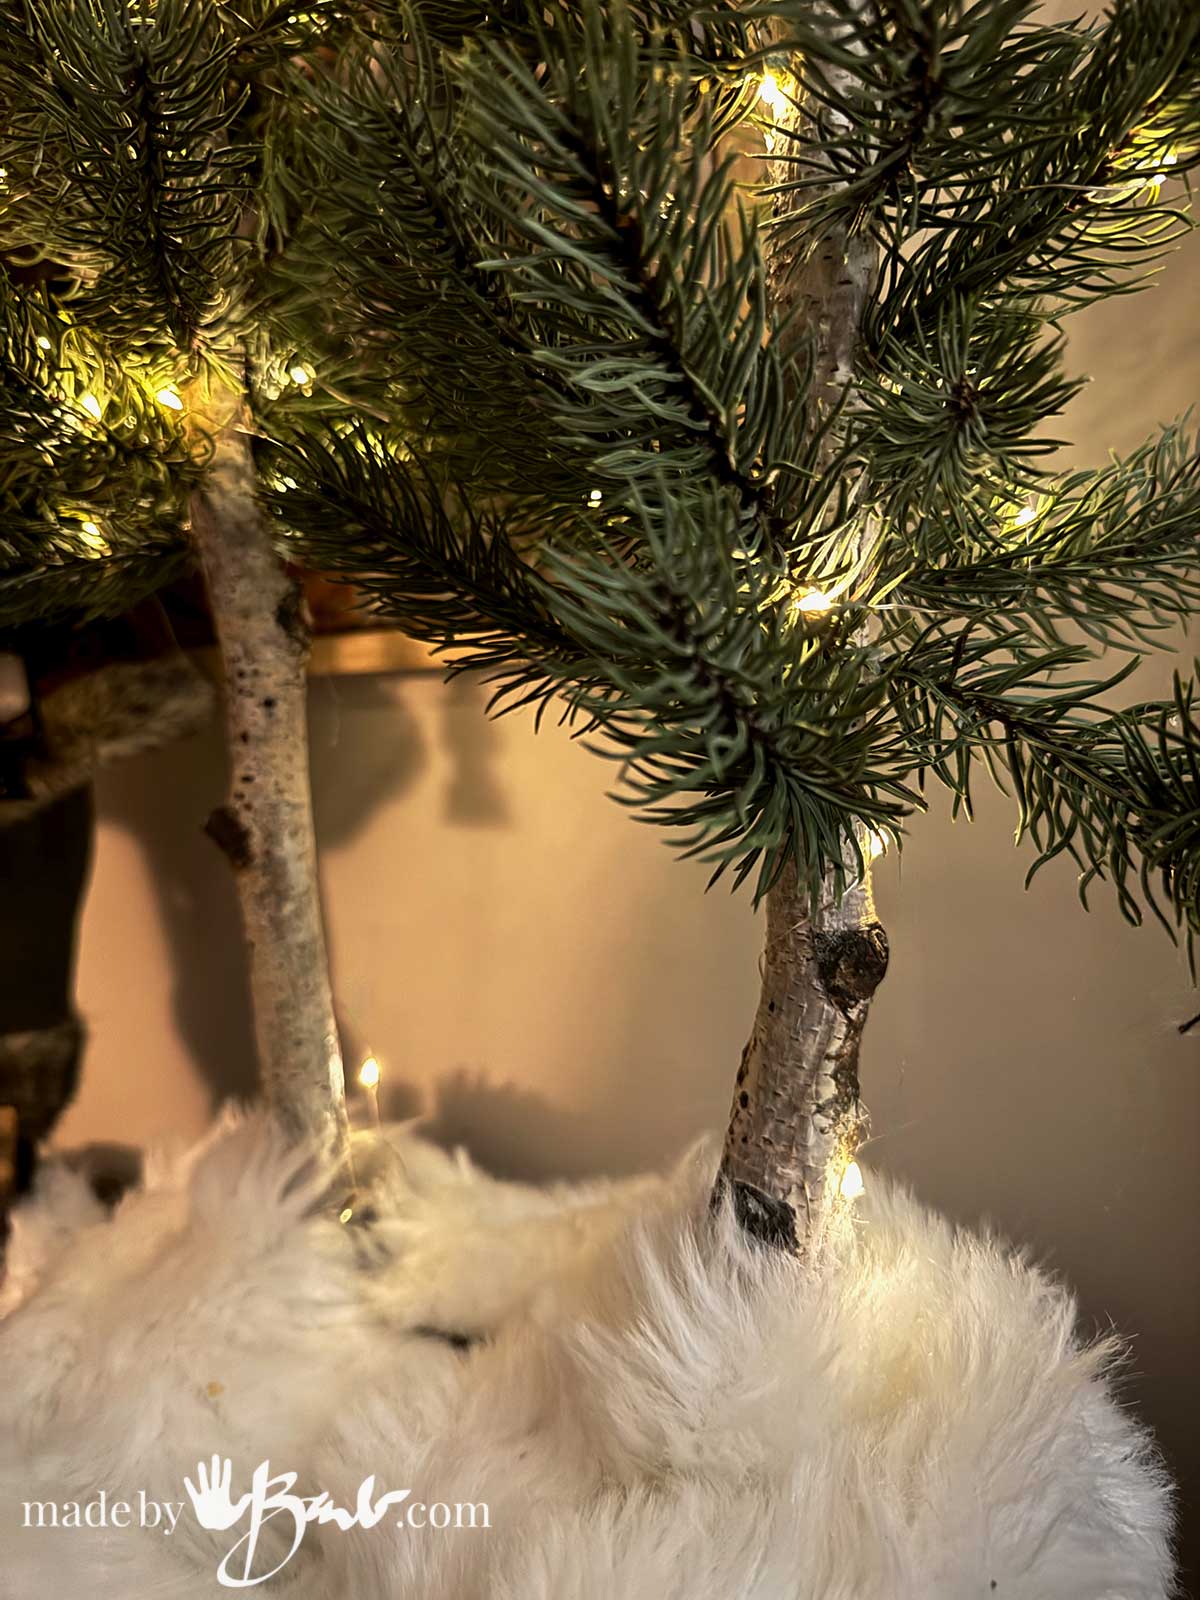
6. Decorate (or Don’t!)
These trees look beautiful either way. I think they look so real that I tend to skip a lot of the decorations. I strive to have the look of a forest indoors.
- a strand of micro fairy lights
- a tiny wooden star
- a bit of ribbon
- a soft frosted effect with dry-brushed white paint
Why This Craft Always Delights
Not only is this ridiculously inexpensive, but the transformation is so dramatic that it feels like crafting sorcery.
Visitors will say:
“Where did you buy those?”
And you can smile quietly, knowing it started with a plunger and a stick.
This project is:
- fast
- relaxing
- customizable
- perfect for beginners
- easy to batch-make for gifts or markets
And honestly… it just feels good to turn something ordinary into something magical.

Who would guess?! I kept wondering what I could use inexpensively as a stand for these until I was in the Home Depot.
Display Ideas
Your plunger can easily be dressed up a bit. A remnant of faux fur or some faux winter snow sprinkled over the base will add the winter element easily.
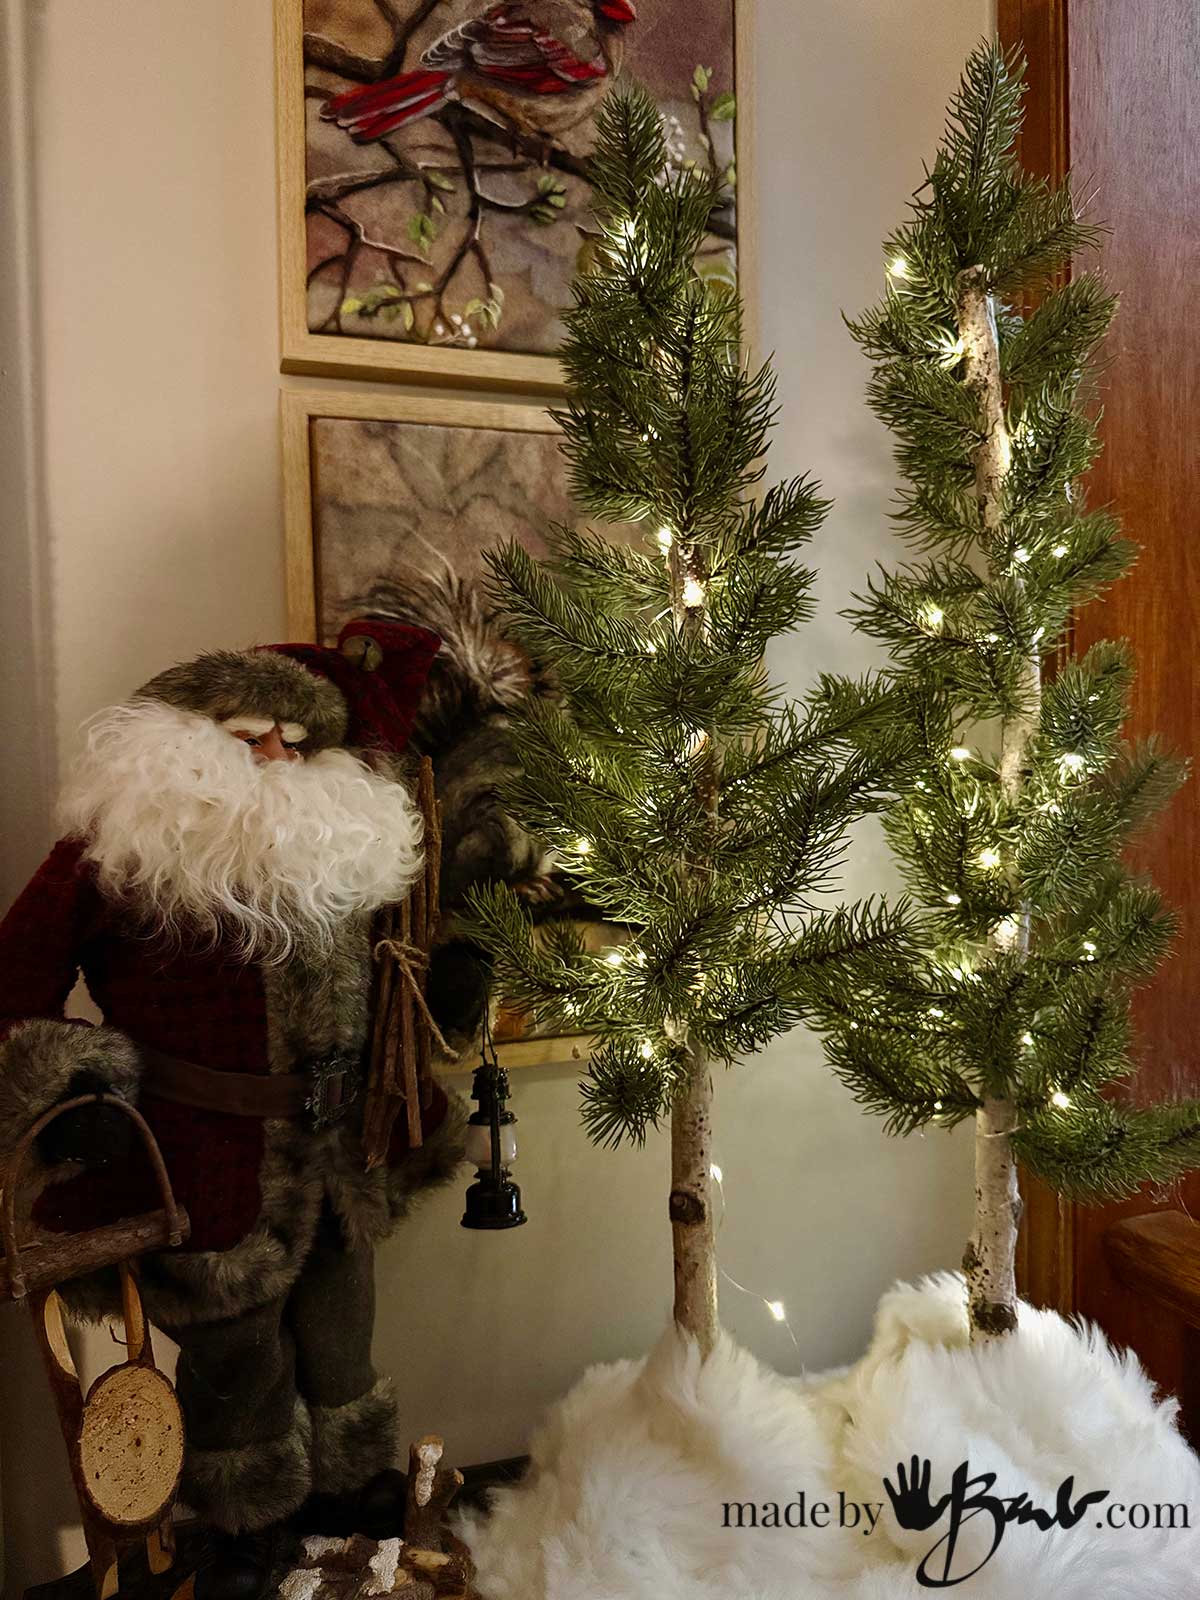
- grouped together in different heights
- on a mantel or shelf
- beside your concrete trees and woodland décor
- Perhaps some Gnomes hiding under the trees…
Their tall, slender silhouette works wonderfully in small spaces too.