Tips to Make Needle Felting more permanent
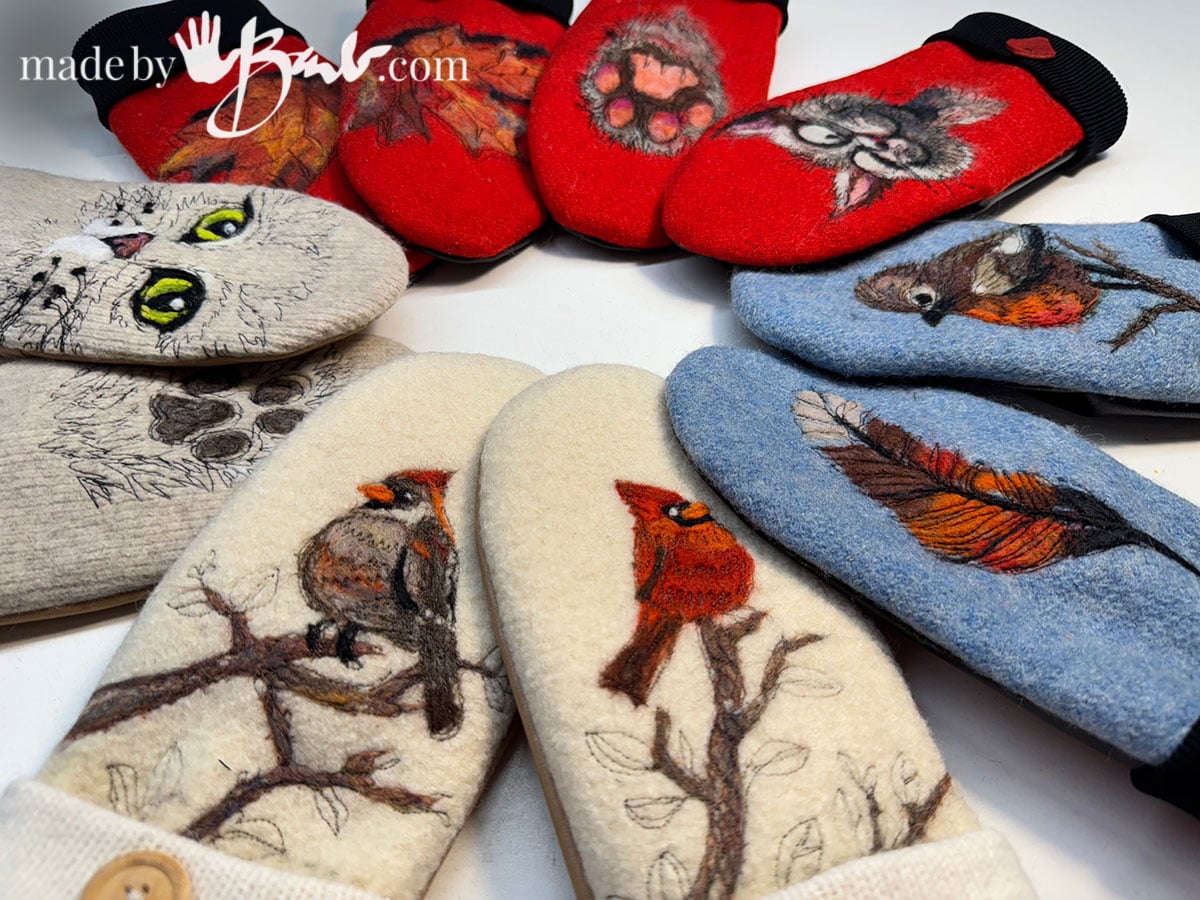
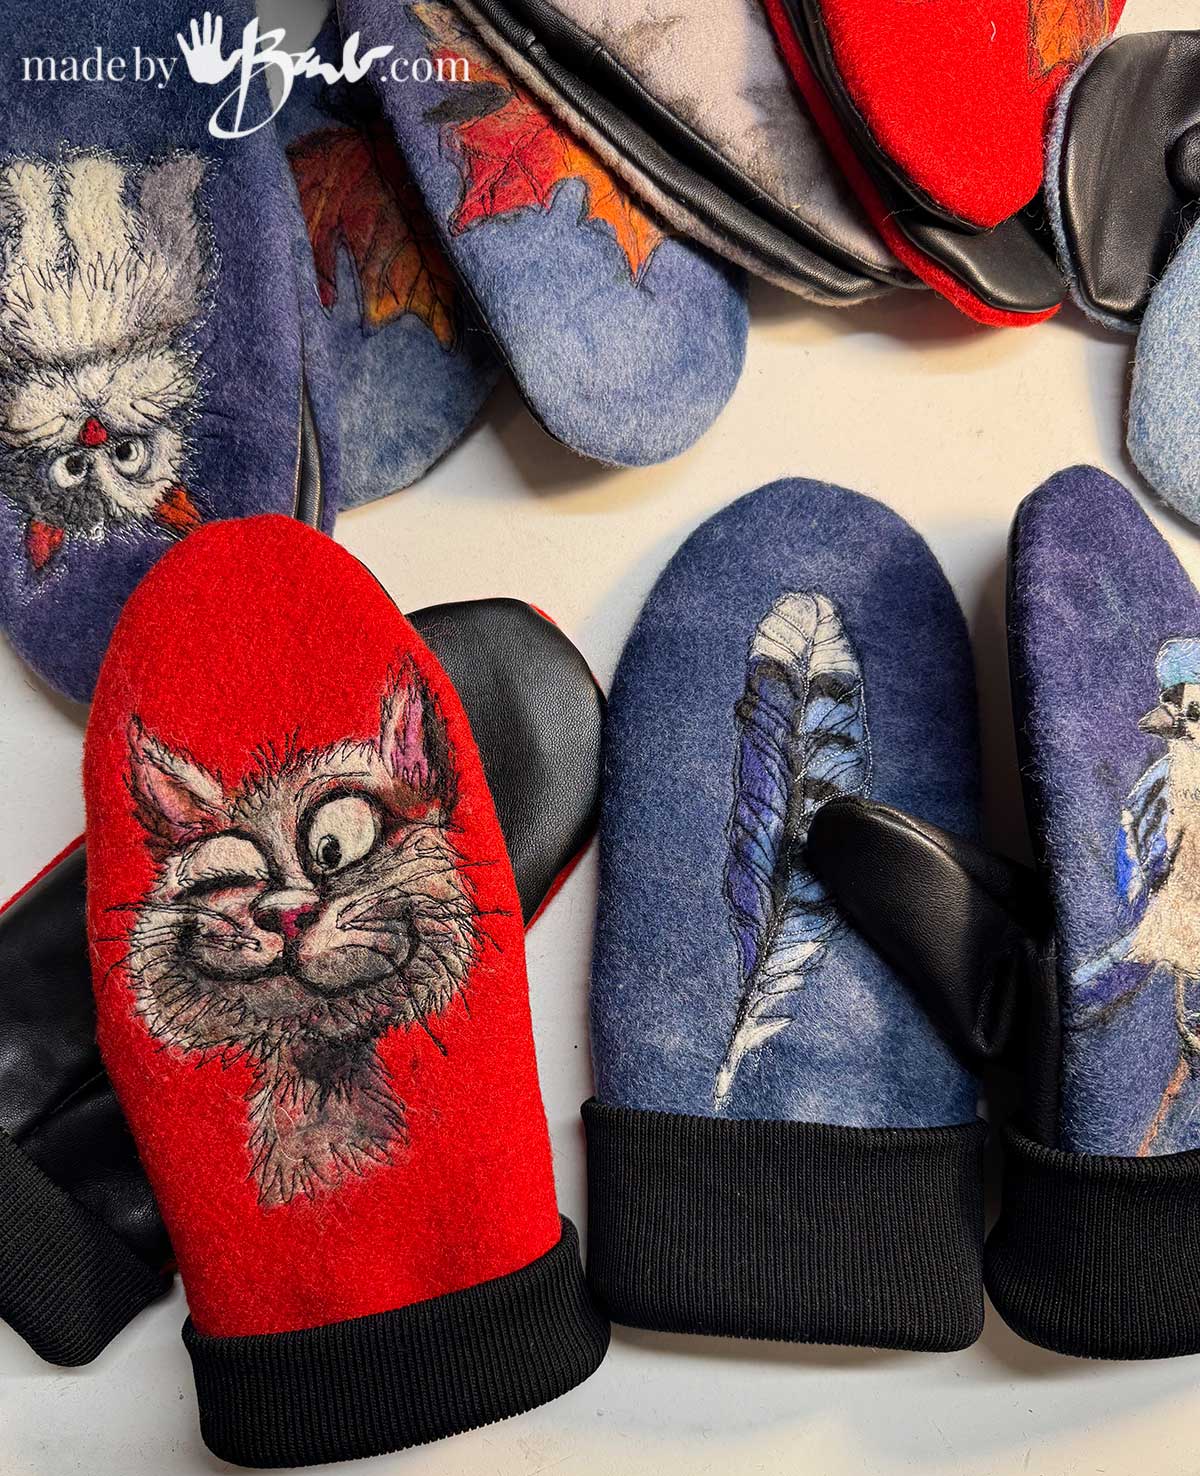
Needle-felted mittens are some of the coziest, most charming winter accessories you can make. But if you’ve ever spent time creating a cute design—only to have it pill, fuzz, or start lifting after a few wears—you’re not alone. Mittens take a beating: moisture, friction, stretching, and constant movement all work against the wool fibers you’ve so carefully felted.

I’ve got good news! I’ve figured out a few simple techniques, you can make your needle-felted designs much more durable. Here are my best tips to help your work stay crisp, secure, and winter-ready as mitten making has become a yearly tradition with over 10 thousand who have used my pattern.
Choose the Right Base Material
The type of fabric matters. Needle felting lasts longest on:
- Wool or high content wool-blend
- Boiled wool
- Knitted wool that has been felted (maybe an accidental wash in the machine)
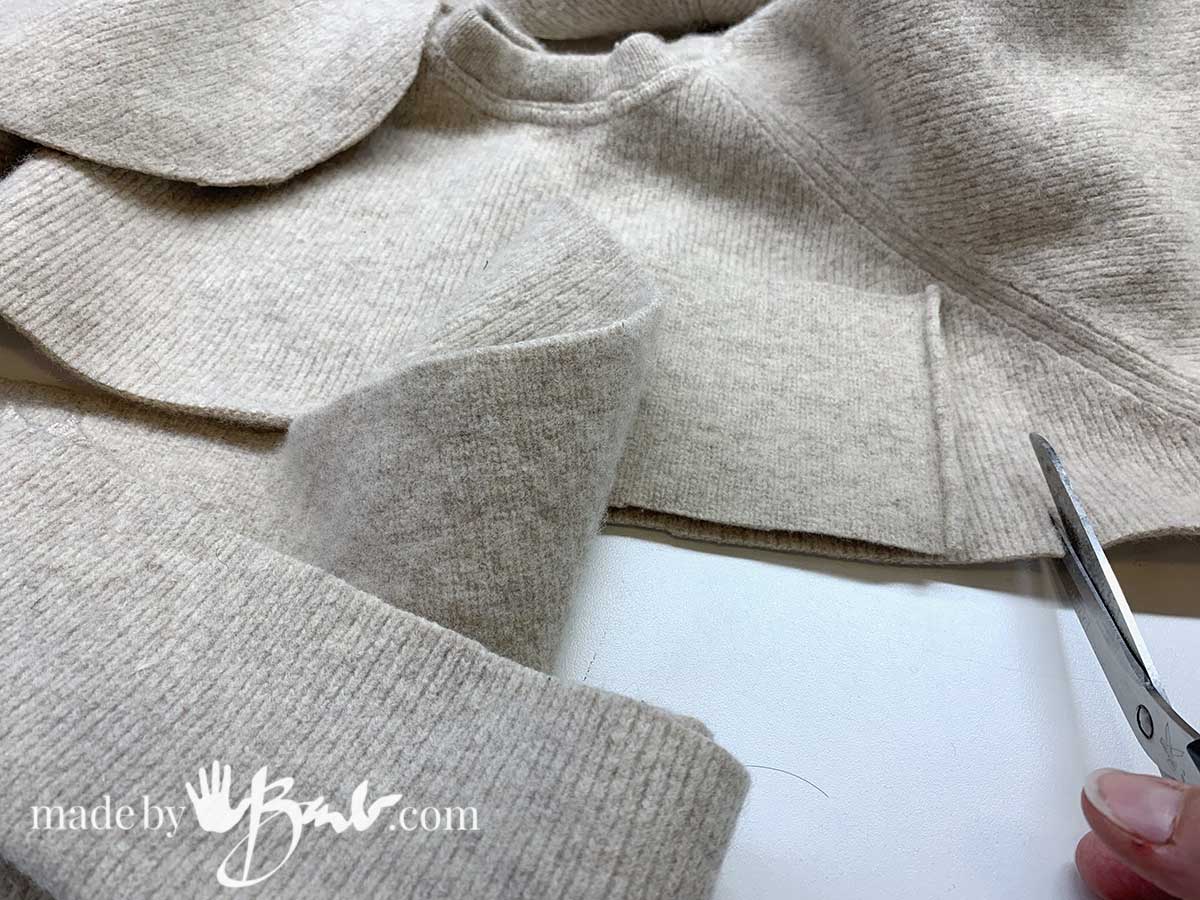
Natural fibers grab and interlock with your wool roving. Synthetic mittens, fleece, sherpa, knits with acrylic, or ultra-stretchy fabrics won’t hold the fibers as well.

Use Quality Wool Roving
Not all roving is created equal. For stronger designs:
- Pick 100% wool or core wool for the base layer.
- Choose longer fiber wools (like Corriedale or Icelandic) when you want extra durability.
- Use fine Merino only for topcoat details—it’s soft but less grabby.
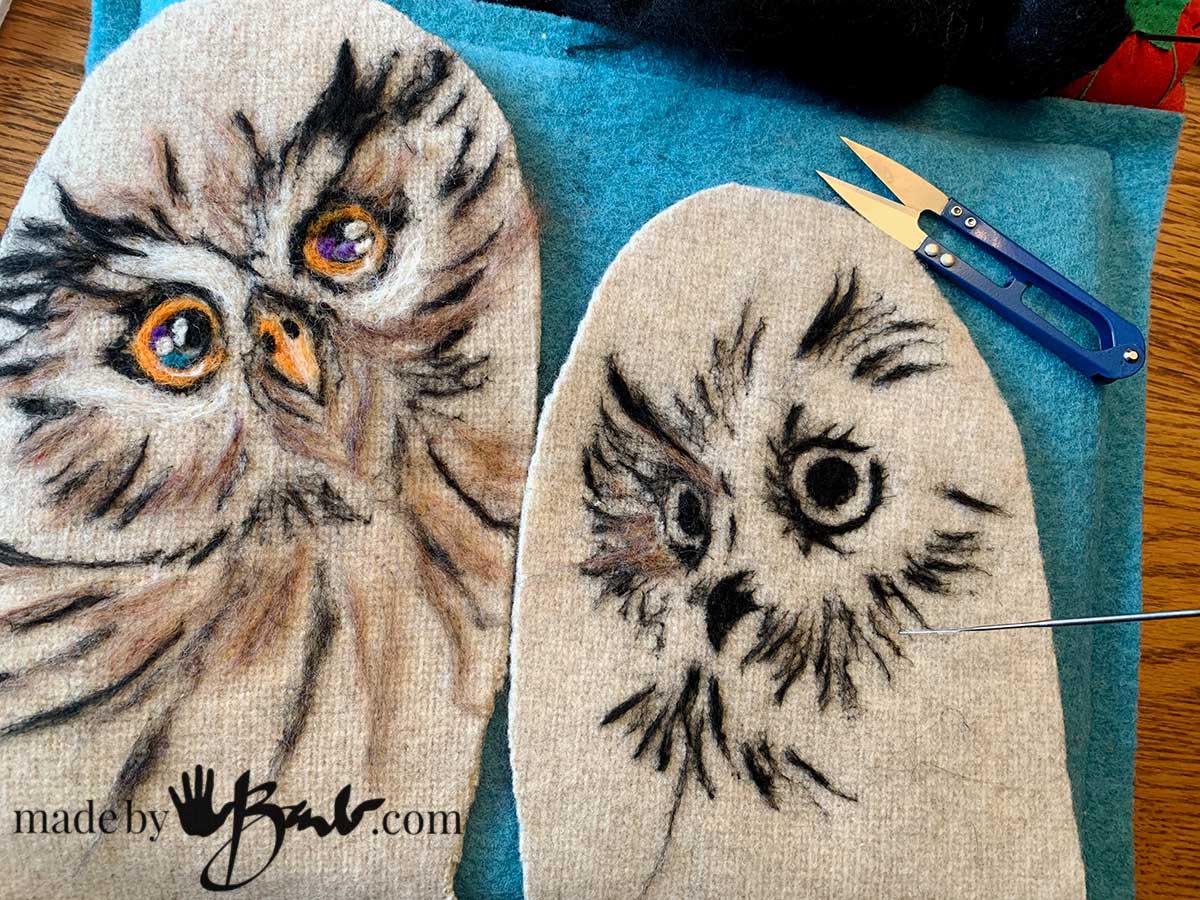
Start with a Firm Base Layer
Before adding details:
- Felt a thin patch of wool into the mitten where the design will be.
- Stab it deep using a 36–38 gauge needle to anchor fibers inside the fabric, not just on top.
- Build this area until it feels “grippy” and stable.
This acts like velcro for the decorative layers that follow.
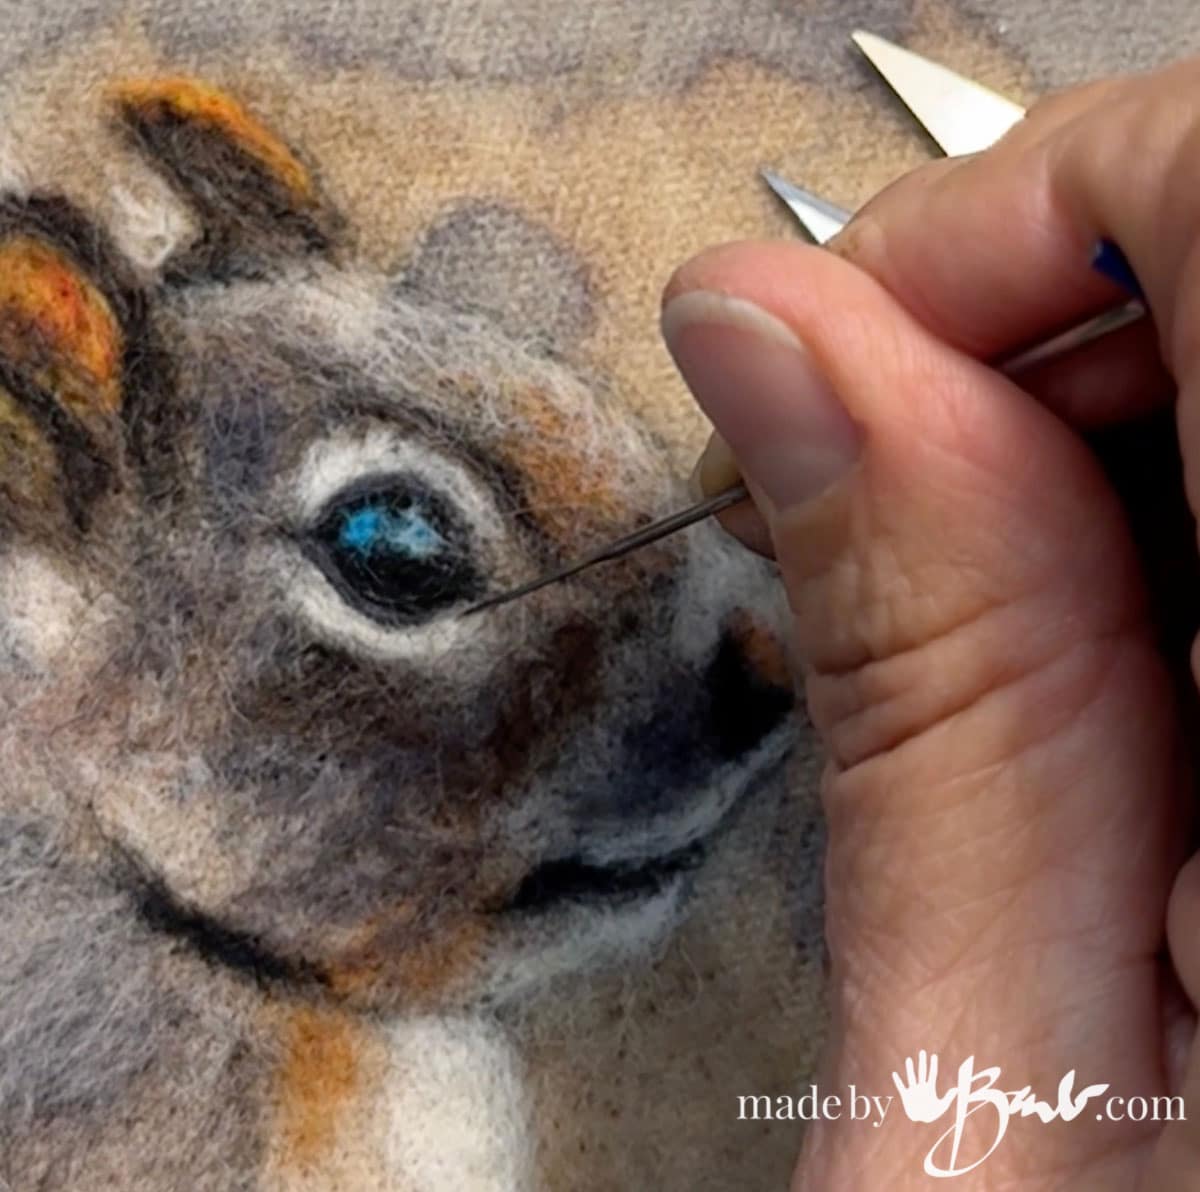
Keep Stabbing Deep… but Controlled
Durability comes from deep interlocking. The common mistake is shallow poking that only tangles fibers on the surface.
Aim for:
- Straight, deep punches
- Firm pressure
- Using the right needle:
- 36 for attaching
- 38 for shaping
- 40 for fine detail
Avoid stabbing so hard that you stretch or distort the fabric—steady, repetitive motion is key.
Add Thin Layers Instead of Thick Globs
Thick blobs of wool don’t felt well and tend to peel or fuzz later. Instead:
- Build your design in many thin, well-felted layers.
- Tack down every layer fully before adding the next.
- Smooth edges as you go so nothing lifts over time.
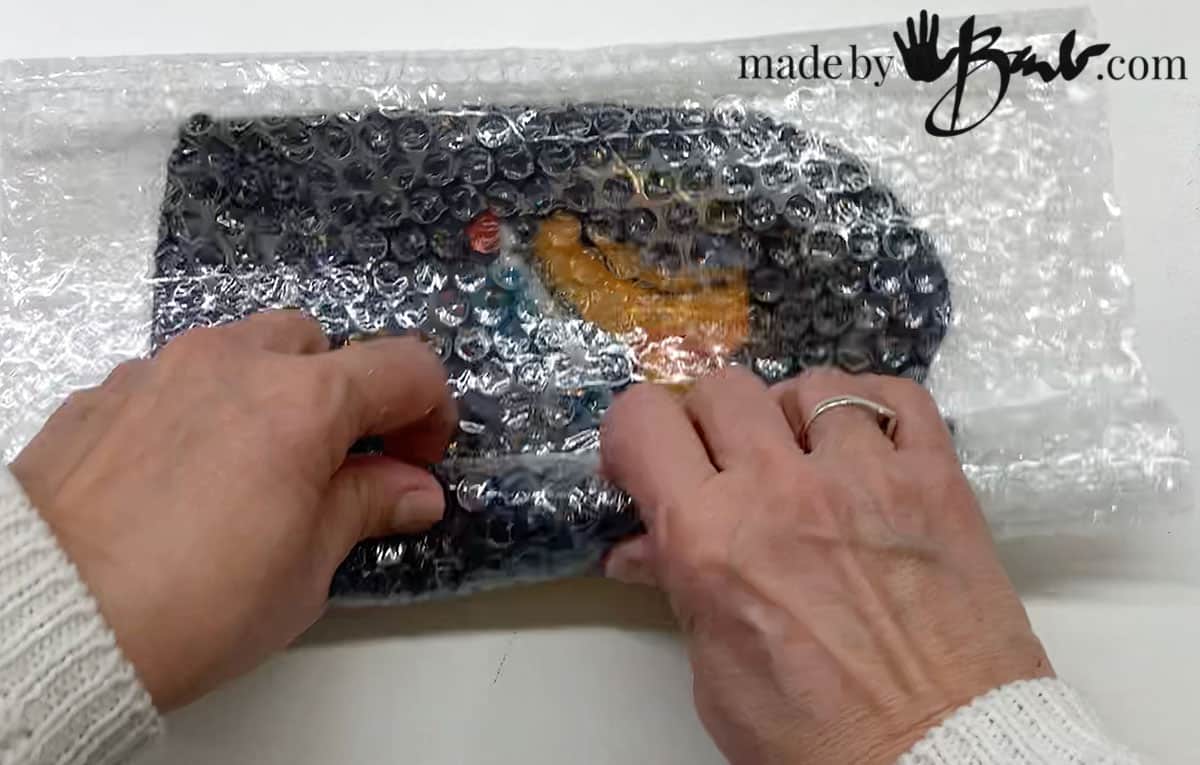
Full the Back Side or ‘Wet Felt’ (Optional but Powerful)
If the mittens can handle it (test a small area first):
- Lightly steam the inside of the mitten after felting.
- Rub the steamed area gently with your fingers or a wool cloth.
- Using soapy hot water and agitation (bubble wrap) vigorously work the wool fibres to tangle.
- This bit of controlled moisture + friction pulls the design deeper into the base fibers, locking everything in.
- Steam iron to compress the fibres together.
- Warm water hand-fulling: Lightly mist warm water over the design and gently rub in circles.
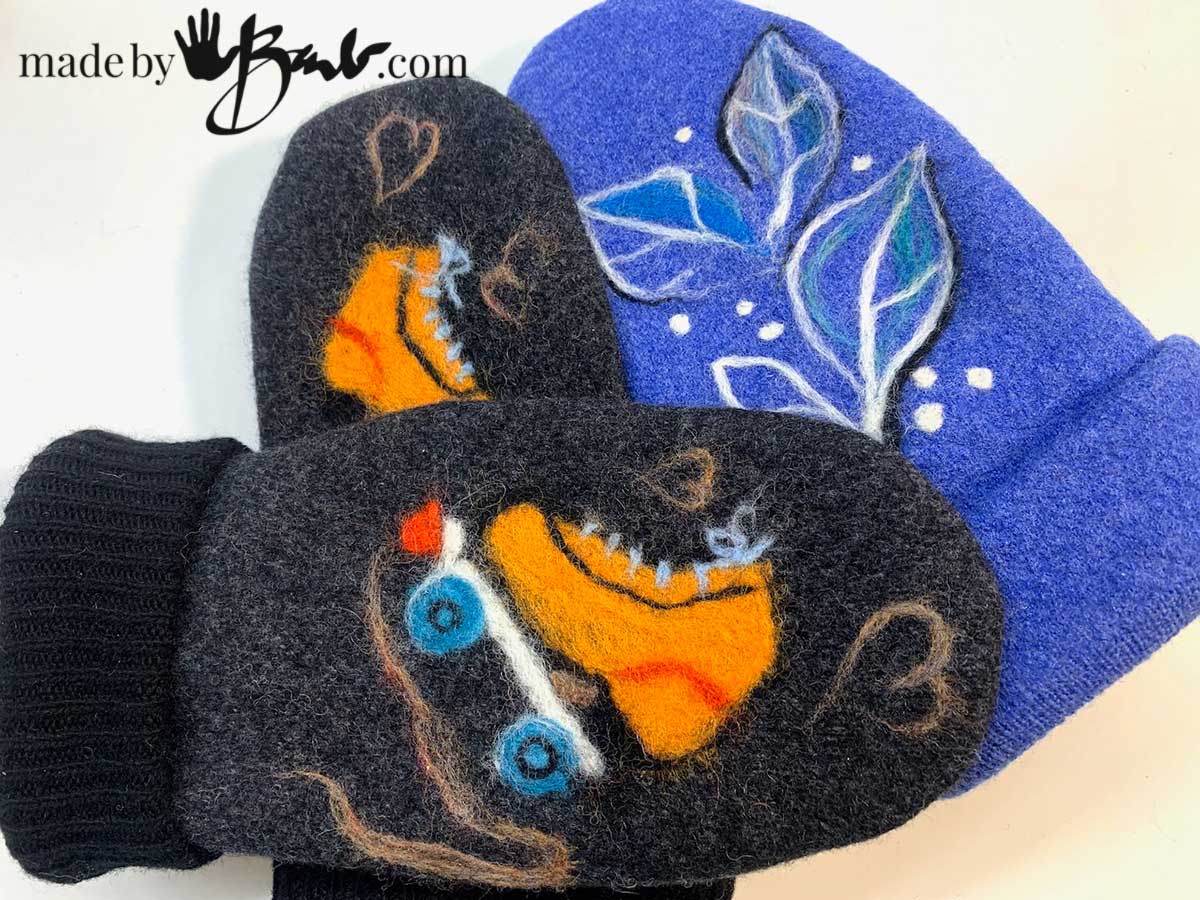
I used the Wet felting technique for these mittens
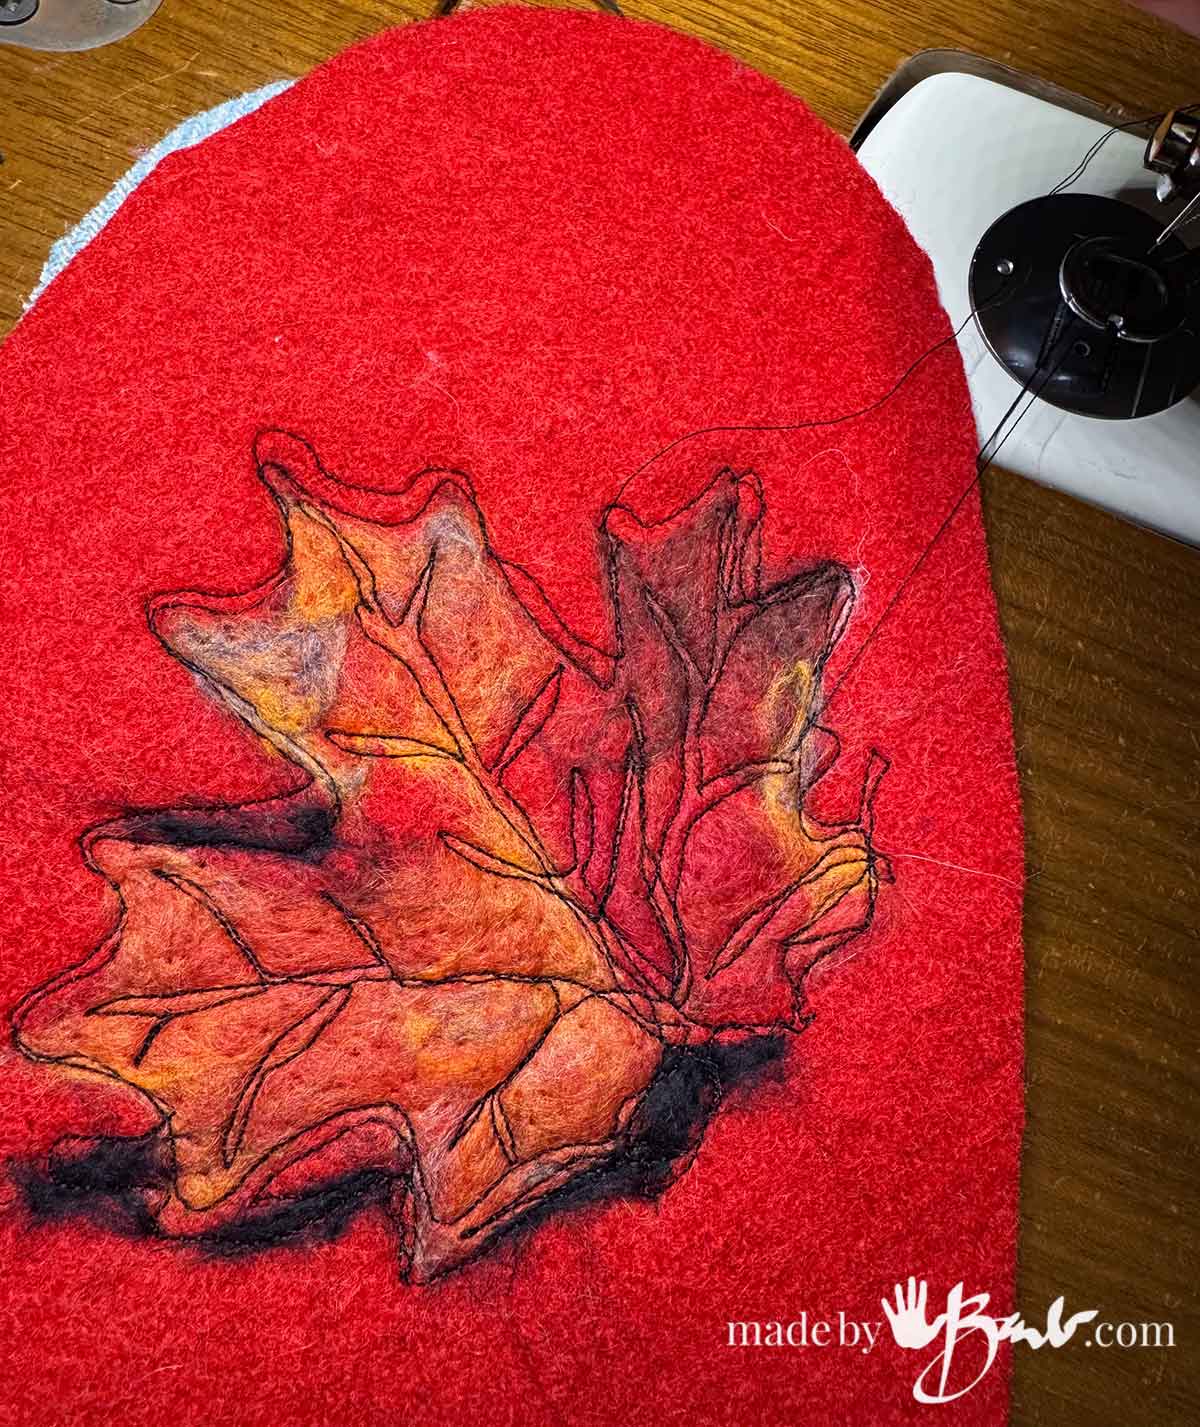
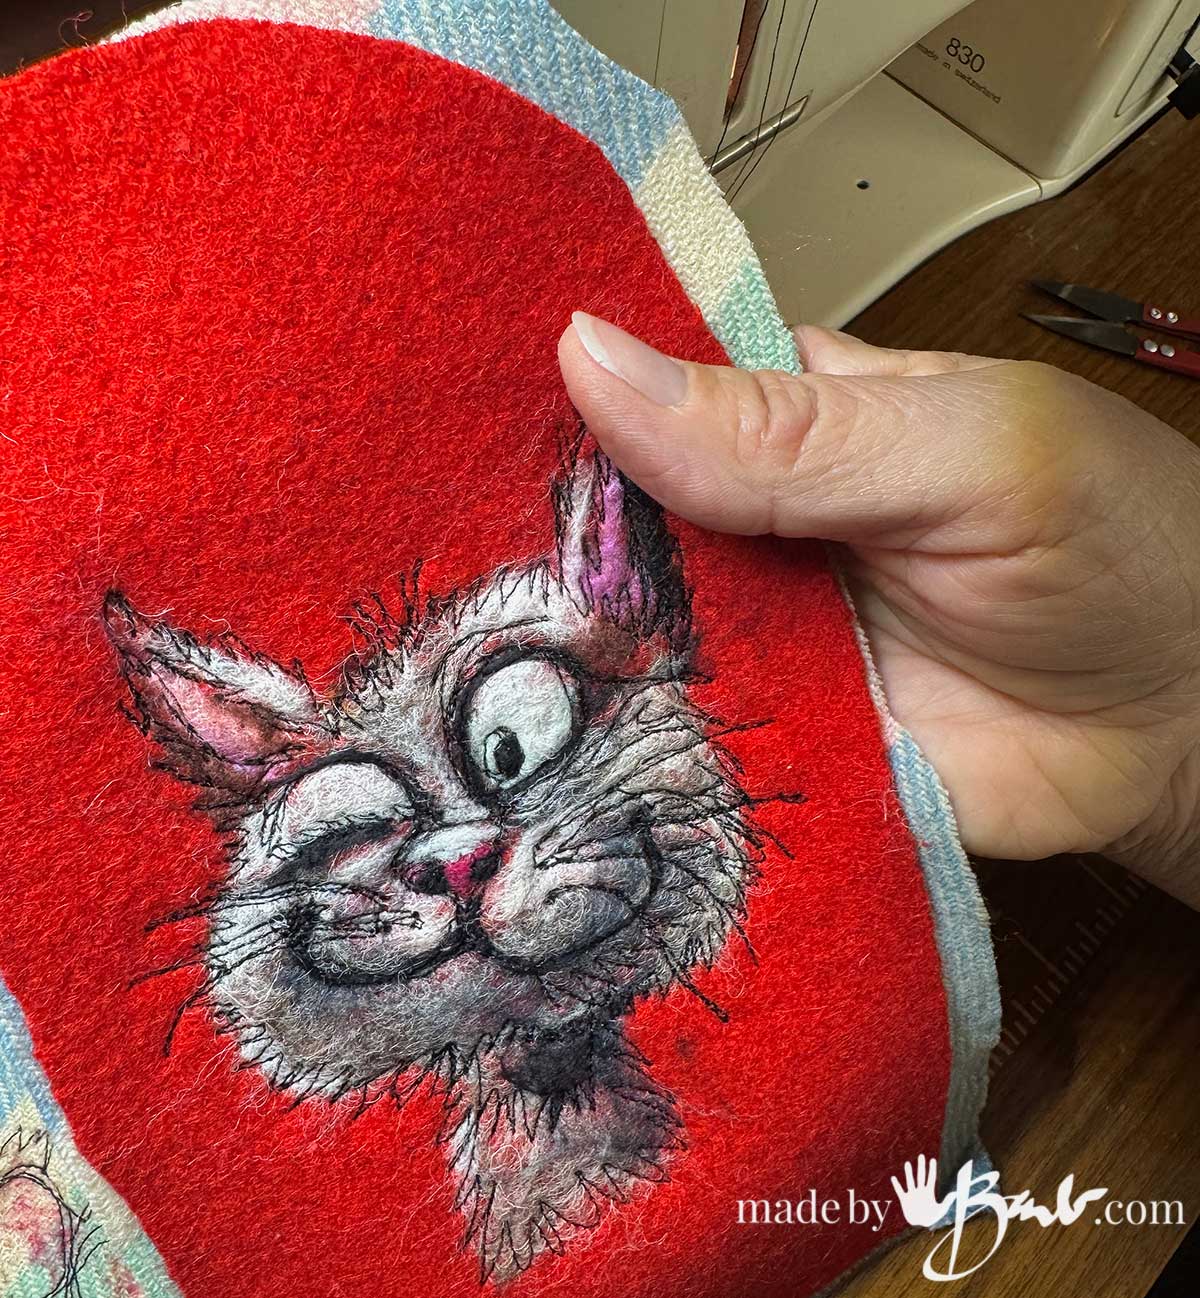
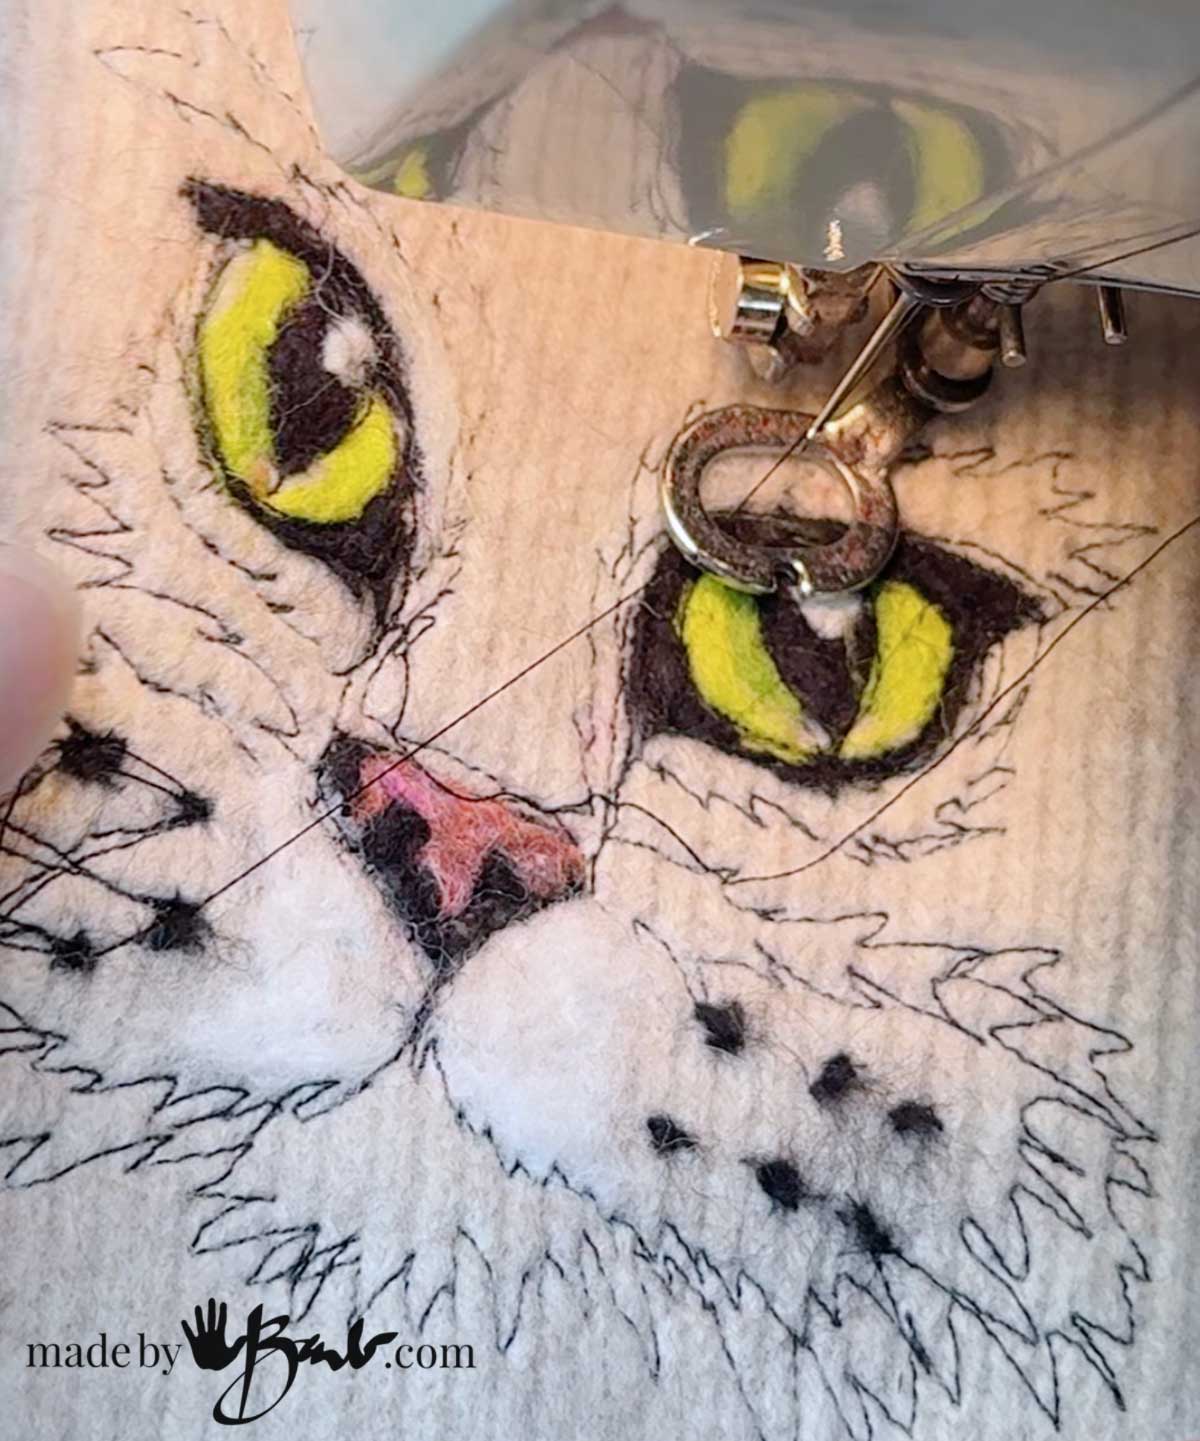
Use Free-Motion-Embroidery
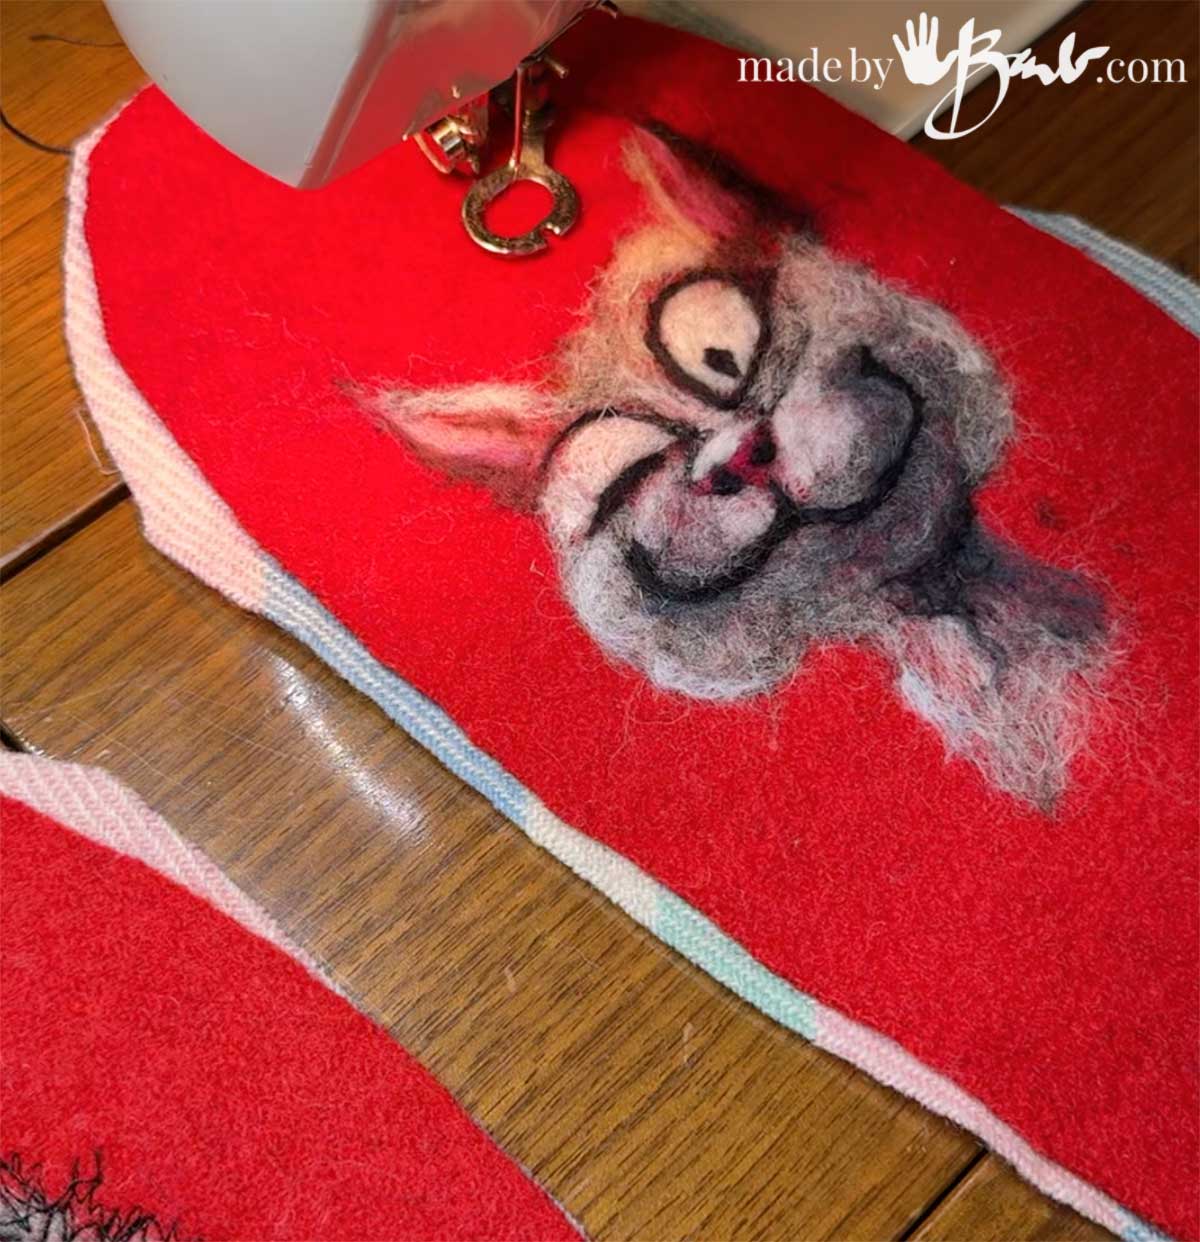
Sewing is a sure reinforcement. It not only anchors down the fibres, it allows you to add some ‘outlines’. Don’t be intimidated, it’s so much fun to draw with a sewing machine!
- Be fussy or loose with your designs. It should look hand-done rather than machine-made.
- Use a contrasting thread for added depth.
Trim Fuzz and Finish with a Slick Needle
Using a star needle or a 40-gauge triangle needle at the end gives a smooth surface and compresses fibres tighter. Snip any long fibres that might catch or pill later.
Protect High-Wear Areas
Thumbs, palm pads, and edges take the most friction. For that reason I use recycled leather from jackets as the palms and thumbs. It also helps with grip.
- Build the wool extra firm for back of hand.
- Add a backing patch on the inside (a small bit of wool or interfacing).
- Avoid raised designs—flush, smooth felting holds up longest.
Care for the Mittens Properly
Even a well-felted design can degrade if washed incorrectly.
- Never machine wash felted mittens with designs.
- Spot clean when possible.
- If washing is needed, use cool water, gentle pressing, and let them air-dry flat.
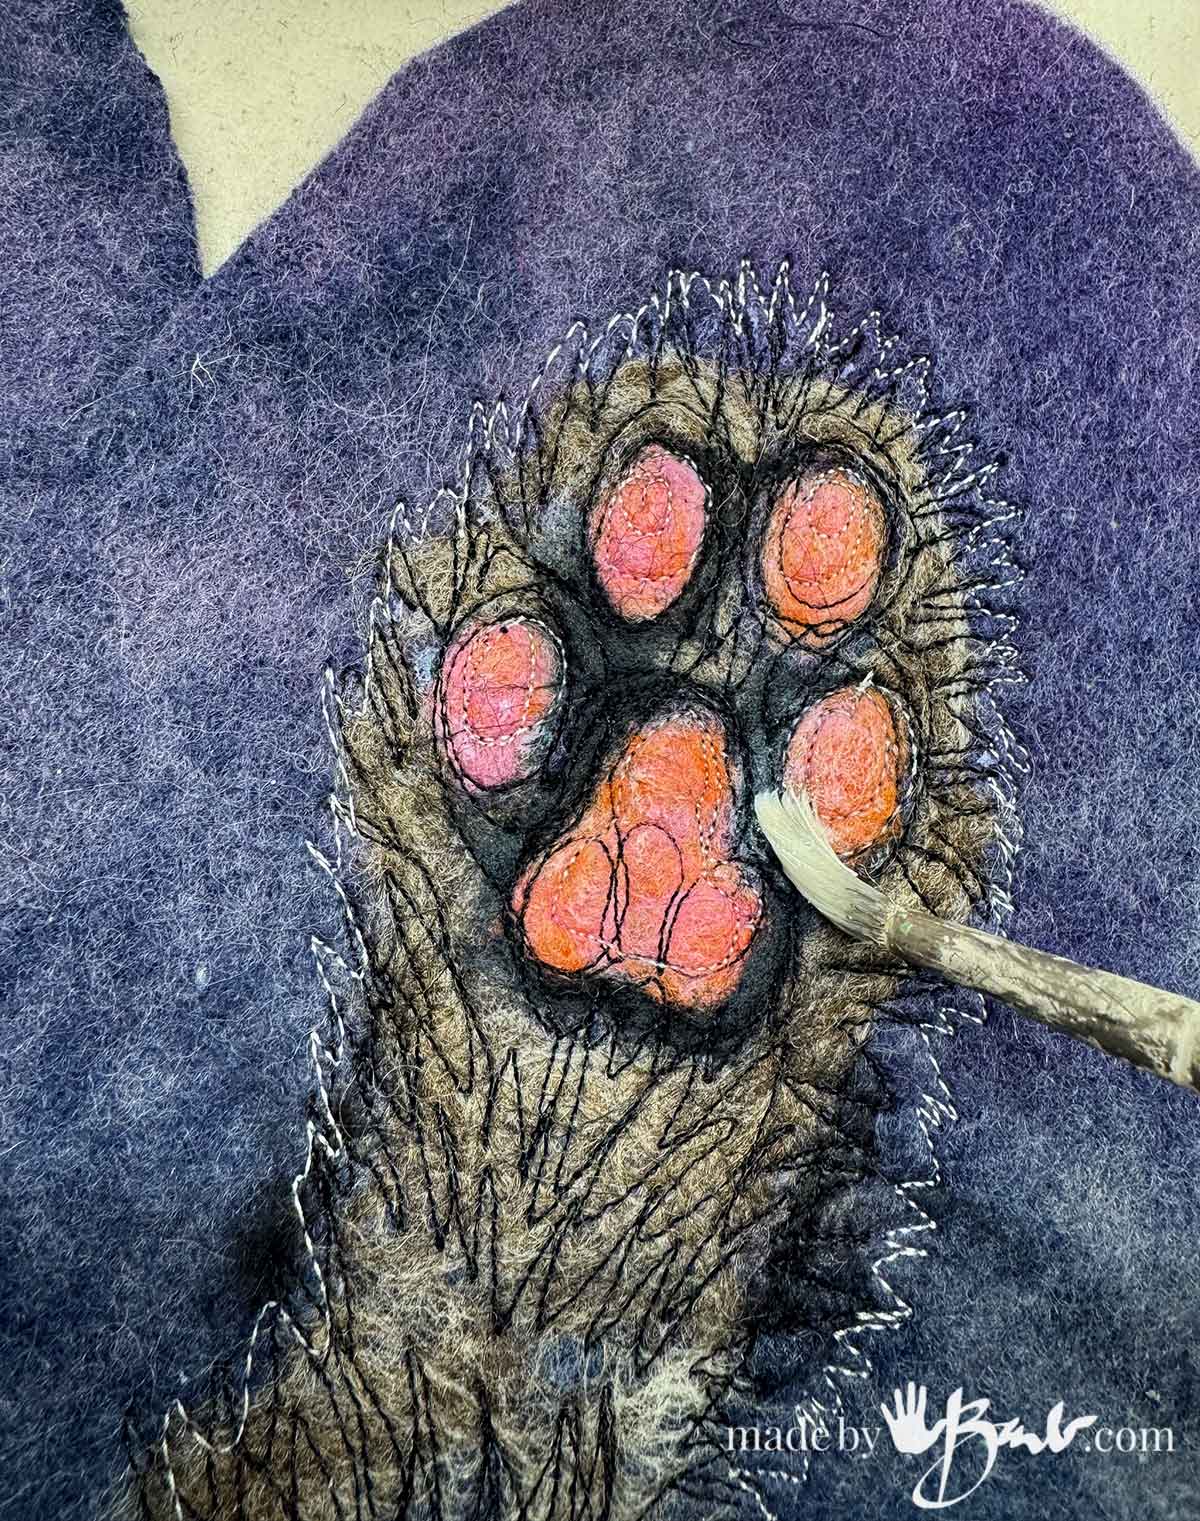
Use some extra ‘help’
Just like we use hairspray to keep our ‘hairs’ in place you can brush on media to ‘glue’ the wool together (see video)
- Use a Textile Media (GAC 900), Acrylic Medium (Matt medium) or Fabric glue. Check for permanence on fabric in the specifications. Test on a scrap to see how it is absorbed into the fibres. It should be unnoticeable when absorbed and dried.
- If too thick to soak into the fibres, dilute with a little water.
I hope I have inspired you!
Why do I like making mittens?! Who would not wear a custom pair? A combination of the right materials, proper technique, and gentle finishing makes all the difference. With these tips, your mitten designs won’t just look adorable—they’ll stay crisp, strong, and ready for all the winter adventures ahead. Let me know what you make!