How to Make Cyanotype Prints on Leather Gloves
How exciting to be able to wear those beautiful blue prints on my hands! This project combines the rustic appeal of leather with the beautiful, distinct blueprint aesthetic of cyanotype.
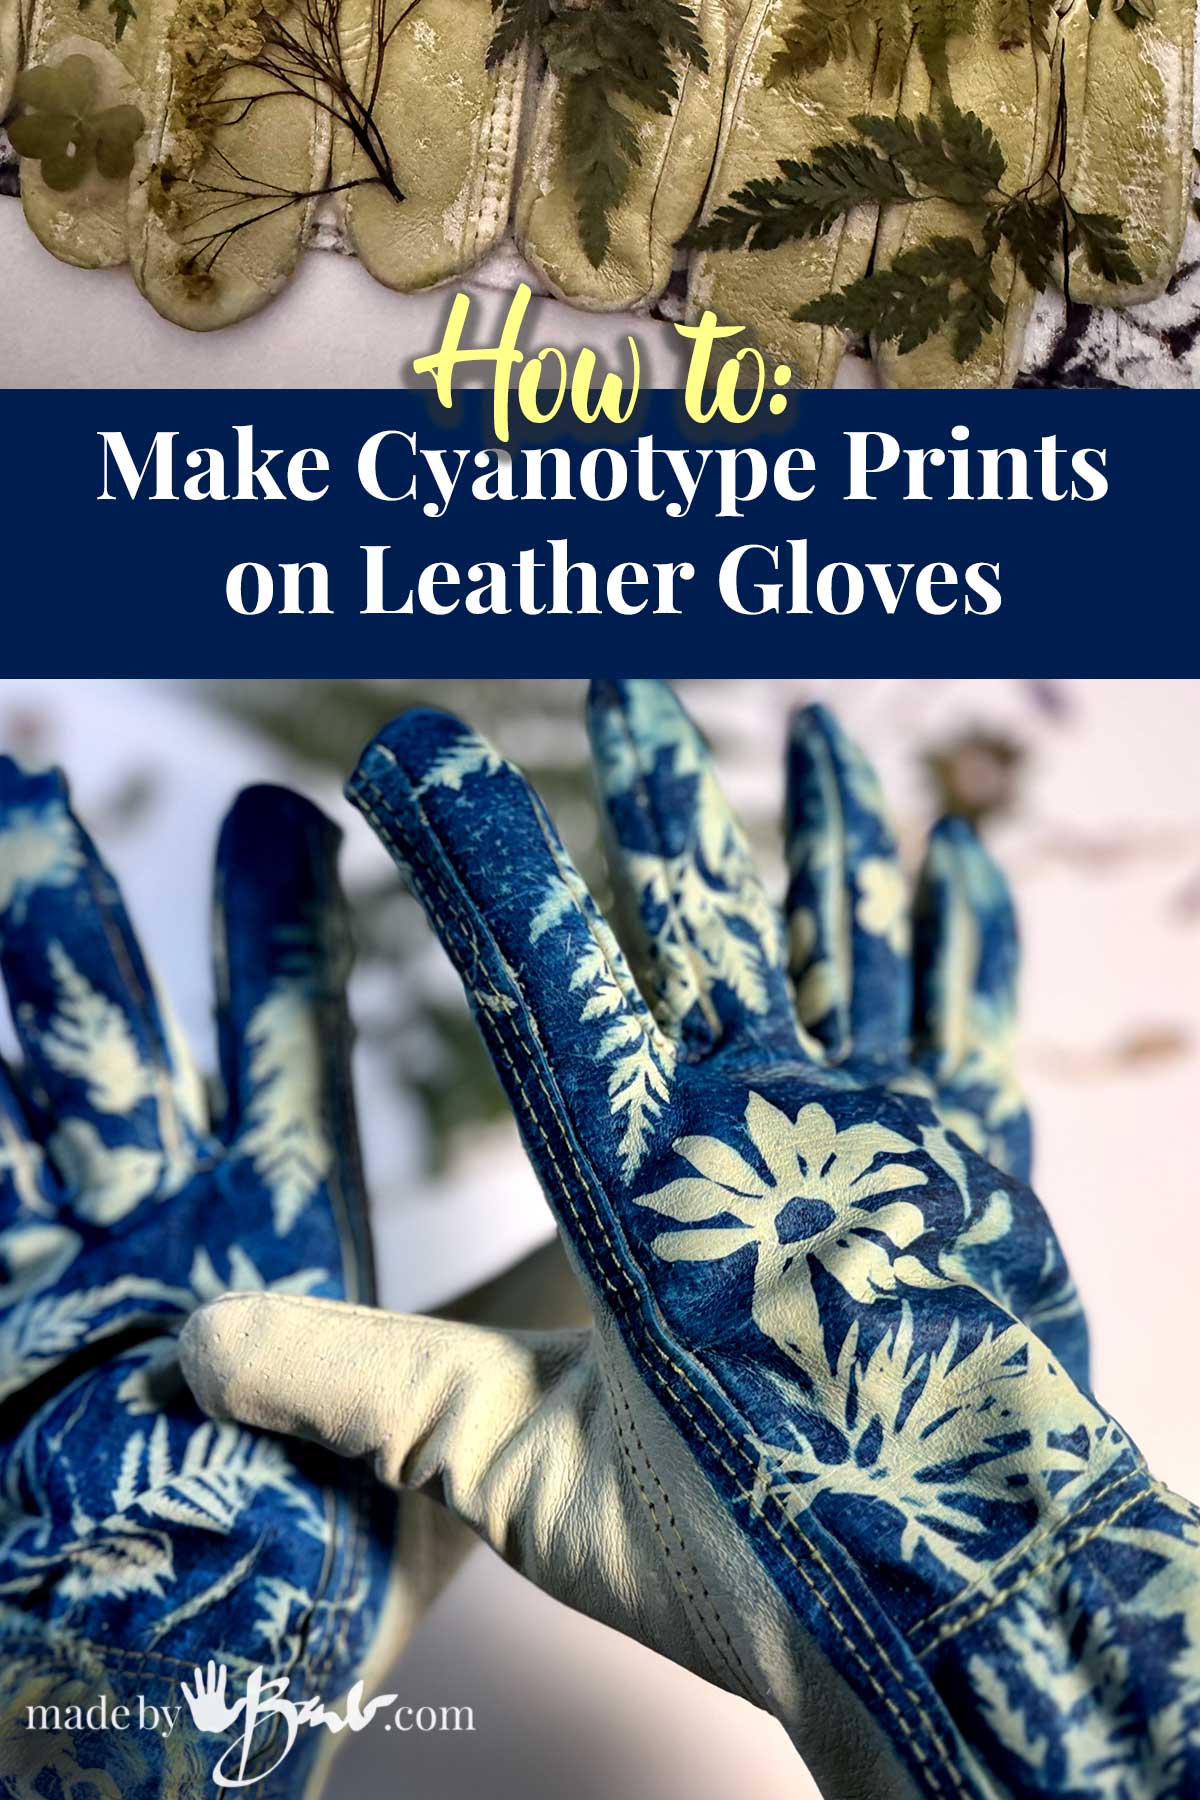
I have loved printing on paper and fabric, but printing on pre-made leather items like gloves makes it even better and yields a sophisticated, custom look. Here’s a detailed guide on how to apply this historic photographic process to your favourite pair of undyed leather gloves.
Materials You’ll Need
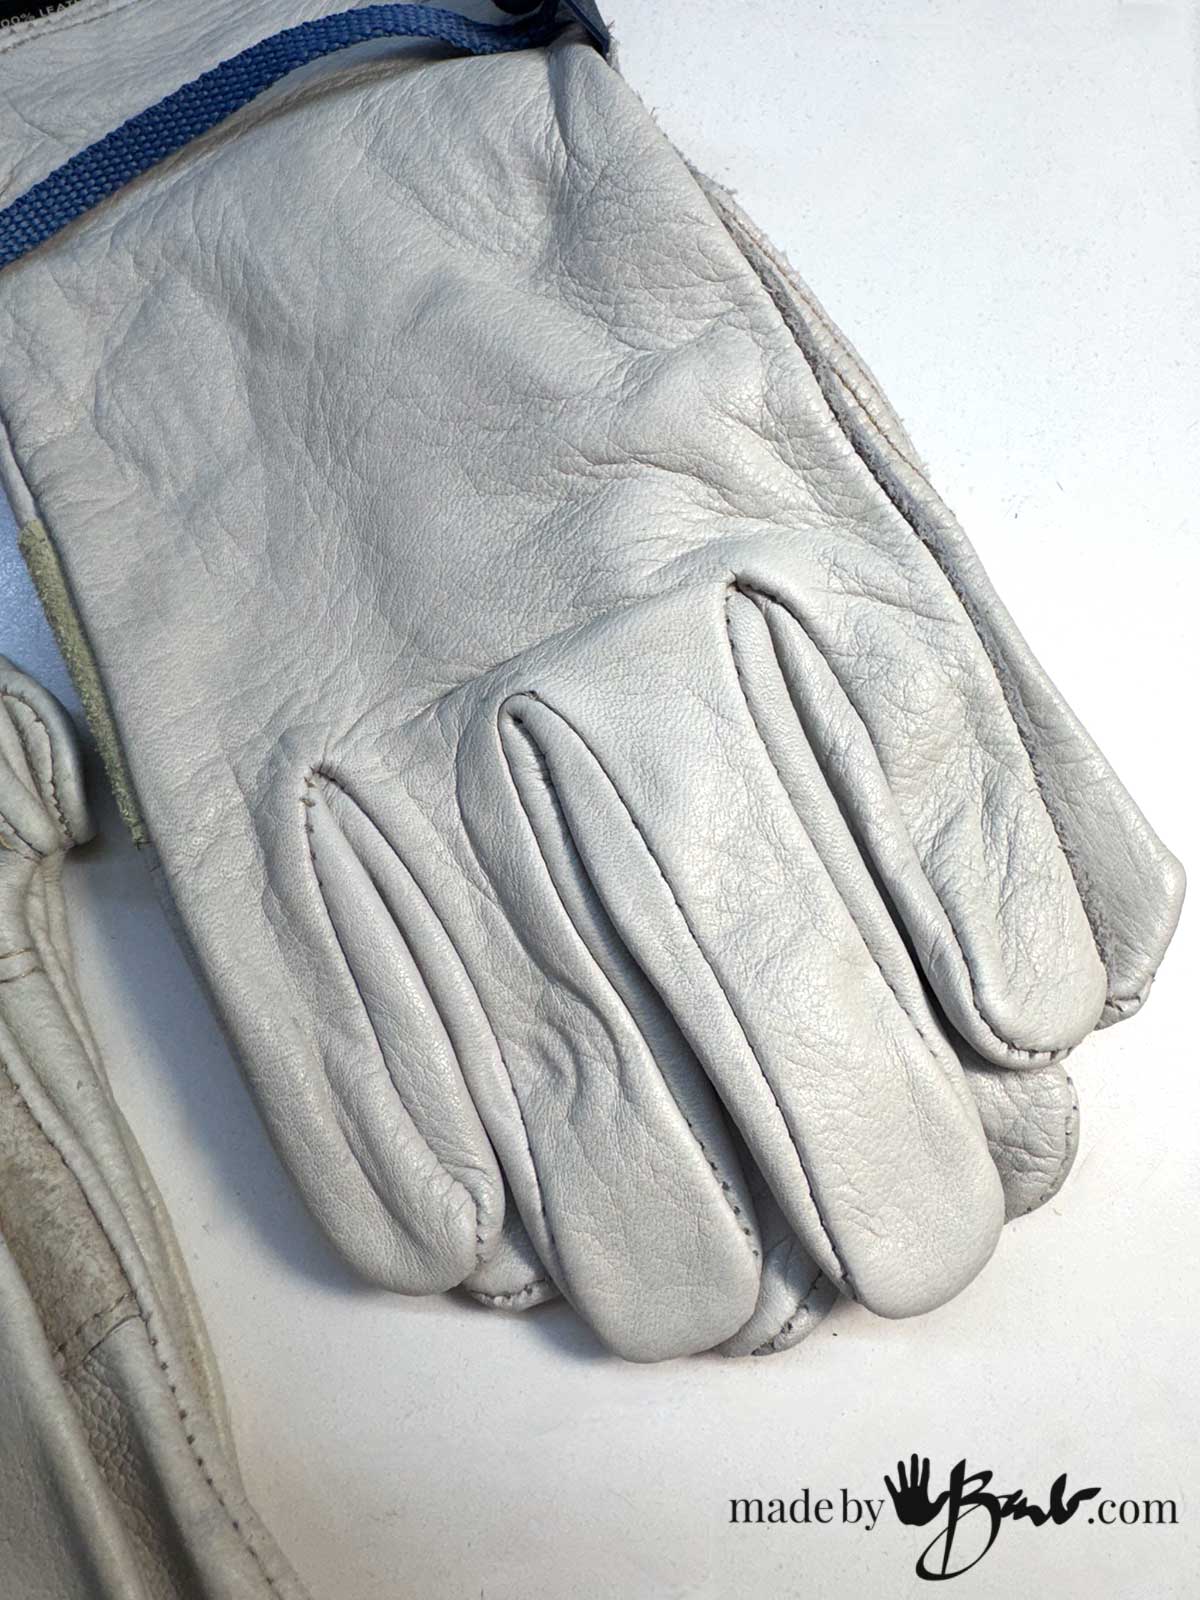
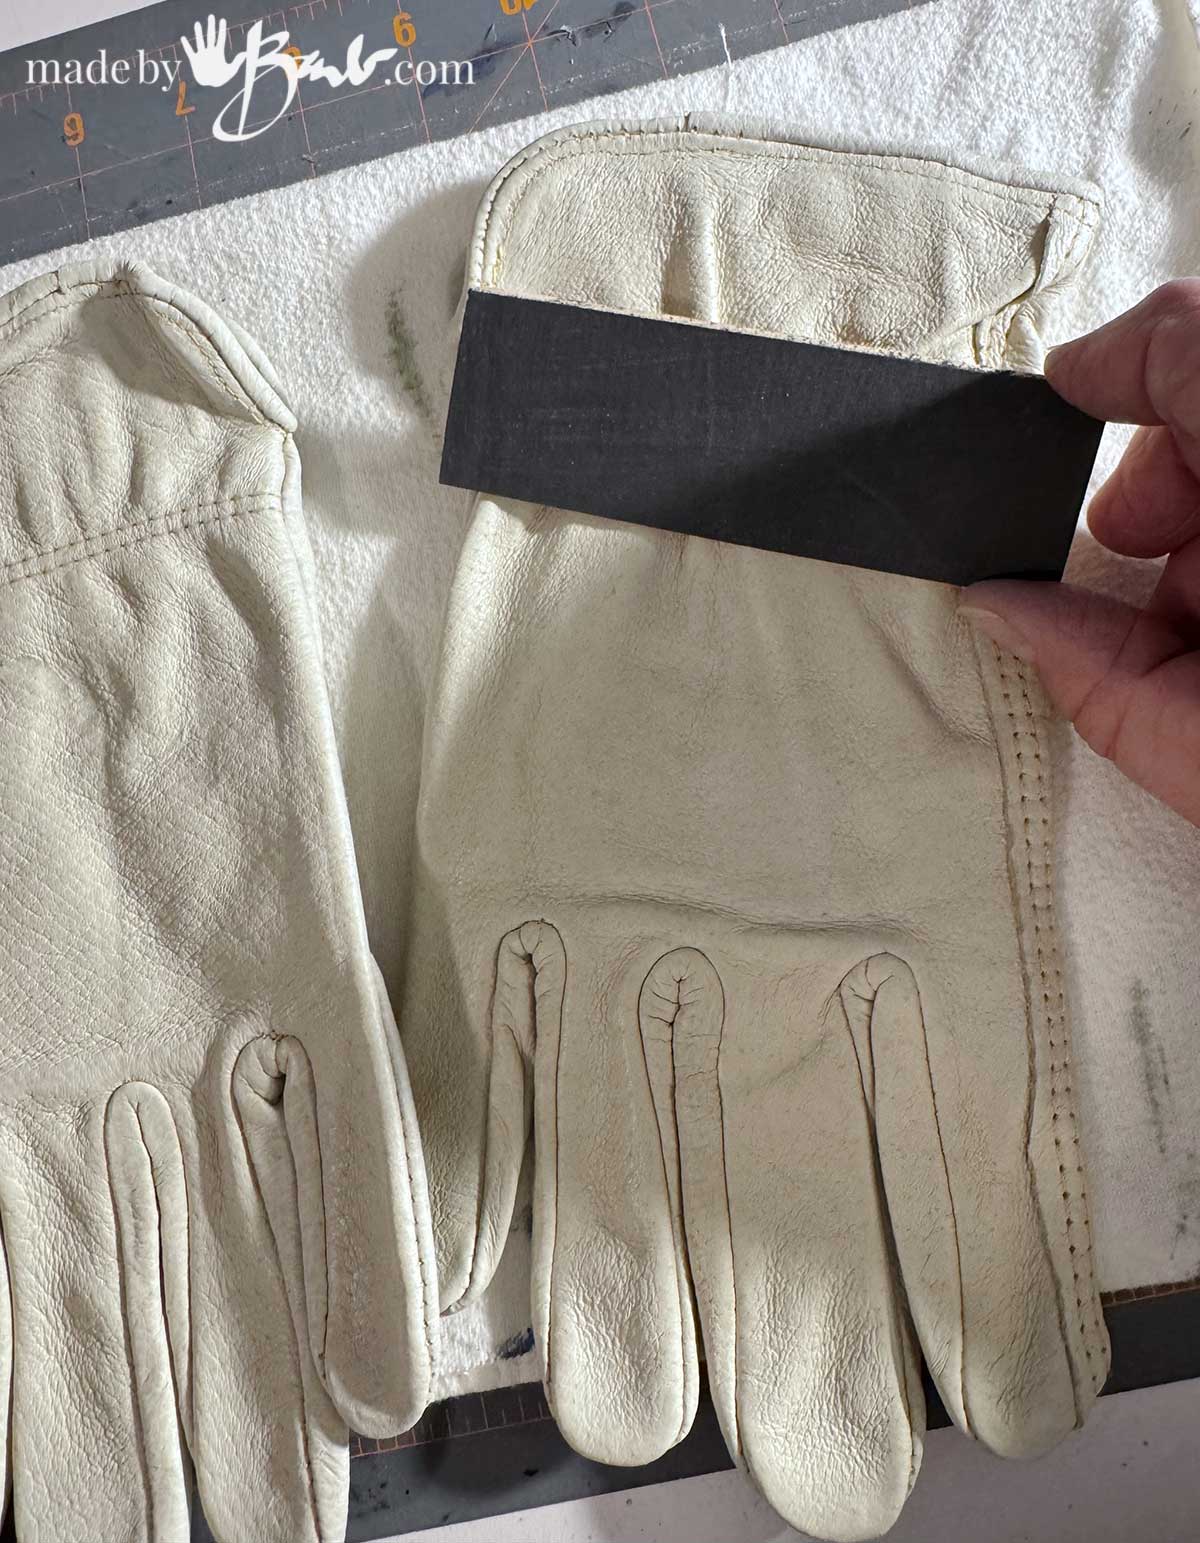
- Undyed leather gloves: For the best results, use light-coloured undyed leather. These are the most absorbent and will show the blue image most clearly. If you are not sure if they will absorb, test with a drop of water to see if it darkens and soaks in. They are often made of goatskin.
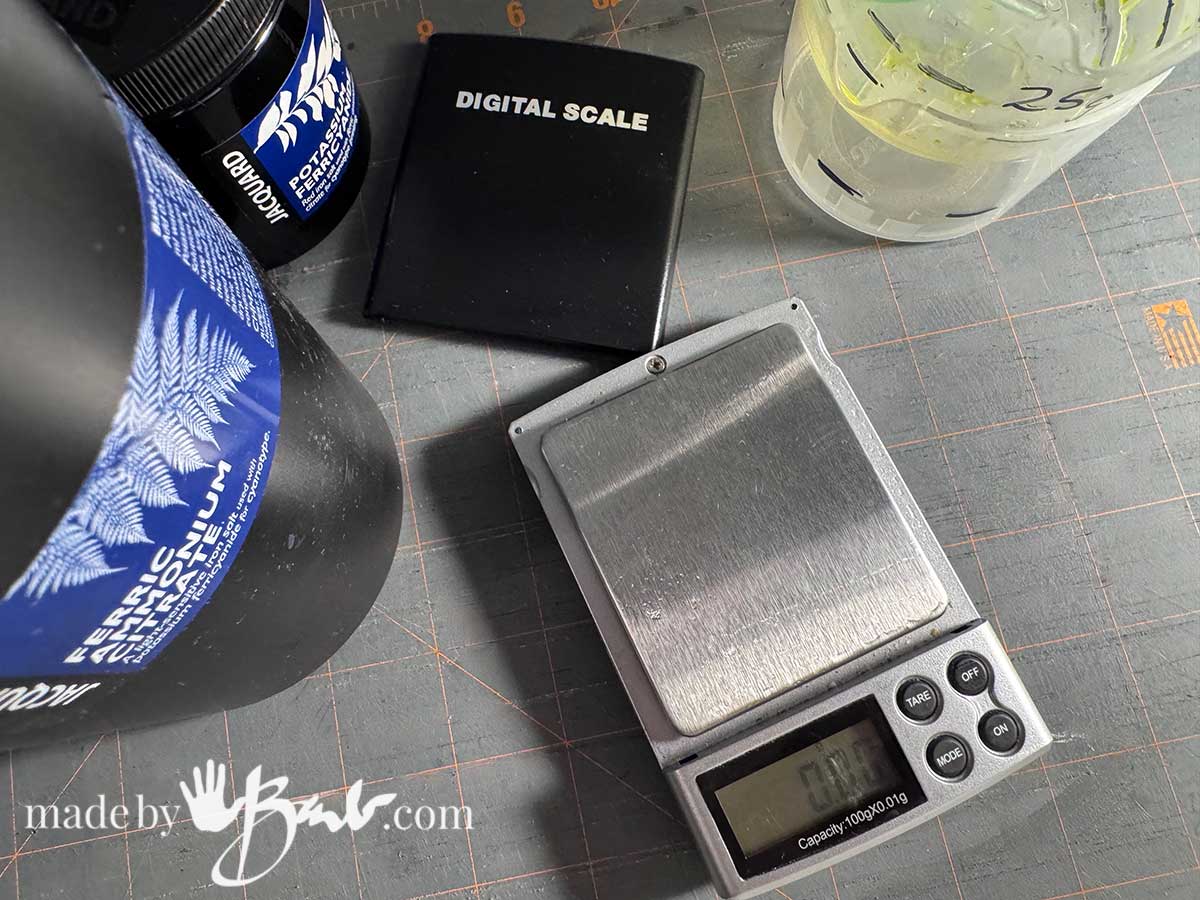
- Cyanotype Chemistry: potassium ferricyanide and ferric ammonium citrate, (solutions or dry chemicals available), in kits from art supply stores (e.g., Jacquard). I prefer to buy the dry versions and mix myself.
- Foam or regular brush or sponge.
- Weigh Scale to measure chemicals
- Glass and clips/Contact Printing Frame: To hold your negatives flat against the glove.
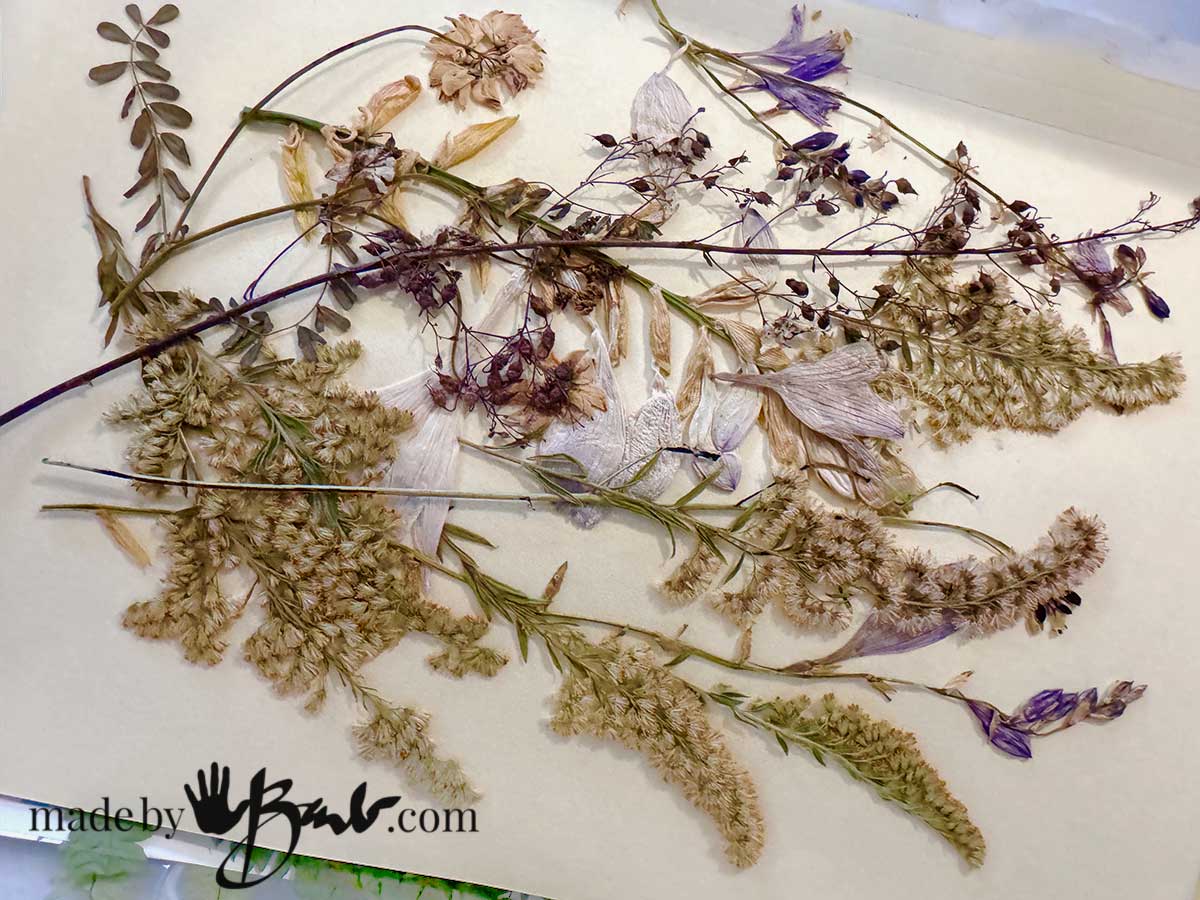
- Negatives or Objects: Digital transparencies (high-contrast black and white images printed on acetate) work great for detailed prints. You can also use opaque objects like leaves, skeleton keys, or lace for photograms.
- UV Light Source: Direct sunlight (best) or a UV lamp setup (easiest)
- Water bath/tray: For rinsing.
- Optional: Hydrogen peroxide (3% solution) to speed up oxidation.
- Leather conditioner: To restore suppleness after processing.
Step-by-Step Guide
1. Prepare the Chemistry

In a space with very dim lighting (avoid direct sunlight or bright overhead lights),
Measure out 10 Grams of Potassium Ferricyanide into a jar and add enough water to bring to 100ml volume.
Having some vessels that are clearly marked makes it easier and faster. Stir carefully until well dissolved.
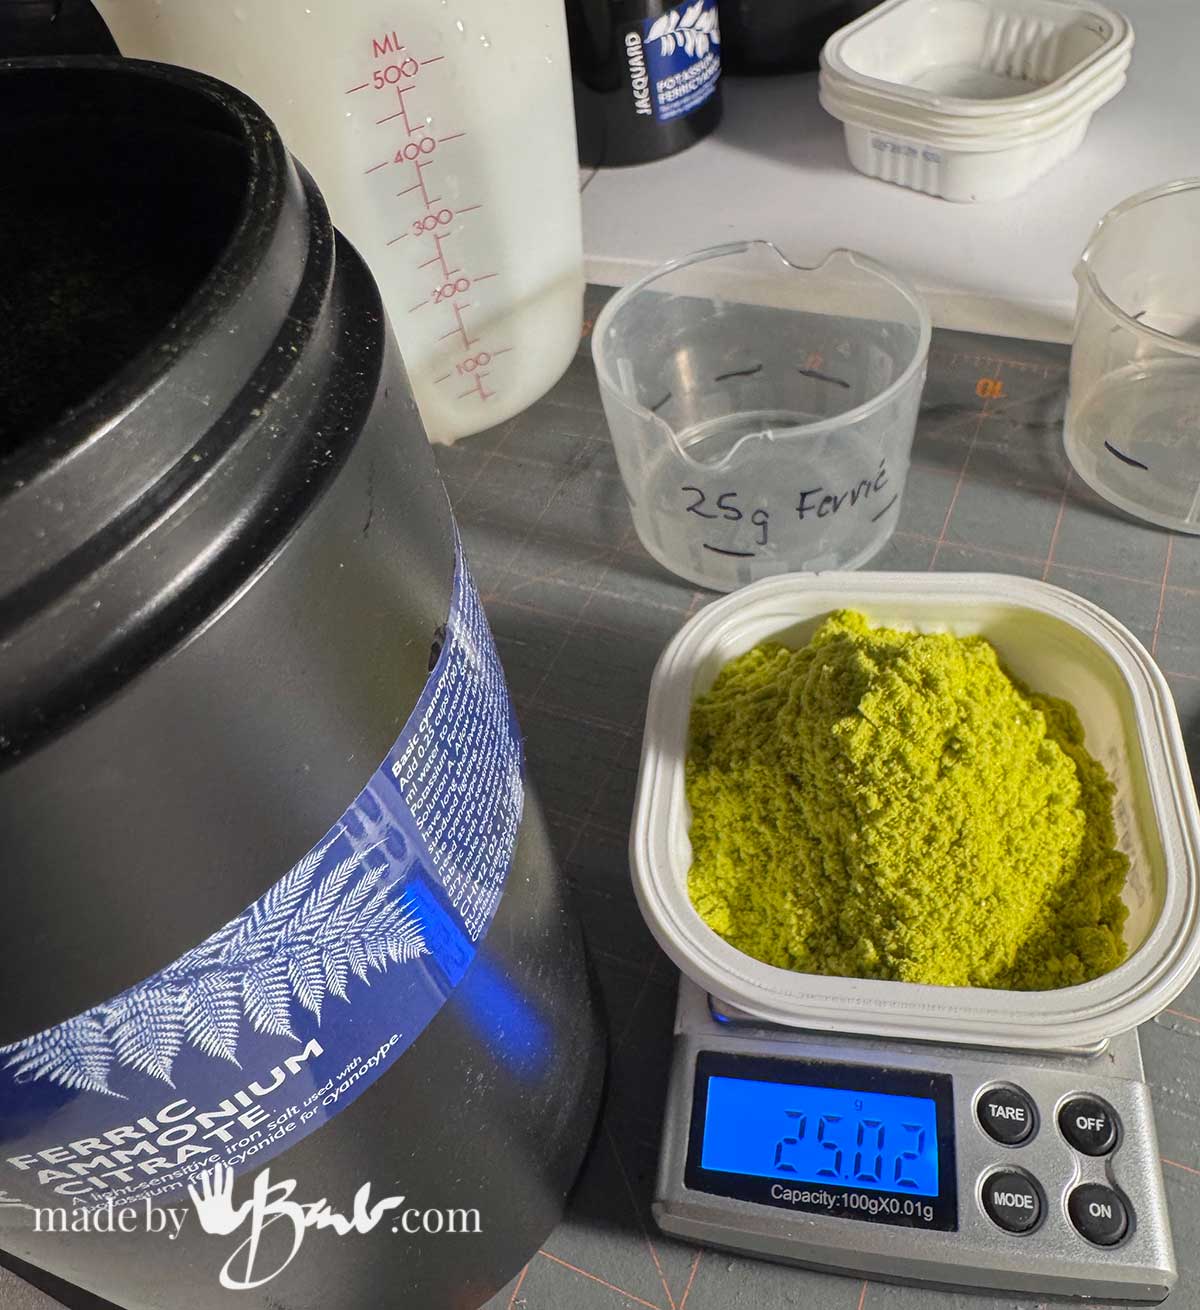
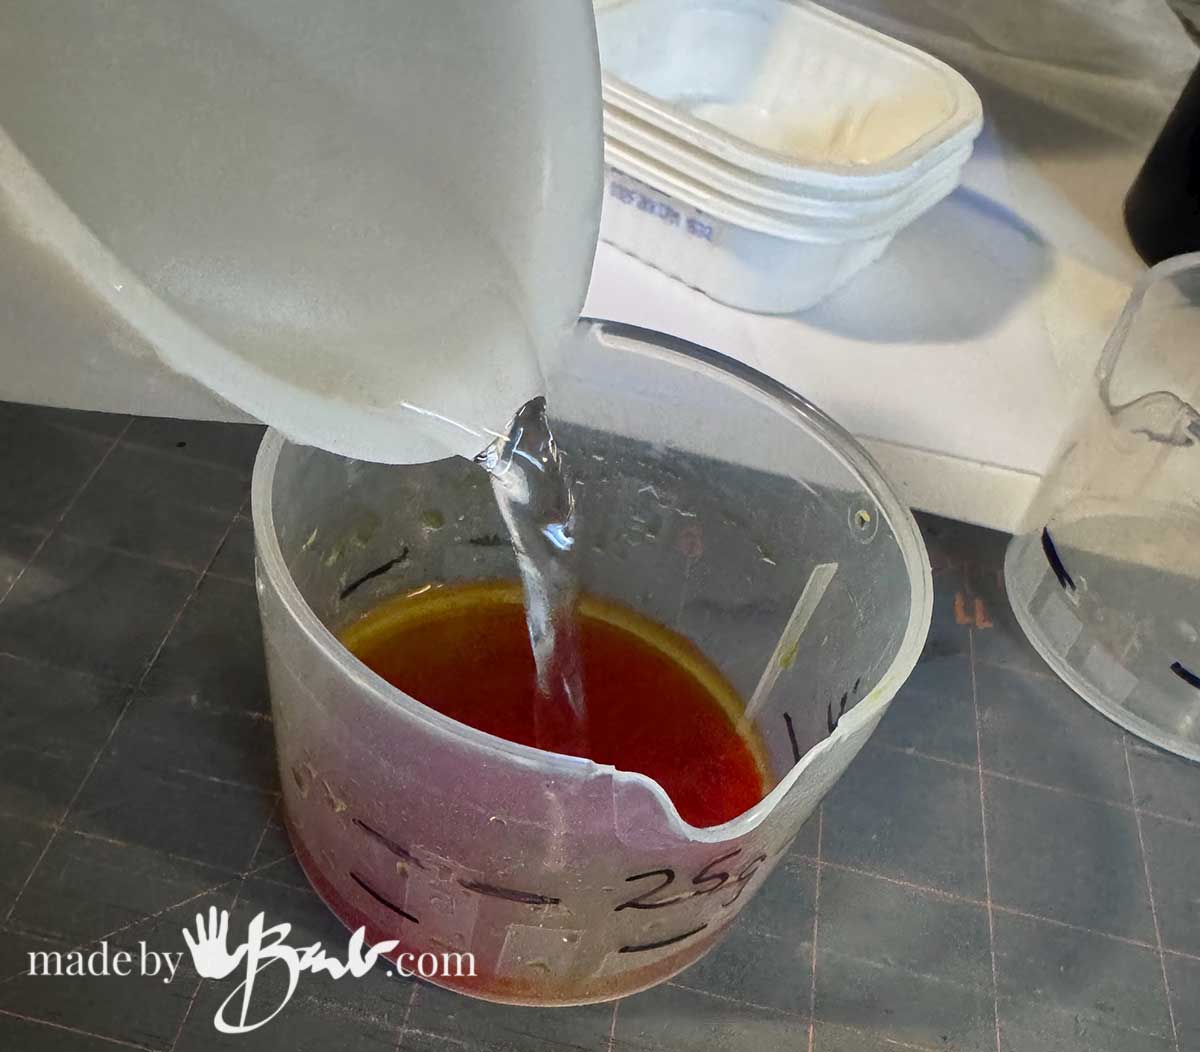
Measure out 25 Grams of Ferric Ammonium Citrate into a jar and add enough water to bring to 100ml volume. Mix the 2 solutions carefully.
2. Coat the Gloves (in Dim Light)
You only need a small amount for a pair of gloves. This sensitized solution will remain stable for a few hours. Keep it in a dark/black jar so it does not get activated.
This is the most critical step for printing on a 3D object is to have tight placement of the objects for clear prints.
- Insert Support: To ensure a flat printing surface you may want to insert a piece of sturdy cardboard inside each glove, especially if the elastic pulls the wrist section. This helsp provide structure.
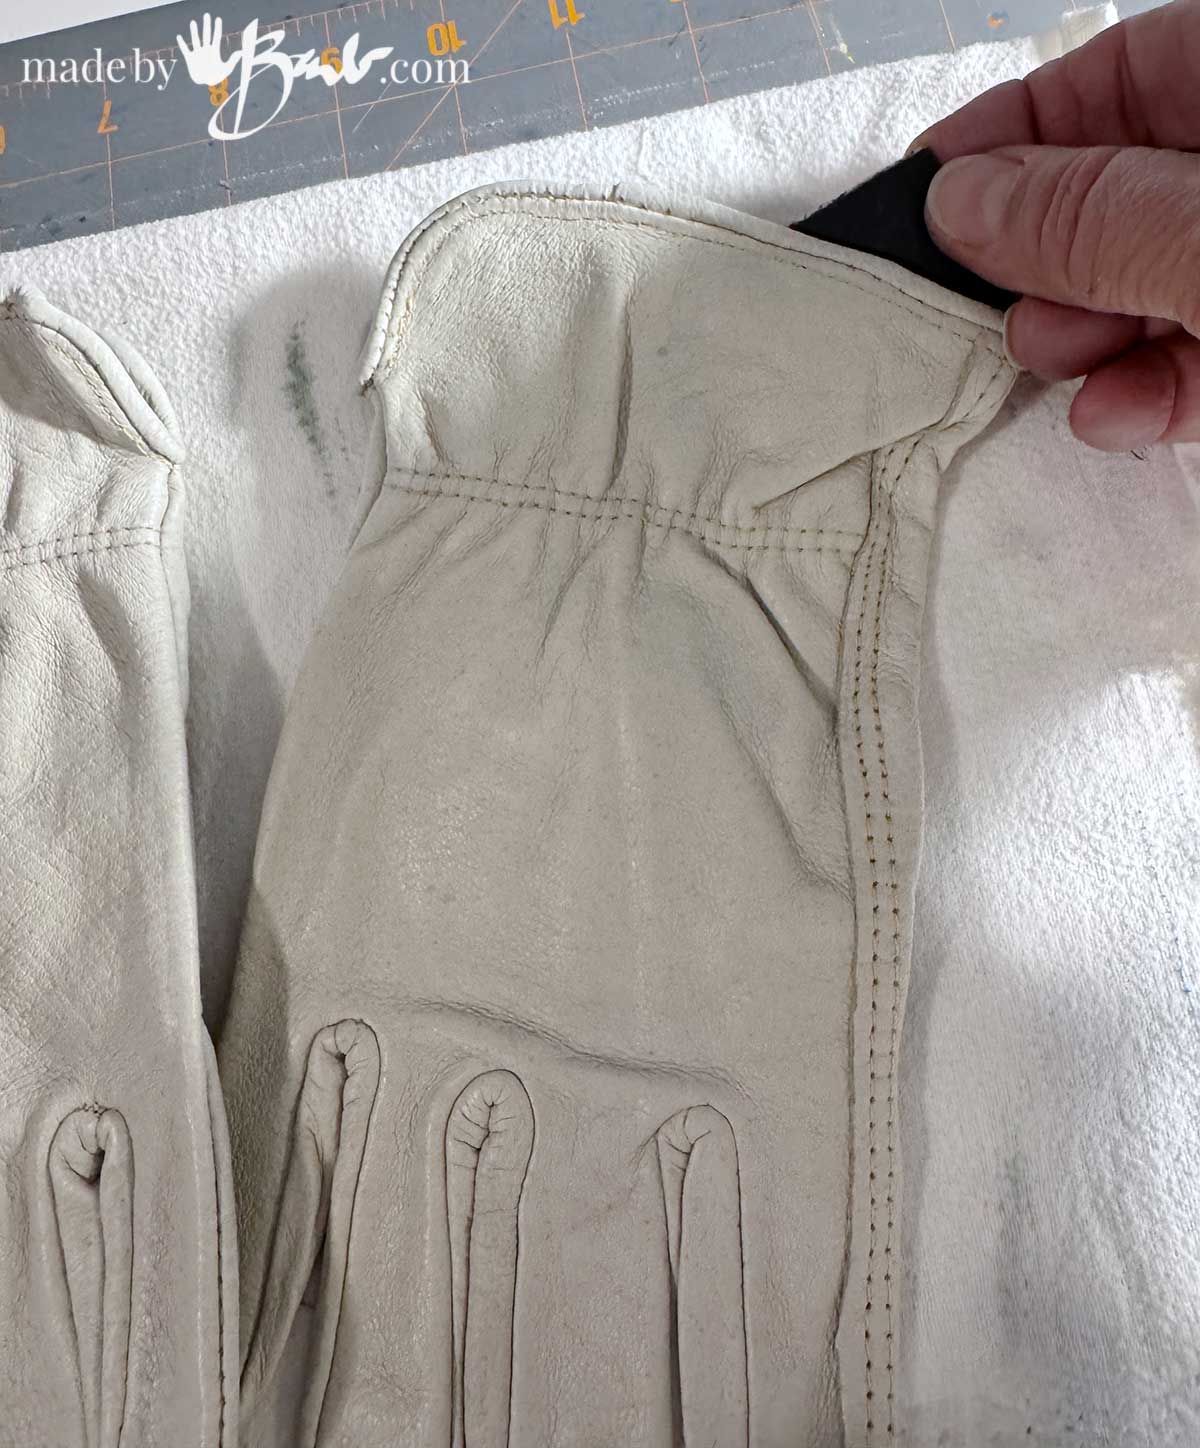
- Lightly Dampen if needed: Since leather can be resistant to absorbing liquids initially. Before applying the chemistry, lightly wipe down the exterior of the gloves with a clean, damp sponge. This breaks the surface tension and helps the cyanotype solution absorb evenly rather than pooling or creating blotches. The ones I had did accept the solution without prior wetting.
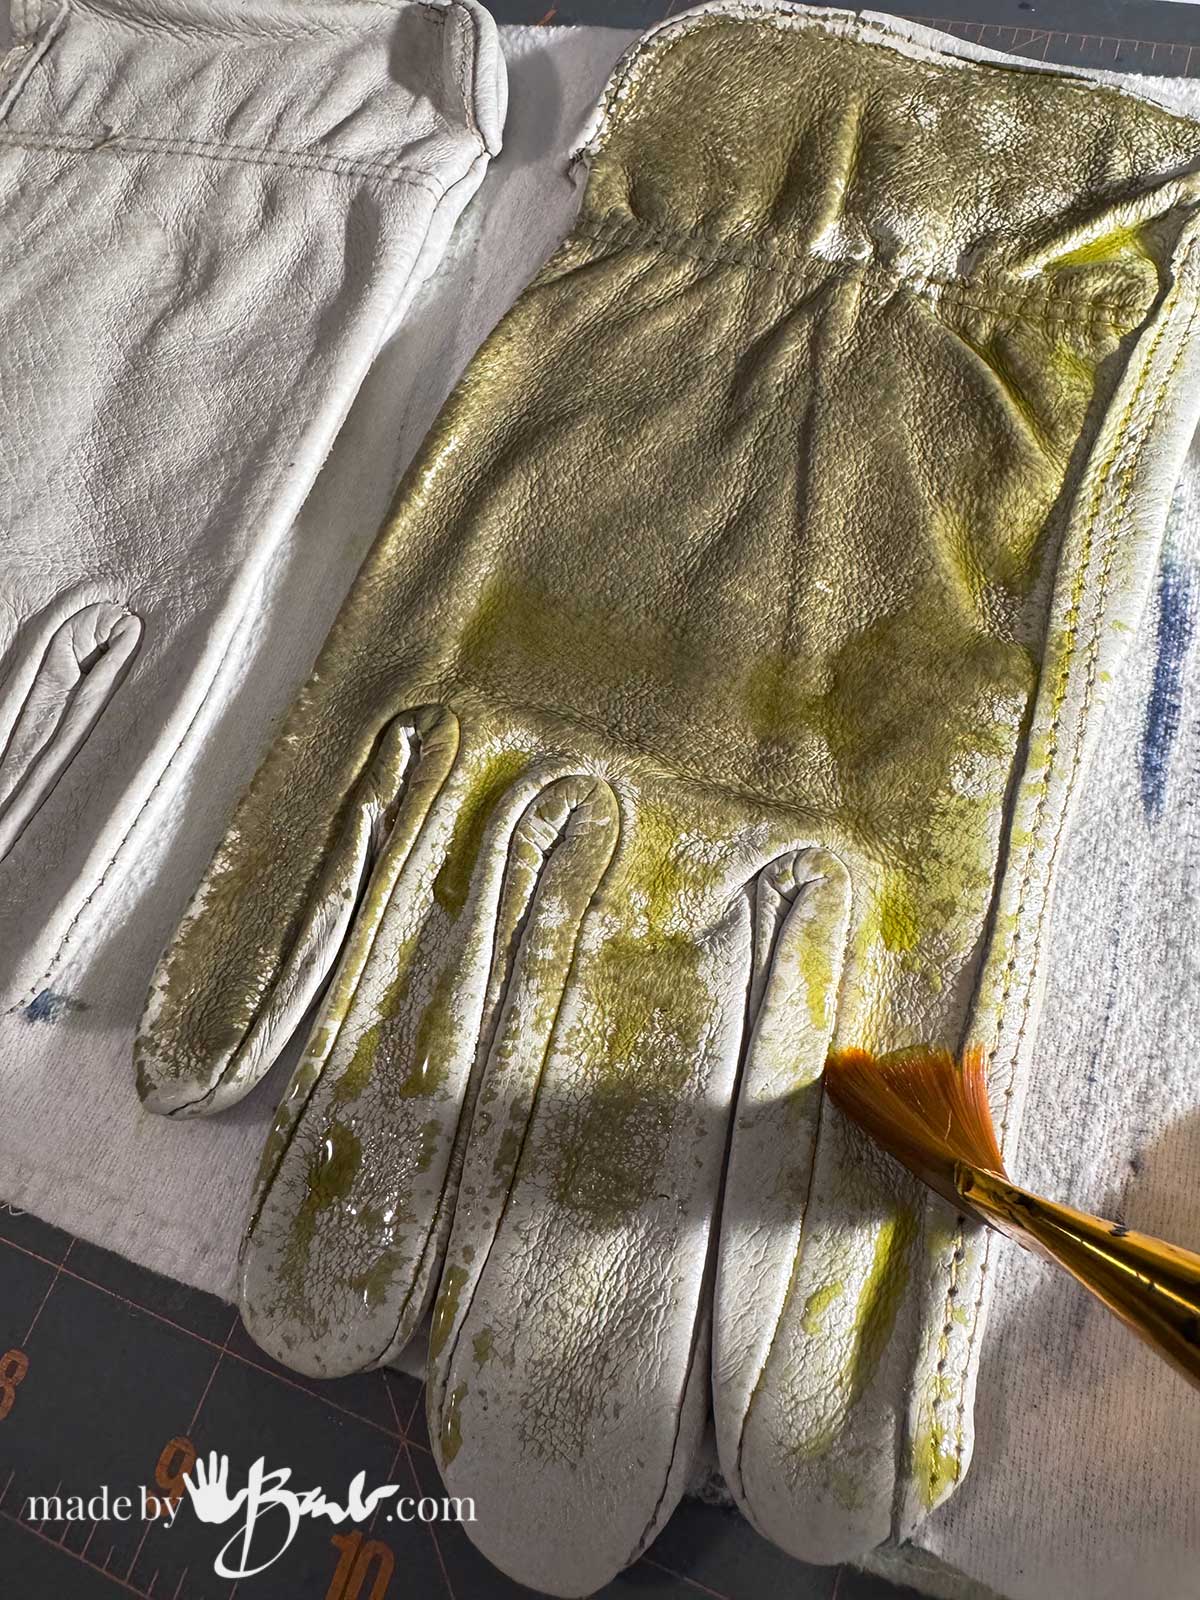
- Apply Solution: Using your foam brush, apply an even coat of the sensitized cyanotype solution to the exterior of the gloves. Avoid over-saturating.
- Since the leather will absorb the solution pretty quickly, I chose to print before drying. I did not want the solution to pull too deep into the leather or react with the tanning chemicals. As with any variation of media. testing will give you the best result.
3. Set Up Your Exposure
Once the gloves are coated, you are ready to create your image.

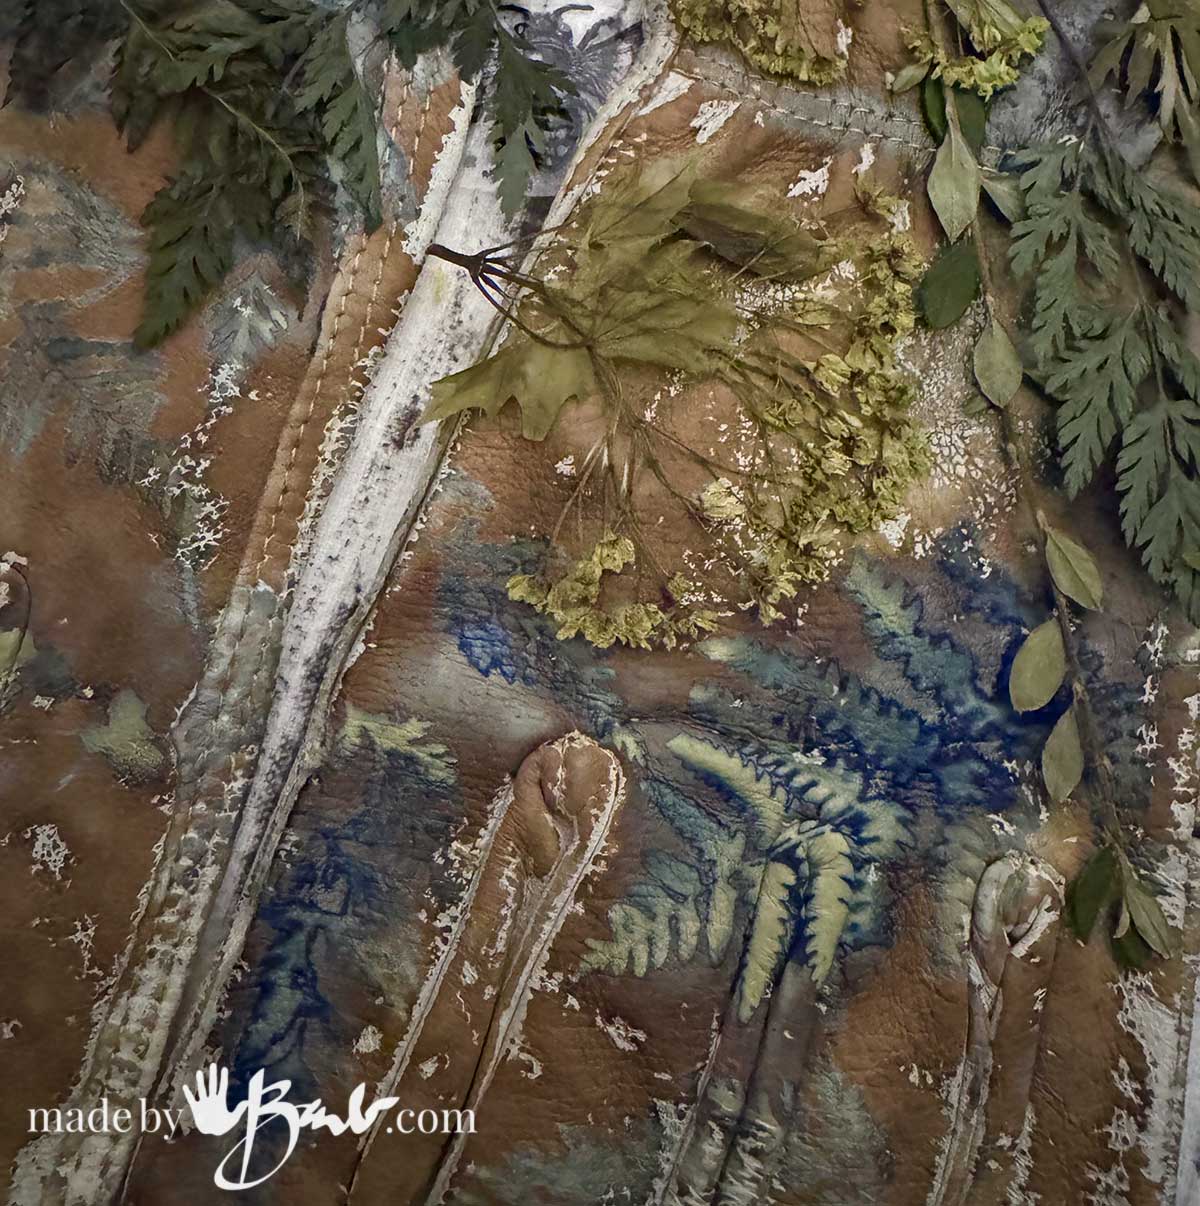
- Place the Negative: In your dim workspace, lay the coated gloves flat. Carefully position your botanical items. digital negative (or opaque objects) exactly where you want the print to appear on the glove.
- Secure with Glass: Place a piece of clean glass over the negative/objects and secure it tightly with clips. This contact is essential for creating sharp detail. Because the glove is 3D, you may only be able to print effectively on the flat top surface of the hand and fingers during one exposure.
4. Expose the Print
Take your prepared setup outside into direct sunlight, or place it under your UV lamp.
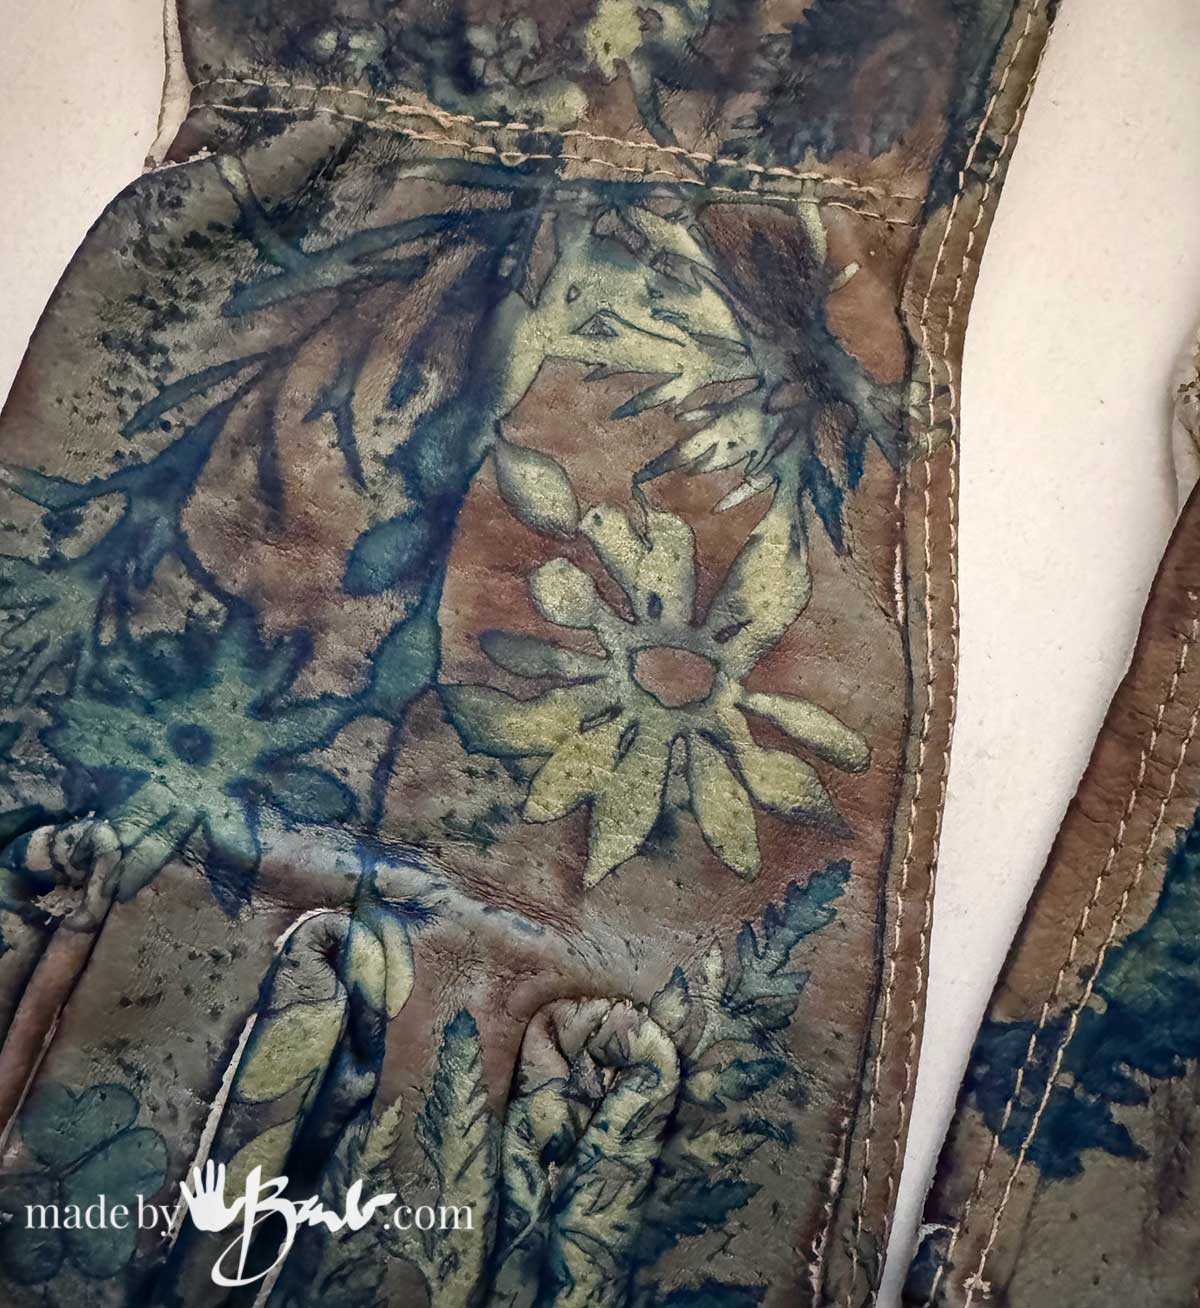
- Exposure Time: Leather is dense and usually requires a longer exposure than paper or thin fabric. While a standard paper print might take 5–10 minutes in strong sun, leather may need 15 to 25 minutes to achieve deep blues. The unexposed areas of the chemistry (where the negative is dark) should turn a dark, bronzy grey-green colour. Note the brown tones, but don’t panic.
(If you wish to print on the back of the glove as well, you must let the first side dry completely after processing, then repeat steps 2-4 for the other side.)
5. Wash and Develop
Immediately after exposure, move the gloves back to your dim workspace and begin the development process.
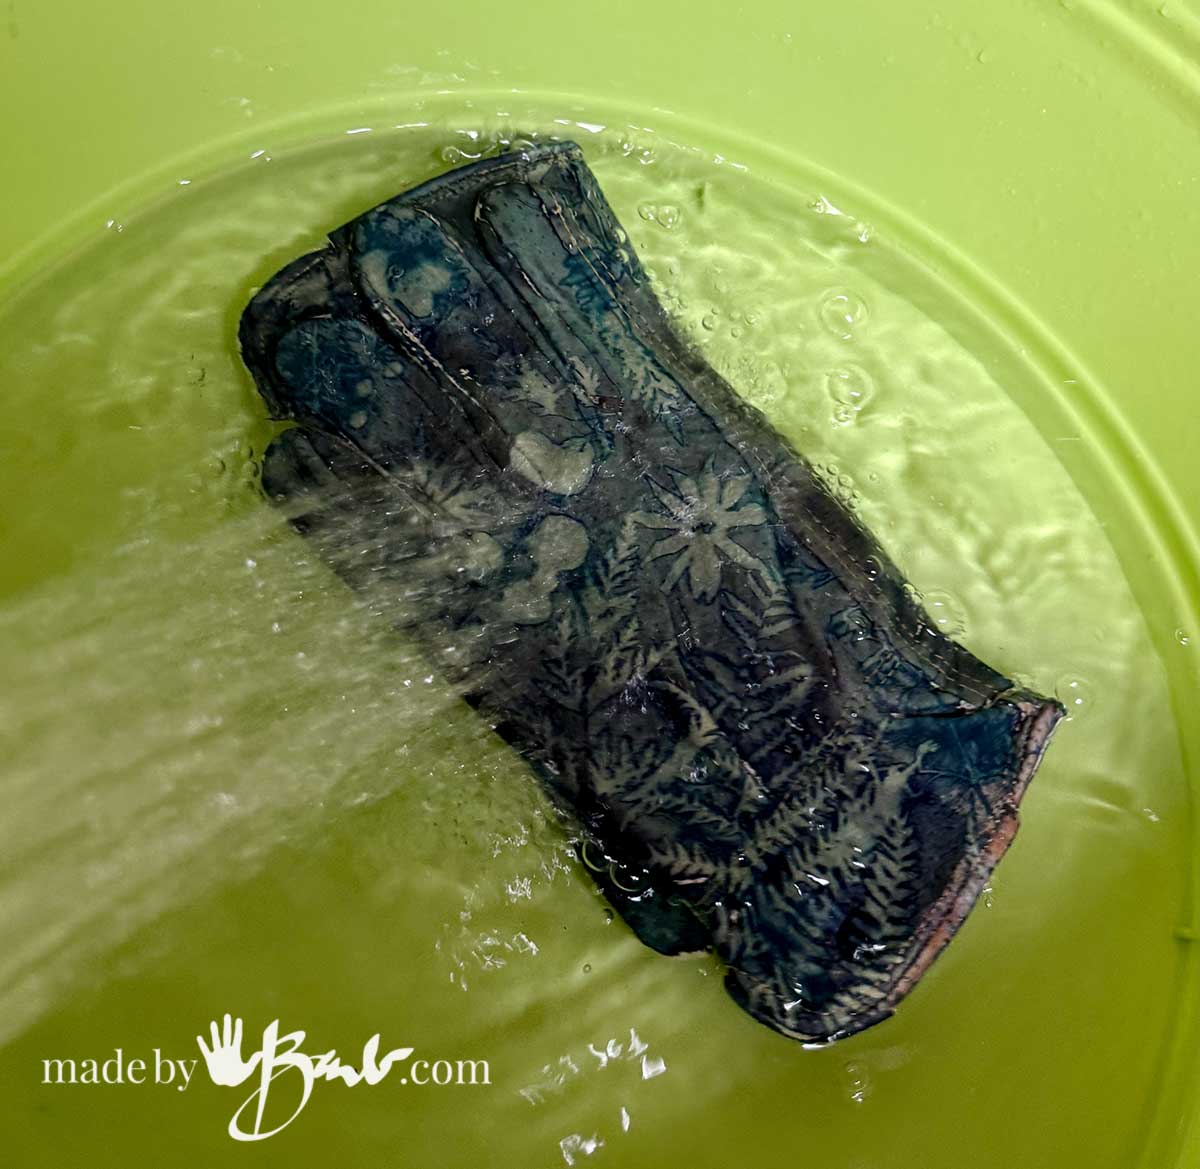
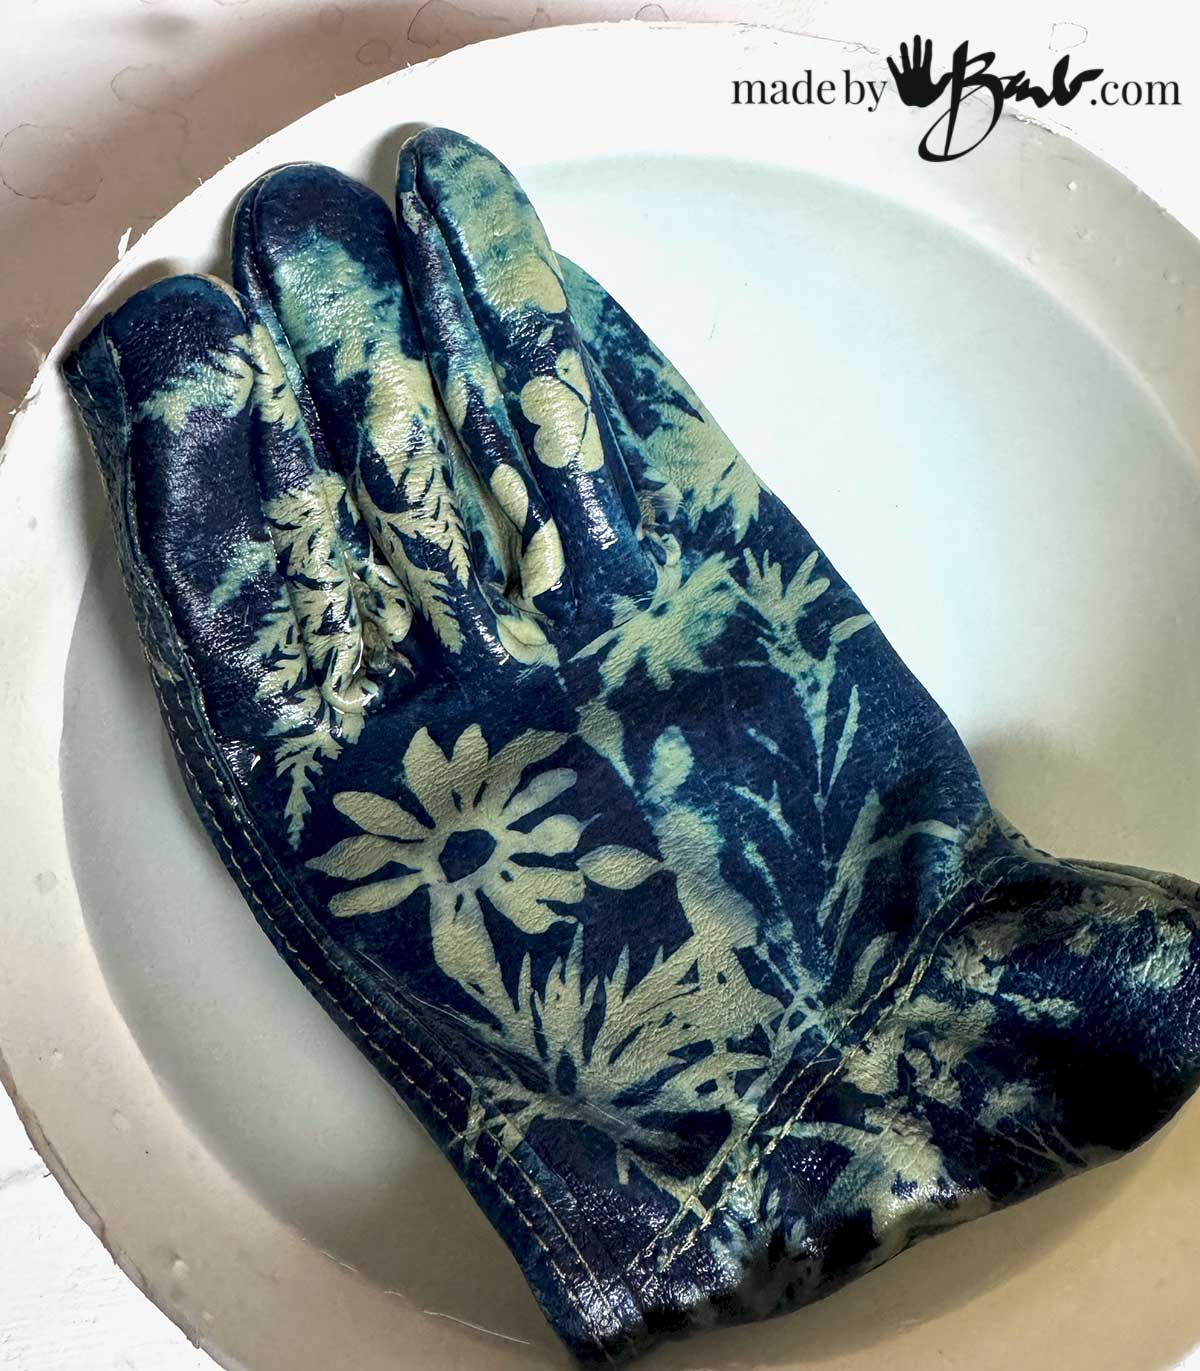
- Rinse Thoroughly: Submerge the gloves in a clean water bath. Agitate gently. You will see yellow-green chemistry washing away from the areas that were protected from the UV light.
- Water Changes: Change the water frequently. Continue rinsing for 10–15 minutes until the unexposed areas are completely white (or the original color of the leather) and the water runs clear. The image areas will begin to turn the classic Prussian blue.
- Optional Oxidation: For instant, vibrant blue results, add a small splash of hydrogen peroxide to the final rinse bath. This will cause immediate oxidation. Rinse again thoroughly with fresh water afterward.
6. Drying and Finishing
- Air Dry: Let the gloves air dry flat. Avoid using direct heat sources like hair dryers or harsh sunlight to speed up drying, as this can cause the leather to stiffen or shrink. The colour of leather returns to white once dry.
- Restore Suppleness: Once the gloves are completely dry, they may feel stiff due to the water processing. Apply a high-quality leather conditioner evenly to the surface. This will restore hydration and make them soft and wearable again.
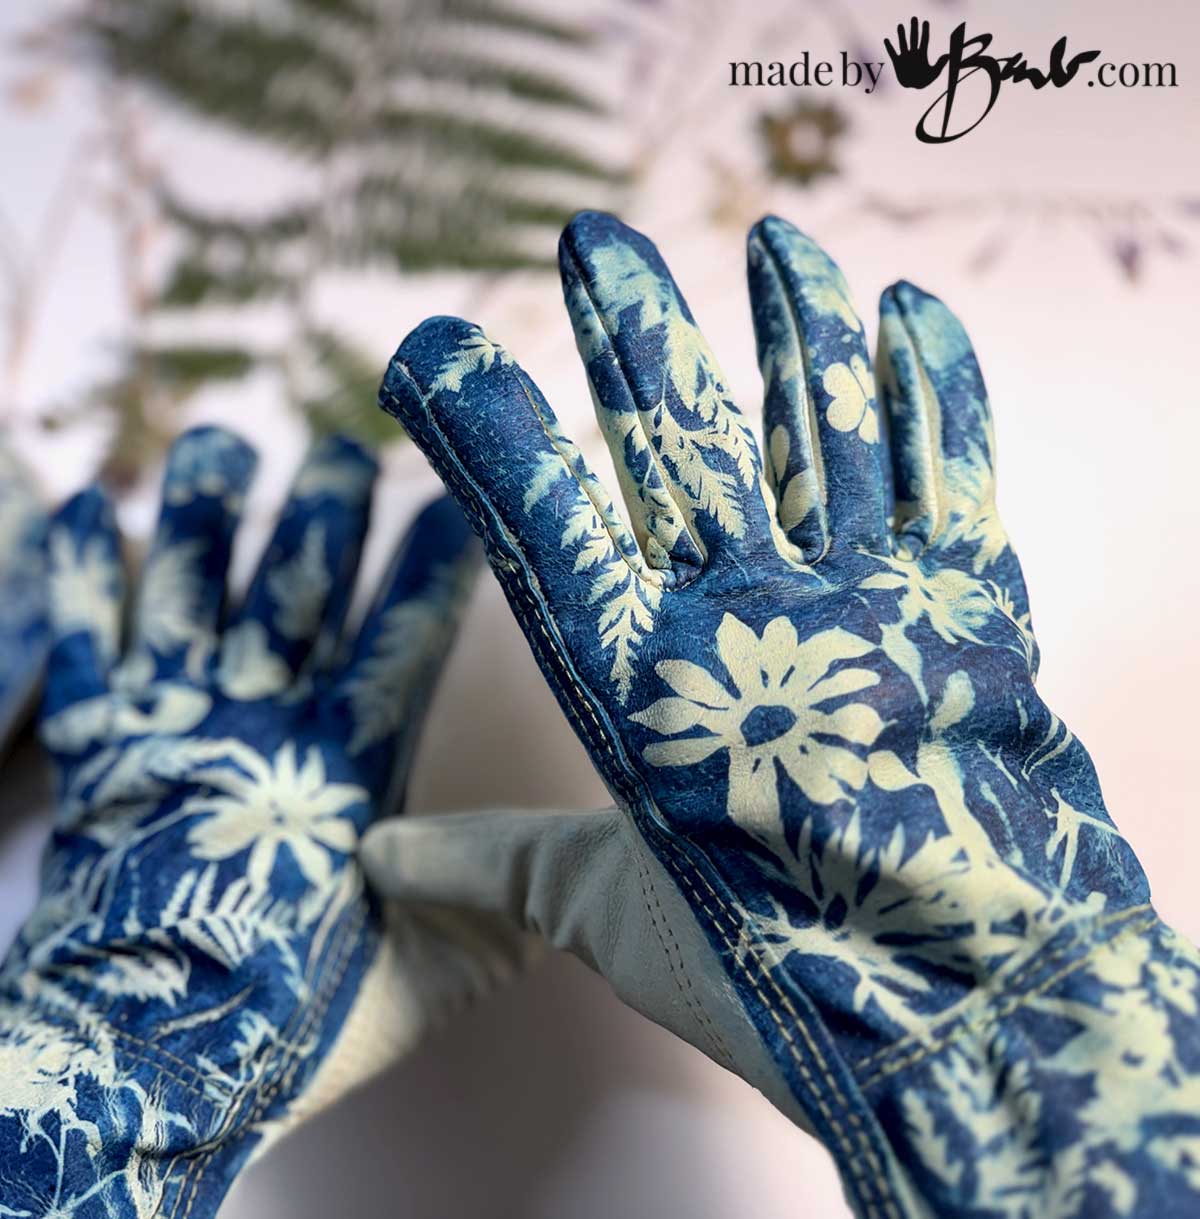
Your unique, custom cyanotype leather gloves are complete! Enjoy your one-of-a-kind wearable art.

How wonderful these will be for gardening and protecting my hands!
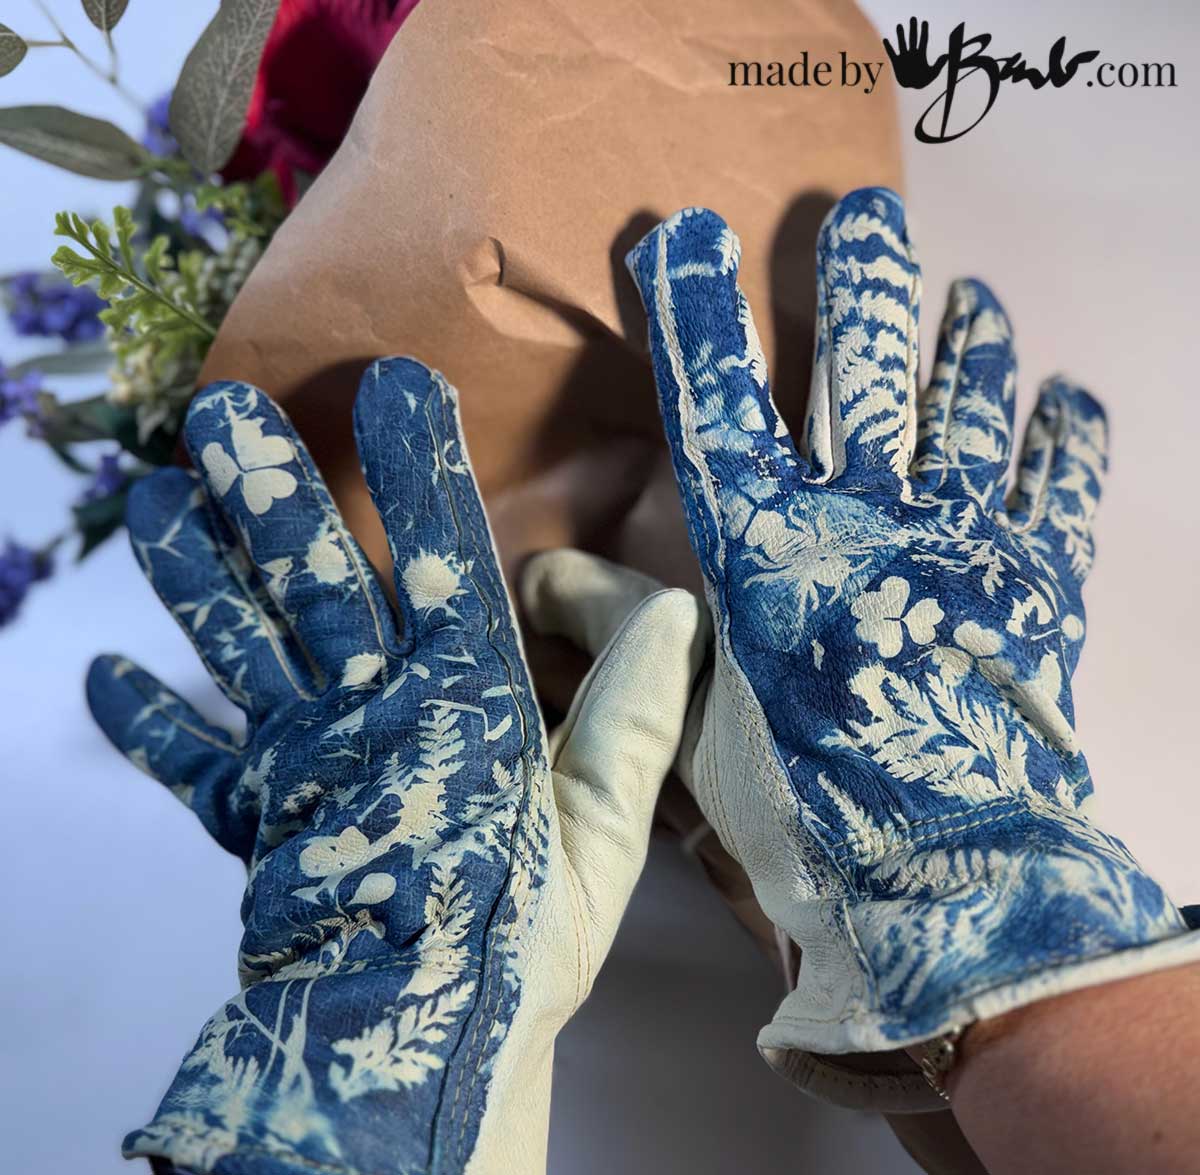
I chose to keep the palms white for contrast. Choosing plant material like ferns and fine detail specimens, even clover works great.
Care of Gloves:
The leather conditioner will make them somewhat water repellant depending on the ingredients. Since they are already washed, they can be washed again, but do not use a strong soap. Any alkalinity of a cleanser will bleach the print. Also do not leave them laying in the sun.
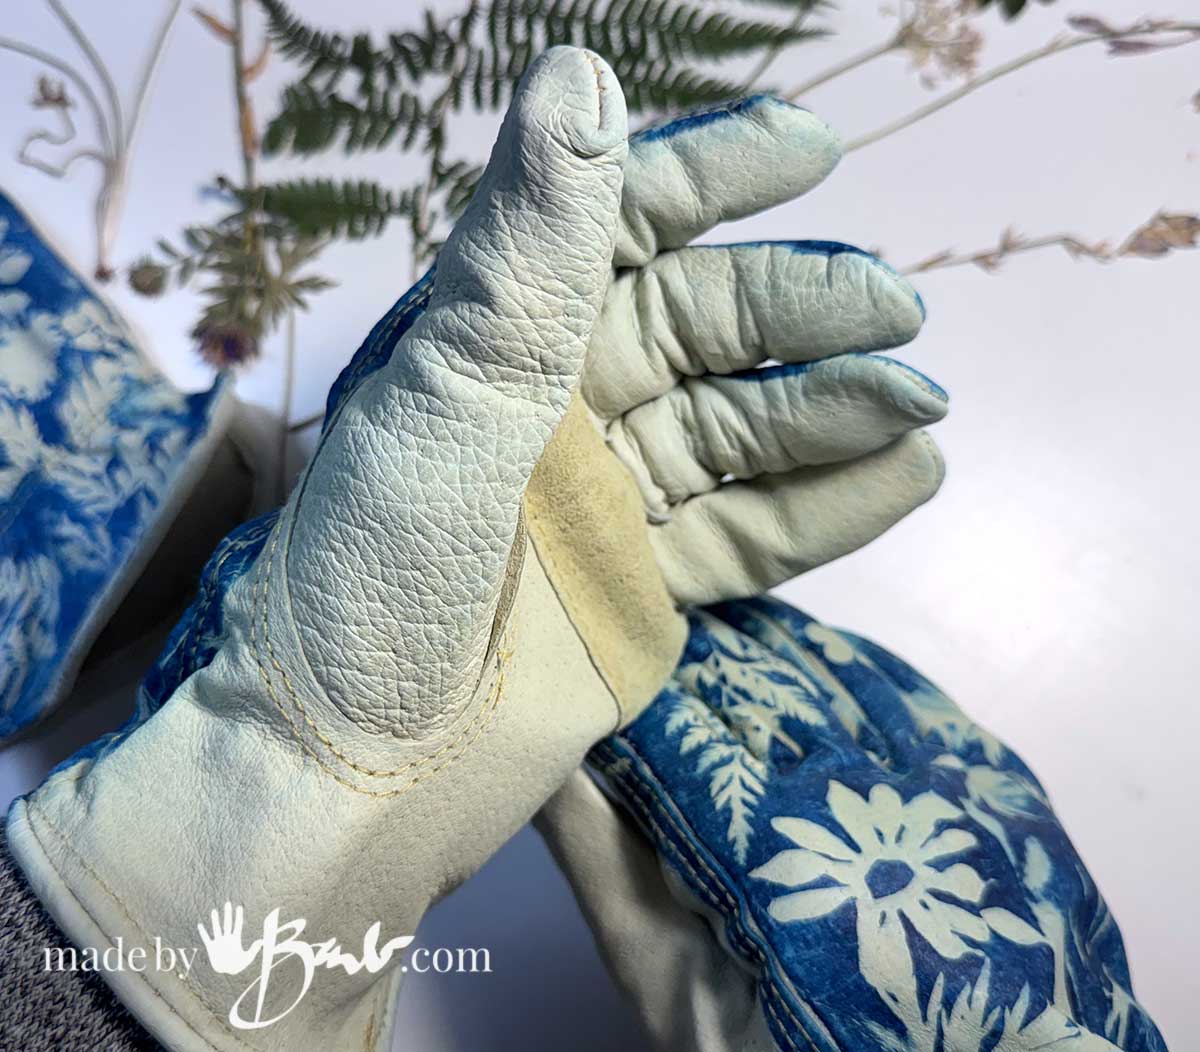
The colours have soaked well into the leather but do treat them nicely as you would with your other gloves.

Happy Gardening and admiring nature’s gifts! For more Cyanotype magic see here!
Hi Barb, I am a newbie to this art and am very excited to get going! I have learned about a product by Jaquard called Solarfast that works the same way as cyanotype but is permanent on fabric (and also comes in colors). Since my goal is to design fabric colorfastness is necessary. Have you tried Solarfast? I love getting inspired by your weekly emails!
I have not tried it but I did do some sun printing with Dye-Na-Flow. It gave some great results but there are a few things to consider in how it works as it is not light sensitive. Have a look, it can also be used to just paint on fabric. I printed the white hoodies and have worn and washed them quite well, just be mindful of what detergent you use. I hope that helps!