
How to Make a DIY Wood Side Table from Thrifted Salad Bowls

Have you ever walked through a thrift store and spotted a pile of wooden salad bowls? I always find it interesting to look at ordinary objects and imagine what else they could become. Those dated wooden bowls might not be especially exciting on the dining table anymore, but what if you could turn them into something completely different?
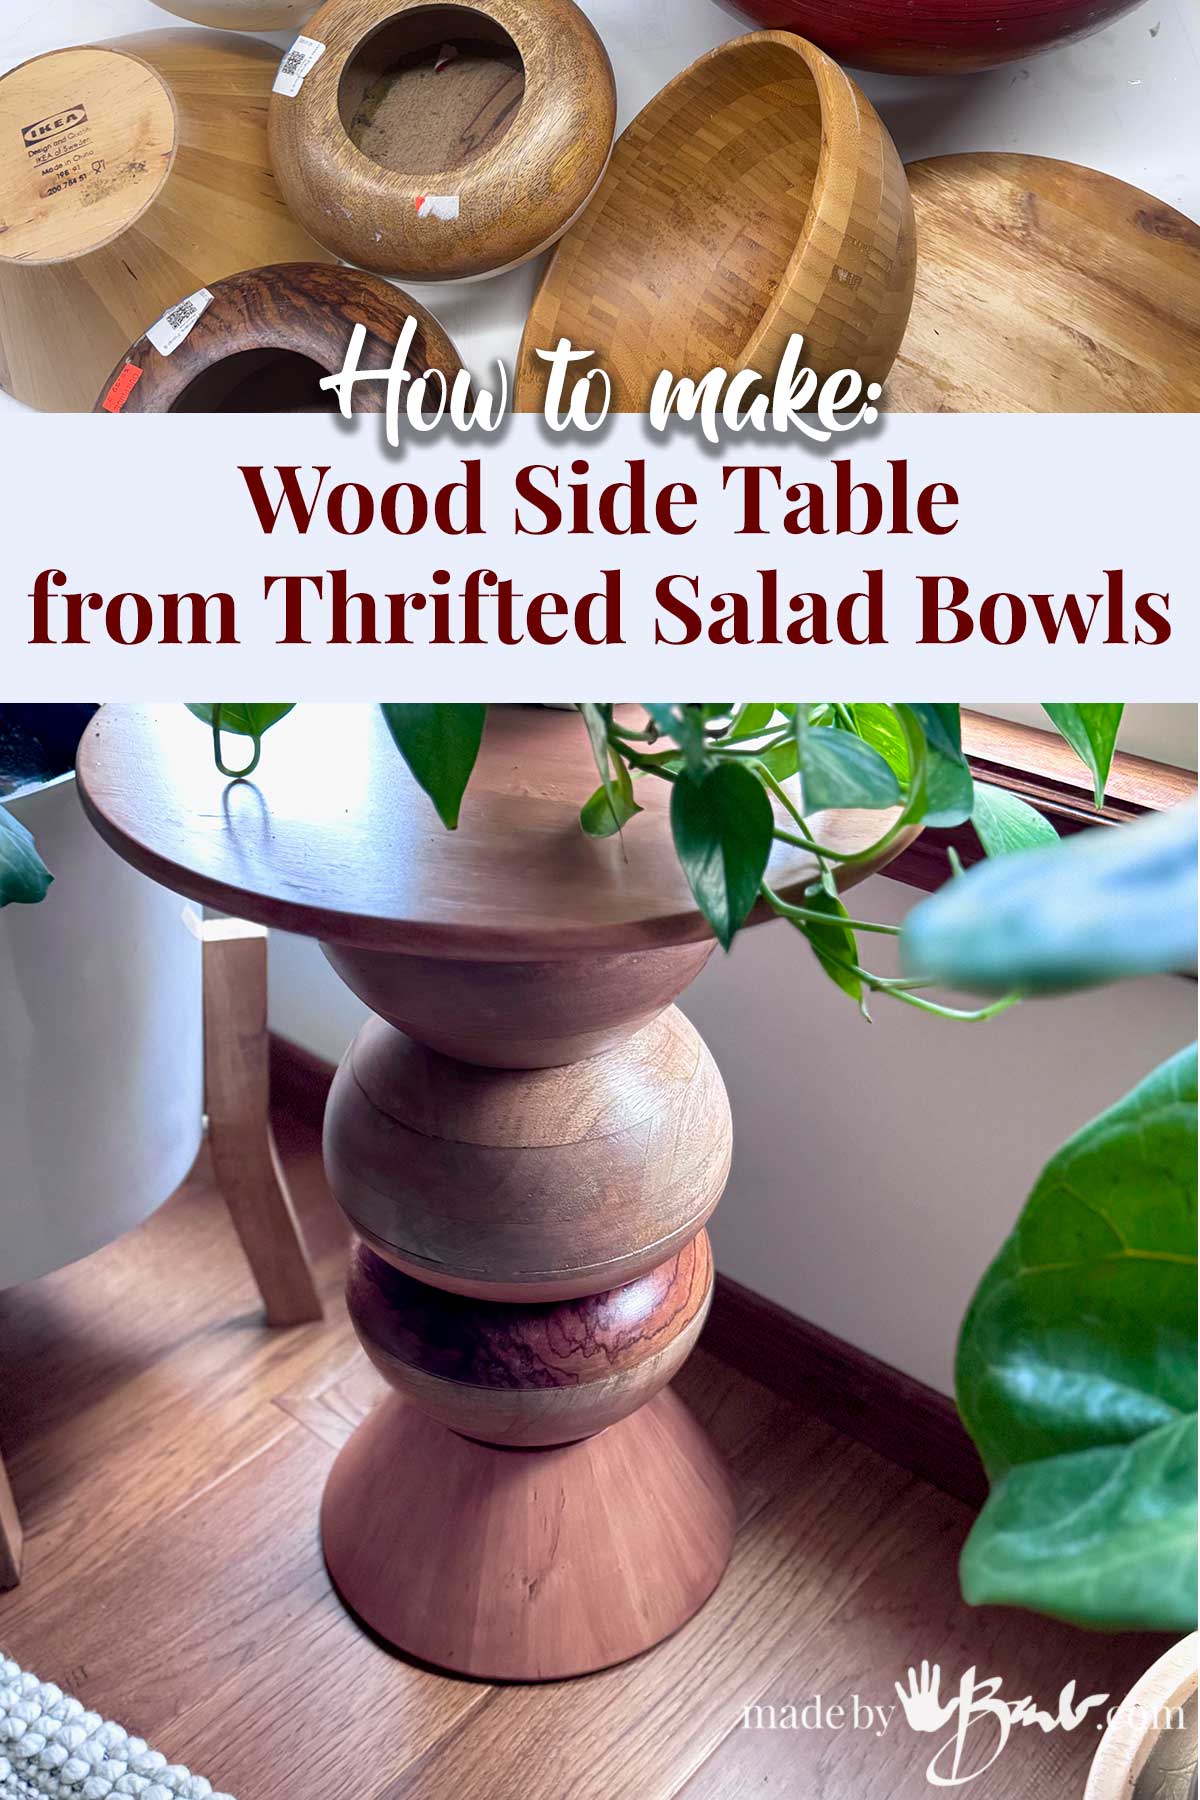
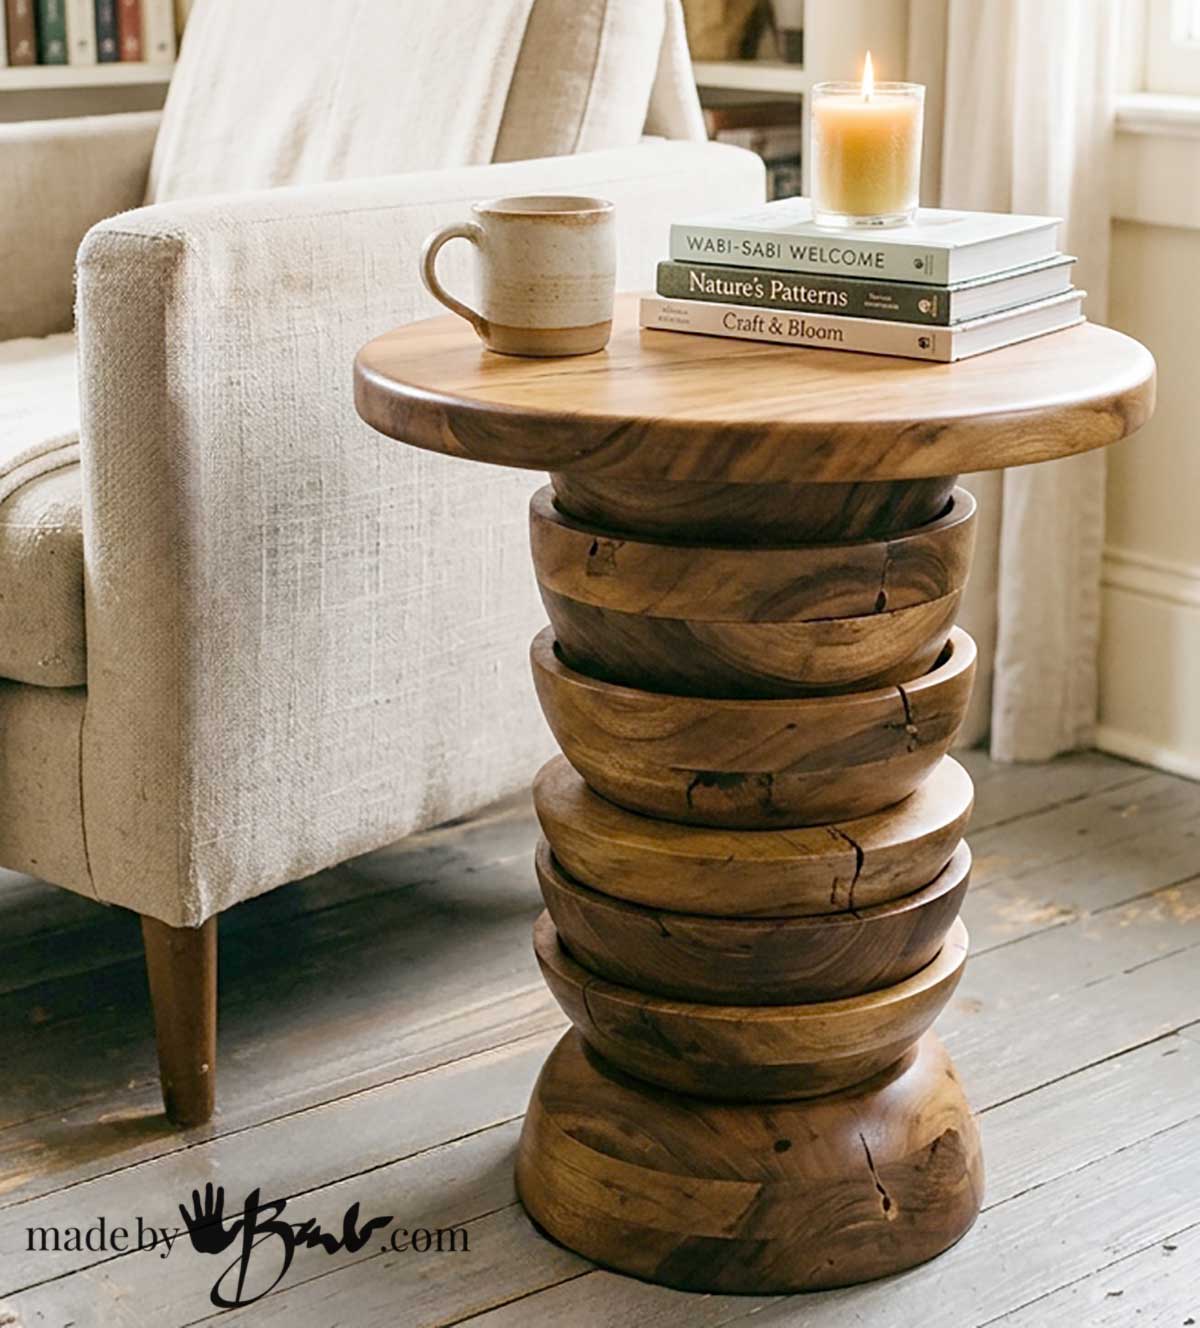
With a little creativity, thrifted wooden salad bowls can become the sculptural base of a unique DIY side table!
This is the kind of upcycling project I love: taking something inexpensive, overlooked, inexpensive and transforming it into a functional piece of home decor. The curved shapes of the bowls create a rounded, almost architectural look, and you can customize the finished table with natural wood, paint, or a combination of both.
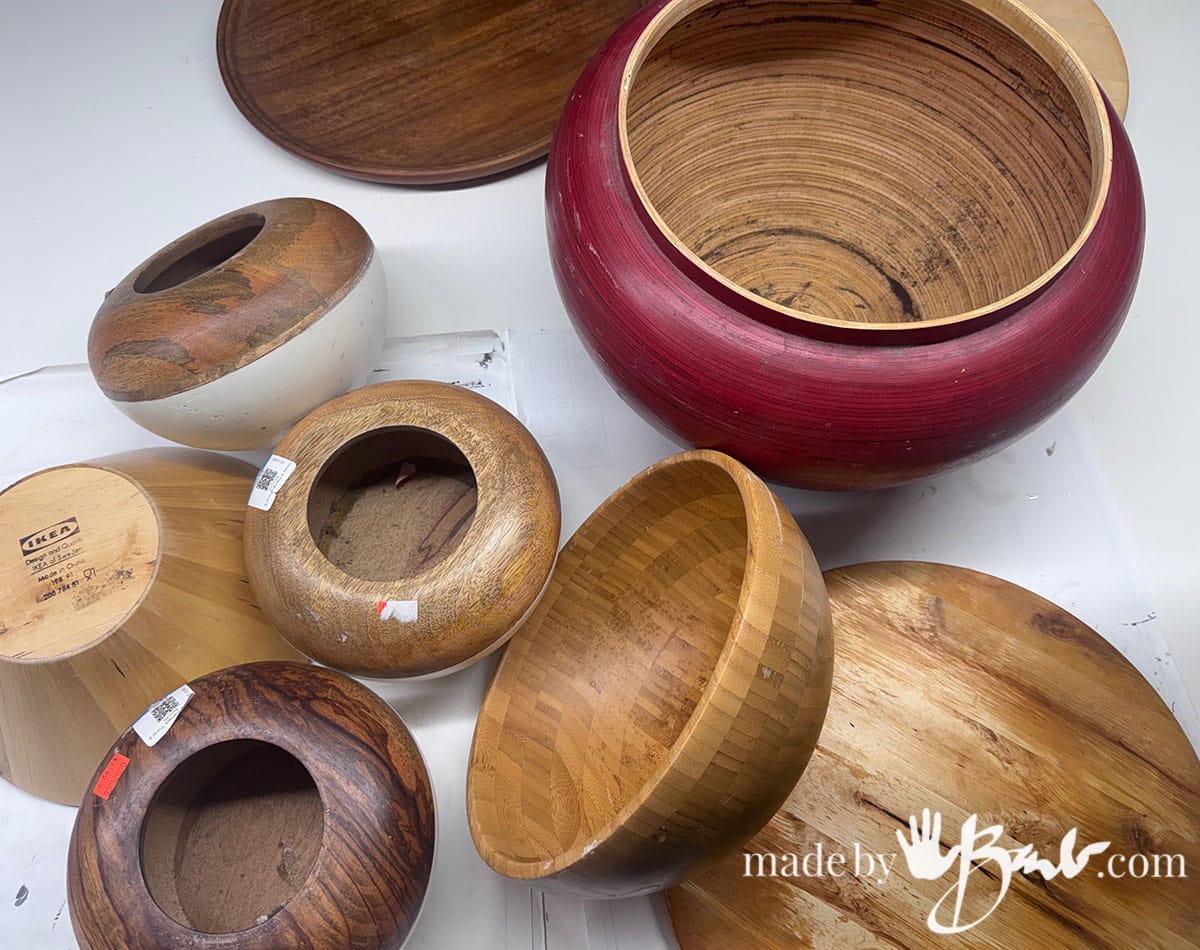
The best part is that you don’t need to find matching furniture parts. You can build your design around the bowls you discover.
Let’s see how to turn those thrift-store treasures into a one-of-a-kind wooden table.
Why Use Thrifted Salad Bowls?
Wooden salad bowls are often made from attractive hardwoods with lovely grain patterns. Even when their original finish is scratched or dated, the wood itself can still have plenty of character.
Their rounded shapes also make them interesting building blocks. By arranging bowls in different orientations, you can create sculptural supports that look quite different from traditional straight table legs.
Here are a few reasons to try this project:
- Budget-friendly: Thrift stores and garage sales can be great places to find inexpensive wooden bowls.
- Sustainable: Reusing existing materials gives old household items a new purpose.
- Customizable: Choose a natural finish, a colourful painted design, or a modern monochrome look.
- Unique: Every collection of bowls has its own shapes, sizes and wood tones.
- Creative: You can experiment with different arrangements before deciding on your final design.
Materials
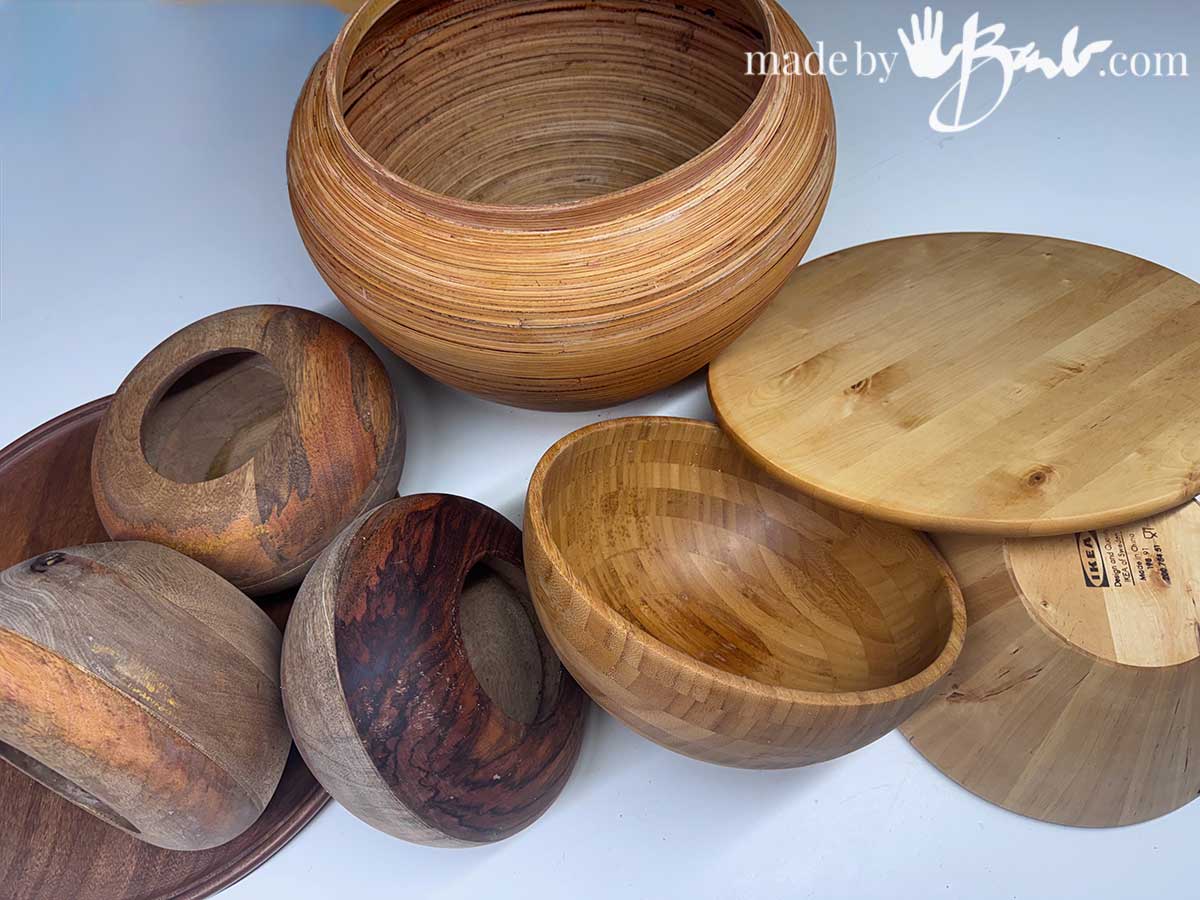
- Thrifted wooden salad bowls — ideally six bowls of similar size and shape for a three-support design
- A solid wooden tabletop/Lazy Susan or a suitably thick wooden round
- Epoxy or a suitable structural adhesive compatible with the materials
- Screws or other appropriate mechanical fasteners, if required by your design
- Sandpaper in several grits
- Wood filler, if needed
- Wood stain, paint or clear protective finish
Tools
- Measuring tape and pencil
- Ruler or straightedge
- Drill and suitable bits, if required
- Sanding block or sander
- Appropriate protective equipment
The bowls and tabletop need to be joined securely enough to support the intended use.
Step 1: Find the Perfect Wooden Bowls
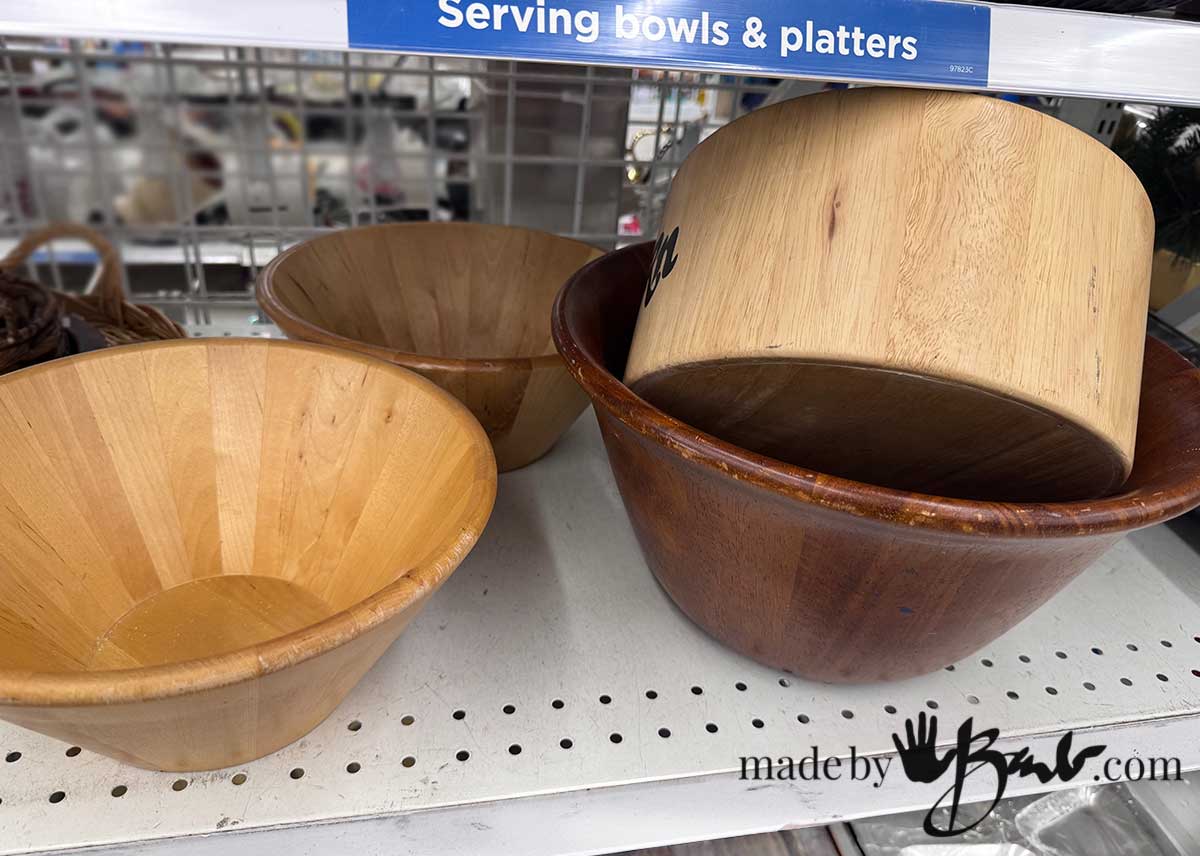
The first step is the treasure hunt! Visit thrift stores, secondhand shops, flea markets or garage sales and look for wooden bowls with interesting profiles. You don’t necessarily need a complete matching set, but the bowls used together in each support should have compatible shapes and dimensions. I often am quite surprised at how inexpensive they are.
Don’t worry too much about scratches or a faded finish. Those are cosmetic issues that can often be improved with cleaning and refinishing.
Tip: Take a measuring tape with you when shopping. A few minutes spent comparing bowl diameters can save a lot of frustration later.
Step 2: Plan Your Table Design
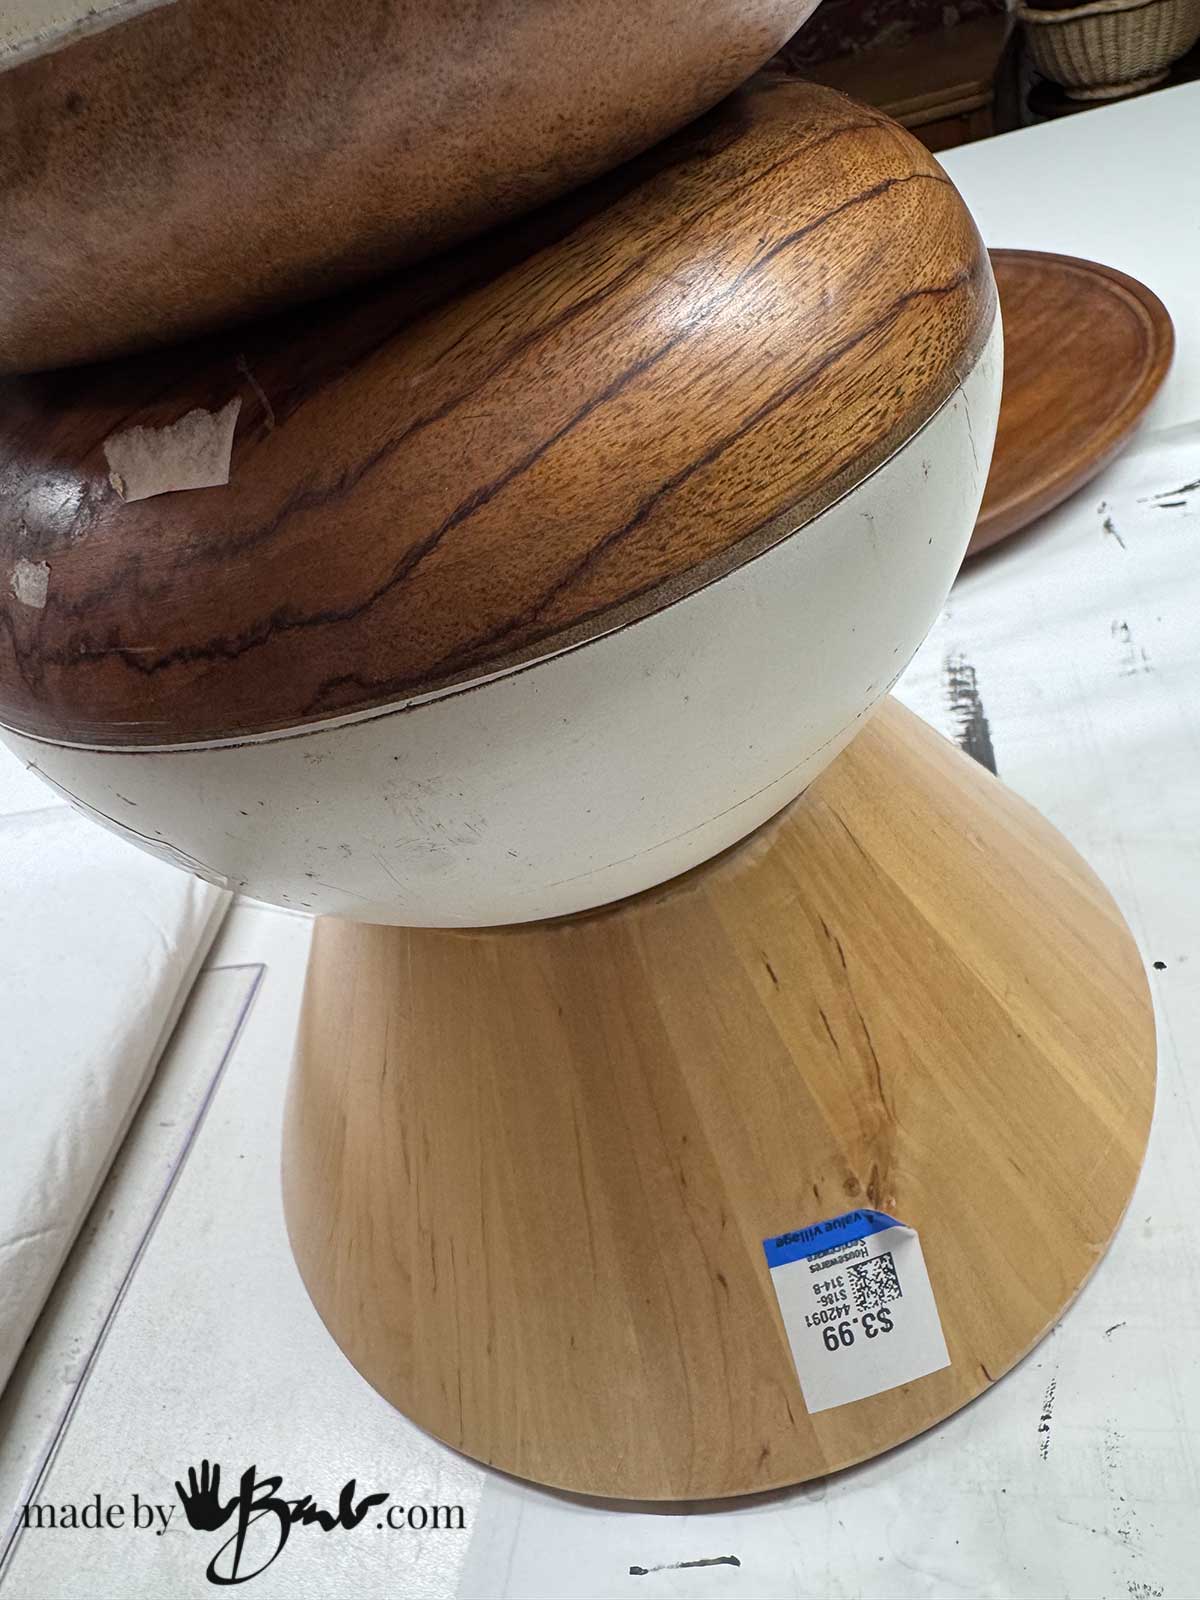
Before going too far ahead, experiment with the arrangement. Experiment with the stacking in different orders and orientation to see how well they sit and cover bases/rims. Their rounded forms can create a sculptural, almost hourglass-like shape when paired together. The tabletop can be round, square or another shape that complements the bowls but I find that wood Lazy Susans are quite common at thrift stores too.
Remember that the finished table needs to be stable as well as attractive.
Step 3: Clean, Strip and Prepare the Bowls
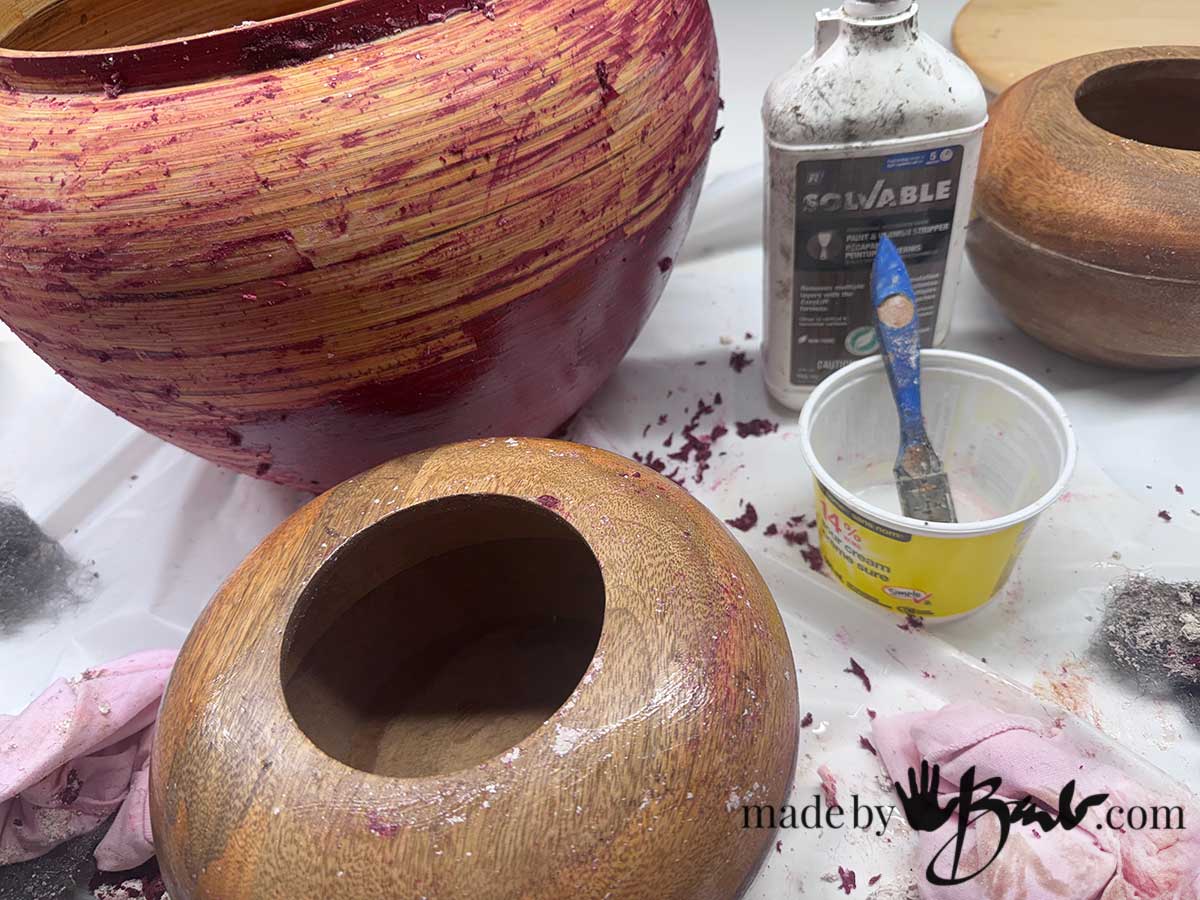
Give the bowls a thorough inspection before beginning the makeover. Remove any labels and adhesive residue, then clean the surfaces with a wood-safe cleaner. Avoid soaking the bowls, as excessive moisture can cause wood to swell or distort.
If you want a natural wood finish, lightly sand the surfaces to remove rough spots and improve the appearance of the existing finish. Start with an appropriate grit for the condition of the wood and work toward a finer grit for the final smoothing. If the finish is in disrepair you can easily strip the finish with a wood stripper. Paint on the stripper and allow it to soften the finish. Wearing PPE (and in well ventilated area) use some coarse steel wool and scrapers to remove the finish, wiping away any excess. You don’t necessarily have to remove every trace of the old finish if you’re planning to paint the bowls, but the surface must be clean and suitable for the new coating. Some sanding will clean the final surface. My bowls had some white paint so I really wanted them stripped.
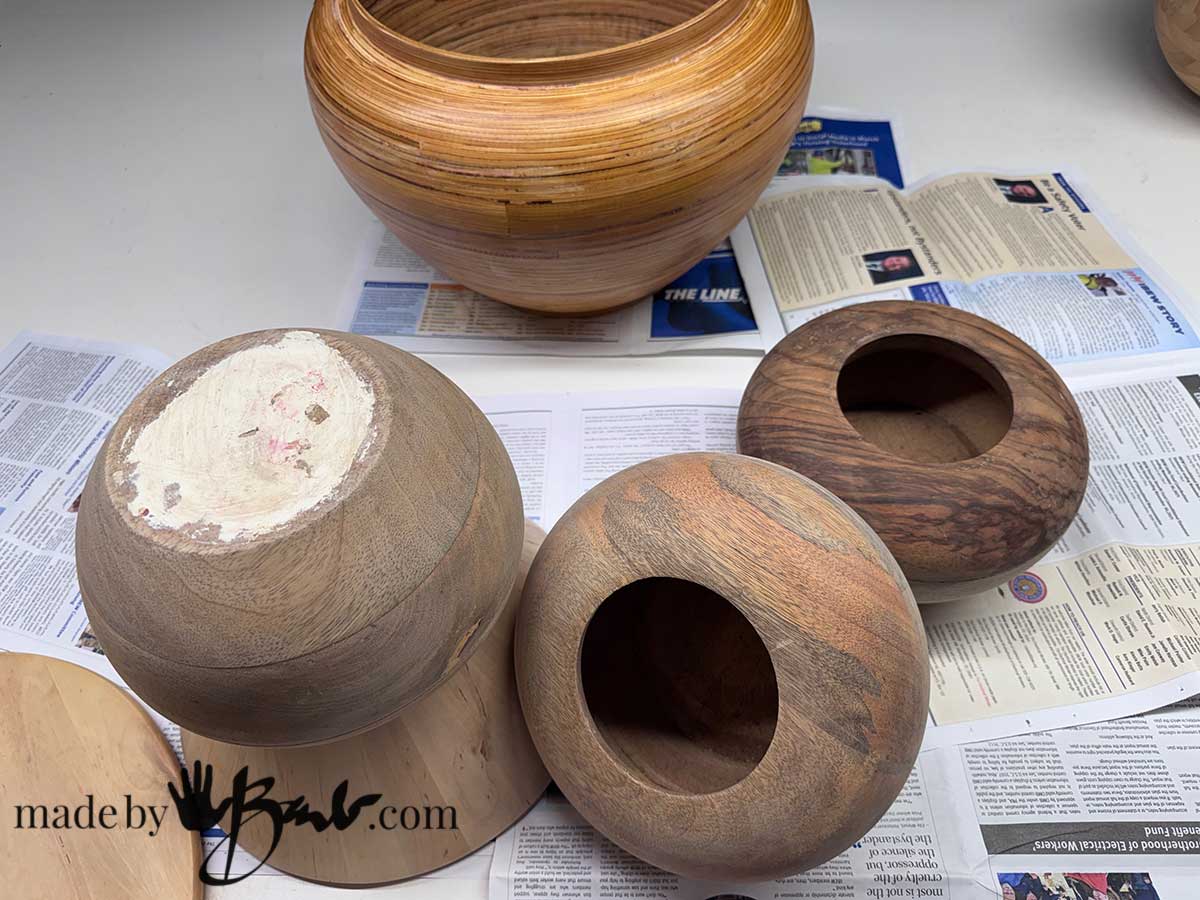
Pay particular attention to the rims and the areas where the bowls will be joined. These contact surfaces need to be clean and prepared according to the adhesive manufacturer’s instructions.
Step 4: Join the Bowls to Create the Table Supports
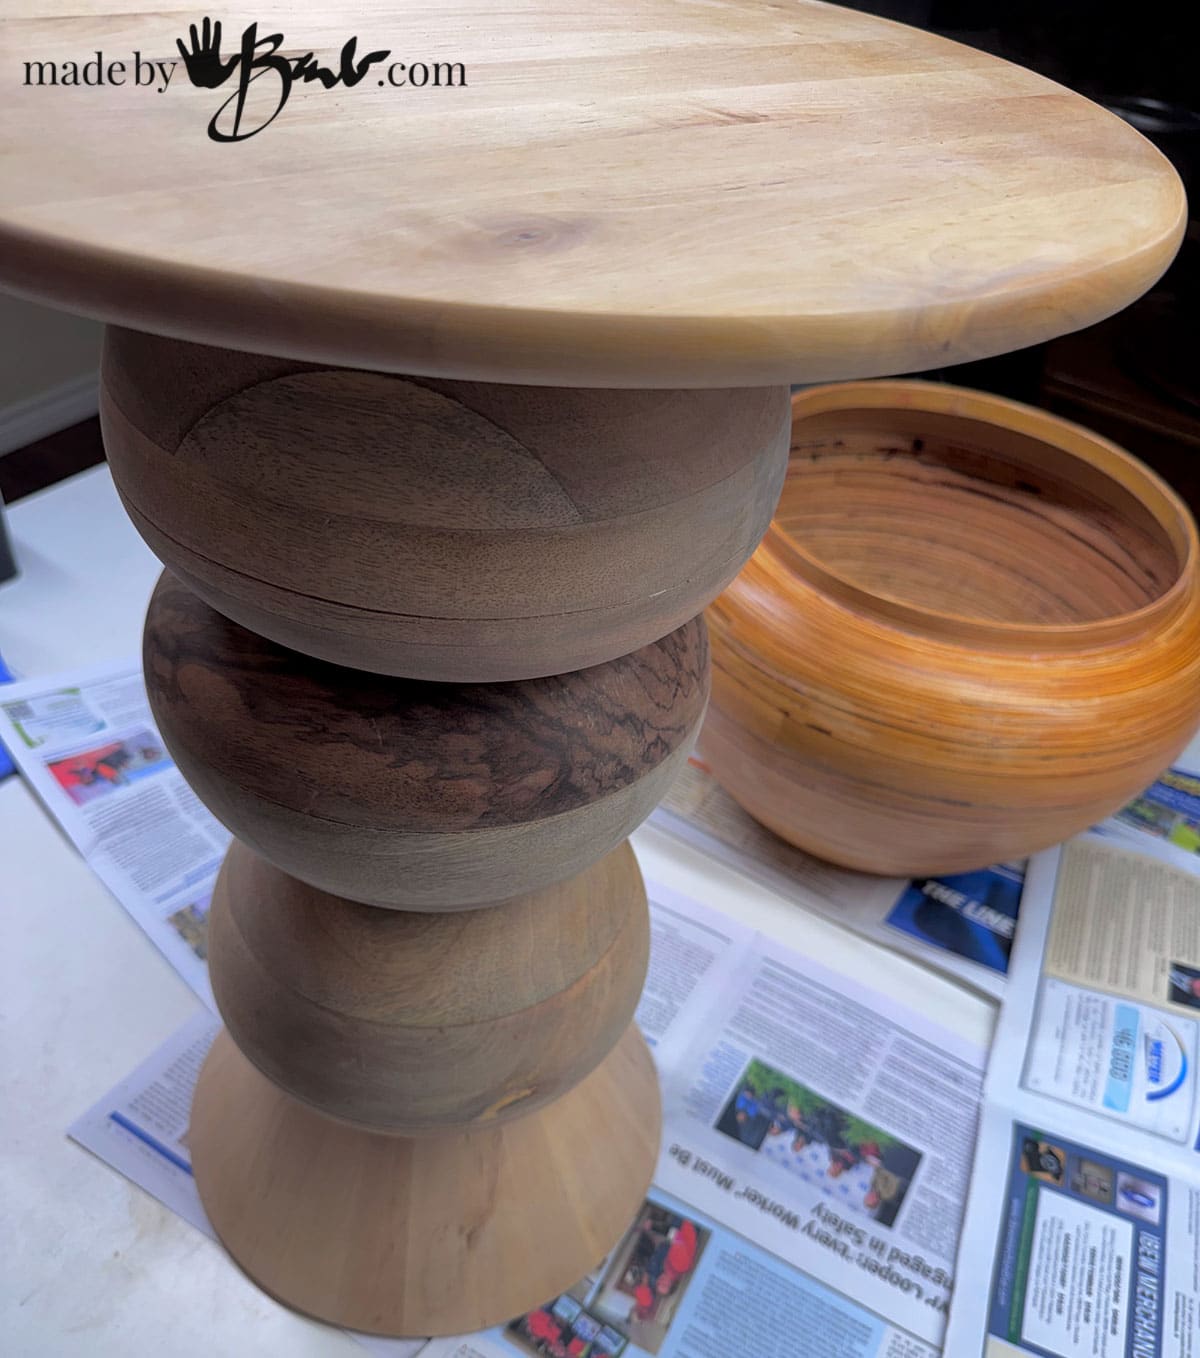
This is where the transformation begins!
For each support, position two compatible bowls rim-to-rim. Check that their edges align evenly and that the resulting shape sits straight. Dry-fit all the components before applying adhesive. This lets you check the proportions and make adjustments without having to separate a glued joint.
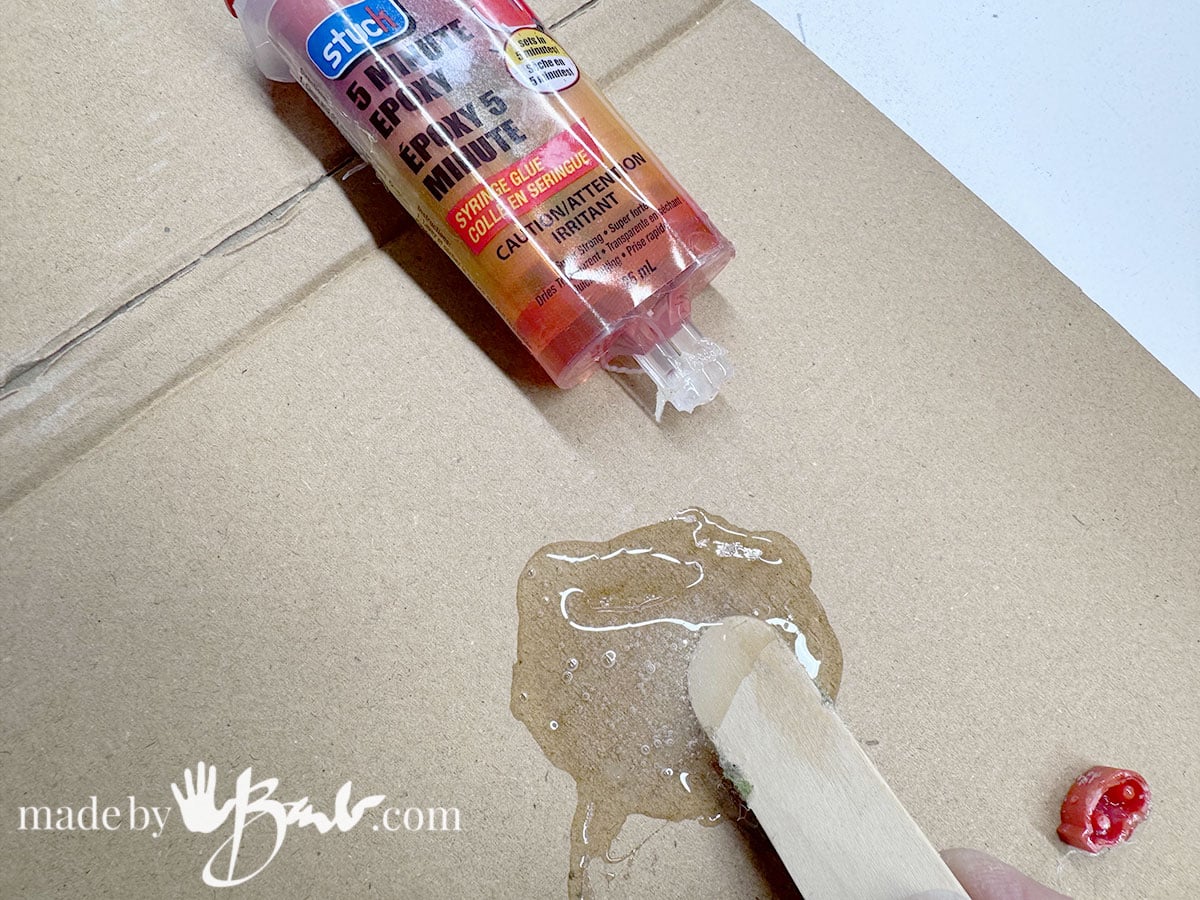
When you’re satisfied with the arrangement, use a suitable adhesive designed for the wood and the intended load. I love using 5 minute epoxy! Follow its instructions for surface preparation.
Important: The bowl joints will carry the tabletop and anything placed on it. Decorative craft glue isn’t suitable for a load-bearing furniture joint. If the bowl rims are thin, uneven or too narrow to create a strong connection, use a different support design or reinforce the construction appropriately.
Allow all joints to cure fully before moving on to assembly.
Step 5: Prepare the Wooden Tabletop
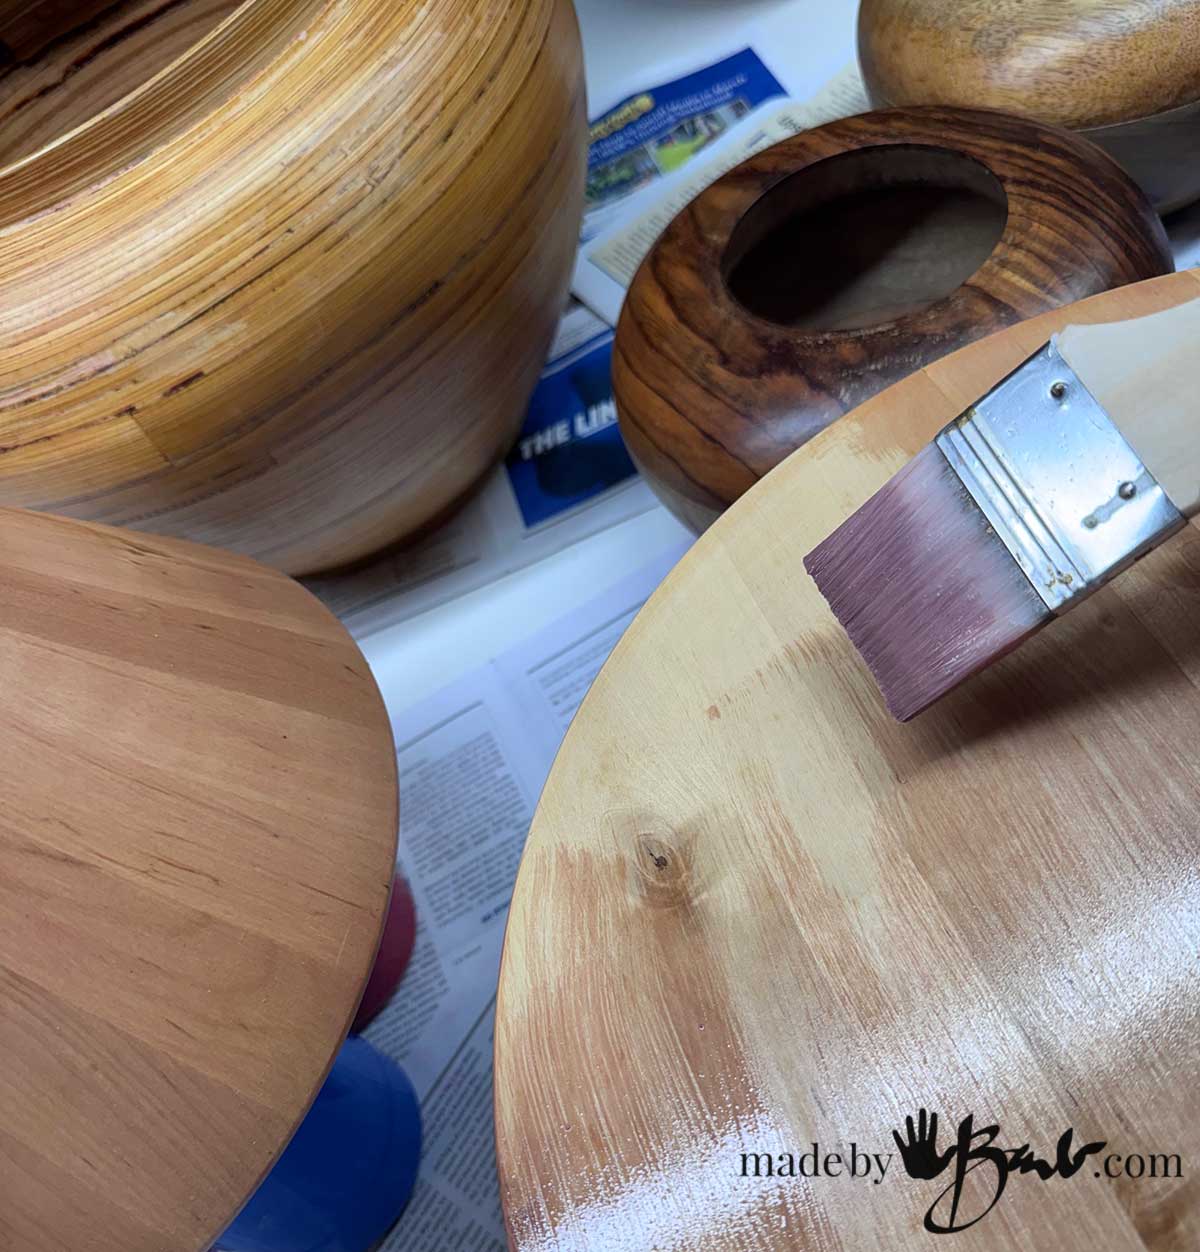
Now it’s time to prepare the top of the table. A solid wooden round can give the table a soft, organic appearance, while a square or rectangular top creates a different look. I used a Lazy Susan and took off the base.
Sand the surface and edges until they are smooth. Remove all sanding dust before applying your chosen finish. You can leave the wood natural, enhance the grain with a suitable stain, or even paint the tabletop in a contrasting colour.
Step 6: Choose a Finish for Your Upcycled Table
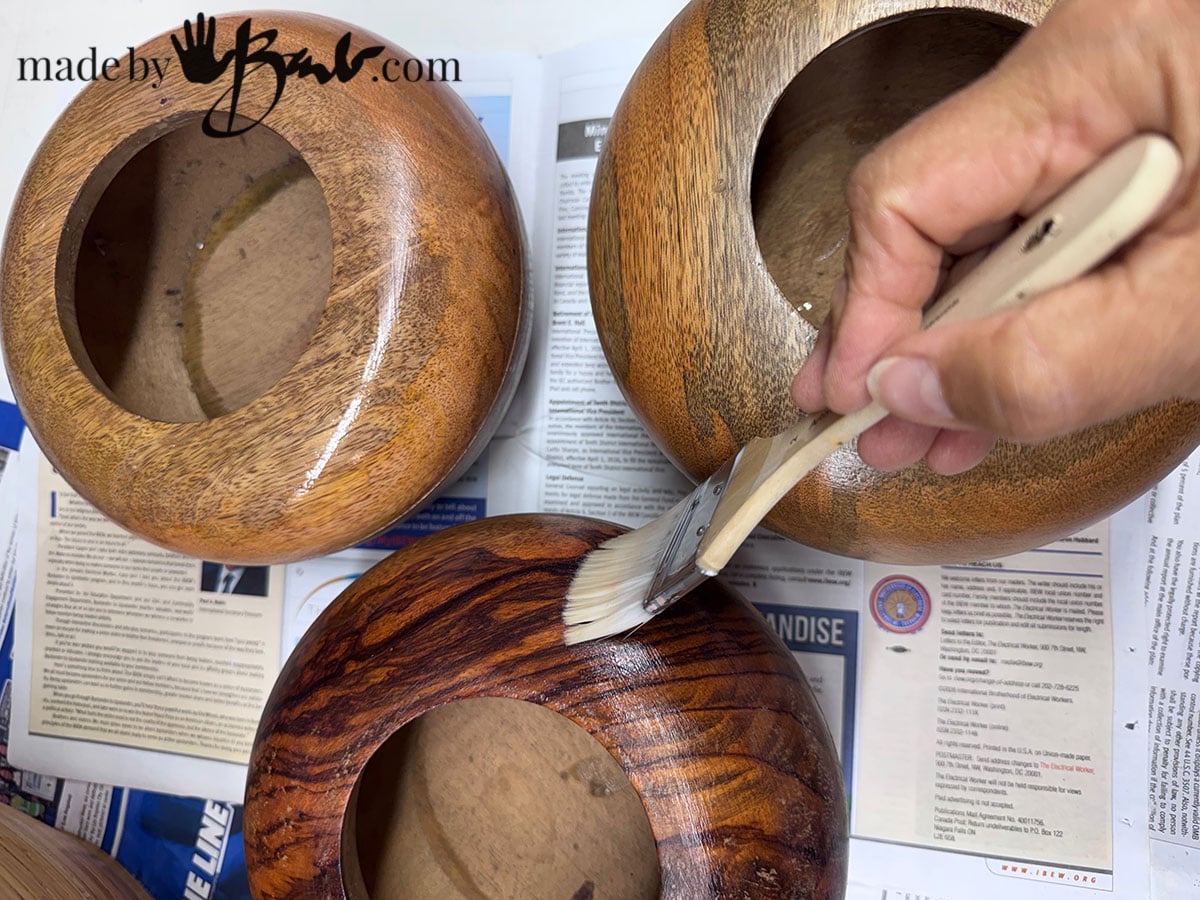
This is the fun part because you can completely change the character of the finished table with your choice of finish.
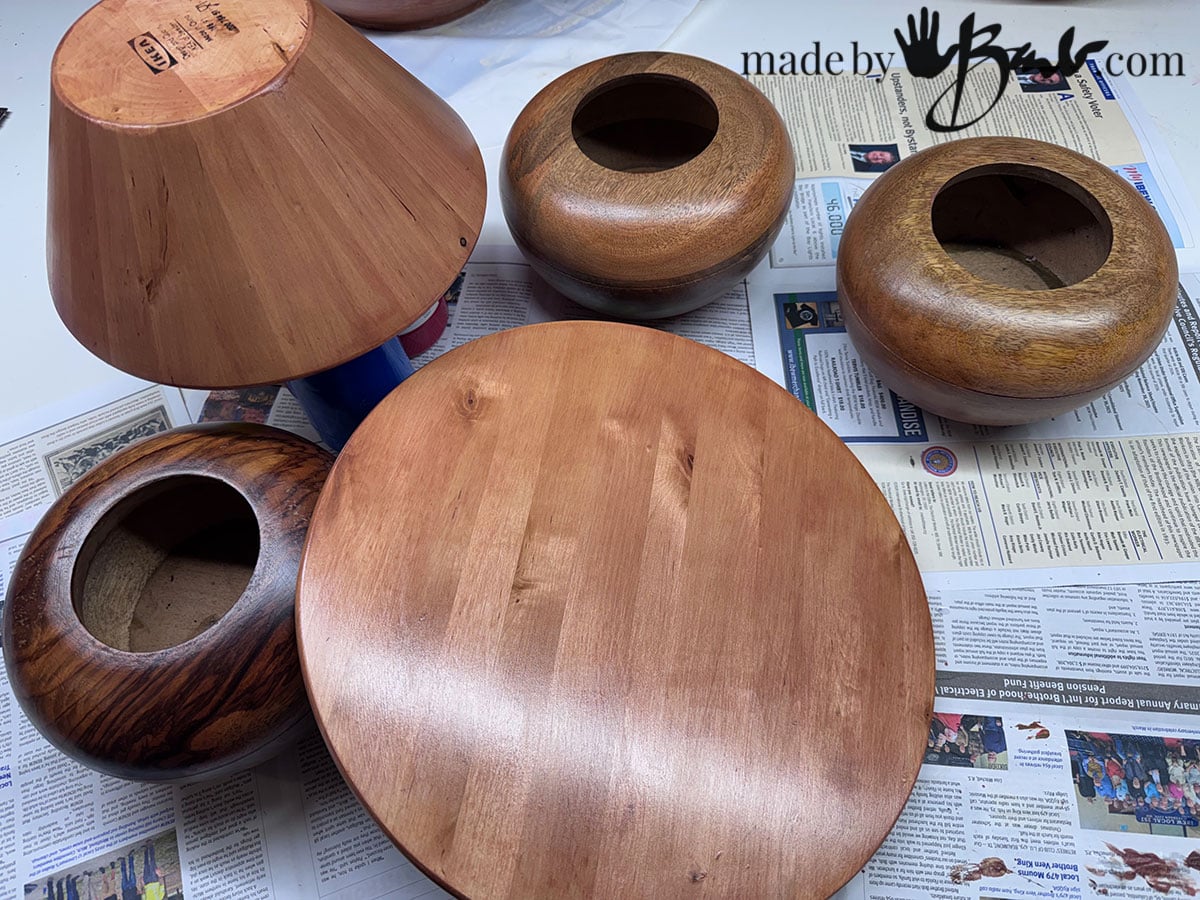
I chose to enhance the natural grains of the different woods so I chose to use a strong clear finish.
Step 7: Attach the base to the Tabletop
This is the most important structural stage of the project.
Position the supports beneath the tabletop, measuring carefully so the weight is distributed evenly. Mark their locations and check the arrangement from several angles. Most bowls have a flat base so there will be good surface attachment.
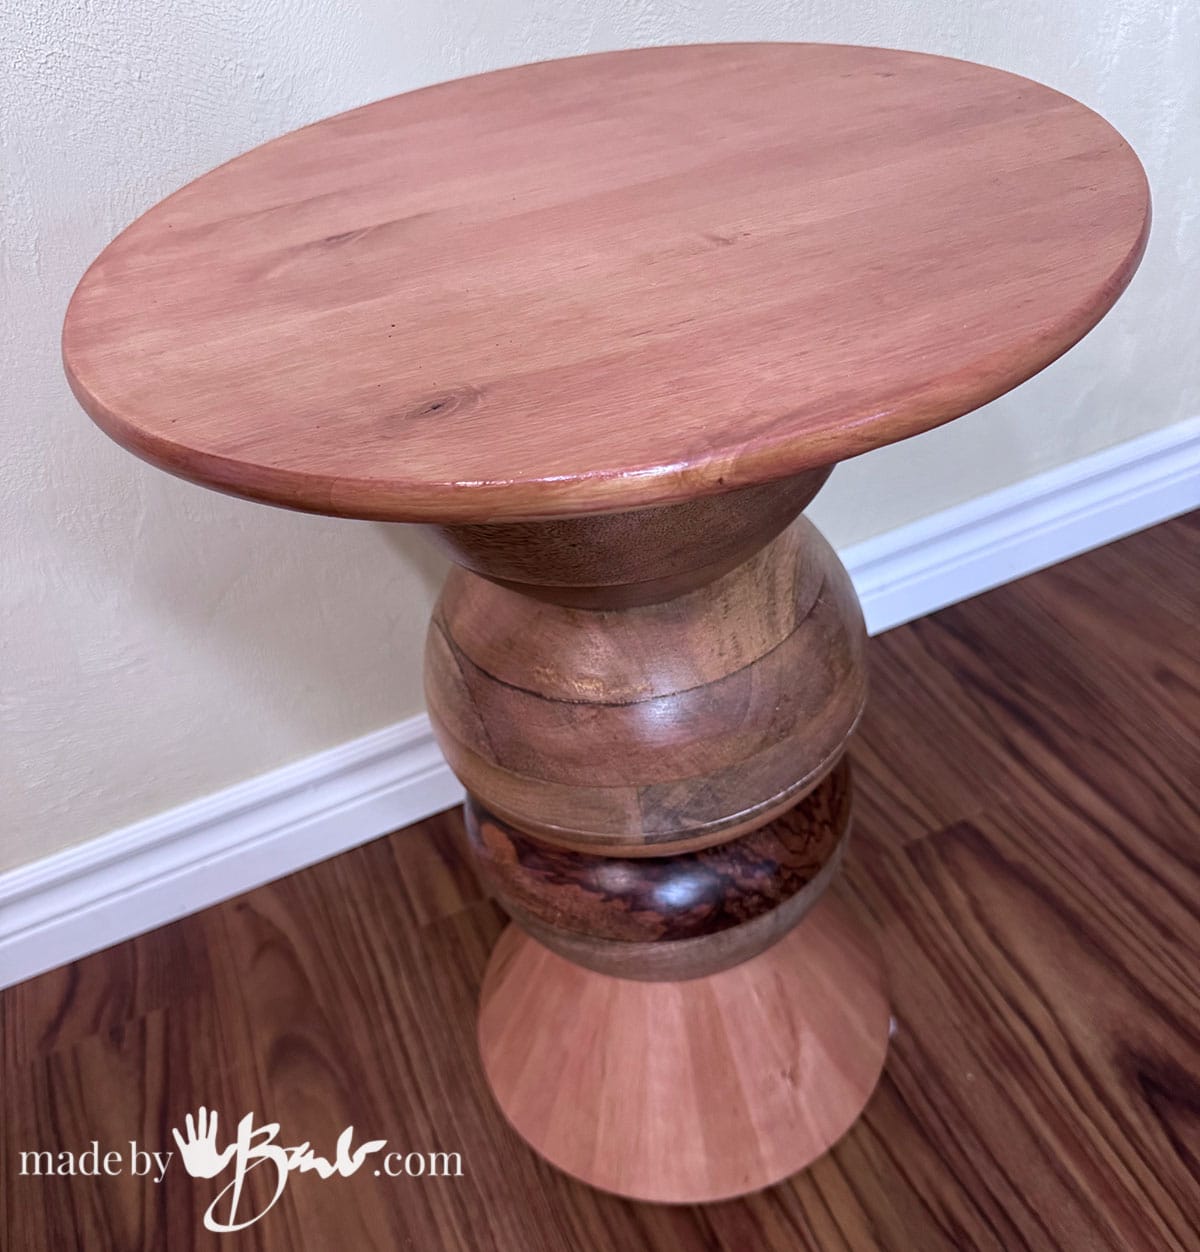
Before permanently attaching the supports, check that:
- The tabletop sits level.
- All supports make proper contact with the tabletop.
- The overall footprint is wide enough to resist tipping.
- The bowl joints are fully cured and secure.
- The attachment method is appropriate for the tabletop thickness and the intended load.
Allow all adhesives and finishes to cure fully according to their instructions.
Once assembled, inspect the table carefully before use. It should sit firmly on the floor without rocking or wobbling. Don’t use it if any joint shifts or if the tabletop feels insecure. For a taller table or one intended to hold heavier items, a more conventional reinforced support structure may be the better option.
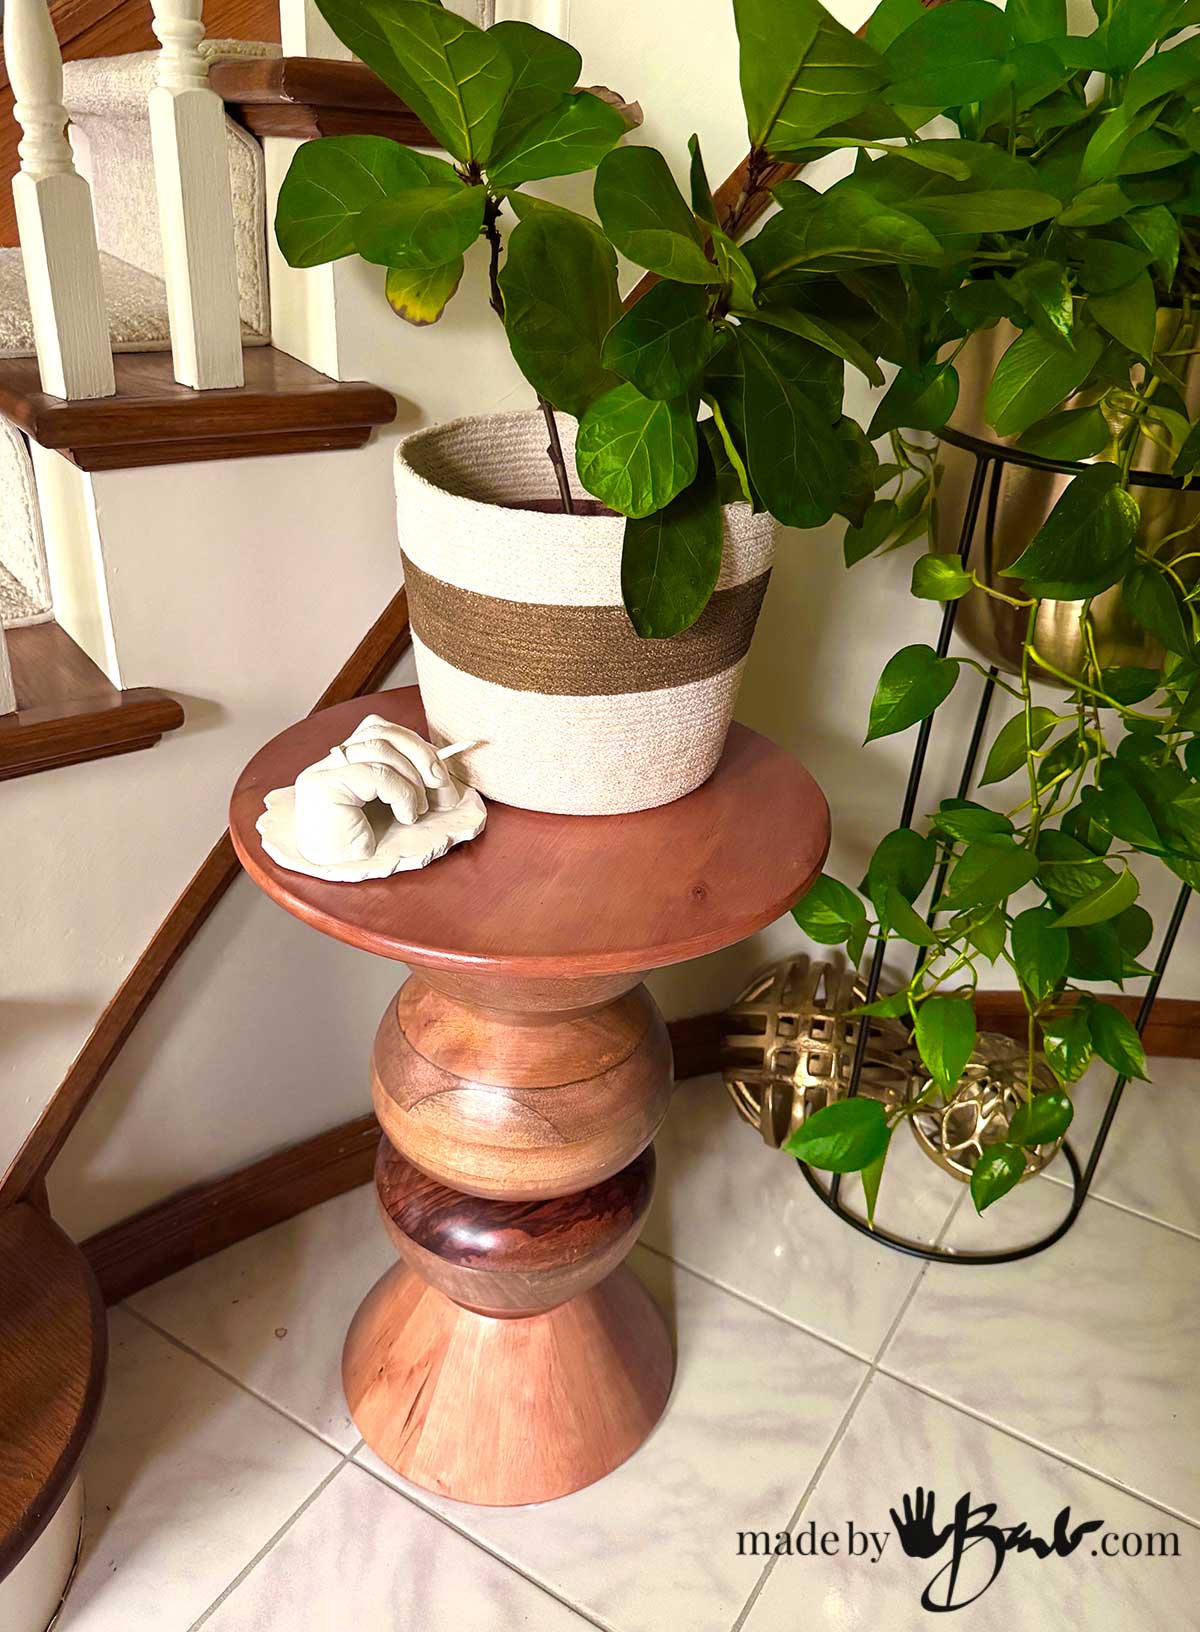
Step 8: Style Your New Side Table
Once everything is finished and secure, your upcycled table is ready to find its place in your home.
A small side table can work beside a sofa, next to a reading chair or as an accent piece in a bedroom. Keep the styling simple so the unusual bowl-shaped supports remain visible.
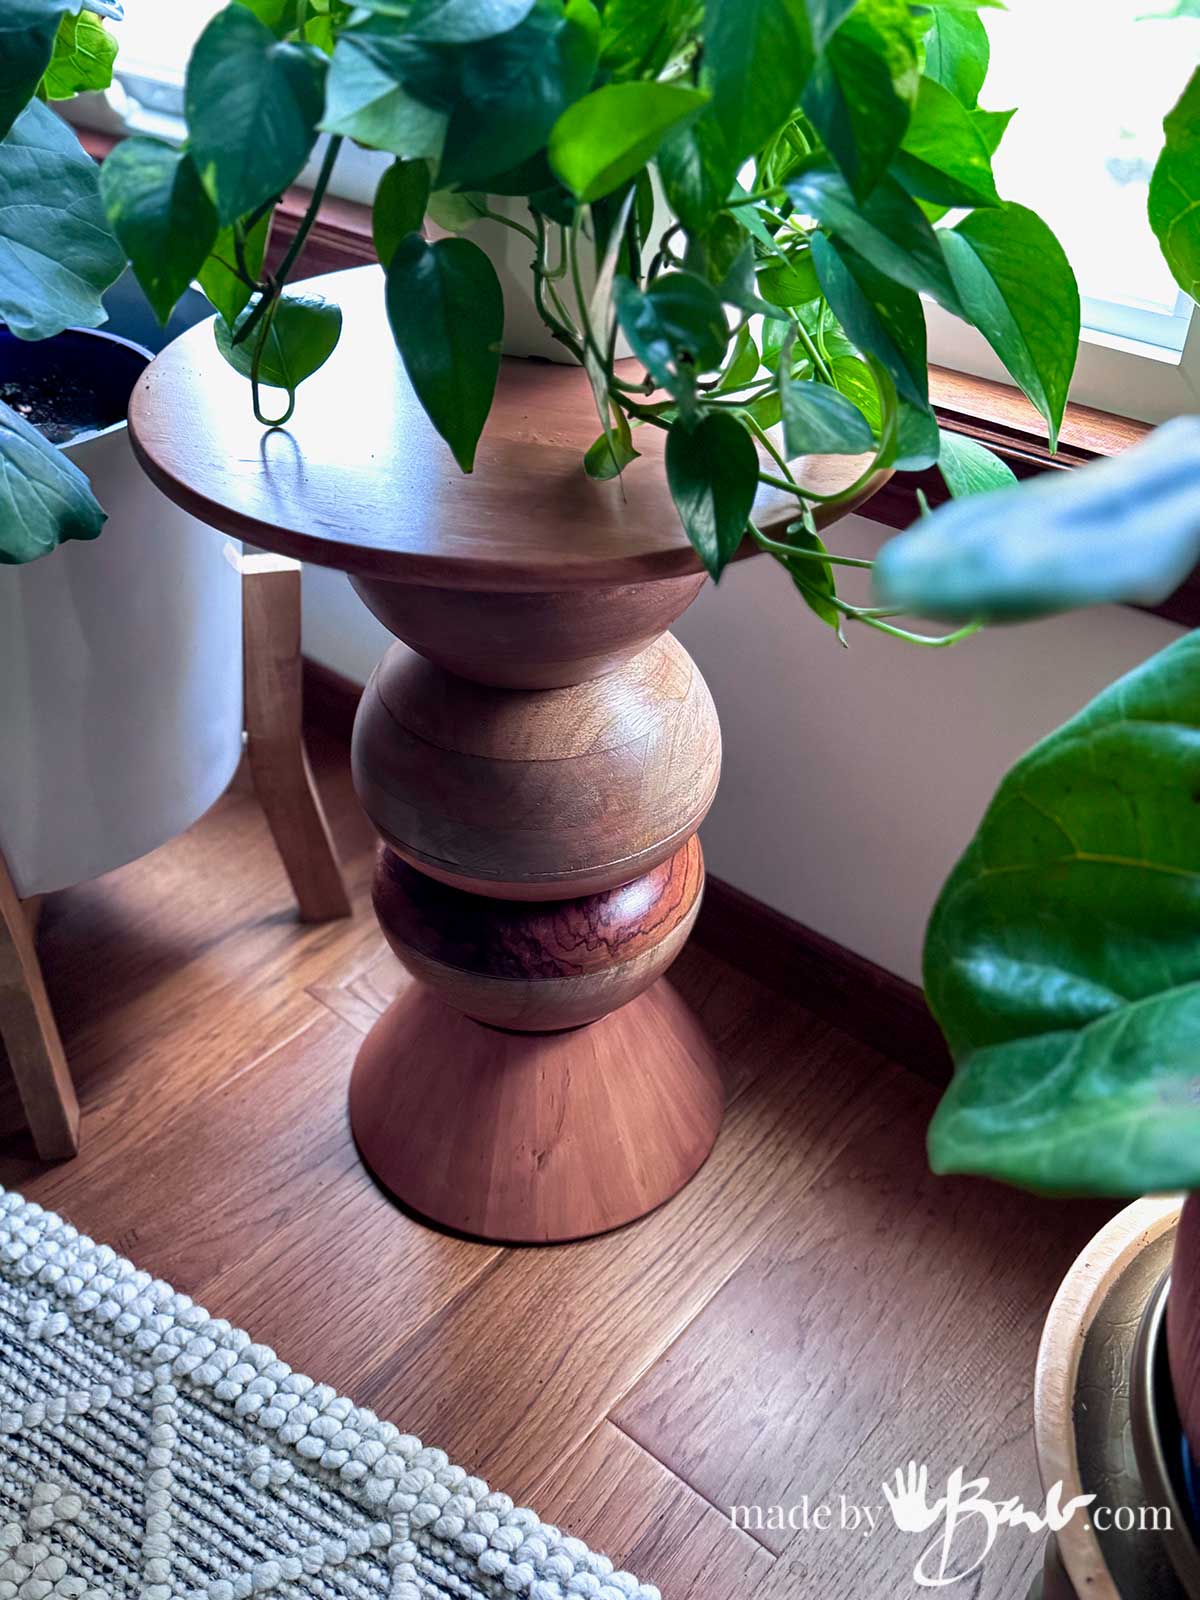
Try adding:
- A small potted plant
- A favourite book
- A handmade ceramic vessel
- A small lamp, provided the tabletop is stable enough to support it
- A simple decorative object that complements the wood grain
Avoid placing heavy objects on the table until you’re confident that the construction is appropriate for that use.
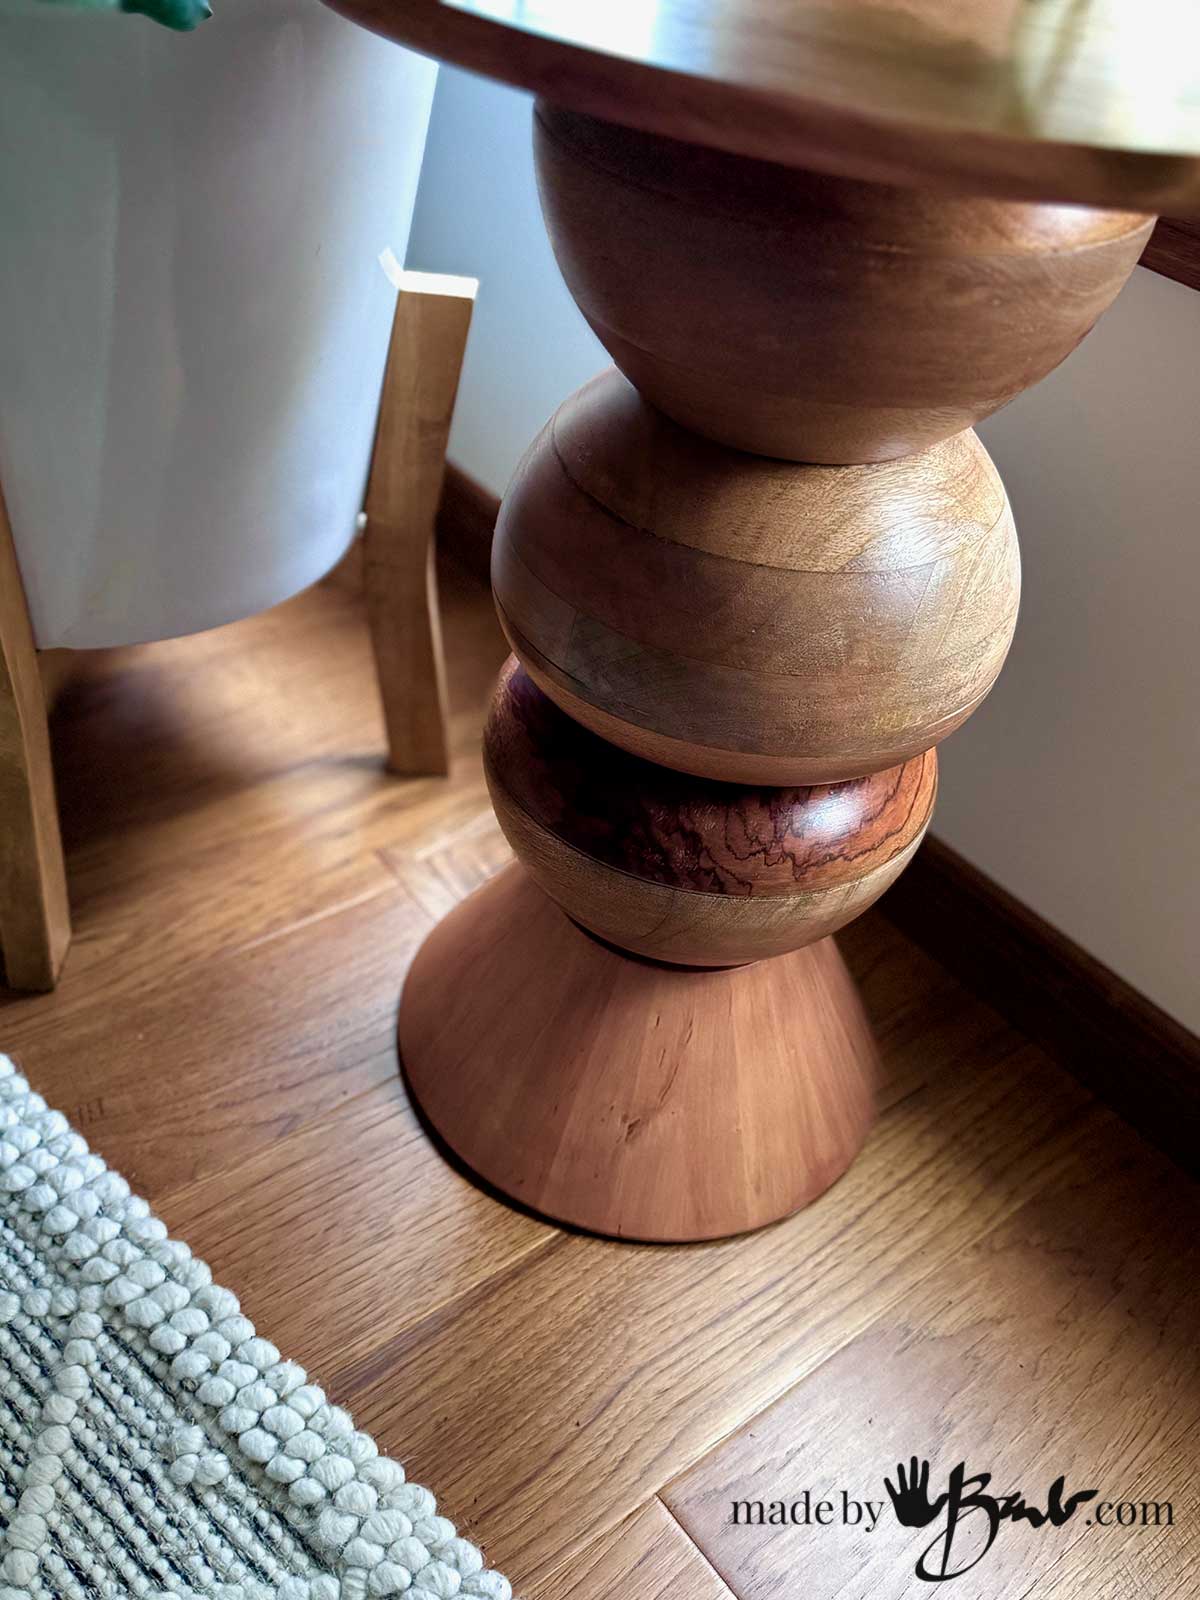
Tips for a Successful Thrifted Bowl Table
Choose the bowls before designing the table. It’s easier to adapt the tabletop dimensions to the bowls you find than to search endlessly for bowls that match a fixed design.
I just love how my table came out!!!
Frequently Asked Questions:
Can I use any wooden salad bowls?
Not every bowl is suitable. Look for structurally sound bowls with compatible dimensions and enough material at the joining surfaces. Very thin, cracked or uneven bowls may be difficult to attach securely.
Do I have to paint the bowls?
Not at all! Natural wood can be beautiful, especially when the grain varies between bowls. A clear finish is a good option if you want to preserve that appearance.
Can I make a coffee table this way?
Potentially, but a larger table requires more careful engineering. The supports, joints and tabletop must be designed for the larger size and intended load. A reinforced frame or conventional base may be necessary.
Give Those Old Salad Bowls a New Life!
The next time you’re browsing a thrift store, take a closer look at those wooden bowls. Their second life might be as furniture rather than tableware!