Huge Custom DIY Marquee
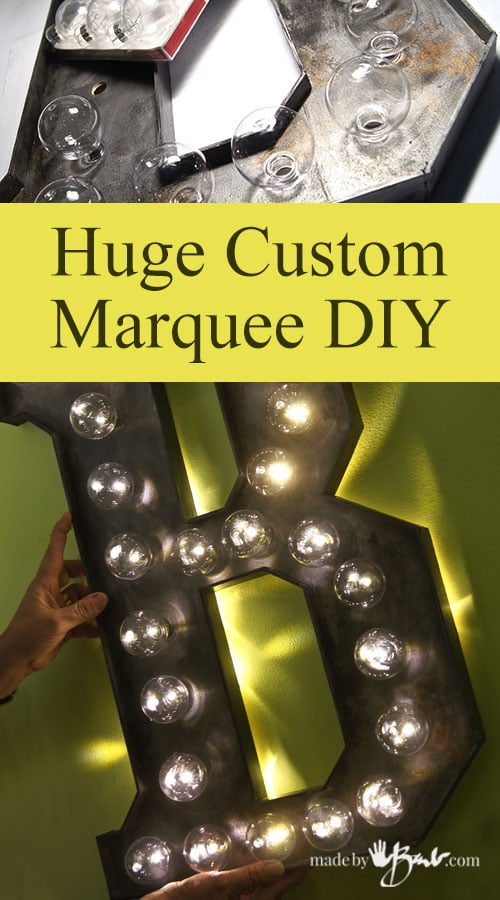
Have you felt like it’s dark all the time lately?! Well it’s time to change that and light up your life! This is a huge custom vintage inspired marquee sign DIY that doesn’t require any major tools. With a little bit of creativity you too can have your name in lights.
To simplify things, design a letter based on straight lines such as the above fonts. If you look for ‘sport jersey fonts’ you will see how simple they are. They are easy to draw up larger. This big ‘B’ is a whopping 16″x 24″.
What you will need:
- thin plywood (1/8″ is perfect)
- drill and 1/2″ forstener bit
- Large exacto knife/blades
- stencil of Letter or logo printed or drawn
- Acrylic paints in black and metallic colours of choice
- set of LED lights with proper number of lights (or more)
- glue gun and glue
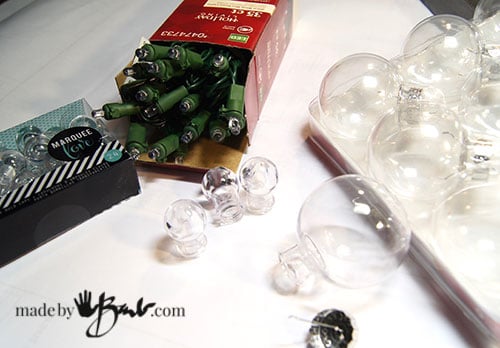
- clear plastic christmas tree balls (proper number for letter design)
- sheet of cardboard/matt board
- piece of wire about 6″ or wire hook (for hanging)
The Letter:
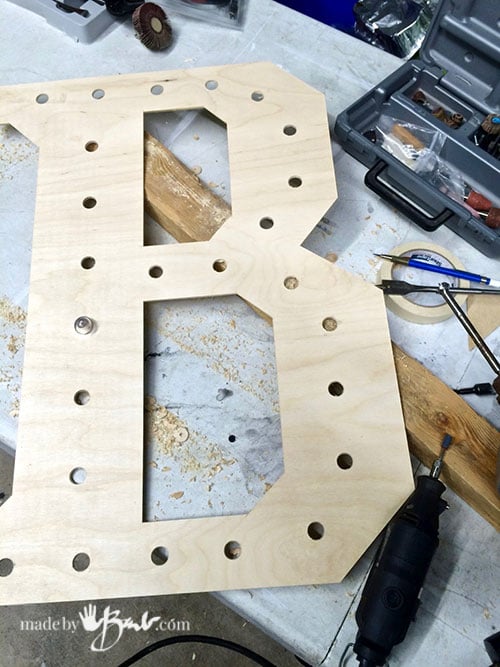
Draw up your letter or symbol. Keep it simple, use straight lines and consistent angles. Plan the spacing of the holes. Try to keep the distance consistent between the holes and consider how many lights. I usually find my light set first and then plan to use as many as possible. If however there are more lights than you need it is ok to have a few left on the back and not cut through. Mine is 25 holes, but the set was 35 lights.
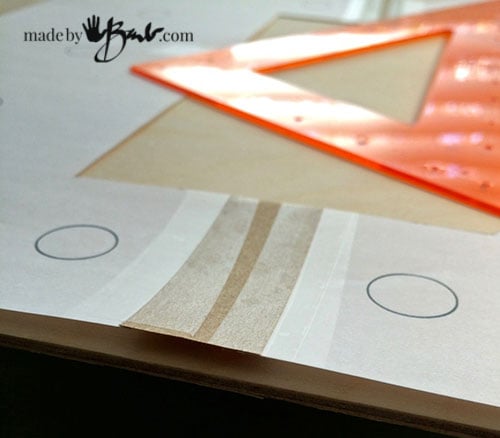
Tape the paper to the plywood. This plywood is quite thin so I cut it with the Xacto knife and straight edge. Cut a couple times carefully on each edge.
Follow around the pattern. Make sure the pattern doesn’t move. Mark the centres for the holes.
Flip the pattern over and tape it to the back exactly the same place as it was on the front. This is key as once it is also cut with the knife, it should be quite easy to just snap the plywood. If you choose you could use thicker wood and a saw. I like projects that don’t need a lot of major tools or make a lot of mess (saw dust)
Drill the holes:
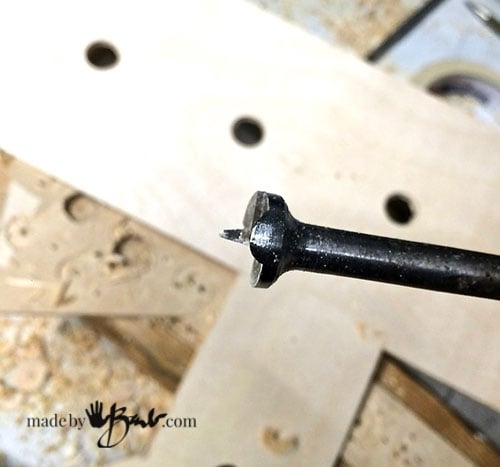
Once the shape is finished, the holes need to be cut.
This forstener bit is good to cut through the plywood. The regular drill bits were too rough on this type of wood.
There are multiple options for lights. Sets that include the bulb or finding another way. (see examples further below)
Adding some dimension:
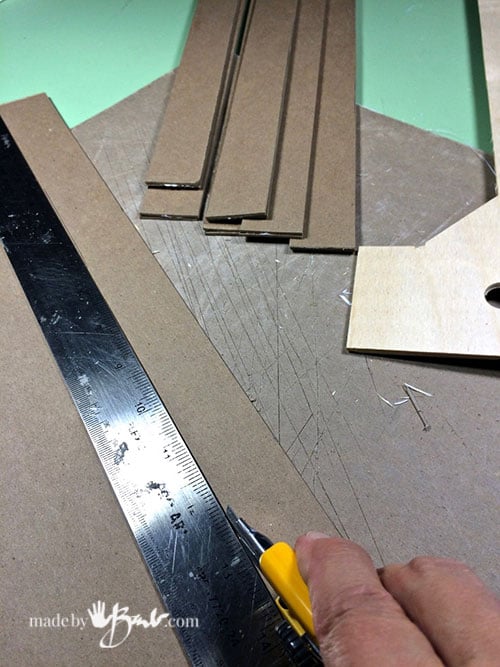
To give more of the authentic metal framed look I cut strips of cardboard about 1″ wide. Cut quite a few. They will be following all around the outside shape of the letter.
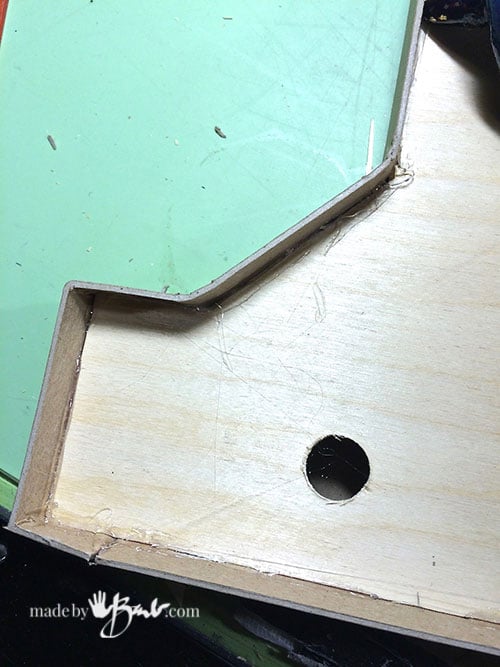
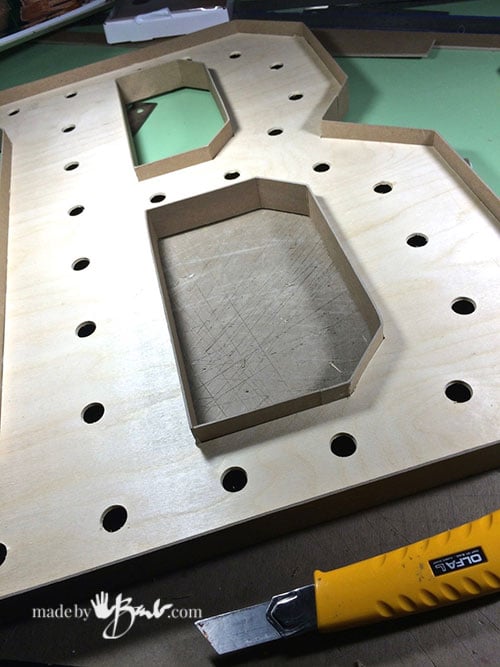
Glue the strips to the edge of the plywood with the glue gun. Do the majority of gluing from the back to keep the messiness there. They should be centred on the plywood edge so there is a lip on the front and back. This give the look of the metal signs from years gone by.
It looks quite professional now. Bend the corners as you work around. The real old metal signs weren’t that perfect either so don’t be too fussy.
Faux Metal Finish:
Now it’s time for some paint fun! I like to give it a solid coat of black acrylic paint first.
To give the galvanized metal look dab and brush different metallics. Keep it blotchy and textured to give that vintage look.
Notice the brush strokes? And some copper/rust look. Good job!
The Lights:
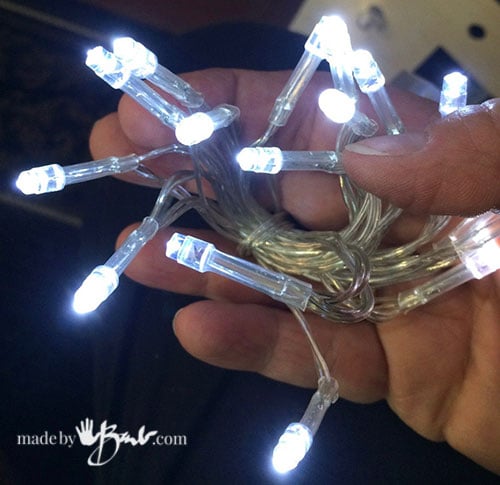
Now, when it comes to the lights there are many options out there. This ‘edison’ style is actually LED plastic set. The bulbs could be unscrewed to make inserting through the holes even easier.
Another option is the tiny battery operated type.
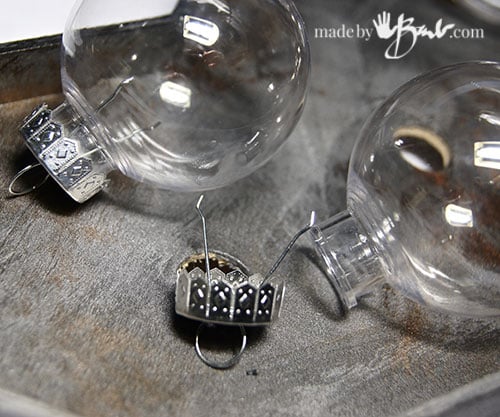
There are some small bulbs available at craft stores but they tend to be tiny. So I discovered another great option! Use the clear plastic christmas tree balls. They are quite inexpensive and are quite large. Most LED mini lights will fit inside.
These are wonderful as bulbs! You have to think ‘outside the box’ when you need to fix a problem. Large, clear and round, perfect!
This was another option as this set could unscrew. I decided to use the large christmas balls…
Doesn’t it look so ‘vintage’?! This is a test to see how they fit. It’s going to look fabulous!
The large bulbs are then glued from the front. You also have the option of drilling larger holes to inset them, but it wasn’t a problem.
As I always say; go big or go home…
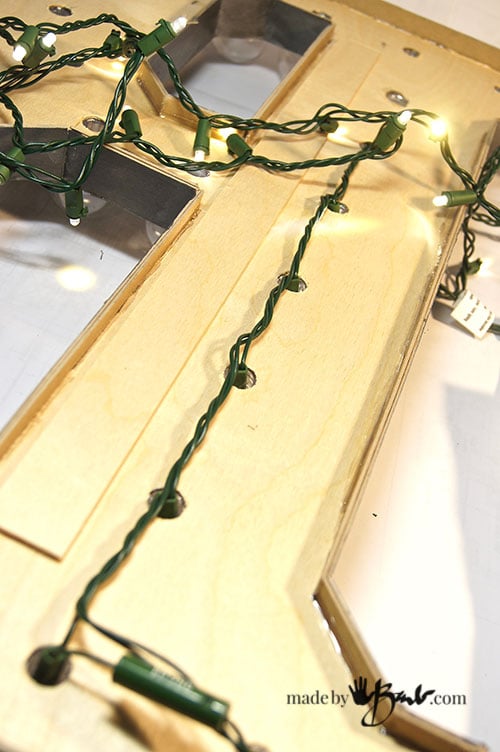
Time for the lights. Flip it over and plan how the set will follow around. The extra ones were secured on the back. Use a small drop of glue to secure each. If it needs a new bulb you want to be able to pull it out later. The LED lights do say that they will last for a long time AND they operate without heat.
Add a bit of tape if the cords are unruly. Secure the plug closest to the bottom. Tape the extra spare bulbs to the back so that you can find them later.
Glue a loop of wire to hang by. Test with your finger to see where it hangs level and is balanced. Glue the loop there so it will hang straight. This marquee is quite light weight so it only needs a picture hook. It is also very sturdy considering it is only thin plywood and cardboard. It is only for interior decorative use so it is fine.
Shine Bright:
It is definitely a statement piece. Notice the extra lights give a sparkle from the back, a nice addition.
I’ll say it again… awesome!










Awesome! Yes, I am still wandering around your blog 2 hours later LOL. You are really inspiring! I love your idea of using plastic Christmas balls over the lights. I wish I had seen this before I made my grandkids initials. Great job!! Can’t wait to see what you come up with next!
Thanks… always quite busy!
Always sad that your images don’t show up on mobile devices. I would think there Must be a mobIle version that your blog could be written in….? I appreciate your info alot.
My blog definitely has a mobile versions, as the software is kept up to date. There may be a setting to “load images’ that you need to set. My mobile devices show all images fine when I test. Make sure you are viewing directly at my site as well. I get most viewing with their mobile devices so I can’t imagine it happens for all. Hope that helps…
I want to build a frame for a 20x 30″ poster that will be used as a sign in. I would like to use the bulbs on the frame.
Sounds like a cool idea! Plan the spacing and the cord placement and it should be fine! Good luck!