Tied Concrete Bag Planter
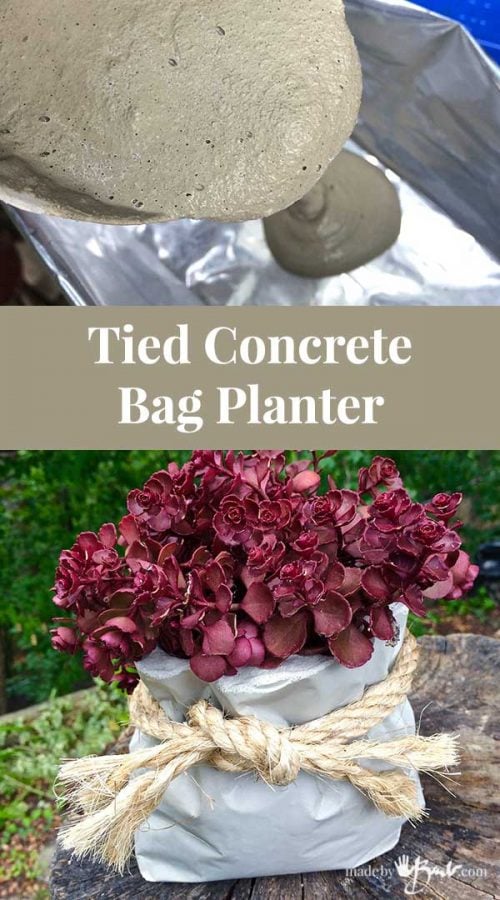
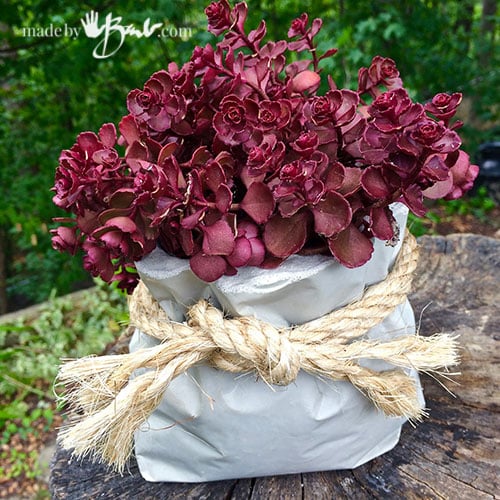
Autumn is in air, soon the snowflakes will fly so I have to squeeze in the last outdoor concrete projects now. My ‘concrete-ideas-brain’ is always looking at every container and vessel to imagine of it can be part of a concrete project. So when putting out the recycling I ‘eagle-eyed’ the foil bags… Yes; another easy, no mold type of way to use concrete! Check your recycle bin and then follow how to make your own Tied Concrete Bag Planter!
Tied Concrete Bag Planter Supplies:
- Heavy Foil bag from things like coffee, dog food, cat food
- Plastic container that fits well inside the foil bag above
- Stones or something similar
- RapidSet Cementall
- Mixing container, water, mixing spoon, Gloves & Dust Mask
- Sisal or Jute Rope
- Pliers and Sanding disc (as seen in my tips post)
The hardest part of this project is finding the bag and a plastic container that fits inside the bag. Coffee and dog food bags are made of a heavy foil that holds some of its shape. Potato chip bags could possibly work but they do not have a square bottom shape. Clean the bag and scout for a plastic vessel that will be the inside void. I used a large yogurt container as it is also very flexible.
Step #1 Ready the bag
After washing, fold over the top rim and plan how tall it will need to be according with the inside vessel. Ideally the amount of size difference should not be too large or it will need a lot of concrete and become quite heavy.
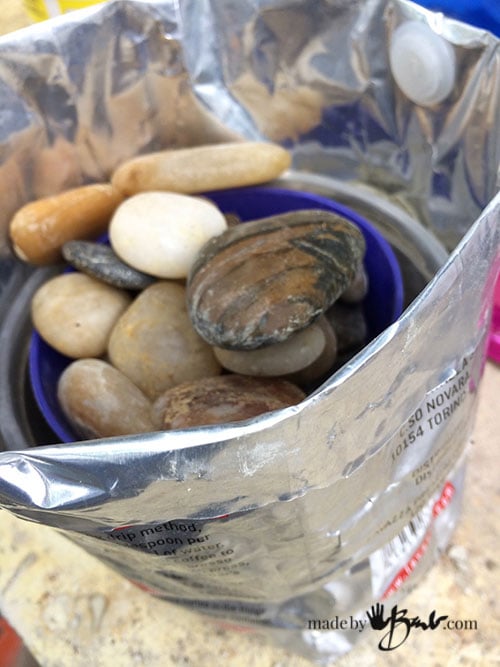
Have something handy that will weigh down the inside vessel like stones or even water.
Step #2 Mix the concrete
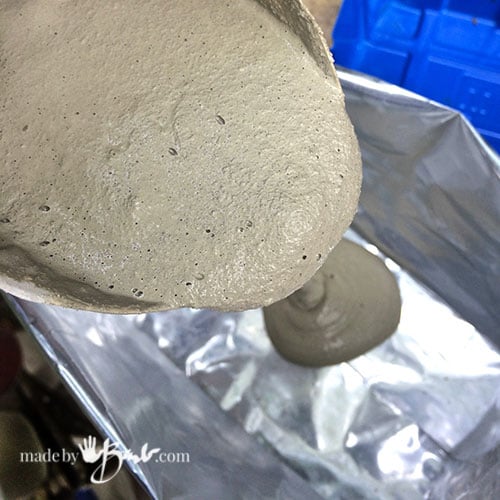
Place the empty bag on a level surface and mix your concrete. This Rapidset Cementall mix sets quickly but can be used at a consistency that is quite fluid for this project. It will be a bit of luck to figure out how much to mix, generally a bit more than you think you need seems like the magic amount.
I do not use any release agent as the concrete does not stick to it at all.
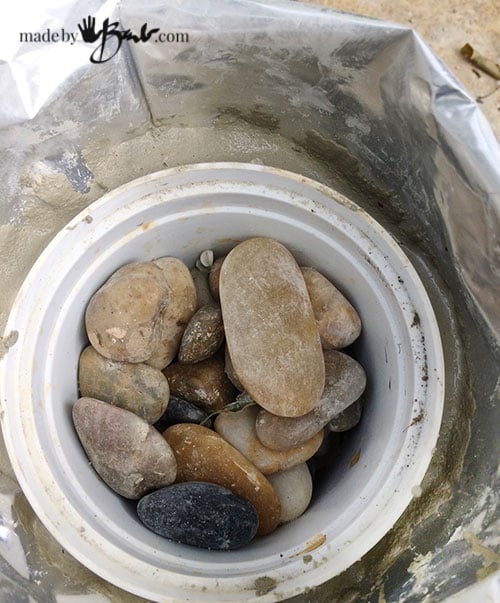
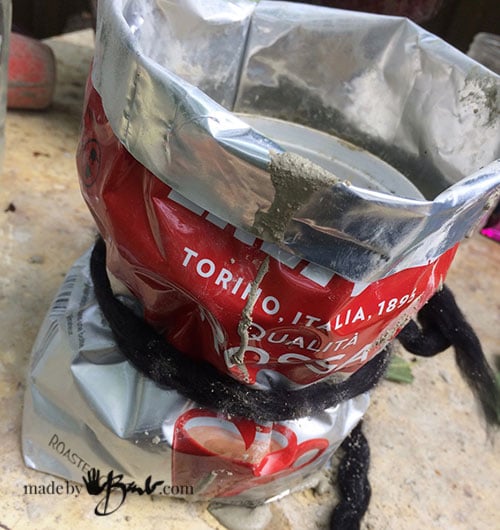
Pour it into the bag. Work fast and insert the interior form vessel and push down to leave about a 1/4″ to 1/2″ bottom thickness. It will be a bit by ‘feel’ if you look into the bottom of the inside. To keep it from floating up, weigh it down with stones or water. (I find stones are most convenient)
Step #3 Cinch the rope
Working quickly, use some rope or yarn to tie at the height relevant with the inside concrete height. Do not tie extremely tight as then there will not be enough concrete to make the wall there. I squeeze the bag into folds and shapes that seem even.
Since this stiffens in minutes, you could hold the shape for a couple minutes to assure how you like it. The more you push the sides the higher the concrete sides will end up. Don’t worry as it is pretty forgiving as a shape.
Step #4 Finishing the Tied Concrete Bag Planter
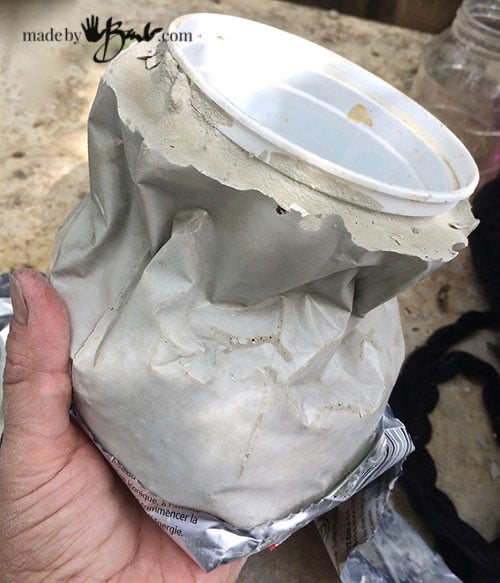
Since this mix sets in one hour it can be unmolded then. I find that you can’t reuse the bag as it would be a lot of fussing to pull it out without cutting (you can try if you like)
I cut it and easily removed it.
Looks great once the foil bag is removed.
If the inside vessel is being stubborn it can be twisted as it is q flexible plastic.
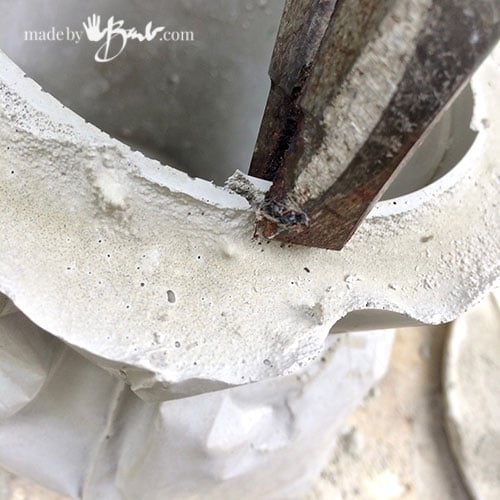
The edges do end up a bit ‘haphazard’ due to the pouring and filling. No problem! Just take some pliers and chip away any parts that protrude too much. It is quite easy as it has not yet completely cured (24 hours). I like the random top edge, as it looks more like a bag.
Once you have an edge that you are happy with use a piece of concrete (like the discs I make with leftover concrete) or some emery cloth to just sand the rough spots out. Oh, my poor hands! Do wear gloves…
Step #5 Add the rope
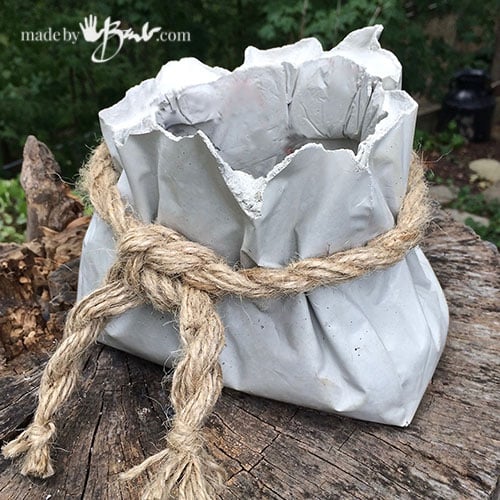
To create the final look, add some nice chunky rope. If you can’t find any just twist up multiple strands into one heavy thick rope. Tie the knot and marvel at your creativity!
This one was poured using a dog food bag. It is a larger bag and the inside vessel was a combination of containers in a plastic bag. (as you can see the wrinkles from the plastic) Each one will be quite unique!
I am hoping to explore the ideas of sealer in the near future, but for now I have left it natural. This concrete is so dense that I see no seepage through the walls. Use as a planter or any other use…
Such a charming outdoor vase! Super easy, unique and quick Tied Concrete Bag Planter! Hurry up and make it before the snow flies!
Happy Concreting!






Love these (as I do all your projects!). The last one is my favourite: it is different from the one you demonstrated in that the edges appear very thin, like a real bag would. What technique did you use to get the top edges so thin for that one? What kind of bag did you use to make it and what did you use for the interior?
Thanks! There are so many possibilities for this technique. The last one was one that did not end up as I had expected since I did not anticipate as much concrete as needed so the container ended up being shorter and thinner at the top. It was a challenge as the shape was very rectangular. The key is to find a suitable shape for the inside void that matches the outside shape. I used a dog food bag for that one. You will never look at the recycle bin the same…
‘Hmmm, can I pour concrete into that?!?!’
I think I will keep the plastic bowl inside the concrete bag.
That is one possibility. We throw out/recycle so many plastics = so many options!
how can I put a drainage hole in it?
You could drill with a masonry bit afterward or put a small piece of plastic pipe in the bottom. Maybe tape it in place. I use them in the ouse as well so I did not add a drainage hole. Hope that helps.