Make your own Walnut Ink
It’s time! They are falling all over the place! It’s walnut season here and they have been quite plentiful! I’ve jumped head first into natural dyeing so making ink from something that was going to rot anyways seemed quite logical, especially for an artist.
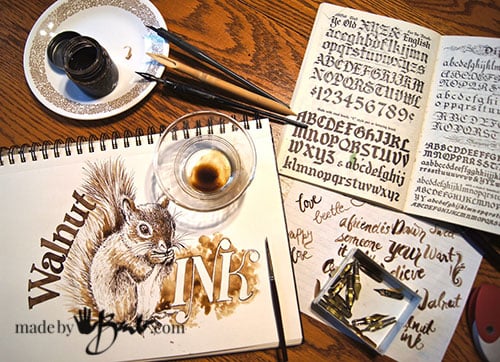
Make your own Walnut Ink with one of these methods; a lot or a little, or give it as gifts. I have even made a label (free download) for you… using walnut ink of course.
What you need:
Black walnuts have been a staple in the making of ink for centuries. I am not sure which exact species I was finding but they will all work quite nicely.
Collect walnuts; as many as you can find. Even the black ones will work if you can get over the little worms often found inside. Be warned though; these little nuts have quite the ability to stain, skin, clothes, patios, driveways… Double gloves and an apron are a must. Don’t tell me I didn’t warn you…
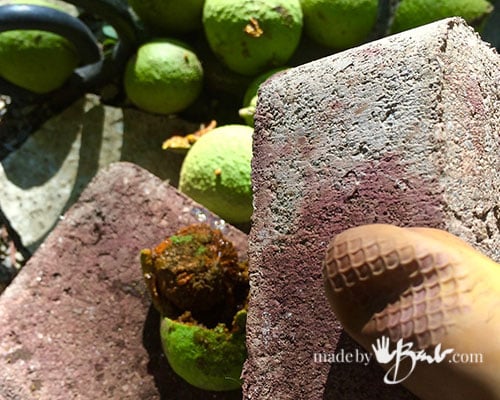
I use what ever I can find to smack the outside of the walnut to peel the outer green layer off. (rock, hammer, brick…) It will start to oxidize and turn dark.
Walnuts pack quite the punch of golden-brown colour dye called juglone. They also have tannins.
Here are 2 methods, each a bit different;
Make your own Walnut Ink – Method #1
For this first batch; after removing and collecting the outer green layer add enough water to the shells and put in a large pot. You can let them sit for a few days before cooking to help oxidize the shells but I found that you will yield a darker brown ink. They will however attract fruit flies and start to ferment. I brought it to a boil & cooked it outside on the barbecue side-burner.
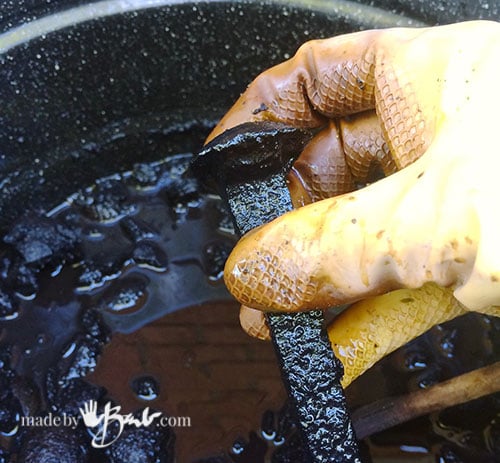
If you want an even darker ink you can add some iron or rusty steel into the liquid. I added an old railroad spike.
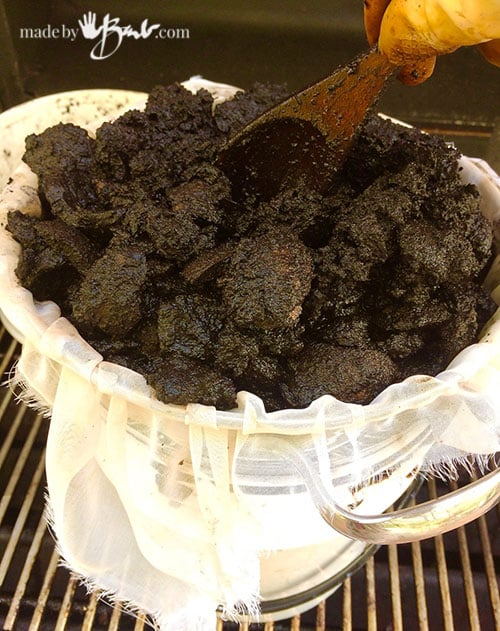
This method is quite messy as after cooking for a couple hours you will need to strain the large chunks of hulls out. You will need some utensils to scoop out the mushy stuff.
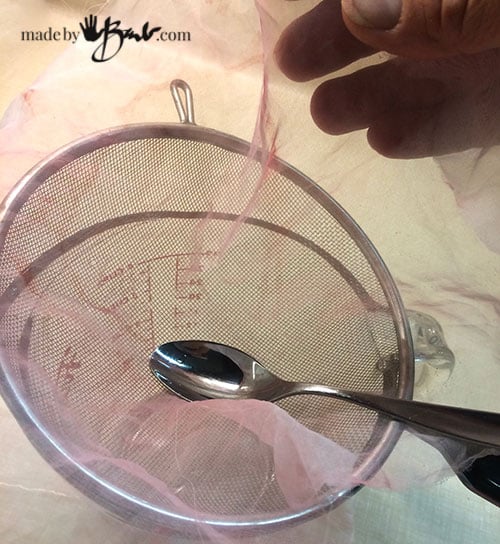
Set a colander/strainer over a bucket and use some fabric (old curtain, cheesecloth or similar) to strain/sieve the dye. Choose the strength and consistency of the ink according to your preference. Test it with a brush on paper to see if you need to cook it down more. I like to strain it a couple times with a fine sheer organza or even a ‘nut bag’.
(Do not dispose of the leftover black hulls in your garden as they contain material that inhibits growth.)
Make your own Walnut Ink – Method #2
Since I kept finding more walnuts, I kept making more batches. The second time I decided to fast-track somewhat to have less mess.
After soaking the shelled green hulls well in water for a day, I strained out the walnut husks before cooking. I used the old curtain fabric and also squeezed the extra water from the hulls by twisting the bundle. (don’t forget the rubber gloves!) I did that all outside and then brought the ‘juice’ inside to cook.
Such lovely golden colour since the hulls were still quite green. For dyeing wool and silk the less oxidized hulls produce a nicer rich brown. There are many options of utilizing these gems for the process of dyeing including freezing for later use.
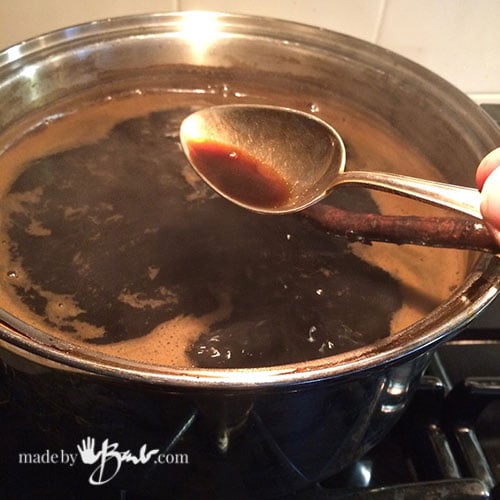
It only took a couple hours to cook this black walnut ink to a fraction of the amount.
The sheer organza strains it quite well and it is easier since there is not any mushy black stuff.
When you think you have it cooked enough, test it. There will still be some solids in the ink, but you will get an idea of the colour and consistency.
Test the ink:
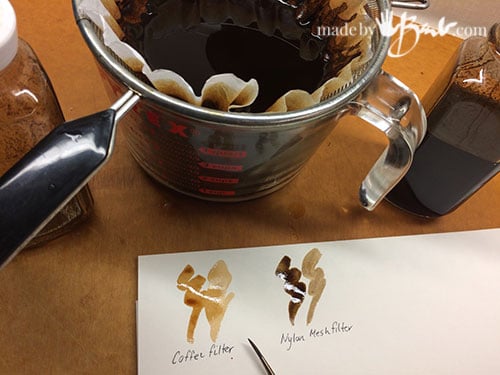
If you want a completely strained ink, you can also try a coffee filter. Since it is so fine it did however take too much of the ‘body’ (dark brown) out of the ink. And it quickly clogged the filter. See the difference of the 2 above.
I decided to stay with the mesh filter, and if I wanted the thinner ink version, I would just not shake it prior to using.
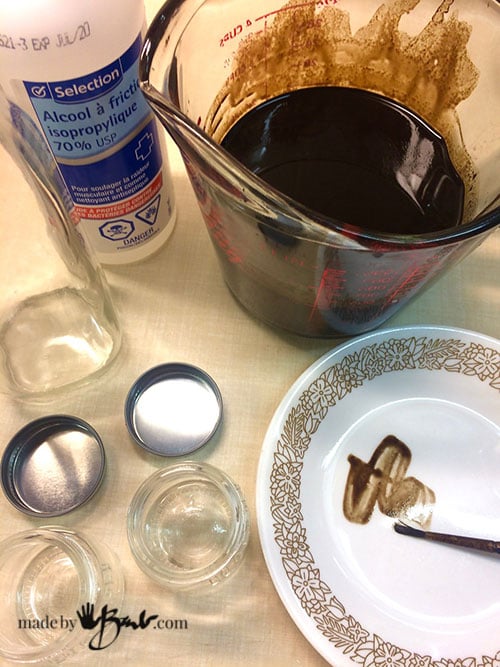
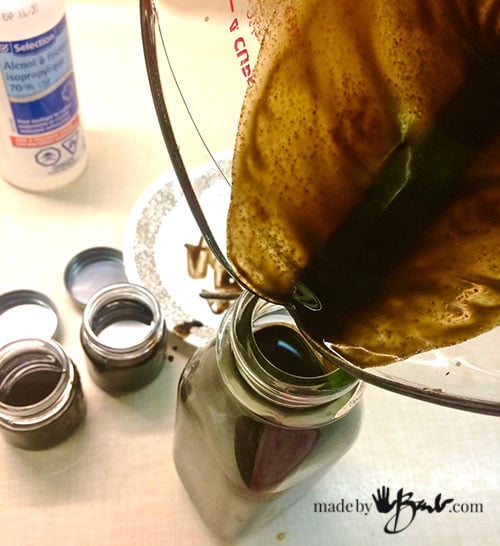
As a way to preserve the ink from growing ‘nasties’ (mold) add some rubbing alcohol (about 5%) Use some well sealing bottles to decant. Less air in the bottle also inhibits mould growth.
As an aid for flow, you may add some gum arabic or some xantham gum as a thickener. I was completely happy with how it was without it; such a beautiful golden brown.
This ink (both versions were used here) works great with a brush or with dip pen nibs. I do think it is too thick for a fountain pen however. I am looking forward to using it for some good old-fashioned calligraphy!
As a bonus you may download my label design to print, find jars and make your own unique gifts… Enjoy!





well now that first method looks quite messy … DOUBLE gloves??? ha ha … but what a great hand-made material for your hand-drawn art projects
another winner Barb!!!
Yup, I have a couple spots of permanent tan it seems… I love the golden tone! Brings back great calligraphy memories. Thanks Brenda!
Hi,
Can we use the green husk of walnut to make a ink also?
Thanks
Um, I am not sure if you read the entire post; YES, it was all made with the green husk… The nut doesn’t do anything. Happy making!
Barb, Will hickory nuts work also work?
I am not sure. Do they stain easily? Maybe do a test of some husk in water and see how the colour and strength is.
I recently picked a bunch off the back lawn – and put them in the green bin! Should I not do that since they might want to make compost with the contents? What happens when black walnut compost is used – does it inhibit growth too?
I only have access to store bought walnuts will those work?
That depends what they are selling. If it’s a market that is selling the fresh green-skinned ones then it would be fine. But if it’s the shelled ones with no casing then you’d be missing the important part. They are quite abundant growing wild where I live. Good luck
Hi! I’m new to your site. Just found you on the joybileefarm.com about uses for vintage wool blankets.
Your post about walnut ink is amazing… Have you ever tried dying fabric with it? Or haven’t I seen that post yet?
Also – you mentioned that you love all things wool. Here’s what I’m looking for ultimately. I have a HUGE fabric stash, lots of wools. I typically pick up fabric at our local ASG (American Sewing Guild) free tables each month, so I get a lot of everything… I made wool cloaks/capes for all my girls and mother-in-law this past year for Christmas and while that made a dent in my wool stash, not enough of one.
I am wondering if I can use wool fabric (dyed) as a layer of weed barrier in my garden. Wouldn’t THAT look pretty?? But would it work? Do you know?
Haha, I used newspaper when I did the garden but it breaks down which is good. Wool is a natural fibre so it would eventually also break down, ‘don’t know how long? I did make some birdhouses from wool too, you’d like that!
Walnut doesn’t grow here! Thanks for your tie and dye recepie of myrobalan. I tried using it as an ink for my fountain pen. It was watery and was grey!
This time I’m going to add more myrobalan and boil it for some more minutes for it to thicken and give its color!
Plus, a ‘happy accident’ _ I heated myrobalan in an iron vessel. I thought of making a tea and then adding rusty nails, but, the tea in the vessel itself turned out pitch black😅
Thank you for the ink recipe. I’ve had a bag of unhusked walnuts sitting in a tray since October and now they’re oozing a thick, dark brown odourless gunk as they decompose. Once I’ve diluted this to the preferred tone and added 5% surgical spirit (as you suggest), what percentage of gum arabic do you recommend (dry or dissolved in water)? Is there some alternative gum that can be foraged from Nature that’ll do the same job? Can I add something more to make the ink waterproof? Thanks for any feedback.
I have not really experimented more with making ink formulations. I did see it is still in great shape in the dark bottles. Here’s a pretty good resource until I get to it…
Is the label design download working? I’ve clicked on it, but nothing happens. I love this tutorial, as I already work with walnut and iron for various dyeing processes. 😀
Sometimes the browser/device does not allow the email popup to load. It is working, perhaps try a different device/browser.