Eco-Printed Wool Pod Birdhouse
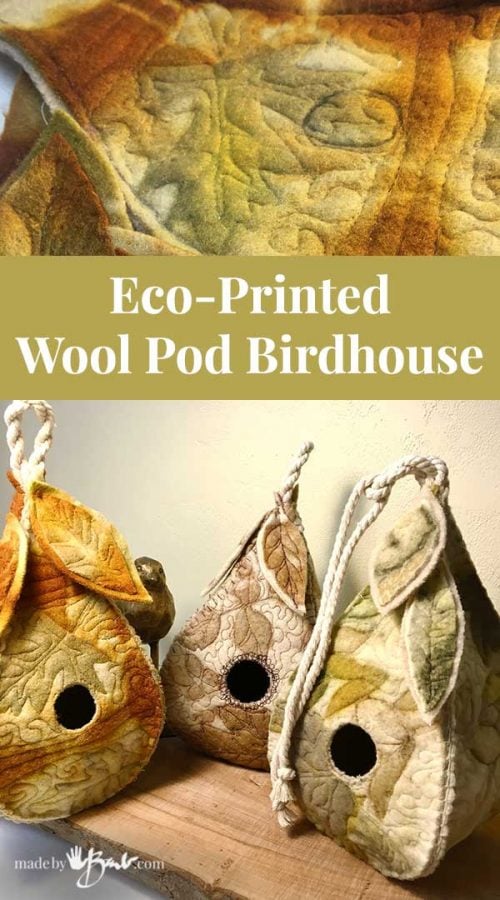
The forest is alive again and my feathered friends are singing their songs for me. Would it not be great to give them some lovely shelter and upcycle some wool. How befitting is this Eco-Printed Wool Pod Birdhouse?!
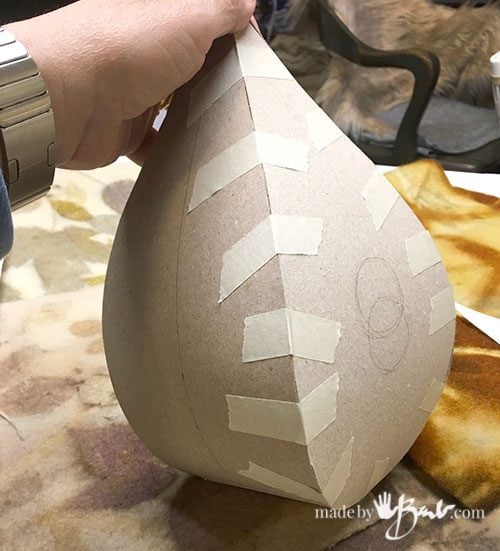
Form and Design:
As an illustrator I also love form; creating a shape that is 3-dimensional AND functional. Cut and tape and adjust some more, design a shape that provides some space for the nest. Different species like different holes so you can be adjusted as you like. I have sized it for a 1.25″ hole.
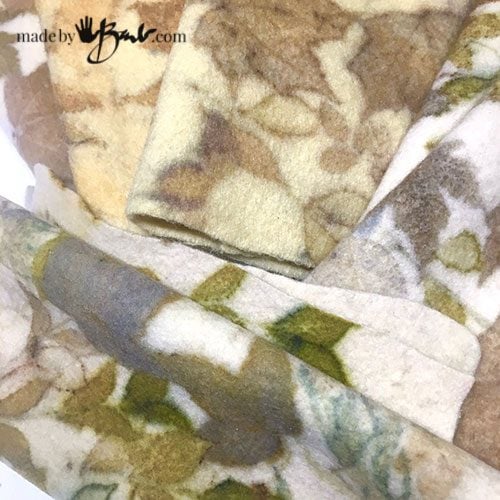
Print Your Wool:
The cherished Virgin wool blankets are not being as cherished nowadays but are so lovely to Eco-Print on! Since they are a protein fibre they accept natural dye and printing with botanicals well. I particularly liked the effects of the Shibori & Eco Printing as there were some great leaf prints as well as the rich browns from the onion skins.
Wool is not waterproof but I have discovered that it does not like to hold moisture. It runs through it somewhat like your hair. If it held moisture sheep would get much too heavy.
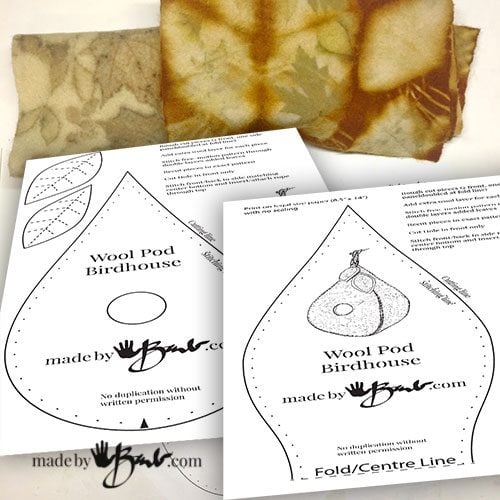
The Pattern:
I have designed this pattern to be a simple but it has a defined tear drop curvature. Print the pages on legal size paper (8.5″ x 14″) at full size with no scaling.
The goal is to have a sturdy wool pod with a full bottom for the tenants.

The Pattern Pieces:
You will need 2 pieces of the ‘Front’ Shape, and one long Side shape that is symmetrical to the fold line. The leaves can be doubled and used as accent decoration.
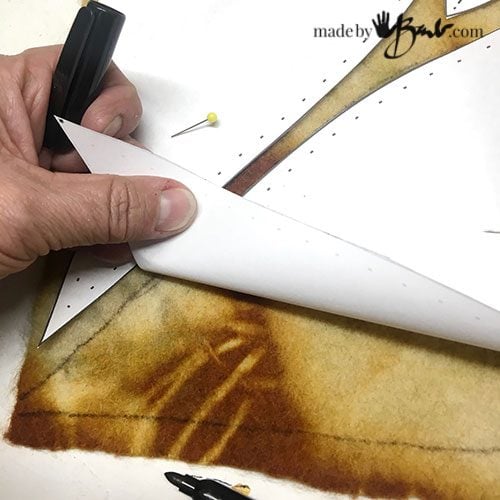
Pin the pattern pieces using the best placement of the designs. Trace the shapes with a marker and then rough cut outside these lines.
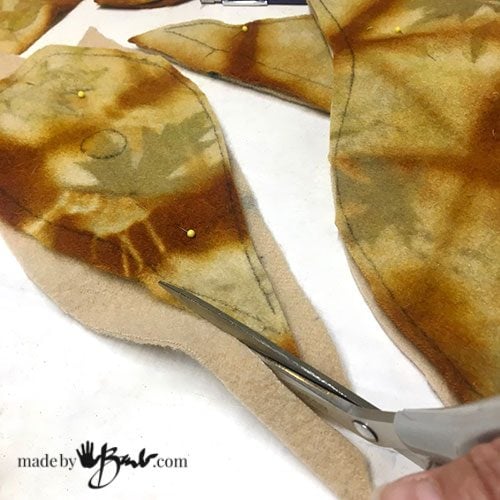
The aim is to have this Wool Pod Birdhouse be quite sturdy so an extra layer of wool is cut to match. It can be loosely fitted at this point since they will be cut again after ‘Quilting’. Since most of the wool has been ‘felted’ from the washing I find that following the grain is not really that important.
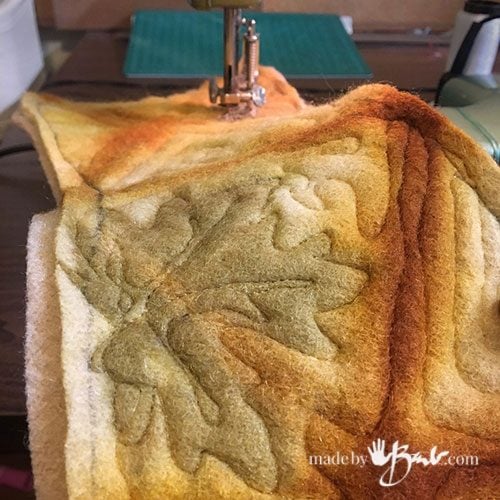
The Fun Part:
When I discovered how easy free-motion quilting is I have been incorporating it into more projects! When I have a print that is faint or not defined then the quilting will do a great job of making it look so much more planned. I hope you aren’t intimidated as it’s much like just following a line around a shape and doodling. There are many free-motion sewing feet available for all kinds of machines.
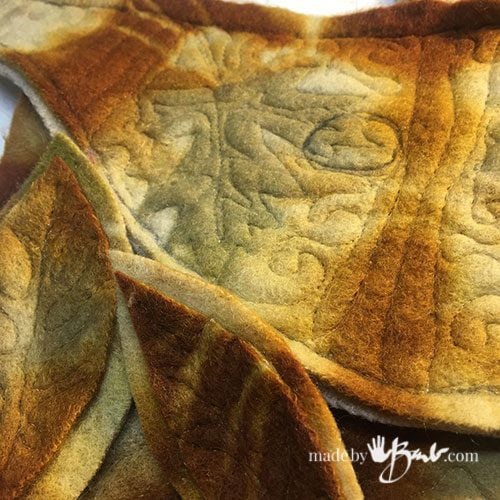
Such Sturdy Shapes:
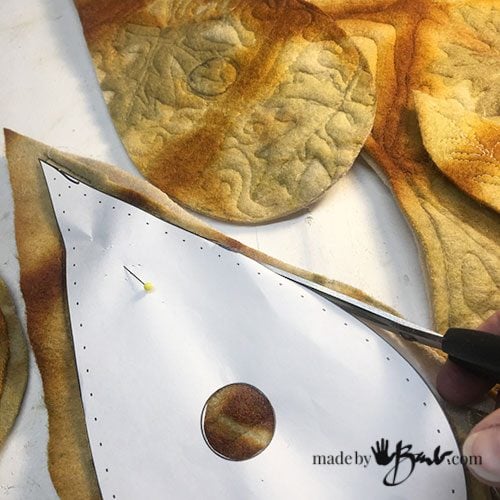
After a few minutes of sewing the pieces for the Eco-Printed Wool Pod Birdhouses are done! Since the sewing will make the fabric somewhat flatten it is best to cut the exact shapes after the quilting. Only cut the hole in the one front panel!
Assembling:

Pin or clip the pieces together making sure to match the bottom centres and top points. The wool allows some adjusting and ease as well. Wool is easy to sew since the needle does slide through easily and I suggest a waxed heavy thread or even a sinew.
Before I knew it I was done the stitching using a simple large blanket stitch. but you can also use an alternating branch type stitch. Work the stitches toward the top leaving it open to insert the cording or rope. Cording can be made doubly heavier by twisting on itself.
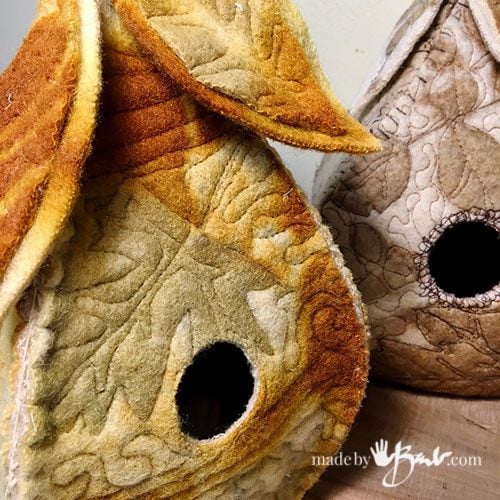
The extra stitched leaves do add some interesting accents and can be stitched wherever you like. Tell me that was easy!
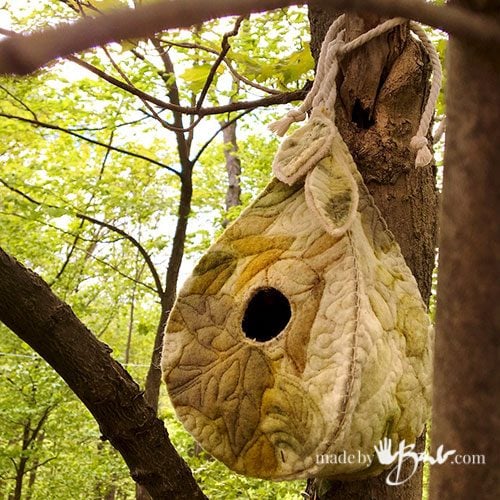
I have yet to see any tenants as they have just been put up. I can imagine that they would rather not swing too much so finding a place that is high enough and secure would be key. Some birds take the oddest places to nest as inside my Concrete Witch Ghoul so this is much cozier!

They accent the colours of the outdoors and use no artificial dyes making lovely decor on their own.
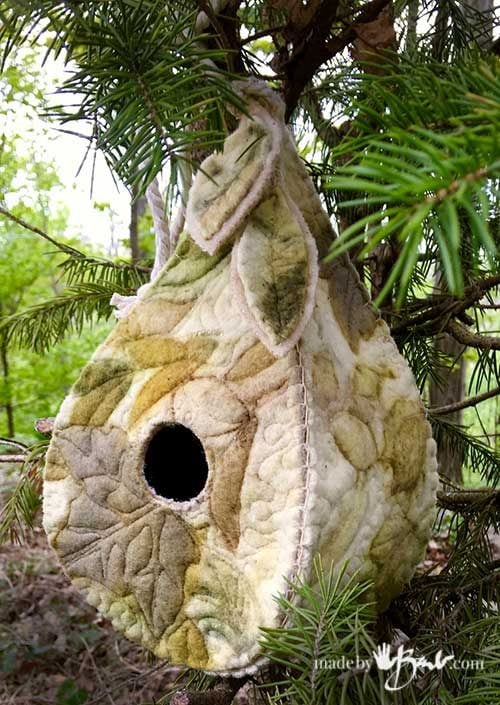
Welcome the new tenants in this Wool Pod Birdhouse! New nesting space with warm and breathable fibre to welcome new little ones!
You are incredibly talented and knowledgeable. I am in awe of you!
I think of it more like being super stubborn! I tend to not give up until it is like I want it! Not quite rocket science… 😉
I love your work and your talent. I often try to emulate for my little ones to enjoy the experience. Thank you so much for sharing 🙂
Hi Barb,
I’m trying to purchase your birdhouse pod pattern and I’ve clicked on the “buy” tab and it won’t work for my on iPad or desktop computer. Please help a girl out lol
Thank you.
Hmmm, I think there’s both options. My only caution would be if you have not rinsed until clear long enough there may be some residual dye/colour that could be heated enough to attach to the fabric when in the machine all together. I do often use the machine when pieces are hard for my hands to wring, using the drain/spin or rinse/spin cycles. If I am worried I only do one piece at a time. The nature of this design dyeing is pretty forgiving anyways…
I purchased your birdhouse pattern but I am not at my printer right now. How can I access the pattern when I am able to use my printer?
you should be able to choose the download option. also the email should allow you to access it later too. If there’s an issue, let me know.
I didn’t receive an email.
or where would I find a download option? I don’t have anything, no email or anything.
If I do not know how to use a sewing machine, would the pattern be useful if I just hand felted the wool and cut out the side of the pod would it hold its shape or would it collapse on itself?
The key thing to consider is how stiff the fabric/felt is. It could be a densely felted fabric (commercial or wet felted) if it has the stability. The way the shape is designed does also help it keep it’s shape as well. Some people wet felt vessels that do hold shape so I would believe you could make a nice birdhouse
Will this pattern work using upcycled wool salvaged and felted from old wool sweaters?
The key to making the form is the stability of the fabric(s) If the fabric is thinner then it could be backed with something a bit more stable. (felt or other thick fabric, preferably that does not fray) Perhaps interfacing could also stabilize as there is some types that they use in purses but I haven’t tried them. You just don’t want to shape to collapse… Happy making!