Easy First-time Quilt project – 2
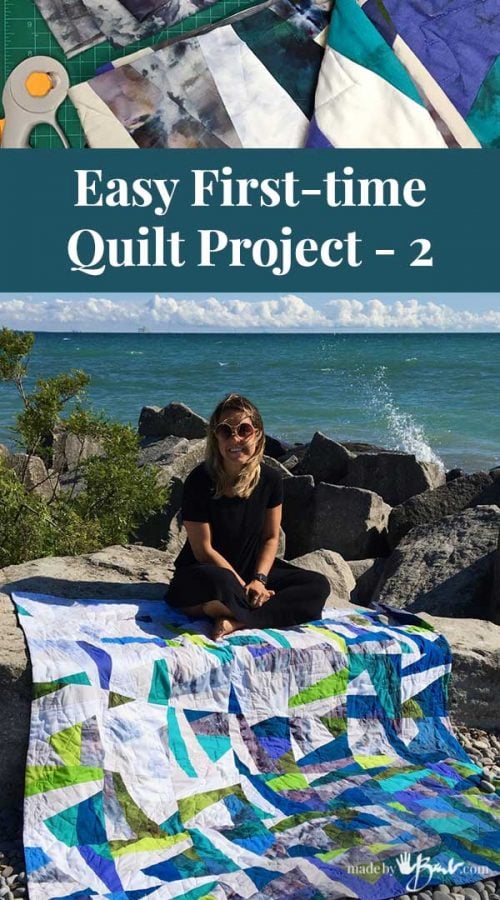
After making all the squares for the Quilt it’s time to get it done! Summer coming to an end here and a very excited ‘New Seamstress’ wants to show off her quilt! It won’t be much longer for this Easy First-time Quilt project – 2

Row by Row:
Check out this post for the pattern and the making of the unique squares. Turn them in whichever direction you’d like. Once they are laid out and pleasing to the eye it’s time to get them attached. This quilt is 7 squares by 7 squares (each 10.5″ square before seams).
Carefully pickup each row sequentially so that you don’t get confused. Sew each attaching 1/4″ seam. After rows are sewn they can be attached to each other, being careful to match the corners. There is some ability to ease as some fabric may be on some bias.
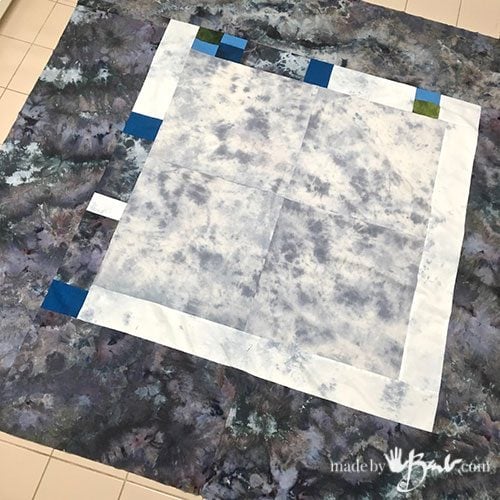
Backing the Quilt:
Be unique! Yes, you could just use a large flat sheet for a one colour backing but I chose to do some random blocking. A bit of measuring and math (not so complicated) and using up some scrap pieces. Who knows; maybe it will be the top sometimes! I just could not, not use that Ice Dyed fabric!. Make sure the back is at least as large as the front, sometimes I err on the side of caution and make it a bit bigger…
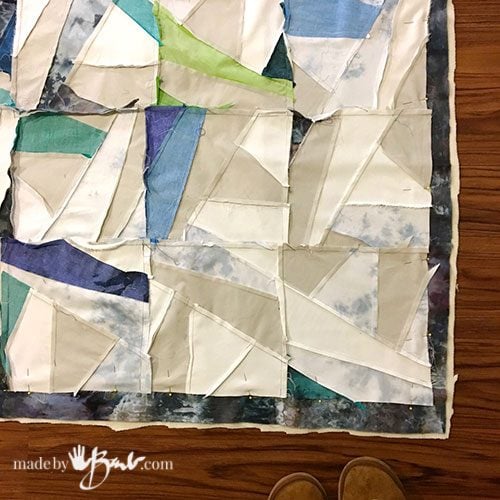
The ‘Filling’:
Many quilts have a layer of polyester batting inside them, sometimes even cotton. It all depends on preference but we decided that a thinner filling would make it more soft and cozy. We used a thin fleece that had already been washed a few times to assure no shrinkage.
The Quilt Sandwich:
Think of assembling this Easy First-time Quilt like making a pillow. Lay the front and back right sides together, over the fleece. I needed to use the floor since I don’t have a table large enough. Pin well with quilt pins.

Sew around the outside seam leaving a small section open to turn right side out. Trim any excess seam allowance and clip corners. Use a blunt object to push out the corners when turning. Hand sew the opening closed with a blind stitch.

The Fun Part!
My daughter and I had a discussion about the method of ‘quilting’. I had suggested to easily tie the corner spots. That worked well on the Sport Jersey Quilt, but she wanted it a bit more abstract this time; well that meant a lot of free-motion sewing…
The key to managing this is that the quilt is secured well with pins (yes; ouch) or other method like a quilt basting gun. It will also depend on how large you made your quilt and thickness of the batting. It gets bulky when there is a lot of fabric under the machine.
My mother used to roll her quilts and use clips to keep the bulk down. I find that using a pair of rubber gloves will give good grip of sliding the fabric.
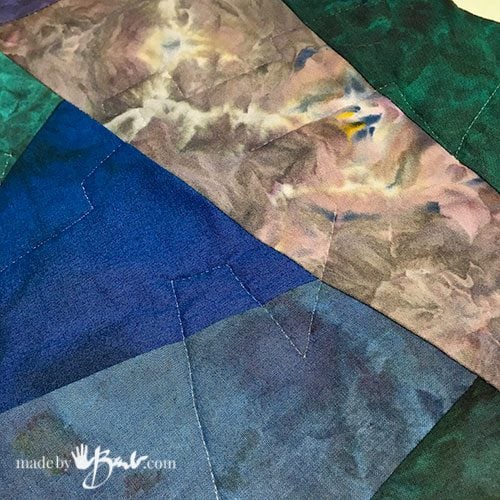
ZigZag ZigZag…
Set the machine with a darning foot and adjust the feed-dogs according to the machine model. To minimize the contrast of thread colour I used the invisible quilt thread.
Rather than ‘stitching in the ditch’ I ran sewing lines in random directions, corners, blocks etc. Be patient, it’s pretty big!

Ah, the feeling of accomplishment! AND the feeling of working on a project with someone you love!
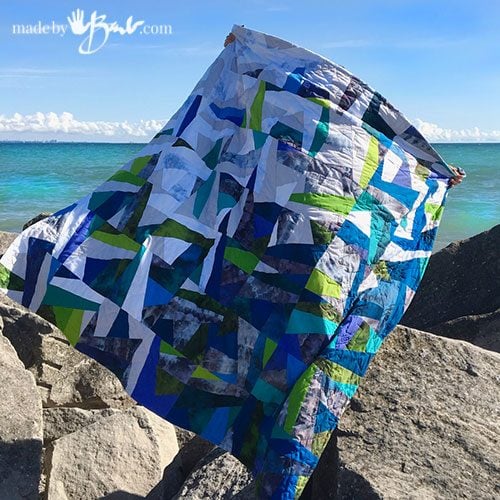
‘Taking up the sun and wind! Time to show it off a bit…
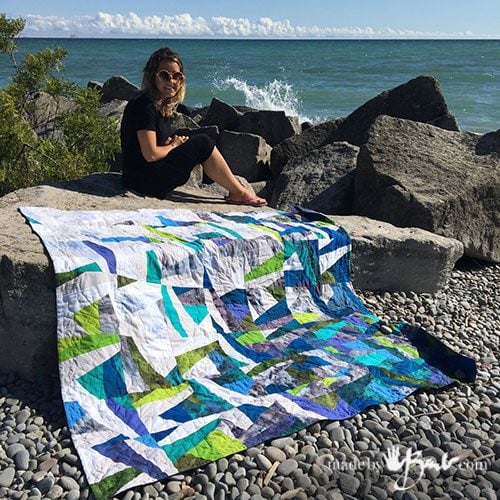
Yes, happy girl!! This will be the summer of ‘the quilt’. (we should actually stitch the date into it) How perfect are these colours for this place?!
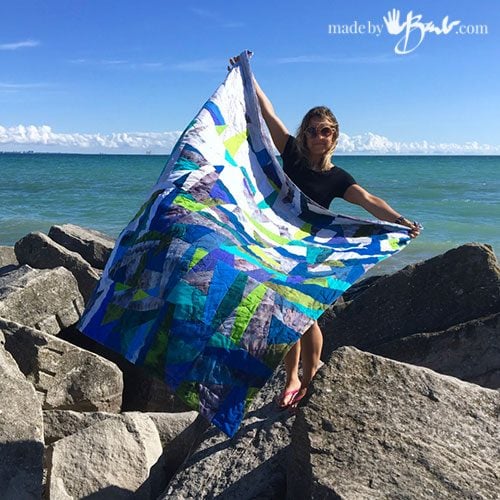
Not your grannies quilt for sure! Hopefully this will be something to be treasured for many years… Thanks ‘Baby’ for letting me teach you!

Go ahead, make something with someone you love! Make an Easy First-time Quilt Project! The world needs more people who can sew; make lovely things & keep fabric out of the landfills!
Oh, how I can’t wait until I can start ‘making’ with my grandbaby!
wow – what a great summer project – Mother & Daughter … you GO!
GORGEOUS
Thank you thank you thank you for both sharing this adventure with us and for fostering a new quilter! This is truly a gorgeous quilt. Hopefully, sometime in the future, daughter will be sharing the adventure with a kiddo of her own.