Magical Logwood Eco Printing
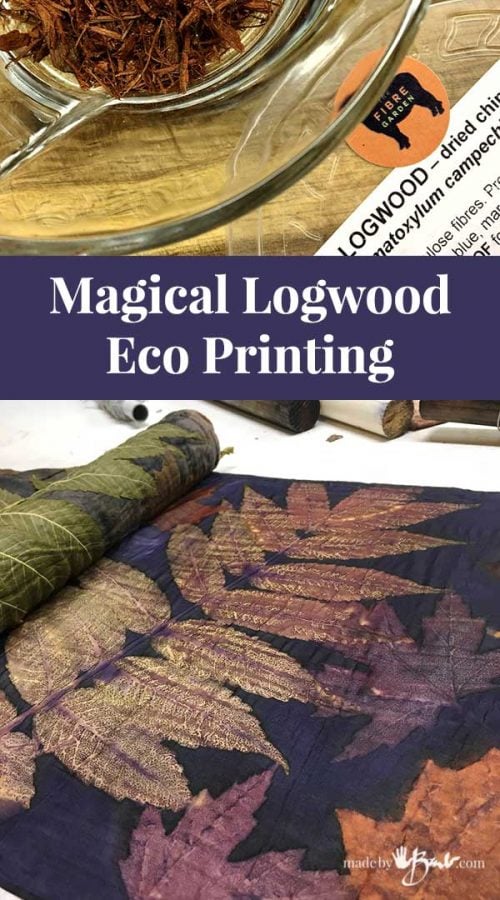
Just when I think I have seen all the magic I discover more! Nature keeps surprising us with it’s ability of making colour! How is it possible to make such wonder with some wood?! Magical Logwood Eco Printing has me in it’s grips right now…

Deceiving Looks:
Look at that! It just looks like some wood chips! This is Logwood; ‘Haematoxylum campechianum‘ and it’s abilities baffled me. This dye stuff can be bought in actual wood chips or as an extract. I used the more natural version of the wood chips which I bought at my local supply the Fibre Garden.

As with most natural dye products there are multiple ways of extracting the colour, but it is suggested to soak the logwood chips overnight to help with the hydration.

Oh What colour!
Whenever I use a new material, I am cautious about overheating it as many do not like to be over cooked. It quickly starts to leak out the amazing fuschia type dye.

A slow low simmer easily makes quite a strong amount of colour. It is suggested to use 20% – 50% weight of fibre (weigh the fabric). Yes, I know; I like to be experimental and just ‘wing it’ like an artist would… Make a container full and see how strong it looks.
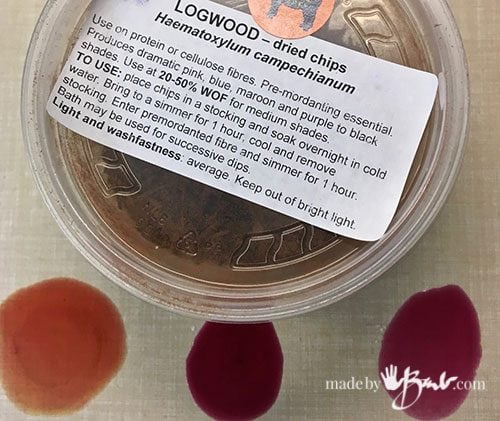
‘Playing’ with the dye can lead to some great things to observe! I’d much rather see how things react than read about them. Adding acids like vinegar (or citric acid solution) makes the dye more yellow and orange. Adding baking soda or washing soda forces it to become more purple. Such fun; I wish chemistry class would have had these kinds of tests then I would probably have been a chemist as well.
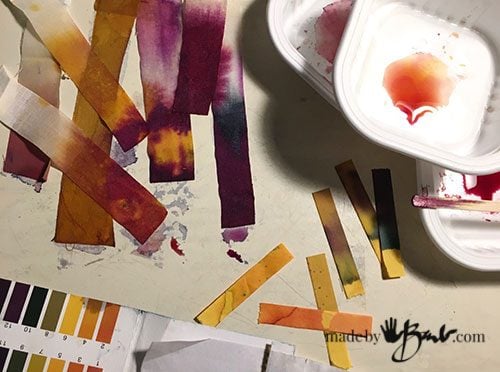
Little tests with cotton and silk gave a multitude of jewel tones! I may have just found my next favourite dye stuff! Litmus tests strips are handy to test the alkalinity of your own water as well as many other liquids for Eco Printing. I continually find that alkalinity plays a major role.
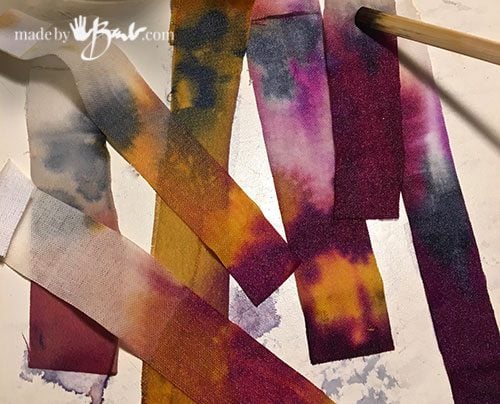
Such Magical Colours!
That ‘crazy artist brain’ sees beauty in the most odd places! I’m getting excited as there is some magic happening here.

This piece of silk was dipped in the cold dye for a short time (about 30 minutes) The silk was mordanted in alum and rinsed afterward as I was cautious about it’s alkalinity. Funny, the colour became more blue as it entered the dye! I would assume that the alkalinity of our water played a factor.

This little preview tells me it’s going to be amazing! An iron blanket was placed over the arranged favourite leaves and the tied bundle was processed in the microwave as has been my favourite lately for so many reasons!

Be still my heart!!! How can this even be possible from one dye colour?! Whenever a dye stuff reacts to alkalinity it then can produce so many variations according to the amount of tannic acids in the leaves used. Add in some of the variations of texture and TADA! Magic!

I also experimented by reversing the procedure and using the dye on a carrier blanket. This time the mordanted fabric is dipped in the iron solution. I love my maples and sumac leaves!

The quickly dyed carrier blanket brings the colour this time.

Such marvellous details, but be sure to wrap tightly.
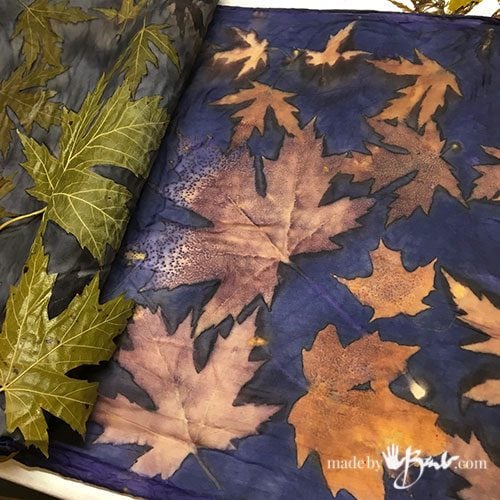
Mother nature keeps me guessing… how did that happen?! Why are there such little speckles on the maple leaf? ‘Mother Nature likes to keep secrets!’
But no matter what; I’m definitely going to see much Magical Logwood Eco Printing in my future! ‘and I hope you join me…
Thank you very much for your photos and sharing your eco-print techniques. If I may, compared to the color coverage you note pre-dye, can you tell me how you do the pre-dye? Thanks thanks
____________
Merci beaucoup pour vos photos et partage de vos techniques d’éco-print. Si je peux me permettre, par rapport à la couverture de couleur, vous notez pré-teinte, vous pouvez me dire comment vous faites la pré teinture ? Merci, merci
I had just soaked the silk the pre-made cold dye for about 30 minutes. I used some logwood chips to extract the colour.
Merci de votre réponse . Vous avez noté : The quickly dyed carrier blanket brings the colour this time, aussi je voulais savoir comment vous avez préparé la couverture de tissu, mordancée ou pas avant teinture et combien de temps dans la teinture.. Merci
___________________
You’ve rated: The quickly dyed carrier blanket brings the color this time, also I wanted to know how you prepared the fabric cover, etched or not before dyeing and how long in the dyeing .. Thanks
Hi Barb! Thanks so much for your amazing blog!!! I have a question about how you mordant with alum. Do you use a specific gram per liter of vinegar? Do you use lime or anything in addition? I have taken Irit Dulmans classes but that’s all I have to reference from 🙂 I’m so intrigued in trying logwood!
If you have Irit’s recipe for mordant use it. I will admit that when using silk I sometimes skip the alum but 20% alum to WOF is a good ratio.
Hello, I tried to do a redye on a silk scarf that was dyed with logwood. I moistened the dyed scarf in water, then I dipped the leaves in iron water as I placed them on the scarf. I used an iron blanket, then a barrier. Wrapped tightly, This was put in the microwave to 190. I let the bundle cool for a couple hours. I unwrapped it and there were no prints. Should I have redipped the scarf in logwood as well and not just water?
Thank-you for your amazing gift of Knowledge
There’s a slew of things that could have gone wrong. Just bringing it up to temperature and letting cool is not enough heat. See this post for the full process as I do keep it hot for quite a while. If the dye had already adhered the leaves would probably not create a discharge (colour removal) and also dipping them in iron would make the leaf tannin react to create a dark print. The iron blanket may also darken the logwood and usually gives a definition around the outer leaf shapes. But if you did not get any print I suspect that the processing was the main problem. Good luck.
Hello Barb… thank you so much for your blog. It has explained me about logwood in ecoprinting.
I’m glad! It’s a fun dye product to use!
Thanks Barb!
I’m just starting to play with logwood. You mentioned in your article using the microwave for you tied bundles. How long would the bundle be in the microwave? Do you have an article on using the microwave for eco dying?
Thanks so much
Maidi Murphy
Yes, I have a post on that Alternative Method It is an easy process but just be cautious and watch… It is more about the heat continually working during the insulation than fast ‘zapping’! Also, the search function 🔎 will help you cross reference (uses Slickstream) any of my posts quite efficiently. Enjoy!