
Sand-Cast Concrete Leaf Plate

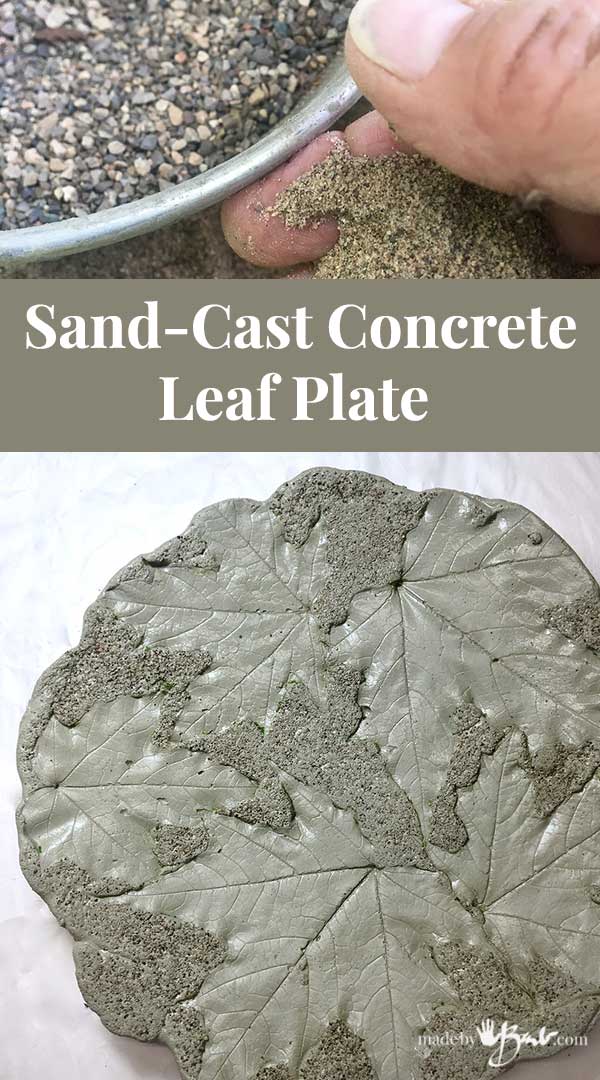
When the seasons change I always feel like I should get one last concrete casting project done. Texture is a big current trend so this Sand-Cast Concrete Plate is perfect for how crazy simple it is to make!

Oh, so very soon I’ll be raking them as I longingly look at all the colours. The colours recharge my creative juices and I can’t stop myself from gathering up ‘perfect’ ones for some of my leaf projects!
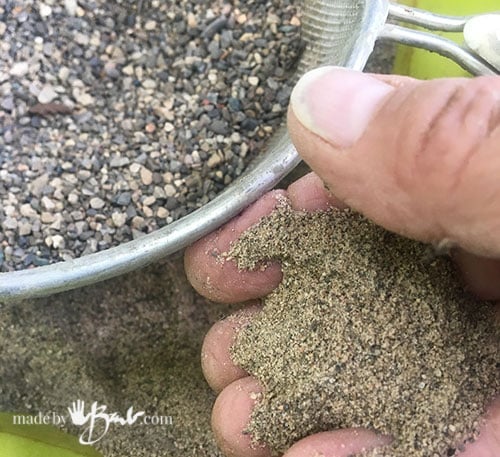
This thing called sand:
A recent commission had me challenged how I could cast with some detail textures in the form of a plate. Making a silicone mold could have worked but that would not give the nice background texture. I then came upon the realization that I could use damp sand! I had cheap builders sand that looked too course, so I strained it through a metal kitchen sieve. That worked nicely! Who knew? I did also try some ‘Play Sand’ and that worked as well. Any fine clean sand would work (do not use polymeric sand though as it has polymer in it)
‘Who’s the crazy lady behind the shed straining sand?! ‘

Making the ‘Mold’
I’m working inside due to the weather and this knee of mine, so I contained it in a tray.
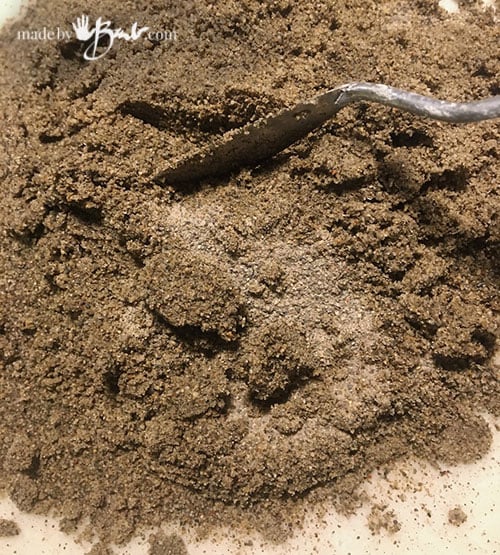
A spray bottle will help dampen the sand to be able to hold it’s shape. Mix it in with a spatula or artist palette knife (my favourite)
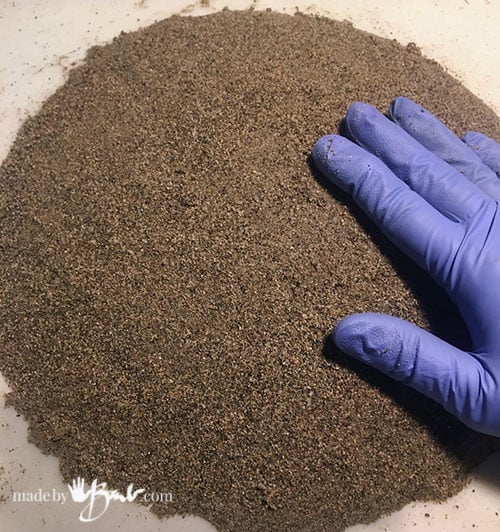
Since I wanted a slight curve to the plate, not a deep bowl, I mounded it up slightly. Smooth and scrape it until it’s an even round mound. Since this is going to have much texture it’s not that important that it’s all super perfect.

The Leaves are the Stars!
Fresh leaves work best. I was commissioned to use our Canadian Maple leaf but you could use what you like! Some leaves will not lay so flat so I may press them under some paper or a book for a short time. Look for leaves that have nice details of vein texture, which is on the under side. There is no need for a mold release in this case.
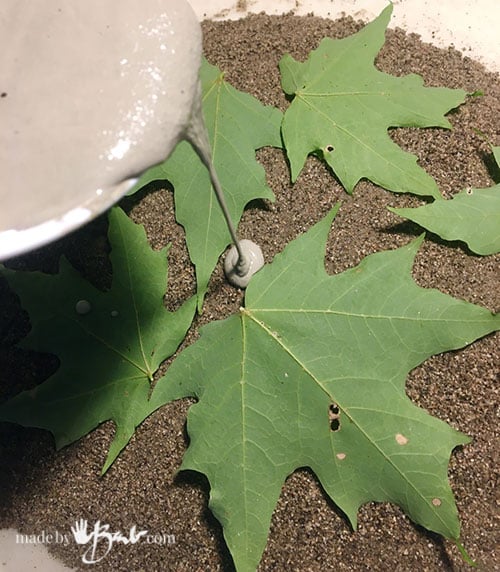
The Right Concrete is Important
I use a particular strong concrete mix that can be used at a thinner consistency; RapidSet Cementall. I have used it successfully on many projects. A regular concrete mix would not hold at this thin thickness.
This mix comes together with little water (add water first) and then add the dry mix. I aim to have the consistency of melted ice cream, it doesn’t run that much. This mix will start to set quickly so be prepared.
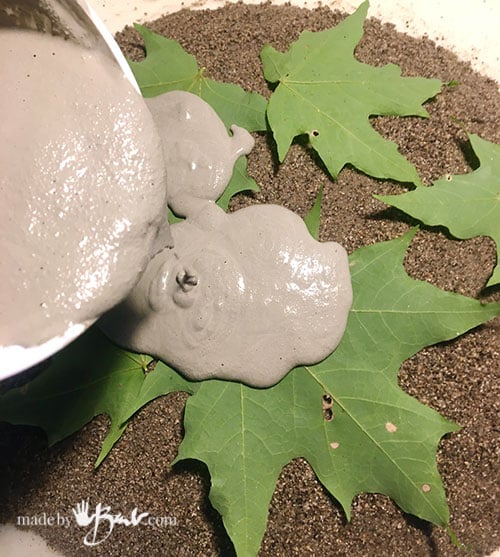
Pour carefully so that it doesn’t get under leaves. It will run a bit but usually the weight of it will push the leaves down and keep them in place. The palette knife can help push the concrete to cover the shape.

If you are wanting extra reinforcement you can add some drywall mesh and ‘spackle’ it in to the mix.
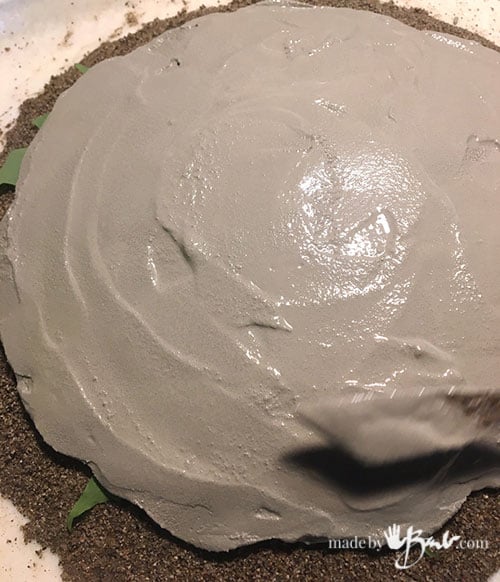
Keep smoothing the mix to an even thickness (3/16″ – 1/4″). The edges will be somewhat ragged without being sharp. I let the way the mix flows keep the rounded shapes so it is somewhat scalloped.
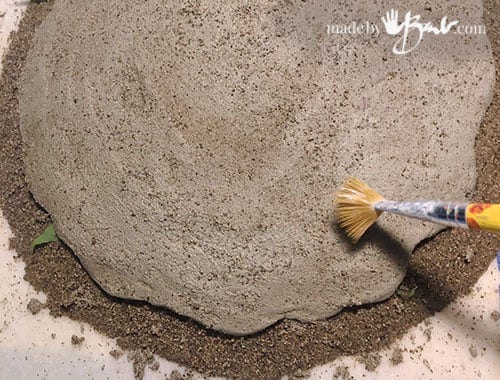
And More texture:
To match the front I used the sieve to sprinkle some of the sand onto the back as well.
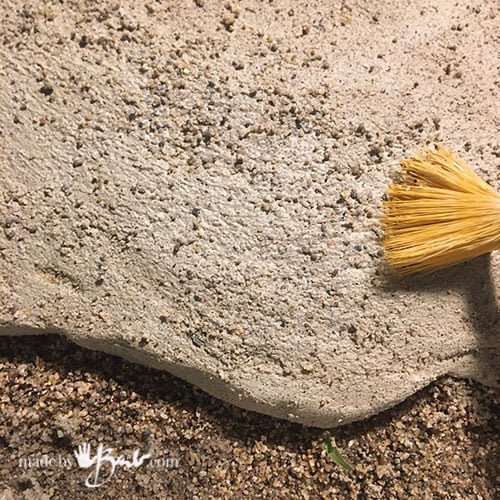
A soft brush will help smooth things as well. When happy, go have a break and anticipate…
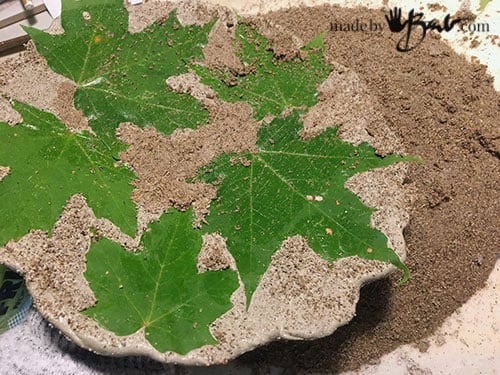
The unveiling of the Sand-Cast Concrete Leaf Plate:
After an hour or so you will be able to tap on it to see of it’s hard. It will still look a bit darker than final colour but be quite hard. When you turn it over there will probably be some extra sand that can be brushed/scraped off. Don’t worry, it’s going to look amazing!
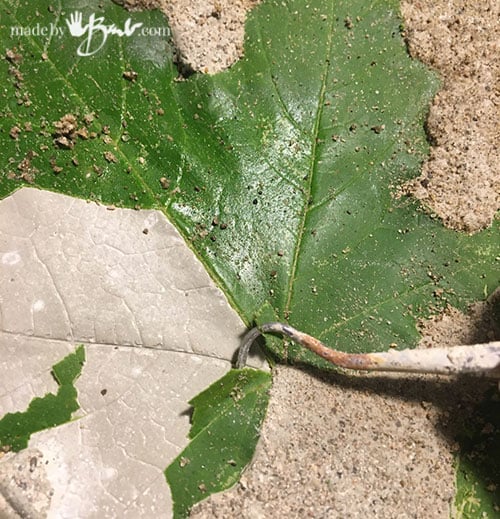
Do you like to be picky? Now come the fun part of pulling out the leaves. I have some dentist tools that work nicely, or use some toothpicks etc. Working from the larger ends of the veins is easier.
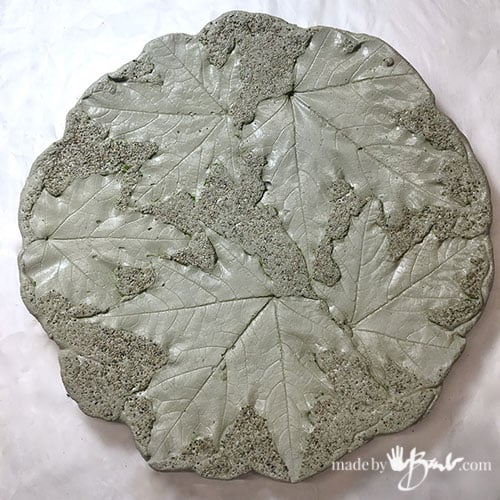
Such Incredible Textures!
Scrubbed and scraped and washed…. I am quite tough on it as I’m getting any loose sand off. I only want the imbedded sand to stay and the the rest should be taken off. HINT: Do not wash sand or concrete down the drain, use a basin that can be emptied outside.
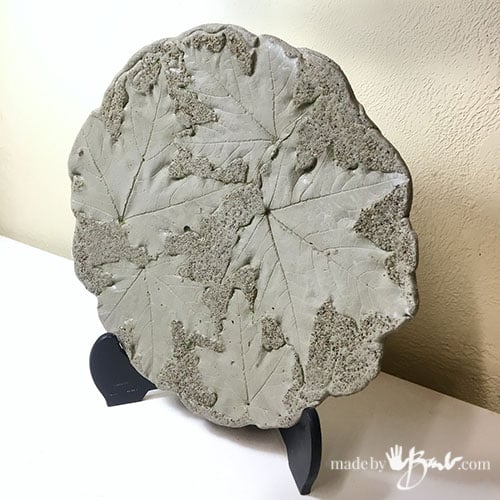
Aren’t you just amazed?! It looks like a fossil! I can see this on a pedestal display or hung on a wall. These can be sealed or painted as you like depending on the use however I kept these ‘naked’ grey!
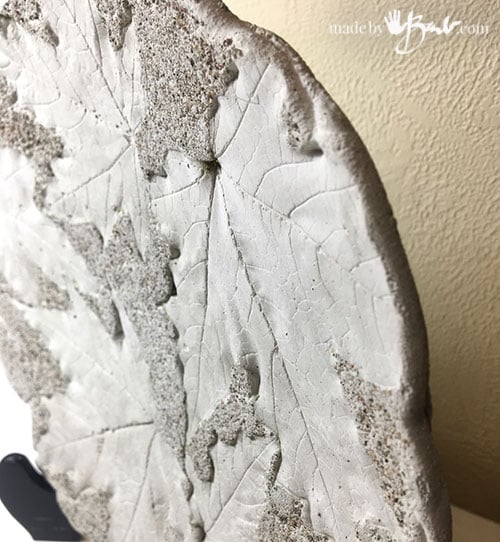
The edges were rounded enough to not need much smoothing or sanding.
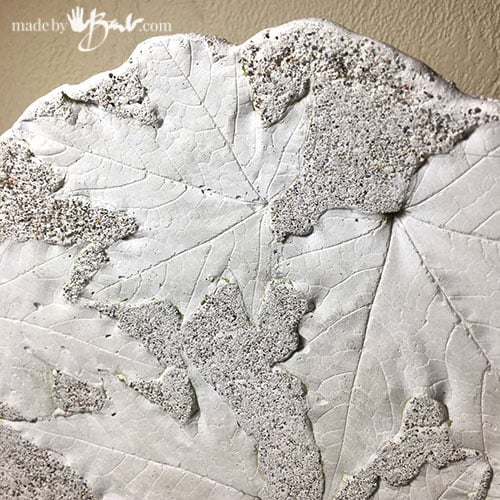
I am the only ‘nut’ who never ceases to tire of looking at nature’s amazement?! It must be from the years of painting landscapes and hiking through the woods…
I hope I’ve inspired you enough to make these or even just to take a few leaves home.
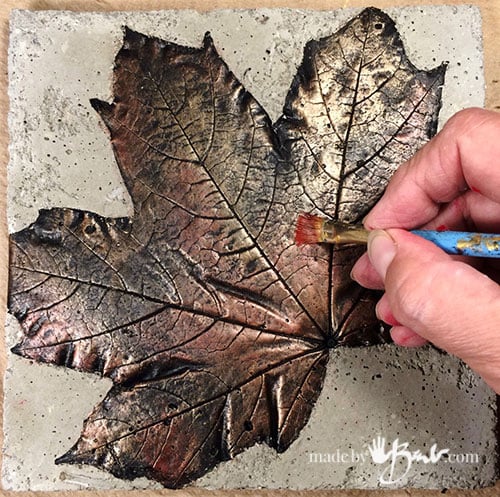
There’s so many options… Trivets, orbs, bowls… Happy casting 🍃
Absolutely inspired. I’m going to give this a try. I haven’t worked with concrete before. I’ve been drooling over some of your fantastic creations for a long while now. Time to start doing. 🙂
Just be aware that not all concrete mixes are the same! Rapidset Cementall is great but sets fast. you may want to read this too. Whenever I am going to try a media for the first time I do a little test to get the feel/timing of it. Happy making!
I would have simply bought the same products you used, but I’m here in England. I sent your webpage on Rhubarb stepping stones to CoPilot to figure out what I could buy as substitutes. What a pallaver. It had figured out that I need paving stones rather than stepping stones, and we had an argument about pressing the leaves directly into the sand. So my sharp sand and rapid setting concrete are ordered to arrive on 7th July, just as UK enters yet another heatwave from hell. CoPilot tells me to move the poured concrete indoors in the heat. This should be fun.