How to make Modern Geometric Textured Art
Have you noticed how much texture is coming to the world of art lately? I bet it’s because we thirst for some tactility from our excess ‘digital world’! If you enjoy creating some DIY designs with dimension this tutorial; How to make Modern Geometric Textured Art will get you started…

What is texture art?
Just like pictures and art have images to create a design, we can also just have changes in texture; dimensional shapes and forms to make a design that will be visible due to it’s relief texture. It often involves a mix of paint and other ingredients to create a strong thick sculpting paste. This art can be as simple as ‘white-on-white’ or more complex colour combinations.
It is often geometric in design but that is not the rule. These texture arts are quite the trend since they bring simplicity to modern interior design.

What can you use to make texture paste?
Since I have worked in many artistic fields I have used a lot of products that can make texture before. Generally any type of plaster compound (joint compound/spackle) similar to what is used for your walls will become hard and textural. The problem with only using a joint compound is that it is brittle and usually has no polymer (plastic-like) reinforcement to make it stronger or less likely to break off.
To give the texture paste some strength the addition of a glue or acrylic medium will help bond it together and also help adhesion. The addition of paint will also help to give the paste a smoother finish and colour. I tend to use white paint as then I can add colour later.
What makes Texture paste thick?
As you can well imagine, mixing something like a powder into paint will make it thick. I’ve played with numerous recipes of all kinds of powders mixed into the paste.
- Talc is a fine powder and often used to thicken texture paste. It is mined from the earth, composed of magnesium, silicon, oxygen, and hydrogen. Baby powder is made with talc but additional ingredients like fragrances are added.
- Plaster of Paris (calcium sulfate hemihydrate) has the ability to hydrate with water and make a dense strong material.
- Chalk (calcium carbonate) can also be used to thicken texture paste. It is a form of limestone composed of the mineral calcite. If you have a grinder fine enough you can make some with dried ground egg shells.
- Baking soda is another powder that many use to create texture.
- Cornstarch can be used however it is mostly used to thicken a liquid when cooked.
What else is added to texture paste?
Since using only a drywall compound (sometimes called drywall mud) from Home depot would be brittle and quite chalky other ingredients can be added. Paint, glue, & acrylic medium can also be added to provide some acrylic & polymer properties. Gesso is a binder mixed with chalk, gypsum, pigment, or any combination of these. So you are starting to see how these combinations are important…

My recipe for Texture Paste:
After trying ot many combinations and letting them dry I chose my favourite ingredients; Plaster of Paris, PVA glue and acrylic paint. Plaster of paris is inexpensive, readily available and the main ingredient in many drywall compounds. It creates the bulk and hardness in the final product. The PVA glue (Polyvinyl acetate) is a non-acetic polymer compound that provies adhesion. Acrylic paint is pigment suspended in acrylic polymer emulsion and provides a less absorbent finish to the final product. It will also provide some protection against moisture.

My Texture Paste Recipe (by volume)
- 1 part Acrylic Paint
- 1 part Elmers Glue-all
- 2.5 – 3 parts Plaster of Paris
I mix the first 2 ingredients well before adding the plaster. Sometimes products may be older/wetter so mix to the consistency that you prefer. I used a thinner mix when I made the White Birch Texture Art (less Plaster of Paris)
It will depend on whether you are creating larger textures that need to hold their shape or thinner/flatter ones, the amount of paste needed.
Keep from drying out during planning in sealed container. Since plaster will start to react to the water content in the paint and glue it will not keep indefinitely. Mix only enough that you can use in a set time.

What should the Texture Art surface (substrate) be ?
When I choose a surface for this DIY textured wall art I tend to pick ones that are quite firm. Since the plaster texture is quite solid I feel more confident to know that the surface is not a flexible canvas. I know there may be some who have not had issue but if I was to take the chance I would may sure it has high polymer content. Polymer adds some flexibility to the mix but not that mix.
I like to use wood panels or MDF boards that are primed. I would hate the texture to fall off of the canvas art piece if it is flexed at all.
In preparation the board should also have some primer or gesso base coat so that the absorbency of the board does not ‘take away’ the moisture from the paste. That will possibly make the paste crack. The same rings true when working with concrete and plaster mixes.

What designs can be made?
Well, that can be any types of designs that you envision. Depending if you are adding any colour design the options are endless. Mid century modern has many simple shape aesthetics or take a cue from some natural elements like water – do try to be a little different in your designs.

It is a good idea to do some practice pieces to see what patterns that you like. Some can be quite fussy and planning is ideal. Don’t forget it’s supposed to be fun… it is almost like cake decorating. It’s that kind of kid-fun, playing with something that’s almost like mud…

What tools can you use for texture art?
Yes there are a lot of commercial tools that can be bought. I like to have a variety of palette knives, and certain trowels. If you are going to pull textures along a path there are many tools with a variety of profiles. You can improvise and cut some from waste plastic like bottles or containers, even cardboard can work for short term. Obviously a large paint brush will give great tactile strokes as well.

Planning a Geometric Design:
Geometric shapes made with directional pulls are lovely refined designs. Plan the shapes (in pencil) using radius markings and centre points. (See video to watch process)
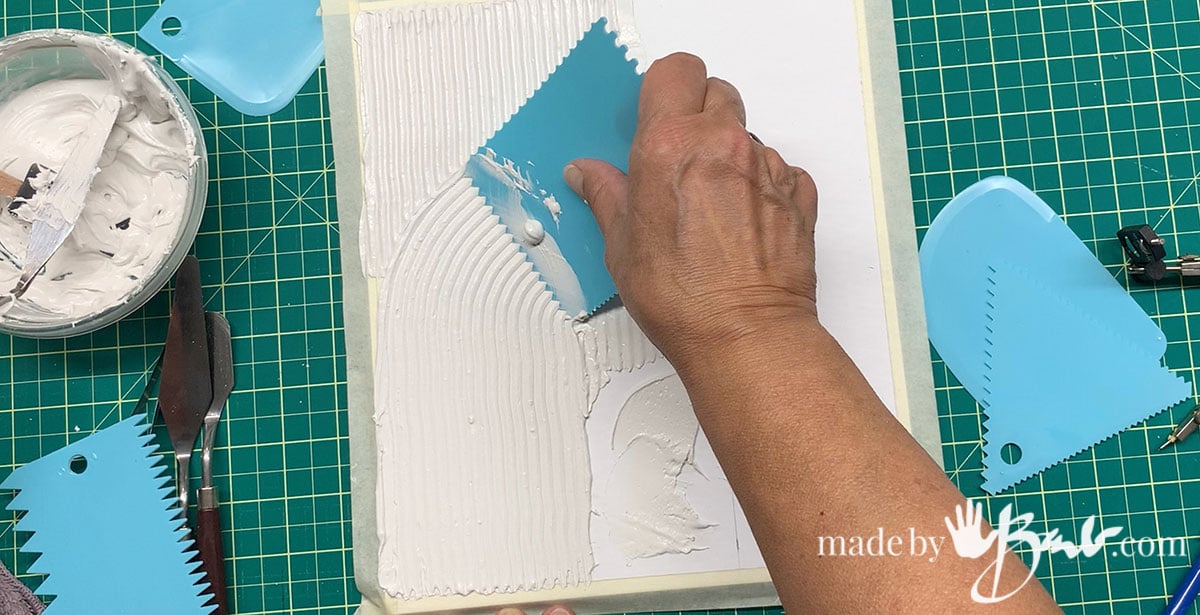
If the designs do not work out, it can be scraped off and redone easily. Different profiles (texture scraper/comb tools) will need different amounts of paste depending on the size of the ‘teeth’.
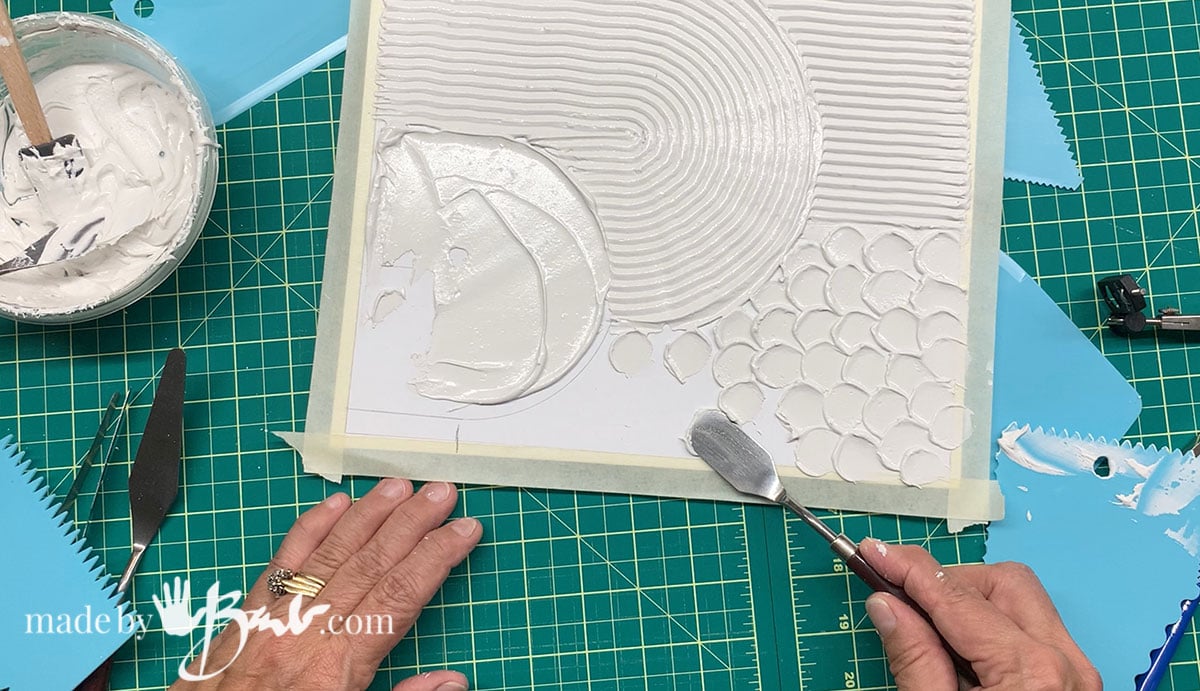
There are all kinds of patterns that can be made with dabs of the plaster mix. Use a putty knife or palette knife and work your away across the area.
How to decide on a design:
Deciding on designs is one of the most difficult decisions. In my artist brain there are so many things ‘pinging’ at the same time and it’s difficult to zero in only a few. To simply, I tend to just throw caution to the wind and start to ‘play’ with the media on a test piece; like we did as children learning everything.
As the designs flow there will be some that we just naturally think are great and others not; use your intuition, trust it. You do know that art can be anything?!

Adding colour or finish:
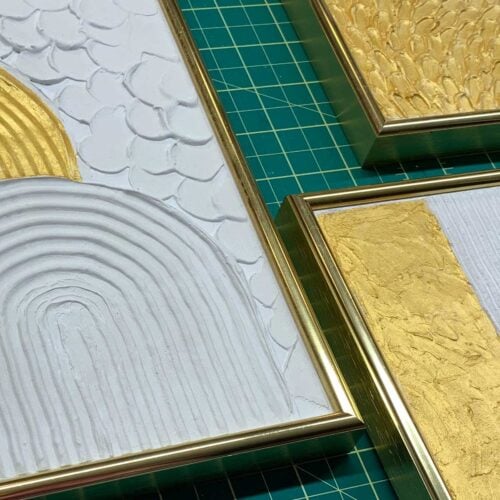
I’ve been on a bit of a trend ‘kick’ with gold accents in my designs lately so this Liquitex Gold Metallic Basics acrylic paint is quite bright and sparkly.

Adding the colour as a paint layer after sculpting is better than trying to actually colour the paste.
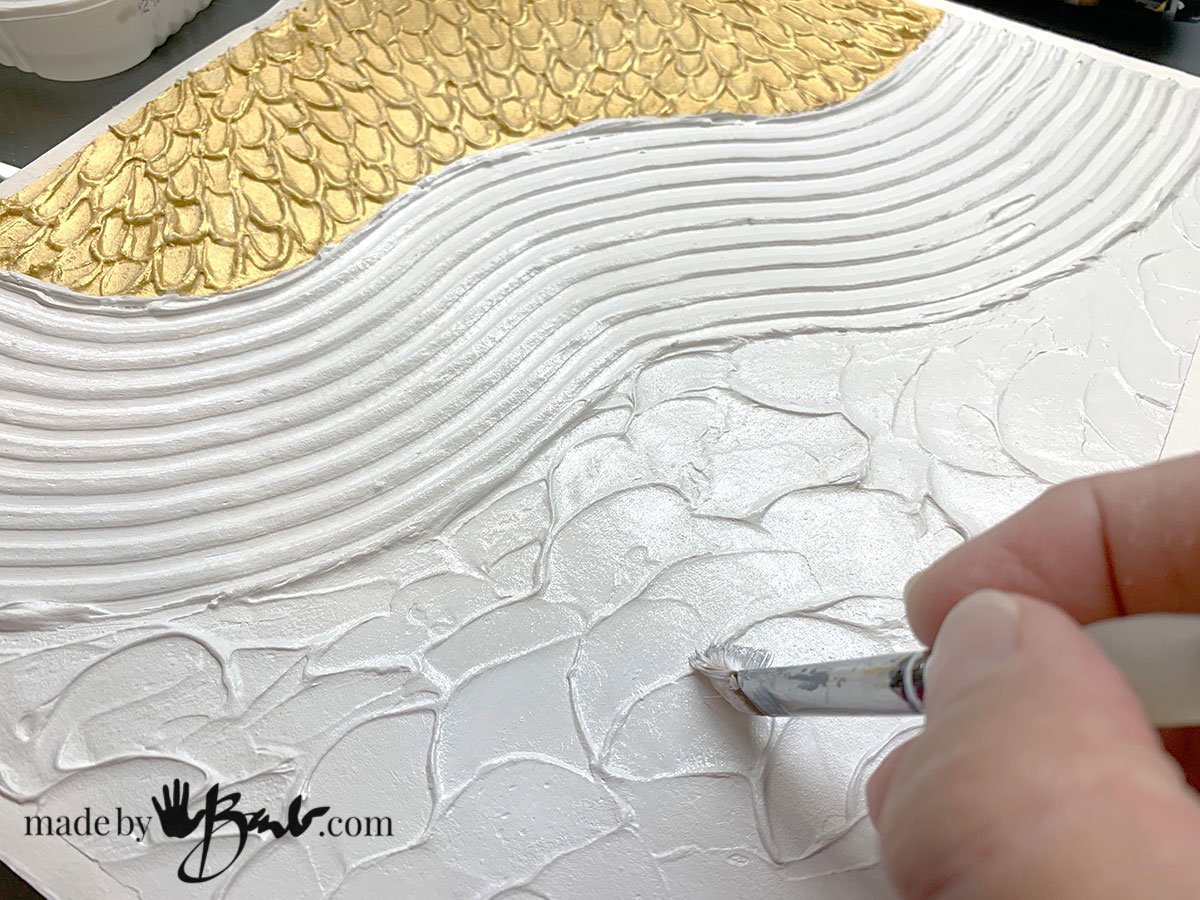
The plaster paste mix will dry quite matte so colour or just a finish or sealant helps keep the art piece protected form grime/dust.

Framing a Texture Art:
Custom framing can become expensive so I tend to collect frames before I make art. Then I am ready once done. The metal frames that allow disassembly are perfect for that. I would keep the framing as simple as possible or use a thin floating frame. Floating frames are almost as small as you can get before not having any frame at all; which is also a common modern method. I would suggest a deep canvas however if not adding a frame.

I remember going to ‘you-frame-it’ shops early in my career. It was fun to have the choices and help but also be done that same day.
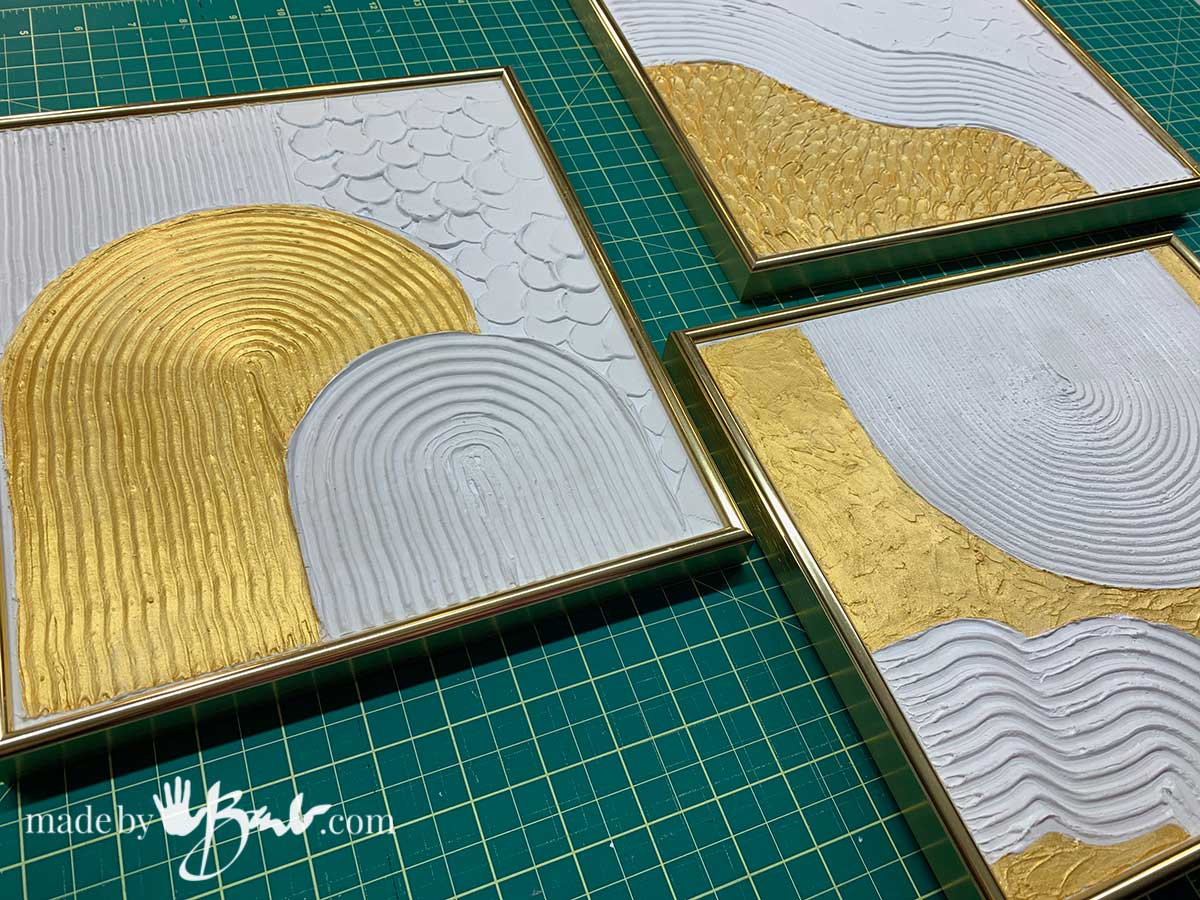
I must say; this type of art is so quick and simple – quite refreshing for me!
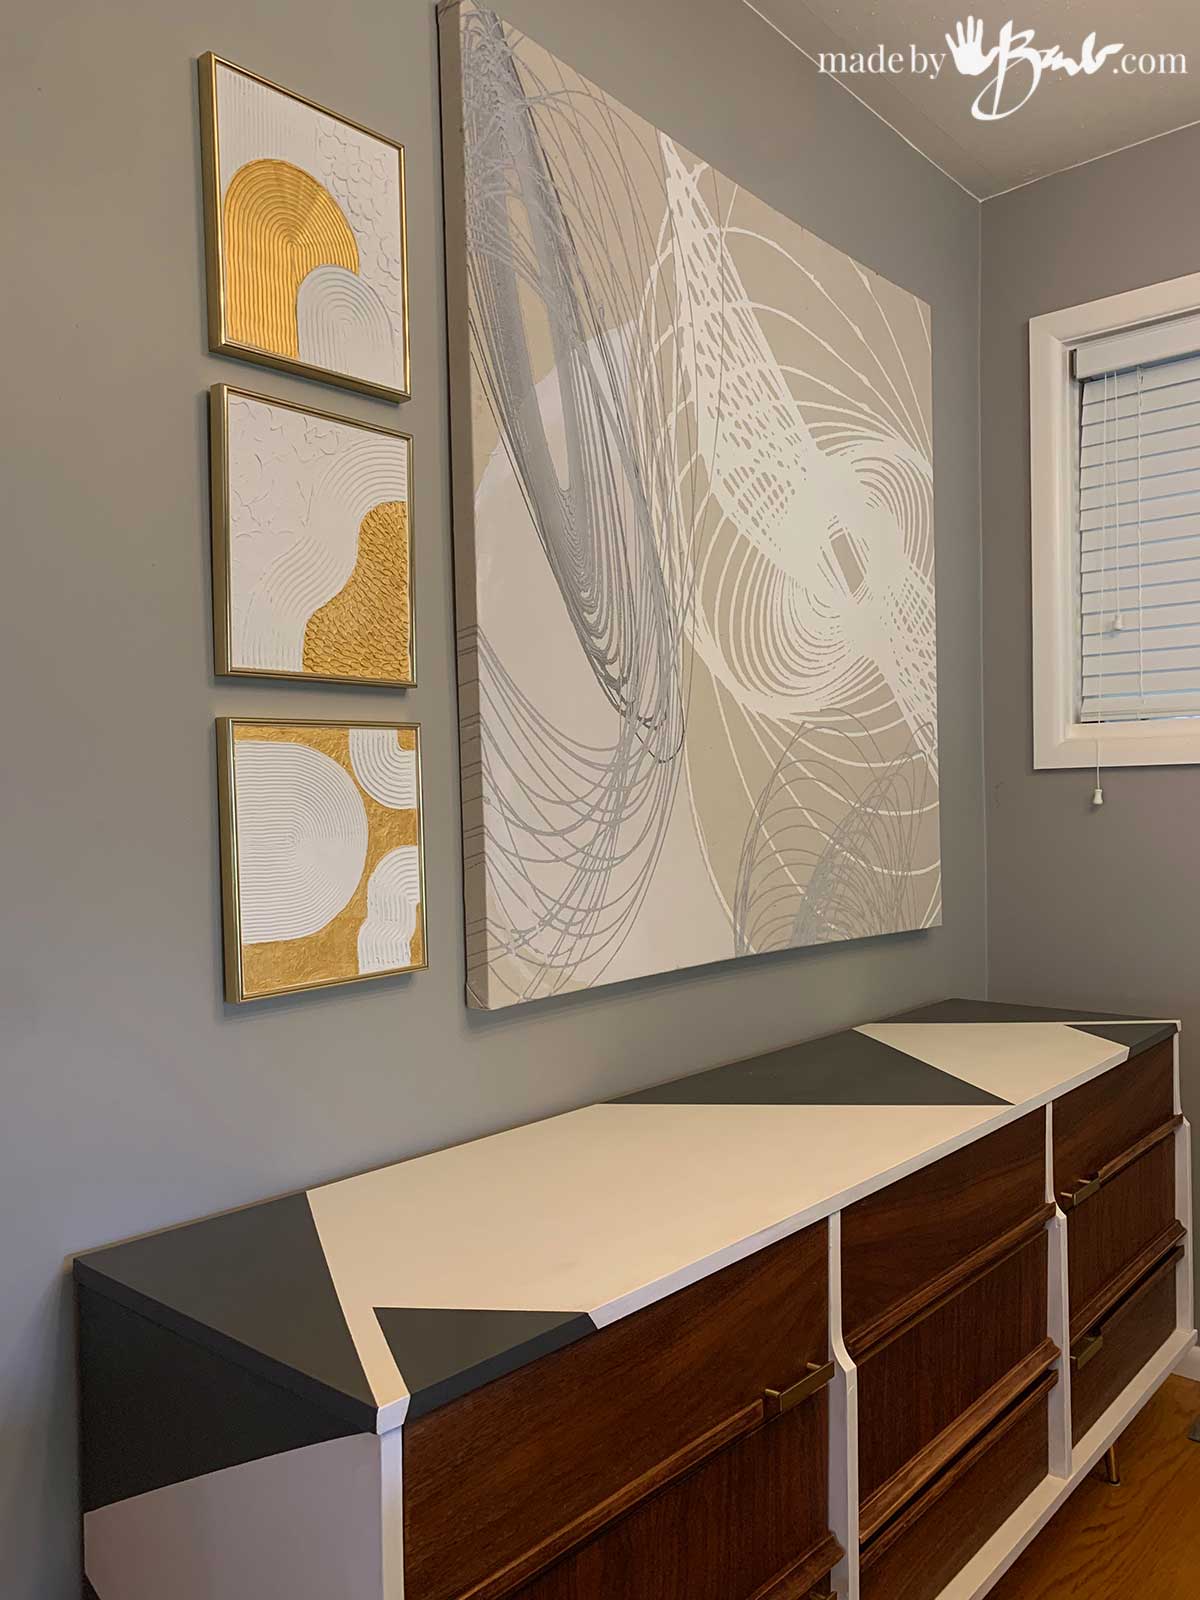
Come back soon to see how all these projects came to light in my complete house makeover… What do you think? Here it is paired with my contemporary Pendulum art.
I LOVE this Barb! You are sooo clever. Thanks for sharing the recipe. I have been wanting to try this without buying more art supplies.
Yes! Being an artist is much like being a scientist; we tend to experiment all the time!
Love all your work. I wish you had workshops as I live in Etobicoke and the GO Bus goes to Hamilton.
I’ve heard that often. Who knows?! Maybe some day… but it takes a lot of my time to design and post. I have taught in a college for over 20 years, so it’s a possibility.
Hello, I am wondering if the time you have to work with the Plaster of Paris is 20-30 minutes or does the paint and glue extend the time it remains malleable?
Generally speaking; the paint and glue don’t add much workability. It also depends on consistency (water amount) and brands/quality of materials & temperature/humidity. I always do a tiny test mix before investing too much.
THANK YOU for giving so much information. Very rarely you get such details online. How does one do the same thing on canvas frame ? STAY BLESSED
The fact that the canvas can flex risks the rigid plaster to crack and pop off. If the mix is proportionally adjusted to be more acrylic/medium based it may result in a more flexible texture. It would be an easy little test to try.