How to Make Cyanotype Prints on Rocks & Stones
If you have fallen in love with Cyanotype printing then you know what it’s like looking for more fresh ideas to print the magic onto! Let me introduce my new tutorial; How to make Cyanotype prints on Rocks & Stones!

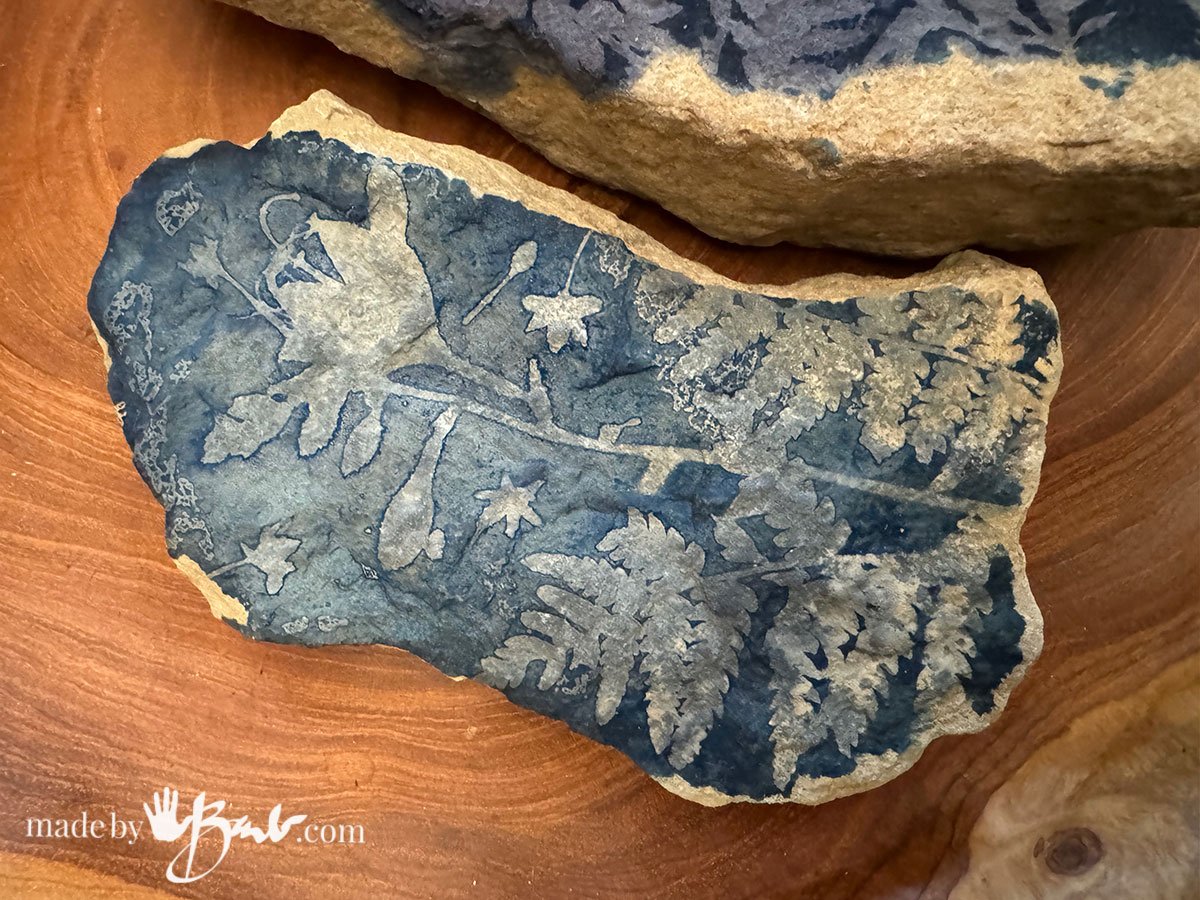
Cyanotype is a fascinating photographic printing process that produces a distinctive cyan-blue print using objects, plants or negatives. I have had great success on paper and fabric, but this method but can also be applied to various surfaces, including rocks and stones, to create stunning and unique art pieces. I believe the rustic nature is a perfect fresh canvas!

My walk on the beach had given me a new idea – rock printing! Once you look, it’s quite amazing at all the colours of beach pebbles and stones. I also checked out the flat type rocks that were from our natural escarpment.
What You’ll Need:
- Rocks or Stones: Choose smooth, light-colored rocks. Lighter surfaces yield better contrast with the cyanotype print.
- Cyanotype Chemicals: You’ll need Part A (Ferric Ammonium Citrate) and Part B (Potassium Ferricyanide).
- Brushes or Sponge: For applying the cyanotype solution.
- Transparency Film or Stencils: To create your design. You can print designs on transparency film or use objects like leaves, feathers, or stencils for contact printing.
- UV Light Source or Sunlight: Sunlight is a traditional source, but UV lamps work well, especially for controlled exposure.
- Water: For rinsing the stones after exposure.
- Apron and gloves to keep hands clothes clean

Cleaning the Rocks:
Some rocks come from places that may have a been damp and build up moss or algae so a quick scrub with a bleach solution will clean off the ‘green’. Do make sure to rinse well and let dry to evaporate any leftover bleach.

Since I know that PH (alkalinity and acidity) can affect a print I wanted to make sure I wasn’t having an extra challenge. I was happy to find the rocks are pretty neutral, but I do wonder about concrete; that will have to be another time…
When choosing your rocks look for ones that are quite smooth and flat to make the application of objects easier. The colour should be light so there is enough contrast with the final blue areas. It seems exciting to print photography & photograms on something so permanent!

The Basic Cyanotype Chemicals:
You’ll need Part A (Ferric Ammonium Citrate) and Part B (Potassium Ferricyanide). For ease of mixing I have pre-marked jars that allow quick filling after weighing the 2 powders into the jars. Use low light away from sun to mix chemicals.
The Recipe:
- 25 g of Ferric Ammonium Citrate + water to total 100 ml
- 10 mg of Potassium Ferricyanide + water to total 100 ml
- Mix both solutions together, allow to dissolve.
- Store in a light-proof jar until use.

Optional Use of Gelatine in Cyanotype printing:
Gelatine that is used to thicken food (like Jello) can also be used to aid printing on these stones. There are few trains of thought for using gelatine. If you mix it with the solution you may want to lower your water ratio of the mix. I tested some that was formulated with only 50% of the water but added some of the gelatine. (mixed as per instructions for food).
The results I got were quite good when I exposed right after applying. I found that if I allowed the rock to dry it seemed to be drawn into the pores of the stone and somehow changed the chemistry or perhaps became too deep and did not print well.

When I applied the solution (whether with or without Gelatine added) and printed immediately I got good fast results. The issue may be that the plant material used will be sacrificed though.

When removing the plants material after the pretty quick (approx 5 minutes) exposure it was still wet. so it printed more like ‘wet cyanotype’ technique. Each rock type seems to take in the water differently, as some seem only damp.

Washing & Rinsing the rock prints:
Washing the rocks after exposure is something that you need to be careful of. Usually I wash the paper and fabric until I see no more yellow/green in the rinse wash water but here it is bit a different since it is misleading. I found that once I thought it was sufficiently rinsed it must still have some emulsion deep in the rock as I noticed it would darken when it got some light. If the rock was coated with gelatine before the solution then perhaps it does not need as much consideration. The prints were still good but had less contrast.
It is a good idea not to be too hasty with the rinse step of printing on rocks.

Rocks & Stones are not flat:
One of the frustrating things when working with stones is that they have details that make the different elements not lay flat. Perhaps there are certain design elements that would be easier to ‘curve’ over the surface like fabrics, laces, threads, embroidery… Try to think outside the box with consideration of these challenges.

I just had a thought (at an odd moment) using cling film is great but what about using the extra device of vacuum packing?! That would really pull the print material close to the surface of the stone.

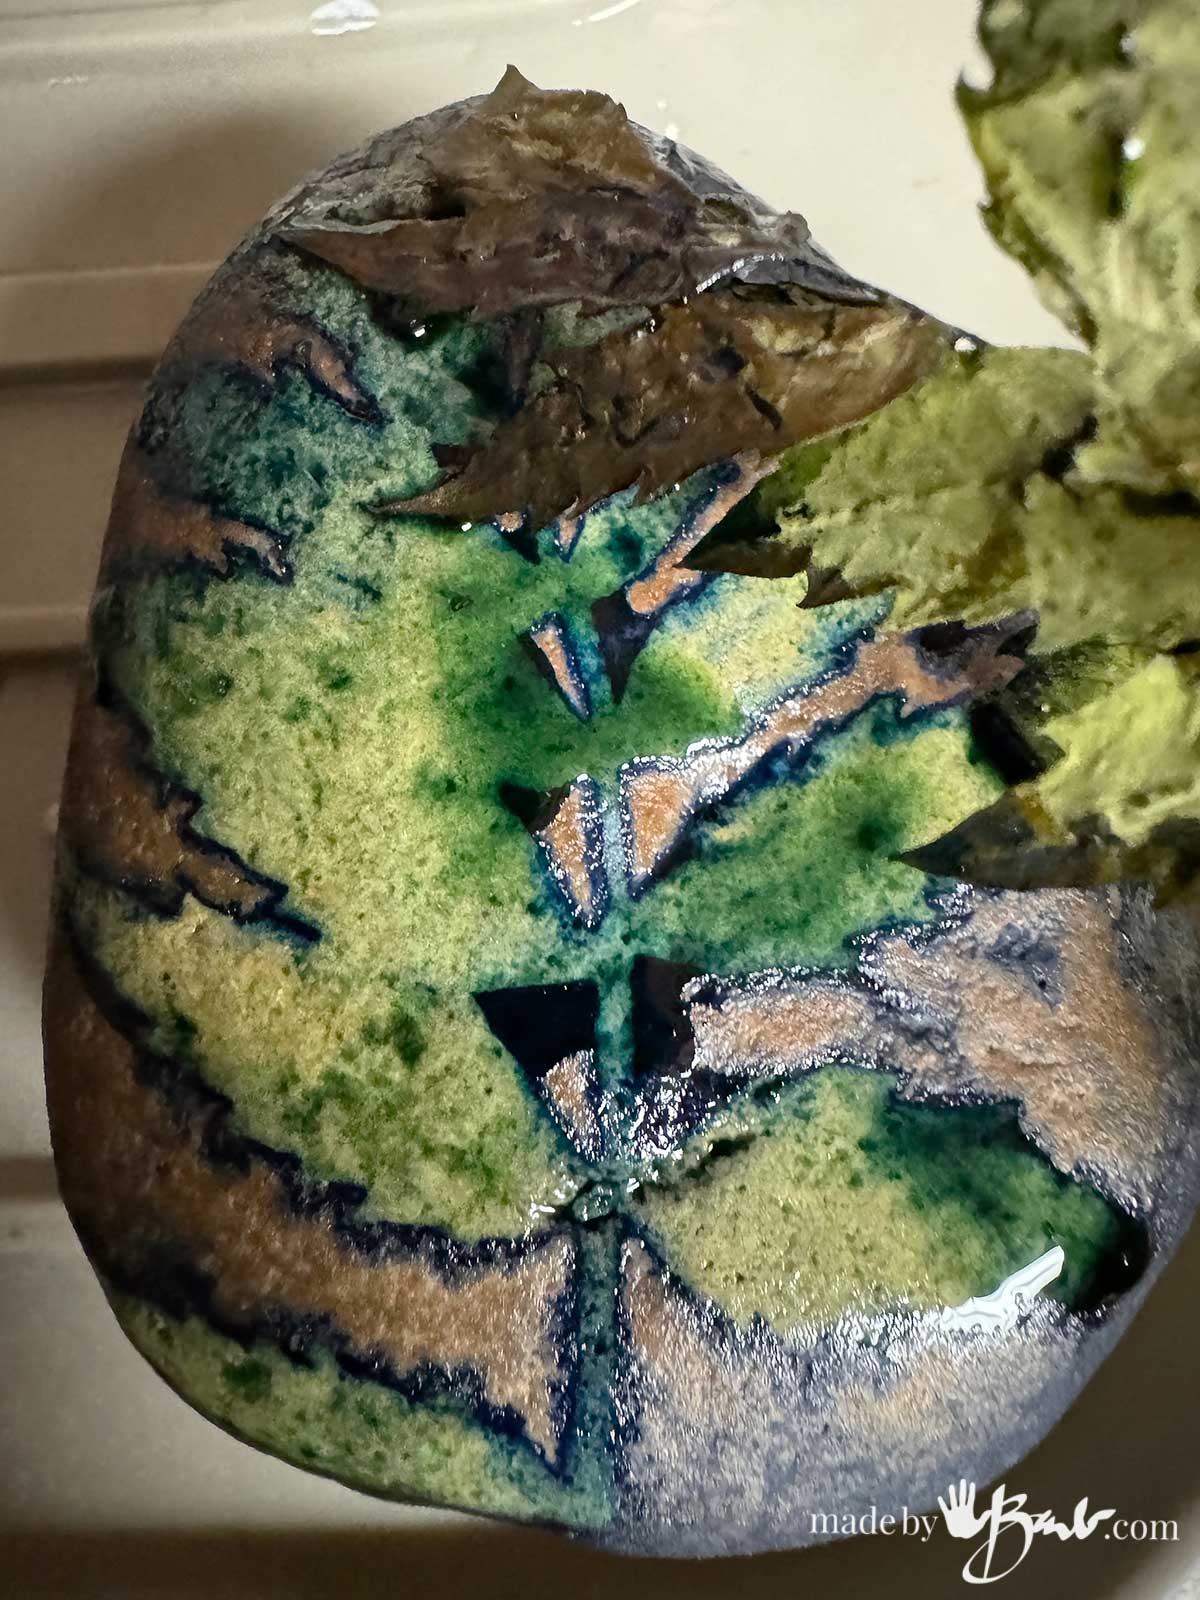
Once exposed (under my Indoor UV light) it may look a bit odd since the colour of the cyanotype has changed to ‘bronze’ colour but does look so close to the original stone colour.

Once rinsed I believe the exposure could have been longer as the flower did not allow any transparent print through the petals.


Preparing the stone with Gelatine;
Another option of using gelatine is to apply it as a size (a coating to absorb into the grain) that would make the absorbency somewhat less. Not all stones are the same so it may help to see how quickly water is absorbed to get an idea. Generally I see that flagstone (very flat) is often less absorbent than rounded beach stones, perhaps it’s nature of how they are created in layers.
Tip; When working with gelatine it does start to solidify when cool. To make it liquid again, a mug-warmer does a great job as it does not need a high temperature. Gelatine does need to be stored in the fridge between uses though.

The depth of absorbency seems less as the gelatine has kept the shapes on the stone lighter here. I did try some pretreat with a PVA glue but that sealed it too much and then the Cyanotype solution did not absorb enough to print.

The pattern seen above around the lovely feathers is from the wet cyanotype solution and the cling wrap.
Varnishing the Rocks:
As much as a shine is nice on artwork, the problem is that it usually darkens the stone. That is the same problem as sealing concrete. It can be done but will lose some of the contrast of the light areas.

It does depend what you plan to use your rocks for, as paperweights or accents decor, they can stay uncoated.

Perhaps mounting a flat stone in a shadow box frame will make some textural rustic art, somewhat like cyanotype photography to show off your passion.

The concentrated solution did make some quite beautiful dark prints.

Outdoor Craft Idea:
Since these can be exposed outdoors, this would be a simple craft for a summer camp. Prepare the cyanotype solution and keep in a dark jar (wrap black electrical tape around a jar) Under shade, quickly apply with a brush to a stone, and pop on some botanicals and quickly expose. Rinse them quickly again in the shade.

Nature on nature; how devine!

One of the best parts of this art design is that it is quite unique but so inexpensive. The amount of chemicals is minimal and can results can be pretty instant. Perhaps I have inspired you to give it a try! I do have other Cyanotype tutorials 💙
OMG! These are lovely! I can’t wait to try this! Thanks Barb!
I’m glad I won’t be the only one stooping and picking up rocks! Enjoy!
What a great idea!
Although I like all types of botanical prints I’m not a great fan of blue. When I see cyanotype prints the background are always blue. Is there a way to get different coulors?
Yes! You can tone cyanotype prints and get different colours! Where there’s a will there’s a way!
Your blue rocks are fascinating and beautiful, Barb.
Thanks! ‘Such fun!
I see a huge problem…I already bring home pounds of rocks from the beach because of the shape and/or markings. Now I’ll be bringing home MORE to cyanotype. Thanks a lot! lol
Haha, I know!!! I didn’t have to go far to find mine! I brought some from my picnic today!
Thanks for the great tutorial Barb. Have you ever tried Cyanotype printing on wood? I’ve struggled to get good prints on wood and wondered if gelatin might help in that case too…
I have! I am in the process of getting that tutorial ready. Generally, it could help depending on the wood.