How to Make Paper Fibre Clay with Just Paper and Homemade Glue
There’s something magical about turning everyday scraps into sculpting material. Paper fibre clay is lightweight, strong when dry, and surprisingly versatile for crafting bowls, sculptures, ornaments, or even mixed-media art. The best part? You can make it at home using just paper and homemade glue!

Materials You’ll Need
- Recycled paper (newspaper, printer paper, egg cartons, paper towels all work)
- Large bowl or bucket
- Blender (large or small; optional, but helps make a smoother pulp)
- Old strainer & piece of fabric (for draining water)
- Food Processor (optional to breakup damp fibres)
- Homemade glue
- Spoon or spatula
- Airtight container (for storage)

Step 1: Make the Homemade Glue
You’ll need a strong but natural binder to hold the fibres together. A simple flour-and-starch glue works beautifully. It comes together quickly and for practically pennies. This glue is non-toxic, eco-friendly, and sticky enough for paper clay. You may want to keep in mind that it may be tasty for the Masked critters though!

Step 2: Prepare the Paper Pulp
- Tear your paper into small bits (about 1–2 inch squares).
- Soak them in warm water for several hours or overnight until the fibres soften. (see video below)

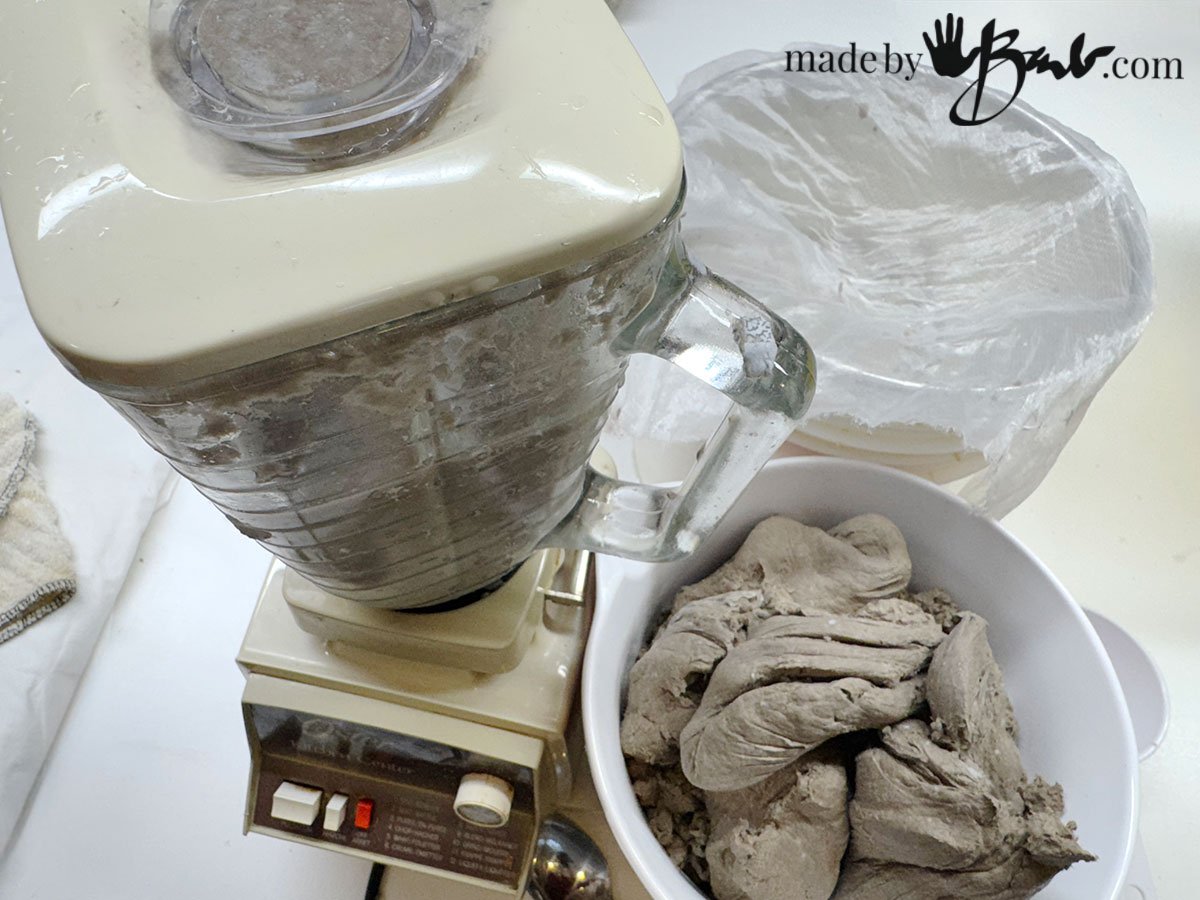
Step 3: Break up the Fibres
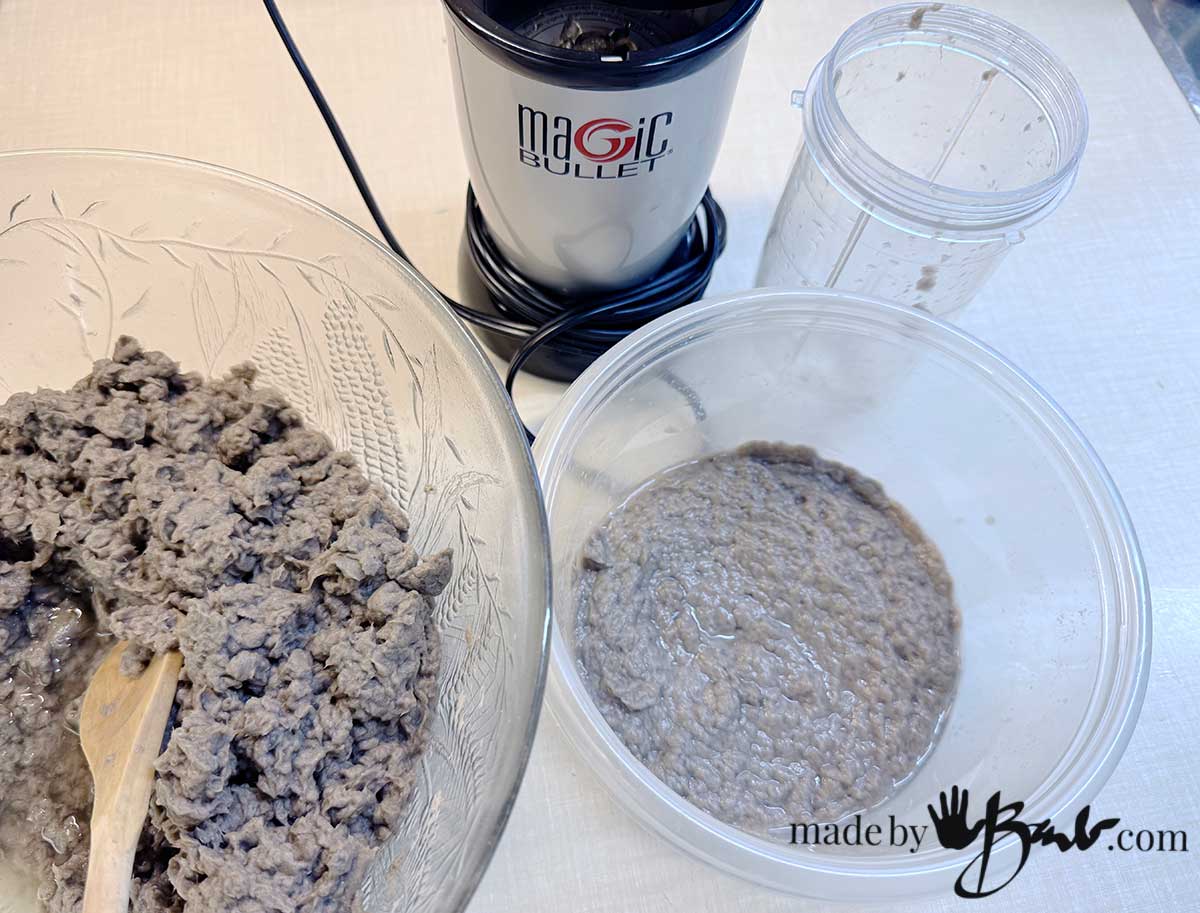
- Blend the soaked paper with more warm water until it turns into a pulp. I like to use some power equipment to break down the fibres quickly.
- Add enough water when using a blender or ‘Magic Bullet’ (small blender) to pulverize and disperse the fibres with the water to relieve pressure on the motor.
Some types of paper may need more soaking or blending than others. Egg cartons break down fairly easily to a course fibre. It is a great way to use what you may be discarding anyways.
Depending on amount being processed, other power equipment like immersion blenders or paint stir tools can also work.
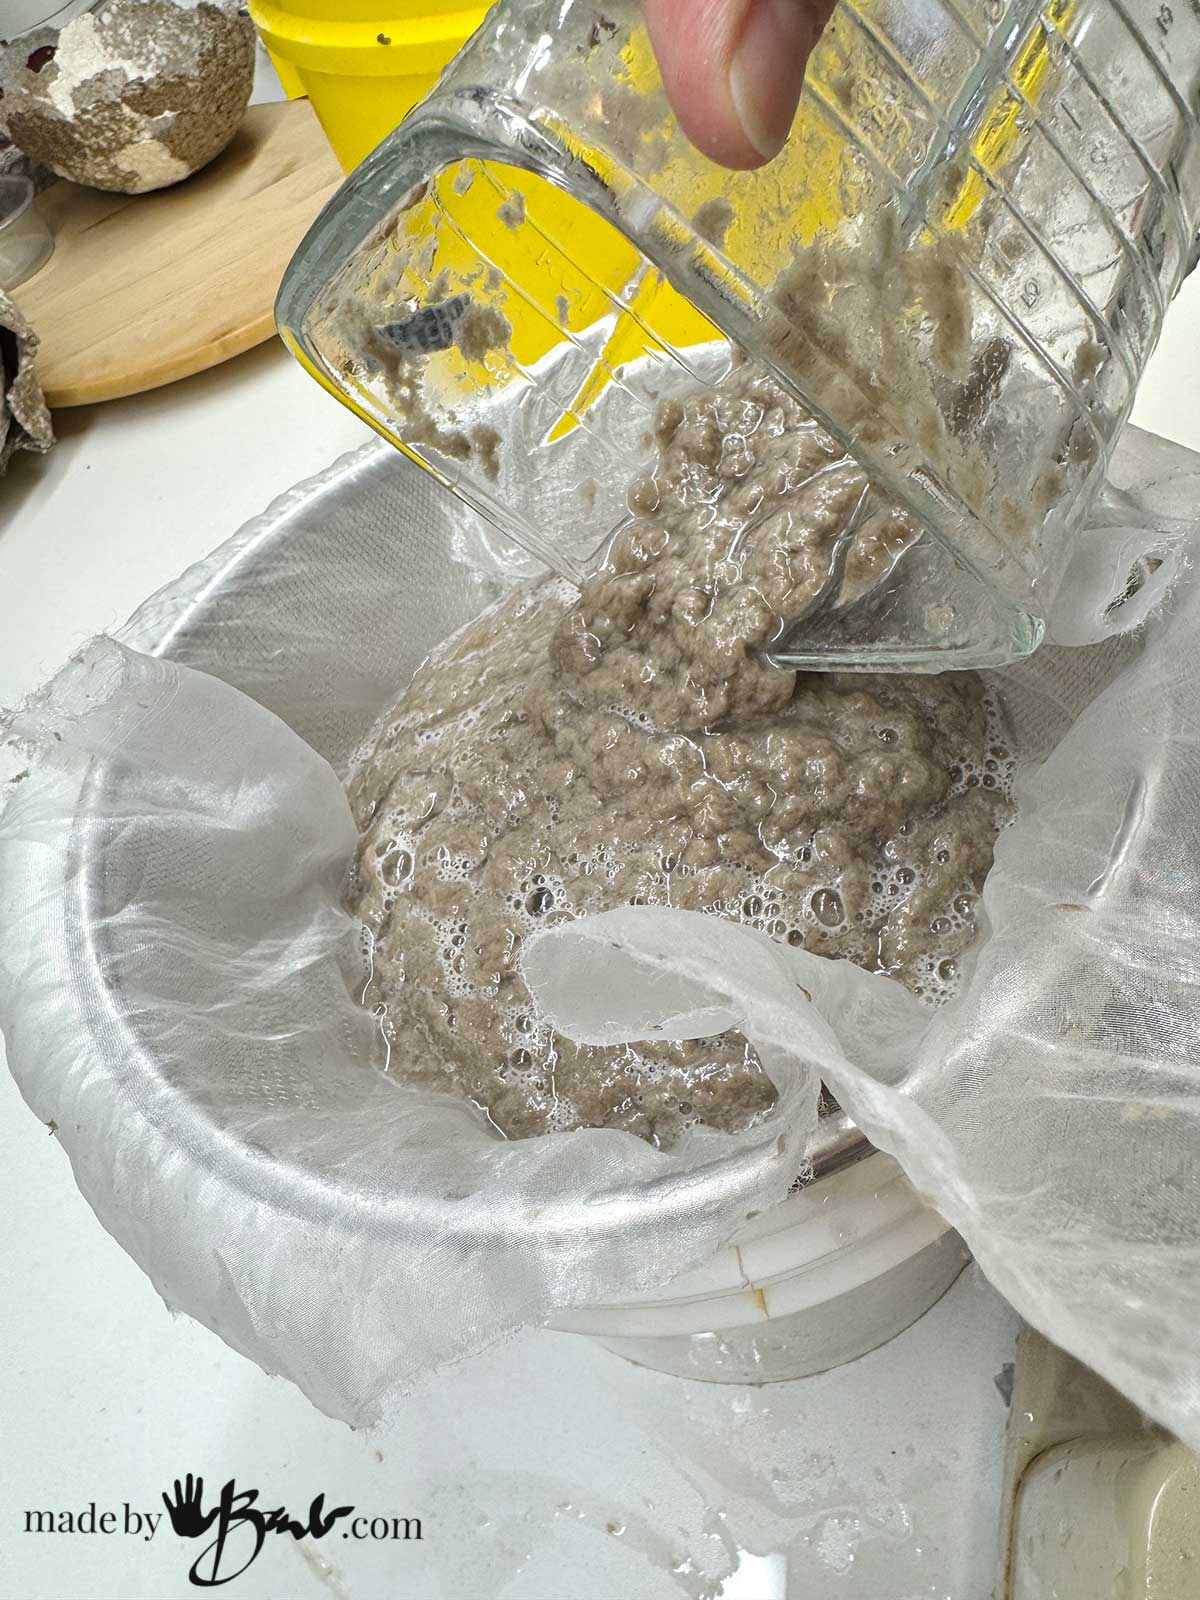
Step 3: How to remove excess water:
- Strain out excess water — you want damp pulp, not dripping wet.
- Use a fine fabric over a sieve to allow water to drain.
- Pick up the fabric (old curtain organza fabric) and twist to force out as much water as possible.
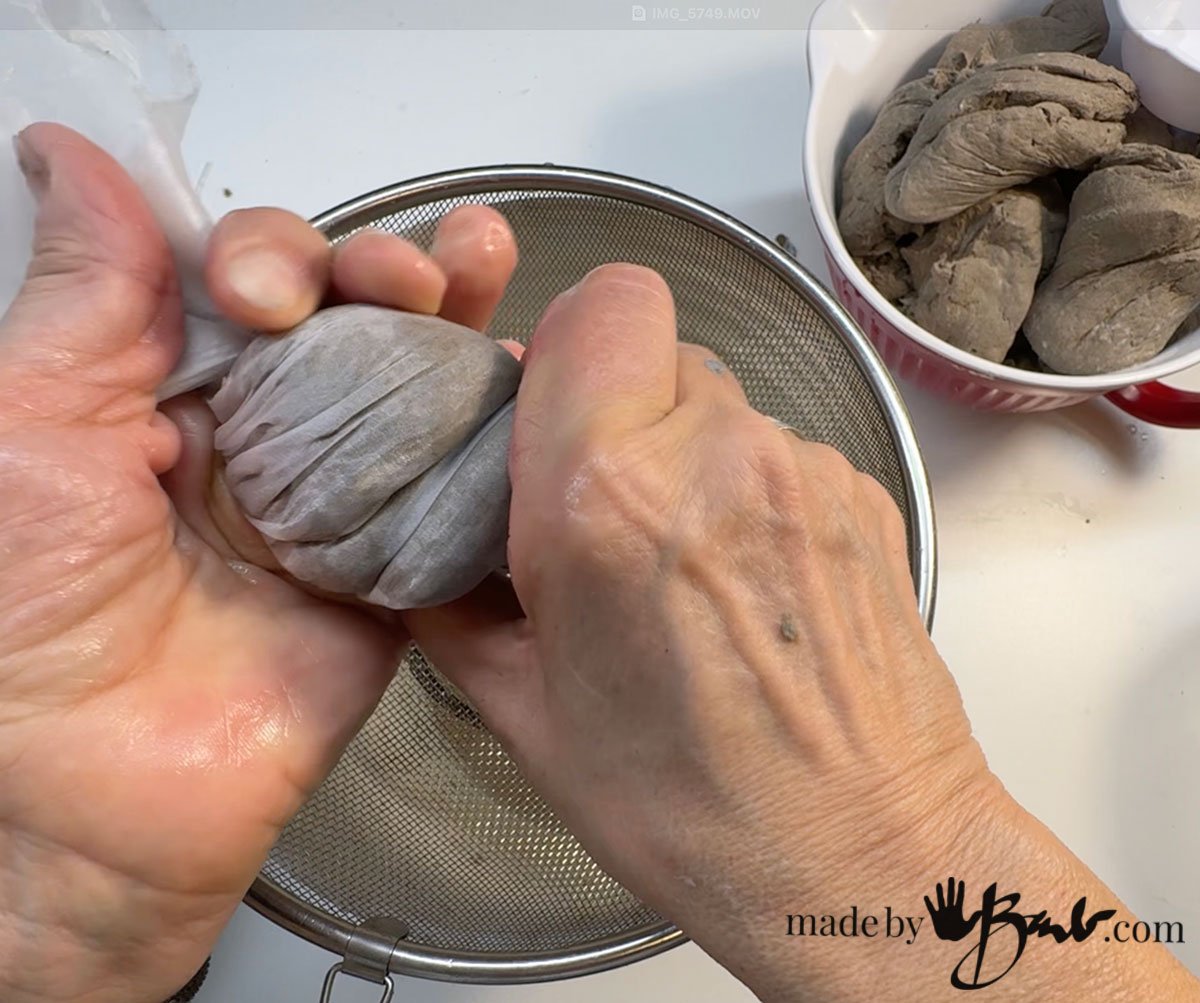
The fibres will become compressed again but the next steps will separate them.

When I am not going to use right away I place the prepared fibres in a sealed container in the fridge until next use.
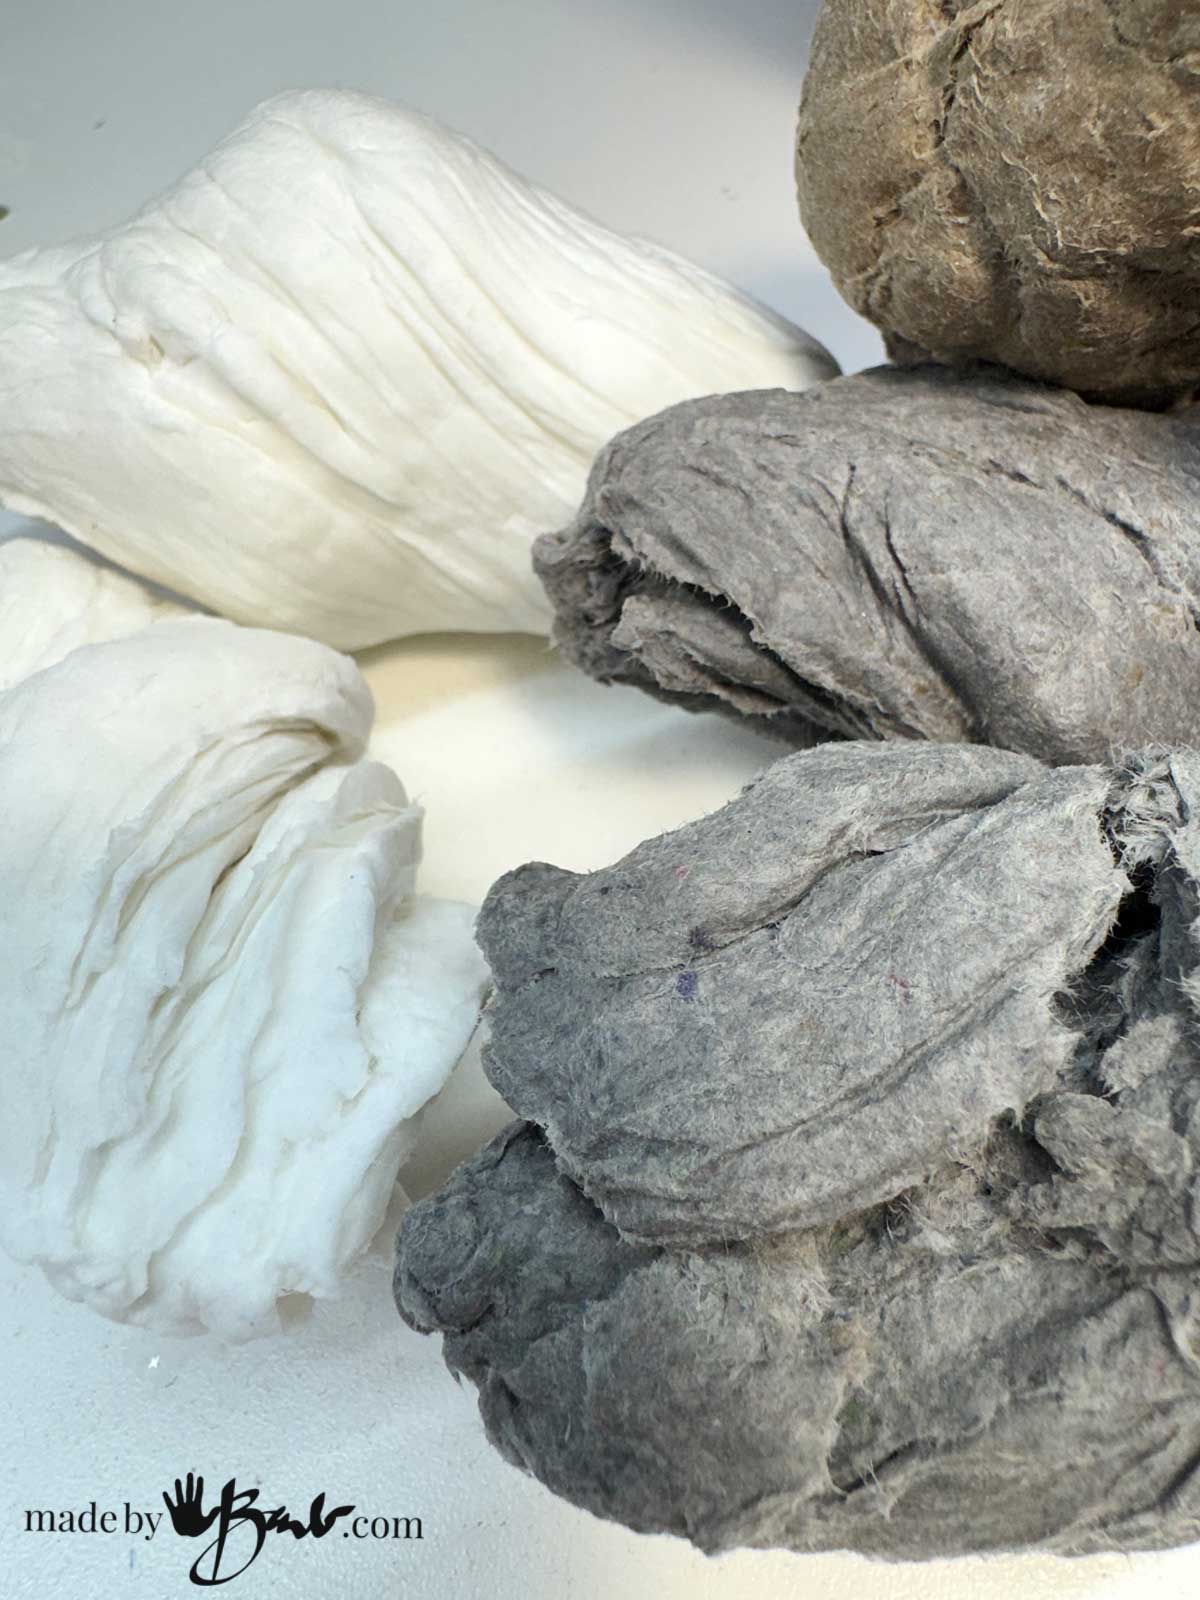
Experiment with different types of paper for a variety of colours and textures. Old paperwork, egg cartons, amazon boxes, wrapping paper, magazines (mostly uncoated papers), can be used.

The dampened fibres are easily broken up with the use of a food processor.

Step 4: Mix the Fibres with the glue
- Put your damp paper pulp into a food processor
- Pulse the damp fibres to make small particles (easier to disperse with glue)
- Add a few spoonfuls of your homemade glue.
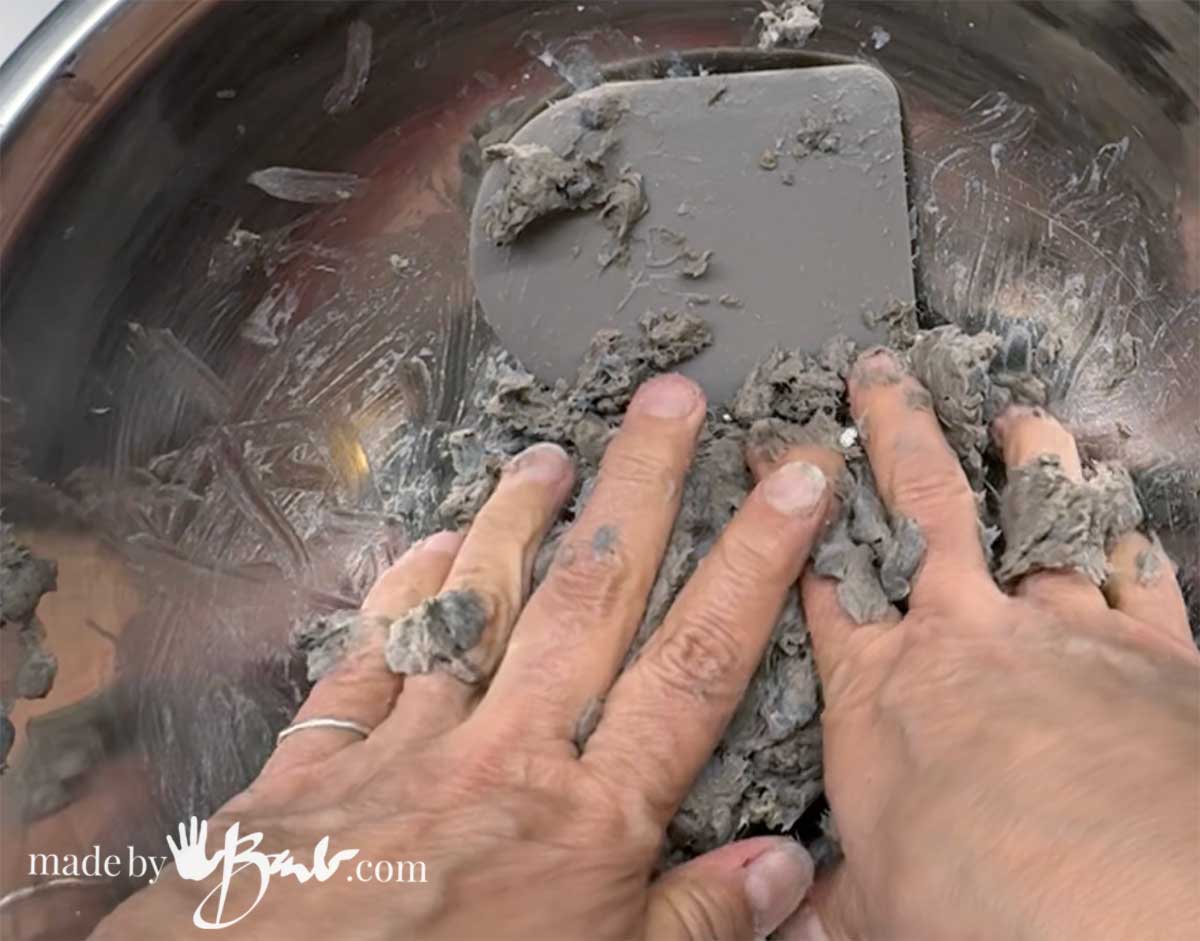
- Mix thoroughly with your hands or spatula until you get a dough-like consistency.
- If the mixture is too sticky, add more pulp; if it’s too dry, add more glue or a splash of water.

Step 5: Sculpt & Shape
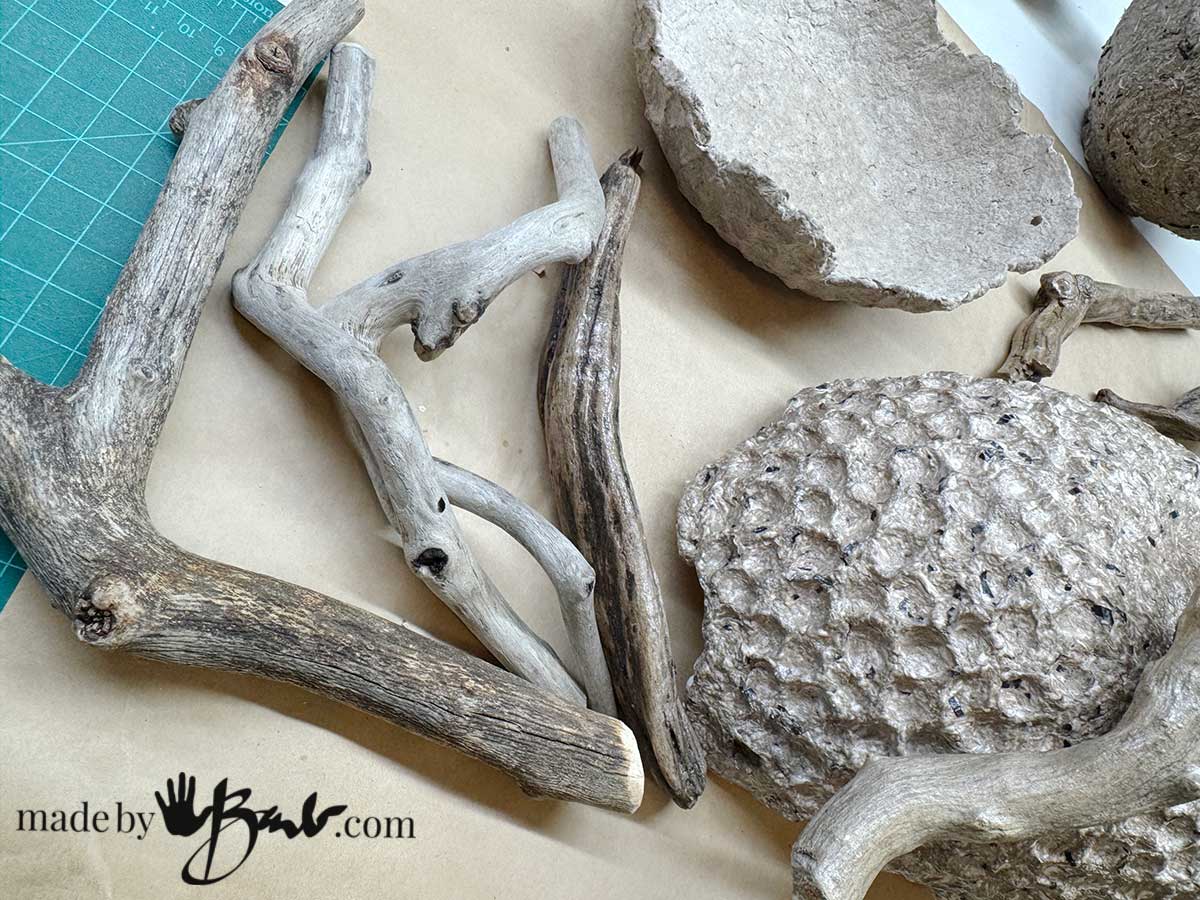
- Use the clay to form small bowls, ornaments, figurines, or even apply it over armatures (like cardboard or wire).
- Smooth the surface with damp fingers or a spatula.

So many things can be created but keep thicknesses minimal to allow drying in the centres.
Step 6: Drying & Finishing
- Let your creations air-dry for 24–48 hours in a warm, ventilated space. For thicker pieces, drying may take several days.
- Once dry, sand any rough edges if needed
- Paint, seal, or decorate your paper fibre clay projects as you like!

Tips & Tricks
- Add a spoon of white glue (if you don’t mind a store-bought ingredient) for extra durability.
- Egg carton paper creates a stronger clay because of its coarse fibres.
- Always dry pieces slowly—too much heat can cause cracks.
- Store leftover clay in an airtight container in the fridge for up to a week.
With just paper scraps and simple glue, you now have your very own eco-friendly sculpting medium. It’s thrifty, fun, and surprisingly durable—perfect for anyone who loves experimenting with handmade materials.
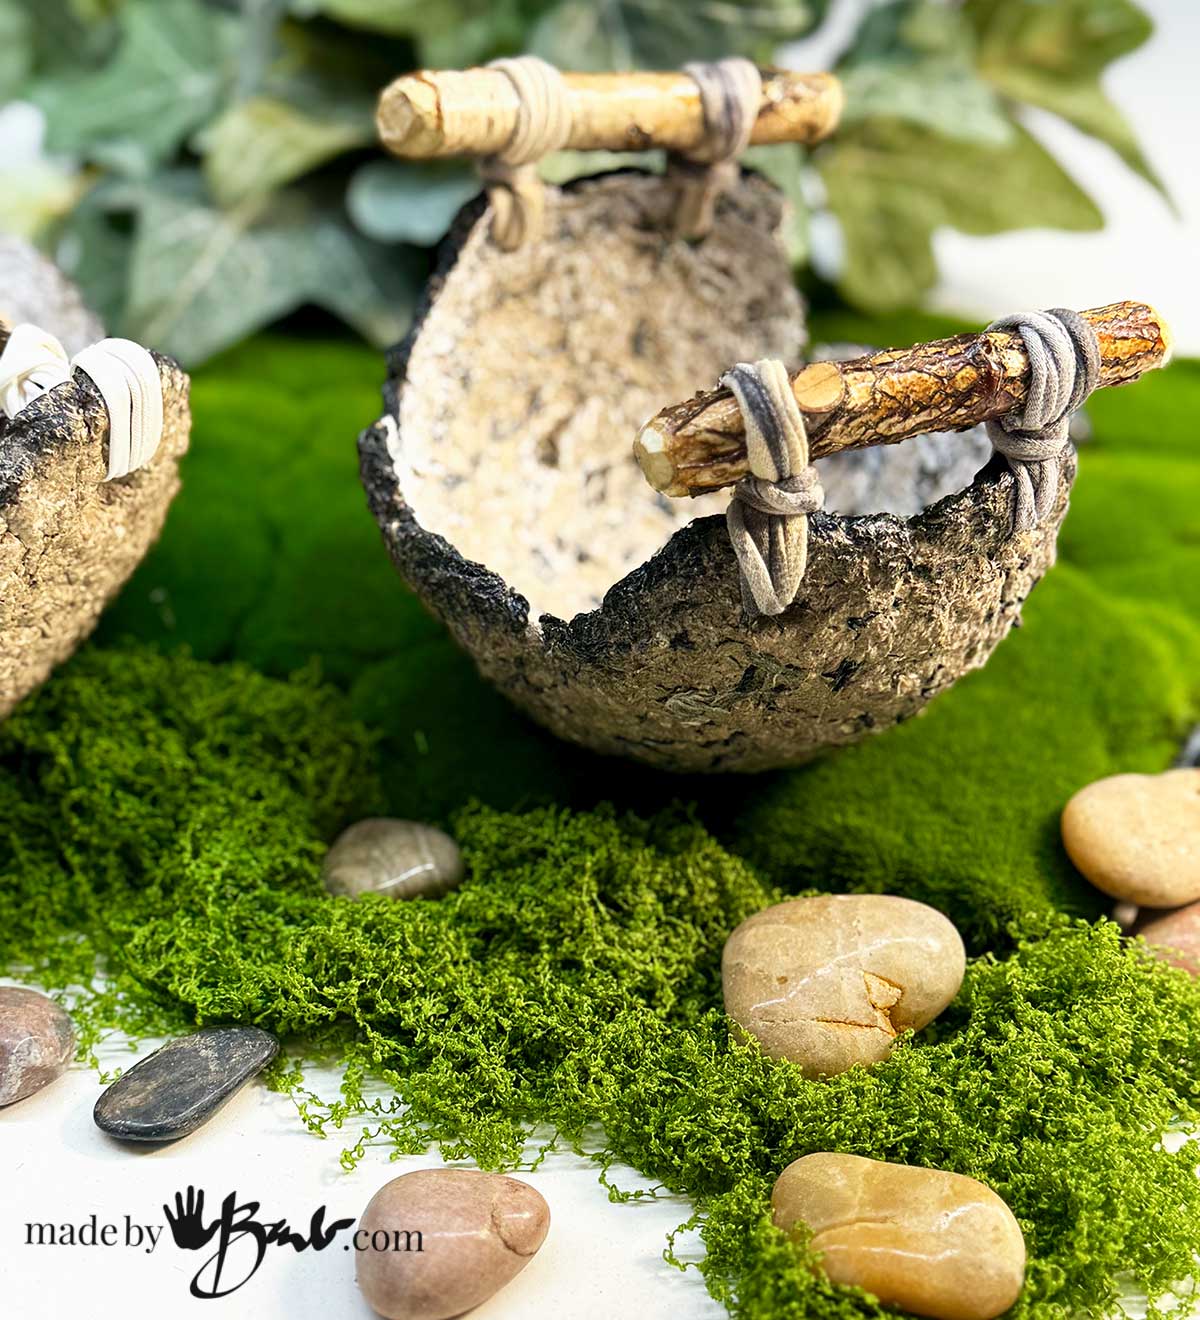
Just wait ’til you see what can be made!
I don’t comment often,.. but, I must say, you are an inspiration. I failed with the cement paper clay mixture…, maybe it’s because we don’t get Portland cement here in Australia. Anyhow, keep up the good work
warmly, Dontae Curtis
Thank you. I do think there has to be a suitable product but may be under a different name. I did find this. Do not give up… Often the terms ‘concrete’ and ‘cement’ are used incorrectly.