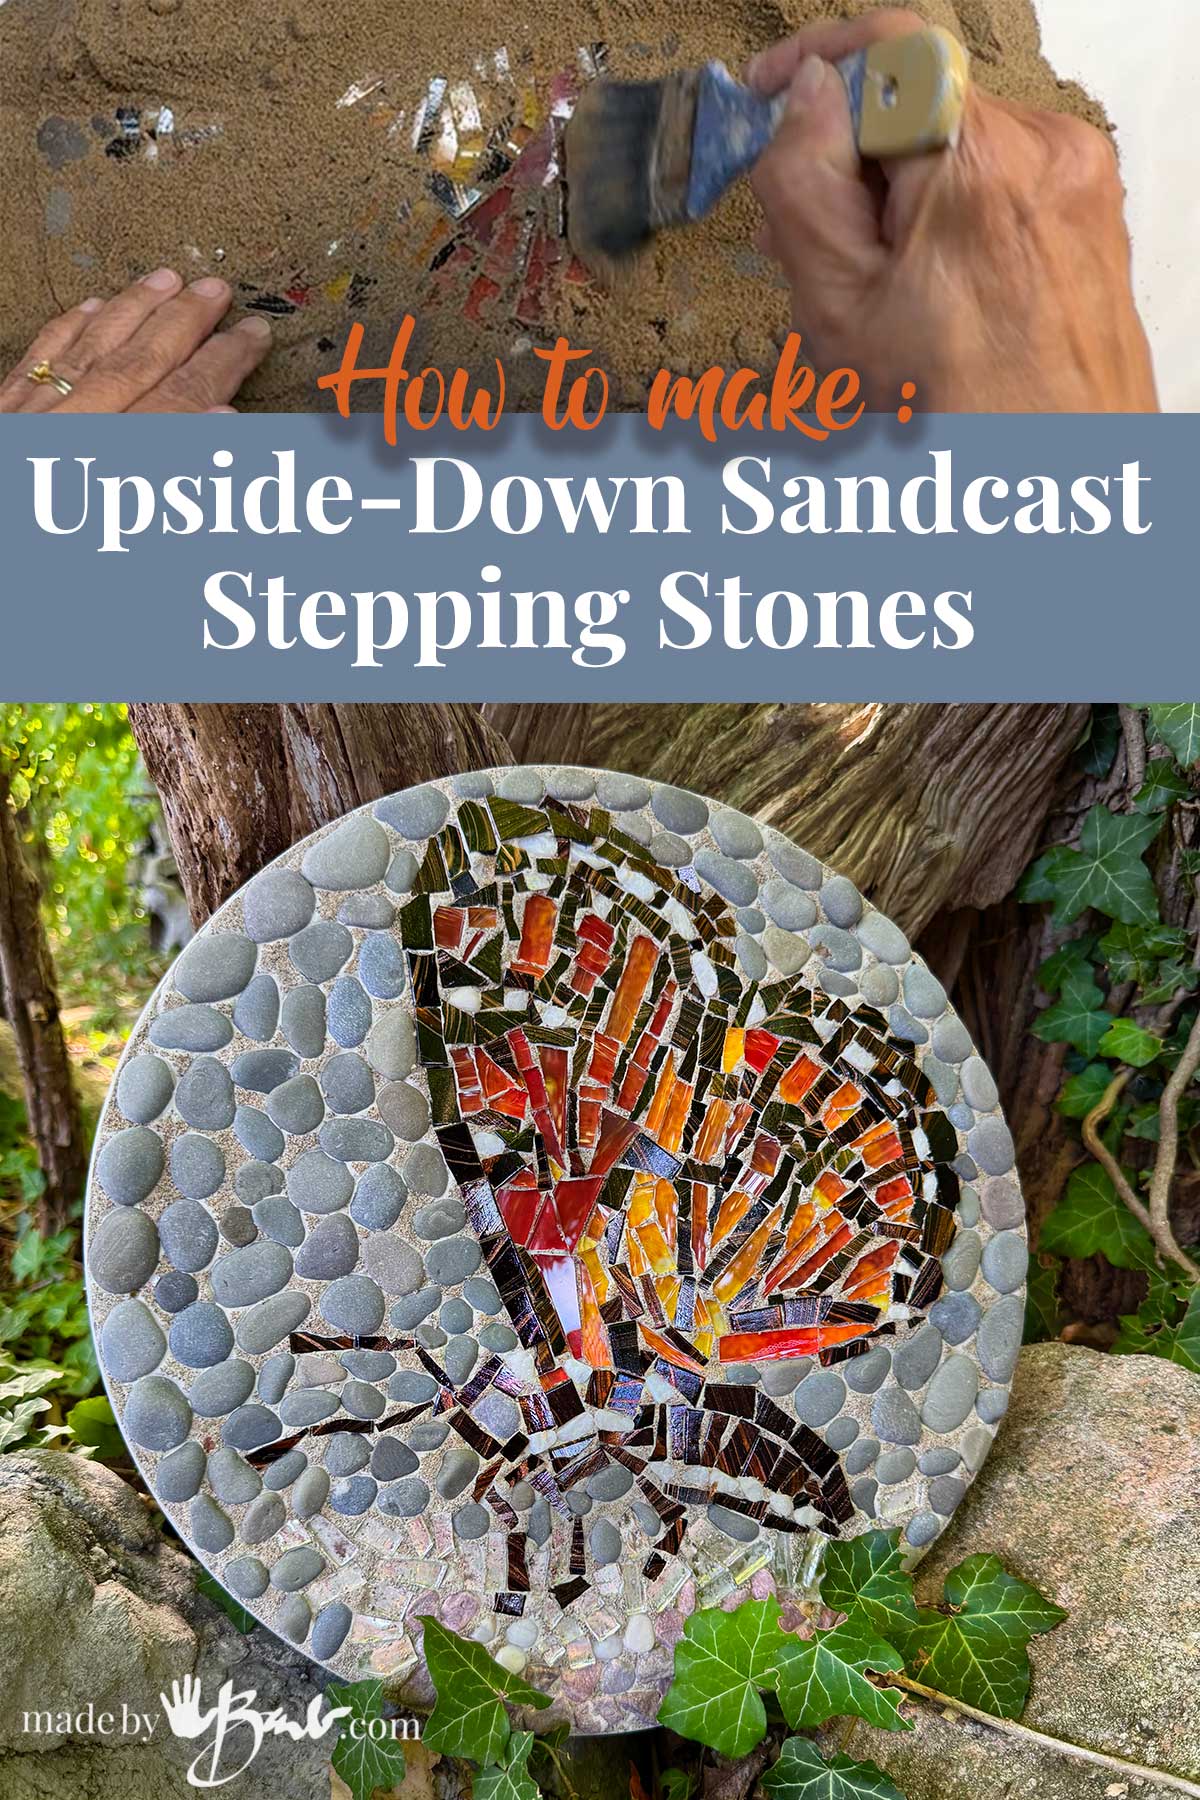
How to Make Upside-Down Mosaic Sandcast Stepping Stones with Beach Stones
Just imagine walking on a garden path dotted with handmade stepping stones… Even better when each one carries a little memory of a beach day! With just sand, concrete, tesserae and a handful of collected beach stones, you can create upside-down sandcast stepping stones that are as durable as they are beautiful.
Why Upside-Down Sandcasting?
The upside-down method lets you place stones, shells, or textures face-down into the sand.

This unique method is like the way fruit is placed in upside-down cakes. When you pour in the concrete, those details become the smooth, polished surface of your finished stone after you flip it. The result? A neat, professional-looking piece without rough edges on top. Amazing concept isn’t it?!
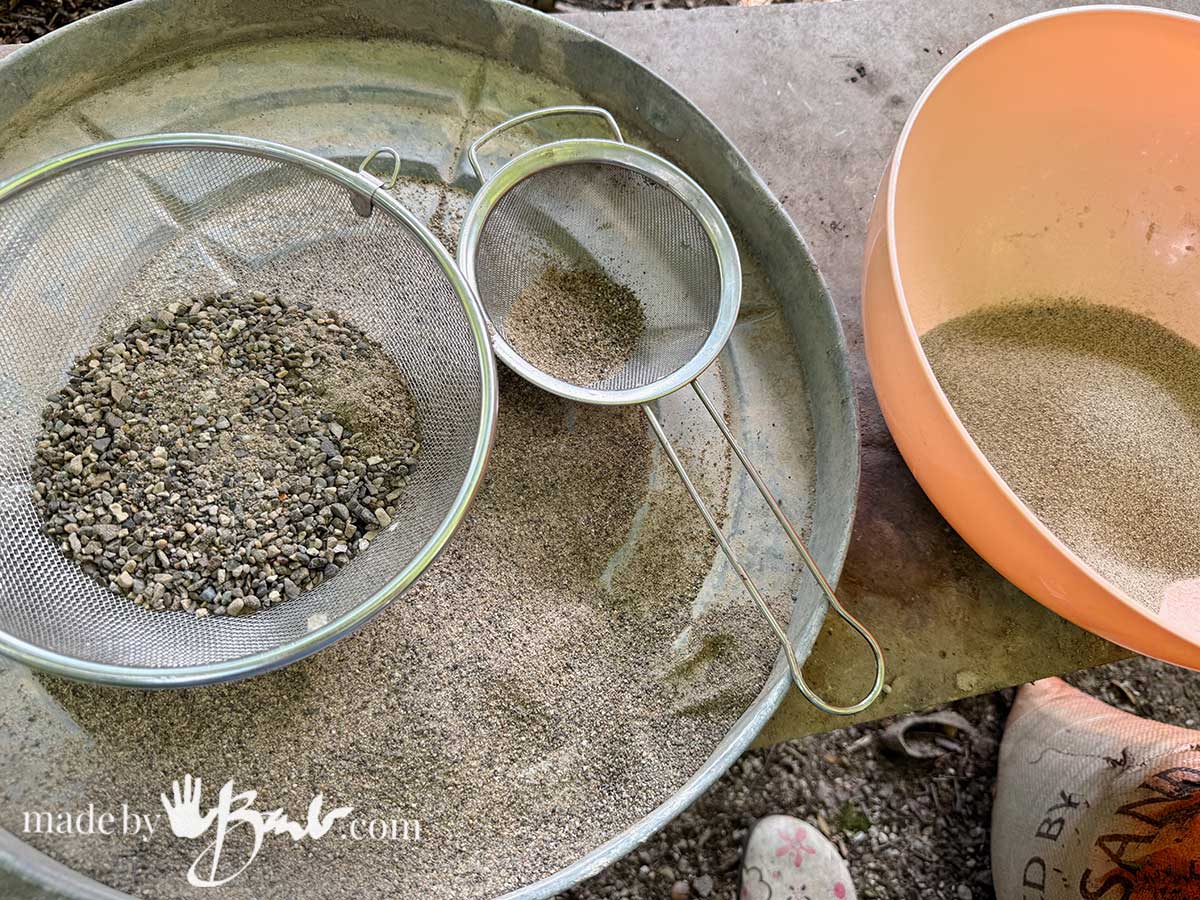
I prefer to use a very fine sand so I put the regular builder sand (dry) through a sieve.
Materials You’ll Need
- Fine sand (play sand or regular sand, sieved)
- A flat tray, pan or shallow box (to contain the sand)
- Cement or concrete mix (RapidSet CementAll or similar works well for strength)
- A bucket and mixing tool
- Beach stones, glass, broken dishes or pebbles
- Gloves & dust mask (for working safely with cement)
- Fibreglass or metal mesh for reinforcement
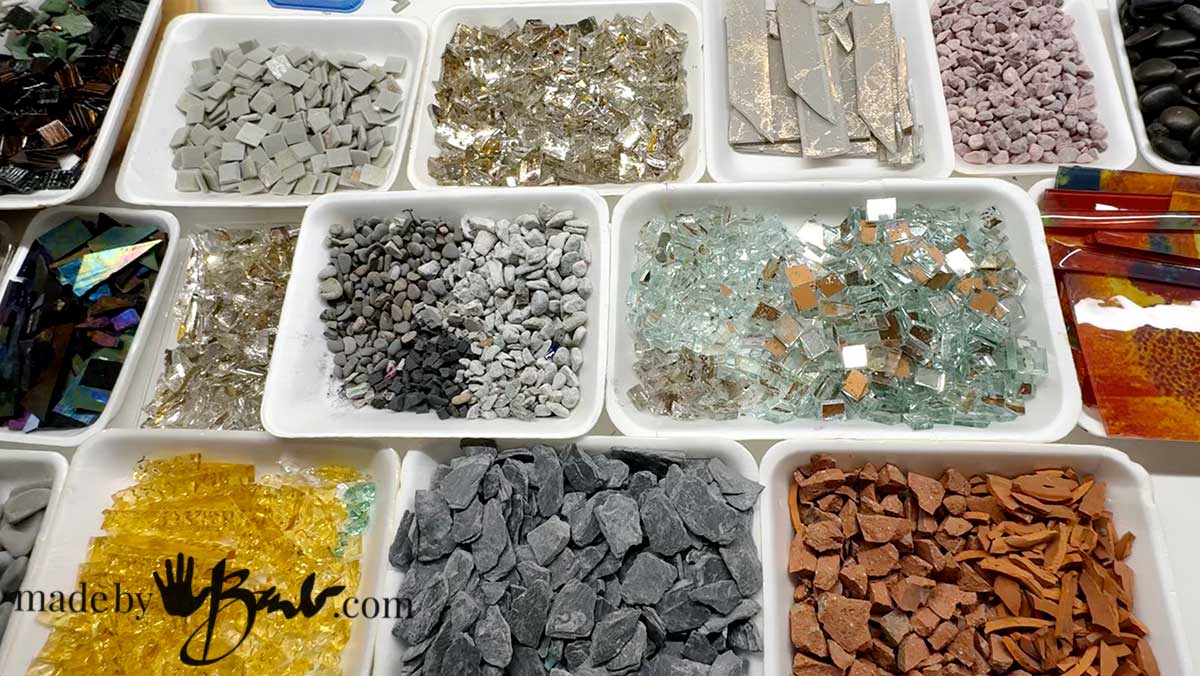
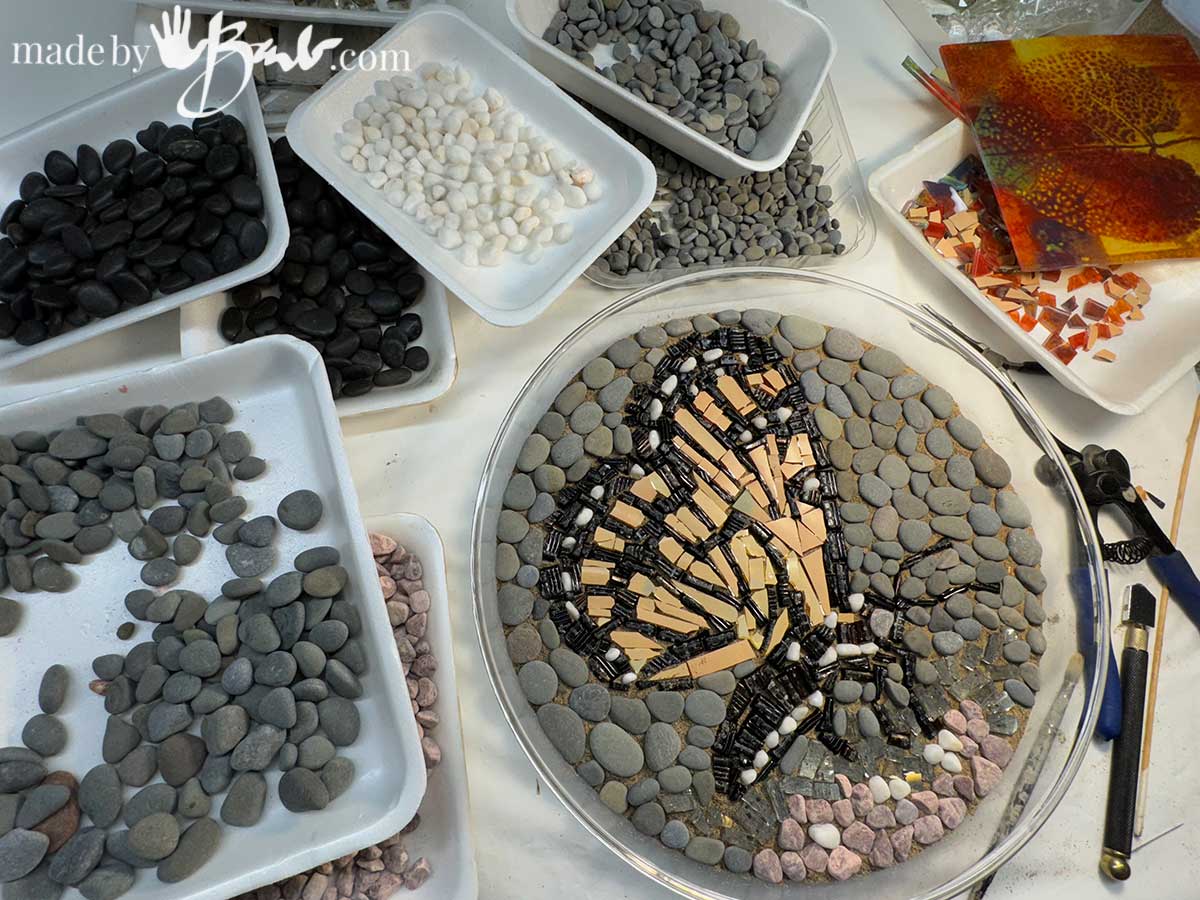
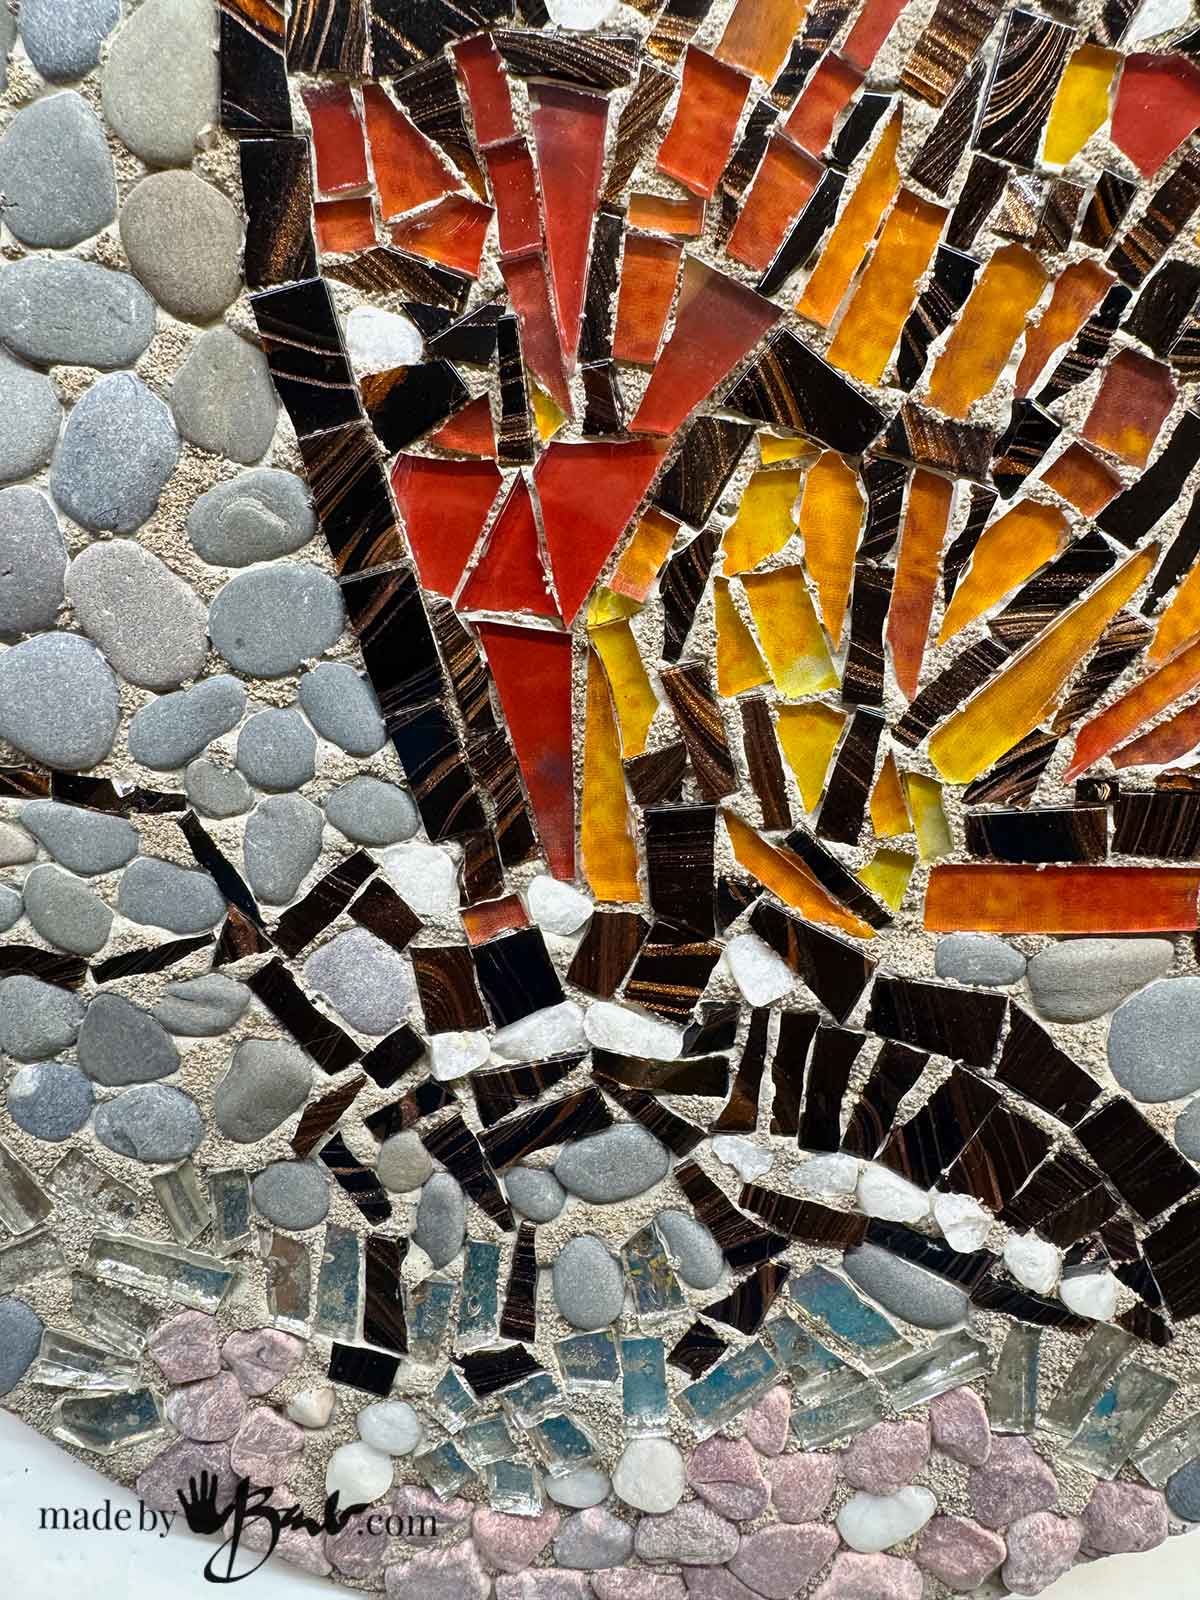
There are many options to use as your tesserae (bits & pieces to make mosaics with). I have actually made my own for mosaics. An old mirror, glass bowls/plates, slate chips, beach stones, pea gravel glass tiles, ceramic tile pieces etc can be quite interesting as design elements.
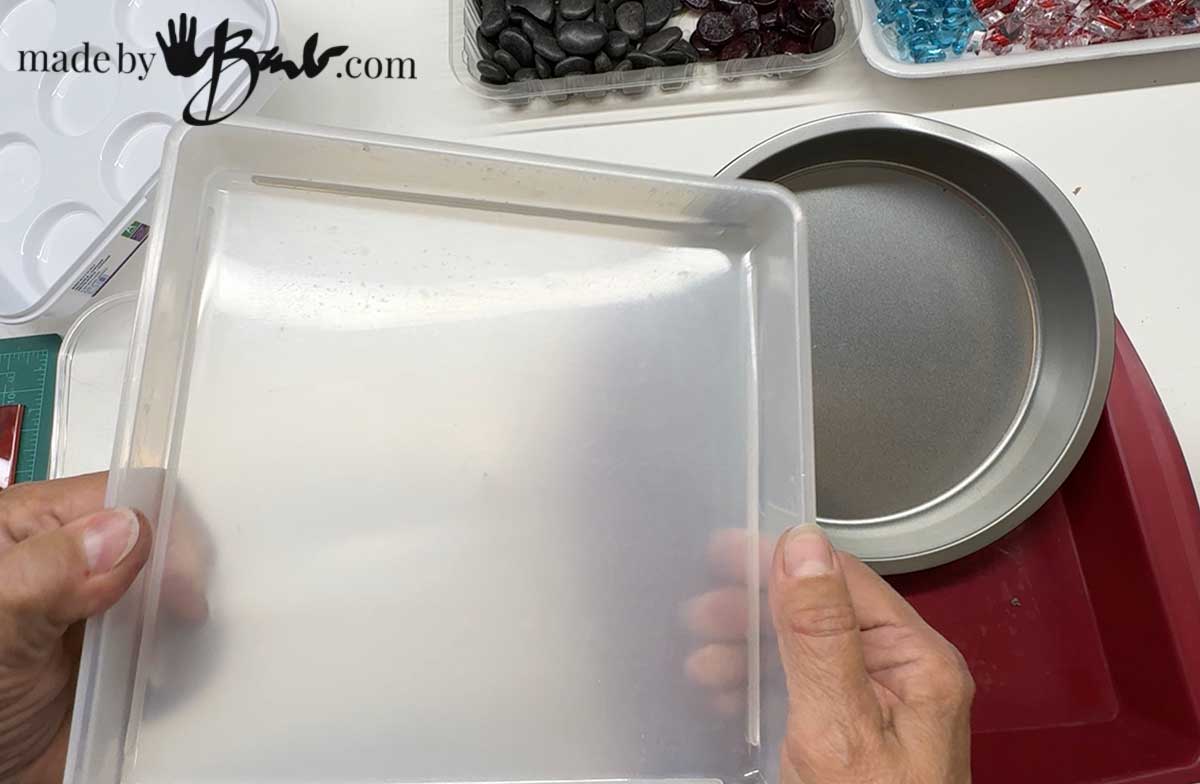
Concrete does not like to stick to plastic, so it works well as a mold, especially if it has some flexibility for ease of removal. Cake pans, trays, & plastic storage containers work well.
Step 1: Prepare the Sand Bed
- Fill your tray or shallow pan with sand.
- Smooth the surface flat and firm with your hand or a trowel.
- Mist lightly with water (optional)
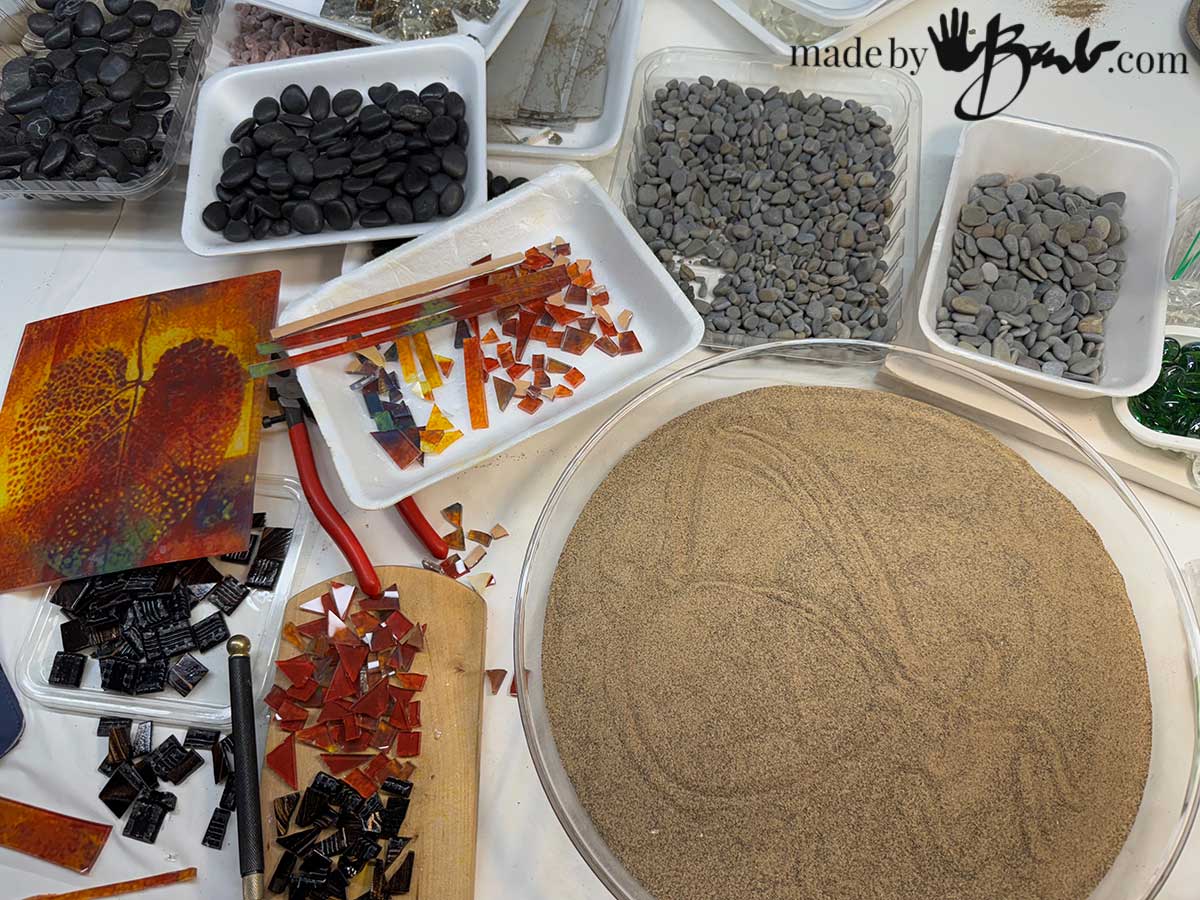
There are two trains of thought about whether to wet the sand. If you plan to keep the tesserae pieces only on the surface they will be level with the concrete once poured. If you want to stones to protrude then you can set them deeper into the sand. Damp sand is stiffer than dry sand.
Step 2: Arrange Your Beach Stones
- Lay your beach stones face-down into the sand bottom of the mold in the pattern you want on your stepping stone. You can ‘sketch’ the design into the sand but remember that the design will be reversed once finished.
- Press them gently into the sand if you desire some protrusion.
- Leave a little space between stones so the cement can flow around them and lock them in.

To make yourself some tweezers you can wrap something (like a piece of tubing) around the tips of thin pliers.
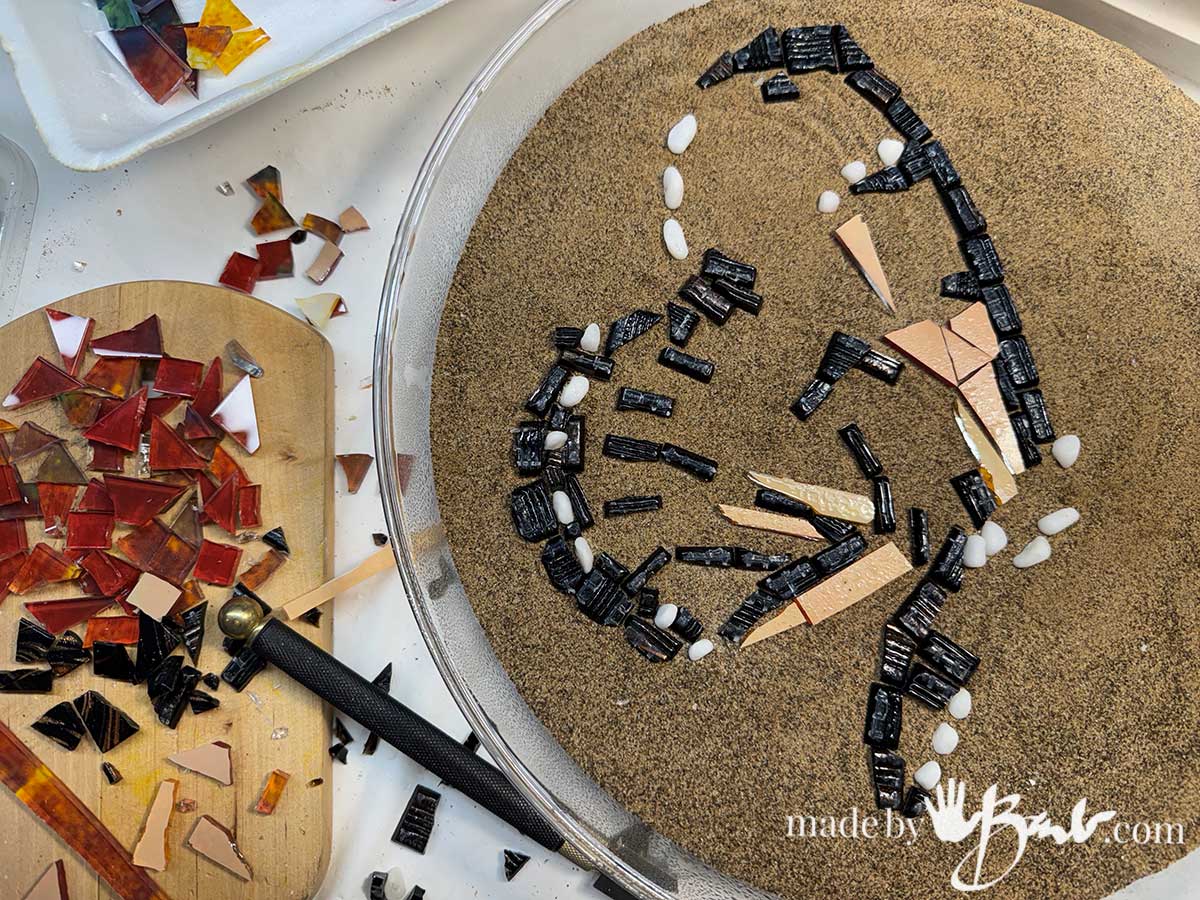
This process is very therapeutic since there is no glue or grout. This allows you to work as slow as you like. These are some old style small glass squares and pieces.
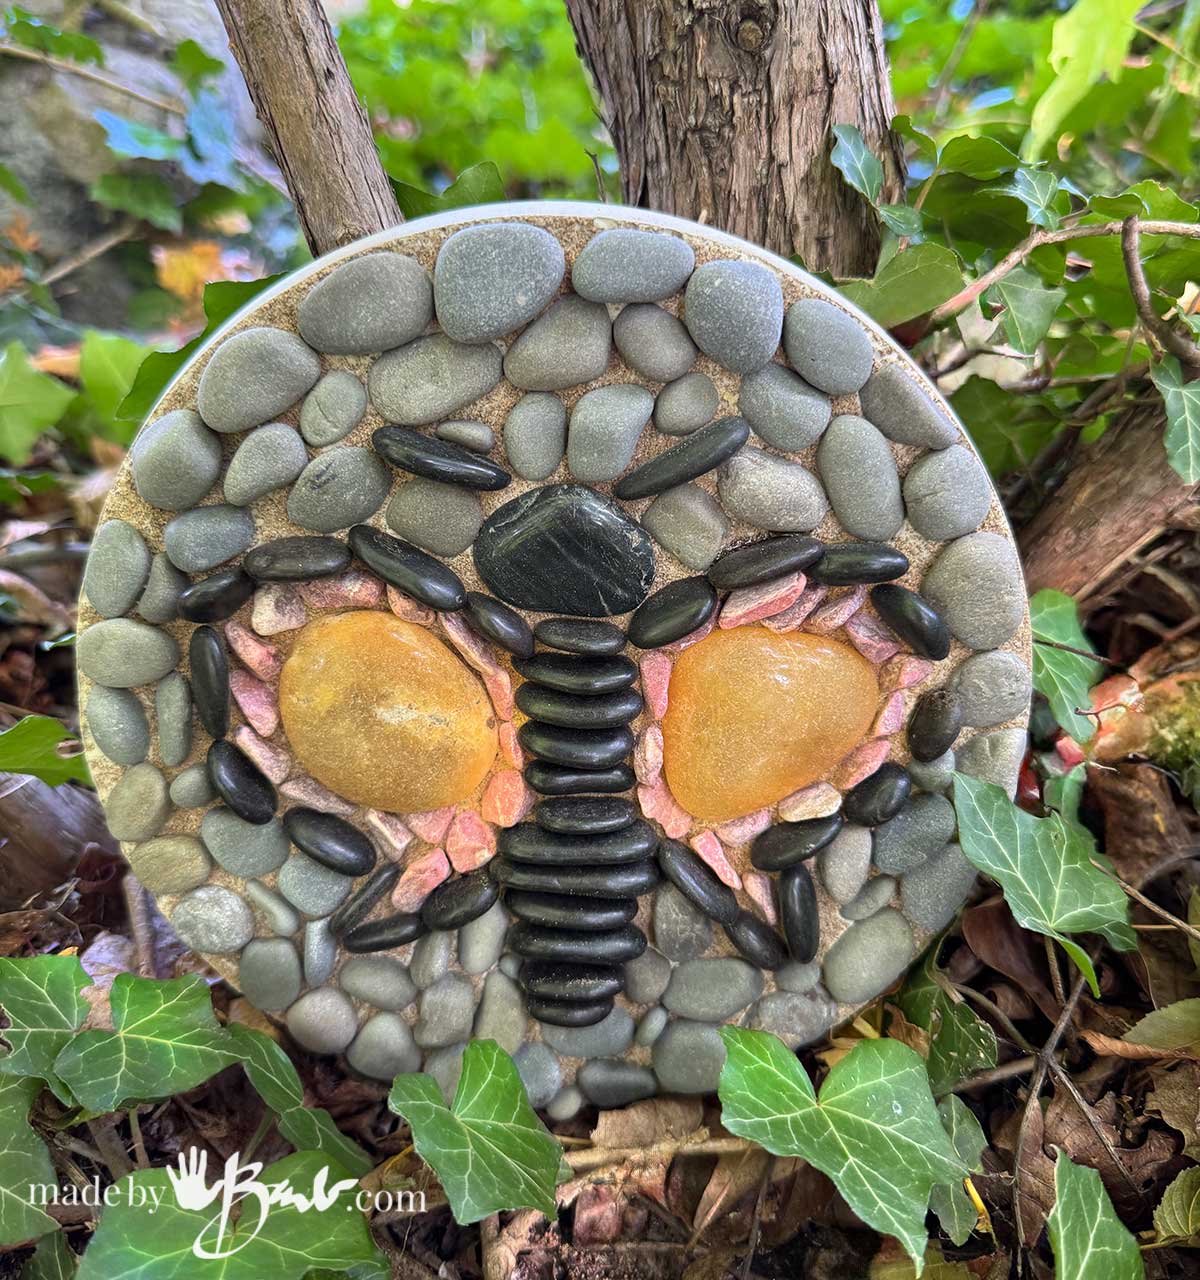
Tip: Try spirals, hearts, or random scatterings for unique designs. Use your own inspiration & keep it simple.
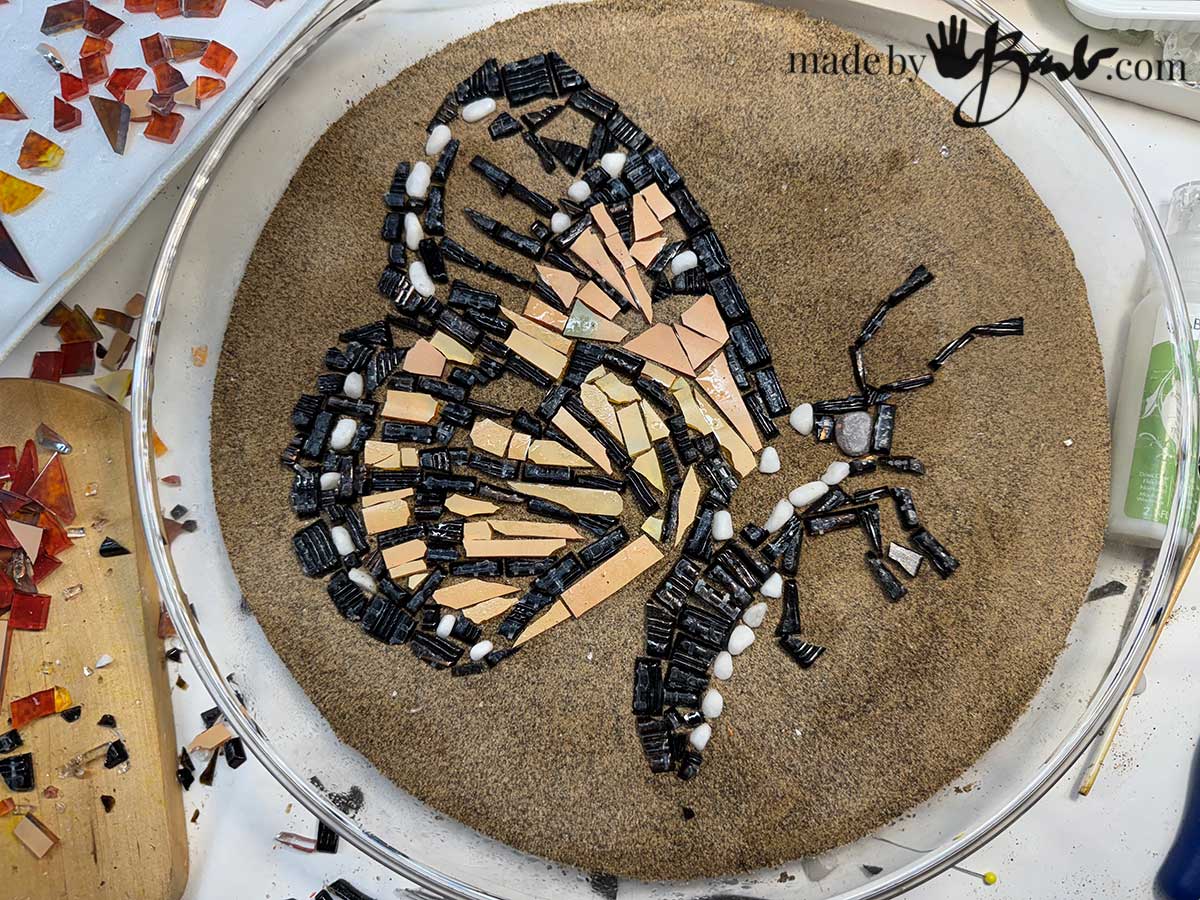
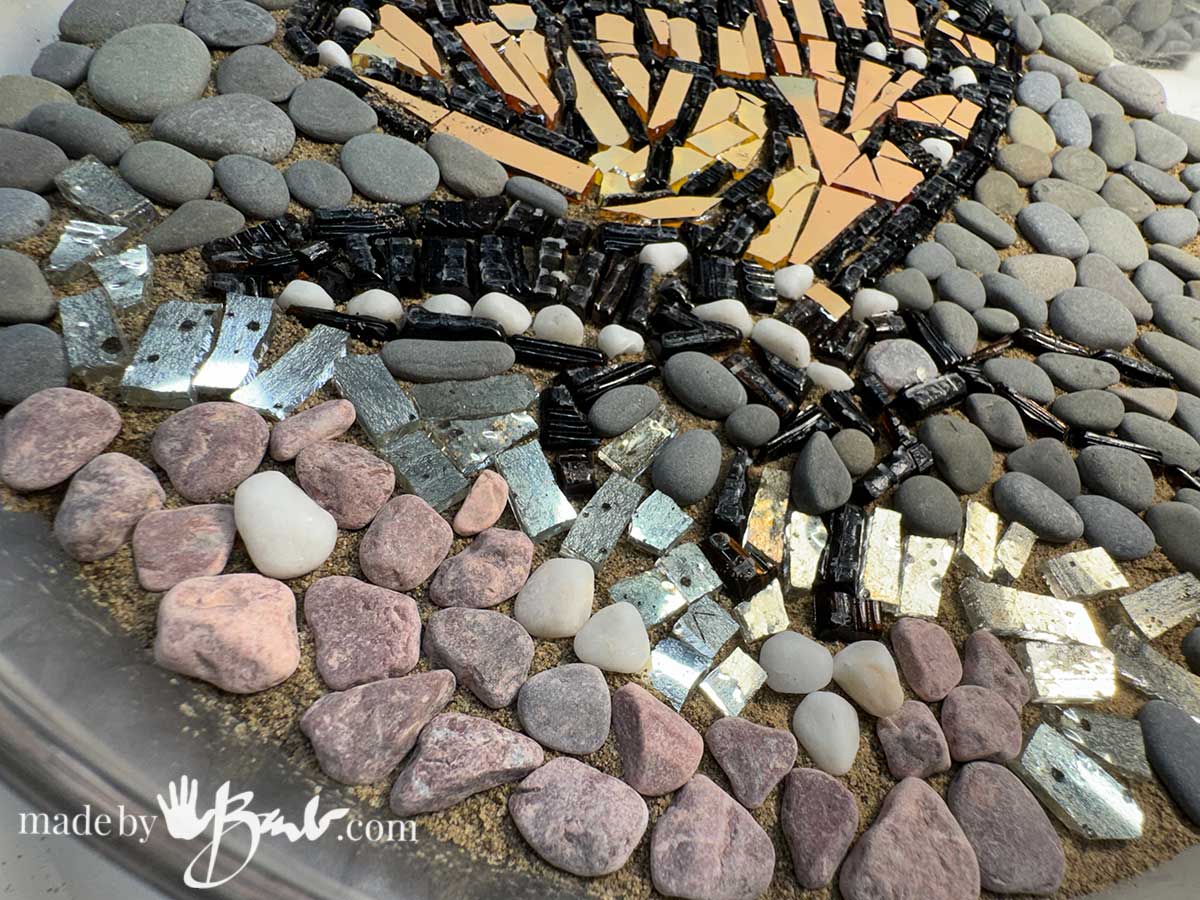
After the main central image you can leave it without a background or cover the entire surface.
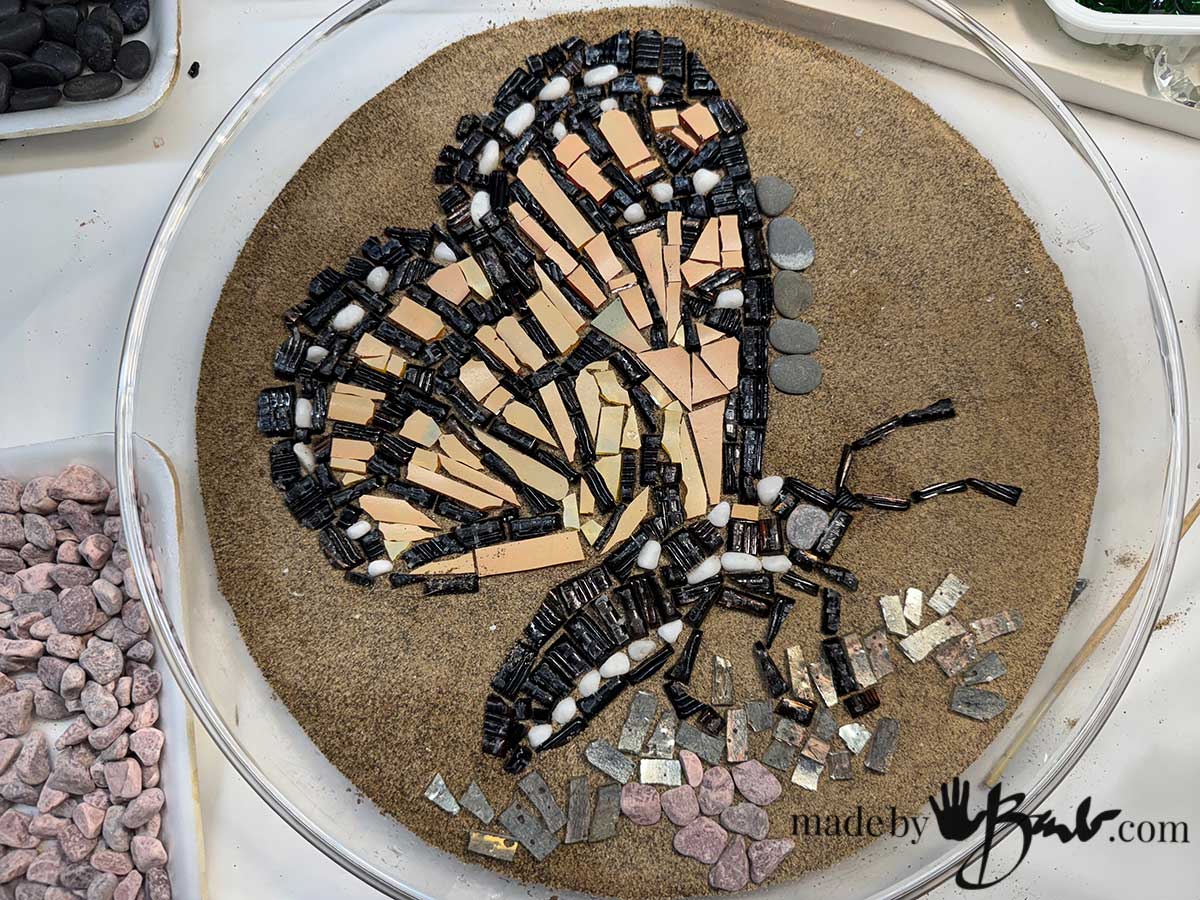
Add some stones (flatter are easier) to make a beach inspired background. You can easily change your mind as no glue is used.
Just like a painting, try to choose colours and shapes that will separate the designs.
Reminder; do remember to place the pieces face down!
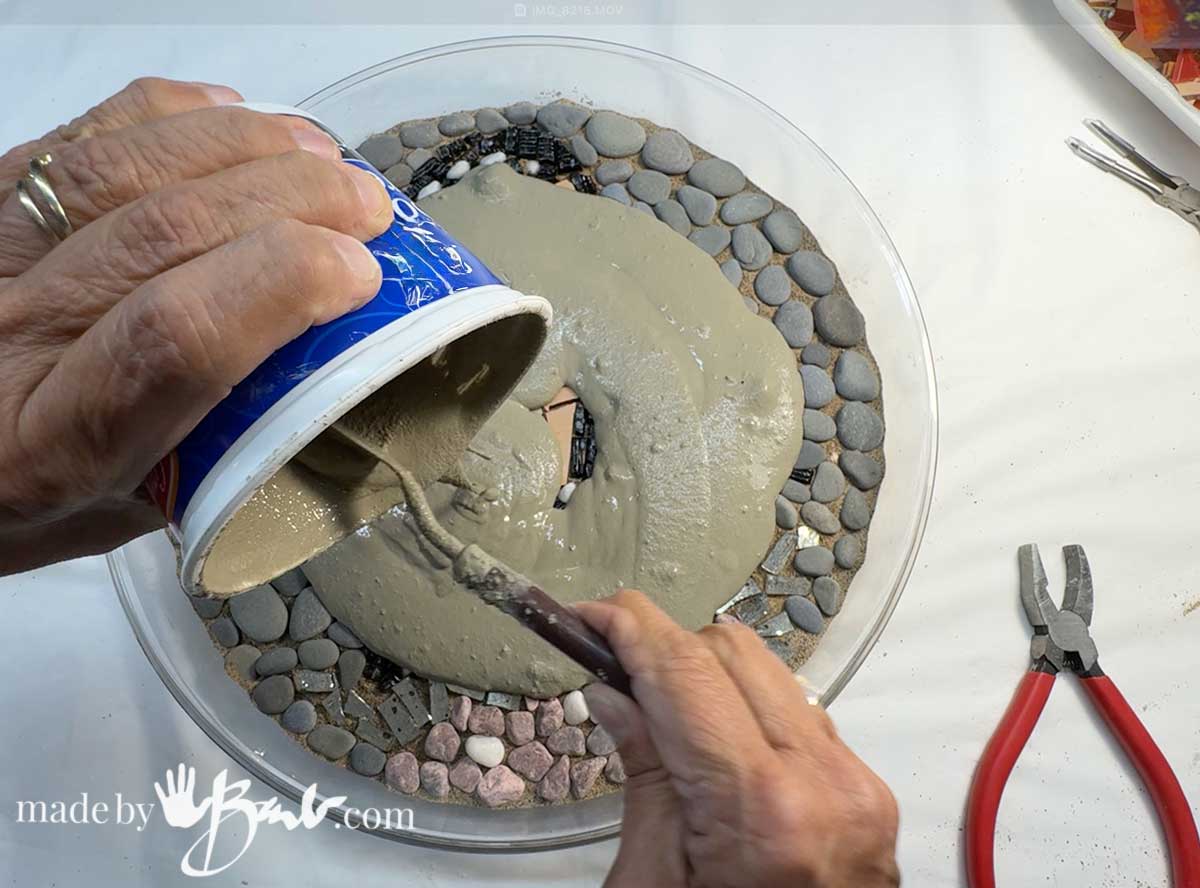
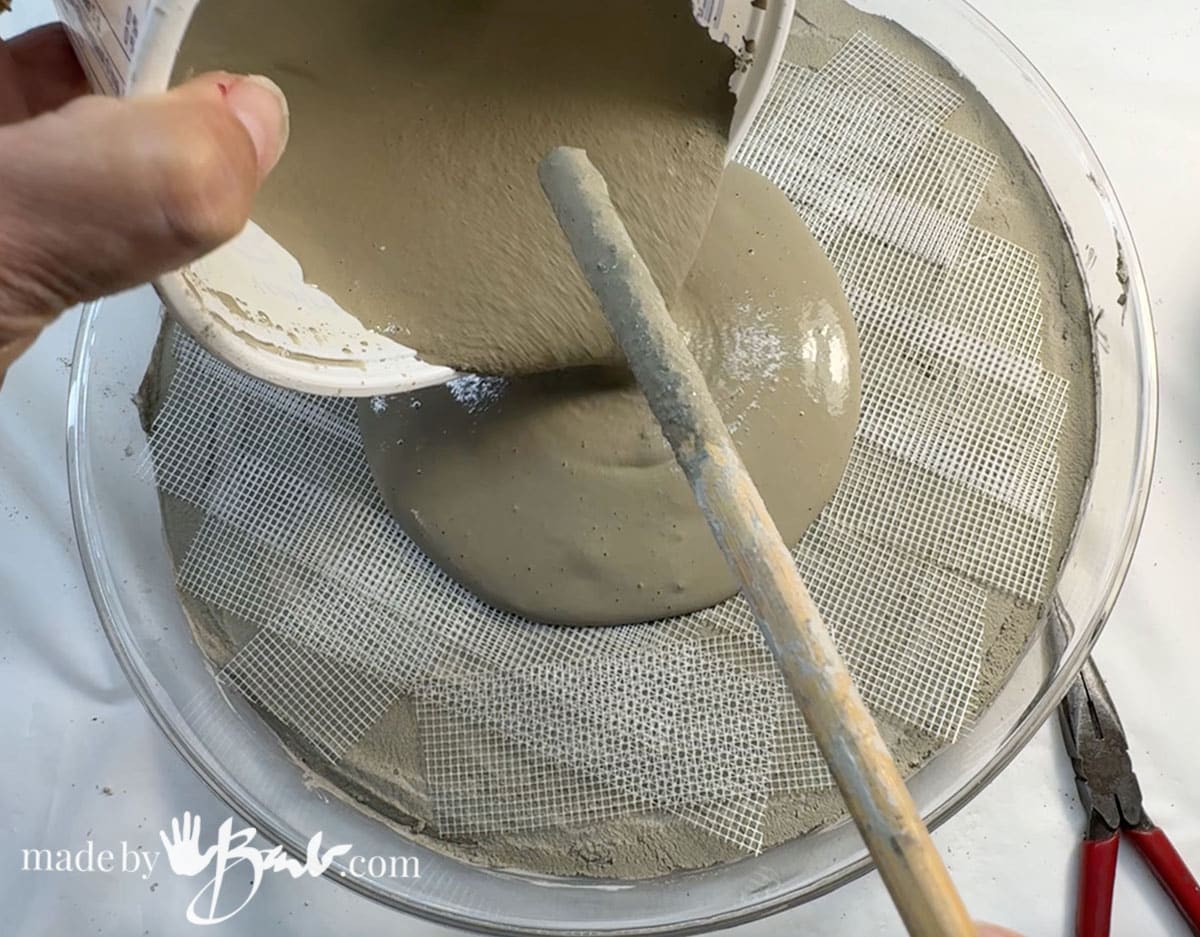
Step 3: Mix & Pour the Cement
- Mix your cement/concrete according to package directions—aim for a thick pancake-batter consistency. My favourite mix starts to cure quickly so be ready.
- Slowly pour the cement over your arranged stones, filling the tray to about 1 ½–2 inches thick, depending if you are pouring 2 layers. Thinner versions can be made to use as a plaque.
- Tap the sides of the tray gently to remove air bubbles.
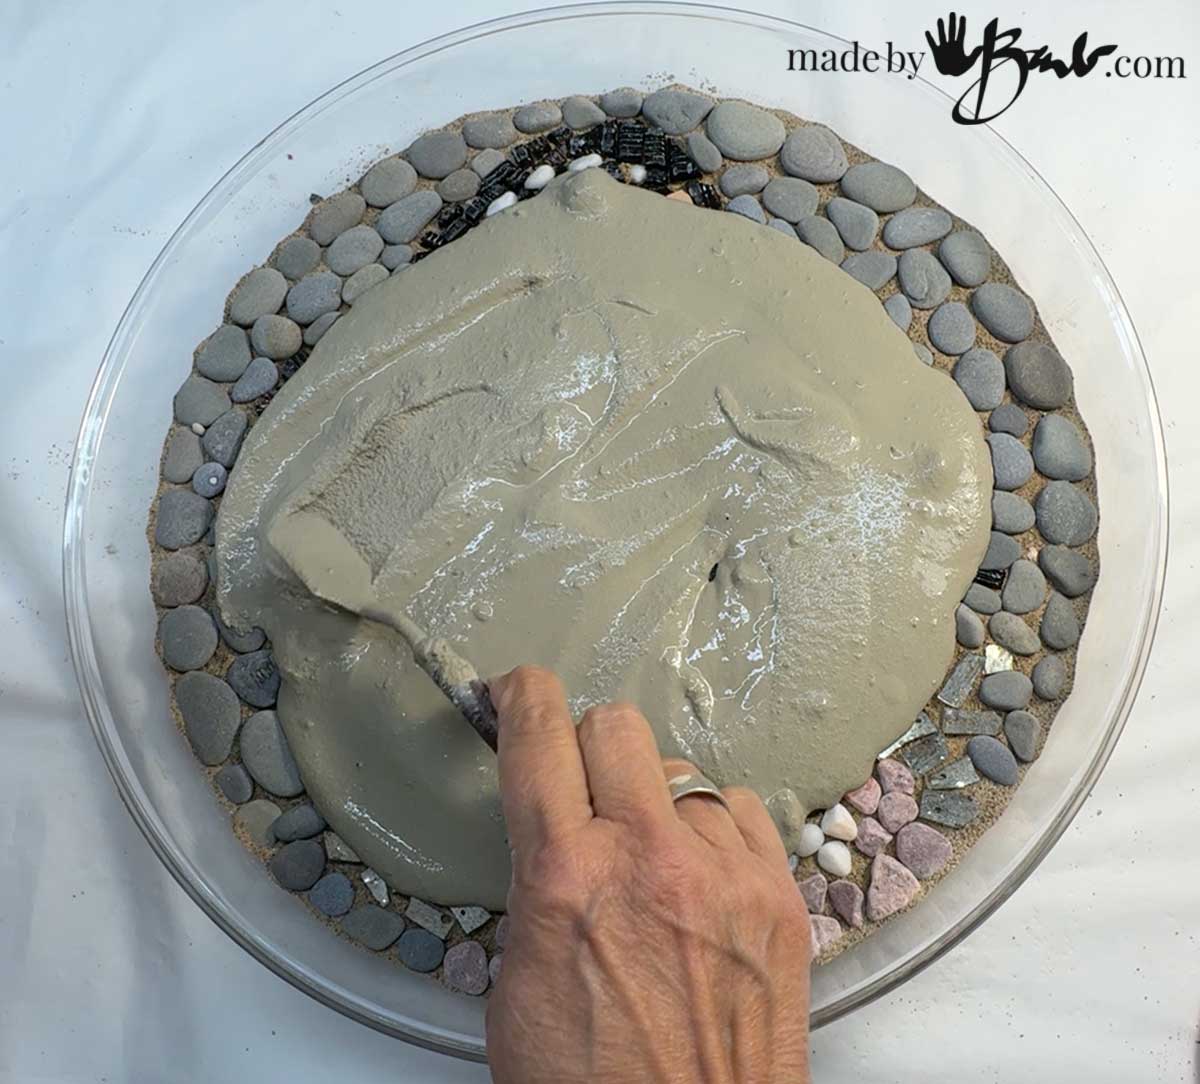
Smooth out the concrete as evenly as possible.
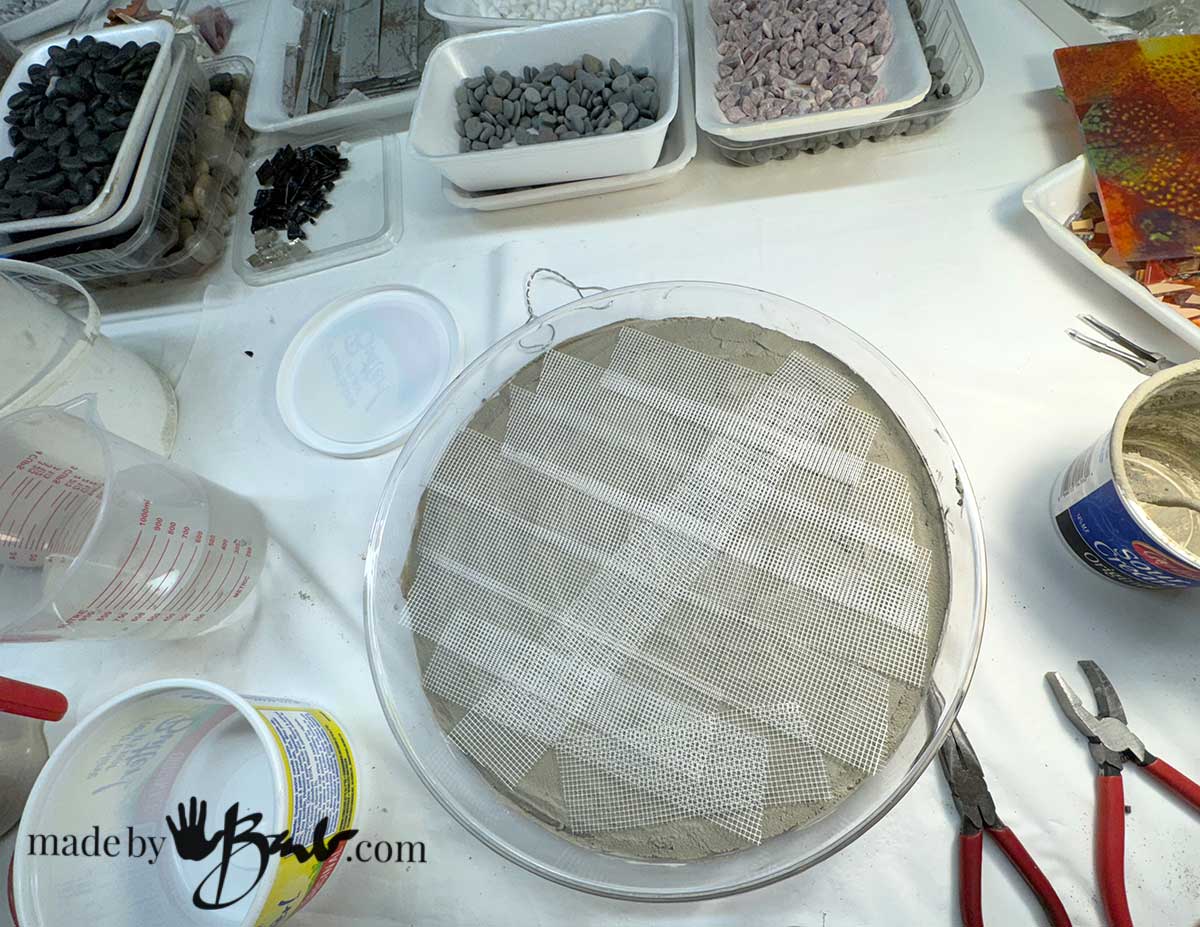
Between layers I place some fiberglass mesh to reinforce the stone. I then add another layer of concrete mix. (Rapidset Cementall)
Step 4: Let It Cure
- Cover with plastic wrap or a damp towel to slow the curing process (this helps prevent cracking).
- Let it set for 24–48 hours, depending on the cement you used. Rapidset Cementall will be unmoldable in about 1 hour depending on temperatures.
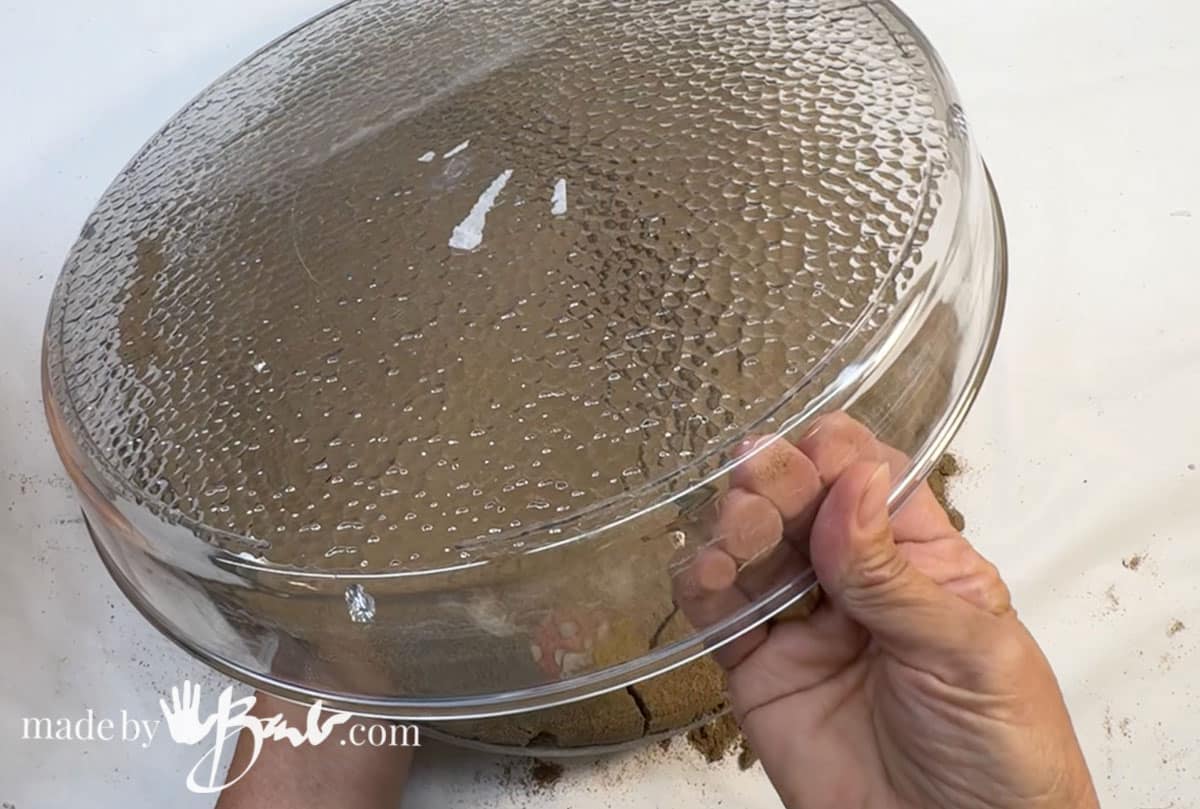
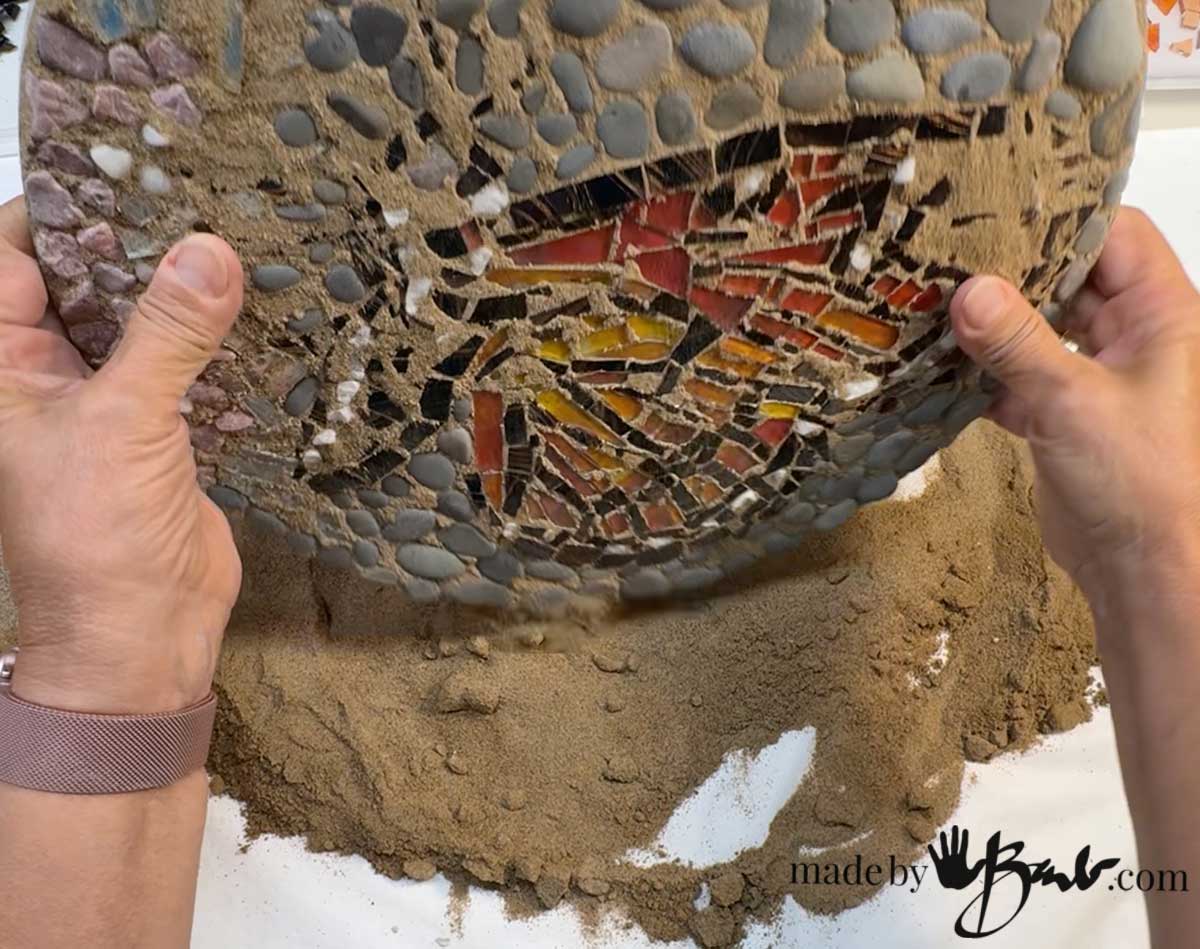
Step 5: Reveal the Design
- Once cured, carefully flip the mold & stepping stone out of the sand bed.
- Brush away loose sand to reveal your embedded beach stones.
- Rinse with water to bring out the colour and shine of the stones.
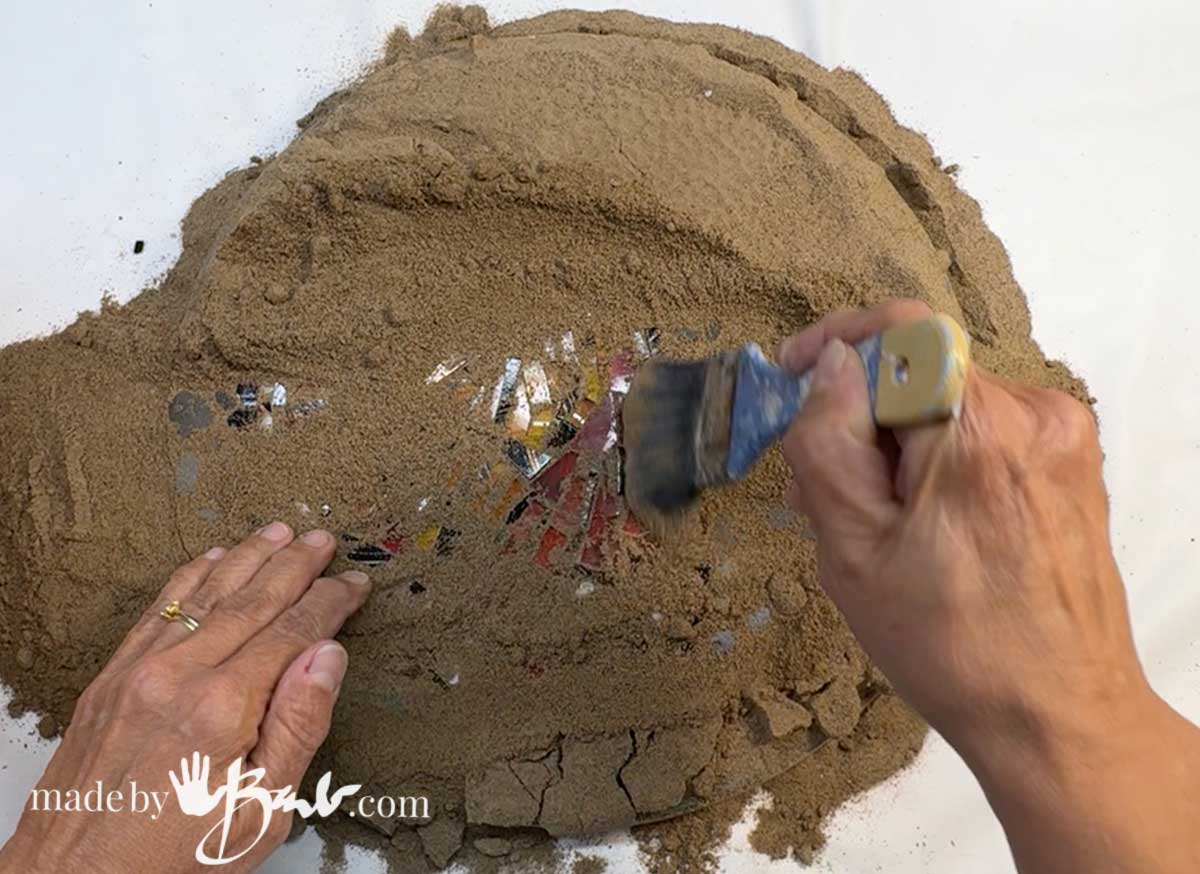
It’s a lot of fun to reveal the design – like magic!
Carefully shake the sand off.
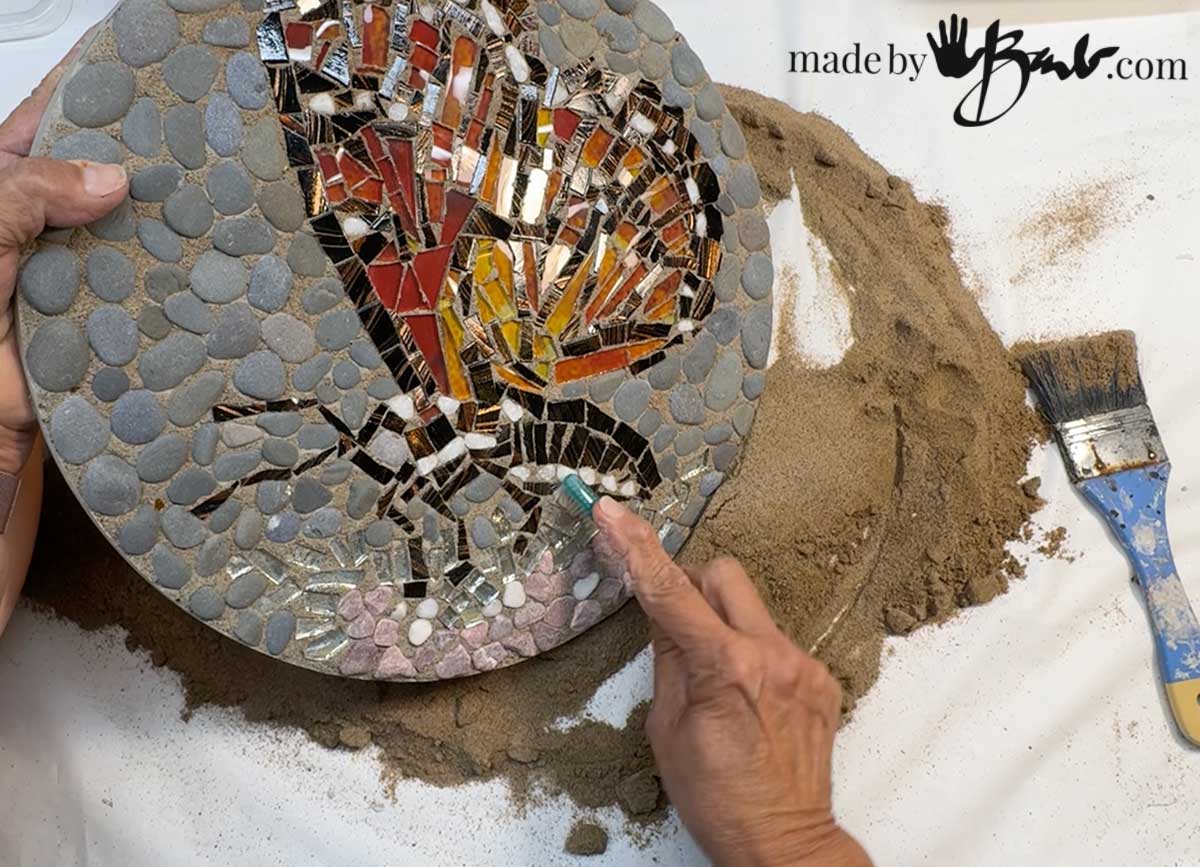
Old toothbrushes help make getting the excess sand off easier.
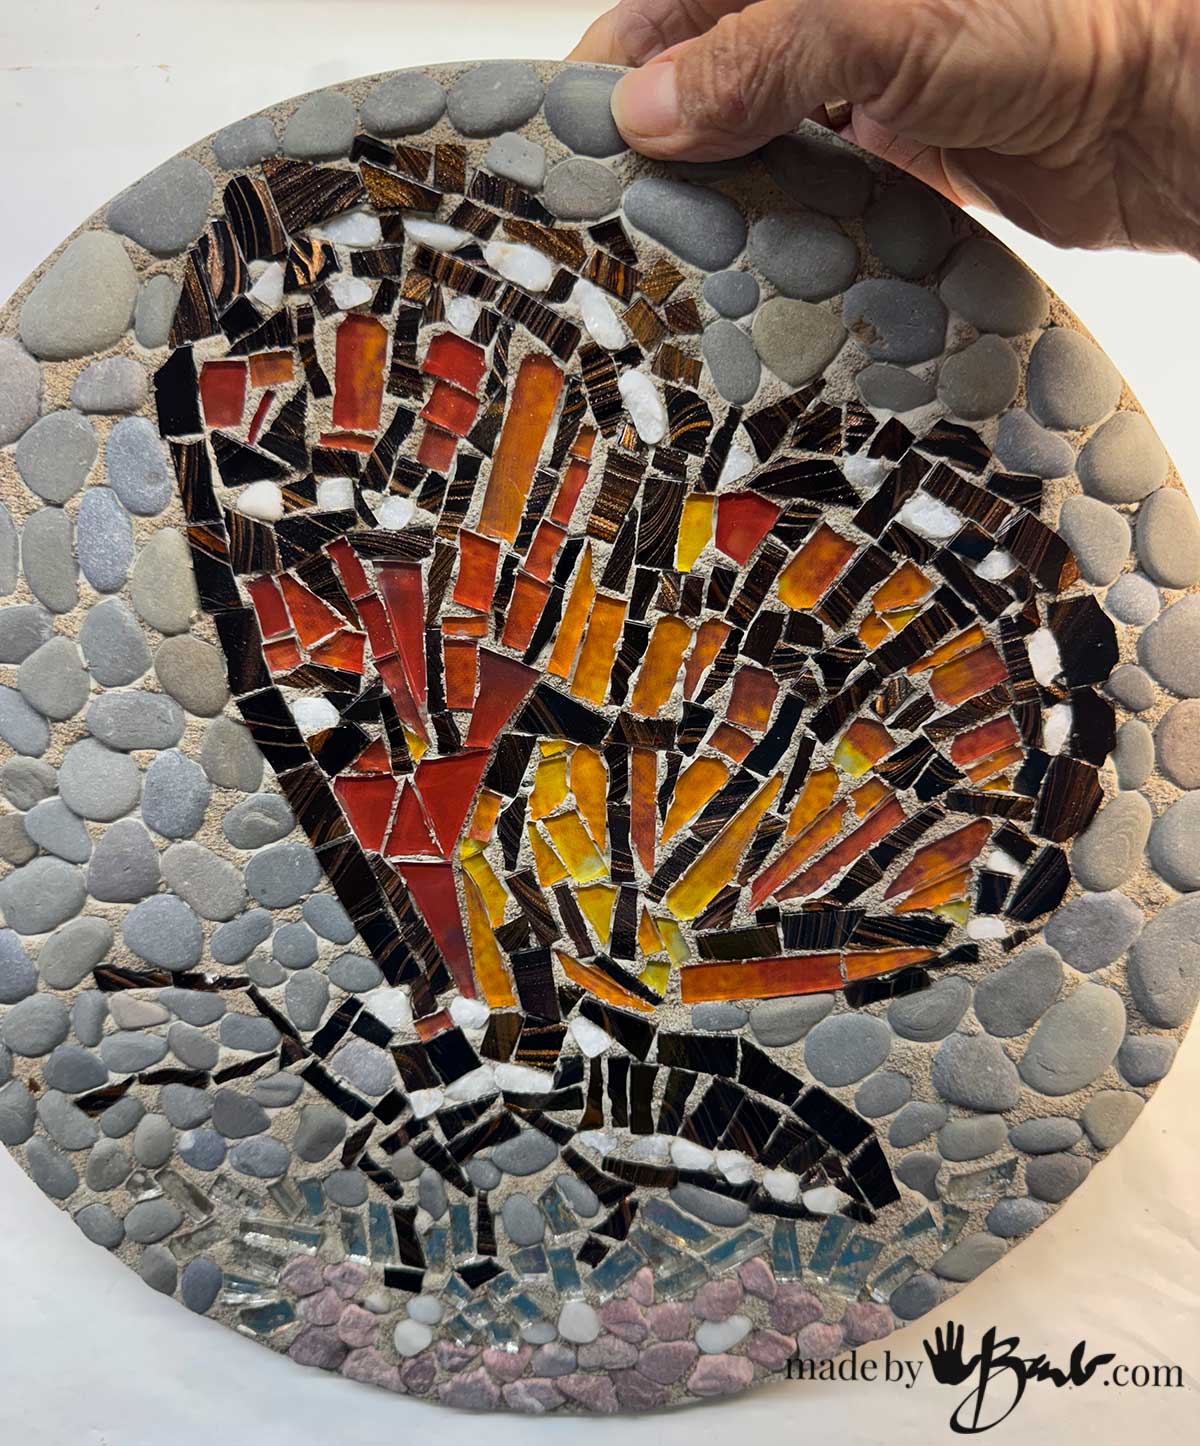
Step 6: Finishing Touches
- For a smoother edge, sand lightly with masonry paper.
- Seal the surface with a concrete sealer if you want to protect the stones and enhance their colours.
Creative Variations
- Add crystals, glass, or pottery shards along with stones.
- Use coloured cement pigments for a warm-toned background.
- Make a series of smaller stones with different designs for a mosaic path.
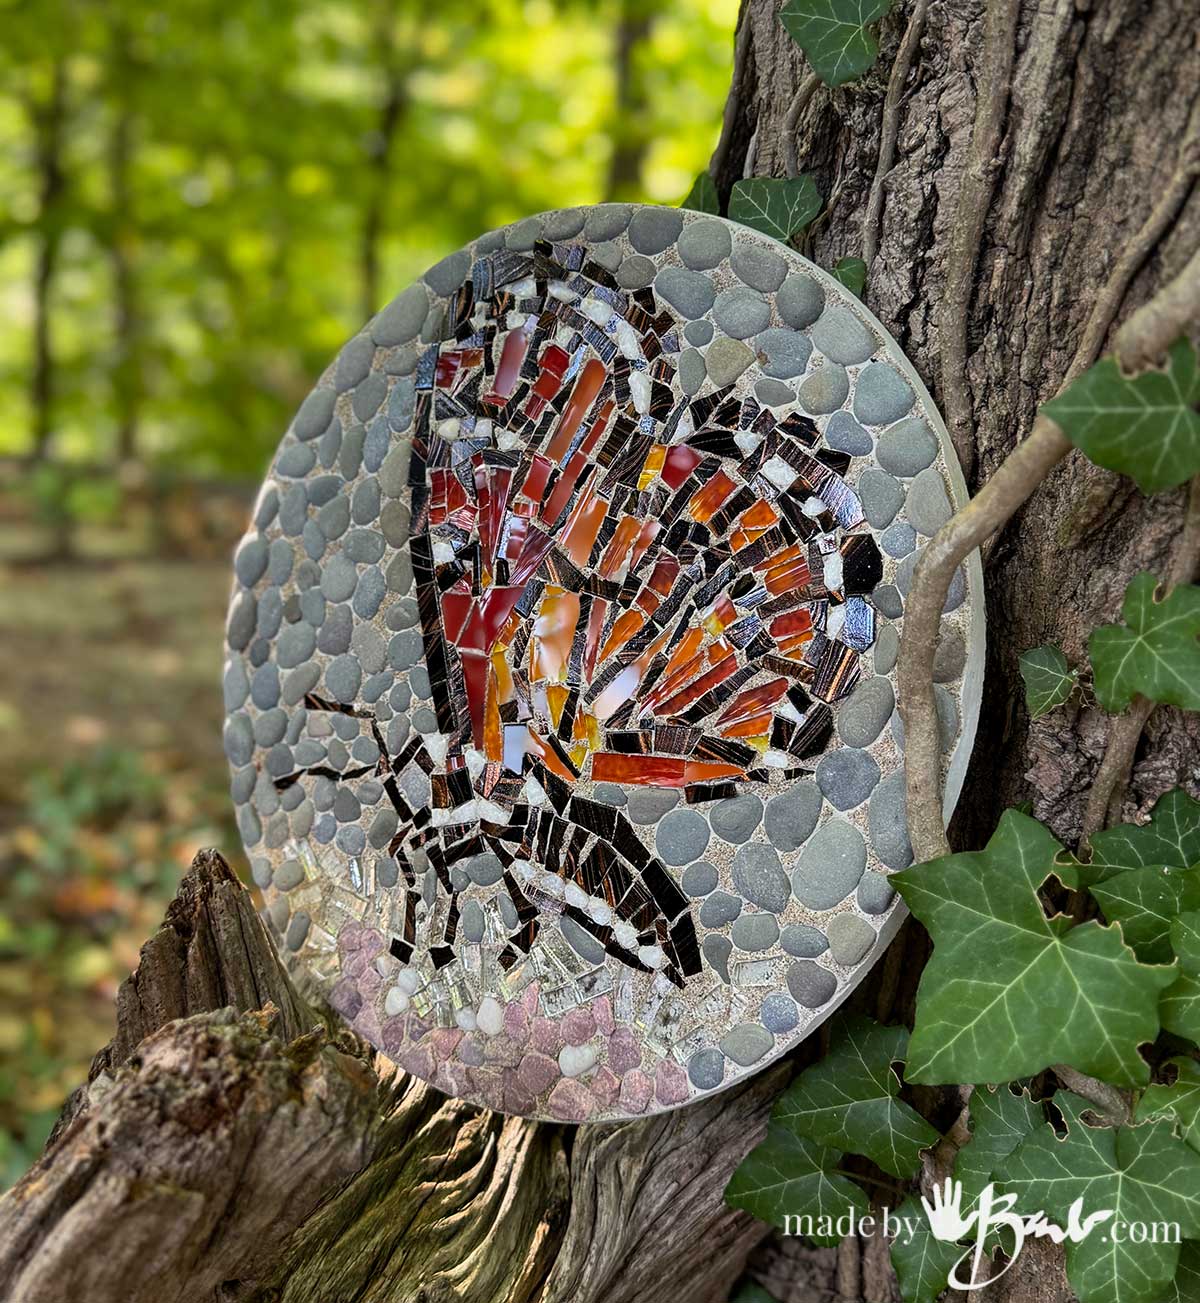
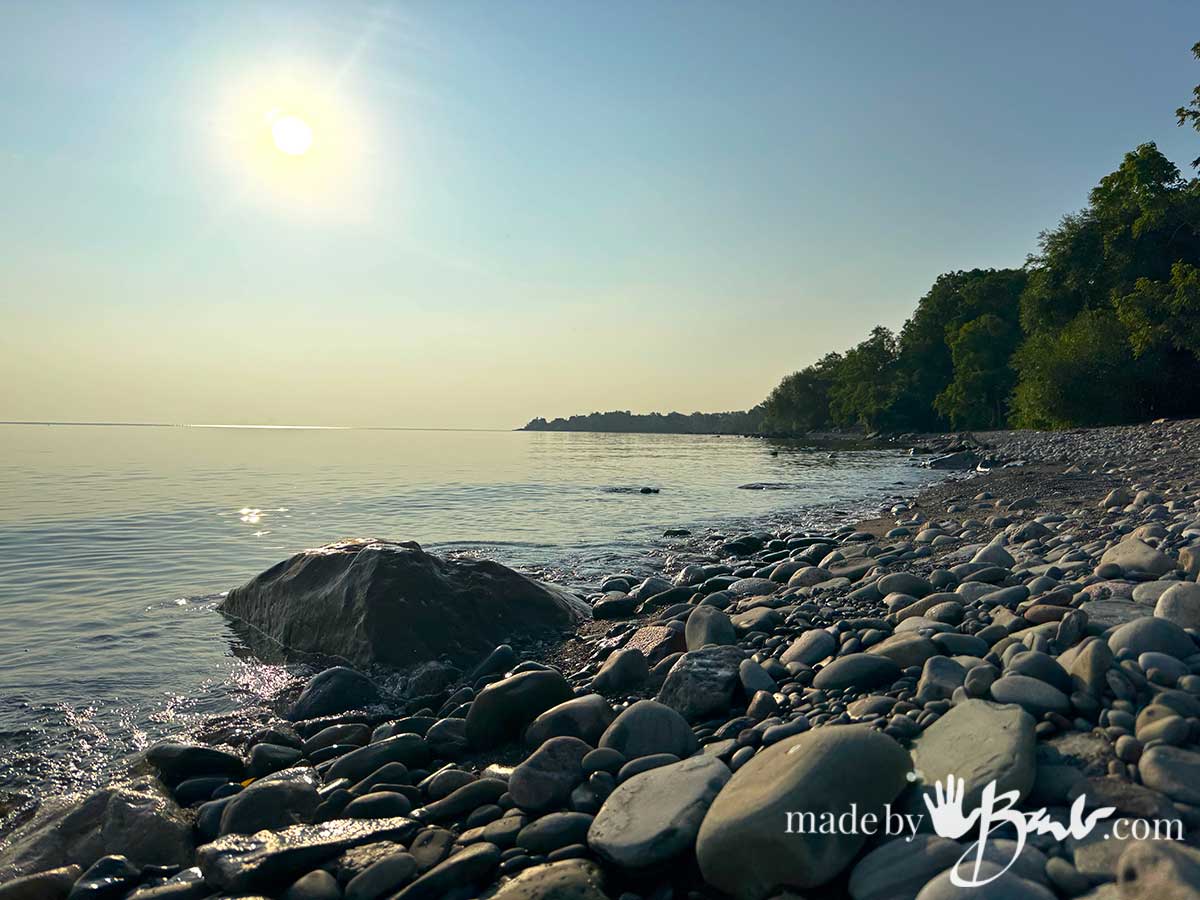
Every walk in your garden will feel like a trip back to the beach, with memories set in stone—literally!
Tile Nippers can snip tiles easily. Basic shapes will look more detailed when viewed from a distance.
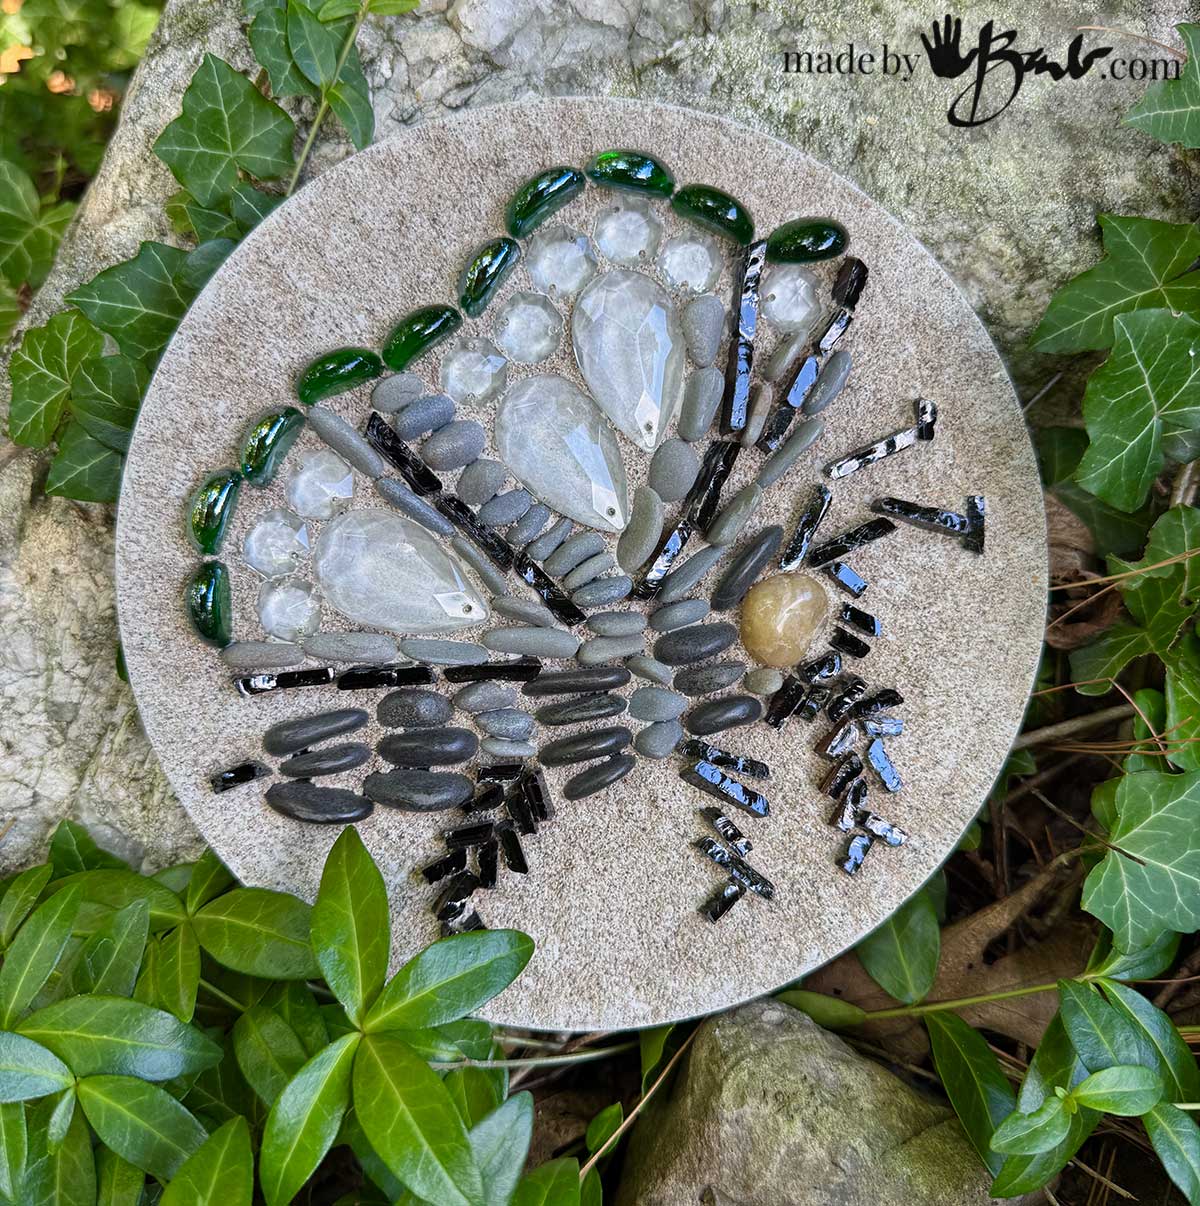
Glass cabochons can also be set into the sand. I especially like using some up-cycled chandelier crystals. If you use cut glass I would suggest using it as a decorative wall plaque so there will be no sharp edges when stepping on the glass.
When looking for pebbles, if you are not as lucky as me to live near a beach, you can find them at the pet stores (for aquariums) or garden centres for decorative plant accessories.
Final Thoughts
Upside-down sand-casting is an easy, almost magical way to create stepping stones that look like they came from a seaside artisan’s workshop… Kids could help make this craft. Enjoy!
wow ! amazing ….your so talented .
Everyone has their interests, I’m often daydreaming about things to make and ways to do it! Thank you, but I am sure you have talent too! I remember being frustrated often when young students proclaimed they ‘could not’ before they even tried! Start simple and you’ll be surprised!
Love it! I have tons of seashells I might embed
I love shells too but I think they deteriorate if in the elements. I recall someone had some in the garden and they lost their sheen, possibly from the acid in the rain (?) But for indoors it may be fine…
Hi Barb,
I love this project and can wait to try it, thank you! Btw, regarding shells, could we seal them with an outdoor clear sealer so they’ll retain their luster for a lot longer? I love your suggestion for using inexpensive yet interesting items from a thrift store…this gives me yet another reason to visit them (oh geez, we may need to build a warehouse to store all these amazing supplies, lol).
Cheers,
Debs
In my observations of sea shells they break down when outdoors for a long time since they are made of calcium carbonate (same as egg shells) Yes, you could seal them to keep the shine and last longer. There are UV Sealers as well for the damaging way the sun bleaches colour. Perhaps ceramics are a better choice depending on application. I know that I love to experiment and am quite happy to learn from successes and the odd problems. Usually the costs are minimal so it’s not an issue, the fun is in the making!
Can I still grout this for a more refined look?
Very cool design.❤︎
I suppose you could depending on the roughness of the stones. They may absorb some of the grout and would need quite a bit of wiping. You would also need to consider the specs of the grout abd where you plan to use it. I commend your imagination and willingness to experiment, let me know how it goes…
Will do!
Thank you