How to Make a Jacket From a Vintage Quilt
If you’ve ever rescued a beautiful old quilt from a thrift shop, flea market, or family attic, you probably know the feeling — the colours, the stitching, the soft lived-in layers… all too precious to leave folded in a cupboard. This is one way to take an old-fashioned item to the New trend!
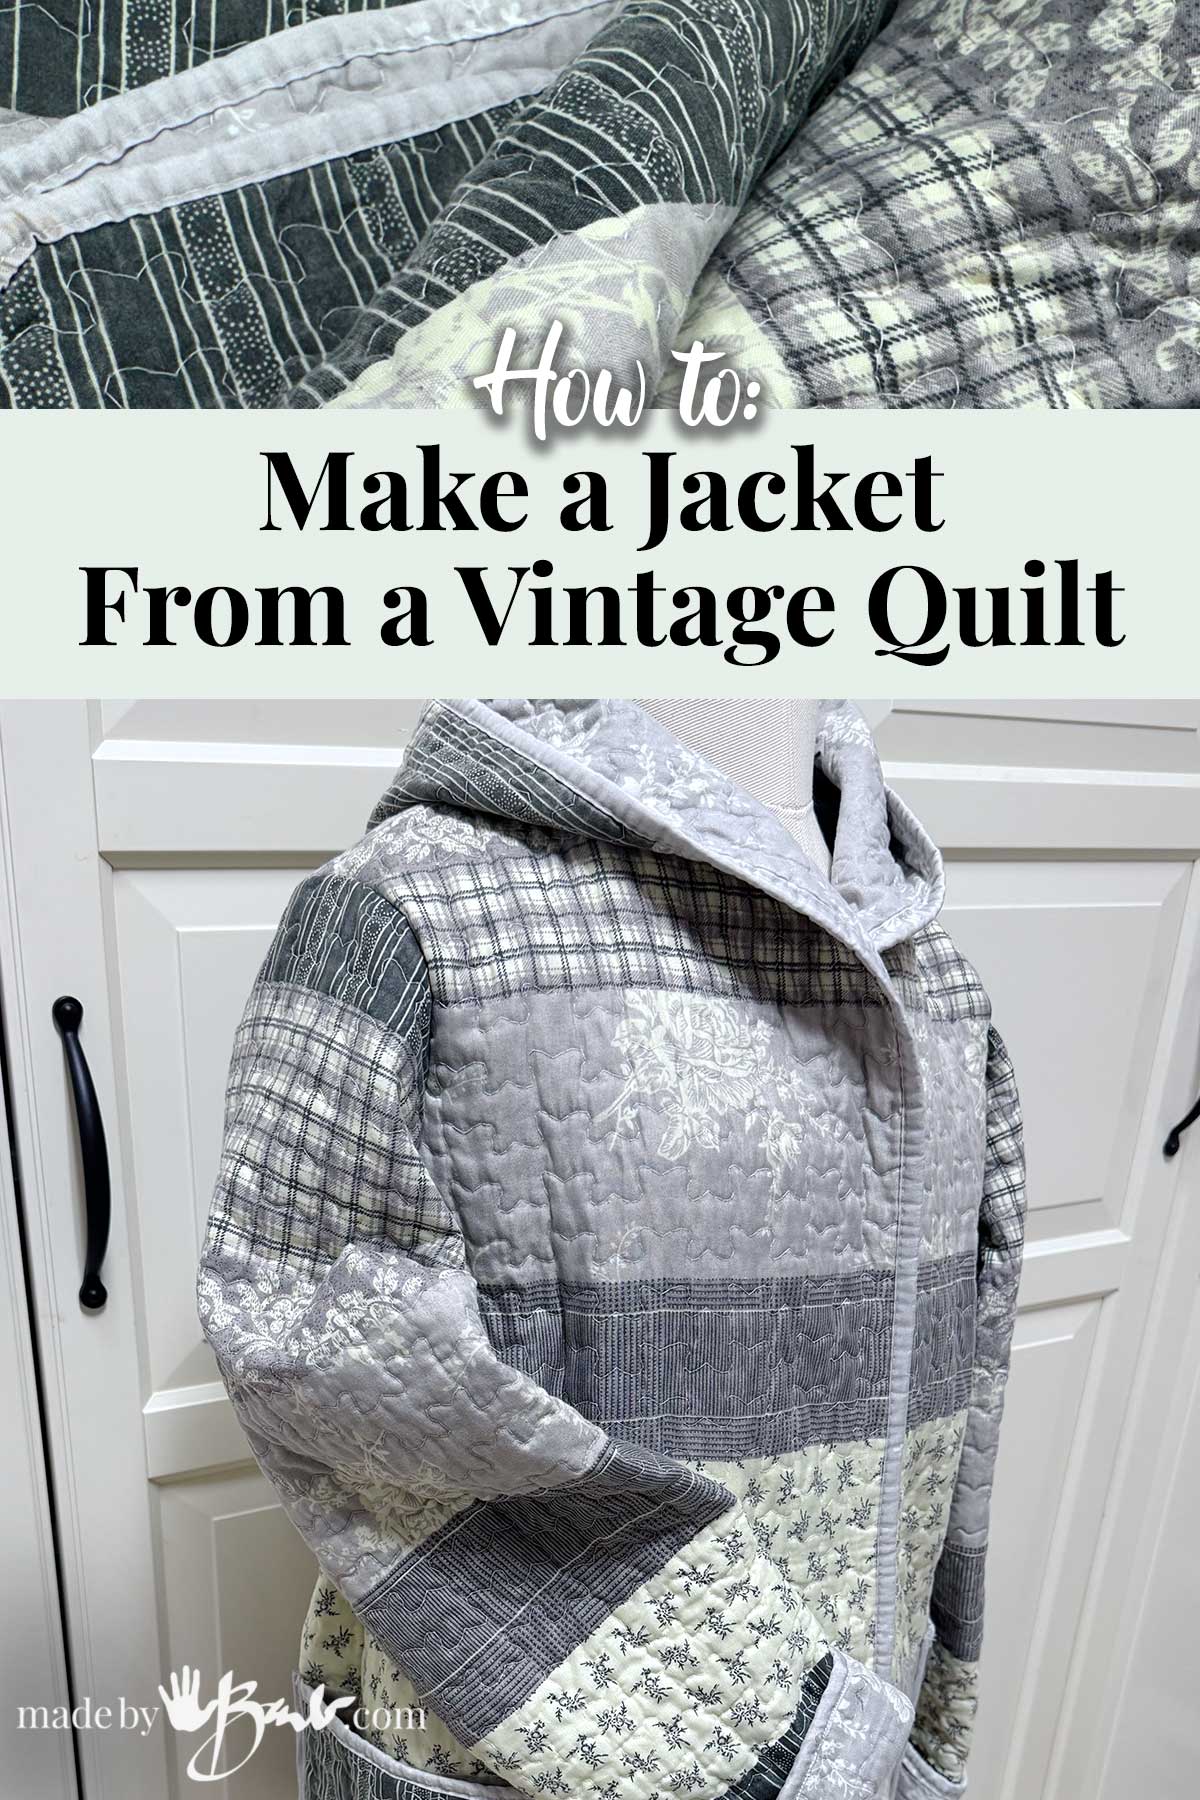
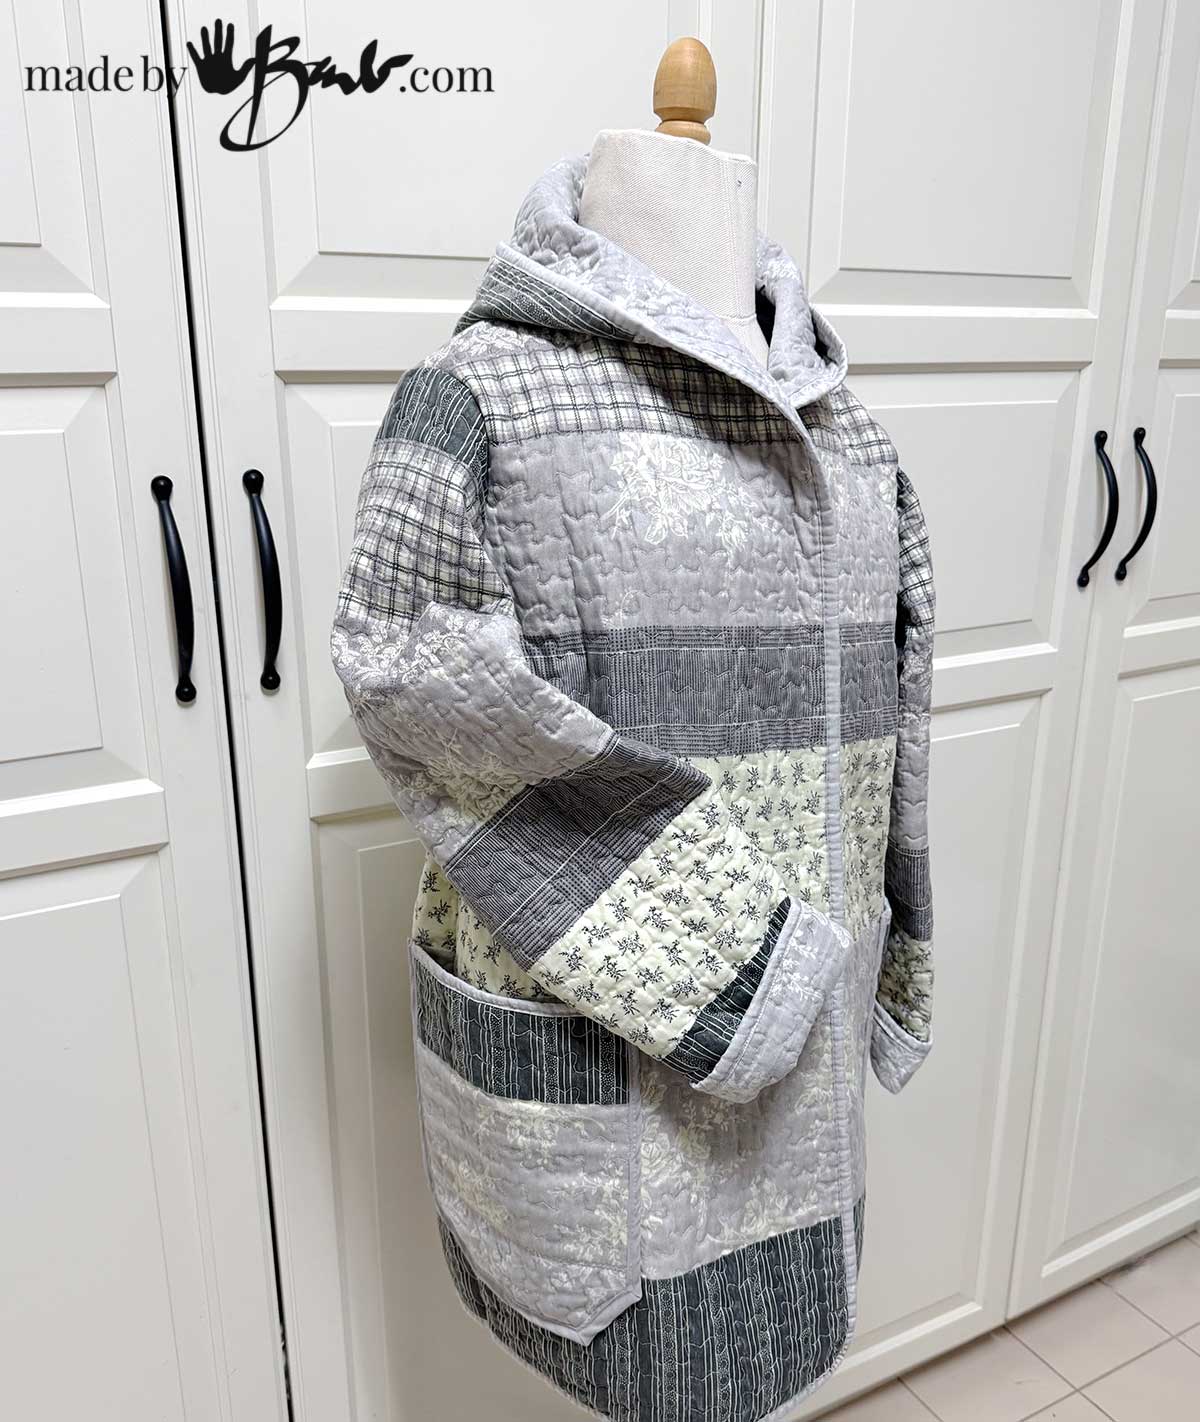
One of my favourite ways to give a vintage quilt new life is to turn it into a wearable jacket. And guess what? If you’ve used my vest pattern, you’re already halfway there! Adding sleeves is surprisingly easy — the patchwork does most of the work for you.
(Using My Vest Pattern + Simple Sleeve Add-Ons)
This is a satisfying upcycle project that honours handmade history while creating something cozy, durable, and wonderfully unique.
Why Quilts Make Great Jackets
Since I like to finish projects pretty quickly I love using something that already has finished edges! That makes it so much faster and much easier. The colours have already been coordinated as well!
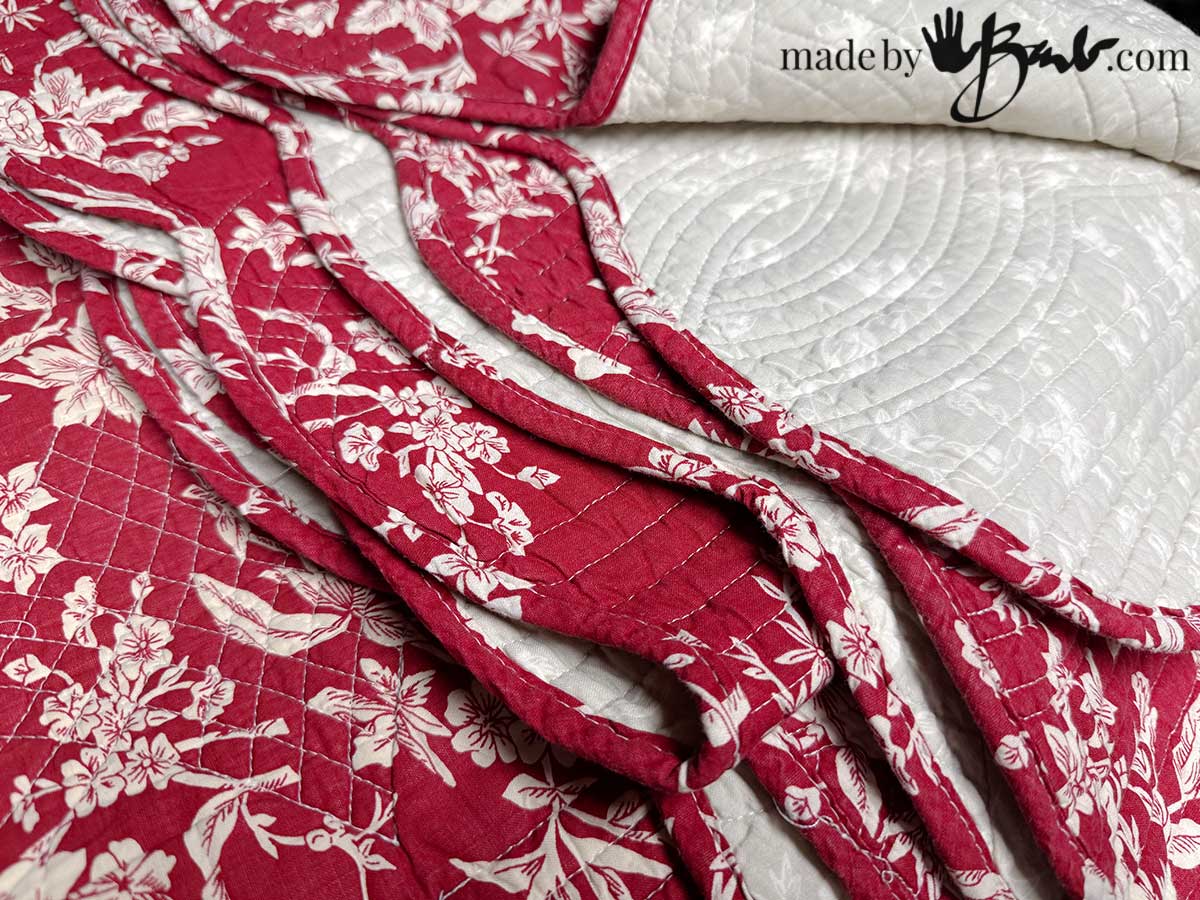
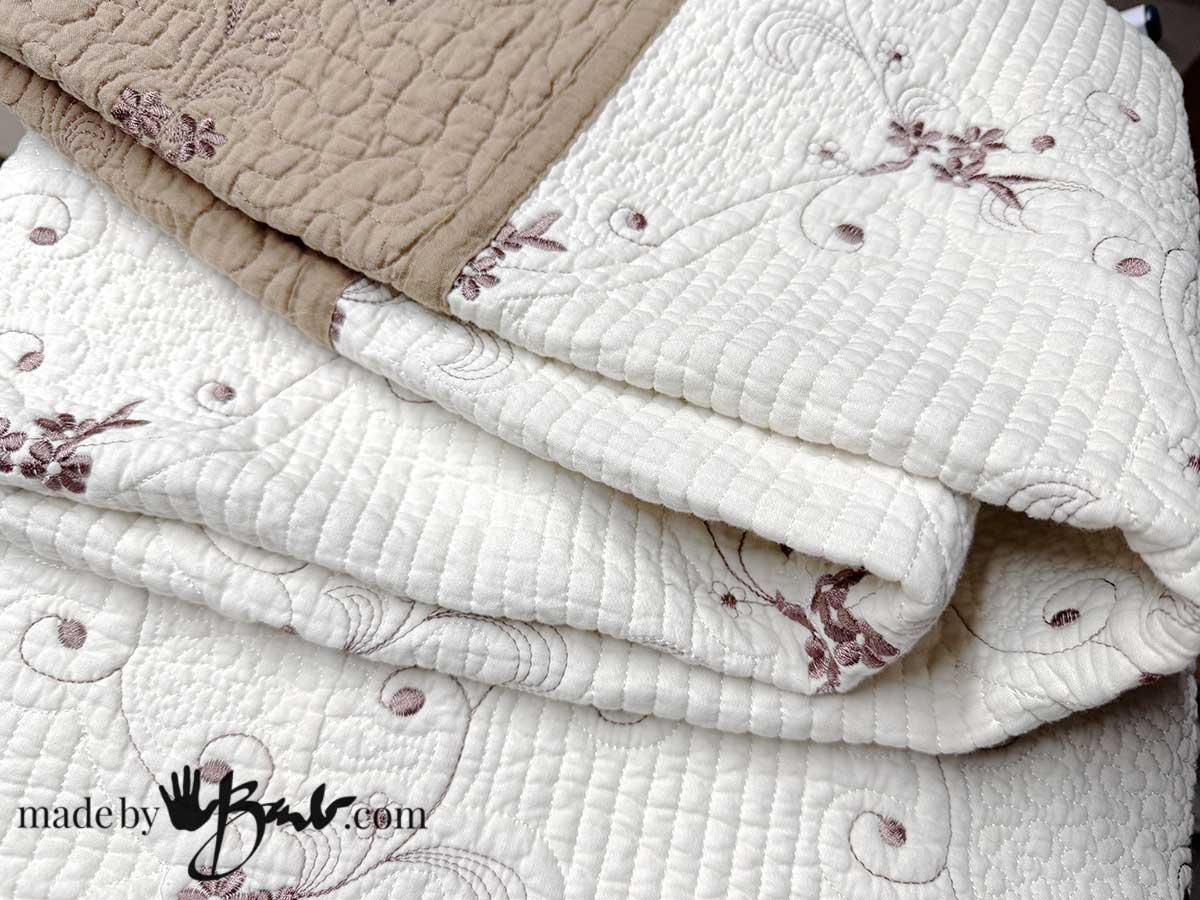
- Beautiful on both sides
- Warm and insulated
- Soft and comfortable
- Filled with texture and story
- Finished edges (that makes this a fast project)
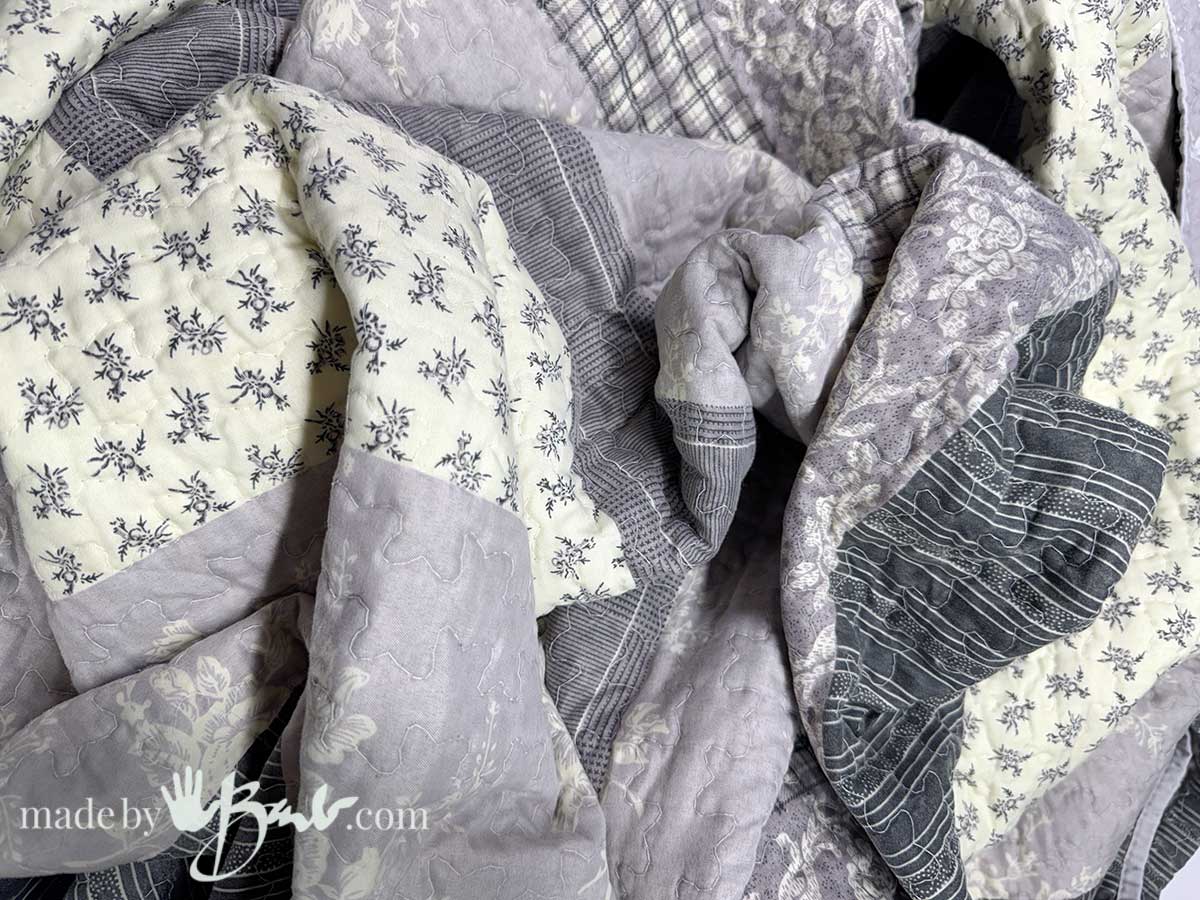
Unlike store-bought fabric, every section of a vintage quilt (or even bedspread or blanket) is different’ interesting fabrics — and that means your jacket will never look mass-produced. It’s wearable art.
Materials You’ll Need
- A vintage quilt (light to medium weight works best)
- Your printed/drafted vest pattern (front + back pieces)
- Paper for extending/adding sleeve pattern pieces
- Chalk or washable marker
- Sharp fabric scissors or rotary cutter
- Sewing machine with a heavy or denim needle
- Bias binding or quilt edges for finishing
- Pins or clips
- Optional: lining fabric (if your quilt is open on the back side)
Step 1 — Inspect & Plan Your Quilt Cuts
Vintage quilts usually have:
- worn areas
- stains
- strong areas
- interesting blocks
- gorgeous borders
Lay the quilt flat and decide. I used a well worn & soft bedspread. I did scour it well beforehand.
- Where the jacket front should be (use the most decorative area!)
- Where the back panel will fit
- How to place the sleeves for best design flow
Tip: Avoid extremely worn spots for stress areas like underarms or shoulder seams
Step 2 — Use the Vest Pattern as Your Base
This is the easiest part:
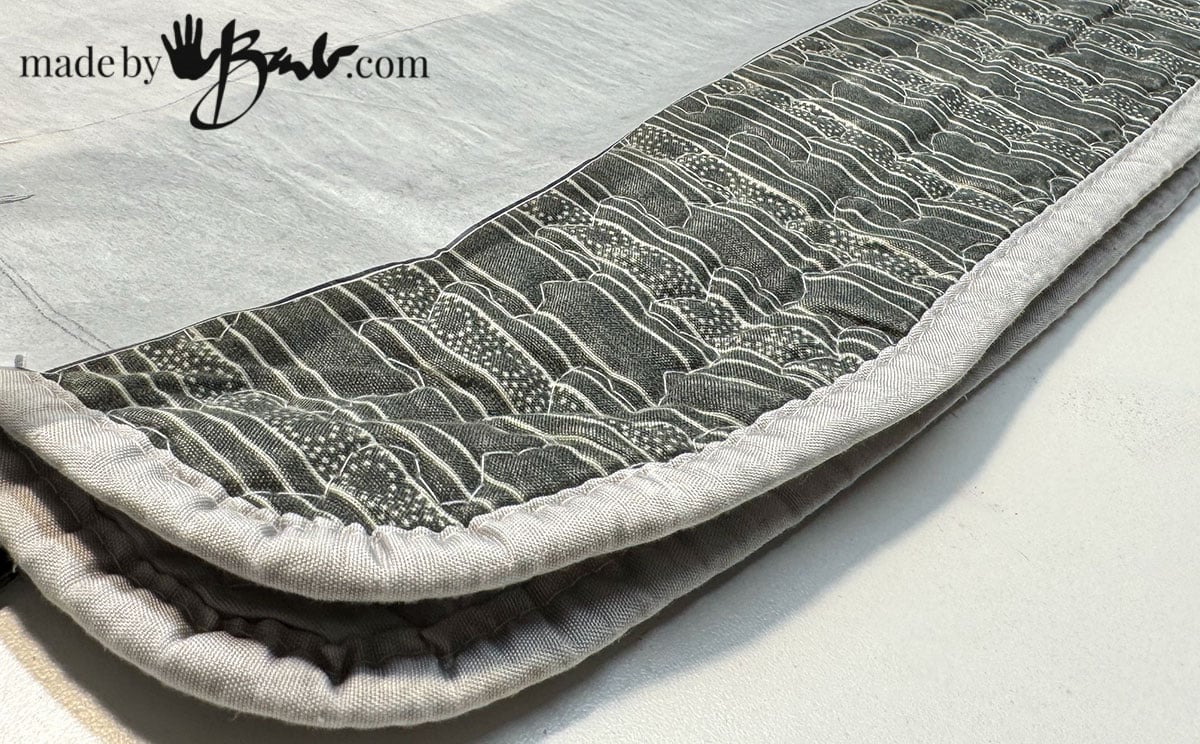
Simply lay your vest front and back pattern pieces directly on the quilt and cut them out. Try to take advantage of the finished edges for the front pieces.
Things to remember:
- Keep seams straight along quilt block lines when possible
- Pay attention to pattern direction
- Add ½ inch seam allowance if your pattern doesn’t already include it
Now you already have the main body of your jacket!
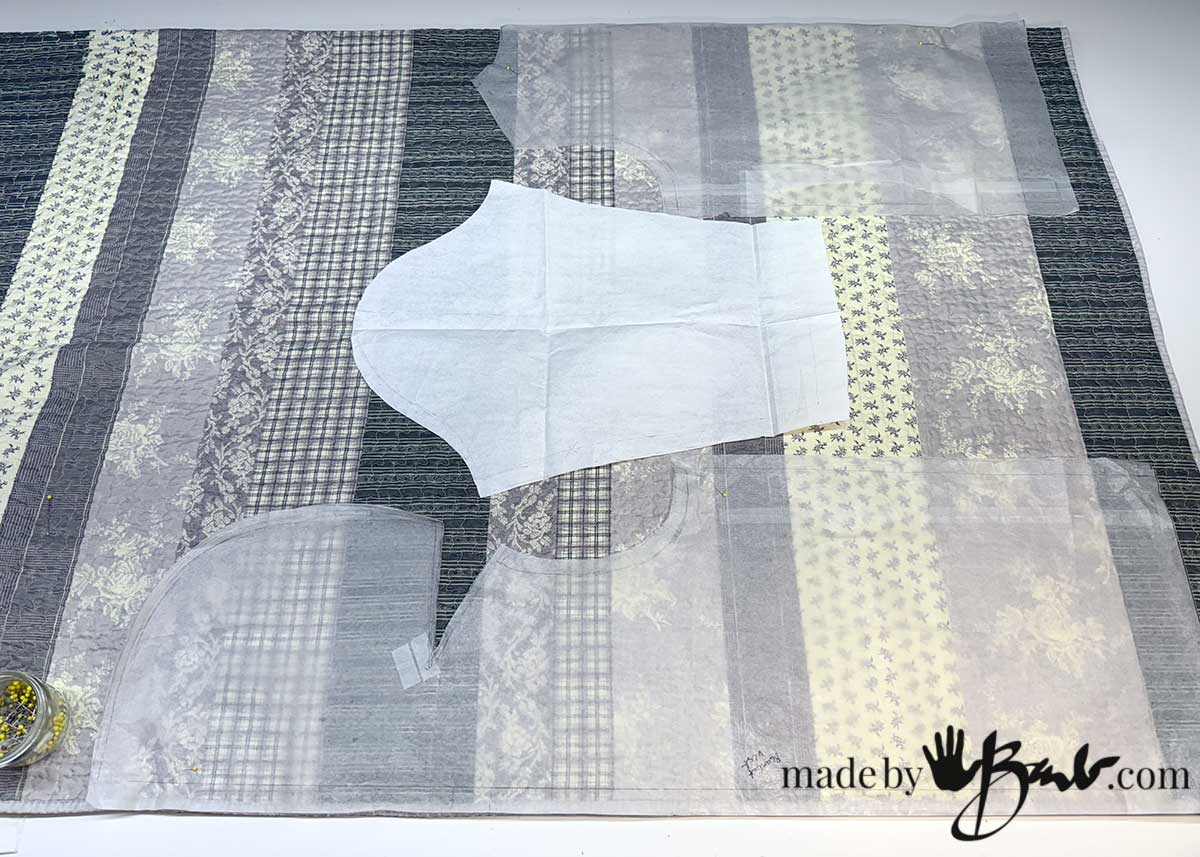
Step 3 — Create the Sleeve Pattern
Even if you’ve never drafted a sleeve before, don’t worry — this is a simple version designed for loose quilted garments.
You’ll create the sleeve in two quick steps:
- Use an existing garment as a pattern for the sleeve
- Measure the armhole of your vest body
- Draw a gentle curve to fit that opening
Then extend the sleeve to whatever length you want. Wide, roomy sleeves work best with thick quilted fabrics. I always remember I can cut and make smaller but not bigger.
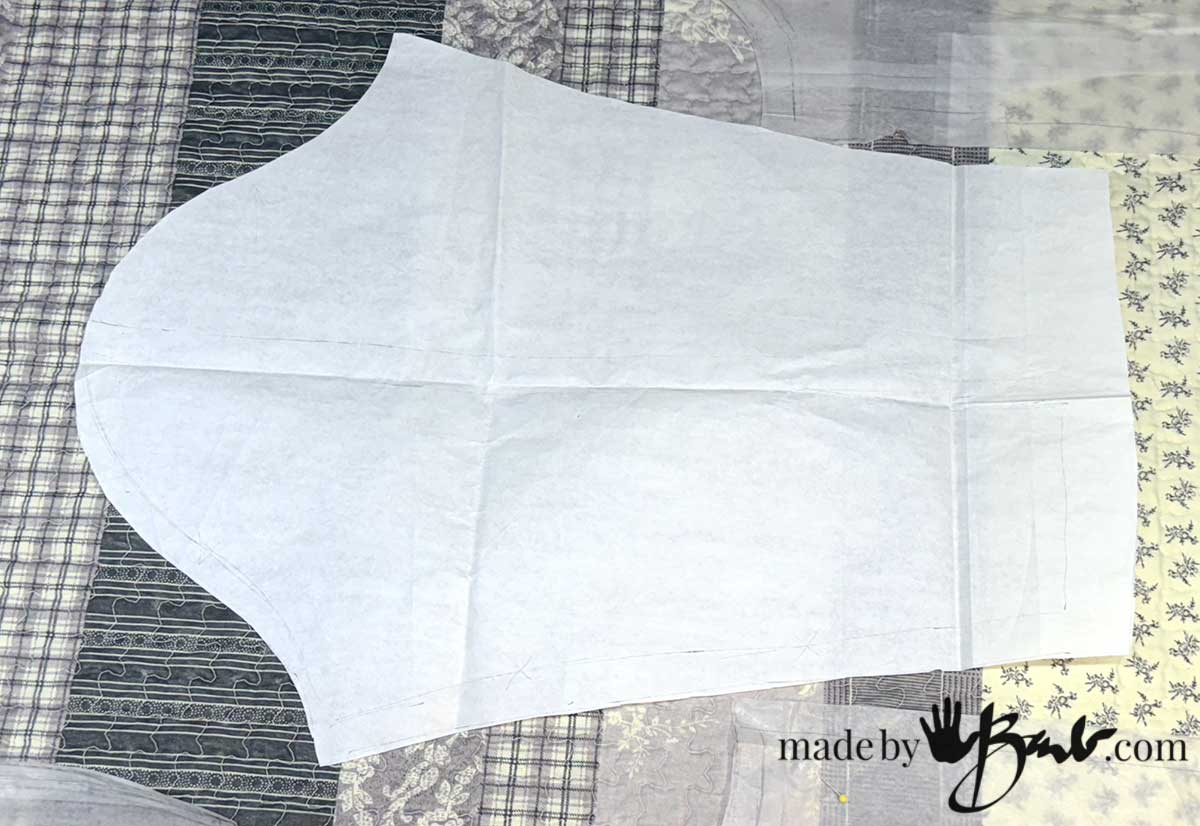
Shape:
- Top: rounded cap
- Sides: straight or slightly tapered
- Cuff: as wide as your wrist comfort allows
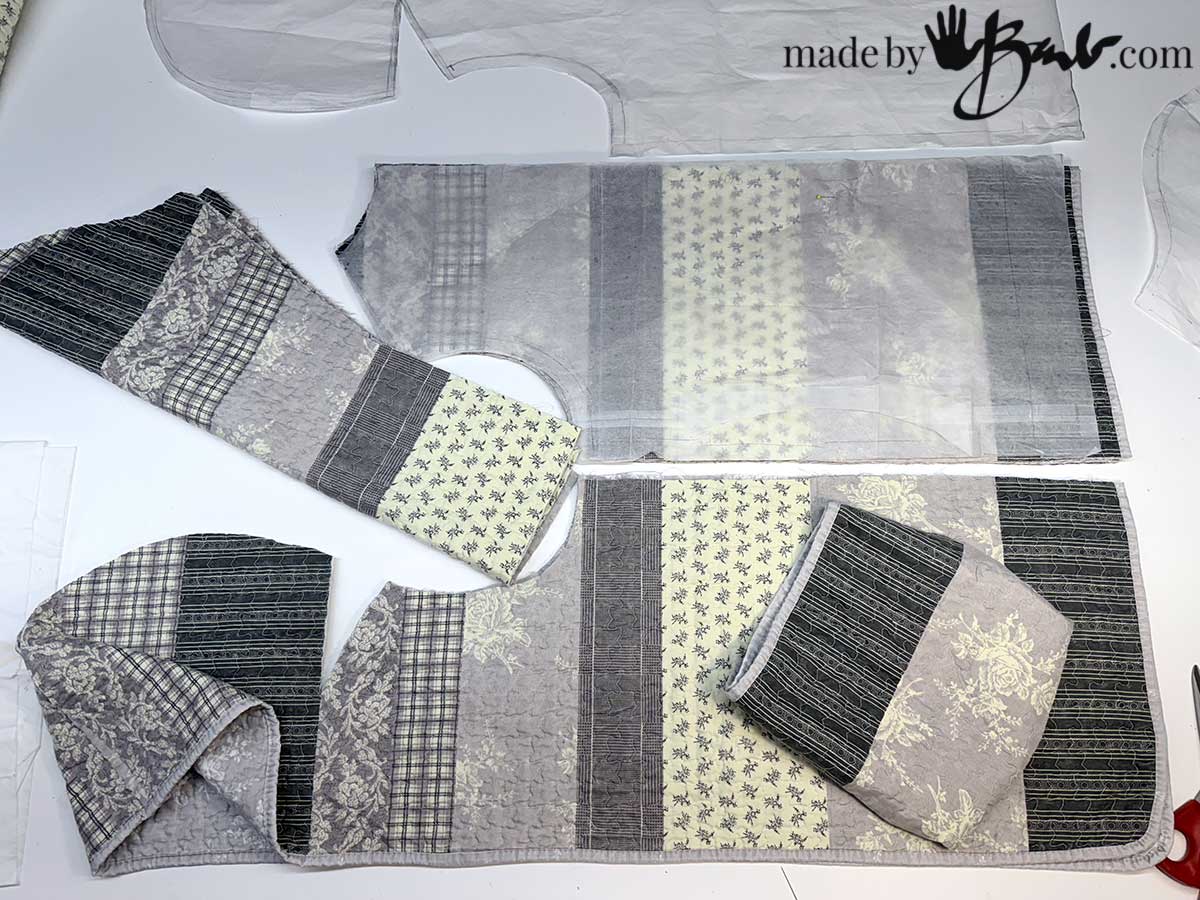
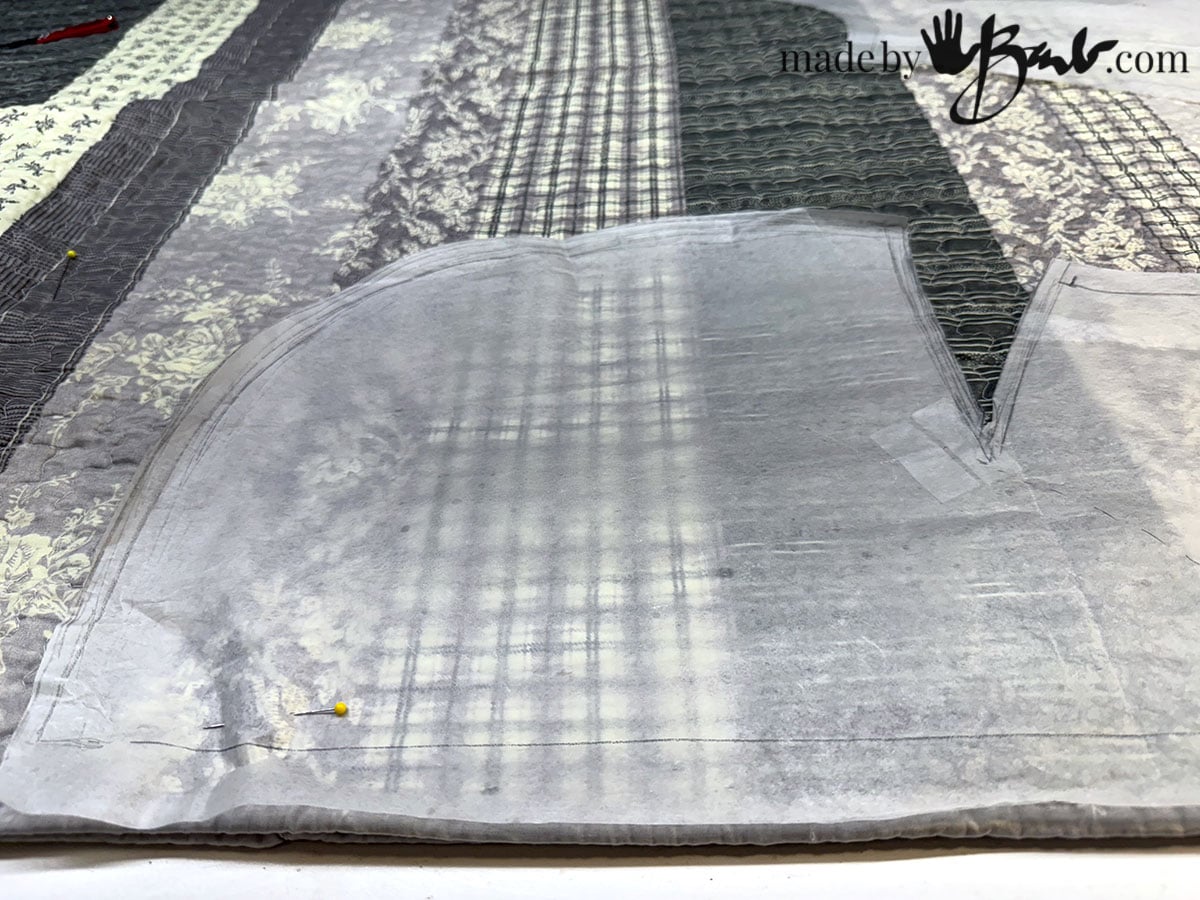
Step 4 — Cut the Sleeves From the Quilt
Place your new sleeve pattern onto areas with strong quilting.
Try to:
- Avoid seams thick enough to cause folds
- Choose interesting patterns for cuff areas
- Mirror the quilt design for left and right sleeves if possible
Cut two identical sleeves.
Step 5 — Assemble the Jacket
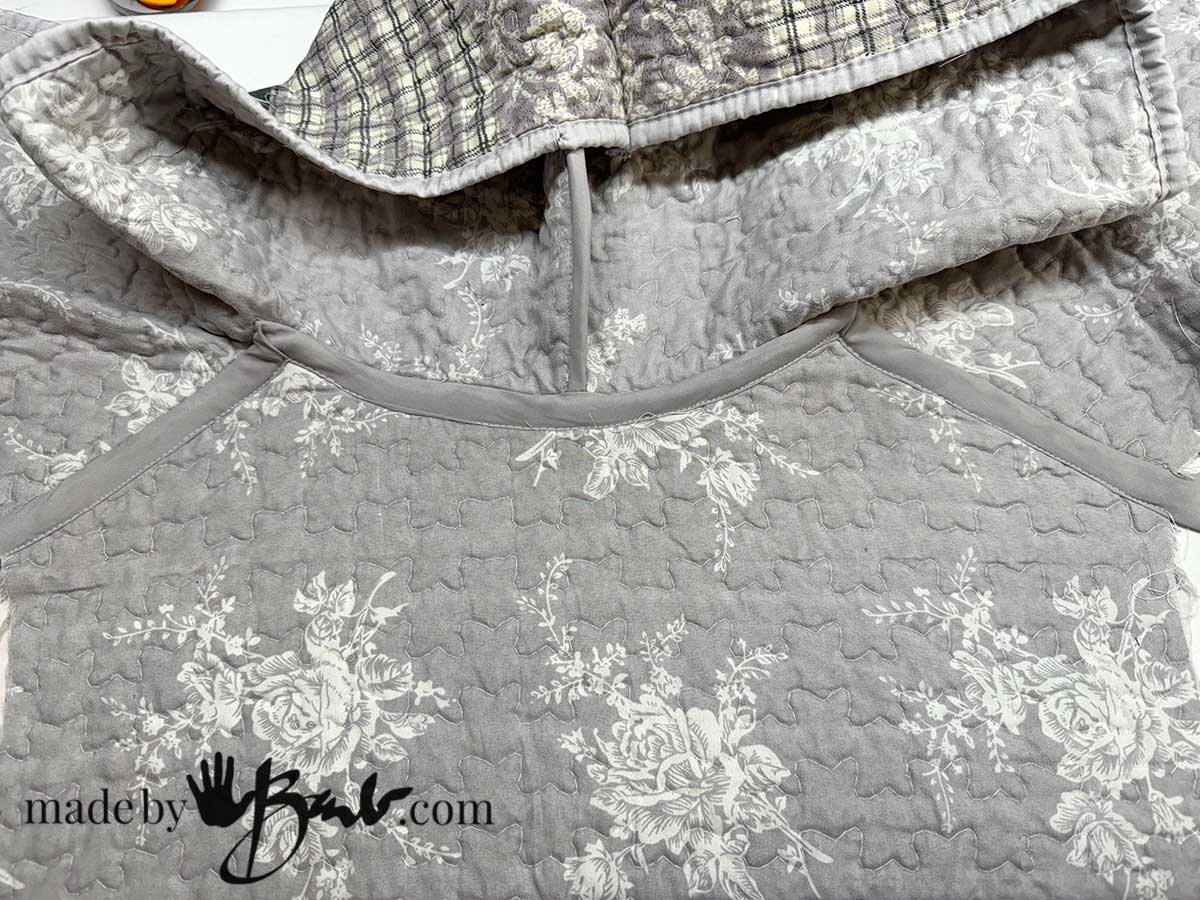
- Sew the shoulders of the body together (front and back)
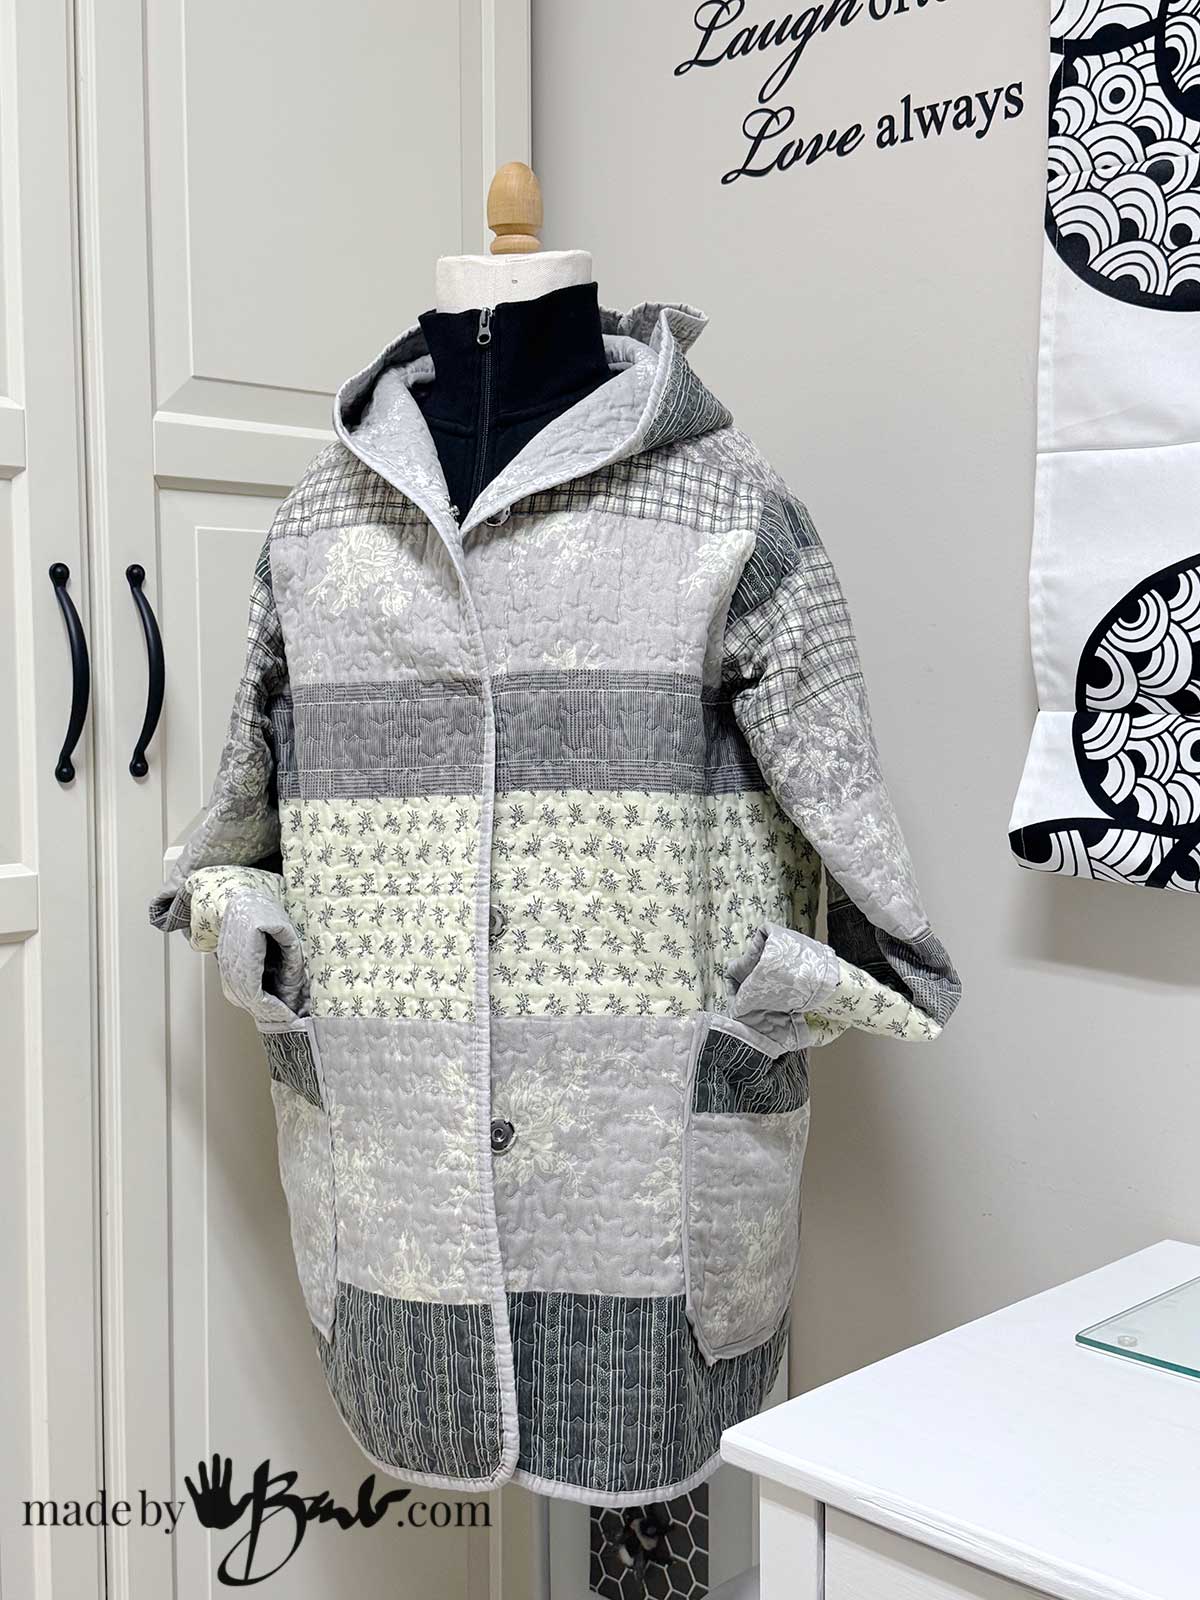
- Sew the hood.
- Sew the back neck seam to the dot.

- To finish the seam some bias band of fabric can be sewn over the seam.
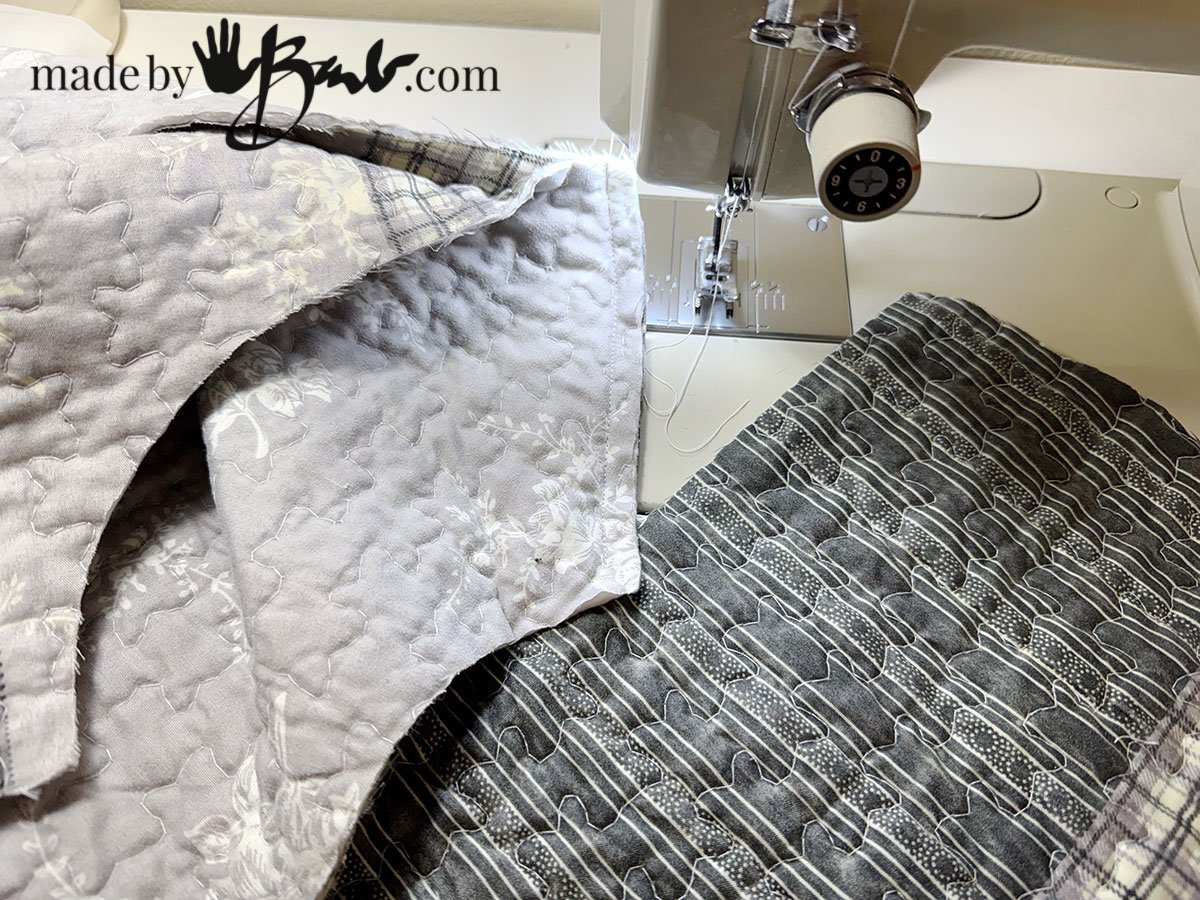
- Attach sleeves:
- Pin sleeve caps to the armhole openings
- Sew slowly, easing fullness where needed
- Sew underarm and side seams all in one continuous line.
Because quilts are thicker than normal garments, sewing slowly helps keep seams neat.
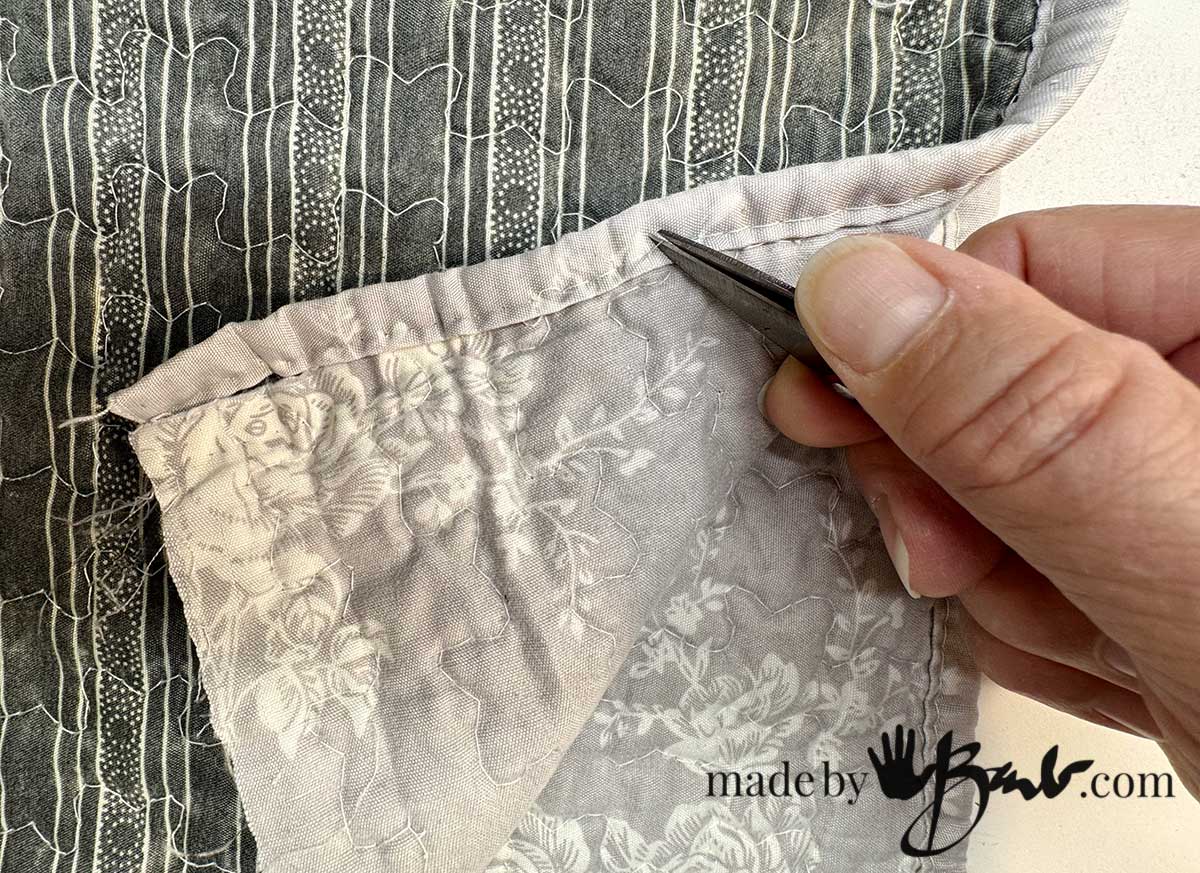
Step 6 — Finish Edges and Bind Seams
Most vintage quilts already have beautiful binding — so reuse it!
You can:
- Bind the front edges
- Bind the hem
- Add binding around the cuffs
- Use bias tape for a crisp professional finish
You can also leave edges slightly raw for a rustic, art-coat look — quilt layers fray beautifully in a soft, controlled way.
Optional: Add Pockets
Quilts make perfect big cozy pockets!
Cut squares or rectangles from leftover quilt sections and top-stitch them onto the jacket fronts. If binding is needed for pocket edge it is usually easy to disassemble or use an existing finished edge.
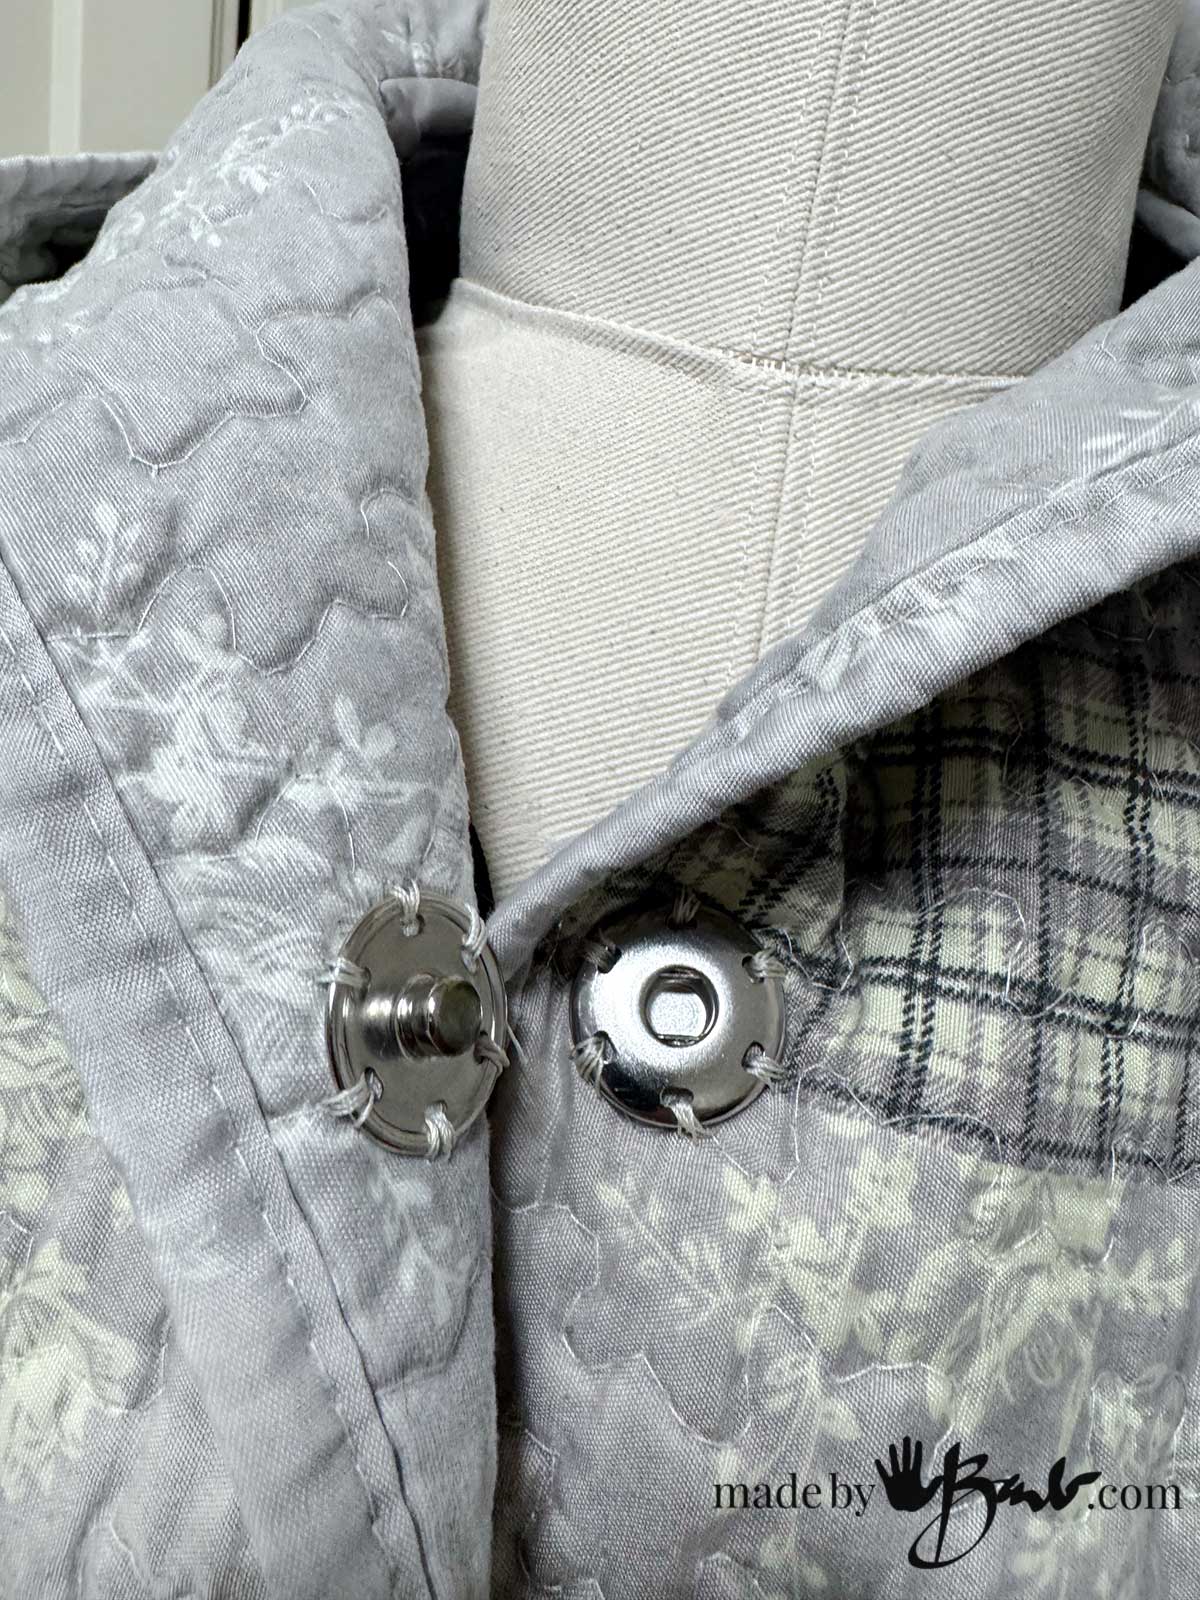
Add Closures:
There are many options for adding closures like buttons and toggle loops! For easy closures big snaps are easy and simple to add.
Final Thoughts
There’s something deeply satisfying about turning a forgotten quilt into a wearable piece of history. Each block, each stitch becomes part of your daily life again — warm, beautiful, and bursting with story.
Using my vest pattern as your base makes the process simple and approachable. Add sleeves, bind the edges, and suddenly you’ve created a handmade jacket unlike anything sold in stores.
If you make a vintage quilt jacket, please share — I love seeing how readers give old textiles new life.

If you are like me, then any leftover fabric needs to be used up too! I made a huge market bag with the remainder of the quilt.
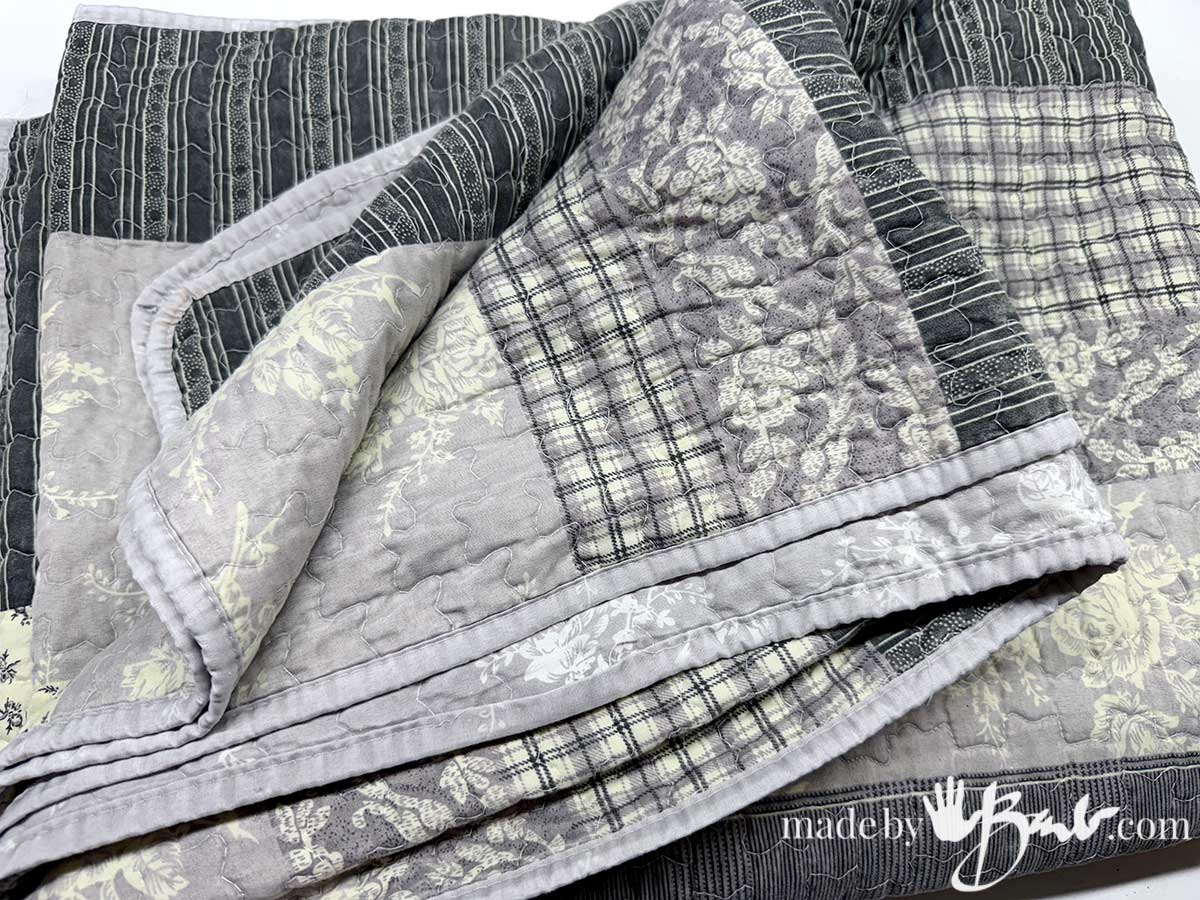
I’m so thrilled at how fast and simple it was to make this quilt jacket I now have this one to upcycle as well. I know they may be a bed spread but I love the softness and size. I can also take the binding off if I want to not have scallop edges.
Keep your eye out for vintage quilts and other quilted linen! There’s no rules, go ahead and be a fashion influencer!
I LOVE this!!! Now I just need to find some quilts so I can try it out. Been looking for a while now and its like there are never any available. Lol
Yes, I’ll be looking as well! I do have a few quilt tops that have been waiting to become ‘real’ since my mom didn’t get a chance to finish them. But I don’t know if I could have the courage to cut them. ‘But what good are they if just waiting?! Let me know how you make out!
Why not make your own quilt? Easier than you think. Check internet for tutorials.
Oh yes! I know! My mother made many-a-quilt! She used the tricks of strip quilting too! I plan on it, time is just always an issue as I am a one-woman show here! Stay tuned…
Thank you for these instructions instructions I am getting ready to cut a vintage quilt to make my son a jacket. I’m a little nervous to cut this quilt but I want him to have a one of a kind jacket. My so loves old quilts so I want to make him n awesome creation.
That’s great of you! Cutting always makes me nervous too, so have a plan.I really try to use the finished edges as much as possible to simplify. Best of luck!