How to Fix Scratches in Leather
Scratches on a favourite leather bag or piece of furniture can be heartbreaking, but don’t panic – it may just be a surface issue! Depending on whether you have a light scuff or a deep scratch there are several ways to restore that smooth finish.

Assessment: How Deep is the Damage?
Before you grab your supplies, run your fingernail gently over the scratch.
- Light Scuff: You can feel it, but the color hasn’t changed much.
- Deep Scratch: The color is gone, and you can see the lighter “fibers” of the leather underneath.
Method 1: The “Heat & Buff” (For Light Scratches)
Many high-quality leathers (like pull-up or wax-finished leather) contain natural oils and waxes that can “heal” with a bit of warmth.
- Clean the Area: Use a damp, lint-free cloth to remove any dust.
- Apply Heat: Use a hair dryer on a low/medium setting to warm the leather for about 10–15 seconds. This softens the waxes in the hide.
- Massage: Use your thumb to rub the scratch in a circular motion. The warmth helps the oils migrate back into the scratch, often making it disappear completely.
- Condition: Finish with a tiny dab of leather conditioner to seal it.
Method 2 (My preferred): The “Artist’s Fix” (For Light Scratches)
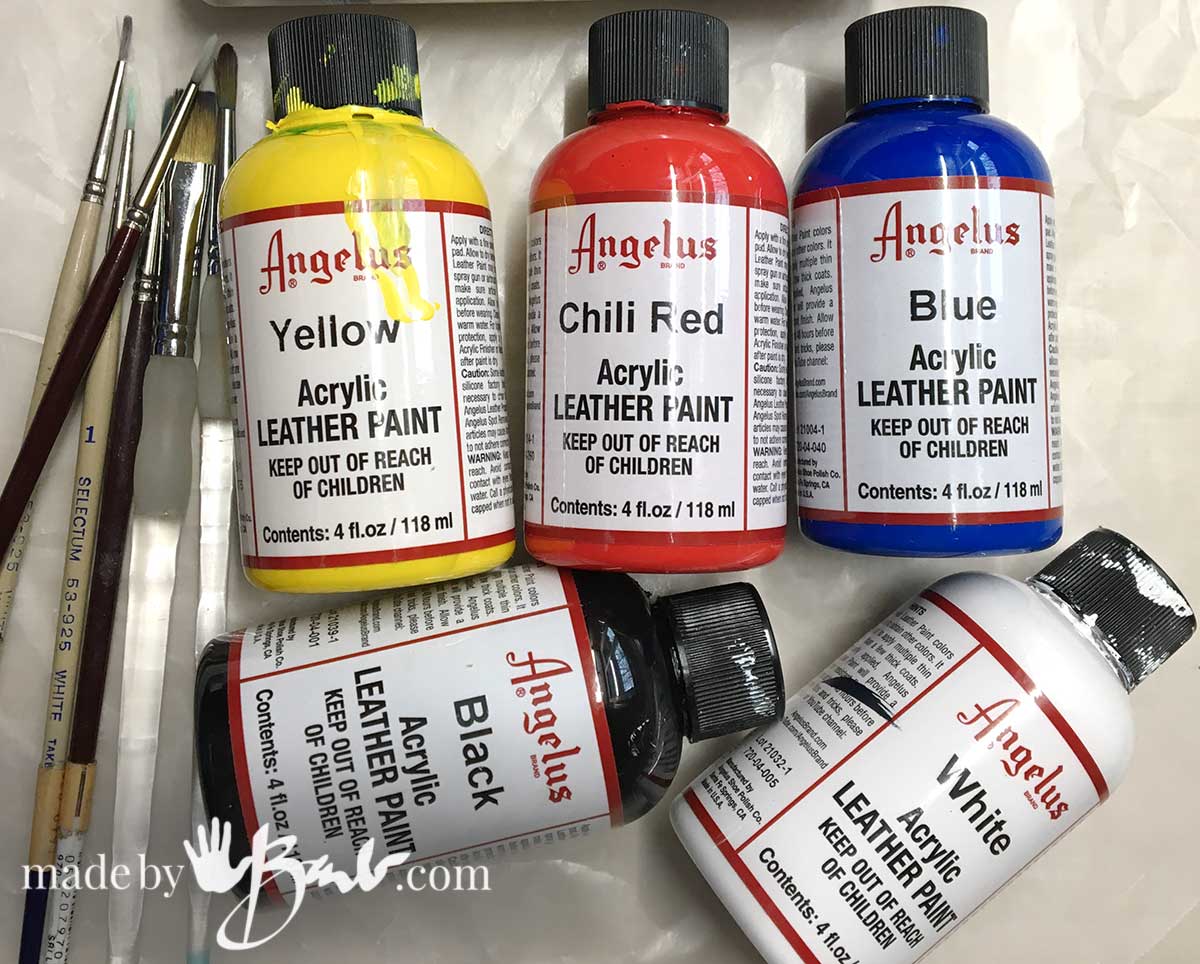
If some of the colour has worn off but there appears to be no damage it is an easy fix. I recommend Angelus Leather Paints for their flexibility and ease of use. In a pinch a good quality acrylic paint could be used as well.
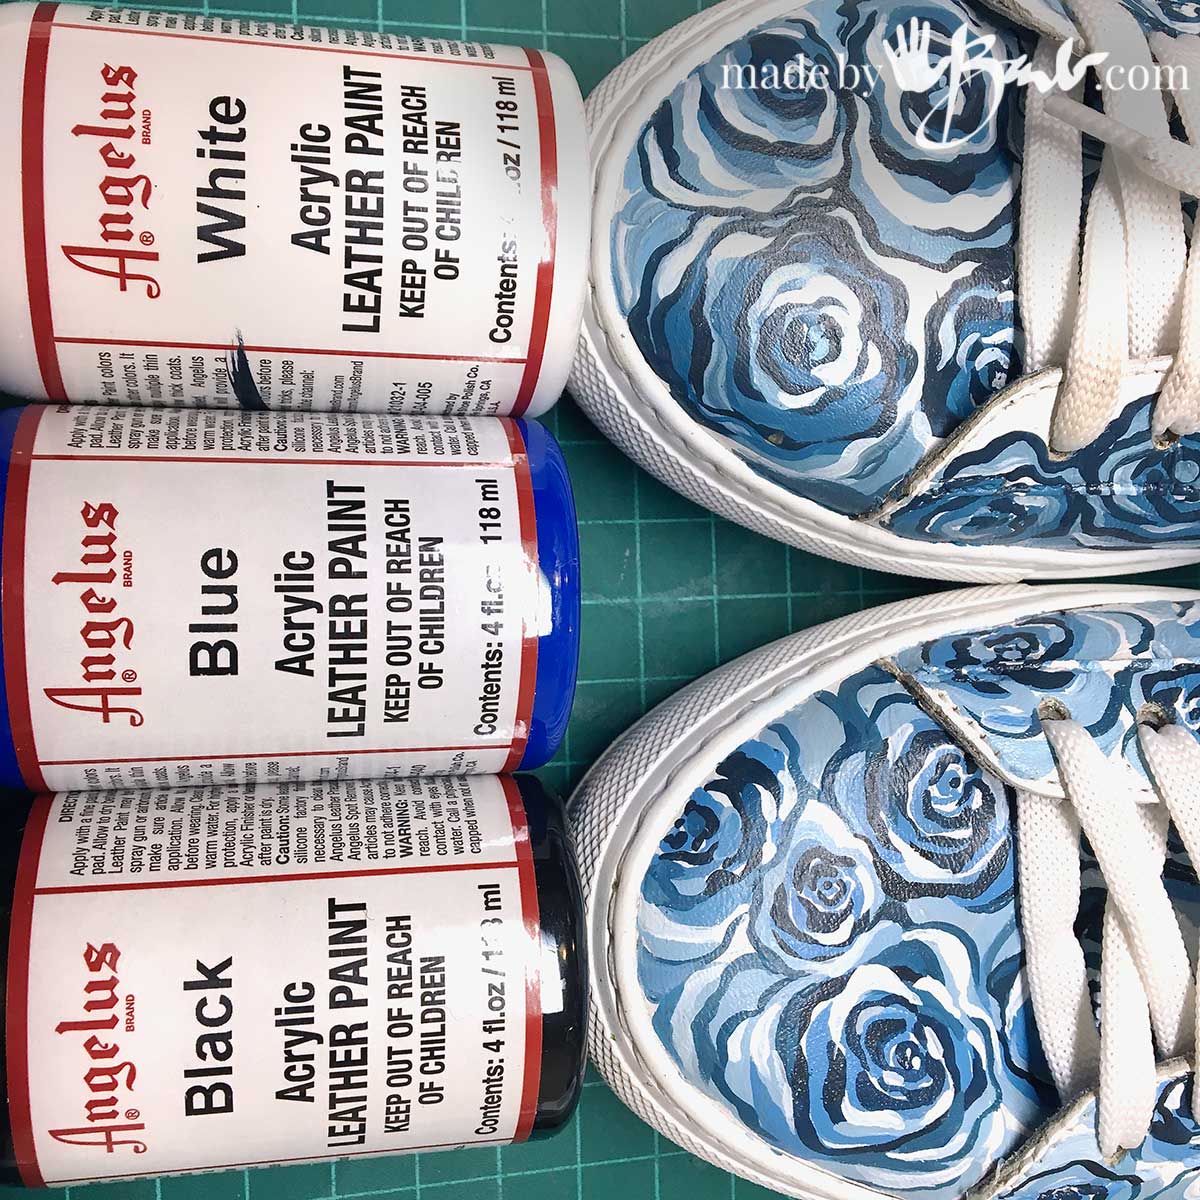
I have had great lasting results with this paint on leather and even canvas. It covers well and is not thick once dried. Some of my painted purses have lasted perfectly for years with daily use.
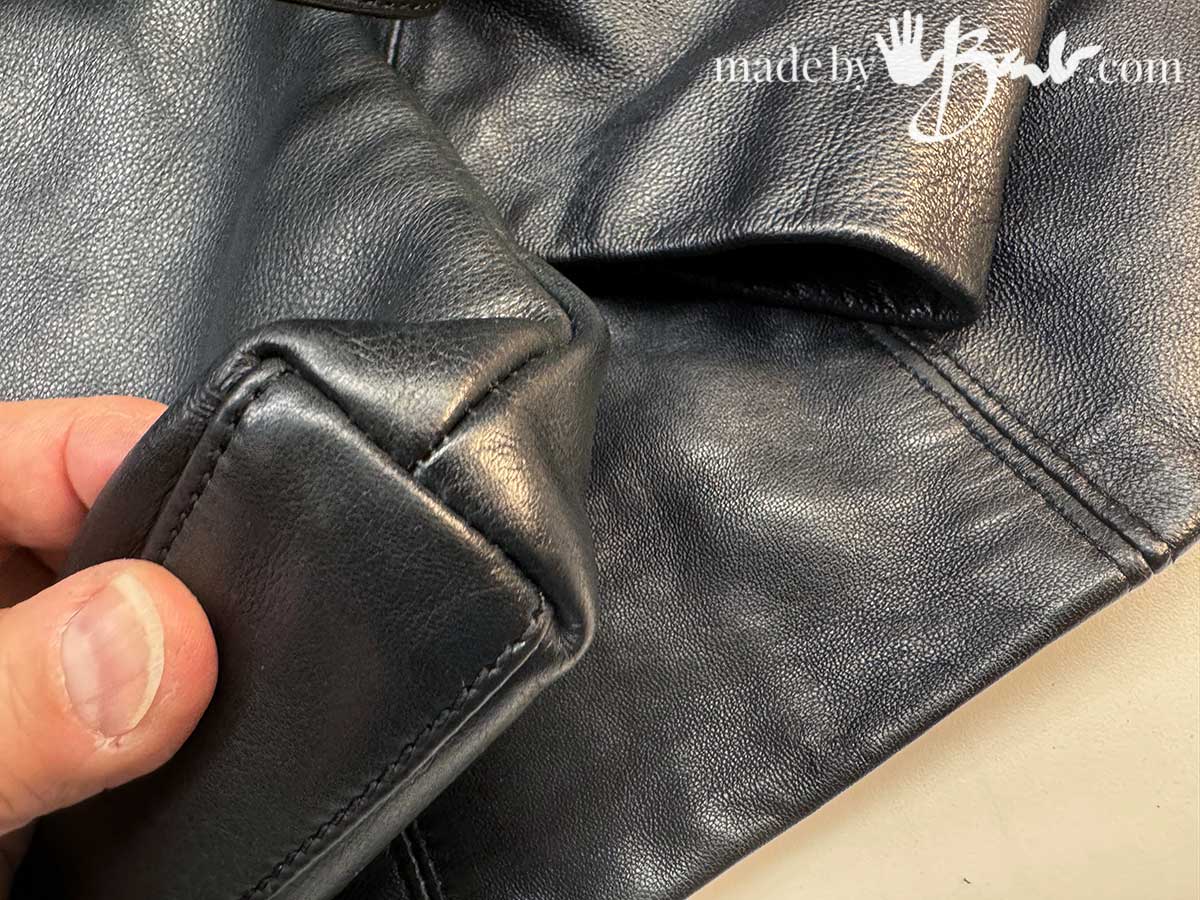
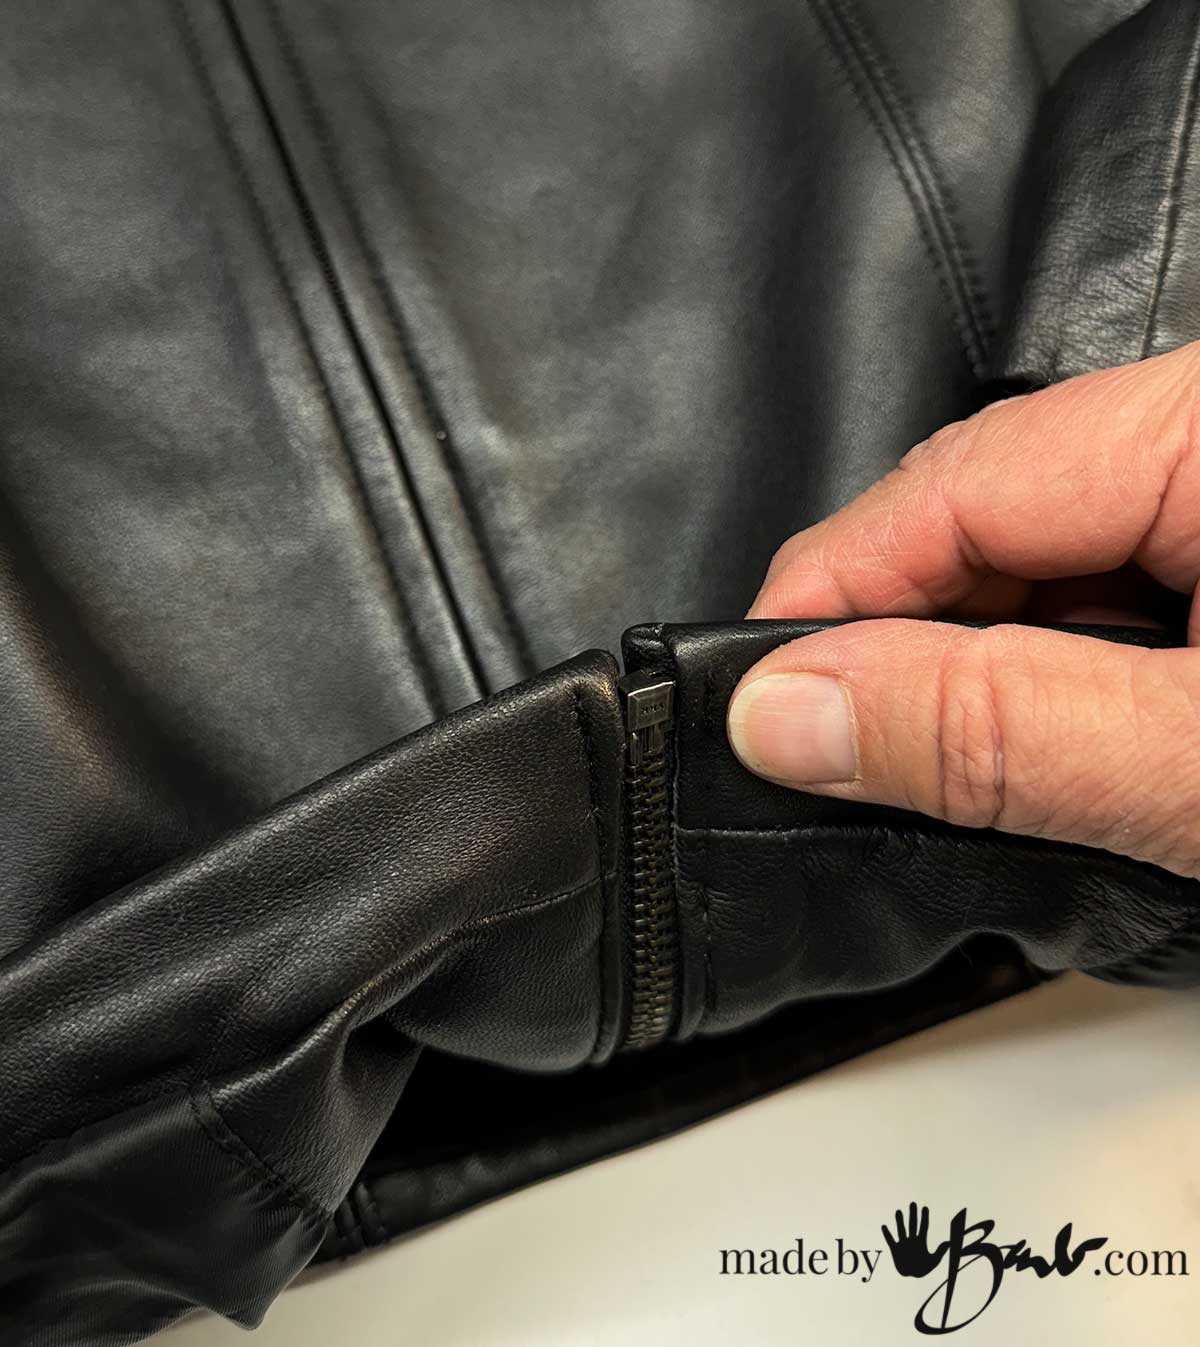
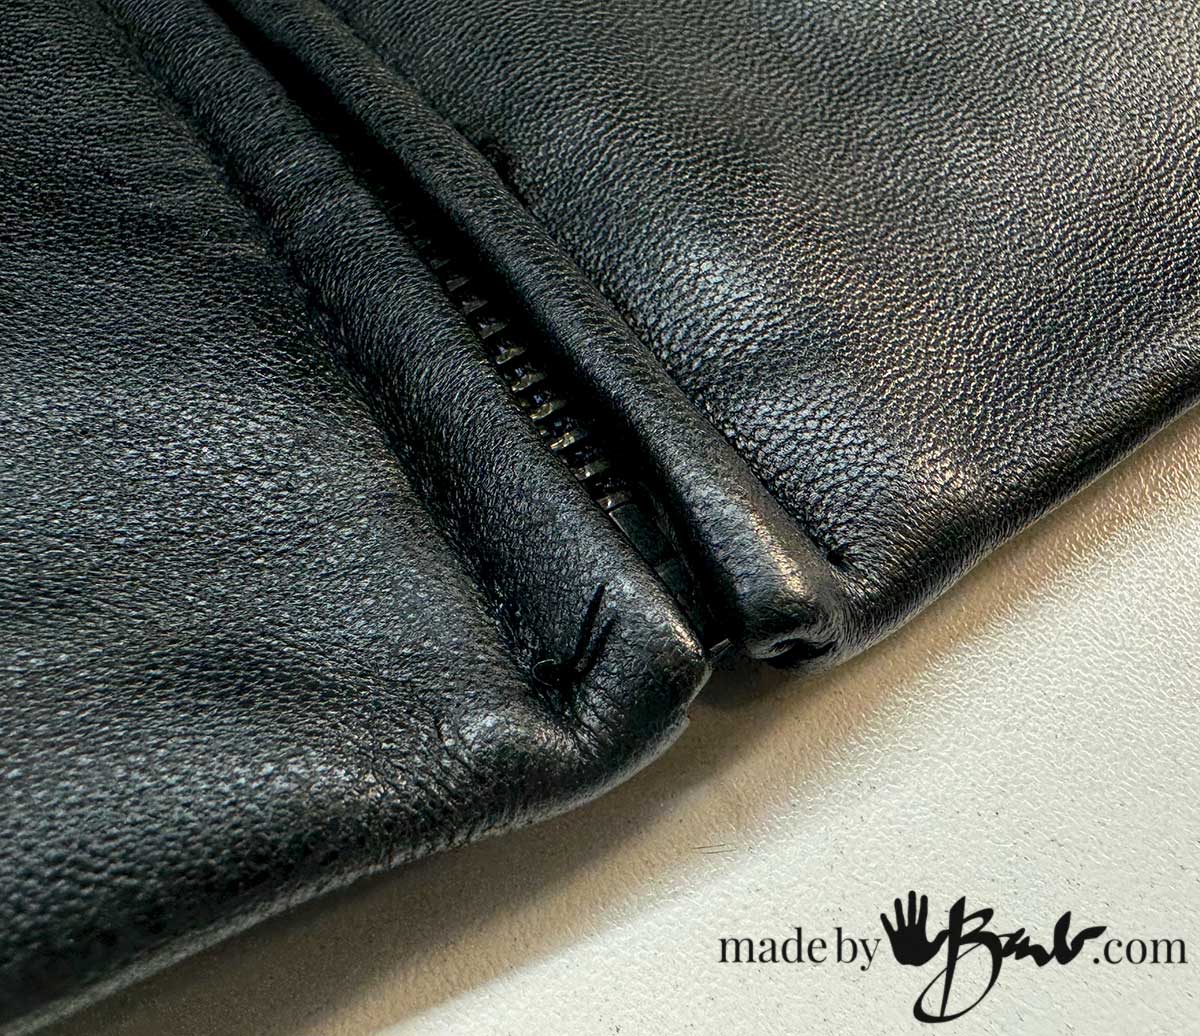
Often the soft leathers get damaged at the wear points like corners and edges. The colour is lost since the finish has worn off. This is the most common damage and is a fast easy fix. See full VIDEO below.
- Make sure to use a matching colour (test in an inconspicuous area)
- Use a lint free rag (J cloth) or sponge with very little amount of Angelus paint Leather paint
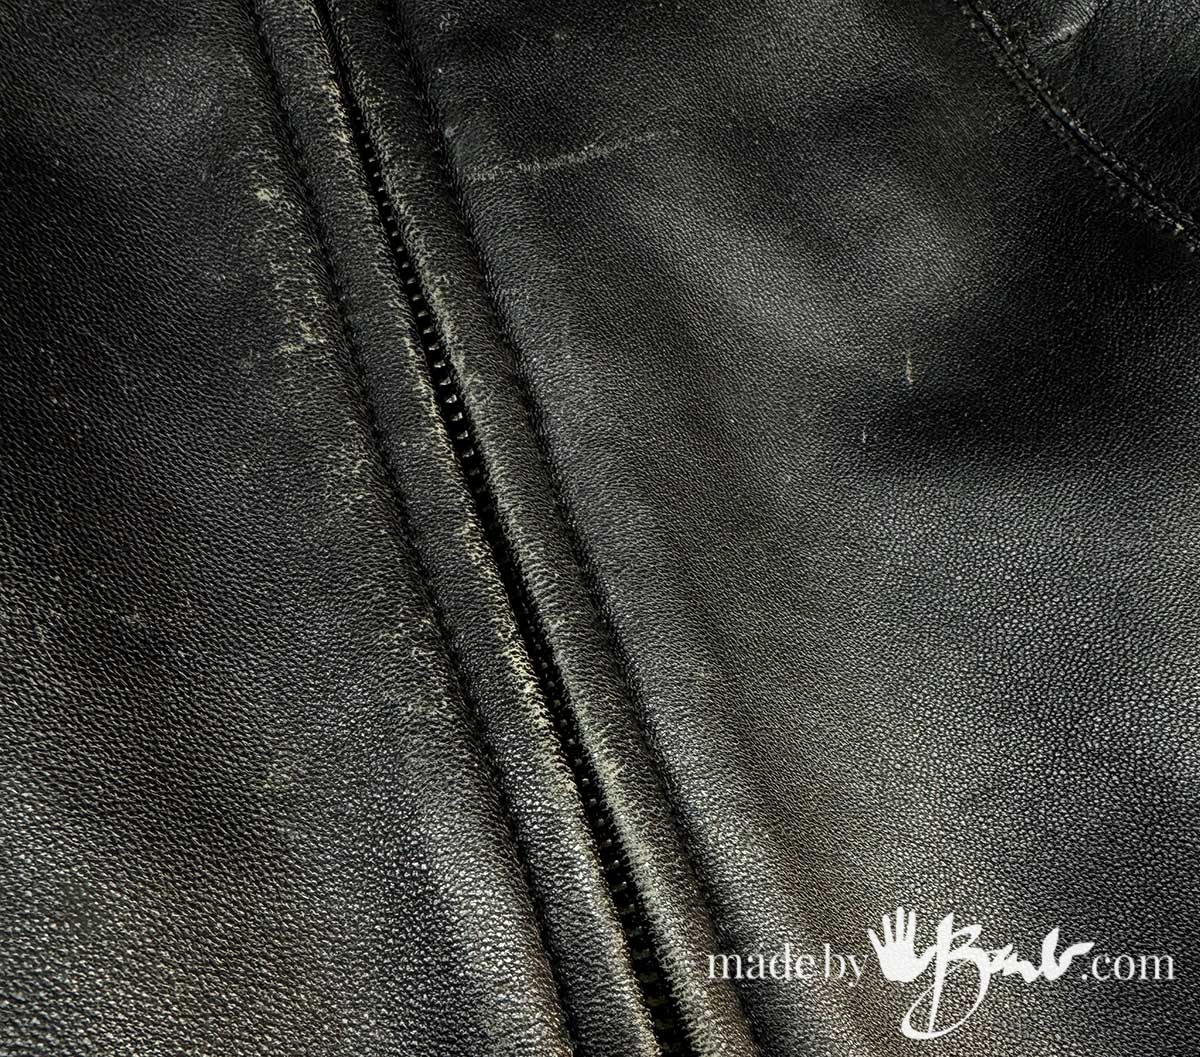
Since you only want to fix the light scratch marks this process only fills the areas where the light leather skin shows. The other unscratched leather should be left as original.
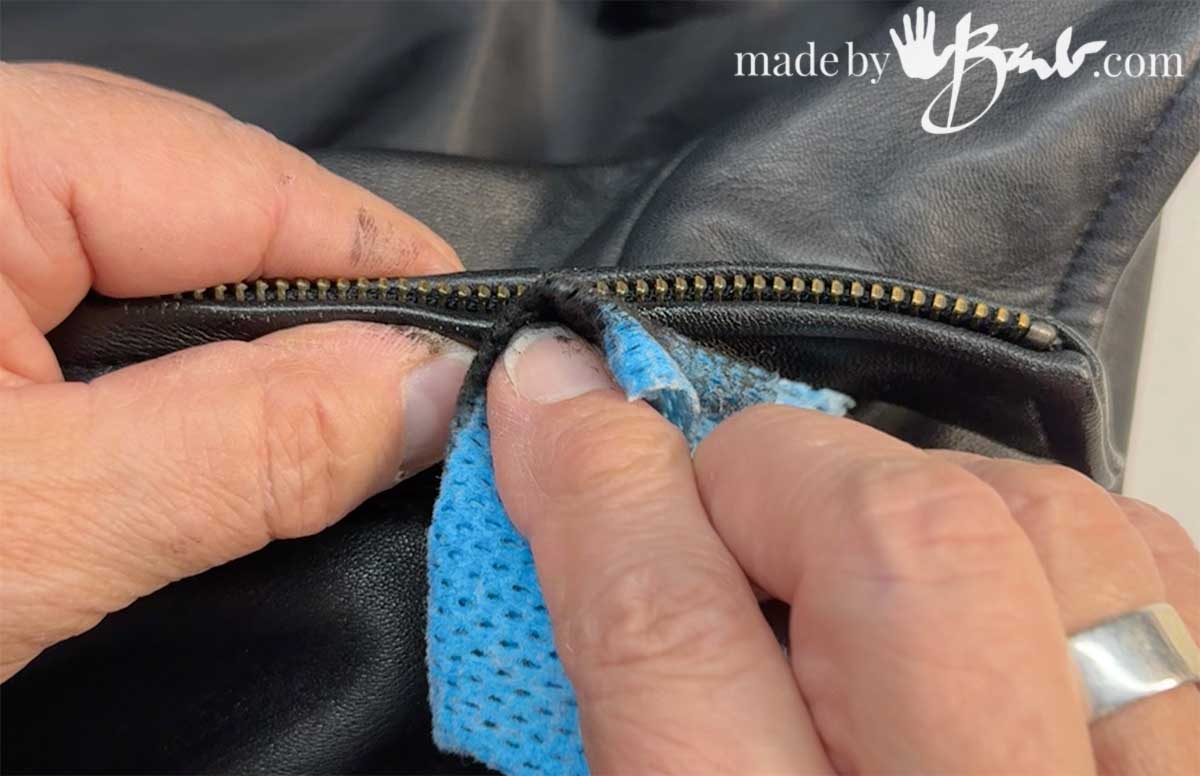
Using the Amazing Paint:
With the dampened rag rub the paint into the areas showing the lighter under-surface. The other areas will not need to be covered.

The scratched areas will immediately accept the paint (quite absorbent) and the other unscratched areas can be wiped clean. This will ensure that the original finish will remain and not show any paint application.
This fix is essentially like staining the leather where the top surface & edges have worn off.
If wear is extreme you can add thicker layers of the Angelus paint. Since I only fix the damaged areas deglazing (taking off the finish) is not needed.
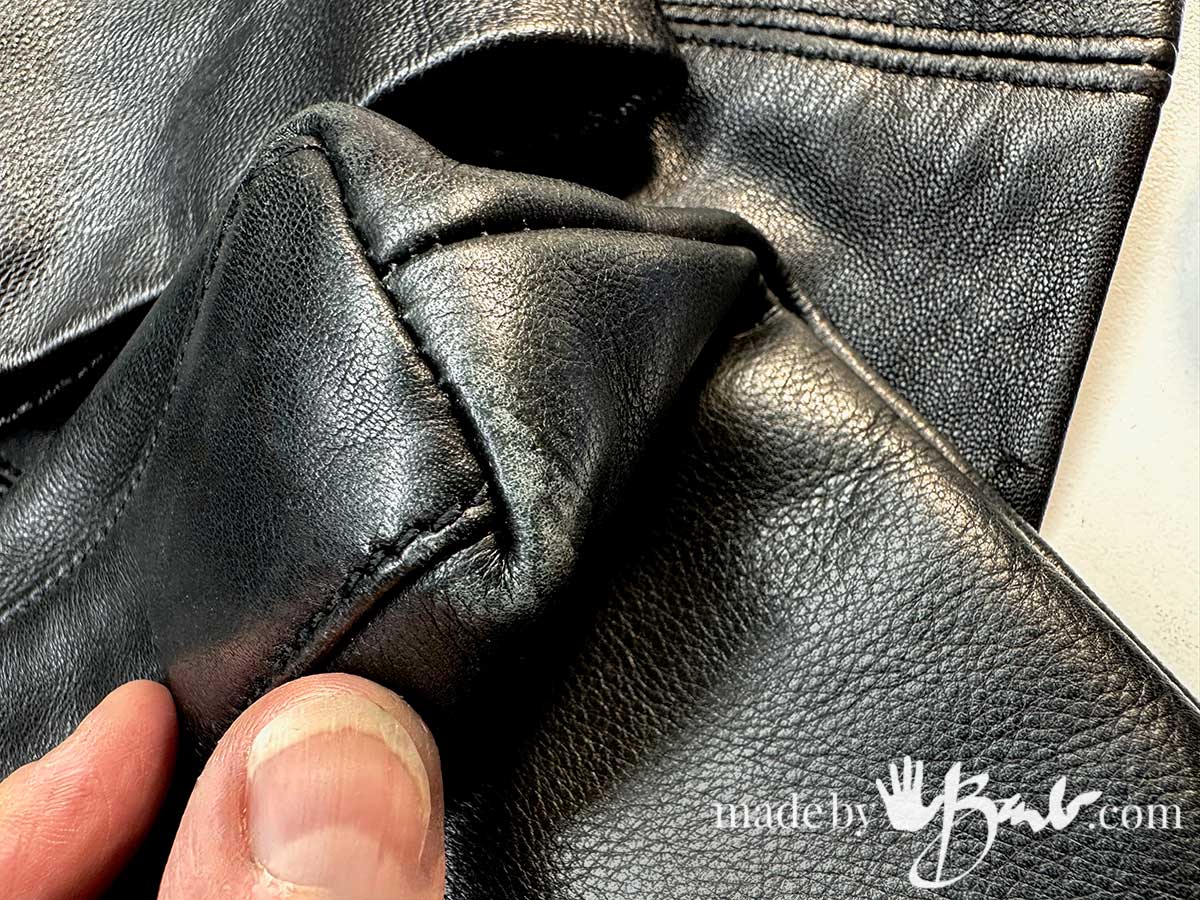
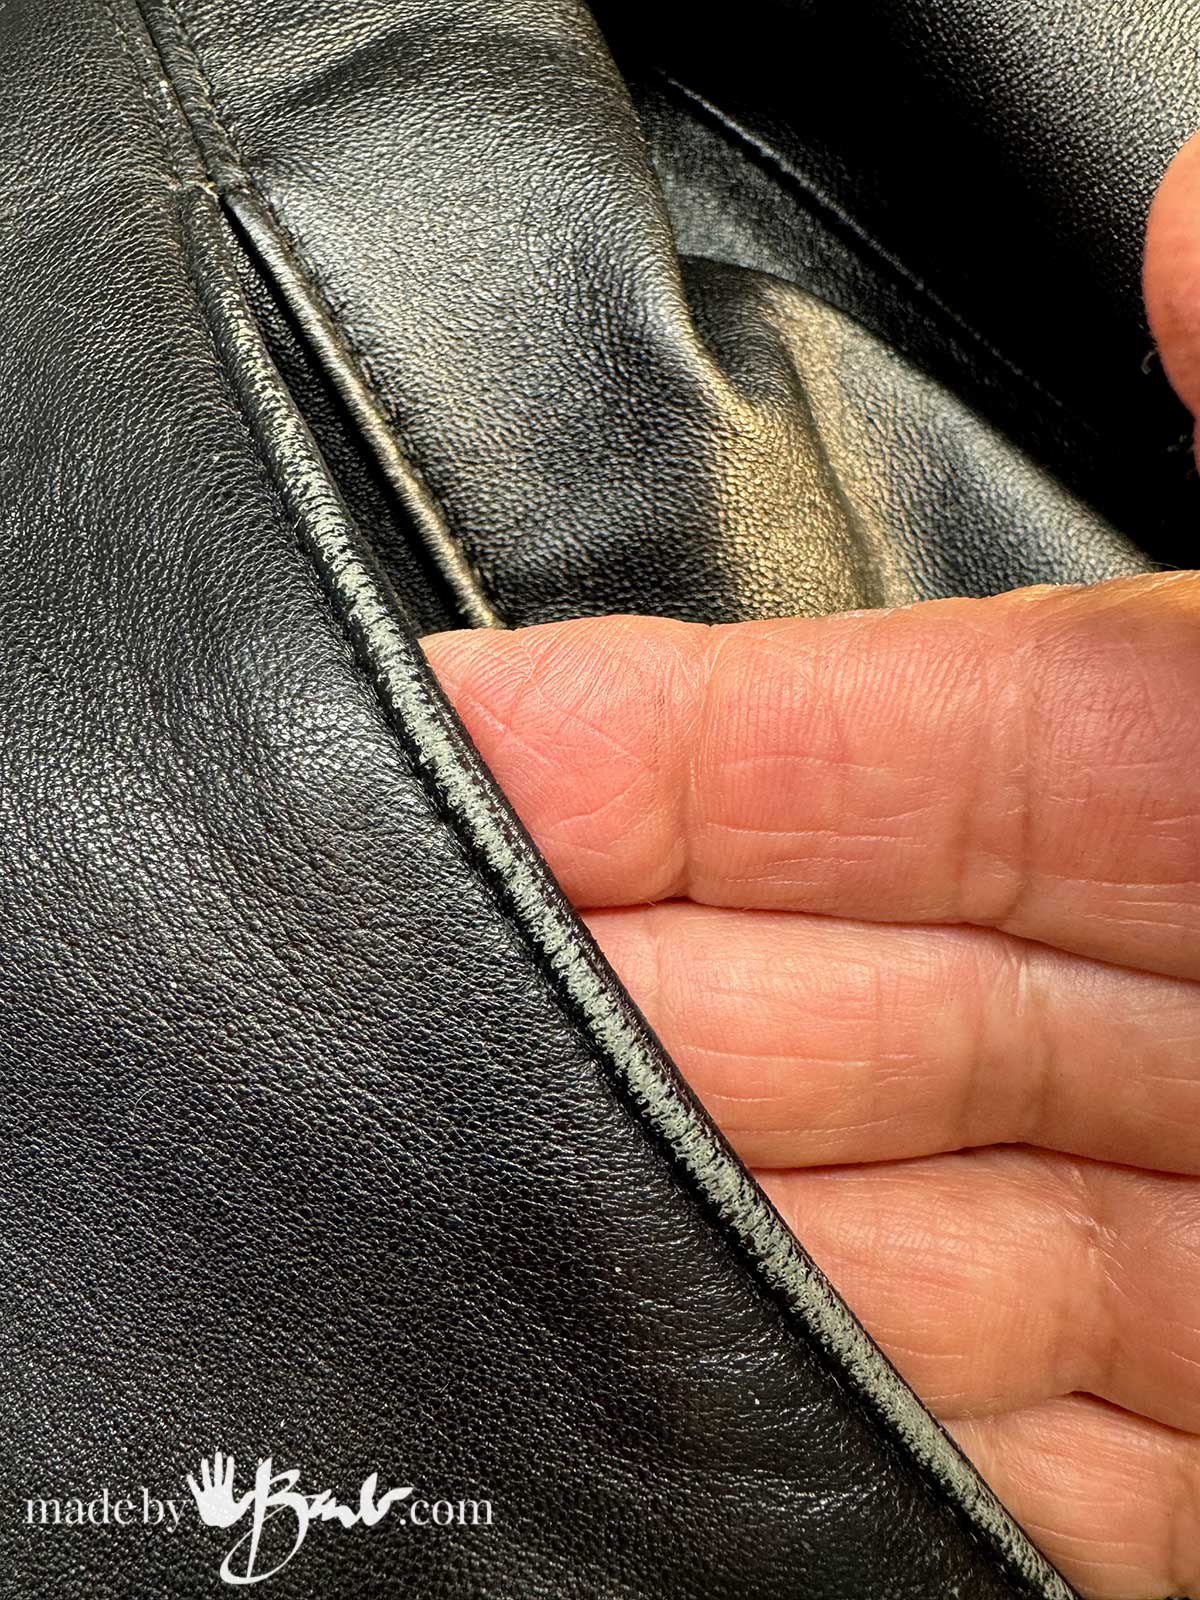
Examine all the typical areas where excessive rubbing happens.
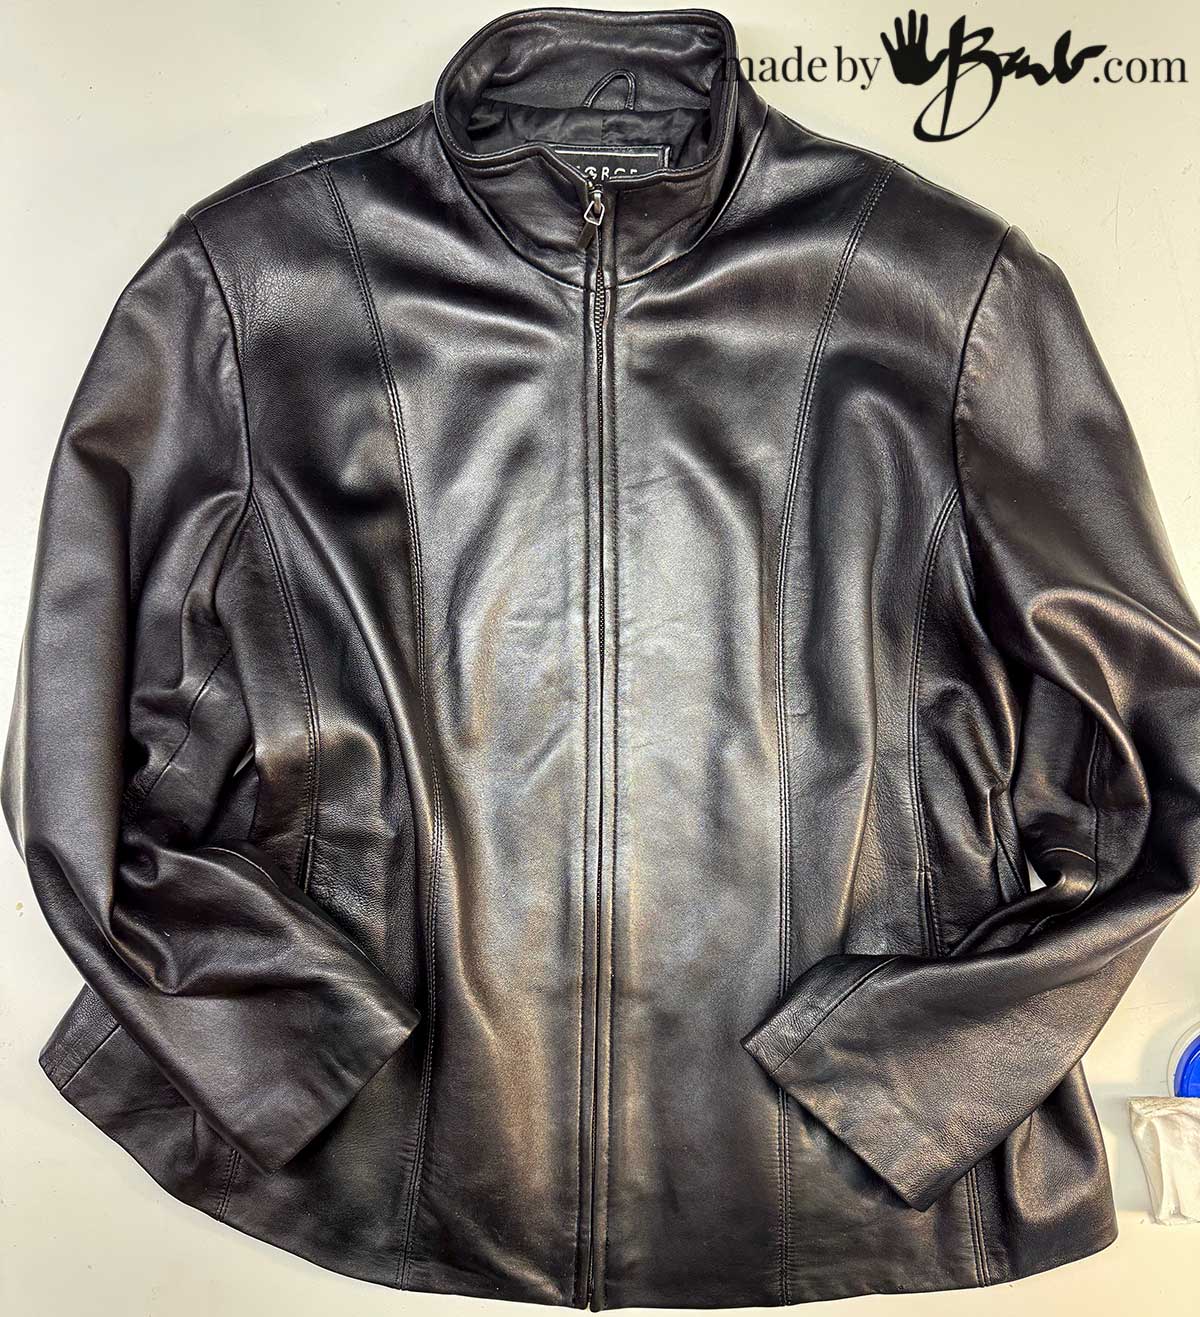
These small improvements can make the garment or leather bag look amazingly new again.
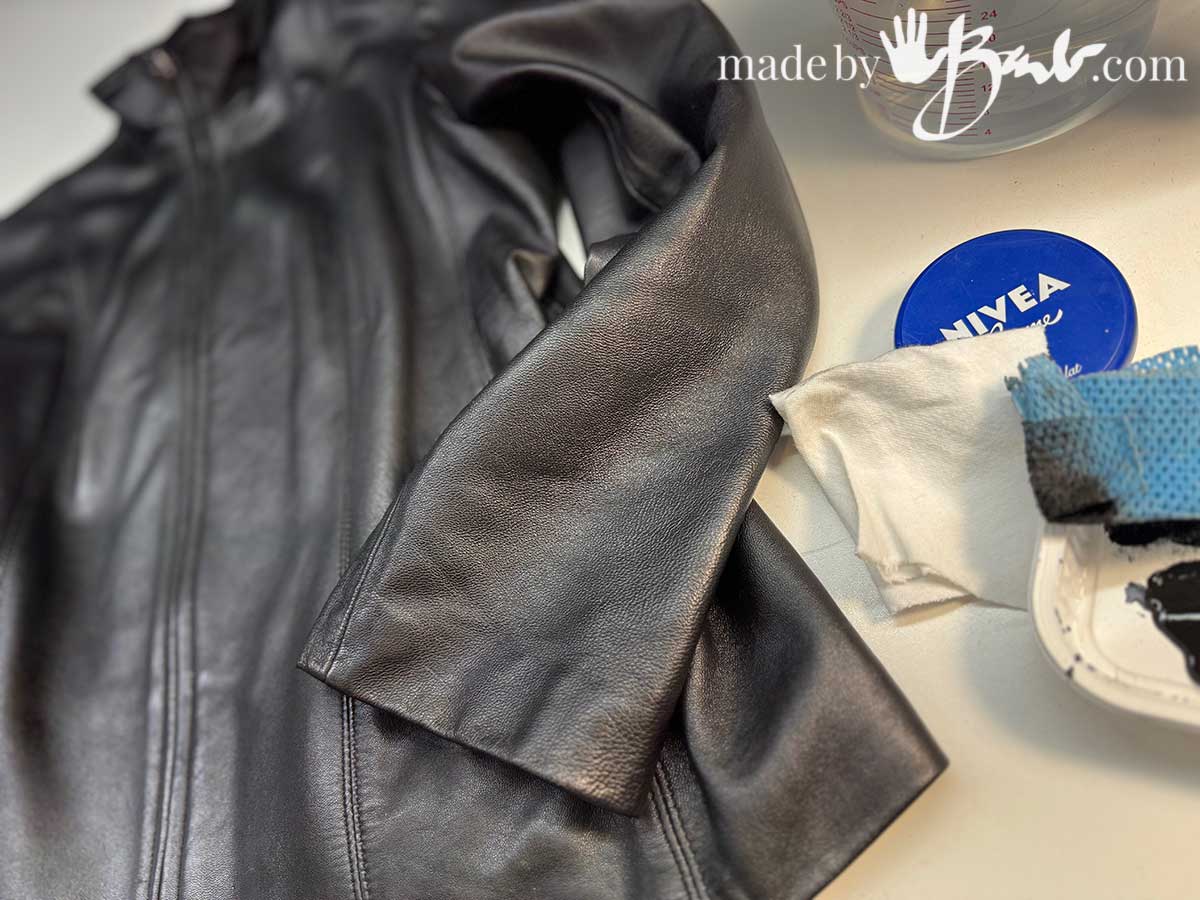
After making sure all worn areas are fixed, treat with a leather conditioner. In a pinch I have used my favourite Nivea hand cream. I had a pair of leather gloves from my Grandmother and they stayed very soft and subtle with Nivea!
Wow, look at how well the fix made this look new again. Don’t throw away those older leather things!
This took so little time & paint.
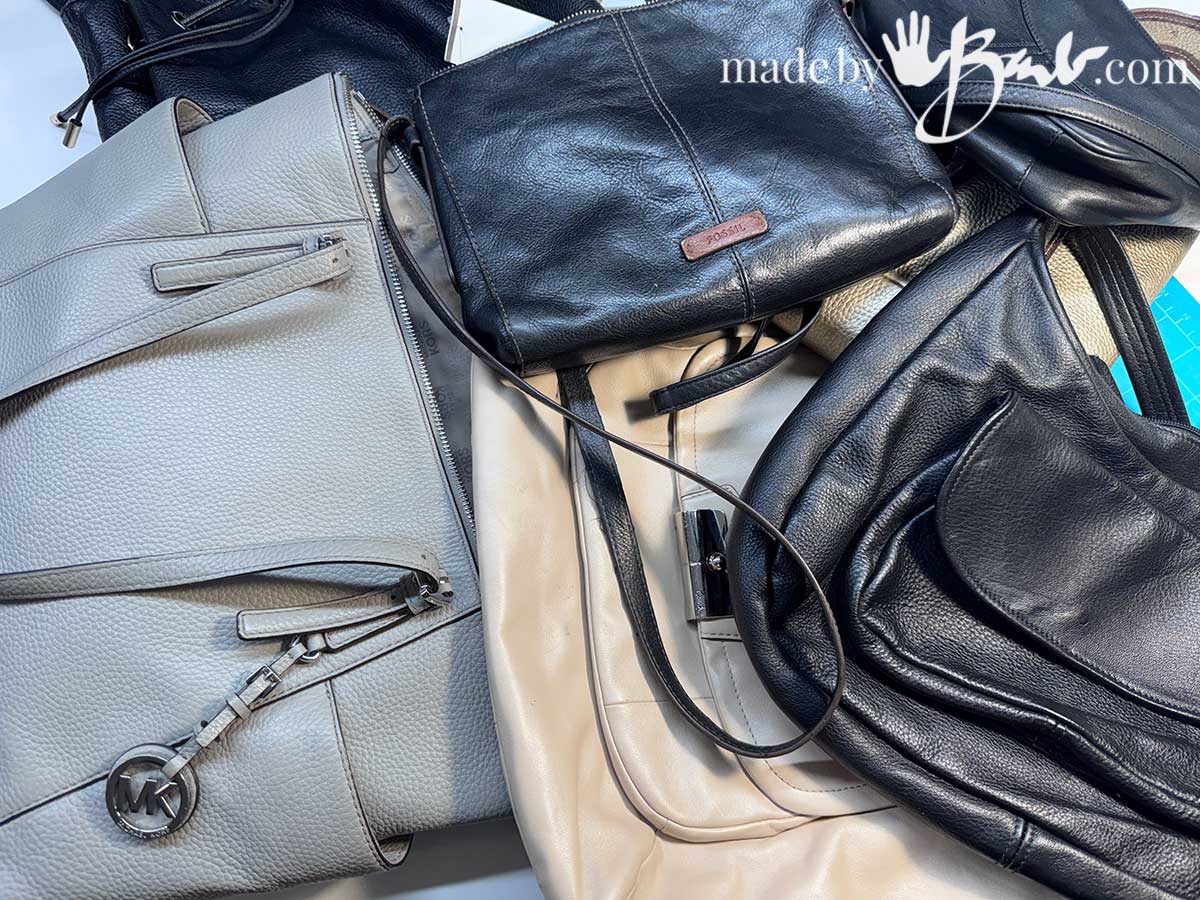
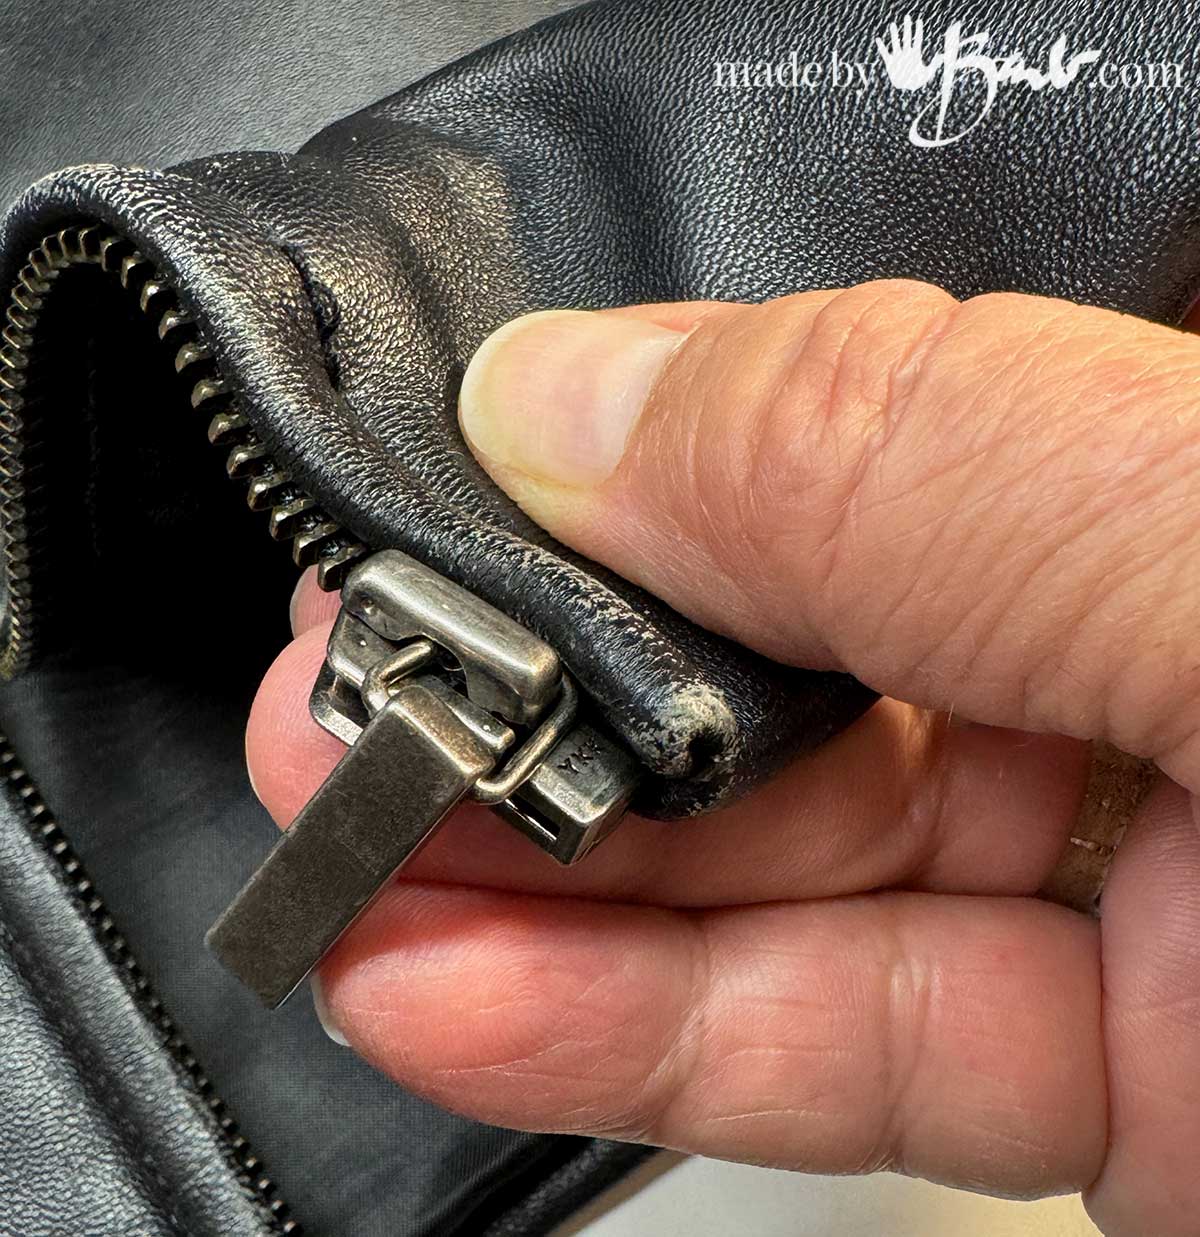
I’ve seen so many purses end up being thrown out or donated only because they had a bit of wear. Most often it isn’t the functions like zipper or buckles but just the areas that get worn. I hate to see that especially since an animal has lost it’s life for it!
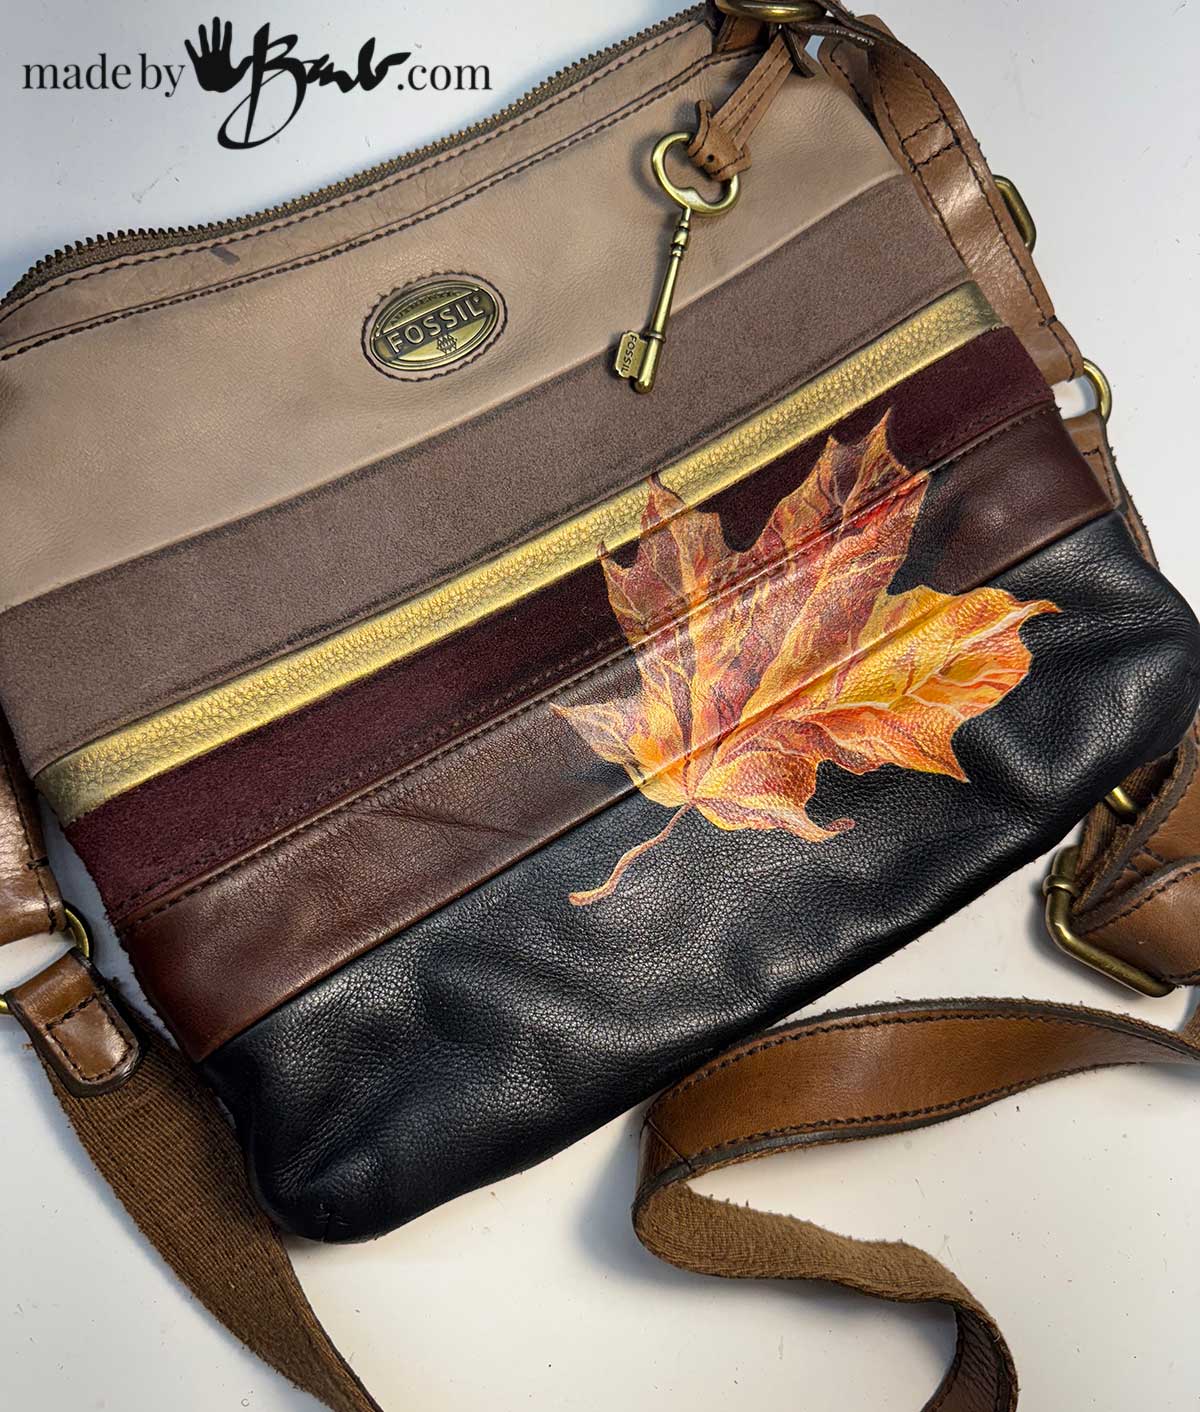
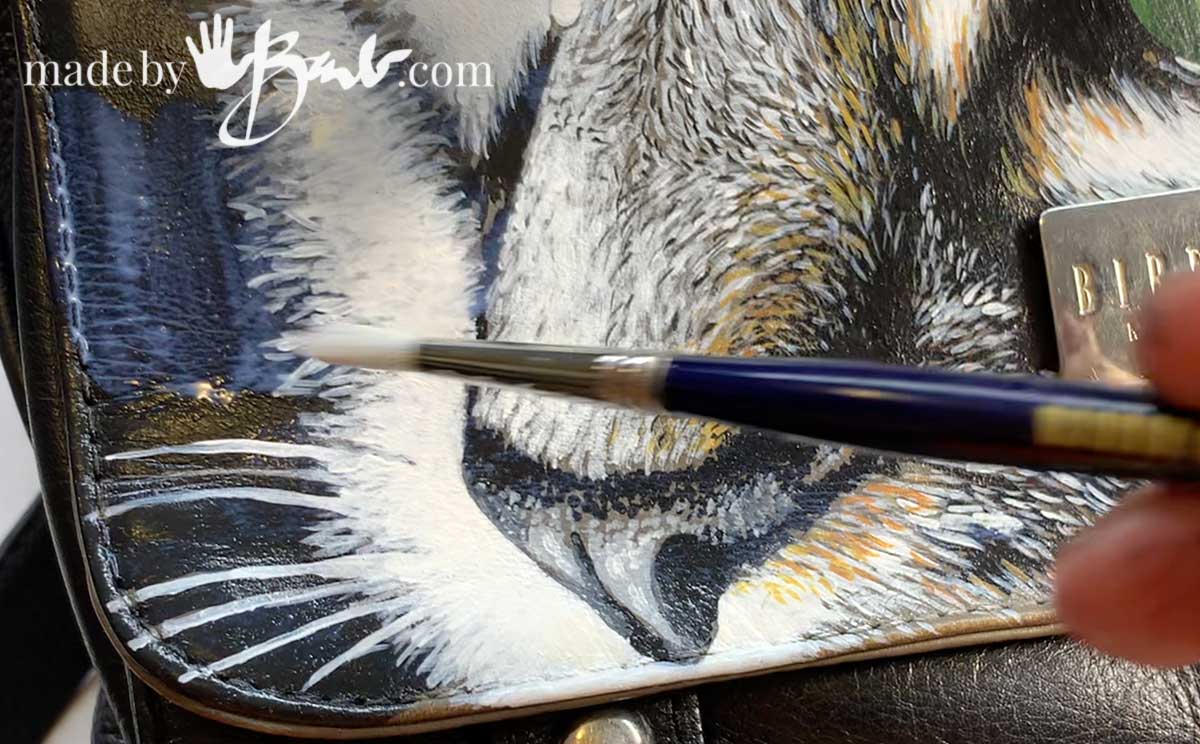
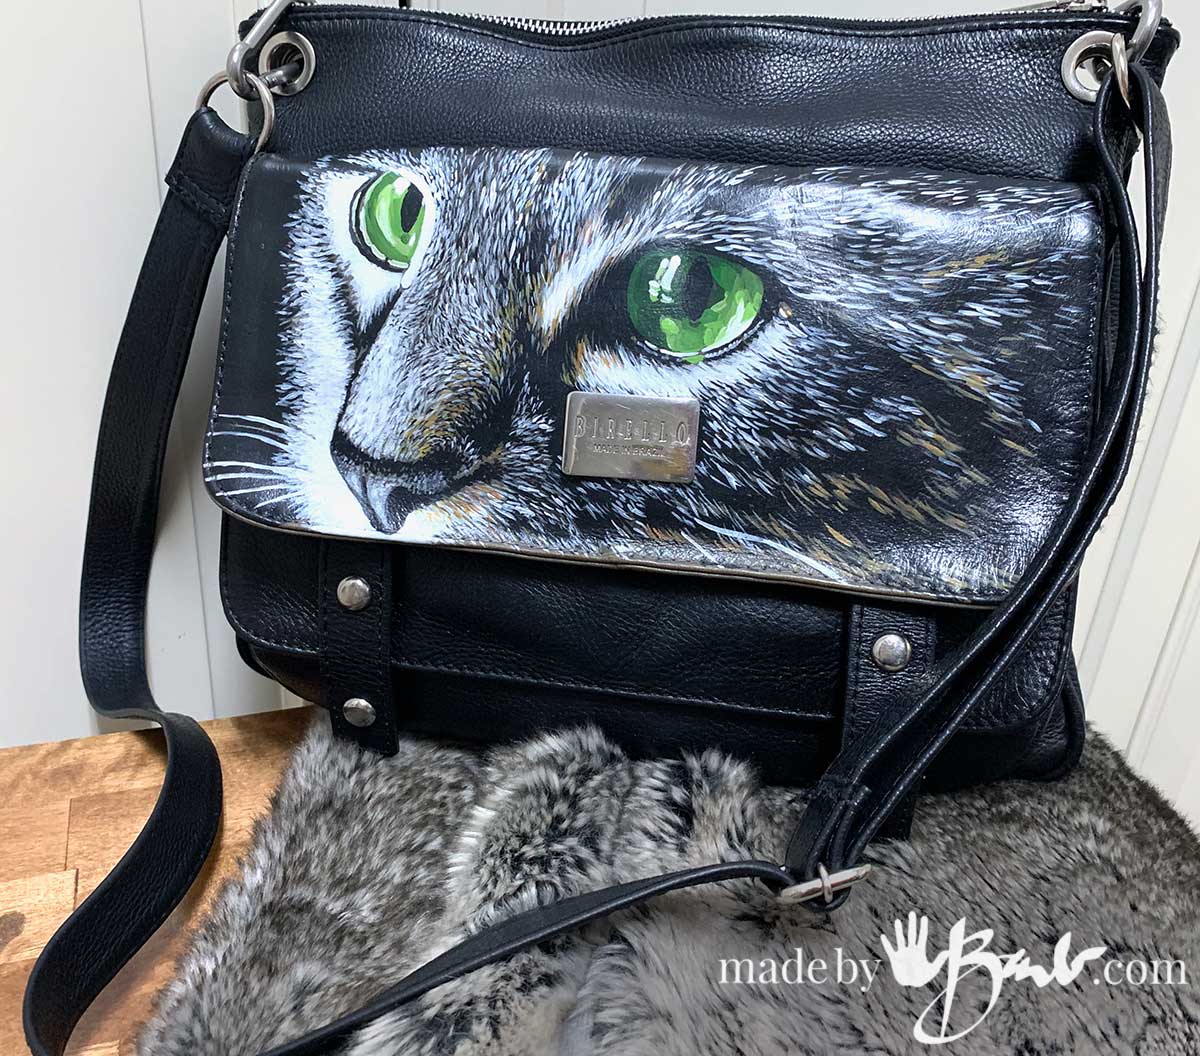
Why not add some ‘art’ as well as fixing any of the worn areas?! Angelus also makes metallic paints!
I May have Inspired you!
Perhaps after fixing the edges you love the purse so much that you add some art! Angelus paint is perfect to breathe new life into an old bag.
I am going to start a new venture of Repurposing Purses; Re-pursed! What do you think? Let me know what you’d like to have on the accessories that you carry?
Thanks for this great article! I will sure put these tips to good use!
Awesome!
Great article and i will try it on a favourite handbag which has a wear mark. I have been using black liquid polish but have to repeat it quite often so will try the paint. Thank you.
That liquid polish could possibly transfer to clothes so I’d be cautious. If the paint does not absorb into the wear area it may have been somewhat ‘finished’ from the polish. If so it may need top be cleaned well first. If it’s black, it is quite forgiving, test an area first. Good luck!
Hi Barb, what is your fix for ink on leather. I’ve got a light tan leather purse that I accidentally got an ink pen mark on it. Any suggestions? Thanks Nina
There are a few factors that will impact how to get it out. Some leathers have a pretty strong top coat (best scenario) so using something that has alcohol in it can work. (hand sanitizer, hairspray, rubbing alcohol) Use a small q-tip to test a small spot. Some leathers are quite absorbent so you may discolouring and the ink may have also been absorbed. If you wet the leather and it turns dark it likely has minimal finish. I did make alcohol ink from old markers so I know how it breaks ink down. Sometimes the colour may be rubbed off by the alcohol so look at the cloth/q-tip to see. I wish there was a always-works answer, but sadly no. Good luck!
How about the heavy scratches?
First make sure it is actually a scratch, not an indent from some type of compression or crease. An indent could be fixed with a slight amount of heat applied over a damp cloth to relax the leather again to ‘bounce’ back to it’s natural state. Similarly wood dents can be fixed (worked for me on a step) The damage type of scratch would need to be filled in some way. The Angelus Paint could be applied very carefully into the scratch ‘valley’, bit by bit until there less depth showing. Perhaps use toothpick tip to apply in just crack. Once not so visible you could feather out some of the paint with surrounding area. It would all depend on how meticulous yuou are but probably worth the effort! ‘Hope that helps!