
Tips and Tricks for Needle Felting Realistic Pictures – Creating a Cat Portrait

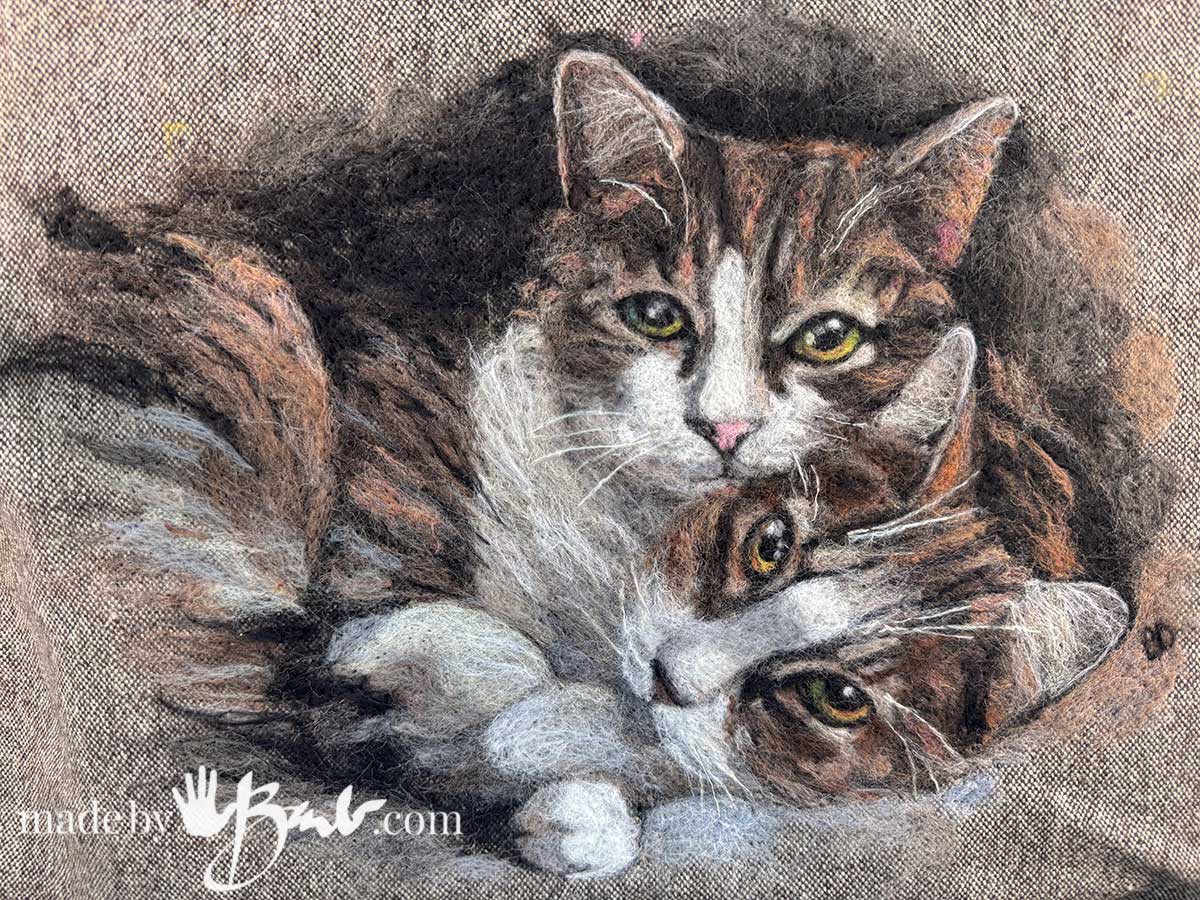
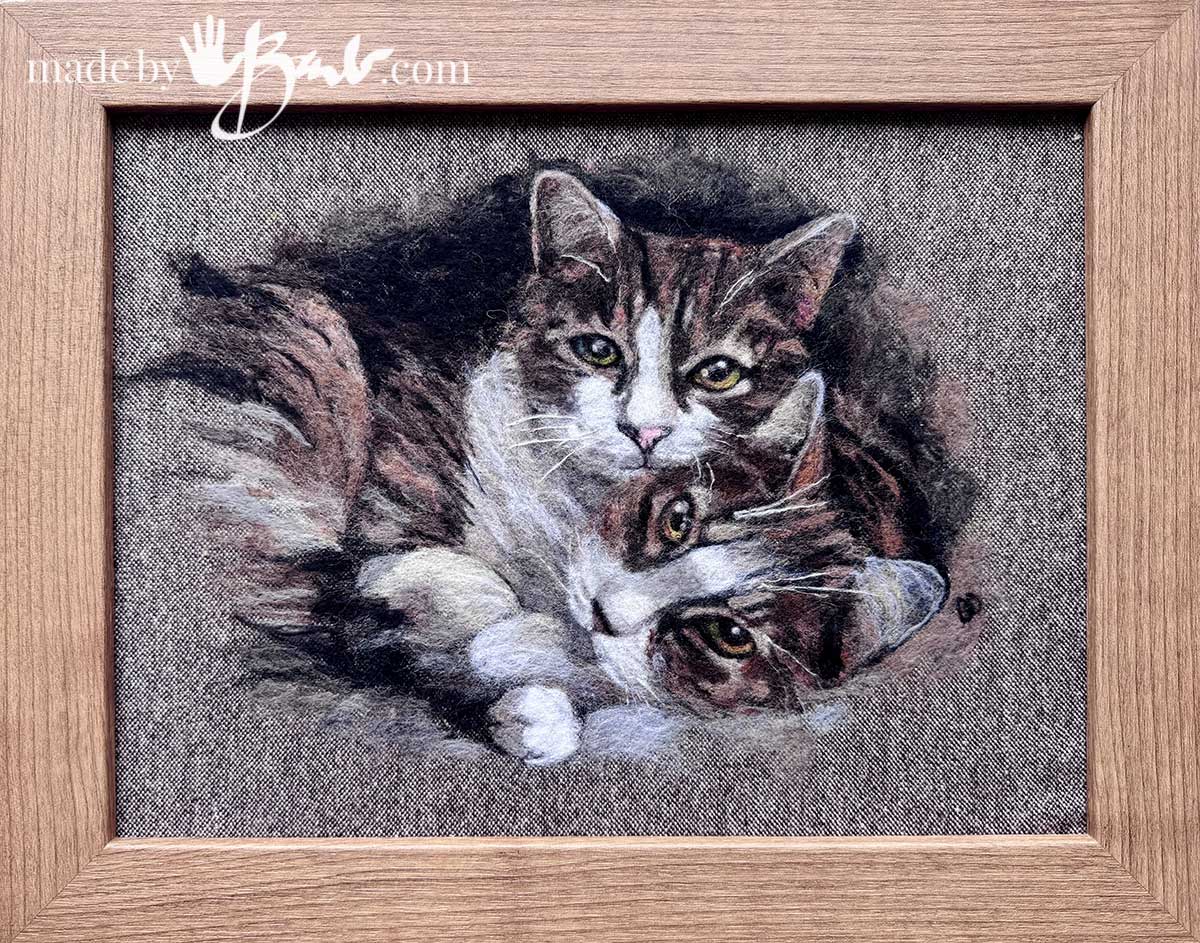
Painting with wool has so many great characteristics. After a losing a fur-baby recentIy I created a ‘Wool painting’ as a cherished memorial. A cat portrait is a wonderful project for learning this technique because cats have so many interesting details: expressive eyes, soft fur, delicate noses, and subtle changes in colour.
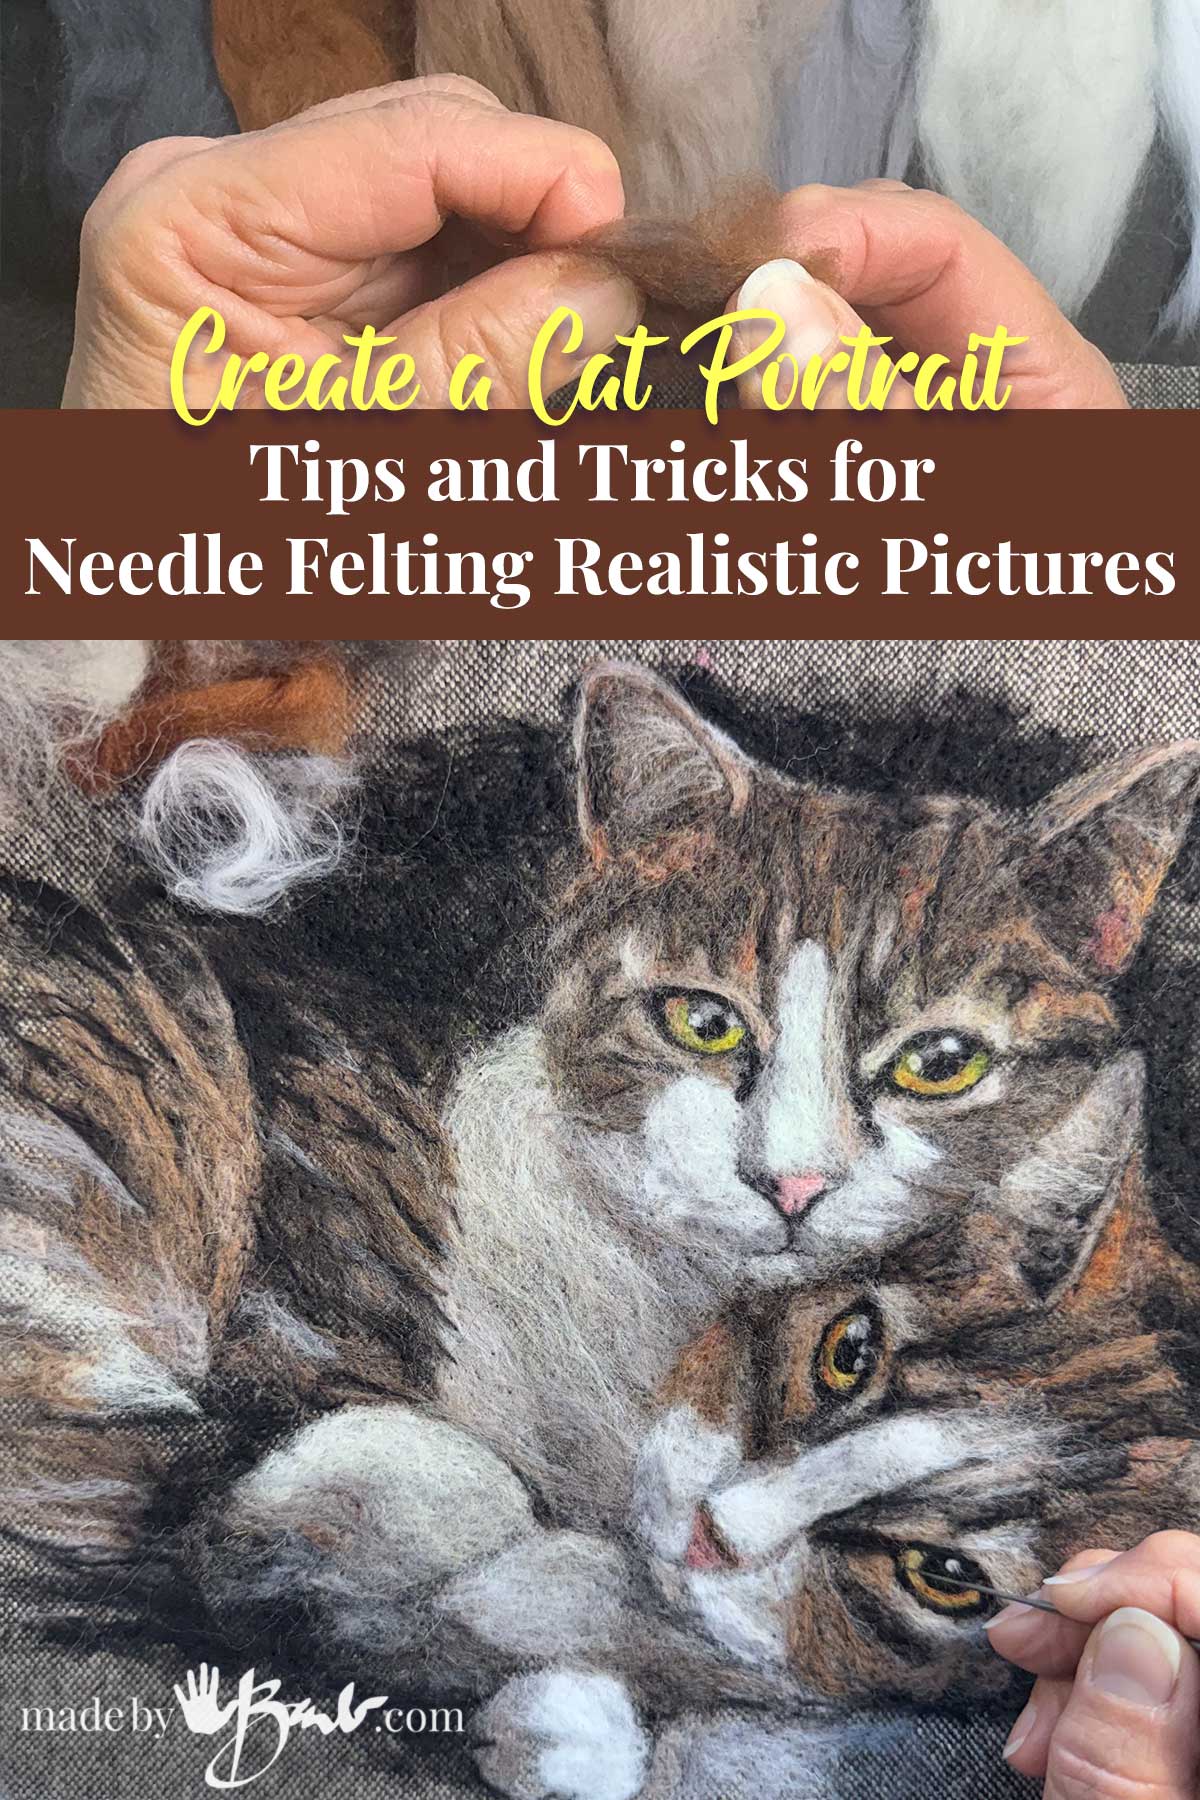
Creating a realistic picture with wool and a felting needle is a little different from making a three-dimensional needle-felted animal .
What You Need
You don’t need a huge collection of supplies to get started.
- Wool roving or carded wool in several colours
- Felting mat or dense foam
- Base Fabric: Use 100% wool felt or heavy linen/canvas pulled taut in an embroidery hoop. Synthetic craft felt stretches under heavy felting, skewing your proportions.
- Small sharp scissors
- Tweezers
- Reference photograph
Needle Felting Gauges
- 36 or 38 Gauge (Coarse/Medium): Use only at the start to tack down background blocks.
- 40 or 42 Gauge (Fine/Extra-Fine): Your main tools. Fine needles attach delicate strands without leaving visible puncture holes.
- Twisted/Spiral Needles: Highly recommended for smooth surface blending and hiding needle marks.
Wool
Carded Wool Batt vs. Roving: Use carded batt for base layers and background blending (the fibers lie in all directions, making seamless shading easier). Use roving or combed top for fine details like fur, whiskers, and sharp contours (the fibers lie parallel).
Hand-Blend Your Colours: Never rely on wool straight out of the bag. Pull small wisps of 2 to 3 different shades—like dark brown, ochre, and off-white—and roll them between your fingers to blend. This creates the natural color variation found in fur, feathers, and skin.
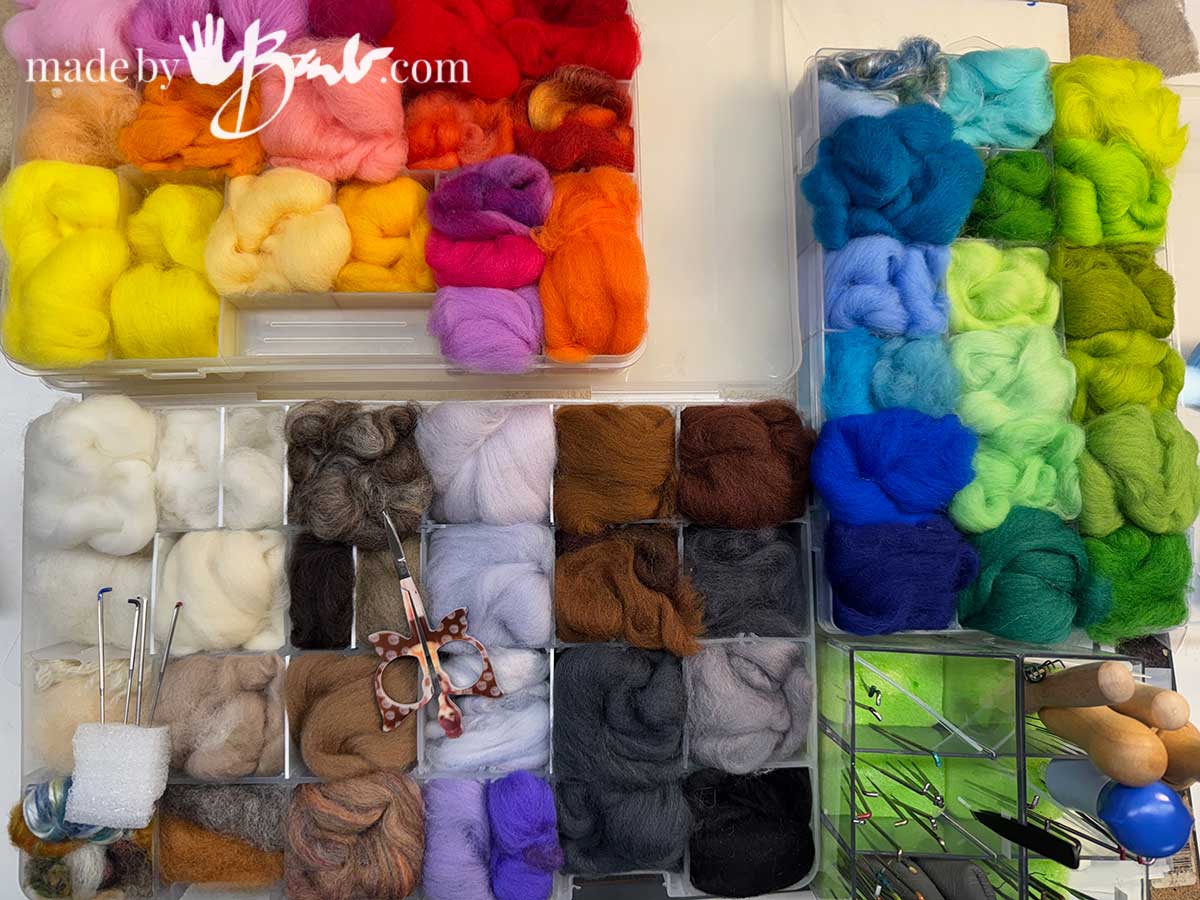
For a realistic portrait, several shades of the same colour are much more useful than one perfect colour.
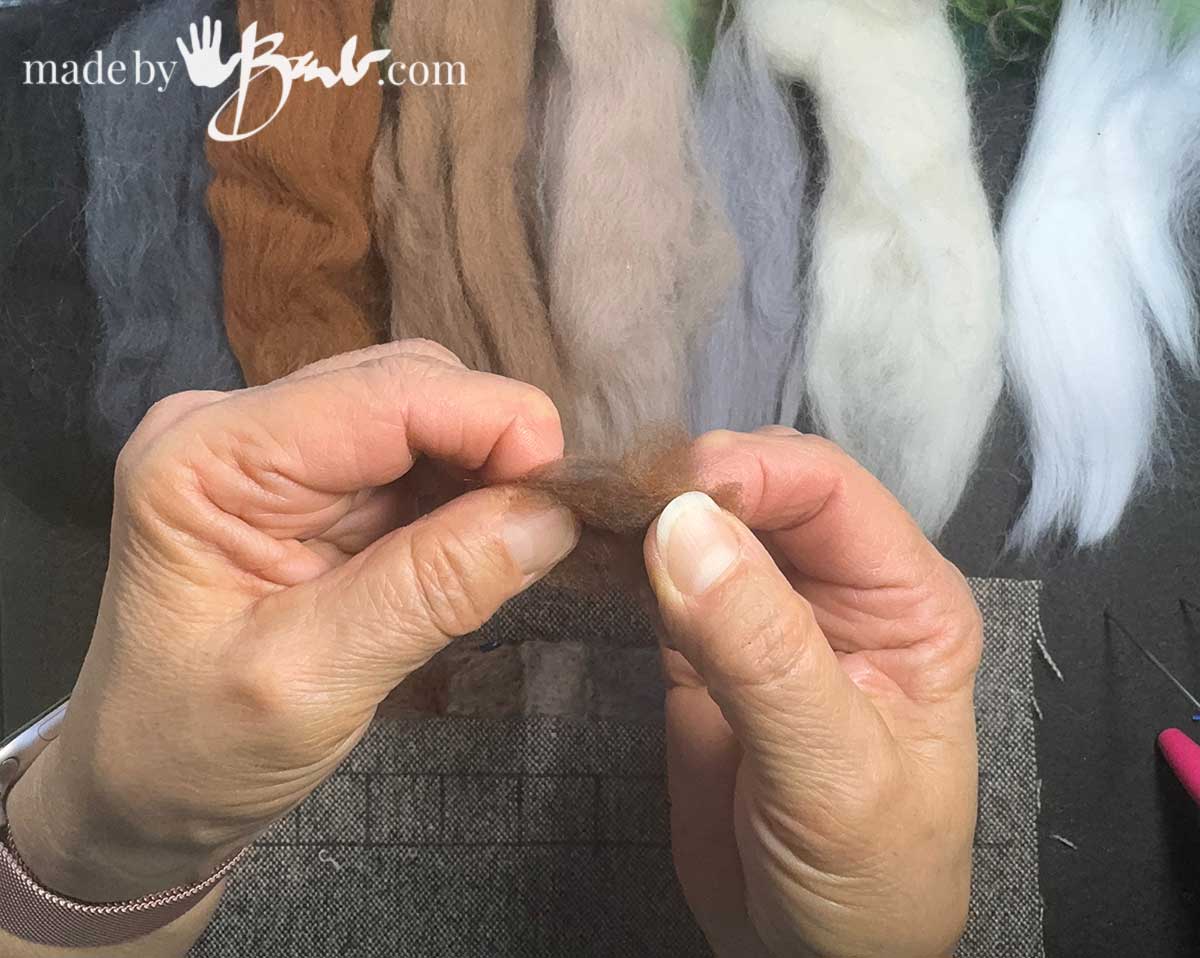
For example, a grey cat may need pale grey, medium grey, charcoal, warm grey, almost white and even a little brown.
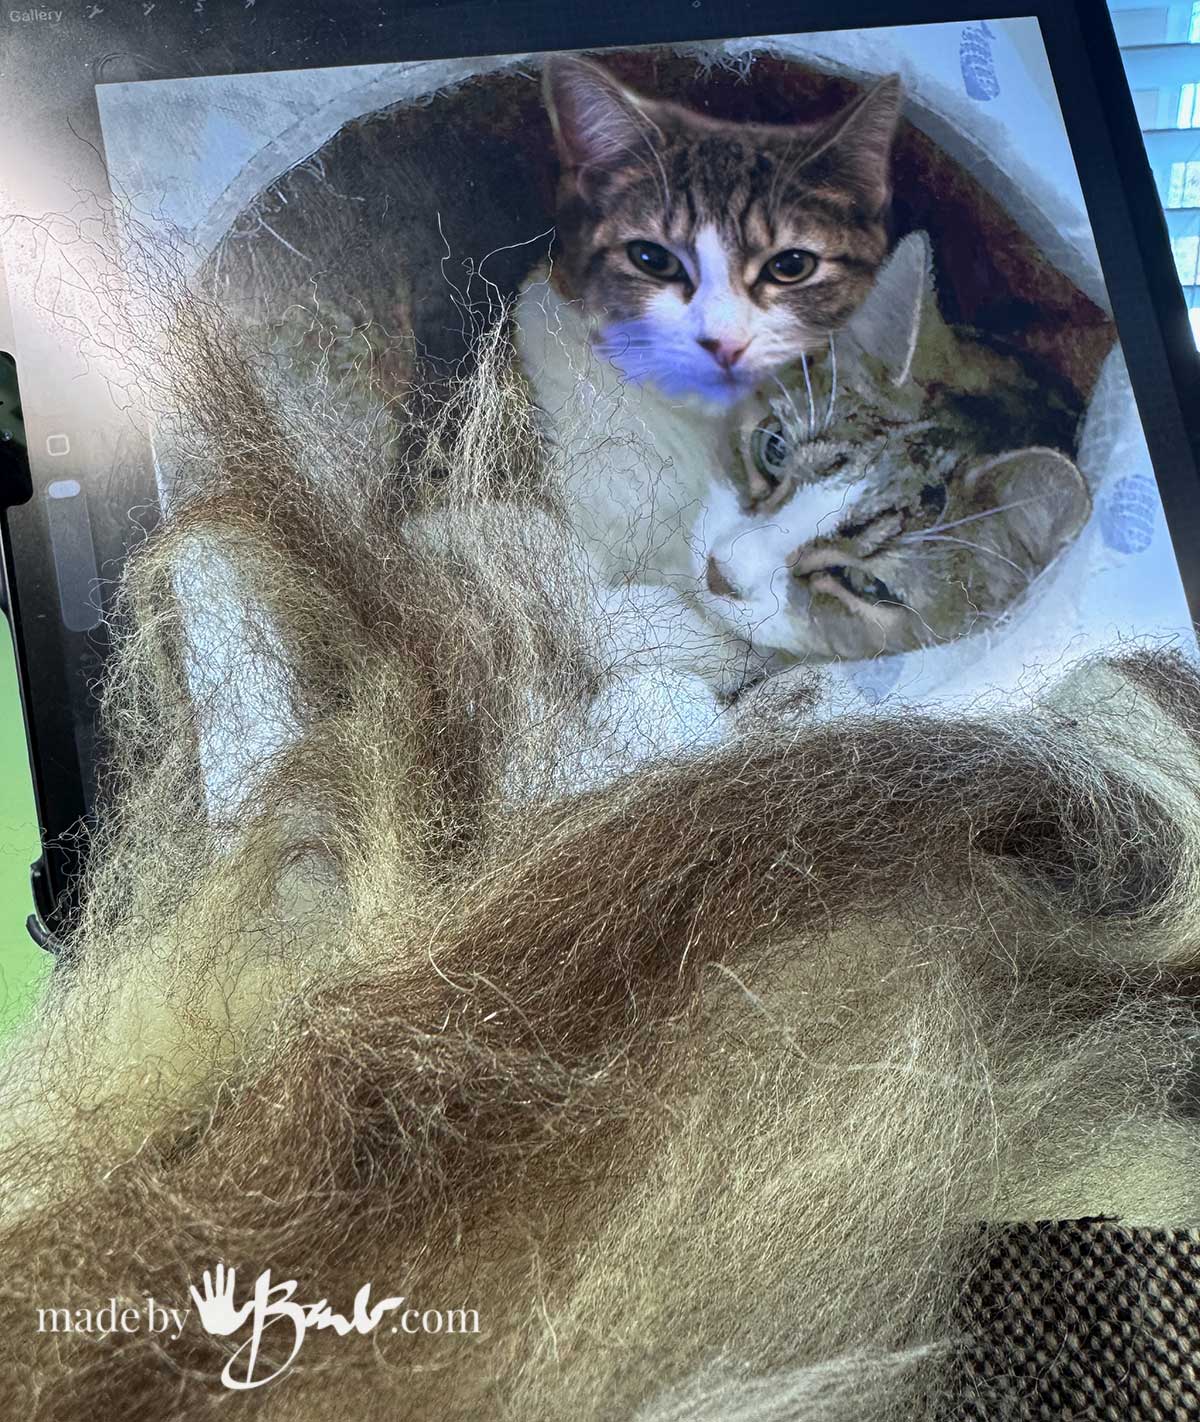
Start With a Good Photograph
This reference photograph is probably the most important part of the project. I did have to adjust and make some changes before I was happy with the design and the values (light and dark) I like photographs where the cat is looking toward the camera because the eyes become the focal point of the portrait.
Choose a photograph where you can clearly see:
- The shape of the head
- The position and size of the eyes
- The nose
- The direction of the fur
- The shadows around the face
- Colour variations in the coat
Don’t worry about copying every detail
Your goal isn’t to reproduce the photograph pixel-for-pixel. Instead, look at the photograph as a collection of light and dark shapes. Squint at the photograph. What areas remain visible? Those large shapes are what you should establish first. The trick is not to try to felt every individual hair. Instead, think about the shapes, shadows, colours and direction of the fur. With a little patience, layers of wool can create an amazingly realistic image.
Transfer the Image to Your Background
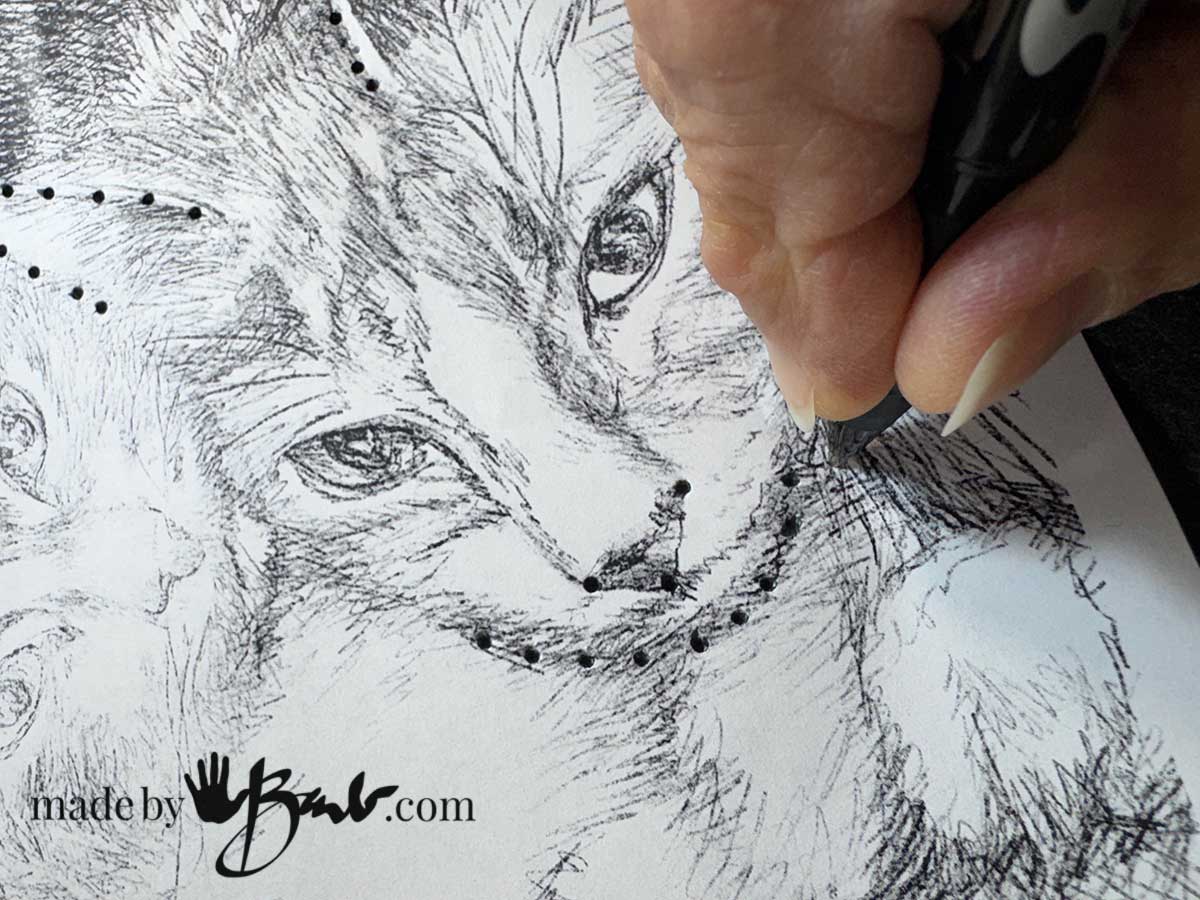
Before adding wool, lightly transfer the main shapes of the cat onto your background. At this point you don’t need to draw every strand of fur. Make sure to transfer the major shapes as one of the biggest mistakes in portrait work is getting the proportions slightly wrong at the beginning.
There are few ways to transfer but I am using the ‘hole poke’ method. Poke a dot through the printed image onto the background. Make sure to tape your drawing/image in place to avoid shifting.
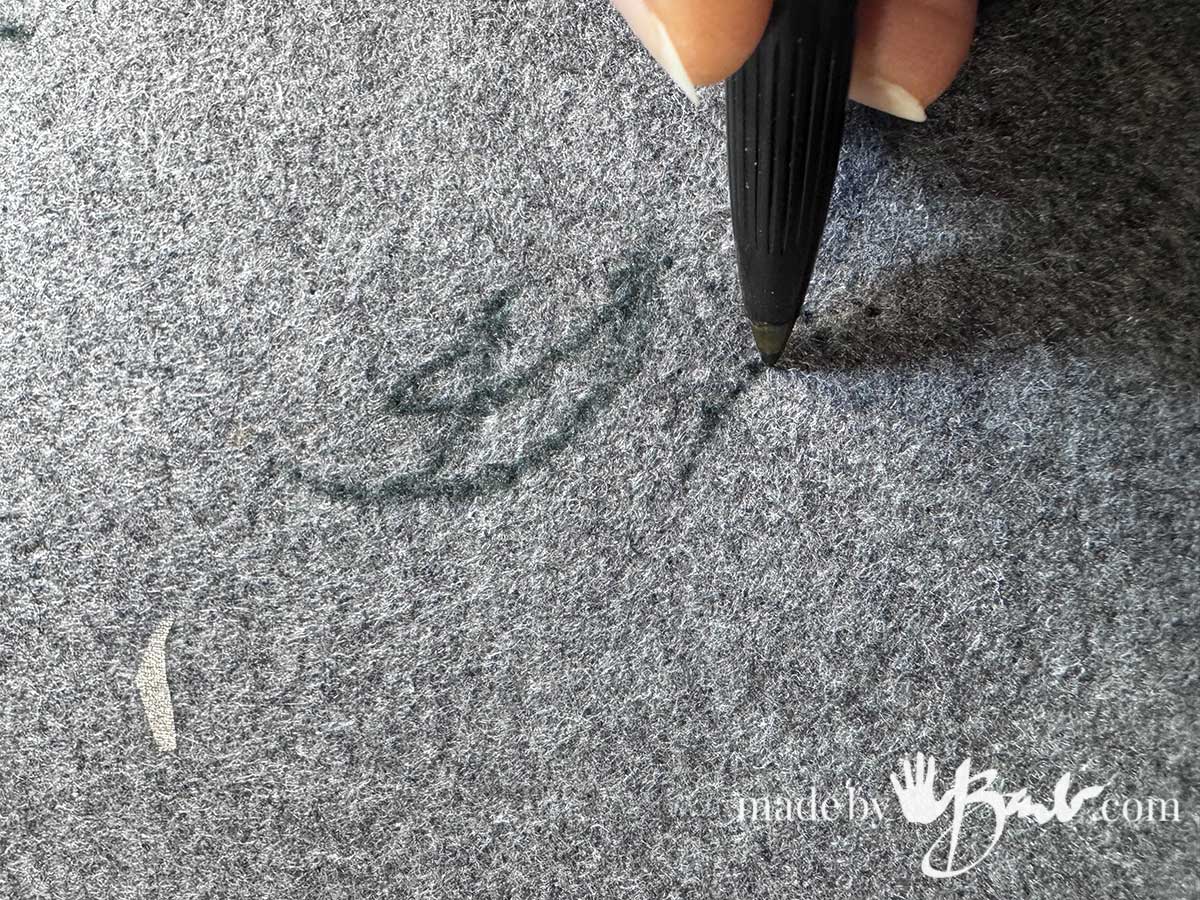
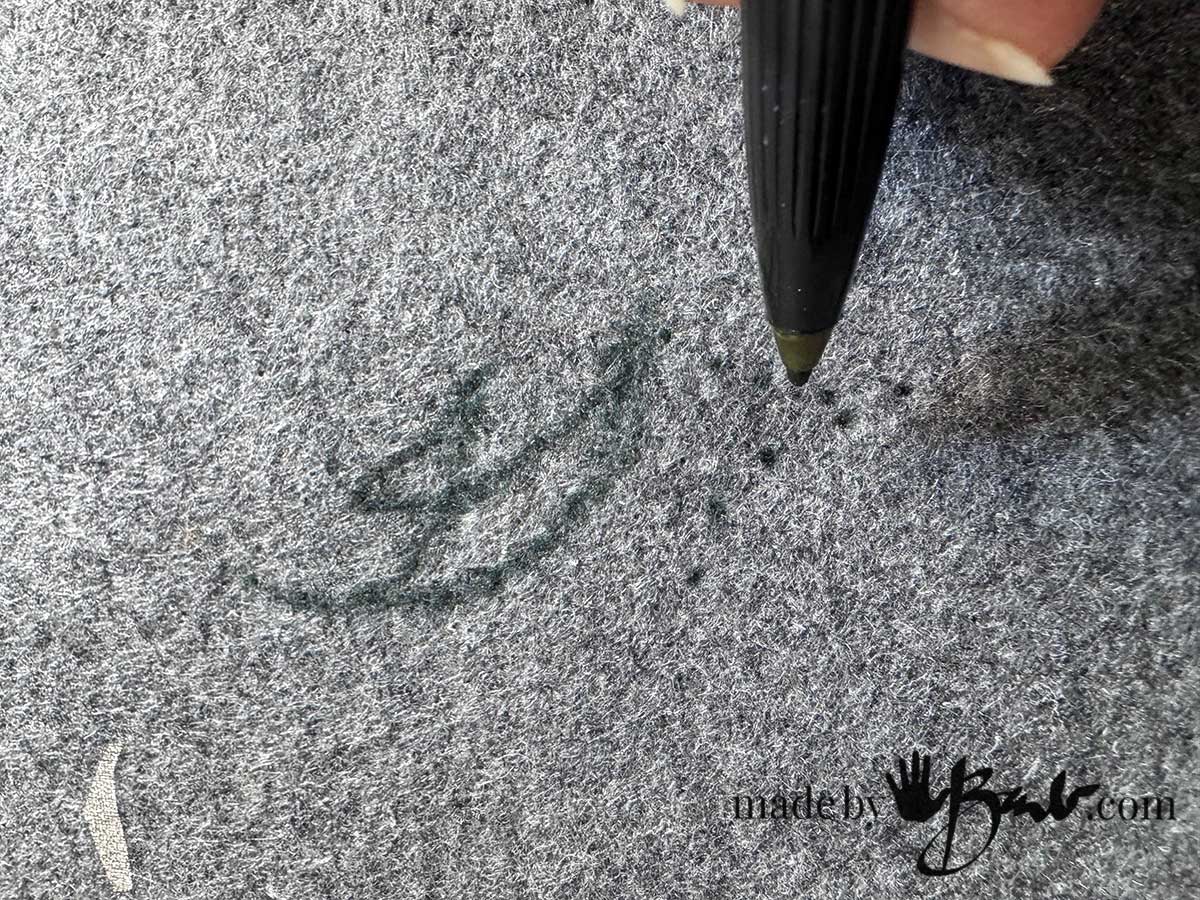
Lift the sheet and connect the dots. I look for the major shapes and proportions.
Pay special attention to the eyes
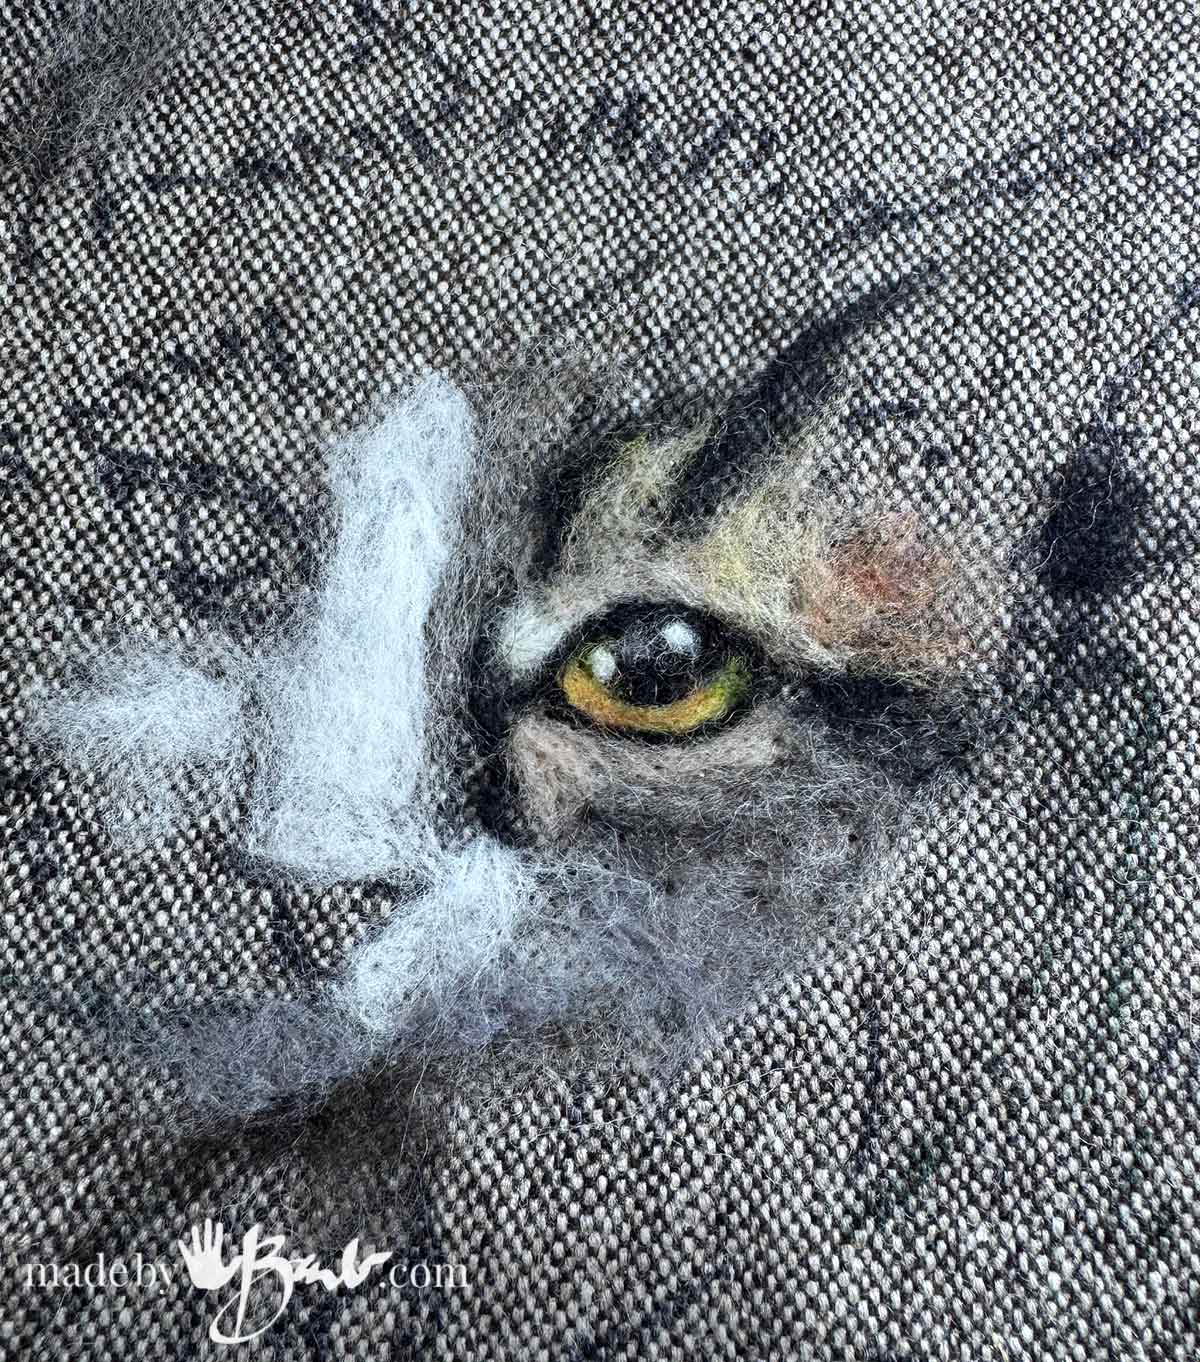
The eyes are a great measuring tool. Instead of guessing where the eyes belong, use them to establish the proportions of the entire face. Mark the position of both eyes before beginning to felt heavily. If the eyes are too close together, too far apart, too high or too low, the portrait can look “not quite right.
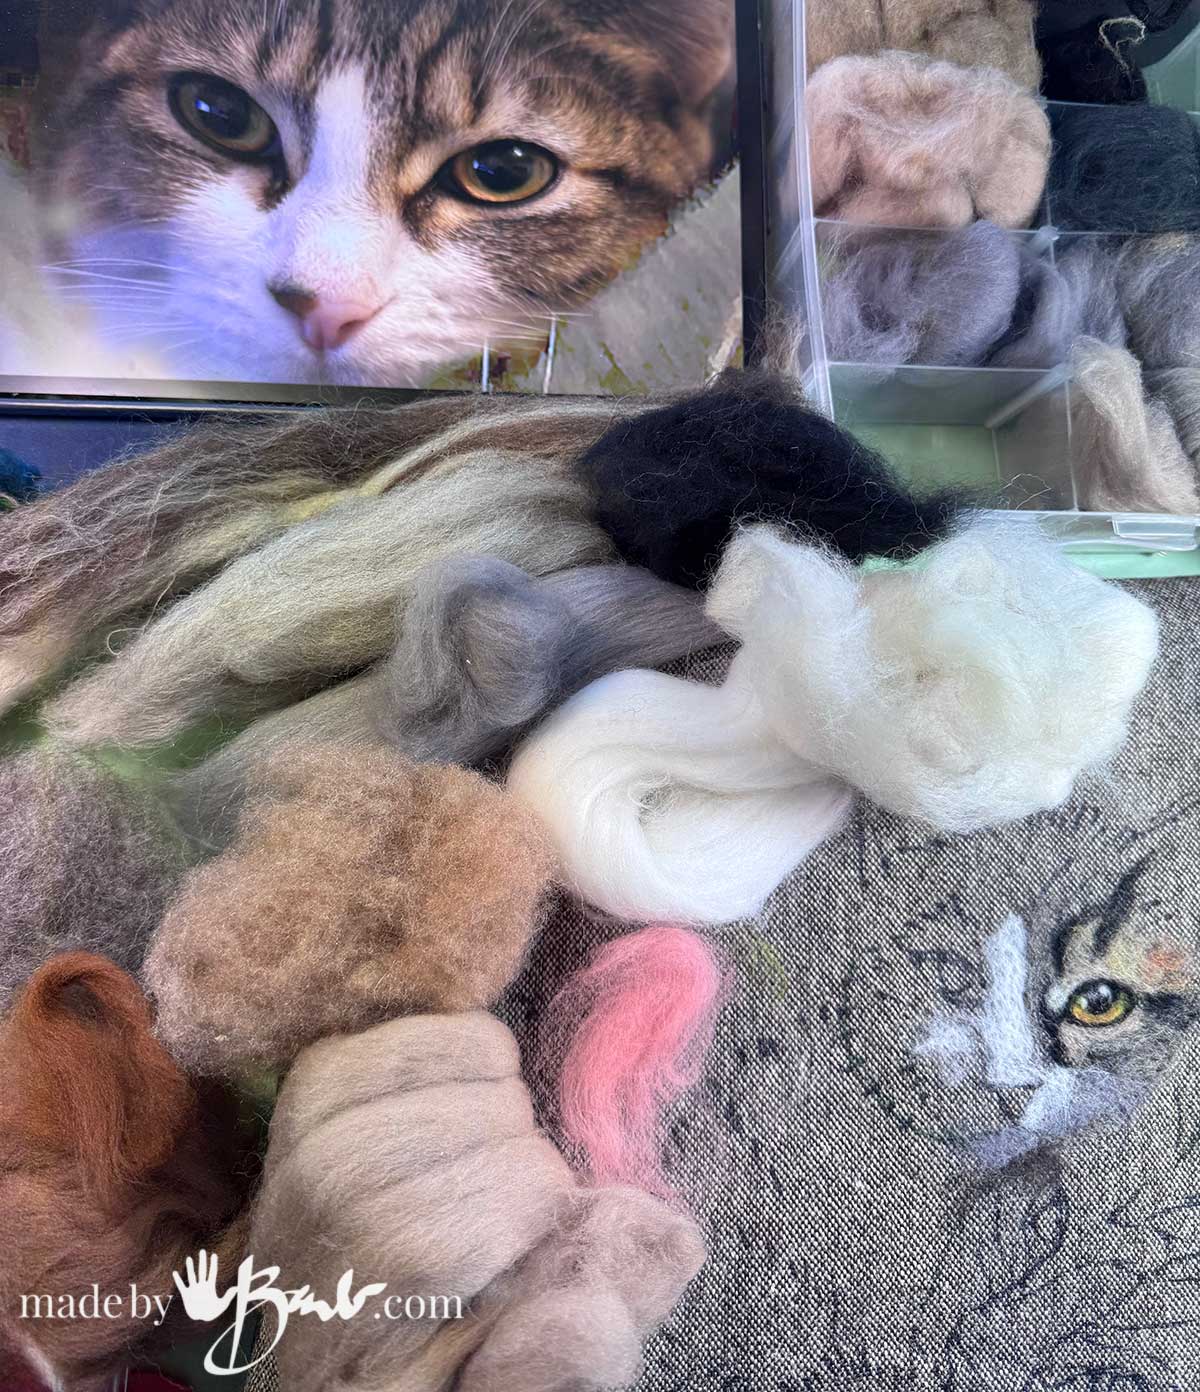
Build the Portrait in Layers
Since I have practice with painting I think of the wool as paint. I don’t try to get the final colour in the first layer, building with thin layers. Needle felt as you gradually build up colour (see video for full process)
- A medium base colour
- Lighter areas around the cheeks
- Darker areas around the forehead
- Dark stripes
- Additional fine fibres to suggest individual hairs
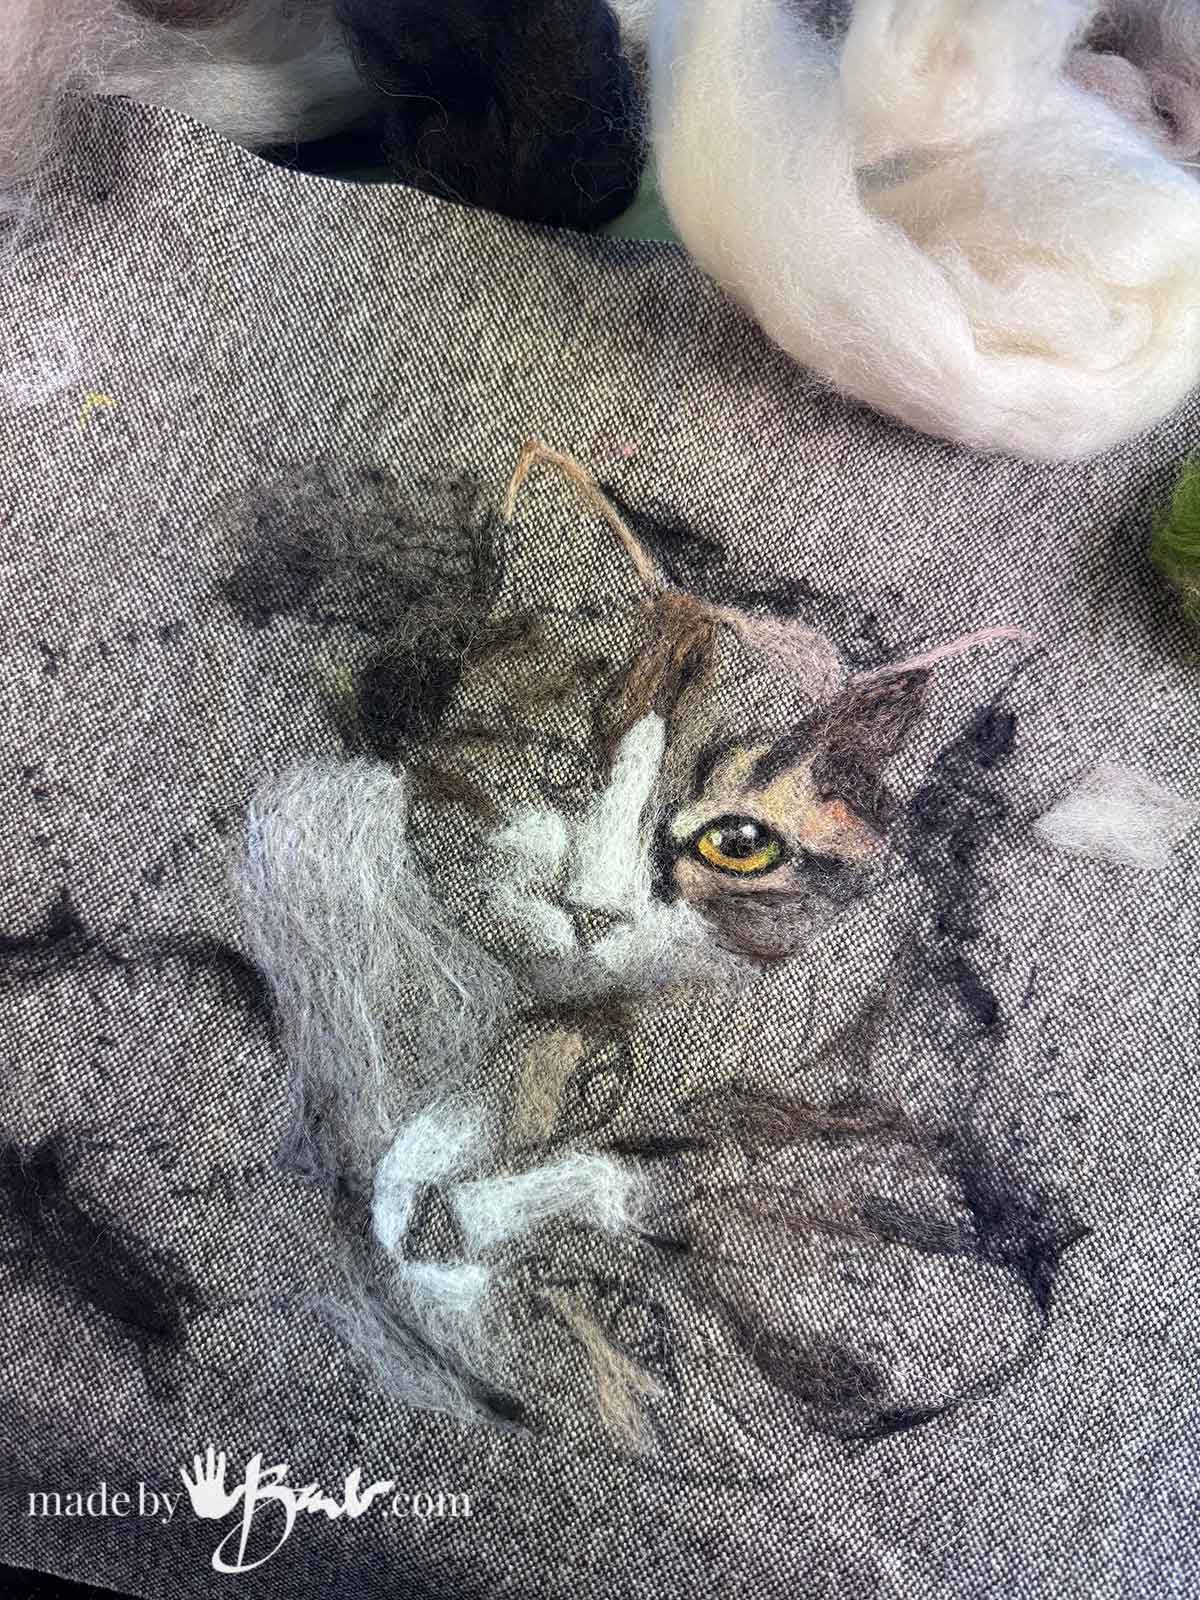
This layering creates much more depth than trying to make each area from a single colour.
Don’t Over-Felt Too Early
This is one of my favourite tips. Don’t felt everything completely flat at the beginning. Leave some of the wool slightly loose while you work out the colour and placement.
If you firmly felt an area too soon, it becomes much harder to make corrections. I prefer to work progressively. Step back from your work frequently. A portrait can look completely different from a few inches away compared with looking at it from arm’s length.
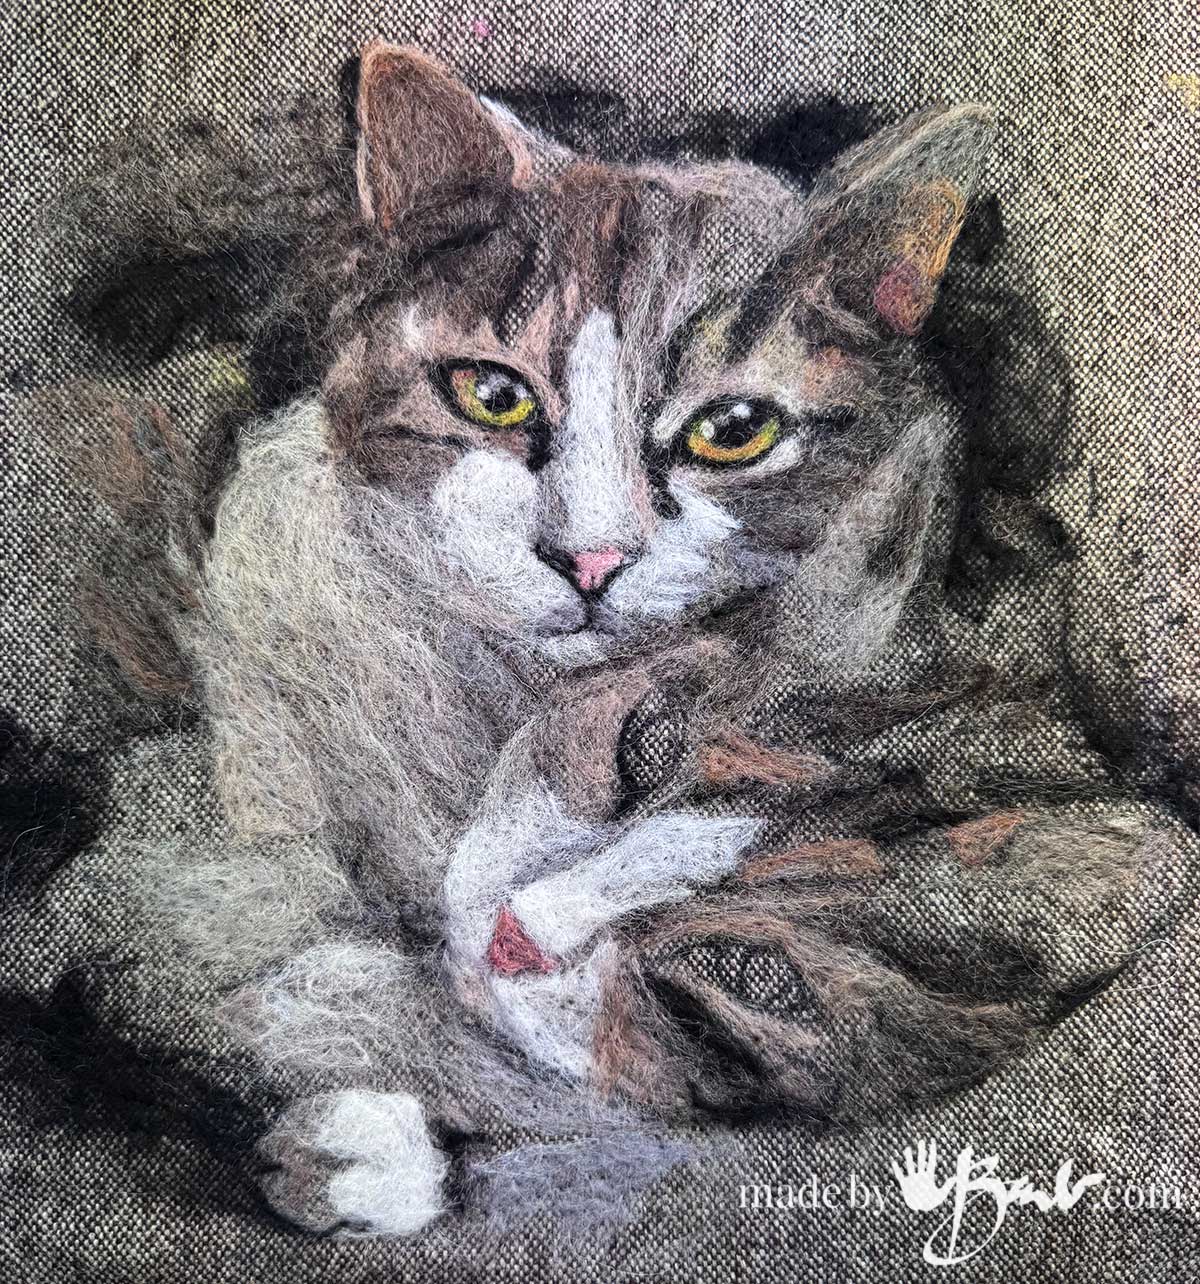
Blend Colours Like a Painter
Real fur is rarely one solid colour.
Instead of placing a block of one colour, mix small amounts of neighbouring colours.
For example, if the cat has cream-coloured fur, try mixing:
- Cream
- Pale beige
- Warm white
- A little grey
- A tiny amount of brown
Pull the fibres apart and combine small wisps together before felting them. This creates the subtle colour variations that make wool look more like real fur.
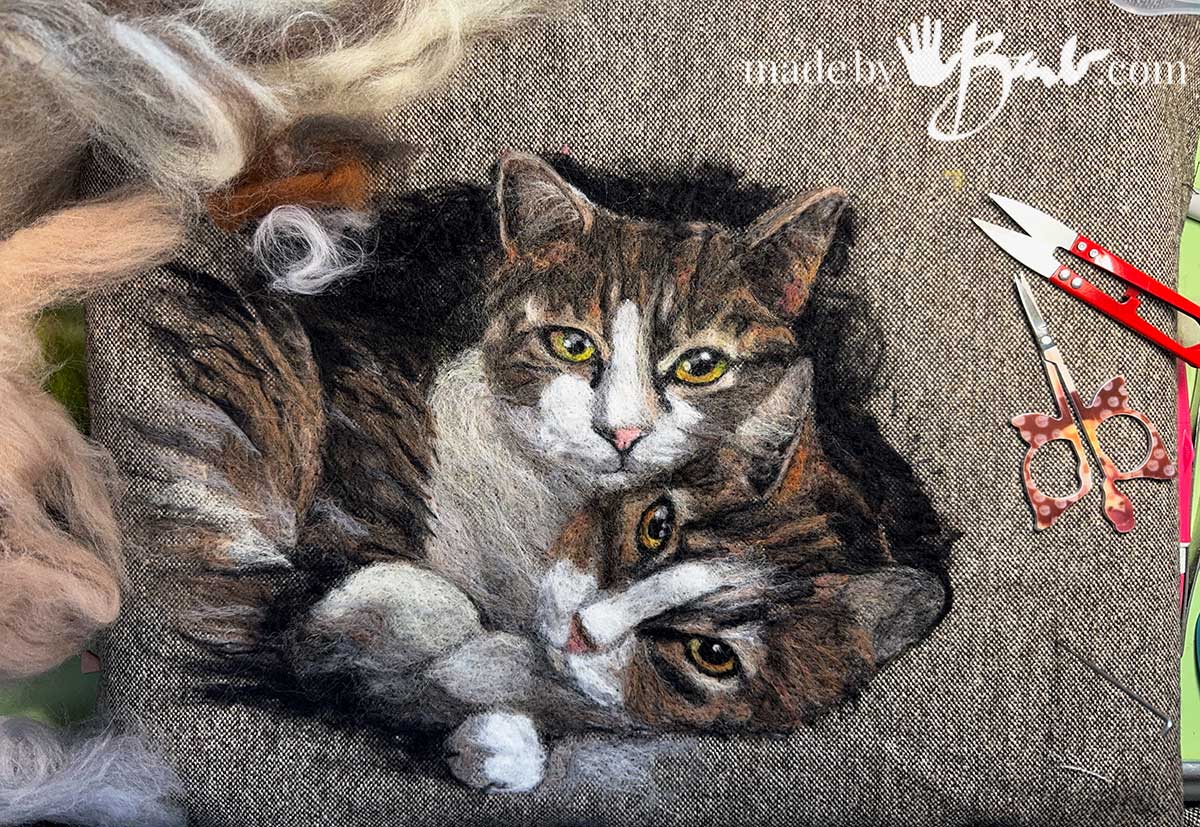
A useful trick
Don’t completely mix the colours together. You want some individual fibres to remain visible. This creates the appearance of naturally coloured fur rather than a flat painted surface.
See video below for entire process
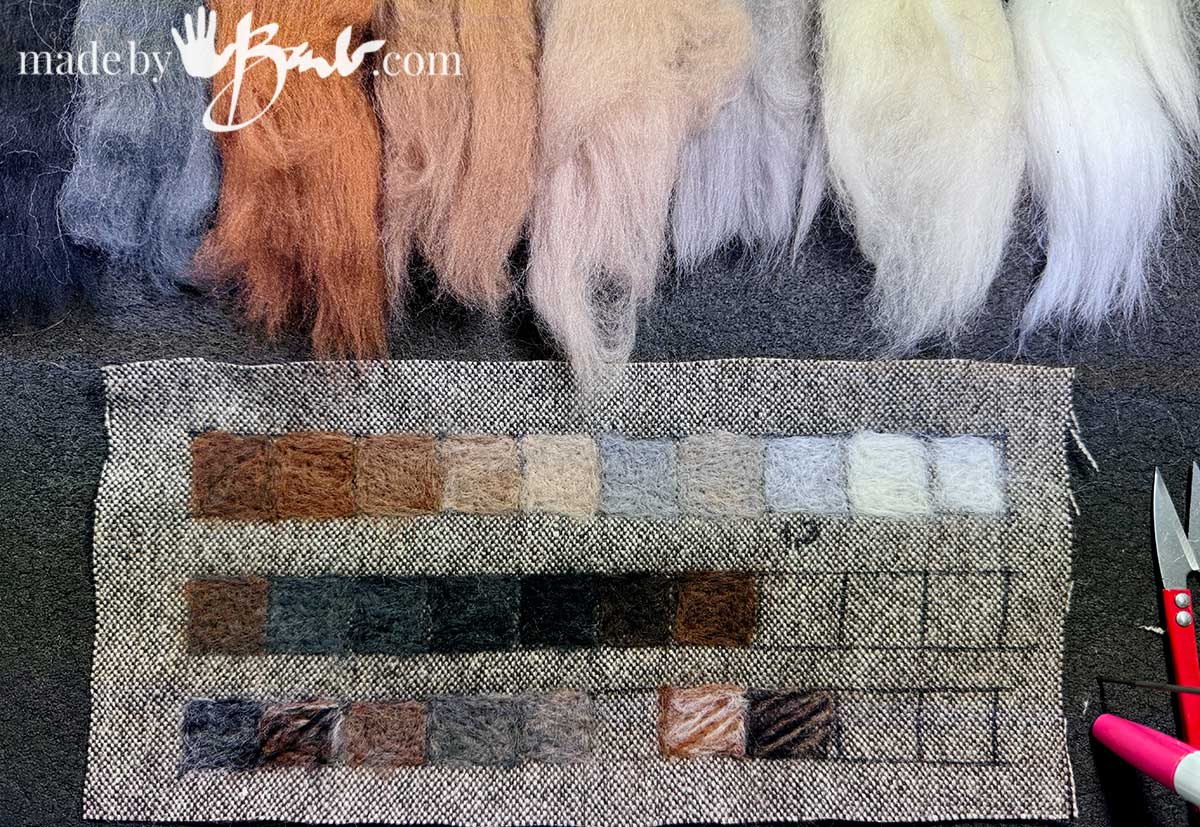
If you are not sure yet, make a small test run with a gradient scale to see how you can mix the colours that you have.
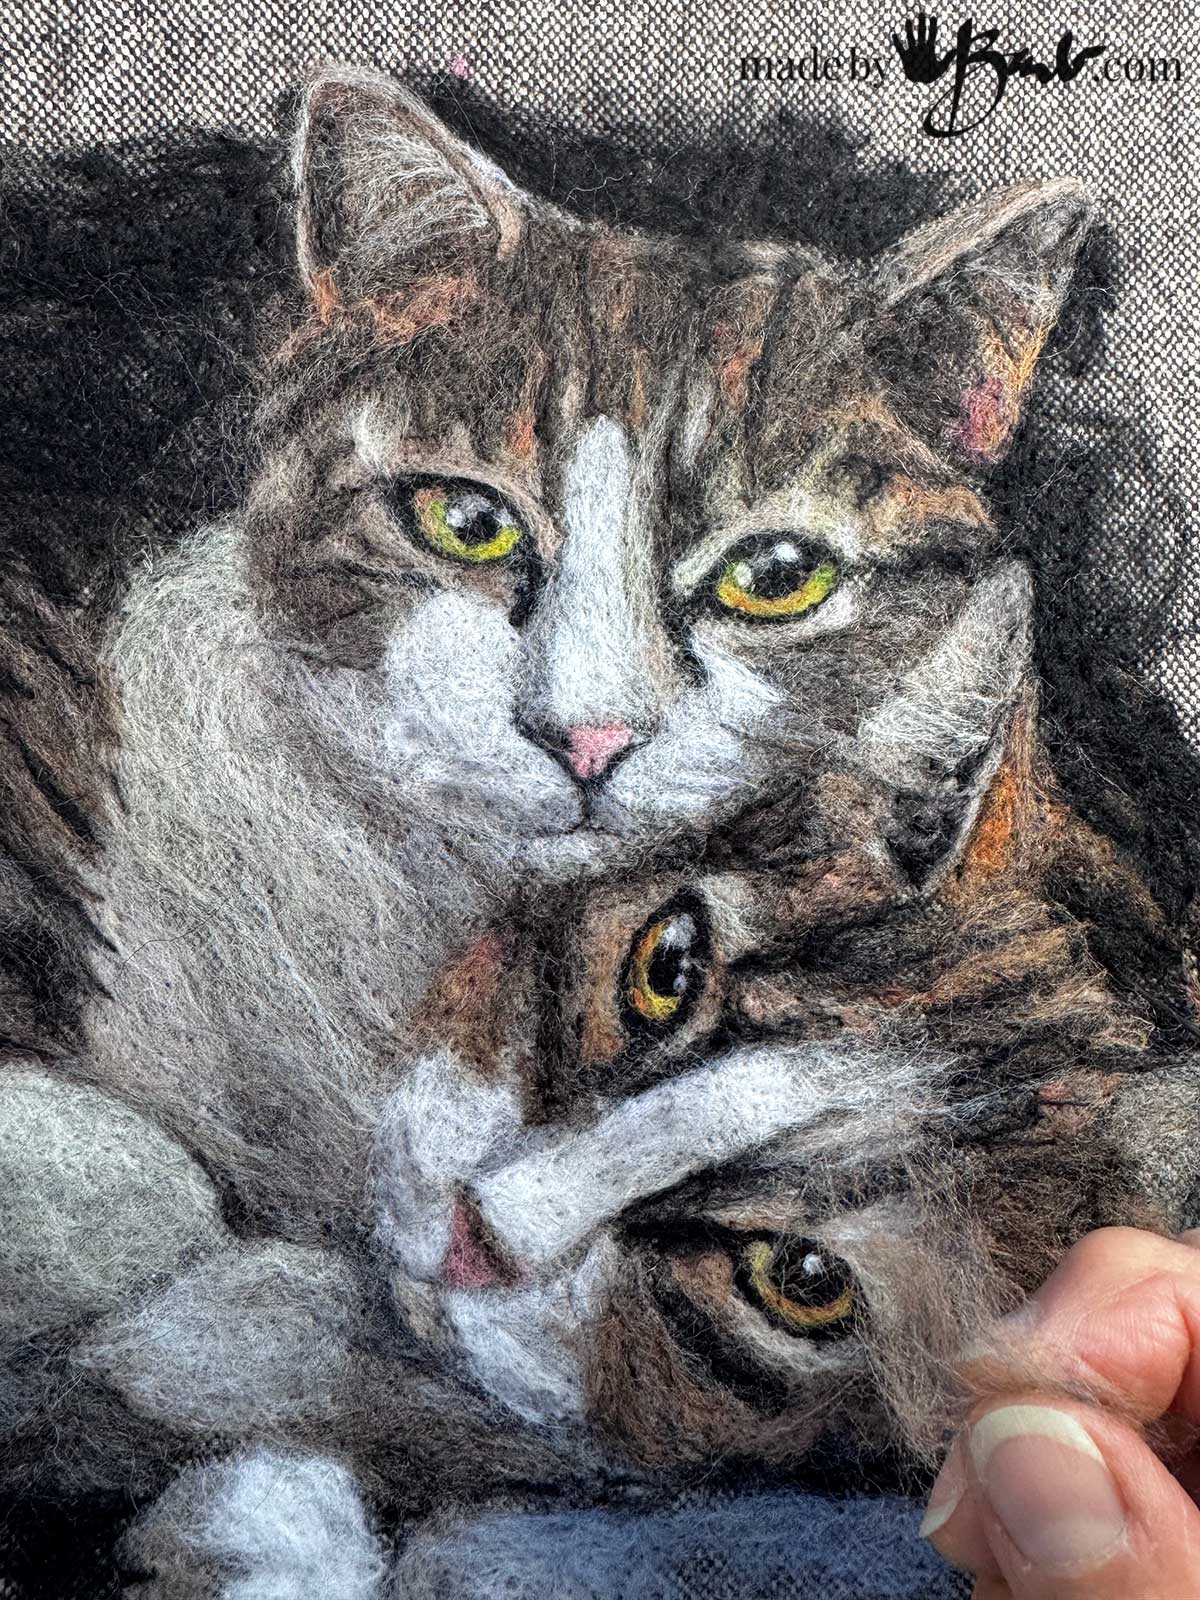
Follow the Direction of the Fur
This is one of the most important techniques for creating realism is following the direction of your wool. Study your photograph carefully. On a cat’s face, the fur doesn’t all point in the same direction. Around the nose, cheeks, forehead and ears, the fibres follow different patterns. Place your wool in the same general direction as the fur.
You don’t need to reproduce every hair. Following the general direction is enough to create the illusion of fur.
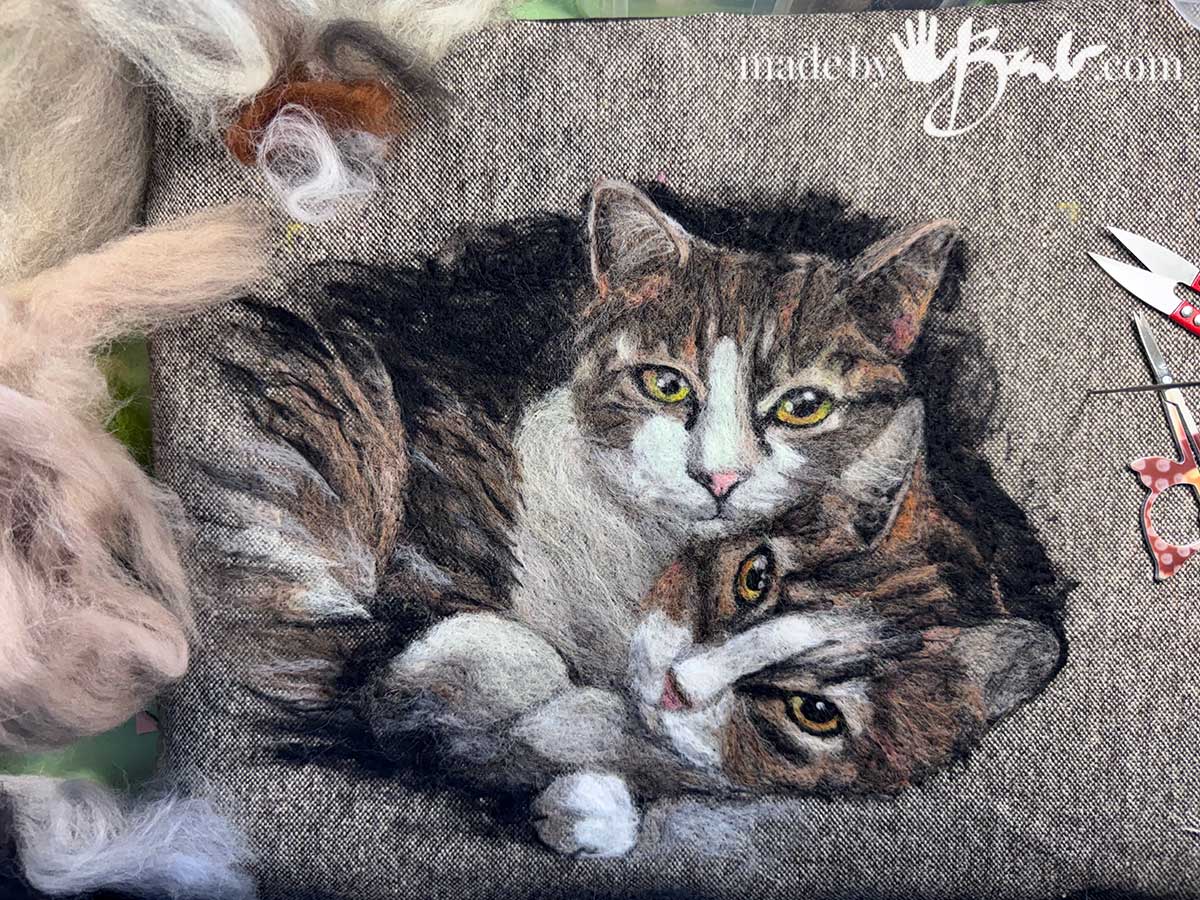
Create Depth With Light and Dark
Don’t be afraid of dark wool but don’t over-use the black! Sometimes areas can have a cool colour like dark purple in the mix to create a shadow. Look carefully at the photograph and identify the deepest shadows. Darker colours can be applied over areas of colour to shade just as you would add a layer of watercolour or oil paint. Try not to think if it as a colouring book where only areas of colour are flat.
Add highlights after areas are somewhat finished to give extra definition.
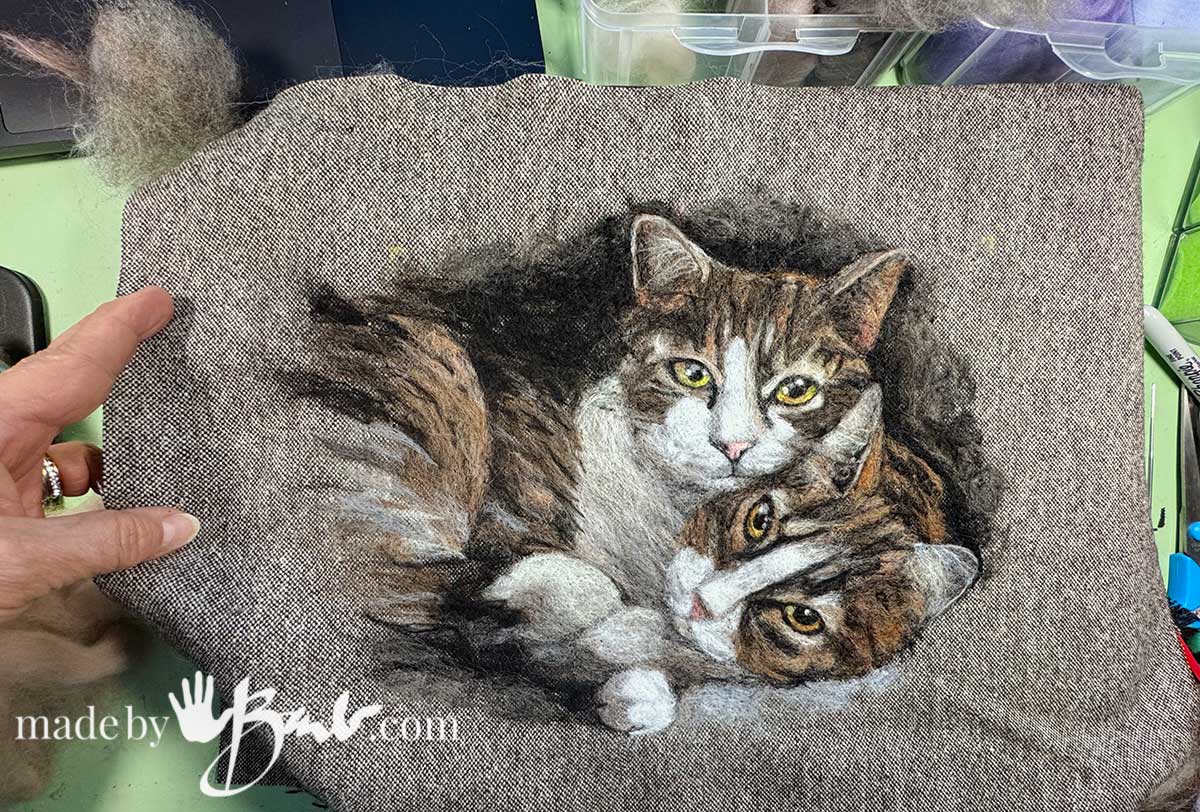
The Eyes Are the Secret to a Realistic Cat Portrait
If you get the eyes right, the entire portrait can suddenly come alive. Take your time here. Look for shadows and darker edges to eyes. A darker ring around the iris can make the eye appear much more dimensional. The eye isn’t simply a coloured circle.
For a cat with green or golden eyes, don’t use just one shade. Blend several colours together. Often the pupil and highlights need extra contrast to make the eyes come alive. Adding the highlights last is best.
A highlight that is too large can make the eye look cartoon-like.
I like to leave this step until almost the very end.
The Nose Needs More Than Pink Wool
A cat’s nose can look deceptively simple. Instead of using one colour, build it from several subtle shades. Pay attention to the darker area around the nostrils and the shadows underneath the nose.
Don’t Forget the Muzzle
One of the easiest ways to make a cat portrait look flat is to treat the muzzle as one flat area. Use slightly different values of wool to create the rounded shape. Add lighter wool to the cheeks and muzzle and darker fibres underneath. Think of it as shading with fibres.
Whiskers: Add Them at the Very End
Whiskers are one of the final details I add. They are delicate, so they can easily get lost or damaged while you’re still working on the portrait. Use very fine fibres or another suitable fine material (thin thread or silk fibre) and place them carefully.
A few carefully placed whiskers can be much more effective than adding dozens.
You can always felt an area more.
It is much harder to undo wool that has been aggressively felted into the background.
Turn the Portrait Upside Down
Another surprisingly effective trick is to turn your work upside down. When you’re looking at the portrait normally, your brain knows you’re looking at a cat. Your brain tends to “correct” things for you. Turning it upside down makes you look at the shapes more objectively.
Don’t Try to Make Every Hair
This is probably the biggest lesson when creating realistic needle-felted pictures. Realism comes from suggestion, not from adding thousands of hairs. The viewer’s brain fills in the details. Your job is to provide enough information for the brain to recognize:
- Texture
- Direction
- Light
- Shadow
- Form
- Colour
A carefully placed handful of fibres can suggest an entire patch of fur.
The Final Test
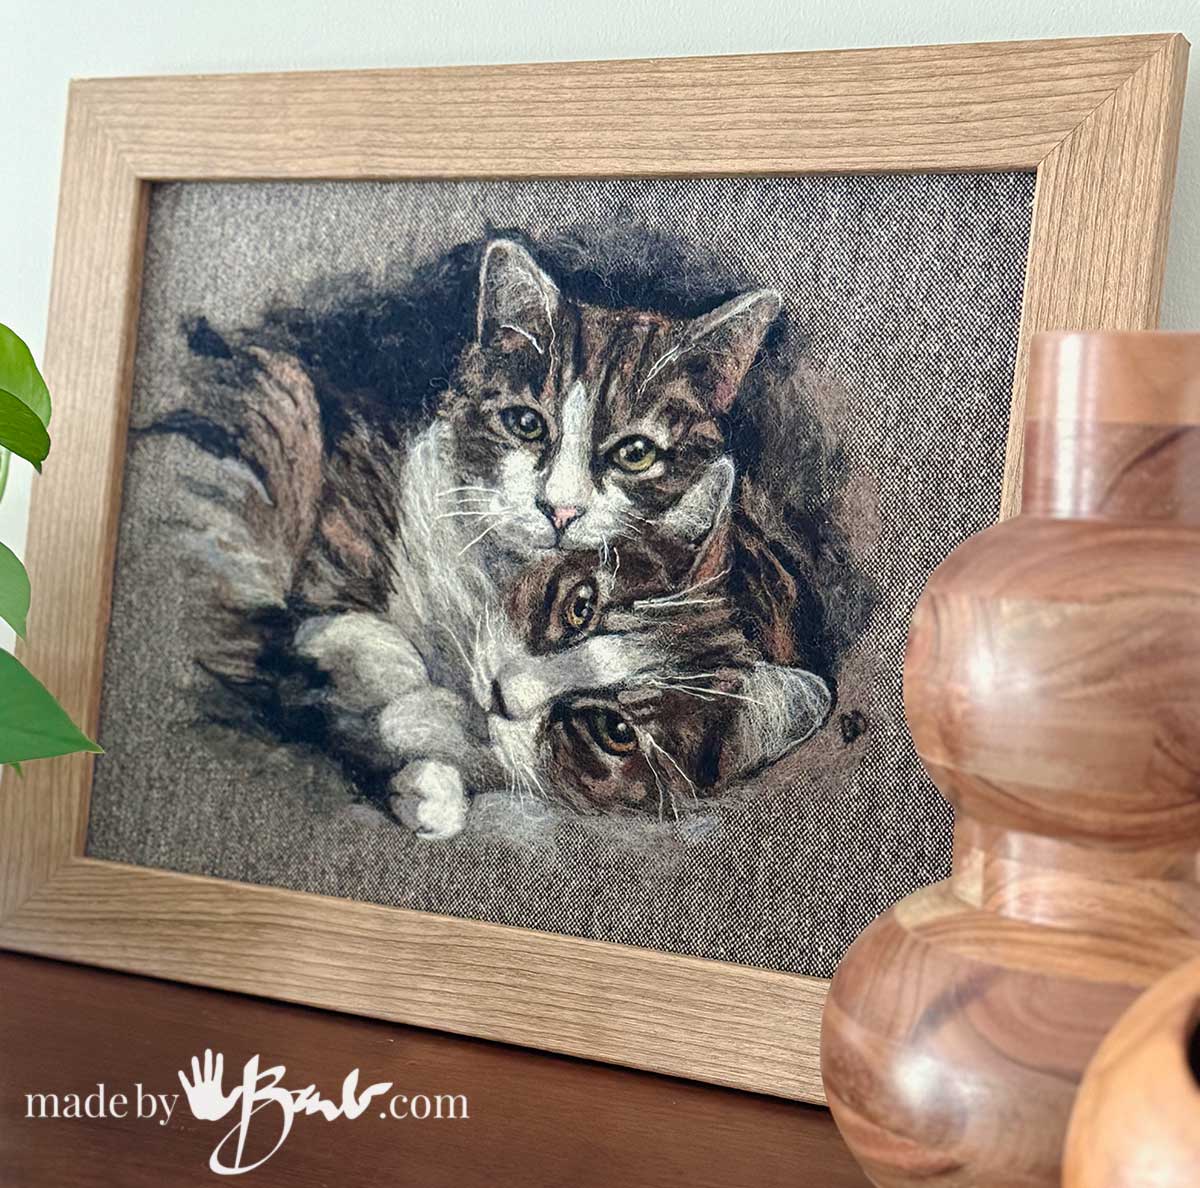
When you think your portrait is finished, put it somewhere and walk away. Look at it again later. Ask yourself: Does it look like the cat, or does it just look like a cat? That’s an important distinction. If you’re working from a photograph of a beloved pet, likeness comes from the little things… Needle Felting Is Really Painting With Wool!
What do you think, does it capture this sweet cat?
I am always happy when I receive an email from you! Seeing all the different mediums you work with is exciting. Everything you create is amazing.
Thanks for being you.
I actually worry that I have too many mediums! But, it all came quite intuitively from ideas after using a specific media. Once you allow your self, you really can apply what you learn across many directions! I guess I just have a lot since I’ve got decades of ‘making’ and being creative, plus learning and teaching at an Art college, not to mention I am old! Enjoy
I am old too! Seventy eight in November. I’m still creating, however, your talent outshines me.❤️
congrats. you do beautiful work!!!!
jackie hogan
Thanks! I’ll share my exhibit once I’ve installed!