The Shibori Chair Makeover
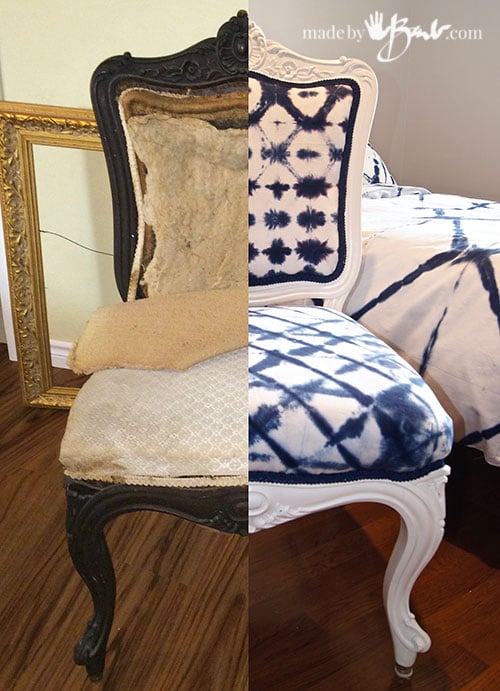
If you are like me, there are times that you find a ‘treasure’ that you love but aren’t really sure what it will become. Oh, and before you know it, there are few too many of these treasures! It’s time to get on with these! This mega-old antique chair was an amazing find and I envisioned it with a new modern life as glossy white. AND why not bring some great Shibori hand-dyed canvas to the mix?! Watch and see…
THE OLD Chair:
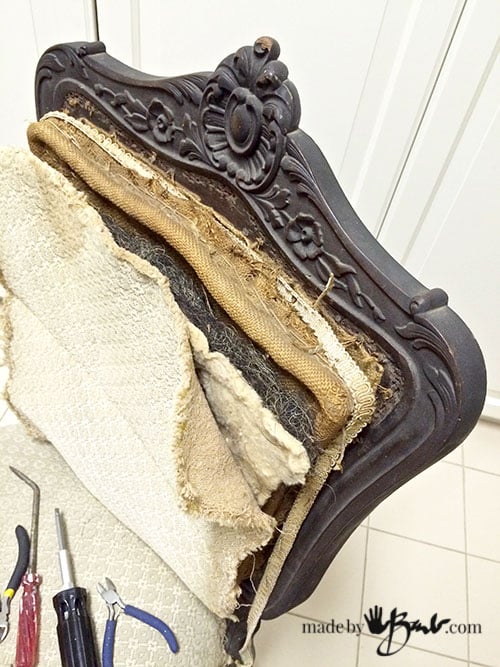
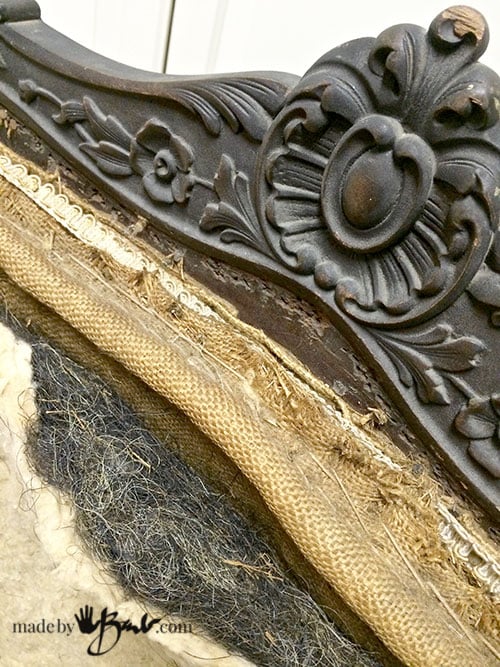
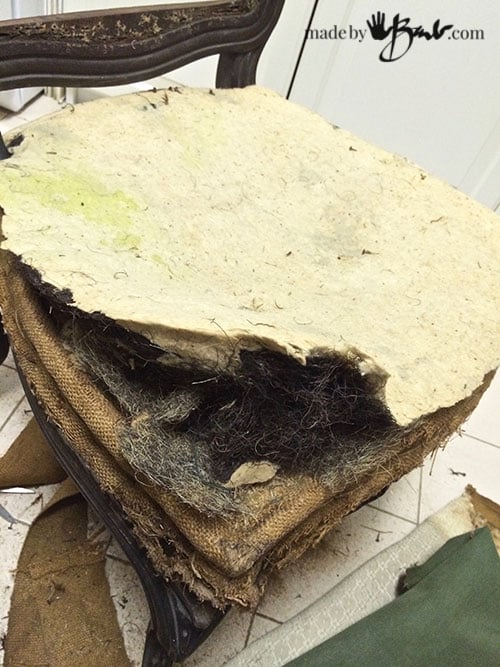
Take a look at this history! There is straw and moss (or is it horse hair) in there! It has seen a better day, but was sturdy and the carved wood was pretty well perfect. It could be worth a lot of money but I wanted to bring into into the modern age so I apologize to the ‘antiquers’ for possibly ruining it’s value. But, hey, it isn’t good if you never use it is it?!
I think someone may have checked if it was stuffed with money…
Yes, It was rough, but only in the covering. When considering your pieces, check for good sturdiness. Covering can always be replaced.
To start, you need to strip off what you don’t want. Sometimes I want to keep some of the ‘filling’, but this time; not so much (my mid-century chairs were a different story). That meant using a bunch of tools. The ‘tear-down’ is a gruelling job of staple and tack pulling (I discovered a great new silicone type bandaid during this project!!!) Use whatever will get under the tacks and staples to get a grip with the pliers. Try not to gouge the wood.
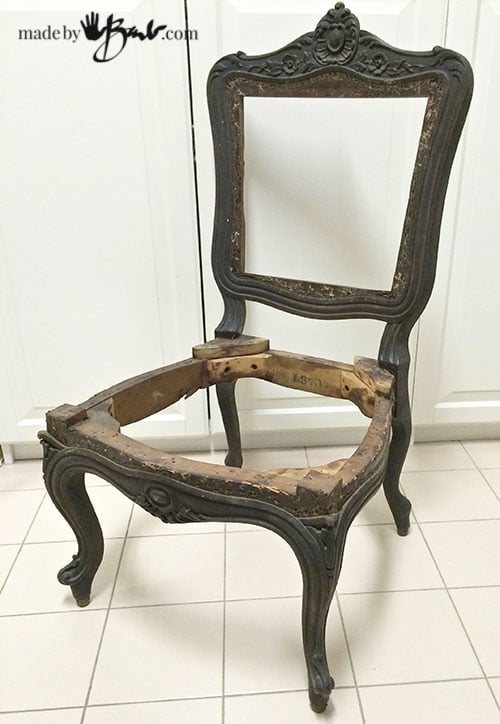
Naked:
Finally, a naked chair! (and a couple bags of garbage) Look at the curves of those legs! AND it is a ridiculously hard wood; judging by the force I needed to pull out the staples.
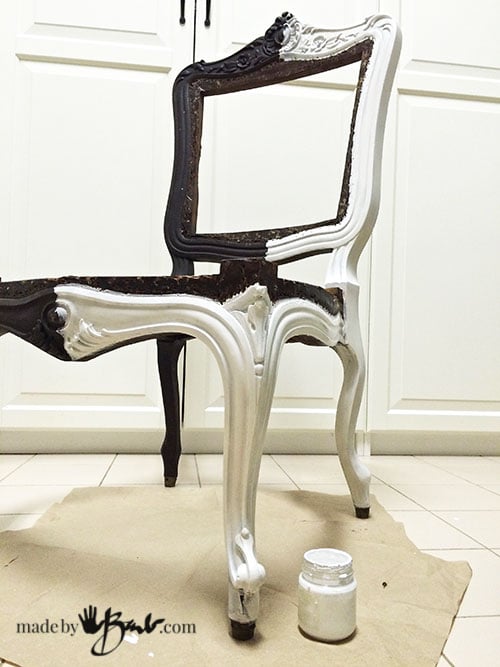
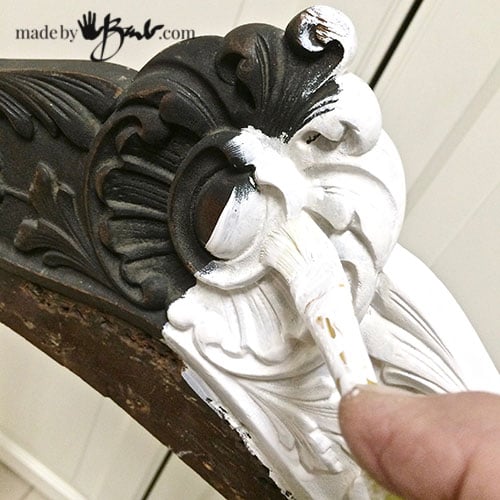
It was in original shape, no added lacquer or varnish so I gave it a fresh start. See how to paint things white here
My painting tips and method had it covered in white quite fast. I like to get things done… sooner rather than later.
The New Fabric:
I decided to make this a very unique piece with canvas hand dyed the shibori itajime way. I cut the pieces a few inches larger than the original pieces for the seat, the back and rear back. (Better to cut off than not have enough). I folded and dyed just like I did for the pillows in my easy Simplified Shibori method.
How wonderful is it to unwrap the dyed canvas?! If you are new to this, perhaps you could practice on some pieces of old bedsheets. I wasn’t quite happy with the seat fabric after the first dye so I re-dyed it 2 times. If you want perfection, then buy fabric. This a piece of art… (will be, that is) Wabi-sabi, just saying.
Reupholstery:
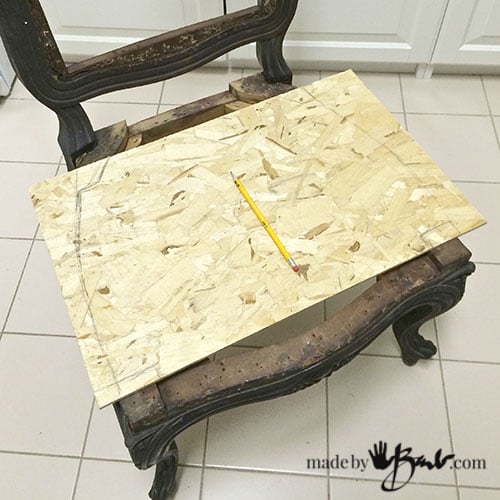
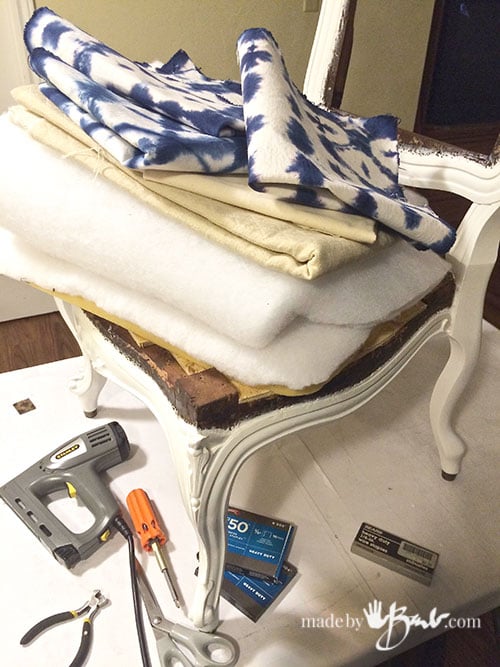
I took out the old springs and straw to replace with foam and batting (had some of that hanging around as well). The foam-supply-guys are so helpful, and in most cases will quickly cut out the shape you want on the spot with their handy foam-saw. Just bring in your pattern piece.
The board is cut to fit the chair. Yes, the original springs are probably better for longevity but this was simpler fix without restringing and tying the springs. Sit and test the strength…
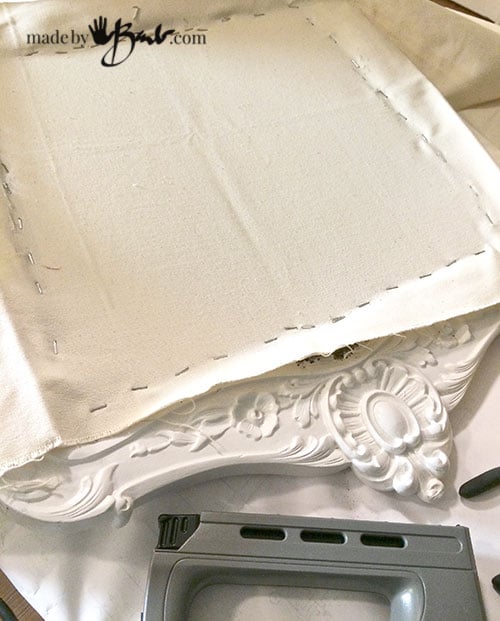
Now it is re-assembly time. I used an electric and a manual stapler with 1/4″ and 3/8″ staples.
The vertical back was filled with burlap strapping but I replaced with a strong canvas. The idea is to provide a barrier to keep your back from going through the hole. It should be as tight and well attached as possible. It will later be covered so any sturdy fabric will work.
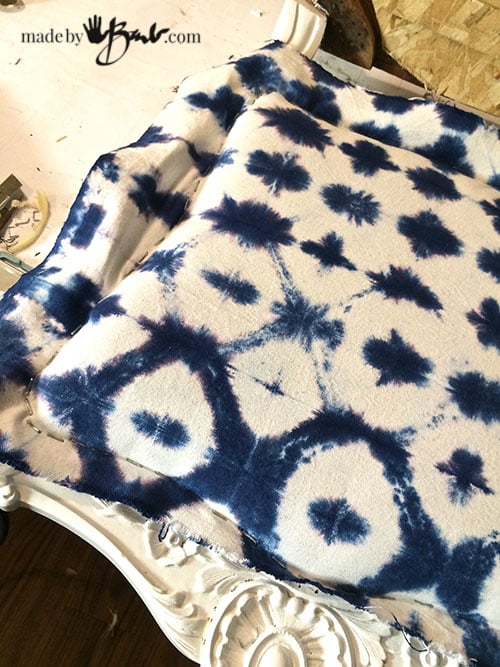
Cut some foam to shape and cover with batting to fit the shield-back shape.
This will be stapled all around. Center it carefully and work outwards from the centres of each side like stretching canvas. Pull and fit to make it quite tight.
The back is stapled and has been trimmed with a mat knife. The seat has been layered with foam, cut to size and stapled in the centre.
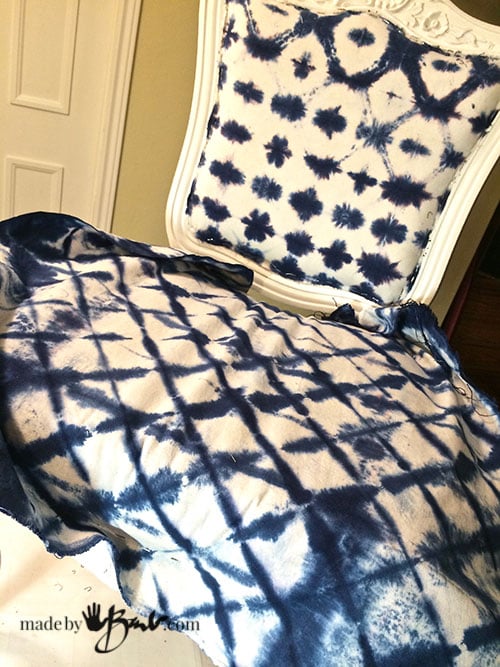
Work your way around again. This chair needs a cut in the back corners to allow pulling around the posts.
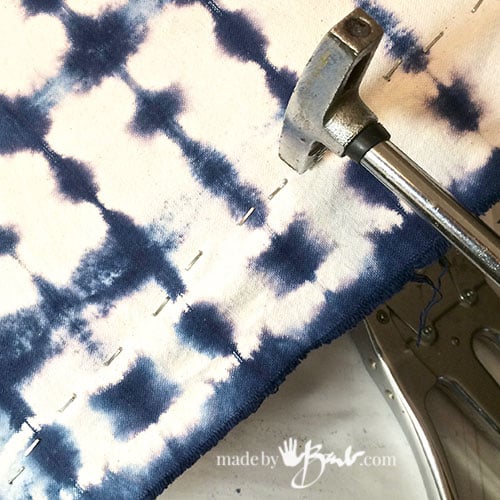
Lastly centre the back and staple around. Be careful to staple in the area meant for the staples, by peeking underneath.
This wood was very hard wood and would need some additional hammering sometimes.
Finishing the Edges:
Once every edge has been well attached, double check all is good. Pull out any staples that are not holding well. This piece had been stapled a lot prior so sometimes the staples would not catch. The great thing is that the matching colour trim covers much of the ‘bad’ stapling. There are multiple ways to finish it off but this is the easiest. (you could also use a double piping method) To attach I decided to use hot glue… I know, I hate it too but I just could not imagine using tacks and hammering them in perfectly spaced. (You have to know your limitations) It is an occasional chair so the wear isn’t going to be so hard on it. Hot glue = sticks to fabric well and shows no staples or nails.
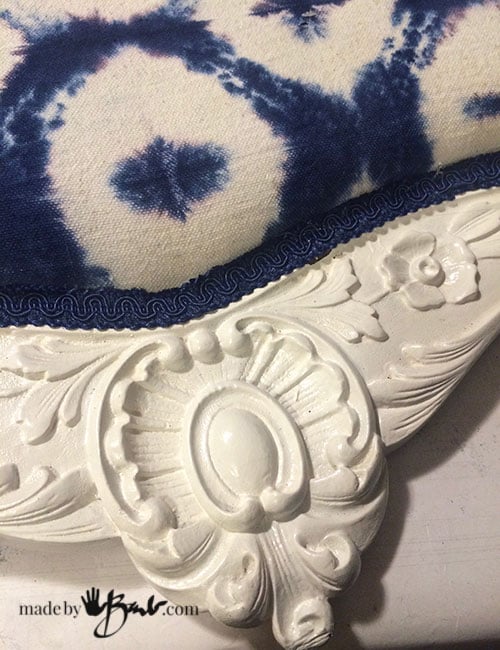
This trim bends nicely to follow the contour. It makes it all look so well finished.
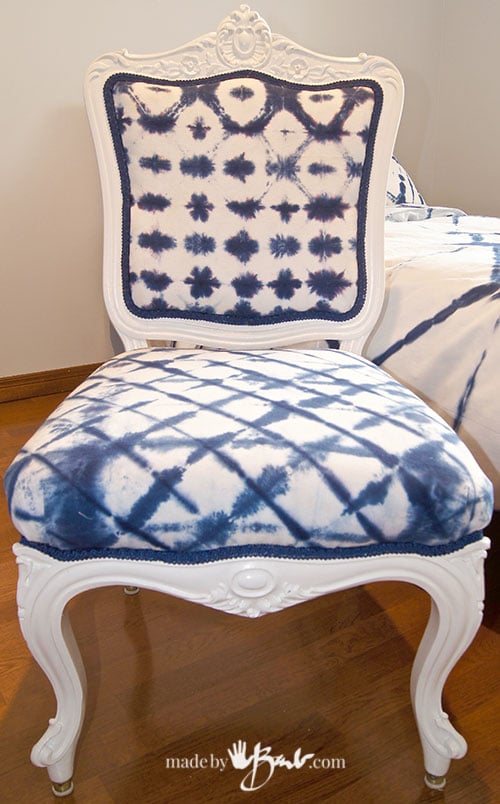
Nice trim and centred pattern.
The Reveal:
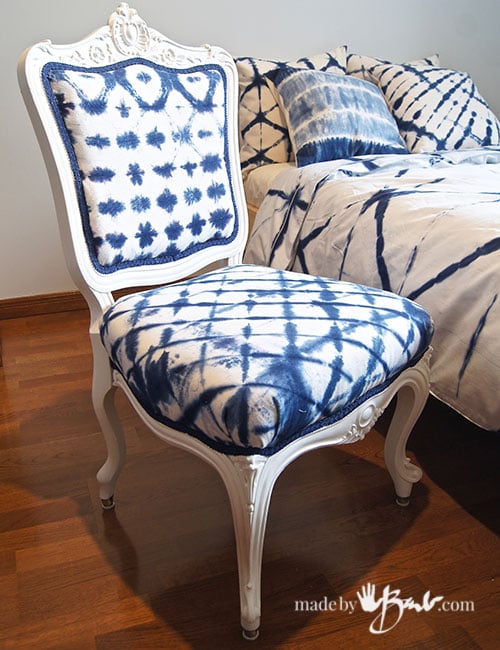
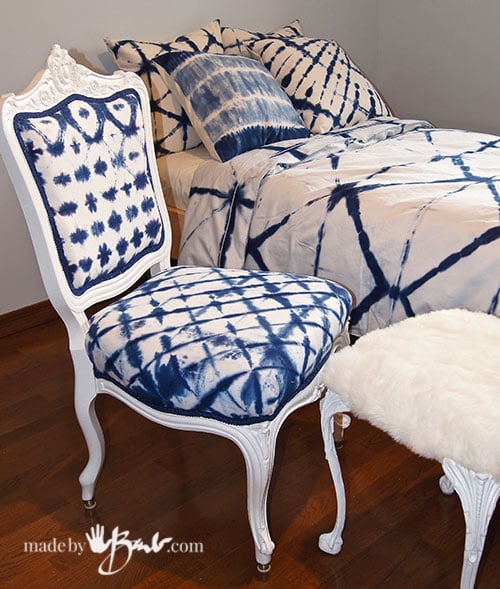
The finishing makes all the difference! I love the white! (see pillows?!)
Very unique fabric on a unique chair.
They don’t make furniture like this anymore.
Do you see a theme here!? (I warned you, shibori dyeing is addictive!) Duver cover tutorial coming soon…
So, what do you think? Improvement? ($15 chair, a yard of Shibori dyed canvas, few slabs of foam, batting, and some basic tools) Sit (haha) back, and enjoy!










Simply LOVE THIS! Thank you for your creativity and sharing.
I’m happy to! I hope it inspires you to create something out of your treasures!
I loved your blog and have read almost all the posts in the last few hours 🙂 The chair looks amazing. It feels so light with the white frame and shibori fabric. May you use it happily.
I’m glad you enjoyed it! As you can see I enjoy being pretty thorough. New posting coming soon…