
DIY Giant Concrete Geode


Remember collecting those shiny stones as a child?! They just seemed so precious. Well, now as a grownup you can challenge ‘Mother Nature’ by making your own with this DIY Giant Concrete Geode tutorial. No wimpy stuff here, feel of real stone with this unique use of concrete. Check out my way of using easily found materials to get some super ‘bling’ in your life…
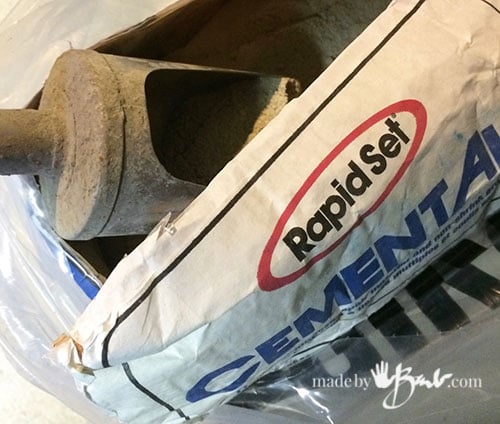
During all my ‘concreting’ I have discovered some great characteristics of this RapidSet Cementall that will aid in this tutorial.
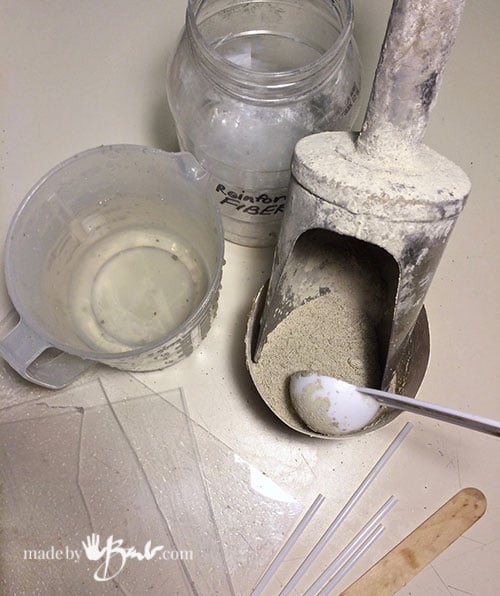
Materials for the Casting:
- RapidSet Cementall & Dust Mask
- Reinforcing Fibres
- Water
- Container to mix in and mixing utensils (tongue depressors or like)
- Smooth Plastic (plexiglass, CD case, or any flat shiny surface)
- plastic bags/wrap/tape
- cocktail straws
- Vinyl tiles (xacto knife, straight edge/ruler)
Step 1: The Concrete Forms:
These geodes can be made in 2 versions. As a ‘Slice’ or as a ‘Hollow’ Geode.
To make the ‘Slice’ Geodes:
To make the slices you will need to ‘sandwich the concrete between some sheets of shiny plastic. I discovered that this concrete yields a super smooth shiny finish if it is poured one on a smooth surface. Be creative, even CD covers could work. I used some old floor protector mat pieces as plexiglass is expensive. Do not use glass as when you put pressure on it you will break it (ask me how I know)
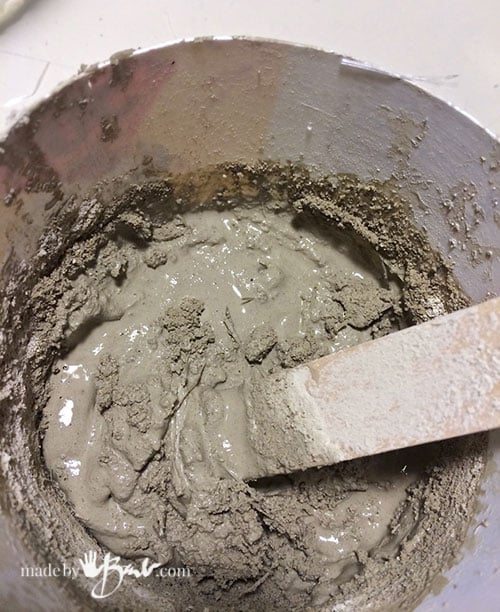
To give it a bit of extra reinforcement, I added a bit of fibres (but it could work without it). I have been impressed at the strength of this concrete, even as thin as 1/8″. RapidSet also mixes slightly different as it absorbs the water quite quickly and I usually need to add more mix. It acts differently than Quikcrete. RapidSet has a plasticity to it and sets really quickly with only a few minutes (less than 10 minutes) of working time so be prepared.
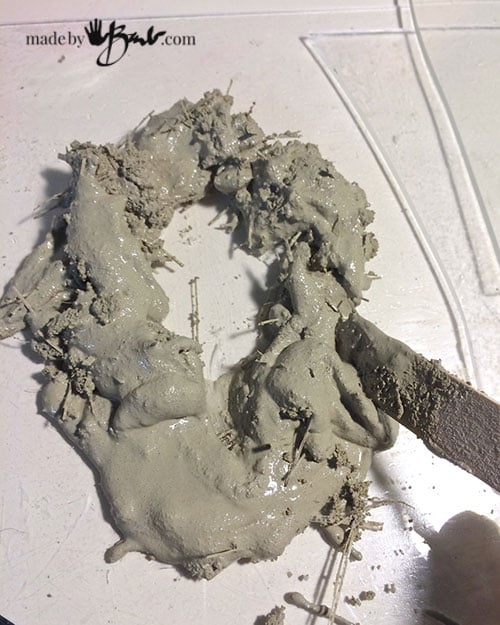
Mix a slightly thicker; less runny version of this mix. You want to make a rough ‘ring’ of concrete on the plastic. Push it to keep the shape.
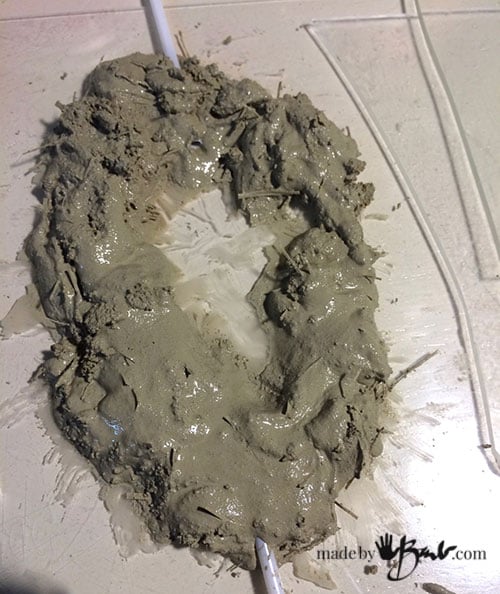
To facilitate the attachment later of a stand; add a straw into the top and bottom. Make sure it is hidden in the concrete.

Once you have the ring about the size you like (make it random shaped as nature is not perfect) place another sheet of plastic on top and wriggle it to flatten.

Do not flatten too much! It should be 3/16″ or a bit thicker. If it is very large; thicker is better. Mine are about 8″ or so. The edges SHOULD be quite rough, like stone.
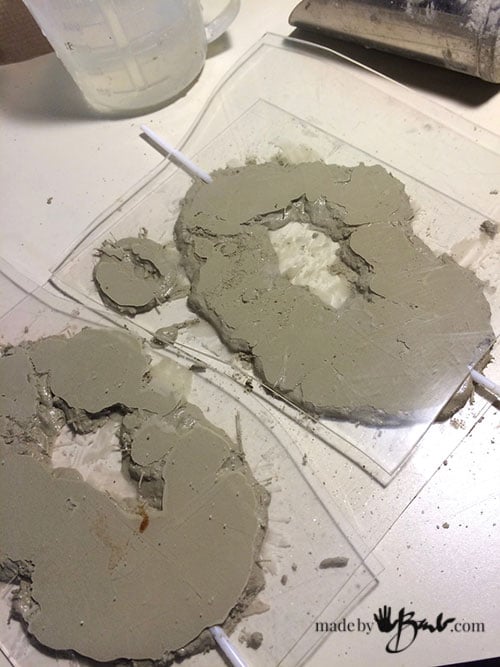
All set to be great DIY Giant Concrete Geodes! Another great thing; this concrete sets in 1 hour!
To make the ‘Hollow’ Geodes:

Make a ‘lump’ out of some plastic bags or wet paper towels and wrap in plastic. Add tape to keep it secure.
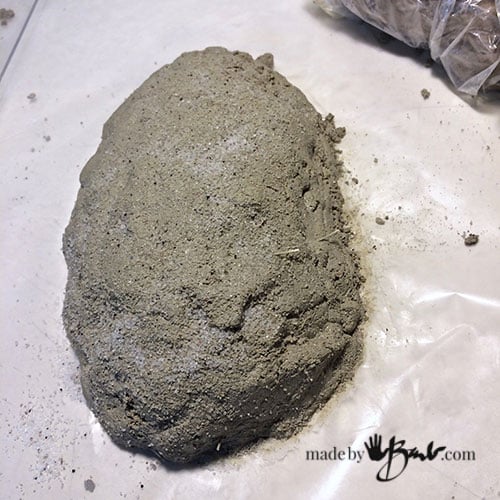
Place the lump on the on the plastic and cover with concrete. Mound it and keep it rough to look like stone. You can sprinkle some sand if you like to add texture.
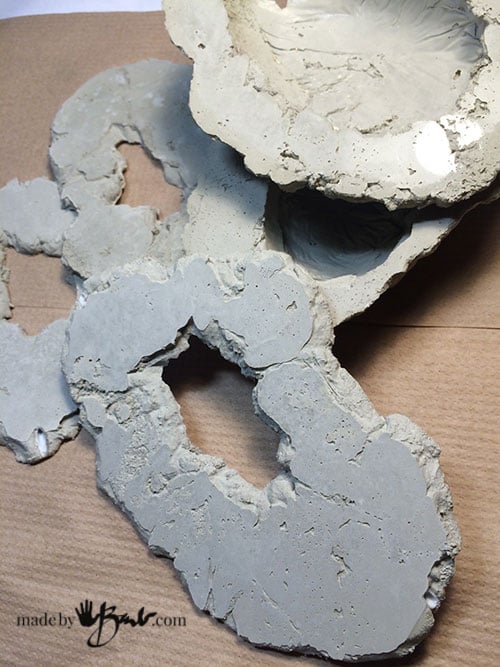
There you go, the ‘hard’ work is done. I love how they look like a slice of stone!
To make the square bases:
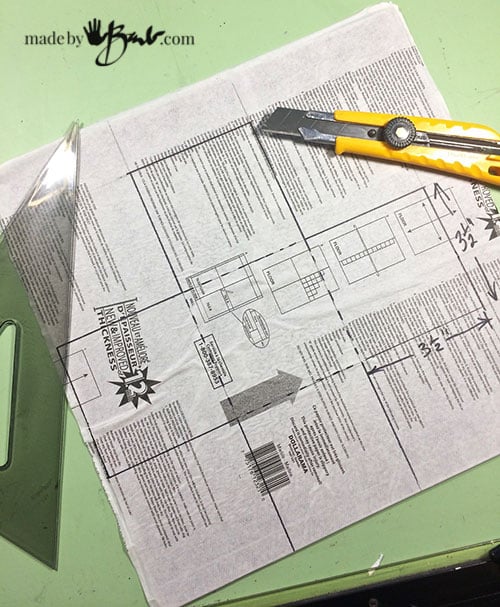
If you want to make a stand for your ‘slice’ you will need a base. My favourite material for shape making is the vinyl tile as it cuts easily and holds up to multiple uses. I made my blocks 3.5″ wide but you can use what size you like
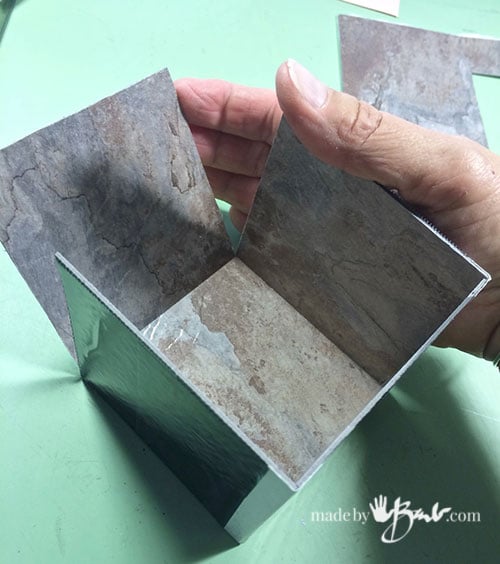
A simple block shape is folded up and tape on 2 corners.

The other 2 corners will be opened so I made tabs to secure with clips (less taping)
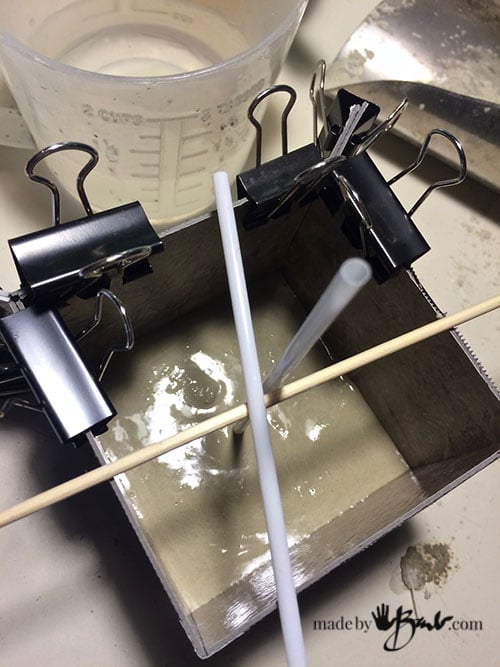
Mix up some and insert a straw (end taped shut) into the middle and secure.
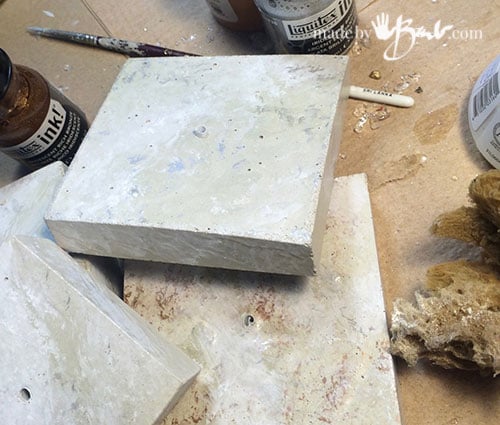
Awesome simple square bases (sponged with a bit of paint)
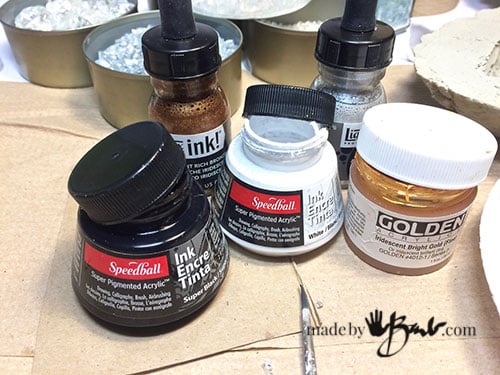
To Add the Finishing touches:
You will need:
- acrylic inks or the like (metallics, black, white and neutral)
- flat glass beads in your choice of colour
- clear acrylic gloss medium (optional)
- adhesive (hot glue or epoxy or clear silicone caulk)
- Wire (coat hanger thickness) to insert into stands

The Layers:
If there are any fibres sticking out, you can singe them off with a lighter. Take some inspiration from some images of geodes. Keep it simple; it’s all about the layers. Some are ‘curvy’, some are ‘squiggly’, there are no rules. Nature is quiet random, so have fun with it. I liken it to doodling, quite relaxing…
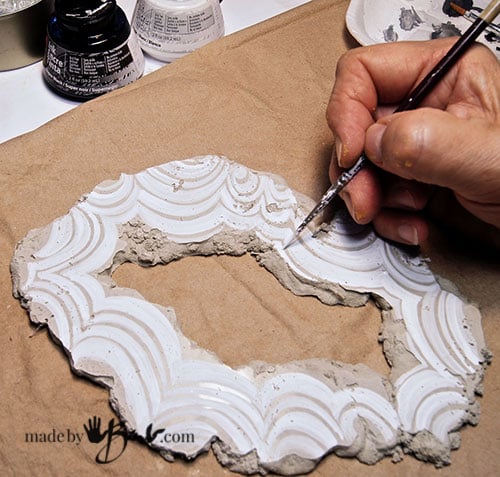
Work light to dark or back and forth.
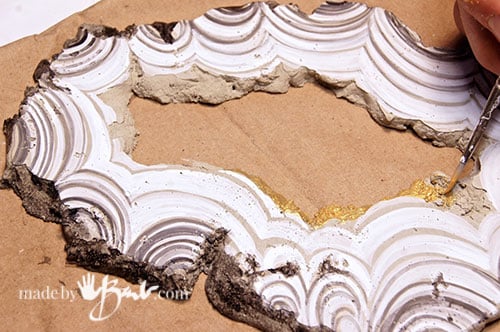
Add some metallics for fun; you are in charge here. The outer edge should look like stone so a thin layer of antiquing will do that.
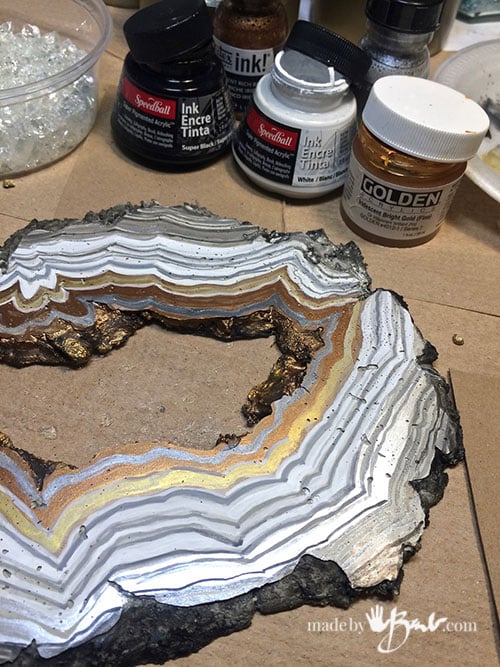
The reason I prefer acrylic inks is that they are highly pigmented. Inks provide a lot of colour without the ‘thickness’ that comes with cheap paint and they are permanent when dry so sealing isn’t a problem. Being a bit more expensive is worth it in the long run.
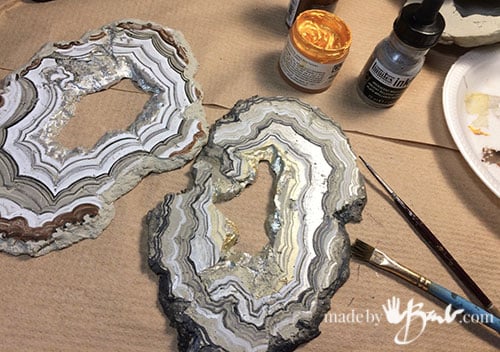
Once you get the hang of the painting ‘layers’ you will be amazed! Add a few in gold or silver… Squiggle away…
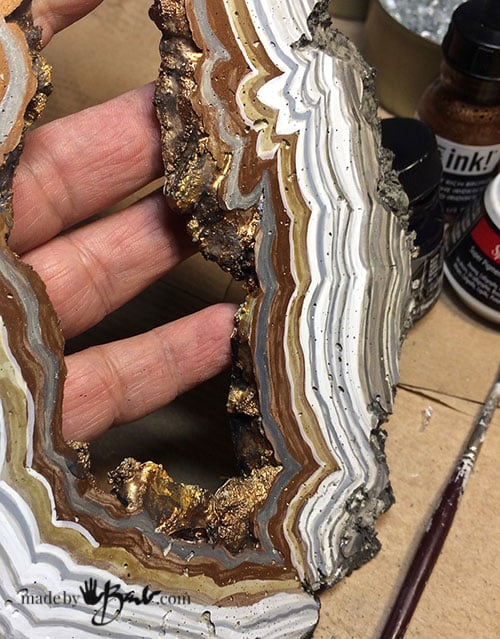
The metallics catch the light so nicely!
Making the Crystals:

So, before you think I am crazy there is a reason for this! I had been thinking for so long about how to make ‘crystals’. Growing crystals is not easy and they don’t always last. Soooo, I did what I usually do, make them!
I threw a bunch of these flat glass beads in a cast iron pan (lid on just in case) and heated for a few minutes.
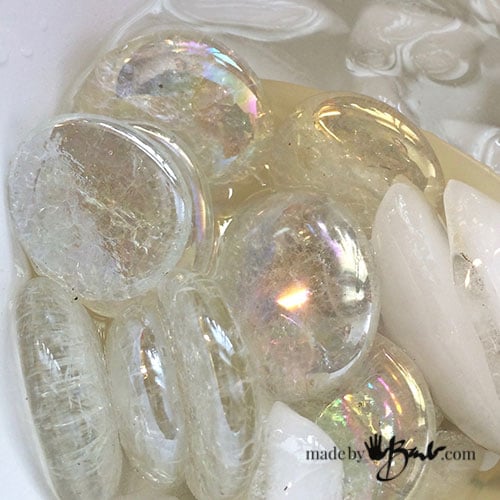
My idea is to shatter these. So slide them from the pan into some ice water and they will internally crack. Cool! Baked glass; who knew?!

I like the way that the glass breaks with a bit of a tap of a hammer. Just don’t do it on the table or on the new kitchen counter! No, I didn’t… btw. If you broke normal glass it would be too sharp and pointy.
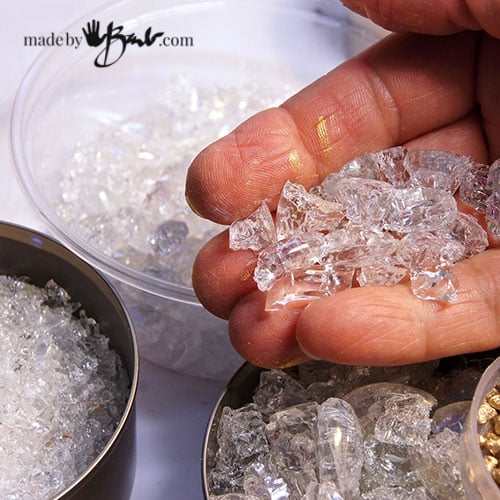
So there you have the crystals that you will need to finish the DIY Giant Concrete Geodes and since they are glass, they will not dissolve…

Marbles will also break, and you will have larger and smaller pieces.
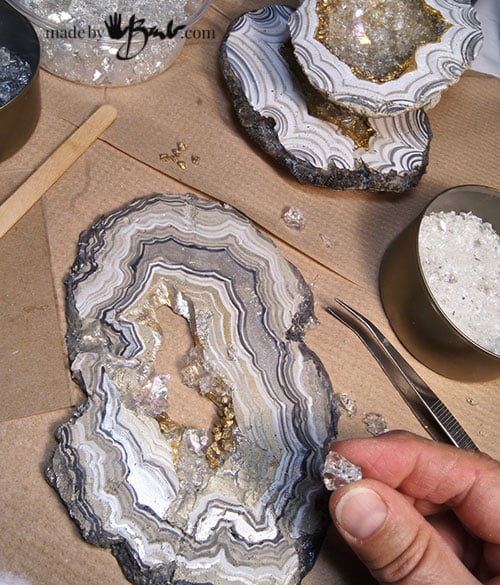
Attaching the Crystals:
The whole attraction to geodes is the crystal interiors! To adhere the crystals I tried a few different methods.
The most permanent way is to use epoxy (a 2-part glue that can cure in 5 minutes) but it will flow to places that you may not want. If you use epoxy you can put a piece of plastic that has been greased with vaseline on the back to allow removal once the epoxy has set.
Clear silicone will adhere the glass in a more rubbery way. It is supposed to be clear but is still a bit cloudy once dry. It is quoted as being waterproof however.
The quickest and easiest method is with hot glue. It allows you to set the stones where you like and build up quickly. Ask your self how permanent or much wear it will get. I intend to use them as decor so that will be adequate for me.

Build up the ‘crystals’ and add stones to make it look authentic.
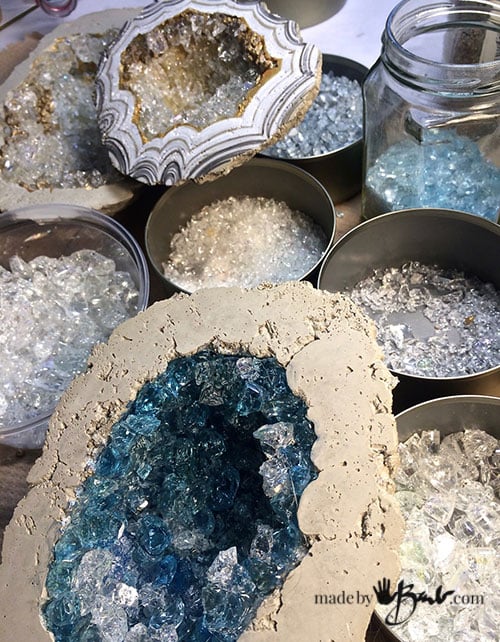
Blue glass with a bit of clear mixed in. Layer and fill but keep within the shape. The colour options are endless…
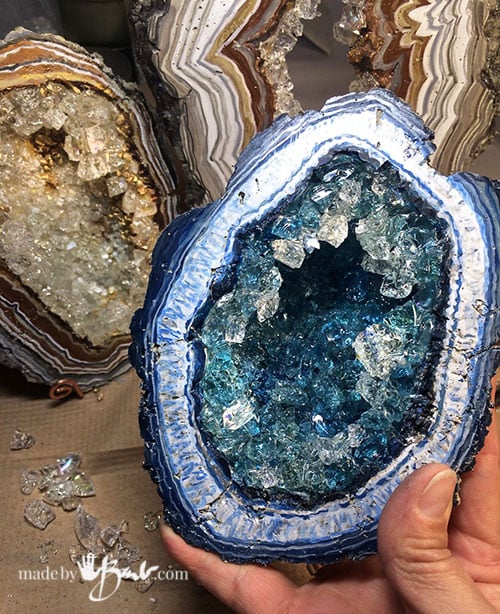
That is one huge geode!

The back side gets a bit of antiquing.
To give them some shine you can add a layer of gloss medium. The metallics will catch the light so I like the shimmer of matt against shine. The concrete has quite a shiny finish on it’s own.
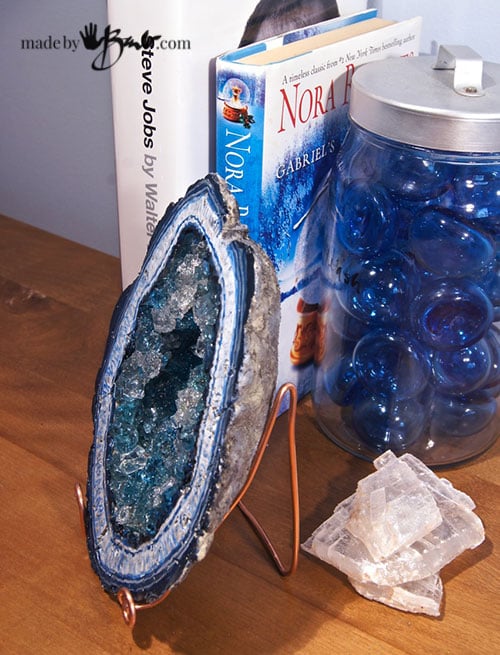
For my ‘blue’ room with a stand made of copper wire.
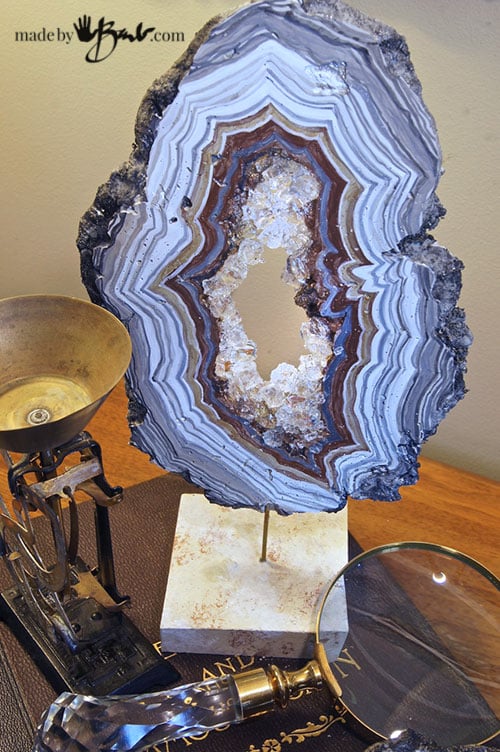
Insert a piece of wire (coat hanger) into the slice and base, adhere with glue. Baffle your friends!
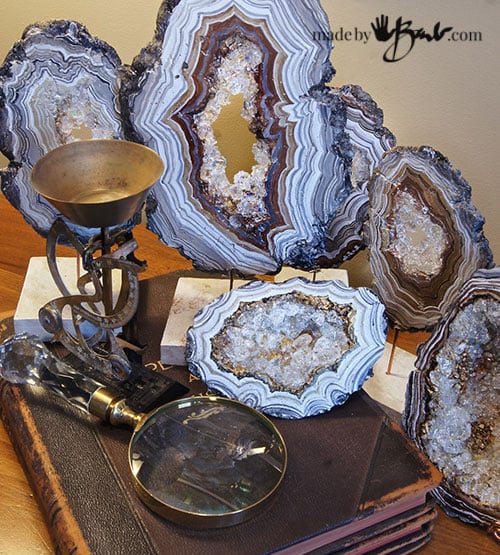
So many options.

They go great with the rustic concrete bowls! Don’t blame me if you catch yourself staring at them for too long… Bravo!
I am SO excited to find your site!!! Your talent is endless!! Thank you for sharing your amazing work. I have a brain injury, so I’m a little hesitant to try something like this, but you later out the steps so nicely. May I contact you if I get into this and am having problems? (I’m out of town for a bit, so it won’t be for a while).
Thank you, again, for sharing your imagination with us!
When ever I sense when someone is unsure I suggest to take the pressure off and do a small test. I do many little tests before my final projects. Also be aware of the correct concrete mix, as they are all NOT the same. There is a post here Also to keep things neat and easy for clean up see here
Good luck, and yes I answer questions…
Thank you so much for the amazing tutorial! I was blown away by the beauty of your creations. I’ve always been a huge geode fan, but they are so expensive and now thanks to you I can go “rock wild”! Several people in my family are getting these for Christmas, LoL.
I think it’s very kind of you to post your wonderful tutorials….I checked out the lamp one also! Thank you, thank you!
You are such a talented artist and an amazing lady!😀
Thanks that is so kind! Happy making!
I just made the crystals from a bag of green glass beads I got at a yard sale for $1. Followed your procedure and it really worked!! What an awesome idea! Thanks for sharing!
Yup, I felt a bit odd when I was ‘frying’ them. I do also hook up with a ‘glass guy’ who saves me his broken safety glass pieces as they are also very square-like. You just need to creative!
To see Barb’s step-by-step pictures, you need to click on the 3 dots at the bottom and select ‘see in chrome’ then click the menu bottom on the top right hand corner on your chrome, scroll down to ‘view in desktop’. This will give you a view from a computer on you phone.
That is odd as I see all the pictures on my phone (iPhone using Safari) I do think that seeing much is better on a larger screen though. Thanks for clearing that up!
Totally awesome! You are a marvel!
Oh Thanks! I just added one of these into my Christmas decor with sparkly snow and gold accents. It even works for Christmas!
Your work is BEAUTIFUL!!!!!!!!!!! You are truly generous to share you skill in such detail with us. Thank you soooooo much and God Bless!
You are kind to mention it. I do love the ‘making’ so much, I just wish there were more hours in the day… My mind explodes with ideas all the time and I can’t keep up with making them!
It sounds great but pictures after each one would have been better. It’s hard to understand from just words. But thanks
Oh, your device is not loading all the pictures! There are over 30 of them of each step. I think the problem is mobile devices handle pages differently. Trust me, the instruction pics are there Was it a ‘share’ on Facebook? it may be controlling what loads… In the mean time you may want to try a different device especially since there are so many large pics. ‘Hope it works out, don’t give up
I was wondering if it would be possible to use these in a water feature. Do you know if the acrylic inks would last in water at all? Or any ideas to make it so they would? Would the rest of the geode be okay?
Thank you for this site—it’s incredibly helpful and you have so many fun and good ideas.
I strongly doubt it, as water is such a problem on paint. I have a birdbath that I have struggled to keep coated. Even the adhesives have problems in water. You could research aquarium landscape making to see what they use…
Barb, your ideas and conception are marvelous. Your brain does work in overtime. The geodes are great and will have to try them out. My husband owns a glass shop so tempered glass won’t be a problem. I was wondering though about the epoxy would it not run and stick to the item you are setting it on, as in Plexiglas? Your stuff is wonderful and you are helping so many people which is just great. I love that you explain everything so well and with so many photos. Great work!!!!
Having taught for many years I know how many questions most ask so I tend to explain a lot. Sadly so many images does slow page loading though. Anyways, I understand your question as finding the right adhesive is a challenge. It needs to applied carefully and not in excess. Some epoxy brands set in 5 minutes so they do start to get less fluid. I tack the crystals with the hot glue so that they already making some places to ‘catch’ the epoxy. Maybe you could also pick your husbands brain about using a nice clear silicone? He would have valuable knowledge of adhering glass. I’d love to hear back. I did try a clear silicone but it still looked milky to me. Good luck!
Dear Barb, you are so talented! Man, when I saw what you were doing I just had to read on. Thank you for sharing your terrific ideas.
Best of luck always , and remember, you have quite a following!
Very truly yours,
Nancy, Surprise. AZ
Thanks! My blog is not that old and I’m hoping it will soon be worth my efforts… Sometimes I joke that it will ‘be the death of me’ 😉
AMAZING! Your talent blows my mind! Love these!
I don’t think I have any special talents, but I am a bit (lot) stubborn to get things to work like I want and envision. I do have a ‘visual’ mind though. Enjoy!