DIY Easy Dyeing with Ice
Summer holidays should be about taking it easy – spending time outdoors, in the sun and crafting with kiddies! I love living in the blues of T-shirts and denim making this DIY Easy Dyeing with Ice a perfect summertime project.
What you need:
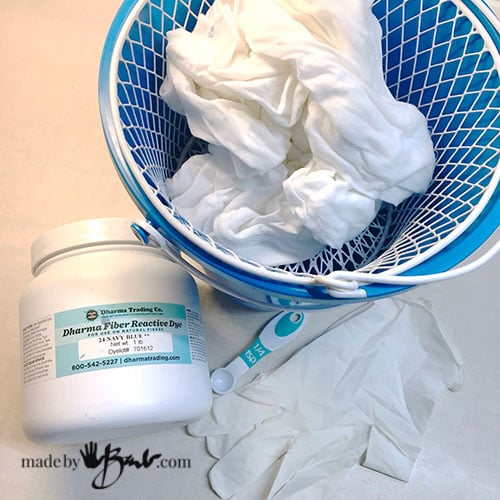
- Fibre Reactive Dye (Dharma brand or Procion brand) I used Navy
- Soda Ash or Washing Soda
- Gloves & Dust Mask
- small spoon
- Strainer or cooling rack (anything that will allow water to pass through)
- Size appropriate vessel to contain strainer/rack
- Garment or fabric (natural Fibre)
- Ice
There are few things to know about using this type of dye. It will work on natural fibres such as cotton, hemp, cellulose, linen, viscose, rami, bamboo, wool, alpaca, and other animal derived material. The most simple method here is using cotton knit as found in t-shirts.
This dye is very concentrated! I’d guess that I used about 1 tablespoon to ice dye about 5 t-shirts.
This dye reacts with the fibres and creates a strong ‘covalent’ (molecular) bond. That bond increases with the raising of PH and/or heat. As the PH increaser we use Soda Ash (calcium carbonate) which is also known as Washing Soda or Pool PH Increaser.
Step #1
Prepare the fabric by soaking it at least 30 minutes in a solution of Soda Ash and water (1 cup to 4 litres of water)
Wearing gloves (due to the high PH of the solution) wring out the fabric/garment well. If you would like very distinct designs you can dry the fabric prior to use, but do not rinse it. This works well also if you are planning a craft with kids so that it’s ready to go…
Step #2
Scrunch up the fabric well. Creating more folds will ensure more details and designs in the dye. For even more unique pattern you may tie off some some sections with elastics to create a tie-dye.
Place it in the strainer over the catch vessel. For the kids I used beach buckets and dollar store waste baskets which made carrying easier.
There really is no wrong way to do this as each will yield interesting results. You can also dye repeatedly…
The Ice Magic:
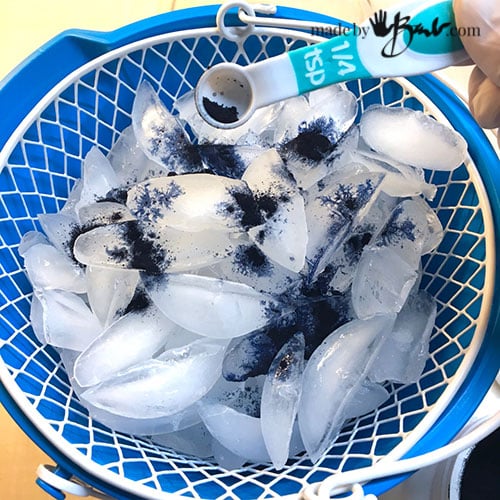
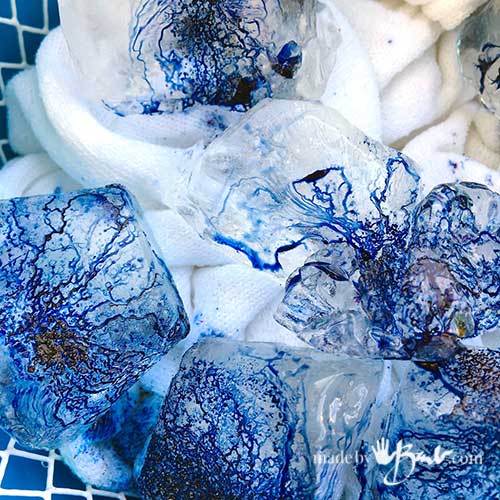
Place some ice over the fabric. If you want a lot of colour you can completely cover the fabric or you can choose to have less by not covering it completely. I’ve tried both and I like the more ‘airy’ look of partial dye. The ice dyes slowly and the water and dye find their own ways through the fabric. Various fabrics will give such different results.
It is best to wear a dust mask to avoid any dye powder from being inhaled. For the children’s craft I placed a tiny amount of dye in miniature glass bottles to allow tiny sprinkling as this dye is very concentrated. Navy is a great colour as has many shades even when highly diluted.
We made these out on the dock and then set them in the sun. How quickly the ‘blue rivers’ started on their way…
Bonus; easy carrying!
After a short time the ice was almost gone. This is going to be a very colourful shirt! Lots of ice and dye were used on this one.
Dye some cotton socks as well. If using a variety of colours there will be more chance of colours mixing. Use the theory of colour mixing to determine what colours work best with each other. Otherwise you may make some muddy colours.
I have used the navy many times in my shibori pillows and duvet cover and still love it! For some unknown reason (prob the colour mix) some lovely purples sneak out of the dye sometimes.
The Finishing Process:
Generally I tend to use some heat as a final assurance of setting the colour but it is not mandatory. You can just place the bundle in a garbage bag in the sun for a few hours as it will also heat up. Or you can transfer it to a plastic bag and microwave (dedicated) for a 1-2 minute warm.
Once cool rinse in cool water until it runs clear. You may just let it sit for a day and not heat it. I have not had problems with losing colour. I believe the strong black colours need the extra heat setting.
It can now be washed and dried as normal. Easy peasy…
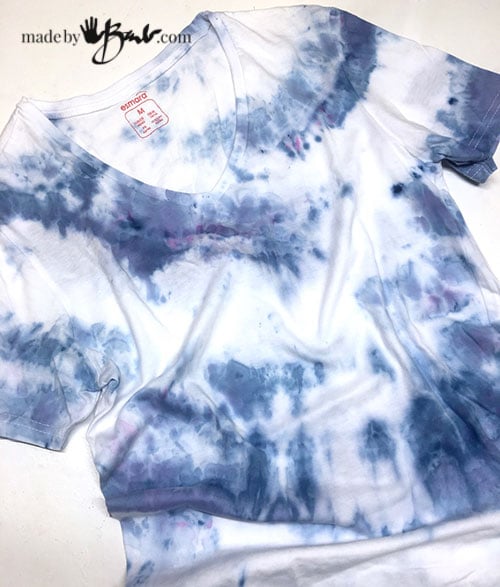
It is wonderful to see the unique patterns and designs that magically appear! That is why I love the blue, it’s wonderful at any tone!
This one was not as completely covered in ice and dye.
I love my ‘waterblue’ shirt! And now I’m checking for white stuff that I can dye…


Olá, vc tem apostilha da técnica para vender ? Gostaria de .adquiri, obrigada. (Hello, do you have a book of the technique to sell? I would like to buy, thank you.)
No sorry, not at this point. Maybe in the future!
It has been a pleasure to watch your work unfold….. I’ve always been interested in textiles and more into natural ways of manipulation… you’re quite an inspiration to take it up for the rest of my studies…. I truly appreciate your work and your efforts to teach us your findings… its rare…
Oh, such kind words! I’m sometimes quite surprised how I got to this point in my creative career! Lots of twists and turns along the way but still so much fun!
Hello Barb, I loved your ice dyeing technique and gave it a try. I loved the results but a problem I had was the wire rack I had the blouse on left very faint lines on the back of the garment. Have you run into this problem before and have any suggestions to avoid this problem?
Thank you!
I have not but I am more partial to ice dying in the muck lately which alleviates that possibility. I did once have some small areas where I just wanted to ‘touch up’ a bare spot. I mixed some small amount of dye with soda ash & water and painted it on carefully. Once it dried and washed, it did the trick…