DIY Easy Dyeing with Ice
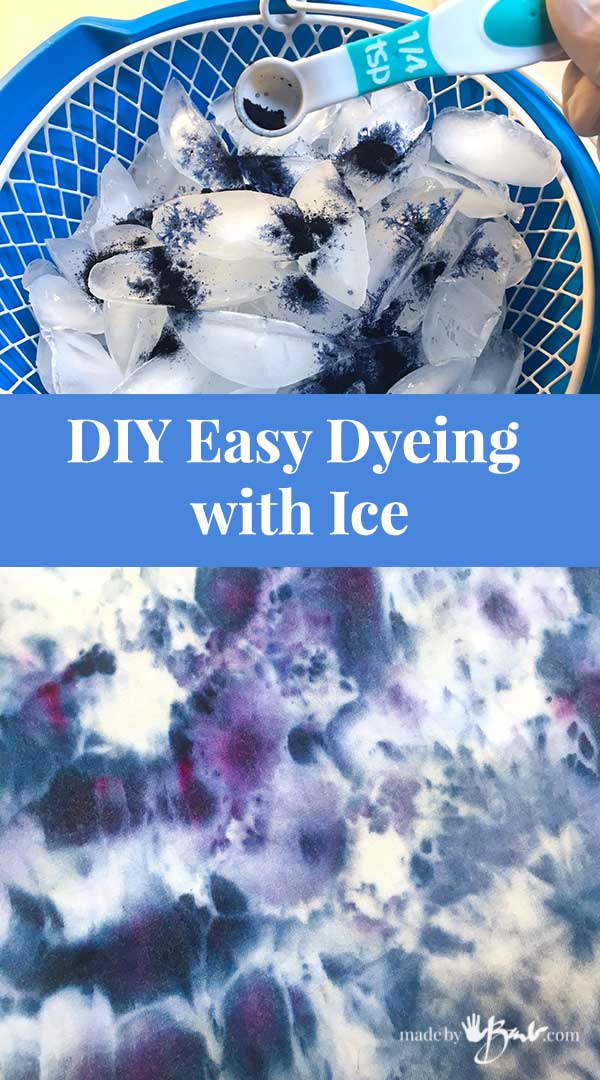
Summer holidays should be about taking it easy – spending time outdoors, in the sun and crafting with kiddies! I love living in the blues of T-shirts and denim making this DIY Easy Dyeing with Ice a perfect summertime project.
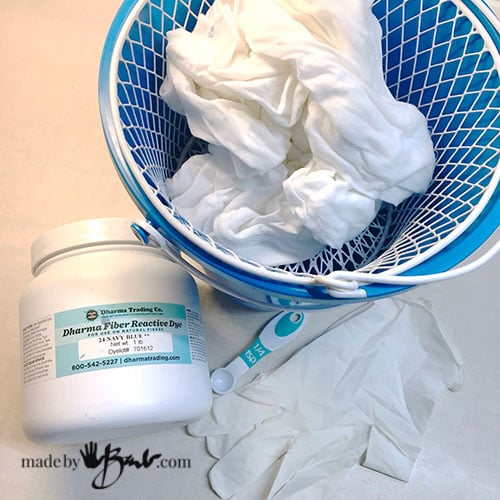
What you need:
- Fibre Reactive Dye (Dharma brand or Procion brand) I used Navy
- Soda Ash or Washing Soda
- Gloves & Dust Mask
- small spoon
- Strainer or cooling rack (anything that will allow water to pass through)
- Size appropriate vessel to contain strainer/rack
- Garment or fabric (natural Fibre)
- Ice
There are few things to know about using this type of dye. It will work on natural fibres such as cotton, hemp, cellulose, linen, viscose, rami, bamboo, wool, alpaca, and other animal derived material. The most simple method here is using cotton knit as found in t-shirts.
This dye is very concentrated! I’d guess that I used about 1 tablespoon to ice dye about 5 t-shirts.
This dye reacts with the fibres and creates a strong ‘covalent’ (molecular) bond. That bond increases with the raising of PH and/or heat. As the PH increaser we use Soda Ash (calcium carbonate) which is also known as Washing Soda or Pool PH Increaser.
Step #1
Prepare the fabric by soaking it at least 30 minutes in a solution of Soda Ash and water (1 cup to 4 litres of water)
Wearing gloves (due to the high PH of the solution) wring out the fabric/garment well. If you would like very distinct designs you can dry the fabric prior to use, but do not rinse it. This works well also if you are planning a craft with kids so that it’s ready to go…

Step #2
Scrunch up the fabric well. Creating more folds will ensure more details and designs in the dye. For even more unique pattern you may tie off some some sections with elastics to create a tie-dye.

Place it in the strainer over the catch vessel. For the kids I used beach buckets and dollar store waste baskets which made carrying easier.
There really is no wrong way to do this as each will yield interesting results. You can also dye repeatedly…
The Ice Magic:
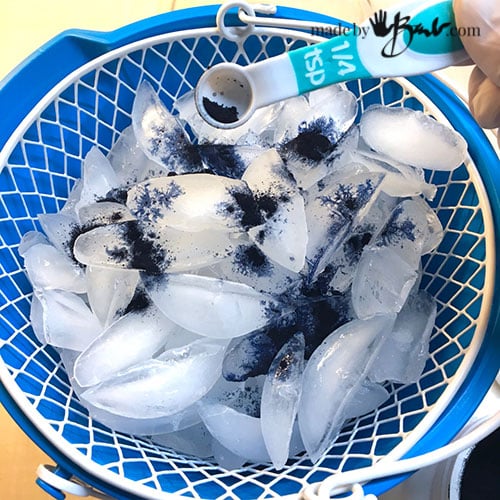
Place some ice over the fabric. If you want a lot of colour you can completely cover the fabric or you can choose to have less by not covering it completely. I’ve tried both and I like the more ‘airy’ look of partial dye. The ice dyes slowly and the water and dye find their own ways through the fabric. Various fabrics will give such different results.
It is best to wear a dust mask to avoid any dye powder from being inhaled. For the children’s craft I placed a tiny amount of dye in miniature glass bottles to allow tiny sprinkling as this dye is very concentrated. Navy is a great colour as has many shades even when highly diluted.
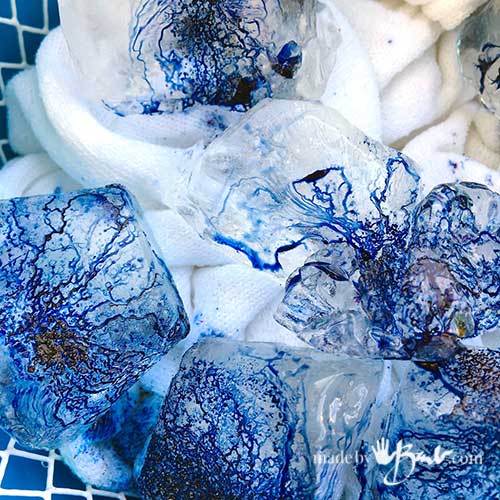
We made these out on the dock and then set them in the sun. How quickly the ‘blue rivers’ started on their way…

Bonus; easy carrying!

After a short time the ice was almost gone. This is going to be a very colourful shirt! Lots of ice and dye were used on this one.
Dye some cotton socks as well. If using a variety of colours there will be more chance of colours mixing. Use the theory of colour mixing to determine what colours work best with each other. Otherwise you may make some muddy colours.
I have used the navy many times in my shibori pillows and duvet cover and still love it! For some unknown reason (prob the colour mix) some lovely purples sneak out of the dye sometimes.

The Finishing Process:
Generally I tend to use some heat as a final assurance of setting the colour but it is not mandatory. You can just place the bundle in a garbage bag in the sun for a few hours as it will also heat up. Or you can transfer it to a plastic bag and microwave (dedicated) for a 1-2 minute warm.
Once cool rinse in cool water until it runs clear. You may just let it sit for a day and not heat it. I have not had problems with losing colour. I believe the strong black colours need the extra heat setting.
It can now be washed and dried as normal. Easy peasy…

It is wonderful to see the unique patterns and designs that magically appear! That is why I love the blue, it’s wonderful at any tone!
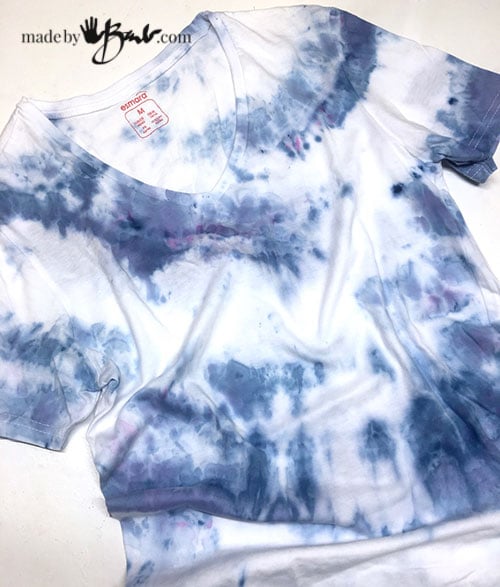
This one was not as completely covered in ice and dye.

I love my ‘waterblue’ shirt! And now I’m checking for white stuff that I can dye…
What an interesting effect!
Yes! It’s so much fun! ‘Hard to control myself! oh… just thought of Jean jacket…
Really cool! Will try!
Glad to inspire!
Cool Barb, I want to try this! You are such a fabulous teacher!
Haha! Fun to spread the creativity… Still more variations in my head!
Love everything you do! So talented
Talent? Maybe a bit – But lotsa determination to get things figured out. Once you get that notion of ‘I can’t do that’ out of your head many things are possible…
I was looking at the dye ice one and I was wondering do u show pics of them?
For sure! See this post I am not sure why you don’t see them.
love this, just beautiful … i do a lot of dyeing, just love color therapy … but have not tried ice yet as I do not have an ice maker and small freezer … some people use snow but that won’t work for me here in Florida! Thank you, just lovely and excellent teaching as usual.
Have you tried other dyes with this ice method? I just purchased some cochineal (after being inspired by your cochineal eco printing tutorial) and was wondering about trying that?
Oh, I don’t think the cold would help it adhere to the fabric. I’d save the precious cochineal for the eco printing. Fibre reactive dyes are quite economical and whole different thing. So much dyeing so little time!
This is so pretty Barb. I’m wondering if it works well on silk. I have heard people say they use fiber reactive dye with silk but I never have. Do you know if you can and if you have to do anything different? Thanks. Sherry
I started withe the fibre reactive due on the cotton in the shibori style. I have also applied it to silk and it is also amazing. Since silk is also a protein fibre like wool it is the same way by soaking in a vinegar solution before dyeing. Cotton uses sodium carbonate as a prep. See here for the methods of dyeing shibori style which can be applied to silk.
So just vinegar will help the silk absorb the color permanently? No mordanting? That’s cool.
Thanks Barb, I wish you were my neighbor.
I mostly ice dye with cellulose fibres like cotton, linen, rayon, hemp. The silks and wools are considered protein fibres. Wool does not absorb water well so I am not sure if it would ‘hold’ the dye long enough… testing is the way to figure out.
In the finishing process you state w/ black colors the fabric needs an extra heat setting. How would you do the extra heat setting. Does this include dark blue as well?
There is a few trains of thought; short blast of high heat or long ‘batching’ at room temperature or warmer. As far as I know all the colours are the same in that regard. An easy way is by warming in a dedicated for dyeing microwave. Some just leave it in a warm place for a day…
I had never heard of ice dyeing, but it sounds like it would yield interesting results. Thanks for the inspiration.
It is very fun since you never quite know exactly what ‘magic’ will happen. After many years of totally being able to ‘control’ the media there is something refreshing about this! Enjoy! Embrace the uncertainty!