Marvellous Maples to Eco Print
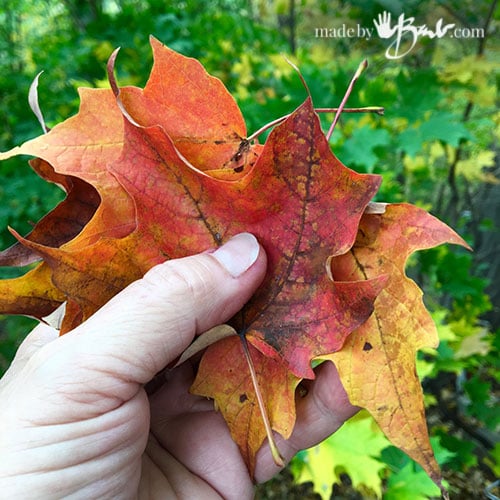
You may have seen someone picking up leaves and wondered ‘what the heck’?! Here in Canada we are in ‘full colour’ and as an ‘Eco Printer’ I am gathering up these gems just like the squirrels with their nuts. Oh, ya it may look like I’m nuts… but these are such Marvellous Maples to Eco Print. Let me convince you.
Amazing Colour:
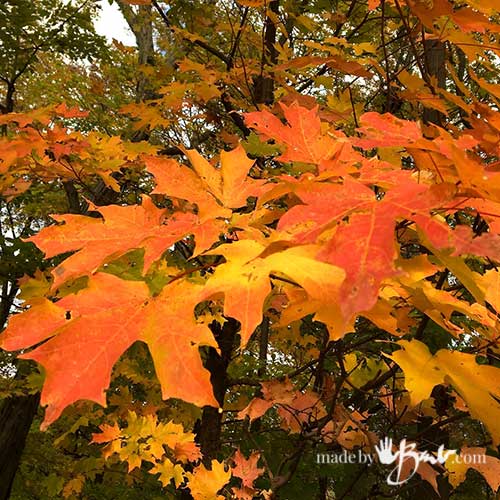
I am fortunate to have a forest view and am mesmerized by the amazing colour each year. I am not if it’s because I have discovered Eco Printing or because it’s an amazing year but I am ‘Uber’ excited this year! The rain has possibly made sure that the leaves have held well and not dried so quickly. Being an artist and painter I admire how mother nature can mix up such vibrant pigments!
During the year the maples are nice as well but almost all just green, whereas in Autumn each tree gives a bit of it’s own show; colour variations that let us differentiate the species even more.
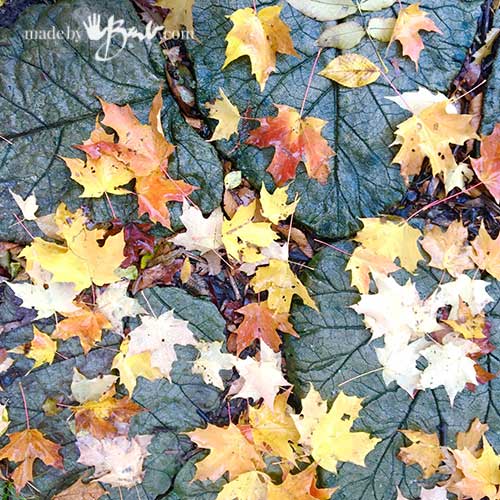
Maples are everywhere here so I have not given them their true credit. There are many many varieties and due to their high tannin content they are fabulous for eco printing. Usually I have grumbled for the mountains of leaves that I need to rake but this year I am more likely stooped over and finding the most perfectly coloured ones.
Stock Piling:
There are many ways to make sure that you have enough to get you through the winter. I like to save them flat but they need to dry first. I will layer them between newspaper (3-6 sheets) and check on them to make sure they don’t get mouldy. The piles can be stacked but preferably not too tightly as they will not get the air they need to dry. Keeping things organized by kind & specie is a good idea. Reusing the clear containers from salads is a perfect storage system.
You should realize however that the colour r see may not; probably will not be the colour that prints, hence the magic and surprise!
Due to the abundance of maples for me I am working to get some yardage for sewing projects. For these prints I have used cotton sheeting and some linen as well. Make sure to scour your fibres well by a good long soak in hot water & washing soda and a squirt of soap. It’s amazing what ‘yuck’ will wash out even the cleanest new fabric.
For the most simplicity of printing this method only involves preparing/mordanting the fabric and soaking the leaves in iron/rust water.
Mordanting the Cotton:
I have mordanted these with Aluminum Acetate. I make a homemade Sodium Acetate by mixing baking soda and vinegar, adding vinegar until it no longer fizzes. This is then mixed with a solution of Potassium Aluminum Sulphate (Alum) to create the Aluminum Acetate. My proportions of the mix are somewhat estimated, a tablespoon of alum to 600ml of water and the 600ml of the sodium acetate in a bucket of water. Let the fabric soak in this over night and then let dry. Rinse and then soak in a bucket of a solution of chalk (calcium carbonate). Rinse well, wring out well and then the fun begins!
I let the leaves soak in the iron water for about 20-30 minutes (stronger solution will give darker/duller colours) blot them and then place on the fabric with the vein side down. You may experiment to placing them the other way as well but I have found that they print much better from the bottom.
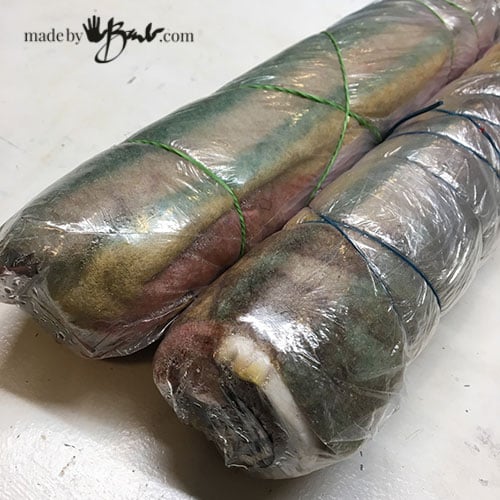
The world of eco printing is like art, there are so many ways to variate for different results. Do be safe and wear gloves to protect from absorbing the metals and chemicals. Once the leaves are placed the fabric is rolled on to thick poles with a barrier layer of plastic (which I reuse many many times) and tied tightly. See some basics in my post here and here. It is processed with heat and I like to steam mine for about 1.5 -2 hours or use my ‘alternative’ method which uses much less power.
Bundles of Joy:
My bundles of joy are always so exciting to open! You plan and take notes to recreate but sometimes mother nature just likes to play with you.
Once cooked you can wait and let them cool or be impatient and open right away. Peeling off each leaf and seeing a surprise never seems to get old.
Before and after:
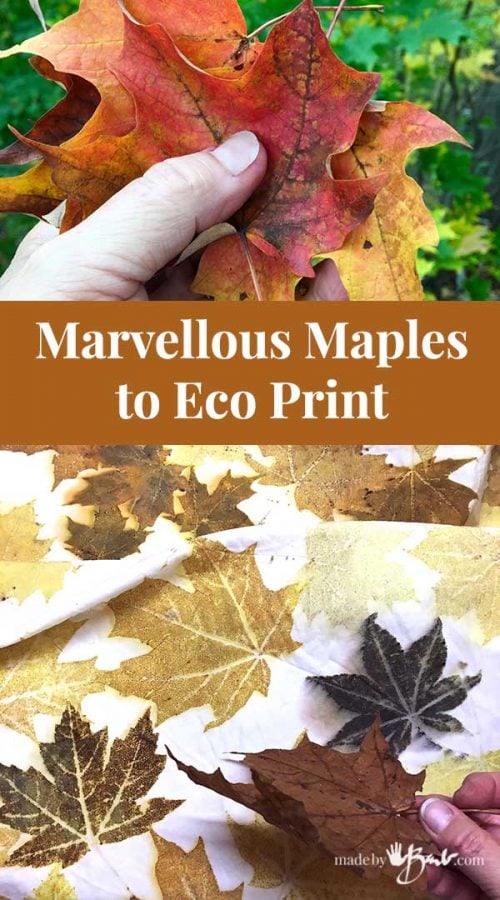
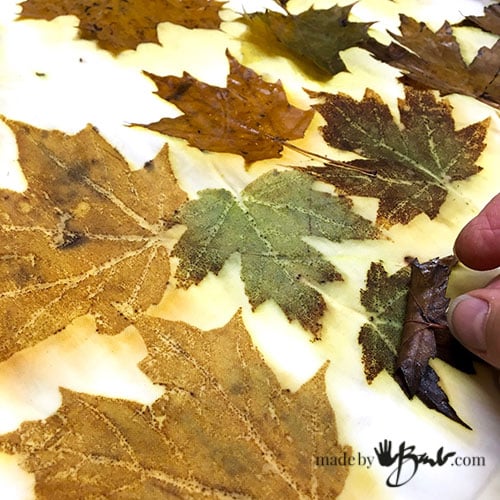
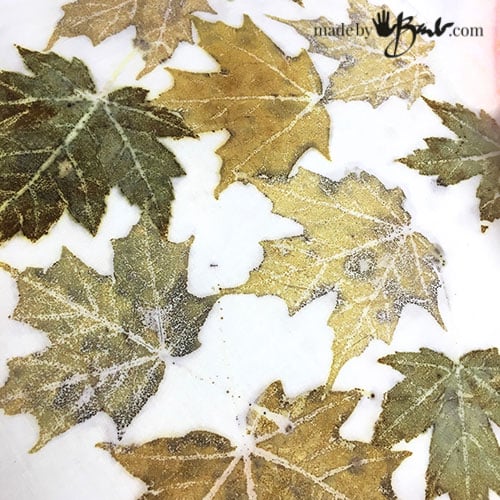
These 2 images show the leaves before and after processing. A dark red becomes a brown, a pink becomes a cool green and golds become ochres. This is by no means the limit. Varying the mordants and pretreatments can also impact the colours.
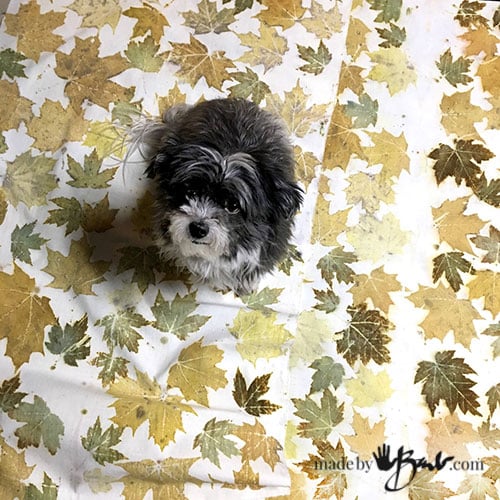
Here is another before & after; there are such wonderful variations of the tones, like a watercolour painting! These designs are bonded permanently to the fabrics and will wash well.
I love my eco printed silk scarves but these have a simplicity about them… wait what they will become. There are a few bags of leaves calling my name right now and some fabrics to wring out. Hopefully there is some maple tree smiling down at you too!
Oh, how do I love our national leaf! How wonderful and magical… I hope you stop to pick up a few leaves for your own Eco Printing




Thanks Barb for such generous sharing of your knowledge.
I am in Pakistan and having lot of kinds of plants but how I can test that which one having more tannins?
Well, there is information floating around and a few books. The best way is with running test prints! Rose leaves, sumac, eucalyptus, walnut, all kinds of maple, weigela, Smoke bush, are a few of the best. ‘But conditions of where they are are etc will have some effect on the prints. Dive in, you’ll love it!
Wow its amazing how you explain about mordanting the cottons. I can’t wait to try it
. Did you soak the fabric in cold solution or with hot solution?
I soaked it a cold solution. I like to save energy as you can see.
Just beautiful! Can this same technique and mordant be used on wool? Or must an iron mordant be used on wool?
I always use the aid of iron but some leaves like Eucalyptus print amazing on wool with light use of iron. See here for my wool jacket. Here is the printing on wool.
Hey Barb! Thanks.
I’m from India. I tried some native leaves today.
Soured my cotton fabric well, Mordanted with myrobalan, placed my fresh leaves and boiled for an hour! Only step that I missed, is dipping the leaves in iron solution. That must be the mistake.
Believe me, not even a single leaf got printed. This is my first project and failures do not stop me!
But, I’d like to know where I went wrong, so that I’ll do it right in future!
Thank you for your reply Barb!
My rust water is in progress. Will make my iron blanket and try with it soon!☑️🥰
Barb you’re an angel for sharing your knowledge! I am just dipping my toes into eco printing and NO ONE will message me and tell me their ways! Except you! Thank you for sharing your beautiful craft. Do you find soaking the leaves in iron to produce more colorful and clear prints vs. the iron blanket? I did an iron blanket with okay results for my first time! Next experiment is to soak leaves in iron to see the difference. Then I will try to play with cochineal and logwood. How long do you soak in the chalk bath after mordanting? Thank you again, I read your comments and blog daily!!
There’s differences in the ‘look’ between the ‘blanket’ and the ‘dip’ method. The blanket has more ‘outlines’. It also depends on the strength of the iron in both, and the tannin levels in the leaves… Nope, so many variables so experimenting is key!
Barb, you are such an amazing woman!!! Thanks so much for sharing so much! I love leaves soooo much, andI will try your ideas and methods with my Colorado leaves. Thanks again!
Awe, let me know how you make out! Not a fresh leaf in sight here yet! Happy printing!