DIY Concrete Vampire Rocks
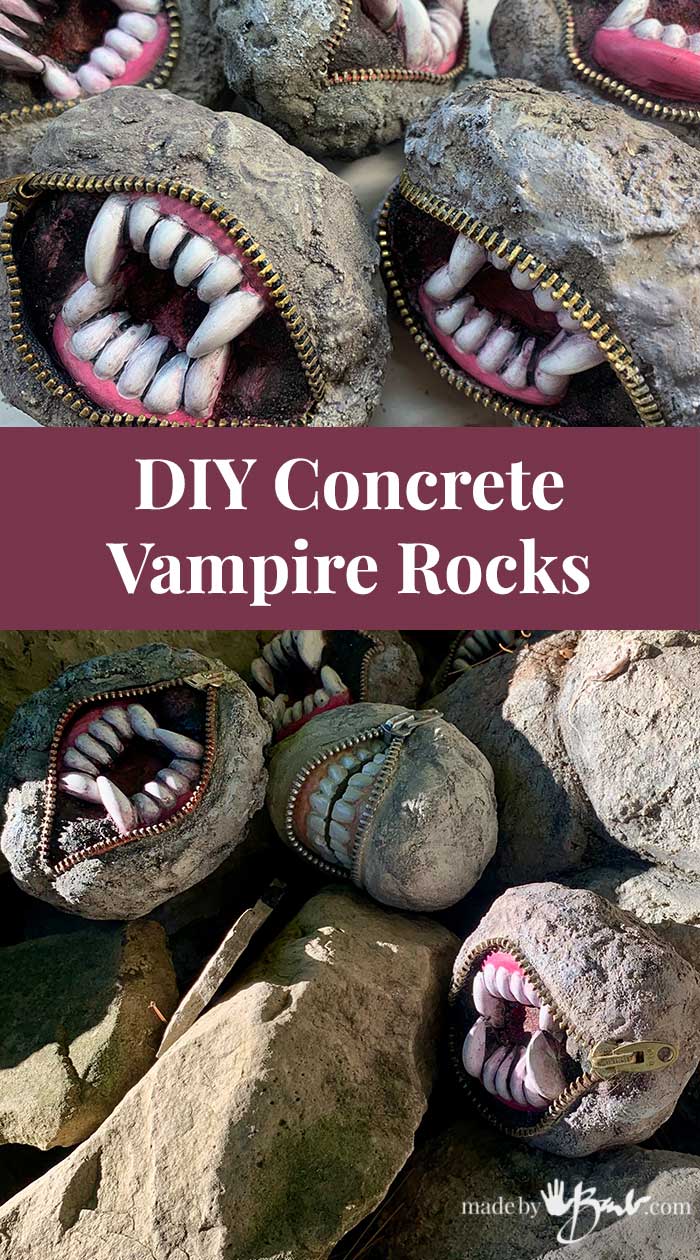
You’d never believe how some of these crazy ideas ‘hatch’! Everyone is allowed some silliness – here’s mine; DIY concrete Vampire rocks, just don’t scare the kiddos…

I see my designs for the Rock Eye Peepers and Smiling Stones (zippered teeth)all over the net. Sadly there isn’t credit given most of the time, but that’s the nature of this ‘net ) Anyways; you see it here FIRST – Vampire Rocks made of concrete just in time for Halloween!
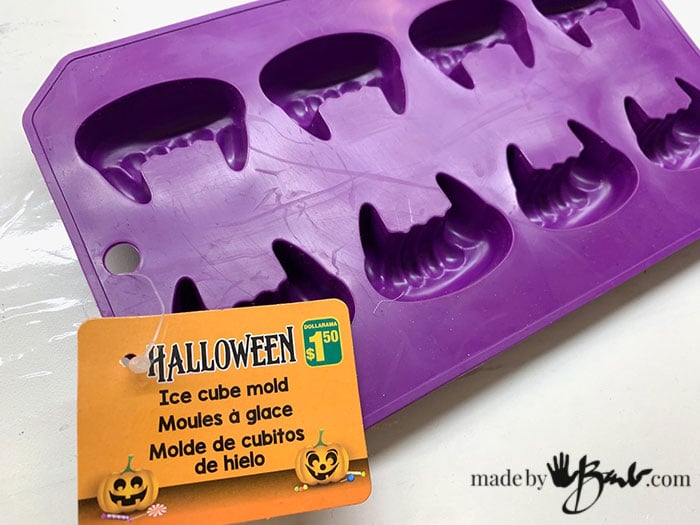
The Mold:
When I bumped into this mold at our local dollar store I knew I had to make the ‘Vampire version’! It is intended for ice cubes but worked great with concrete.

Find some old zippers (they can be extra long) or even take the out of some clothing that is going away. I happen to have a lifetime supply since my mom was resourceful and would disassemble zippers from discarded clothes ( war-time habits).
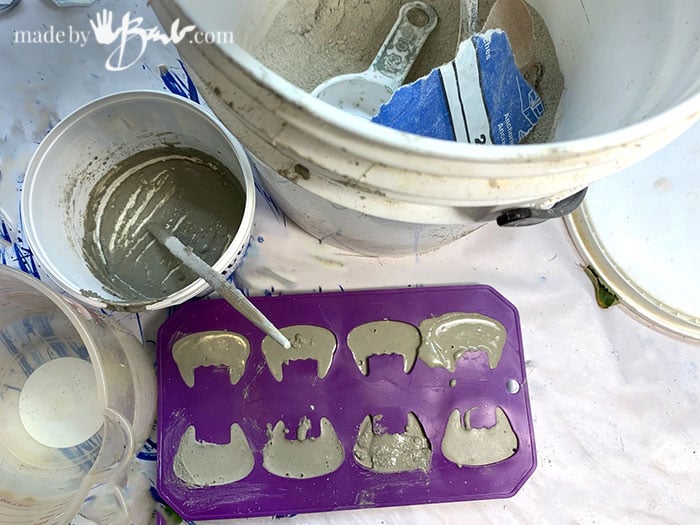
The type of Concrete:
Just like when using a recipe be sure to use the proper type of concrete mix. I need the mix to cure quickly so I use the Rapidset Cementall. It is my favourite dry mix that ca be used thin and thick. The teeth can be poured a bit shallower if you like the teeth not to be so thick. Tap the mold so that will be nor bubbles in the teeth.
**This Cementall is not like regular concrete so do not add as much water. Be careful, this mix will start to set up quickly so be ready. CHECK OUT THE VIDEO BELOW
They will be ready to unmold in an hour and I find they are very strong.
Forming the Rock:
A method I learned from my sculpting days is crumpling some tin foil (bulking agent)into a shape that is flat on the front and a round type of stone shape in the back. If more form is needed add a bit of the foil where needed & hot gluing it.
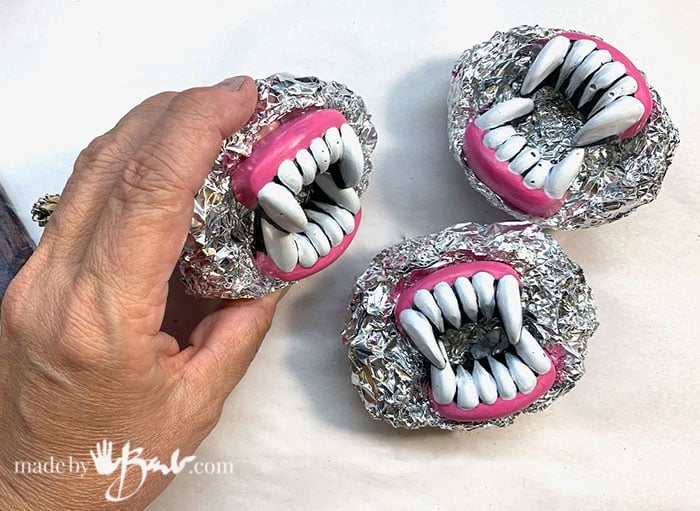
I find that it is easier to not glue them in place…
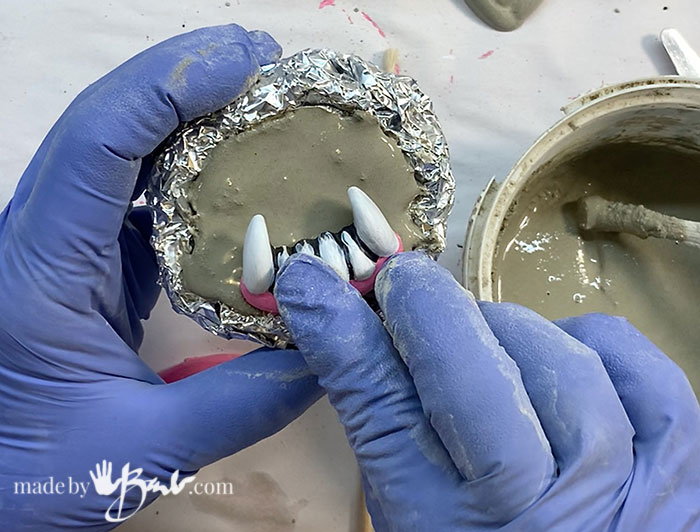
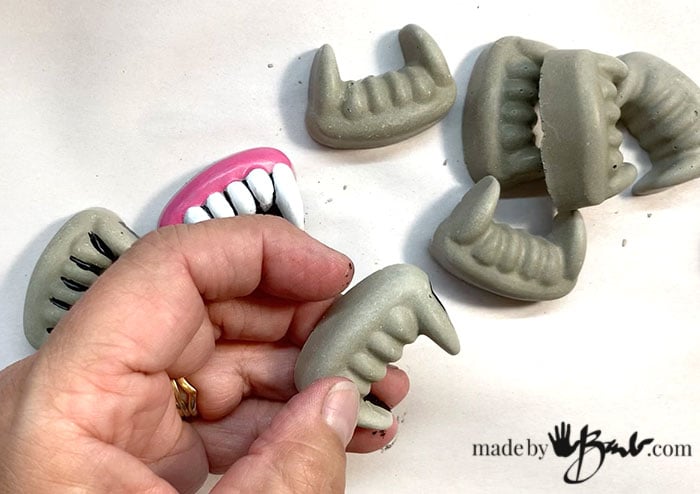
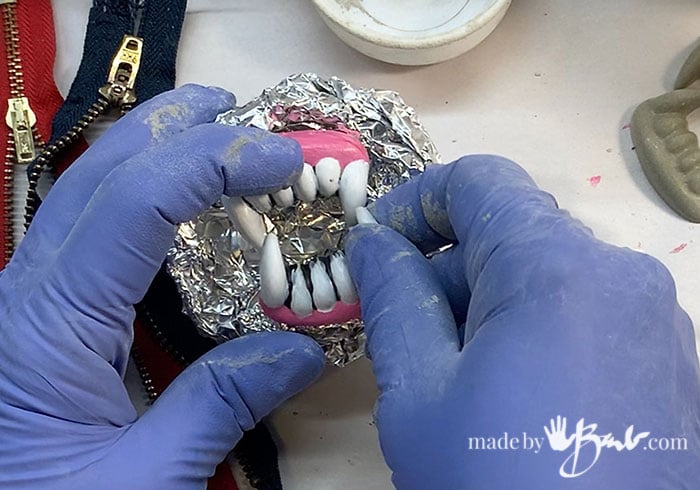
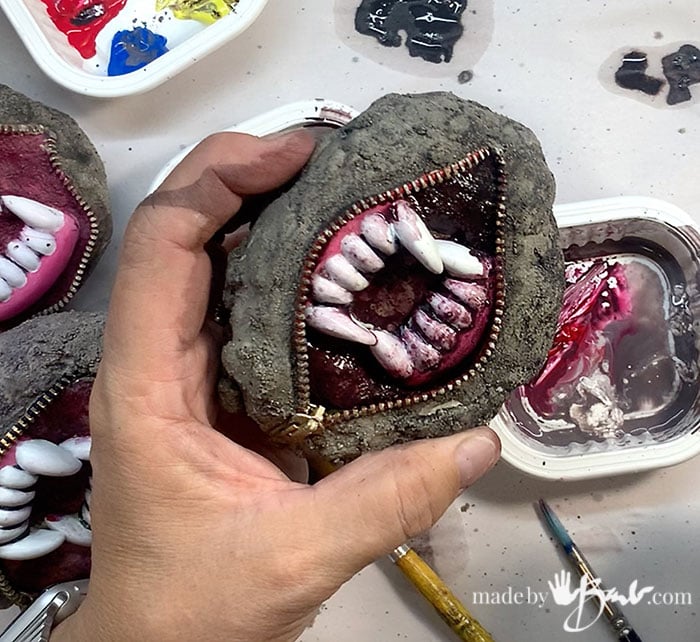
Setting the Teeth:
I set the bottom teeth into the wet concrete and then add the upper teeth so they can overlap a bit for more realism. There really aren’t any molars here.

Using a painter’s palette knife or stir stick add a tiny bit of concrete above and below the gums. This can now start to cure before adding the zipper and rest.
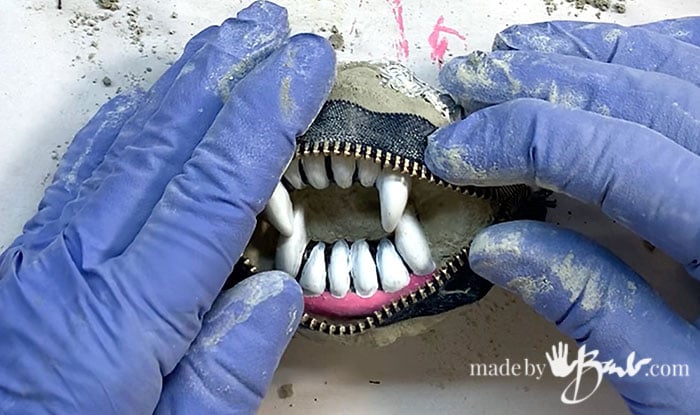
Fit the Zipper:
Test fit the length of zipper for the arch preferred at the lip’ edges. If need be tacking the open ends of the zipper and centre point with a hot glue gun will hold it until the addition of concrete.

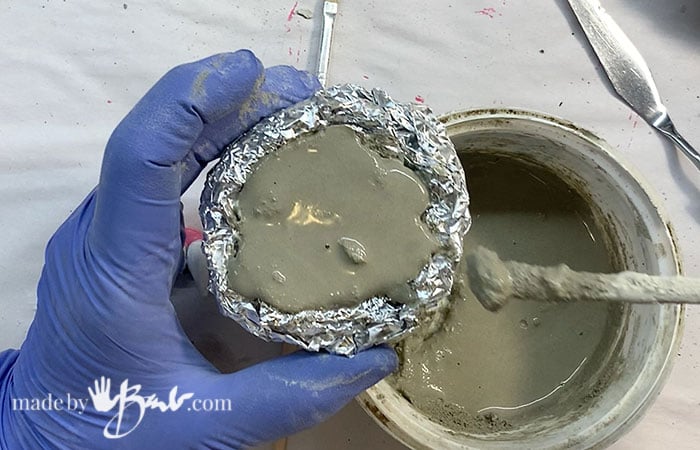
Adding the rest of Rock:
Mix about a cup full of mix to slightly thicker consistency and allow it to sit for a couple of minutes or so to be scoop-able without dripping and more sculptable. Keep in mind that there can be cheeks added.
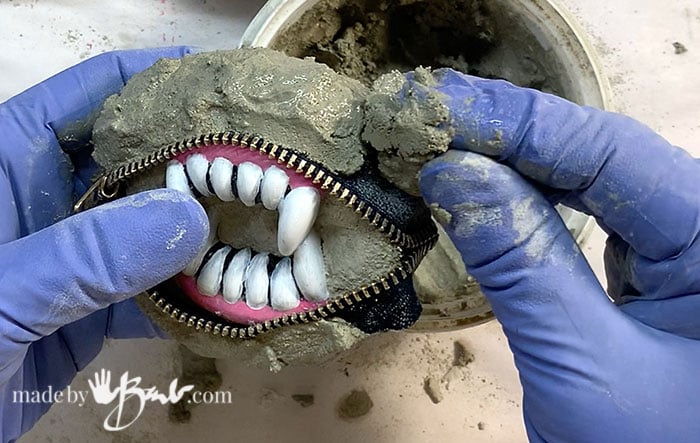
This is supposed to look like a natural rock so don’t try t keep it too smooth. Rapidset Cementall concrete will start to stiffen quickly allowing you to handle and turn the shape. If you wanted even more texture you could add some sand onto the surface. Rockery has lots of dents and divots.

Use an old brush to clean up the edges or an concrete that got onto the teeth, zipper pull or zipper teeth. Check that there are no openings (if you want to leave outside water should not be able to get inside) Let it finish curing.
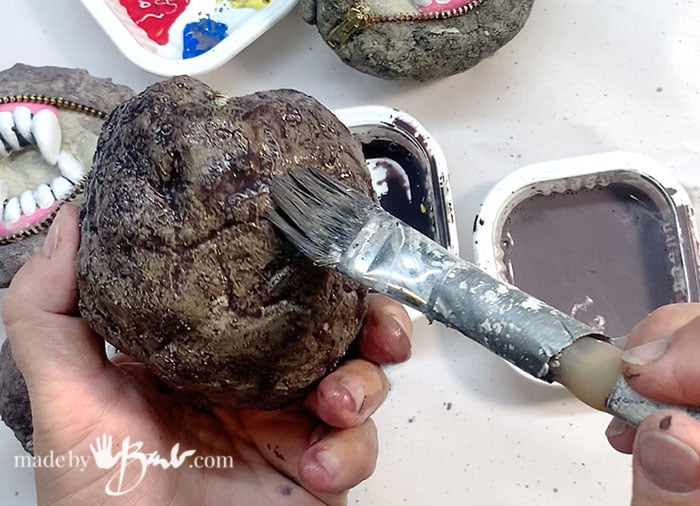
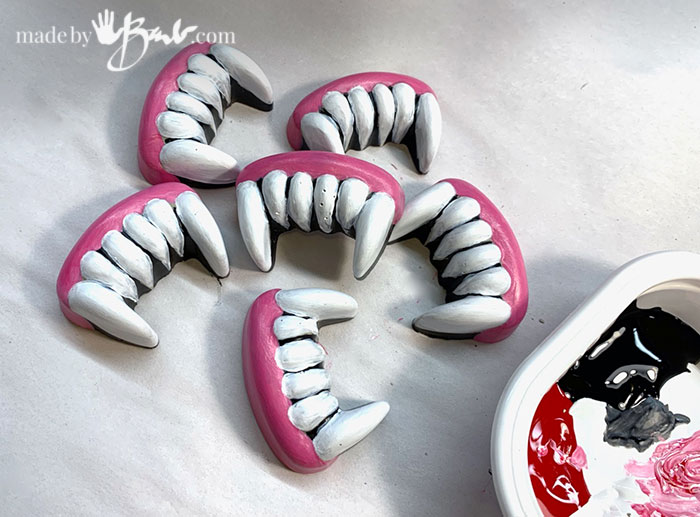
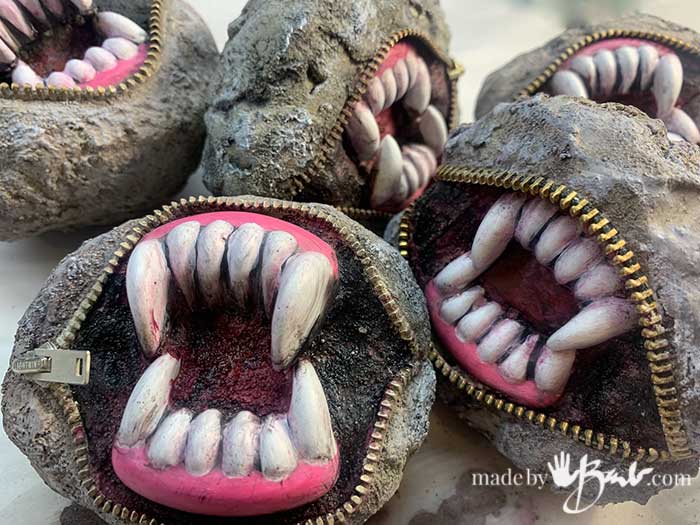
Finishing the Vampire Rock Look
To get them to look realistic, mix some colours with a bit of black acrylic paint and quite thin like staining. I brush it on loosely so that it runs into the cracks.
Since there are no molars the mouth opening can be painted quite dark to show depth. Any excess can be wiped off with a rag, or it may even look appropriately gory.

Maybe you want a bloody look by adding some red acrylic paint and a bit of gloss medium. Have fun and be unique to your own…

I have some of these with the concrete vampire rocks in my garden and enjoy when they get that startled look by passersby! They last quite well, even through the winter.

Faux rocks with eyes and teeth sitting on faux rocks – call me crazy… If you are nervous about crafting with concrete check this helpful post.
This is the first time I have seen these vampire rocks. They are hilarious!! I look forward to your ideas/blog every Sunday. Thanks!
I love these!
These latest Halloween rocks with teeth are so creative! Are they for sale? My brother would love some!!
Hmmm, I’ll see what I can do…
Barb, you keep outdoing yourself. Your creativity knows no bounds. Brava! for the vampire rocks. I love them. Keep up the amazing work.
Dorothy
Actually, I think imagining ideas is the easiest! It starts by ketting yourself be a bit unconventional and accepting of whatever pops in your head… Nurture the creativity from a young age!! I was very fortunate.