How to Easily Fix Broken Concrete
Hopefully, I am not the only one who likes the challenge of fixing stuff… Waste is terrible so being able to salvage & repair is rewarding. When ever you’re a ‘maker’ you are also a ‘fixer’. Let me show you how to easily fix broken concrete.

What type of concrete pieces can I fix?
First, let me be clear here; this is meant to repair decorative concrete pieces, like statuary or ornaments. Safety is always of the utmost concern so use common sense when repairing your specific concrete. Any concrete pieces that have a threat of falling should not be repaired with these instructions unless tested well.
As a ‘concrete crafter’ breakage sometimes happens or weather creates some damage. Perhaps you are rescuing a vintage piece as well.

What makes concrete break?
I live in a climate where we get a huge fluctuation of temperatures. The reason I gravitated to using concrete in the first place is that it has a sense of permanence, so I can leave my creations outside. In my ‘design’ mind making things without the use of a kiln is great!
Since concrete pieces like sculptures and statues stay out during the winter they do freeze. The common problem of breakage happens when water gets into the concrete, freezes and therefore expands to crack the concrete. If possible consider those risks BEFORE they happen. It is advisable & vital to keep areas from being able to collect water. I have a lot of metal watering cans that have a bowed bottom; as the water that froze in them pushed the bottom out.

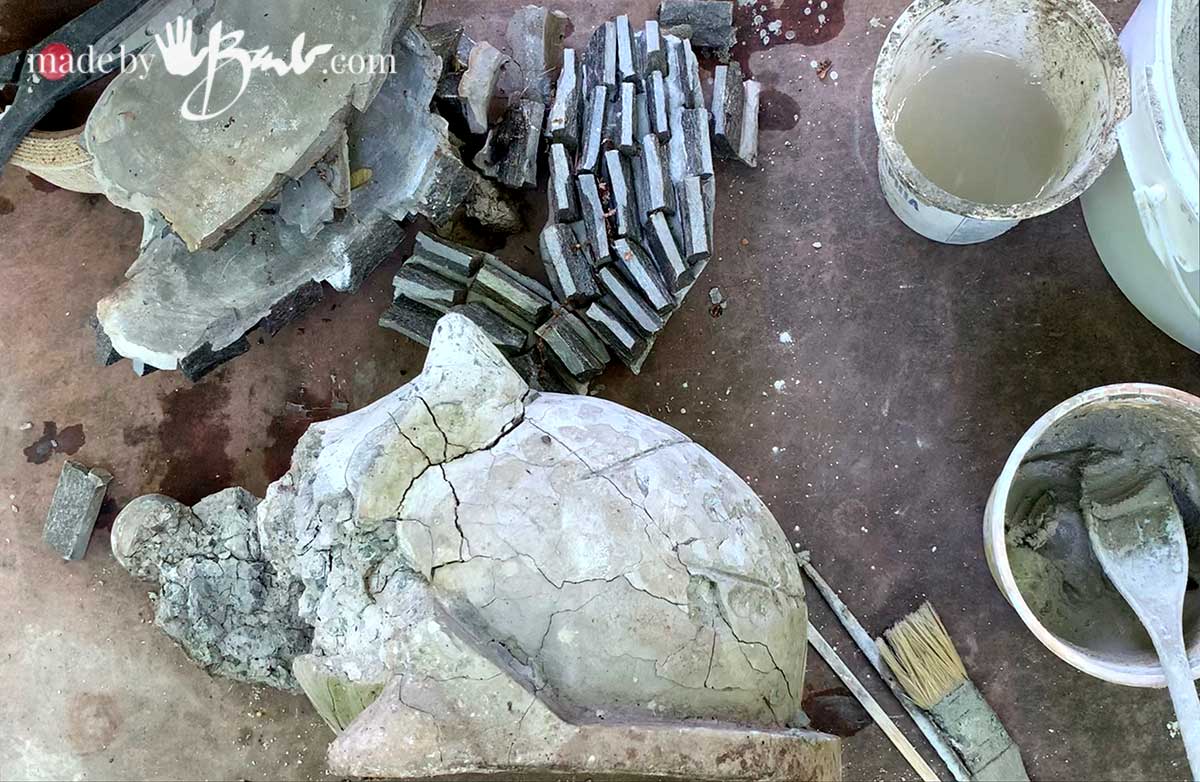
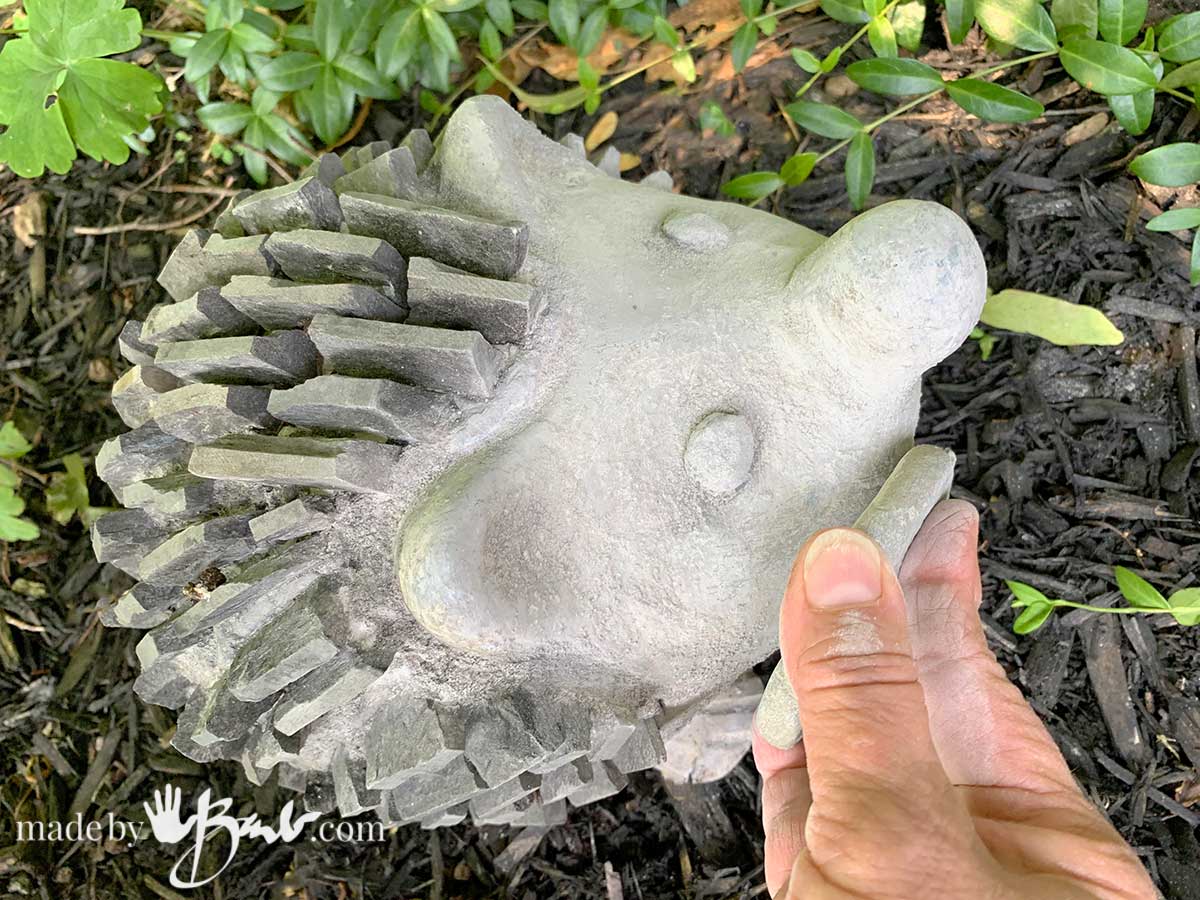
This small concrete hedgehog was bought a few years ago. He is heavy concrete but has a void underneath to make him lighter. It seemed that it would withstand the elements here easily – buy it didn’t. Also, notice that the stones were grouted onto the concrete body with something different. Let’s make sure to use the true proper term; concrete, as cement is actually only one of the elements in concrete.

What do I need to fix Concrete?
I like to keep things simple. Yes, there are epoxies and glues on the market that do just that; glue pieces. For my ideal fixing I want it to look just as new, fixed and well camouflaged to hide the repair. My tools include basic things like mixing utensils, brush, putty knife/palette knife, scoop and reinforcing tape like fibreglass drywall mesh. (Above; fixed leaves that were cracked in half, and Rock Eye Peeper that had a very bad journey in the mail system) To see these repairs in action see the video.

What product will repair concrete?
As a hands-on maker I learn by doing, not by being told. Over the last few years I have used this Rapidset Cementall for many projects, often really testing it’s ability and strength. (no paid endorsement here) In the world of premade concrete mixes I have not found an exact comparison yet but I am also limited to what we have/get in Canada. The bag also states it is a concrete repair product. I am sure there are other compounds, sometimes called concrete crack fillers/caulk that are applied in a caulking gun but I like that I already use this and it is concrete. I would welcome Quikrete concrete to design a similar product/repair mix.
As you see it has multiple uses and one of the key specifications to note is that it is ‘non-shrink’. There are often percentages that concrete shrinks and that can cause cracking and also limit how you use it. The reason they saw-cut lines in a driveways is that if they do not, the concrete cracks wherever it feels like, even if just narrow cracks, that is especially true in larger slabs and sidewalks.
As per usual working with concrete follow safety rules. This concrete mixture is even finer than others and contains very fine silica dust, so wear proper dust mask, gloves and protective gear.

Repairing damaged concrete:
This will be quite the test, as the repair area is all loose concrete. Scrub off any dirt or loose debris (use a wire brush if needed) I figured out where the pieces go together in the damaged area and make sure all existing concrete is wetted. The reason for this is so the new repair concrete bonds better and does not get robbed of it’s moisture by the thirsty old dry concrete; very important. I know there is a bonding agent that can also help but I’d suggest one made for the particular product so as to not affect the chemistry.

Working with Rapidset Cementall as Patching Concrete:
Rapidset Cementall is a very fast setting mix. I usually work with it in such small quantities ( I would not be able to work fast enough for a bucket size amount) for that reason, and heat will also accelerate it. I can mix up more in a jiffy. It takes a lot less water than usual concrete mixes and becomes almost ‘plasticy’. I add the water first and then the dry mix. The mix will start to become thicker in a minute or less so I mix it to about the pancake batter consistency.

Have a spray bottle near by and mist when needed. Now it’s just a matter of filling in the voids and using the concrete mix (about consistency of cookie dough) to hold all together. It starts to cure quickly and holds quite well. Drying times refer to the curing cycle, and remember that temperature effects it.

The brush (cheap chip brush) works great to smooth everything and also hydrate. Brushing over the old concrete will also help unify the colour with the surrounding concrete.

All together again and cracks are not visible.

The sections of the back (cut flagstone pieces grouted had fallen off) are now attached with the same Rapidset Cementall as the glue and filler, remembering to dampen it first.

A final brushing and filling of crevices to assure no water creeping in is important.

Make a your own Sanding Block:
Whenever I’d have a bit of extra concrete mix I would make small ‘patties’. These would cure to be little sanding blocks. They work well as they are quite hard and can take any rough edges off easily. These are less than 1/4″ thick and I can not break them by hand, that is how very hard they cure to, in often an hour or so!

He got some new eyes and a bit of a smoothing of the concrete surface.

Time will tell, but initial testing and some tapping with a hammer; and it has held and is quite solid.

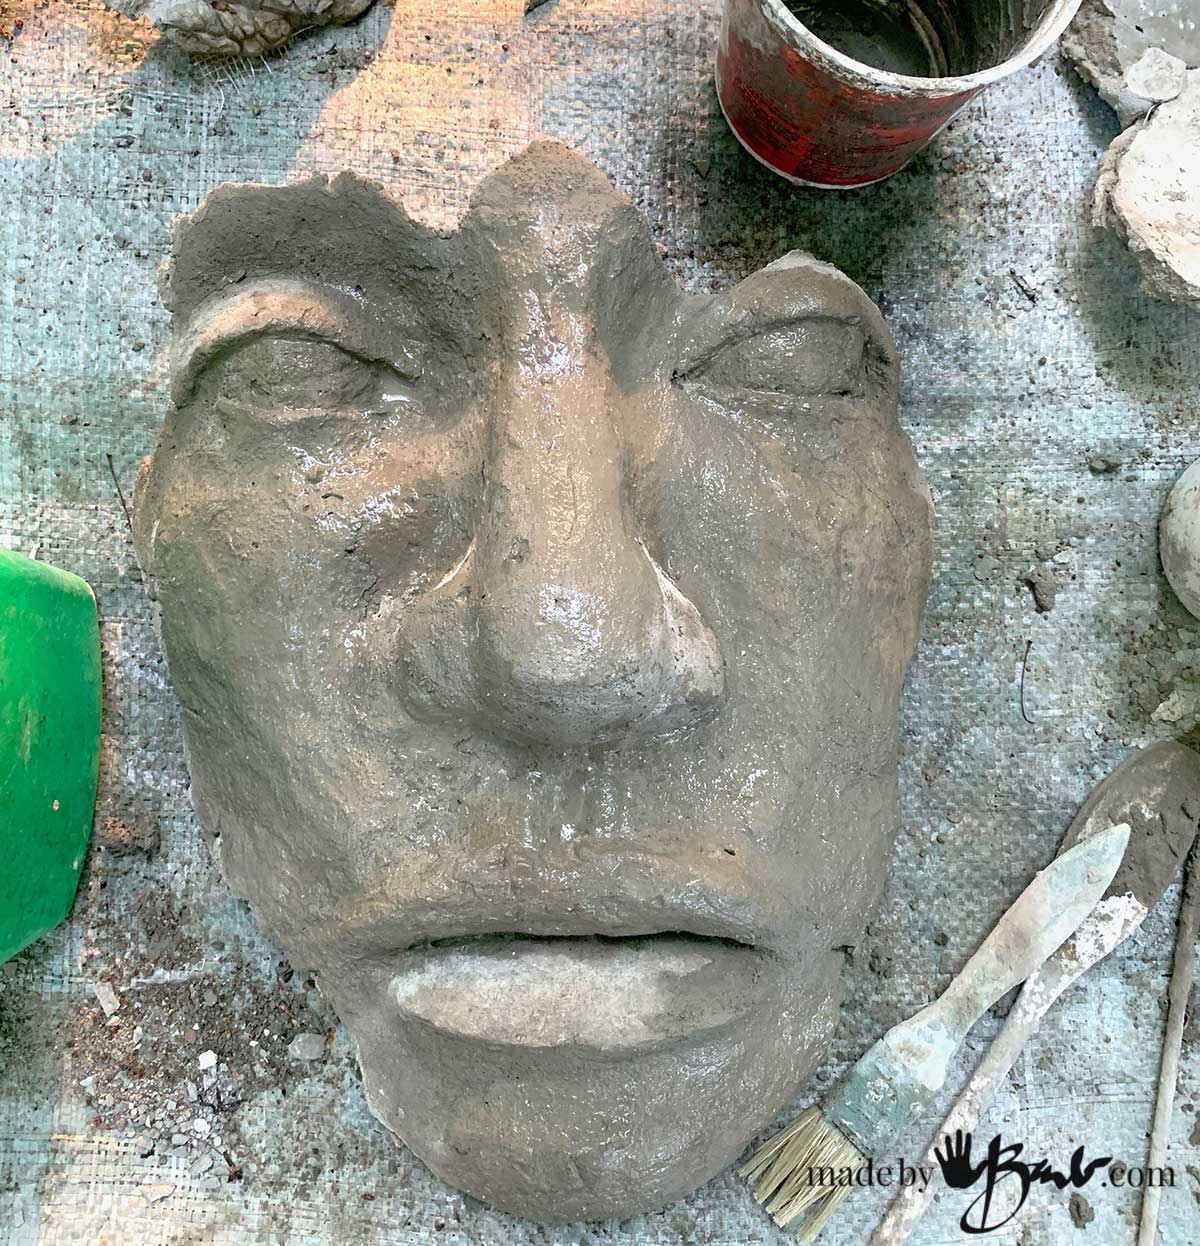
These instructions can work to repair many things, especially if they fit together well. I realized the potential of this concrete mix when I assembled the Concrete Greenman.

The face section had unfortunately cracked but this ‘fix’ has amazed me. Using the thickened mix and then adding reinforcing from the back, including some mesh was a simple fix

It is not noticeable at all! I am not into major concrete home repairs but I’d bet this could also be used to fix concrete steps (walkway),concrete patio, concrete slab and other masonry work. I have used a vinyl concrete resurfacer (when I made the Giant concrete Garden orbs) and they have also stood the test of time.
If you are new to concrete projects here are Tips & Tricks for Concrete Crafting and some info about different mixes; Compare Concrete Mixes for Crafting Happy concreting!

Oh darn.
I was so hoping that you’d be continuing your cyanotype series of posts.
Me thinks you must be doing further exploring and experimenting.
Keeping having fun over there.
Many thanks for all you share.
Jennifer Cooper
Haha! I was doing some this morning! I just try to keep everyone happy as it’s been cloudy here last week. I try to be quite thorough when I present a project so it takes some time.
How great to make sanding blocks from the excess concrete, or deliberately do so. I love your work and graciousness to share two many hints and secrets. I recently dropped a concrete Buddha face and I knew if I just used glue it would show a distinct crack so I used some kine of silicone and I mixed in white Florida sand to make the crack look grainy. It came out lovely and unique one of a kind and looks like it came from a “dig”. Sp fun.
I love it when things don’t look so new and manufactured! I guess I am rustic at heart… Great idea!
If you’re nervous, start small and easy. Maybe just make a small mouse 🐁. If I’m not sure of a media I do a small test run, without expectations/big cost.
Love the hedgehog.wherever did you find him? Have searched and can’t find him.
Well, I did not actually make him (probably why he broke) I bought him at out Homesense Store (Like Marshal’s) here in canada. Perhaps he could be made by working over a balloon like an orb and adding the nose and back afterward. The stone looks like it was cut, but you could use beach stones. 🤷🏻♀️