How to Make a Concrete ‘Green Man’ with Leaves
Taking a project from an idea to a completely finished stage can be a challenge sometimes… Even though I see my concept clearly in my mind that does not guarantee success. One thing I’ve learnt is not to give up prematurely. Come along my journey and see how to make a concrete Green Man with leaves.

In last few weeks I’ve had some challenges with my concrete crafting. ‘But, no problem; I will accept those as valuable lessons. The Quikrete Fast set Allcrete mix was behaving badly. Efflorescence was developing quickly and the things I cast just seemed to crack up quickly after making. I was convinced that it was the age of the mix so I demanded a refund at the store as I had just bought it. I used up the rest and under similar conditions but this time it was acting differently. Hmmm, why did it? The only thing I can figure out is our air quality had been quite poor here since we were having a lot of smoke from the rampant forest fires. It smelt like a bonfire outside. I am going to assume that that was the reason (let me know if you know)
I have successfully fixed some of the broken pieces (will post how to do that soon) & kept going…

Putting the Pieces together:
Creating the concrete ‘Green Man’ design with all these pieces give much versatility and options. I do not like to obtain huge expensive molds and also want each piece to be original so I like this method. That is the artist speaking. It also allows for some adversity along the way.
I cast a bunch of leaves with the Quikrete All-Crete using the young rhubarb leaves (as I’m drinking my strawberry rhubarb lemonade).

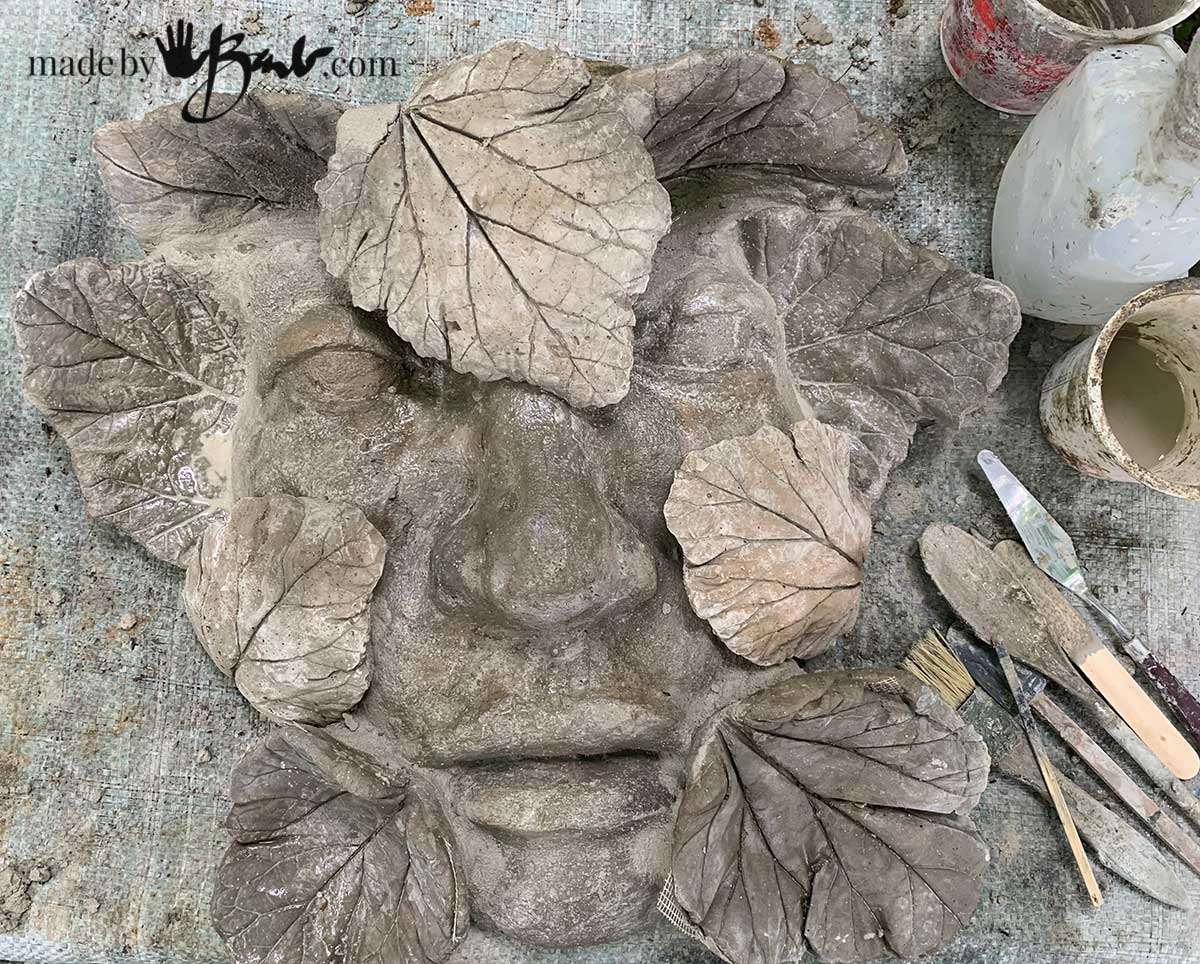
Now is the time to arrange how I like them best. I know; I am not a huge fan of symmetry but in this case I thought it best to keep with tradition. I have a rustic outdoor work station that lets me get a bit messier than when I am inside.

What do I need to work with Concrete?
When I work outside I have a small list of favourite tools and methods. Most of the stuff is weather friendly except the water-tight bucket of concrete mix.
- Rubber Gloves
- Dust Mask rated for concrete dust
- Mixing utensil (chopsticks are my fave)
- Mixing vessel (sour cream/yogurt containers – flexible and small)
- Chip brush
- Plastic spoon
- Palette Knife
- Large bucket full of water to wash hands, scoop water
- Sealable Bucket of concrete mix
- Rags to wipe with
- Apron

How to Assemble The Concrete Sculpture:
Once I had a design plan for how the pieces were to come together I needed a way to attach them that is very strong. I have been working with Rapidset Cementall for many years now. I am always pleasantly surprised. It says it is a non-shrink grout as well. This mix can be used in fluid-like or more thicker consistencies.
That makes it perfect as the thick ‘glue’ to put this all together; adhering the concrete leaves to the main face. If you did not have a face silicone mold like I do, you could sculpt a flat-backed one on a board with the Rapidset Cementall since it can be used as a soft clay-like consistency. This mix does not have any gravel (aggregate) combined with the cement and the ‘sand’ is very fine silica. When it is mixed to a thick ‘peanut butter consistency’ it can be sculpted like soft potters clay.
When you design your ‘Green Man’ he can have a lot of leaves to cover much of the face so it does not have to be so specifically perfect.

You can see how I did the assembly instructions in the video. Whenever adding new concrete to old concrete dampen the old so that it does not ‘suck’ out all the moisture from the new mix. With you gloved hands push the thickened concrete into the crevices between the leaves and mask. Look under and behind the leaves to fill in the cracks. Use a moistened brush to smooth out the mix and even push it in more. Let it cure undisturbed for at least a day. I like to mist it as well to keep it hydrated (concrete needs moisture for the chemical reaction)

Finishing the back:
After the assembly from the front had cured hard I carefully turned him over (with no breakage) I plan to set this fellow as an ornament plaque in the garden landscape so I will probably not show the back. After filling all the voids and again smoothing it out I added a bit more of the thickened mix. I grabbed a few leaves from an invasive specie and pressed them vein-side down into the concrete mix. That gives the back some lovely leaf textures (like my Leaves concrete circles)

Finishing the Sculpture:
If there are any rough edges that you are concerned about being sharp you can sand them. I make a little ‘patties’ of concrete mix that can be used like sanding blocks (in my tips & tricks).
One of the problems when combining different concrete mixes is that the colours do not match. The Rapidset Cementall is very light in colour when it is dry so in order to combine the tones I like to ‘stain’ the entire piece with some thinned acrylic paint. Simply apply the watery solution and let it flow into the crevices and ‘valleys’. This technique instantly makes it look like aged old concrete; which I love. I do not seal it, and have never sealed any of my outdoor concrete crafts (my stepping stones are probably almost 20 years old). If this staining wears away over time it will not be as unsightly as chipped thick paint.

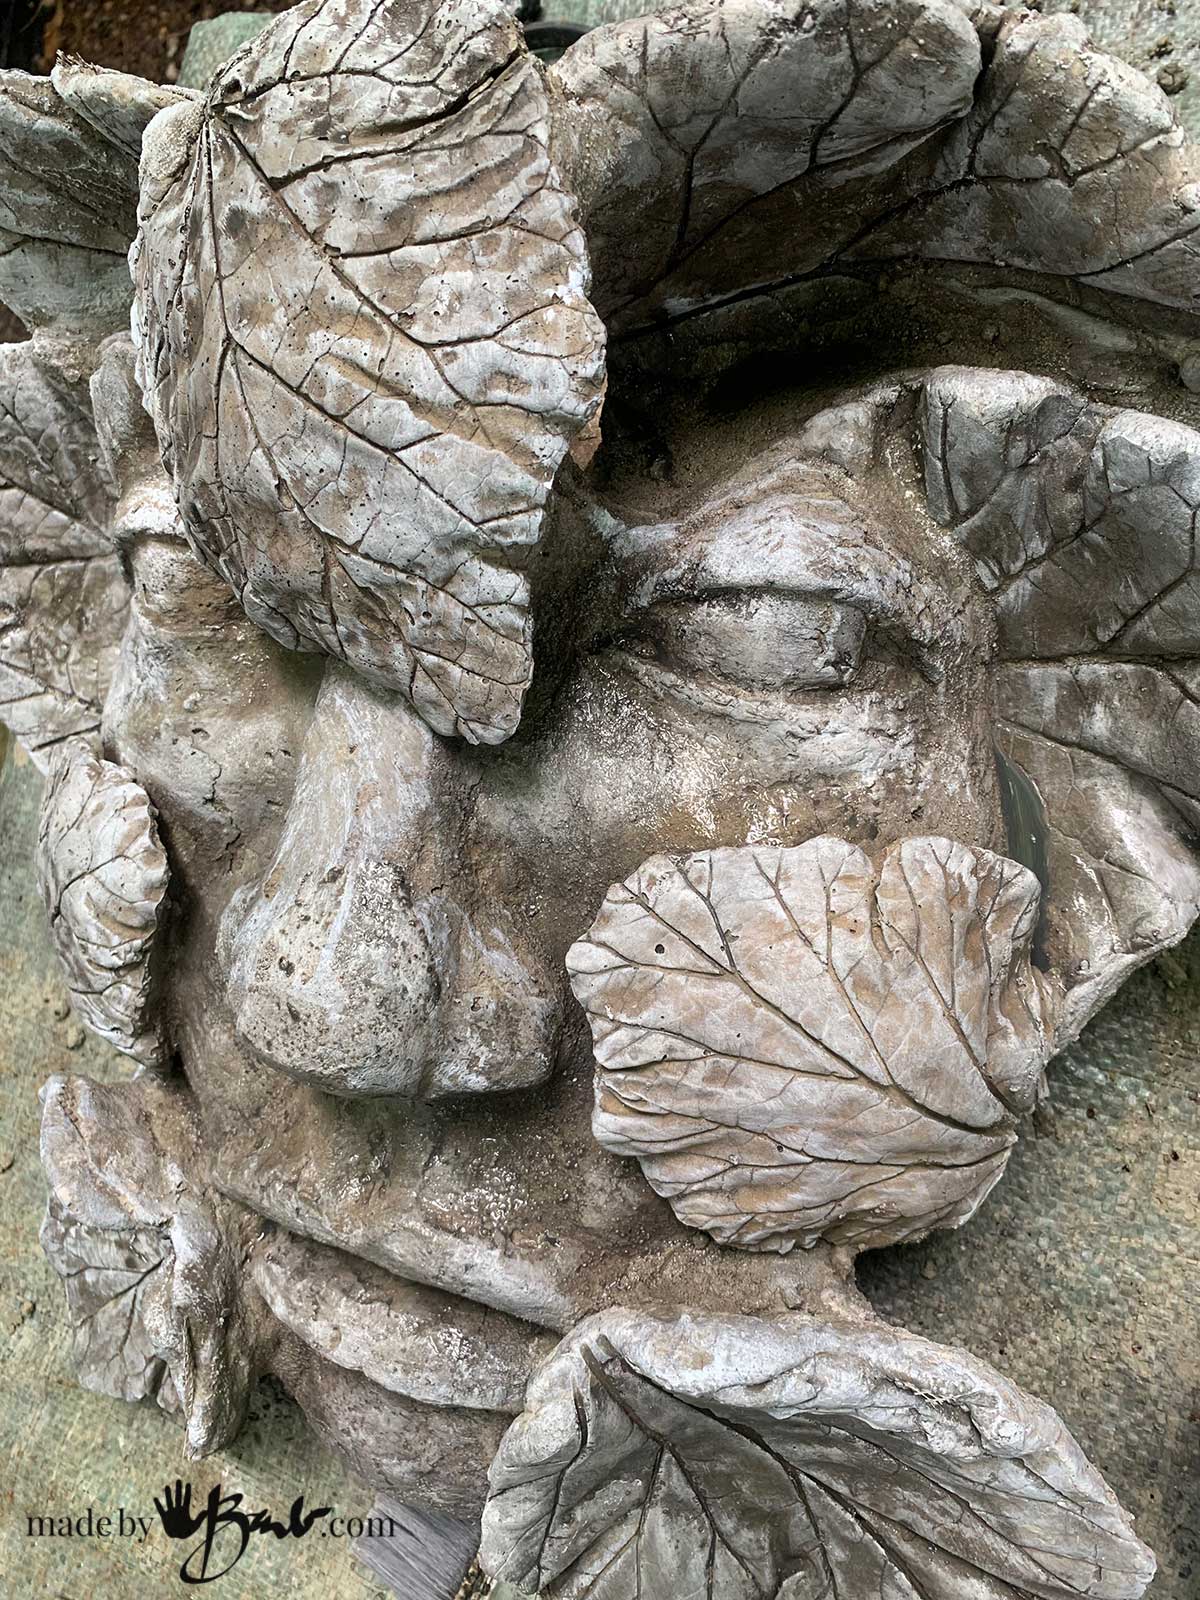
Be aware that the colour will lighten as it dries. If you have any fibreglass mesh poking out you can also burn/cut it away. The leaves textures are so much more prominant now!

Adding some Accent Highlights:
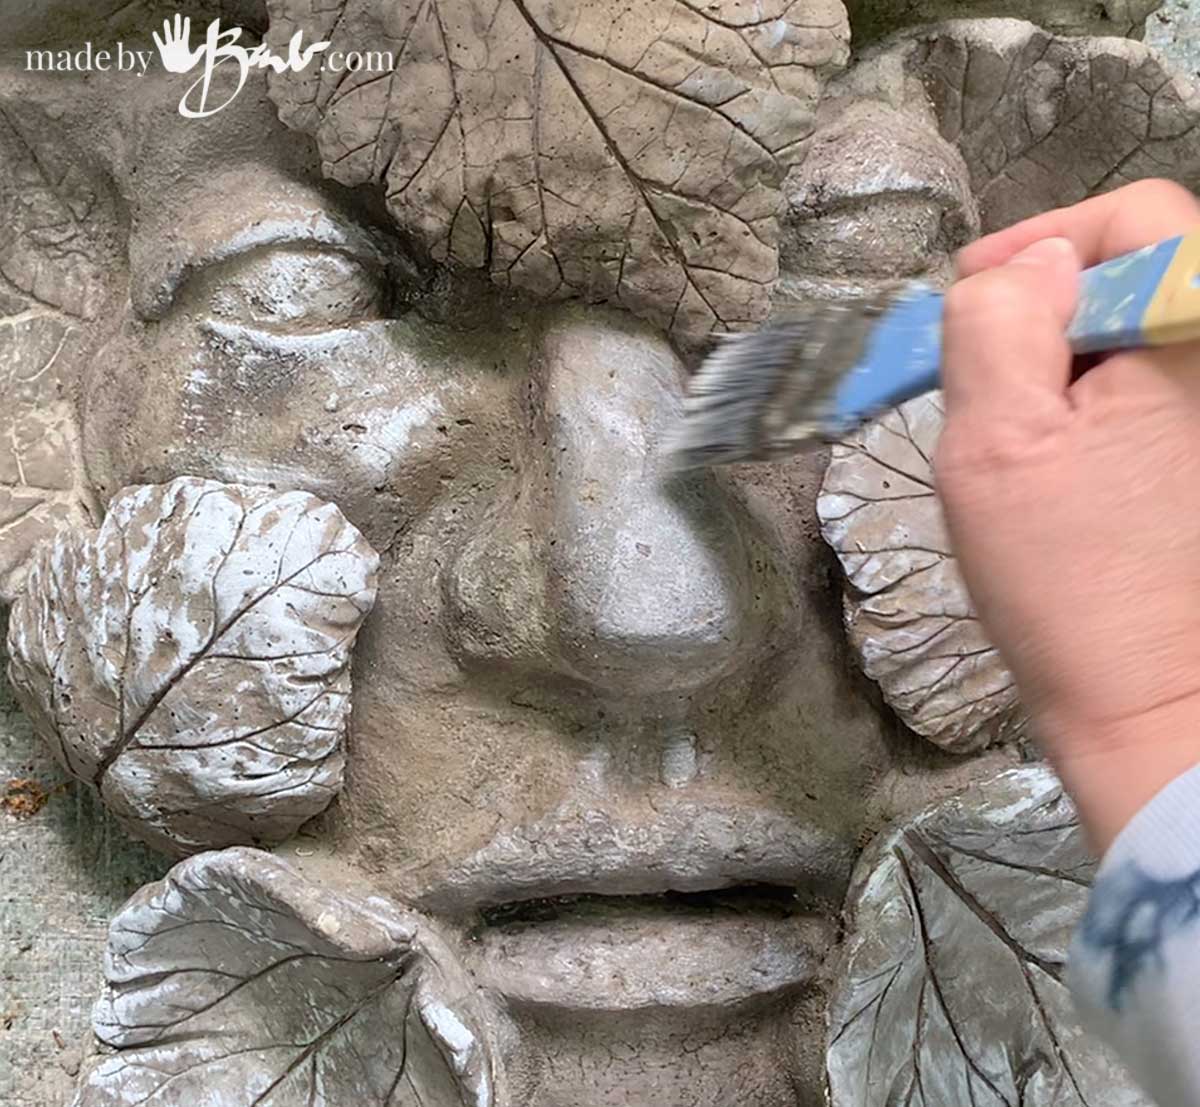
If you feel that the ‘Green Man’ needs a bit of contrast add a dry-brushing of white paint (undiluted but minimal amount on the brush) This adds a worn look and really accents the details. I remember using this method to paint beer steins in my ceramic arts days… (see also similar Concrete Bowls painting tutorials)

Such wonderful tactile natural textures achieved so easily. Yes, it is a rustic style that works well for a woodland garden. He will be out in all seasons and time of year protecting the garden from evil.

All ready to find his home in the garden. He is larger than life size; about 28″ tall.

I am happy that I did not need a fancy mold, or a million pounds of concrete. No powerful tools; just a few simple steps and leaves… of course.

The best part of this is being able to look out and see that I persevered to get the garden decor done, even after some challenges…

I always enjoy your posts. I would not have a problem making the leaves it’s the face I could not do. 😕😕
When I taught in college I always heard the students say they ‘couldn’t’ before they tried… Perhaps the reason I think differently is that I grew up with a mother who always thought ‘I can’ before she even knew better! ‘Maybe that is why I like a challenge; much like how athletes become amazing. You may be surprised, some green man faces are very covered with leaves. I always look for great face masks during halloween…
Beautiful!