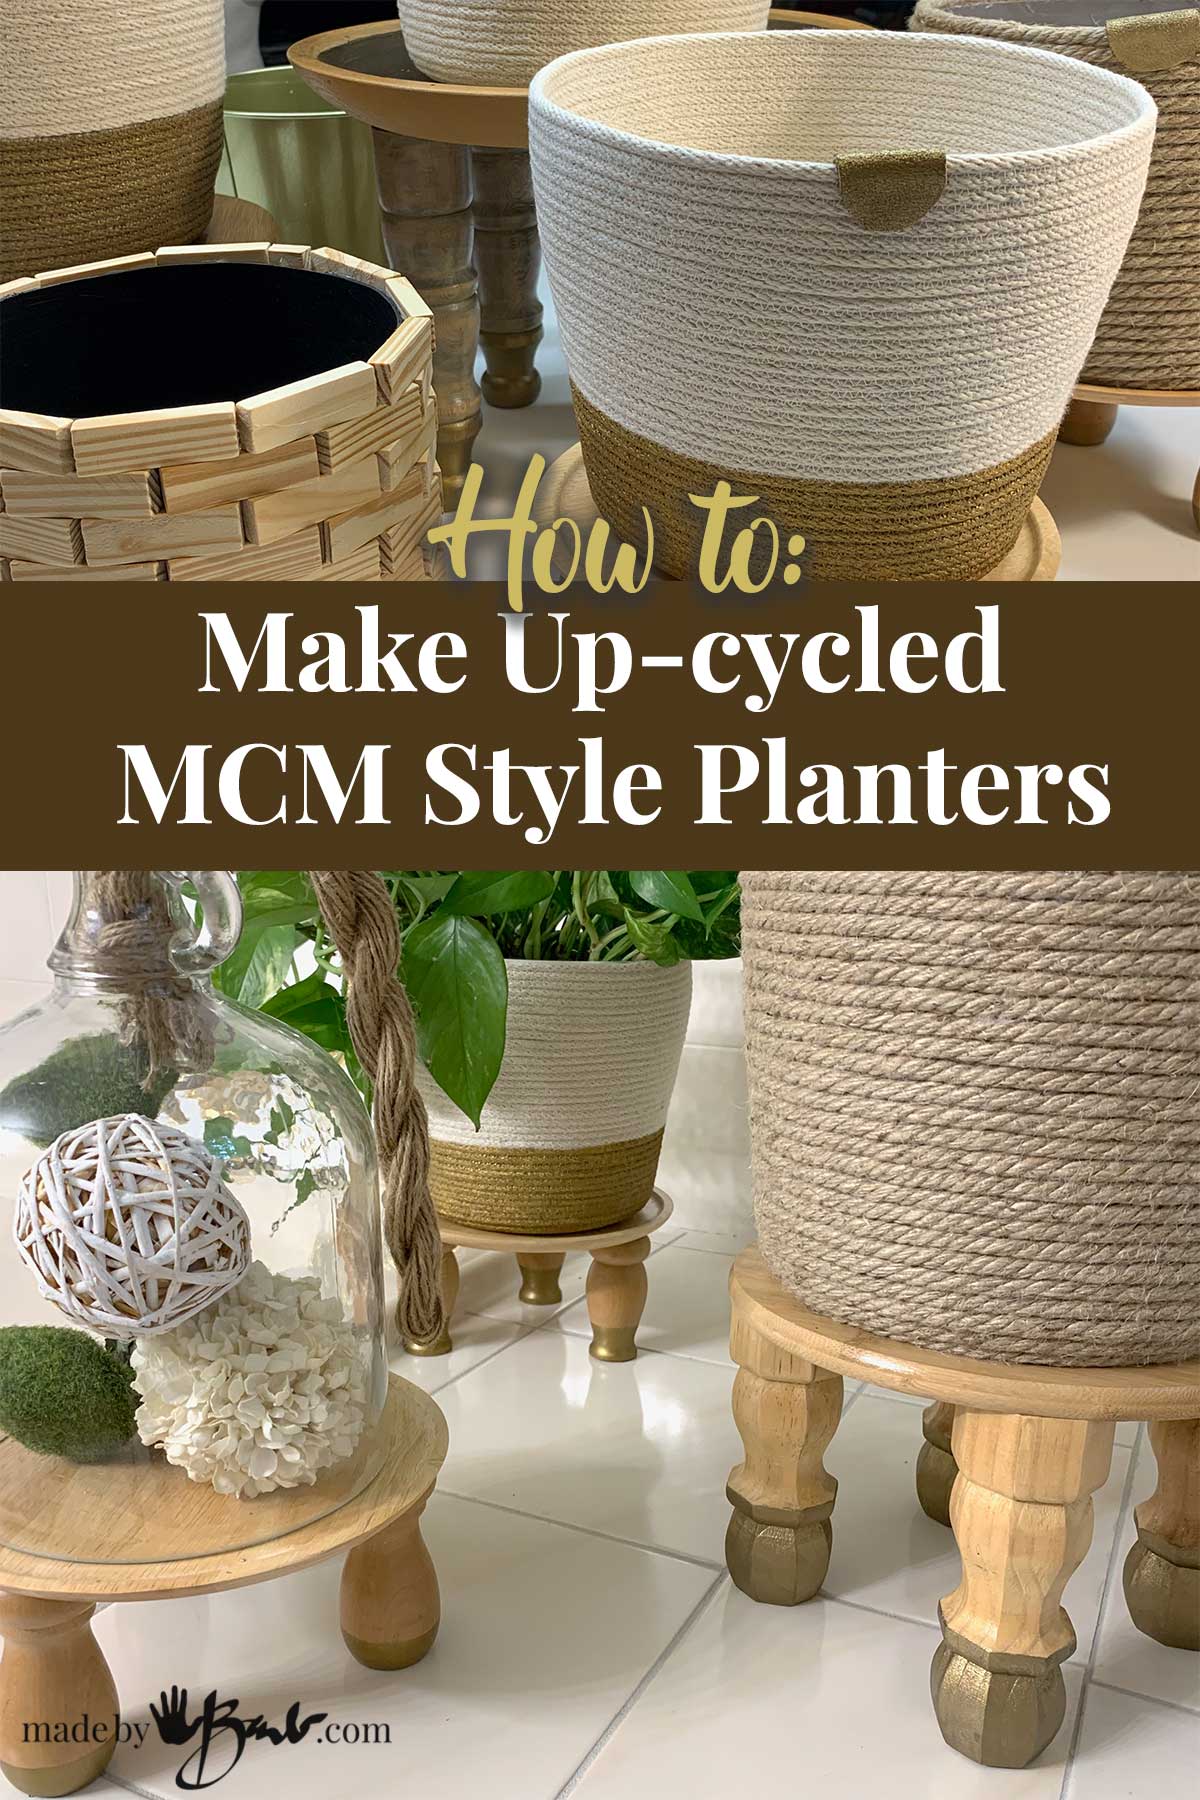
How to Make Up-cycled MCM Style Planters
Every summer my houseplants also get a vacation; as they enjoy spending time on the back deck. Before they come back some easy propagation and new soil refreshes them. It’s a perfect time to also update some of the planters. Let’s see how easy it is to make Up-cycled MCM Style Planters…

Why make planters?
Since I tend to move the houseplants around I have found that ceramic planters full of wet heavy soil & plants (obviously) are sooooo heavy! I know there are pretty planters available but I also like to be able to swap the outside covers. Another advantage of having an outside cover is the ability for drainage. In general, I love that these types of planters allow so much versatility.
These work well with my upcycled furniture ideas and great for beginners.

How to make a Custom Planter Cover with Rope:
Before I start to make the planters covers I purchase inexpensive plastic pots that have saucers to match or available. I can then make some great covers out of sewn rope. Ever since I have discovered how to sew rope bowls I love how easy it is to make custom sizes. It is like magic how these come together just sewing ’round-and-round’! There are quite a few types of rope that you could use but the 7/32″ cotton clothesline rope is my favourite. It fits under my sewing machine; a vintage kenmore machine that is probably almost as old as I am.
You can measure from the original plant pot and start by making a similar size flat bottom before you start to make the sides. You can customize the shape as you like by pulling or allowing the rope to gradually create a larger circumference. Once you have sewn around to create the height needed there are also a few options to cover the cut end, but this time I’ve kept it simple.

To add some gold embellishment as the Midcentury Modern design style I added a stripe of gold acrylic paint. Sure, you could also wrap the rope with a fabric as an alternative, but a simple coat of paint is quite easy to do by masking with some tape.

This time I used a scrap of leather painted gold with acrylic paint as well…

This simple decor works well with most interior design. Feel free to be creative with your choice of colours, fabric, and shapes. The finished ‘pot covers’ are flexible but also keep their shape.

How to make a Planter Stand:
Another thing I prefer is to have my houseplants off the floor, just to be sure there is no possibility of leaking of water. I have a small (honestly) collection of odd table legs and also some spindles. These lend themselves perfectly to become legs for plant-stands. Even square dowels would make great legs on a stand.
I cut the spindles with a wood saw and a mitre box (a great tool everyone should have) to some specific lengths/sections.
Since I do not have a lot of sophisticated wood working or power tools, I did not want to be sawing circles… When I thought about it I realized that there are a lot of round boards and trays to upcycle and be used with the legs to elevate the stands. These then become a small piece of furniture; like a tiny table. Look at the scale of the leg and tray to determine size. There are many options, even using furniture pieces.

Where to find Wood trays:
These DIY ideas use super cheap & thrifted supplies. Midcentury Modern style often had brass caps on the ends of the furniture legs so I added a bit of paint to mimic the style. The wood trays are thrift store upcycle finds.

If the finish of the furniture legs is desired a bit of paint rubbed will act as a stain to lighten the colour.

Not all stands need 4 legs, 3 will also work. To attach the legs (that do not have inset screws) I used a 2-part (5-minute) epoxy as it sets fast, and fills any voids not to mention it is super strong. A good quality wood glue also works well if given enough time to dry.

Since I’ve always have a small furniture makeover in mind I do pick up table legs when I run across them.

Who would know that this used to be a wooden cheese board?! If you match the tray size to your planter it will look more like a footed planter stand.

Wooden Block Planter:
A recent trip to Dollar Tree I saw these packs of ‘Jenga-type’ tumbling blocks; 72 little blocks of wood just waiting to become something a bit more creative. Keep in mind that as easy as it is to just glue them to a shape it works out much better if the shape is somewhat a consistent circumference as there may be some partial blocks needed to fill in.
For that reason I up-cycled a paint can since it a perfect cyclinder. They are nowadays also made of plastic that can be cut with an xacto knife (score and repeatedly run the knife, or use a hot knife)

See the video to figure out how to determine the spacing. Perhaps there some pattern that works for adjusting to different sizes? (that’s a mind-bender) To make sure the hot glue does bond quite well with the plastic paint bucket you can scuff the plastic with some coarse sandpaper.

A small hand saw can cut the smaller filler pieces. Perhaps, if you want to keep it even more simple just fill the leftover spaces with some embellishment like a stone, jewel… Think outside the box!

A few pieces will make some nice feet for the woodblock planter. Since the paint can is water-tight it can easily have a plastic pot inserted and allow drainage. How pretty and simple for a couple dollars, compared to designer price tags.

How to make an easy Rope planter:
If you do not want to sew you can also create a rope planter by gluing a heavy rope to a container. This Dollarama rope is over 1/4″ thick and a great deal for the price.

Sometimes the size I was hoping for is a bit difficult to find so I cut the top off a bucket. Time is of the essence so adjusting with what I have is better than endless searching…

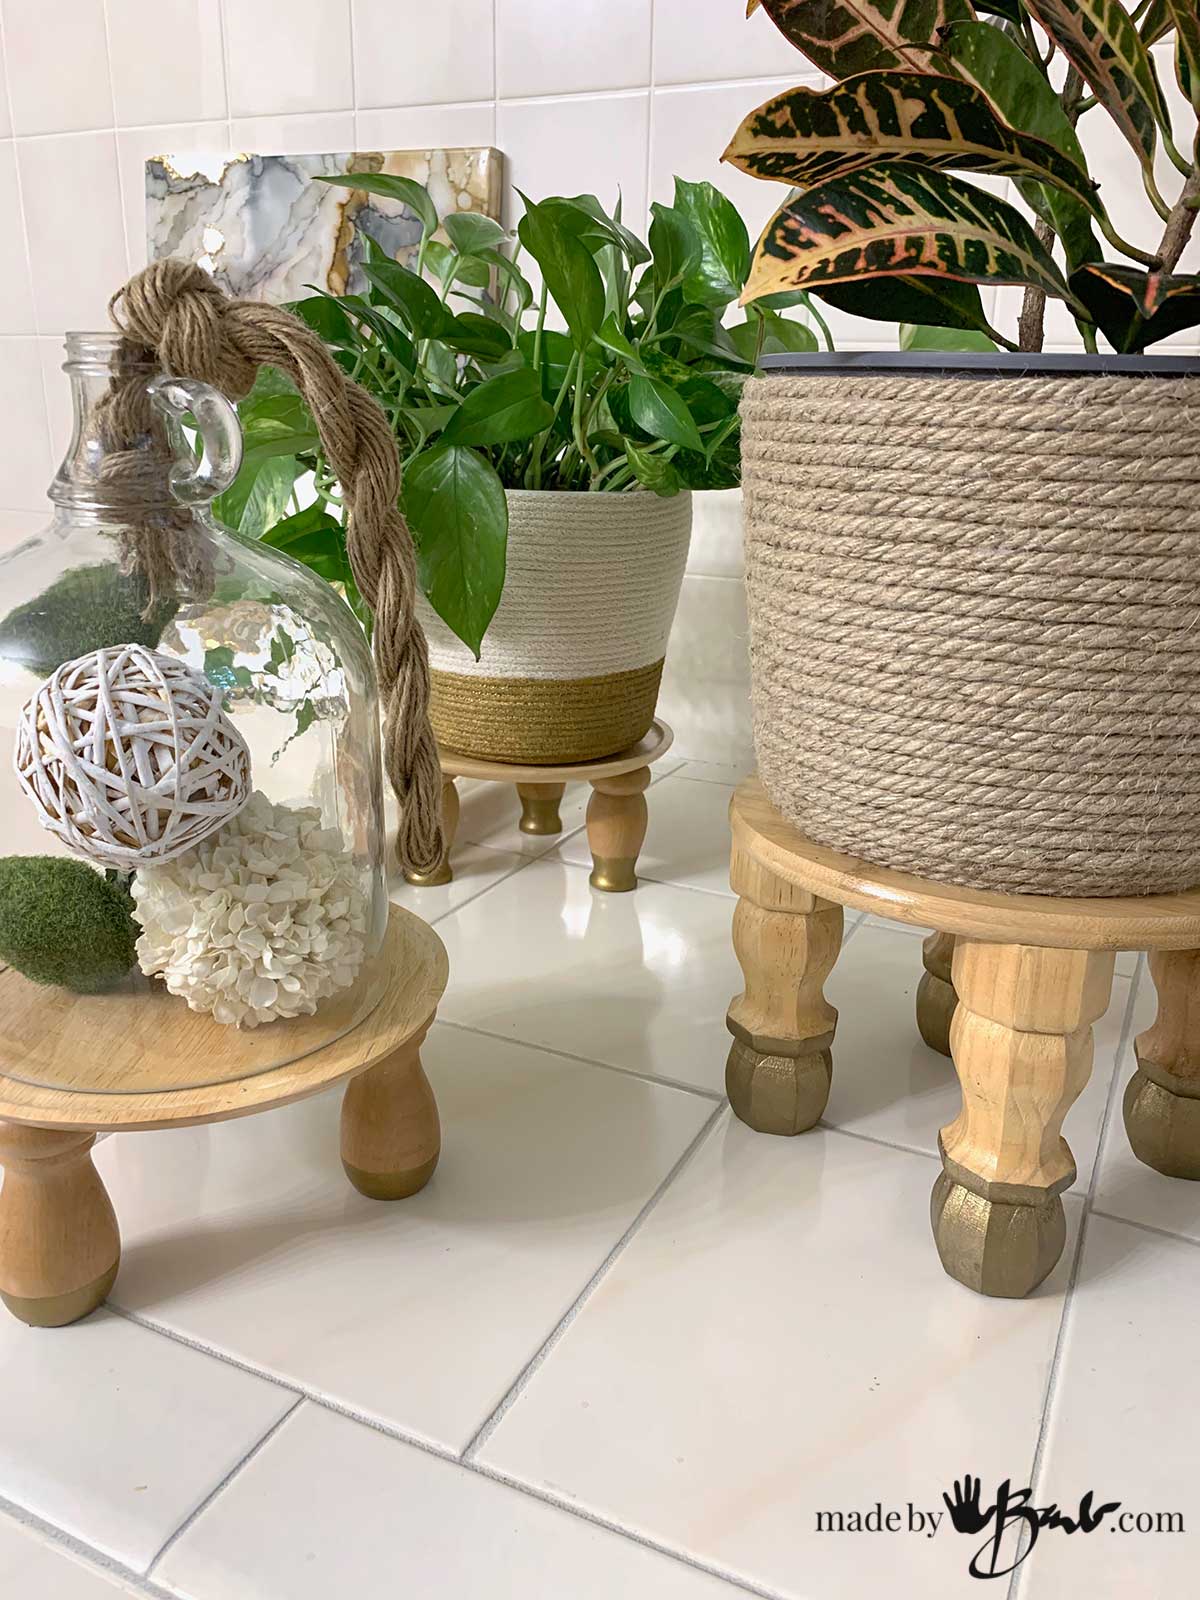
The colours and tones work well together. This tutorial uses up odds and ends to make plant stands to elevate your plants. The transformation works quite well, repurposing to keep things from the trash and landfill. Whether it’s for a small pot or larger ones planters with new legs protect the furniture.

A glass dome (that I up-cycled from an old jug) may also display plants or other interesting items. Almost anything seems more important under a glass cloche, and it won’t get dusty!

Yes, it’s a tub; the plants get to hang out in the extra large bathroom. Smaller pots can adorn dressers and shelves.

My Favourite Houseplant:
I’m a busy person so the limited time I have works well for this plant; the Pothos. It has a lot of varieties and is pretty hard to kill. It can take full sun, and even less than ideal settings. Each spring I snip off sections off the long vines and put them in water. A few weeks later I have rooted sections to pot into new planters. The original plant will sprout and keep growing. This houseplant is also known to clean the air in our homes.
I overwater, underwater and they still reward me with great foliage.

I hope I’ve inspired you to add a bit of greenery and style to your space. I gave the room a whole new look by just adding the diy plant stand.

A vignette of My cherished Accessories:
Sometimes there are certain pieces you will not part with; for emotional reasons. That is the case with my copper ‘Spudnik’ bowl and copper boiler. They are etched far back in my memory as a child so now they blend nicely with the new designs. Yes, there are trends but do also embrace your individuality!
My step-by-step tutorials aim to inspire and beautify the world; I hope they can help make your space just a bit more pleasurable…
I love these new decorated planters! What a great idea! Barb you never cease to amaze me! I will probably make these when I have a chance. I love the look of them! They don’t seem to difficult to make and not too expensive!
Thank you for sharing!
That’s great Linda! Fun fact; there used to be spindles that came with wood joiner screws so you could just put boards together and make a shelf. I kept them after taking shelf apart since I knew there’d be a way to repurpose them. ‘No shortage of ideas here…
Was trying to find an explanation of MCM in this article but did not see one.
Oh, gee, I thought I did… It means Mid-Century-Modern. Enjoy!