How to Print Handmade Silicone stamps on Fabric
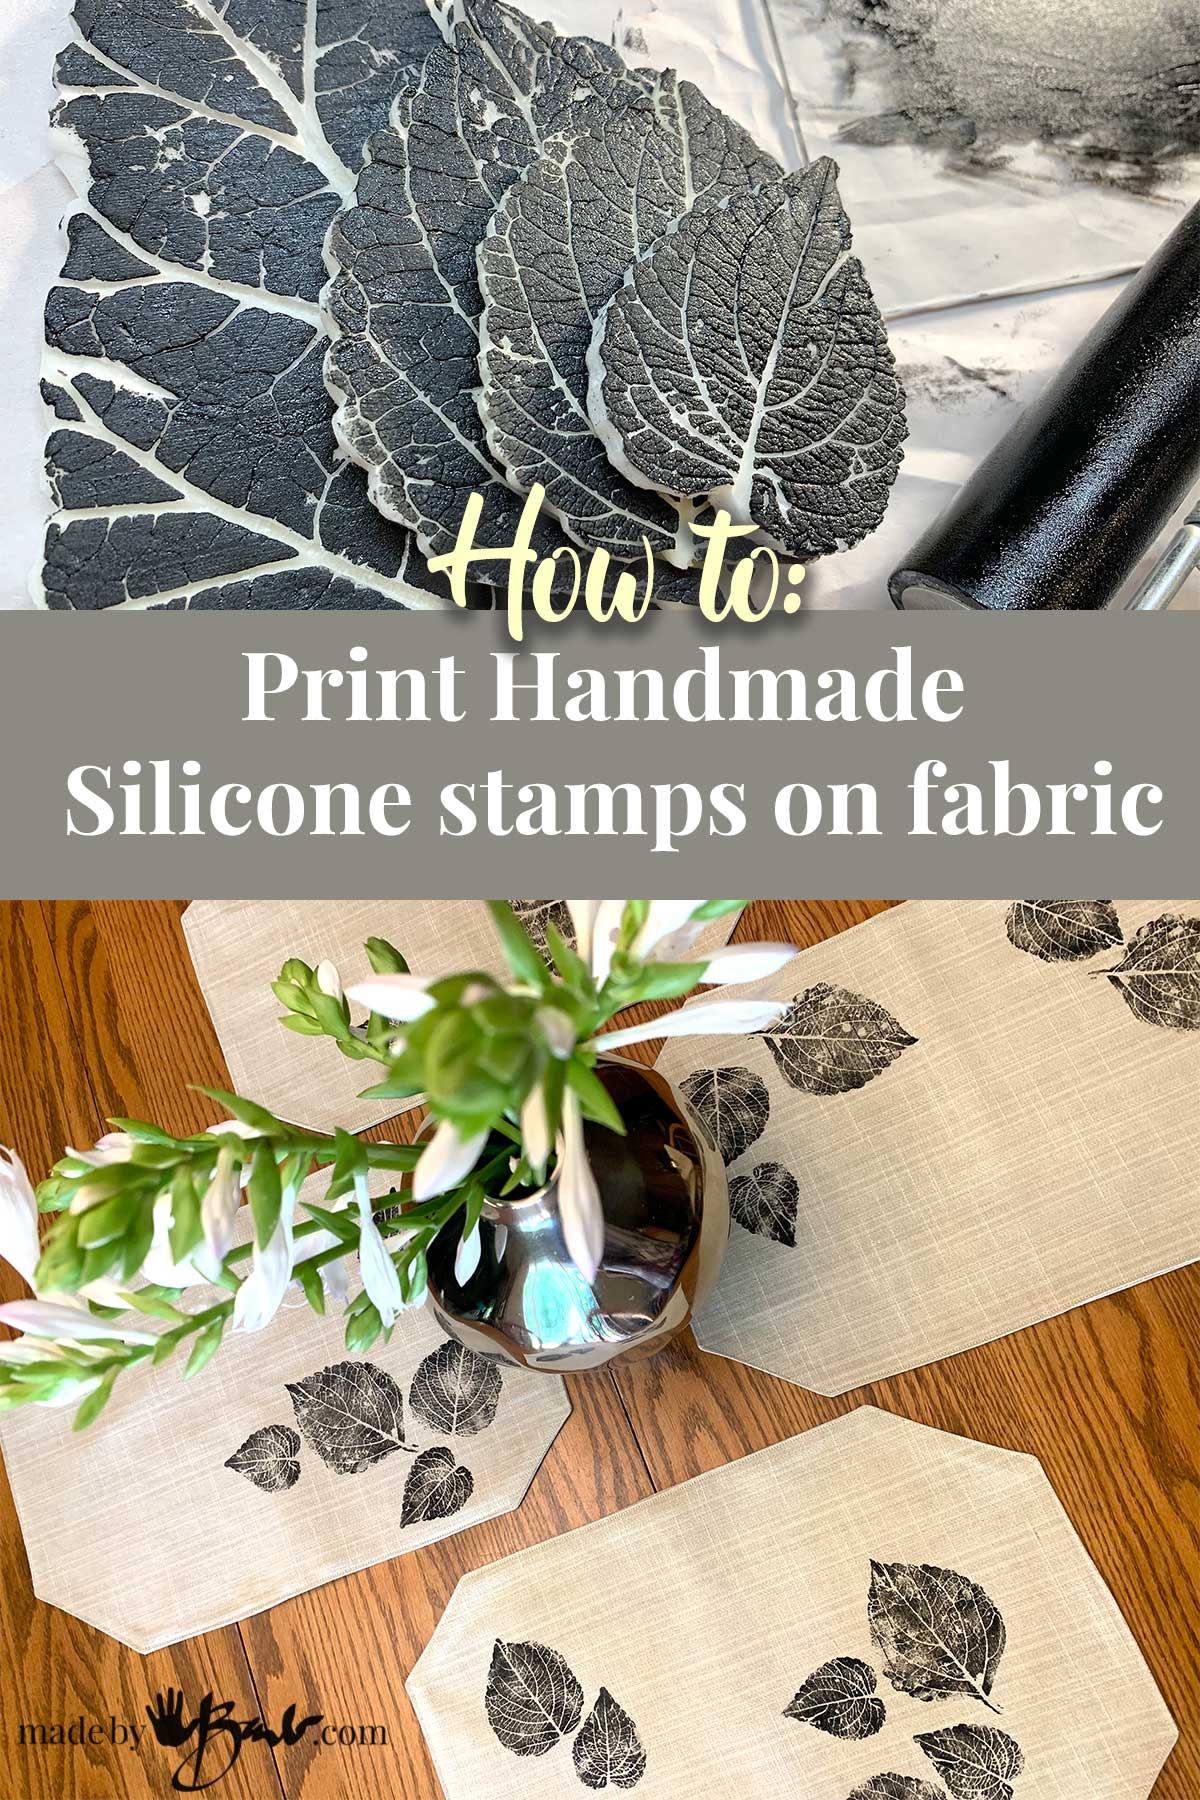
Simple & easy is often the best! ‘But taking it up a ‘notch’ with some unique twist is even better! These handmade stamps are super cheap to make and one-of-a-kind! Let’s see how to print Handmade silicone stamps on Fabric!

Nature-made silicone stamps!
It is wonderful to be able to make silicone stamps with things you find in your own backyard! My silicone mold putty recipe and method makes this really easy and costs pennies. Pick a leaf that has a lot of details and you’ll get some really great texture imprints. There really is no limit to what you could use as an imprint, be creative!

Make sure to use 100% silicone caulking and cornstarch. (Use the one that says #1 on the tube). Keep the caulking as one large ‘blob’ and work carefully with the cornstarch so that your gloved fingers don’t get sticky.

Combine the silicone with the corn starch by tossing it gently and making sure to keep some corn starch between your fingers and the sticky silicone. It is similar to working with eggs to make noodle dough. Once it becomes putty-like and not sticky anymore you can use a rolling pin to flatten it. Use the corn starch as you would flour when you are rolling a pastry dough.

Press the vein side (underside) of the leaves into the dough firmly and use something that is quite flat to keep the stamp as flat as possible.

It cures quickly and the leaves peel off easily.

The amount of detail that is picked up is quite amazing. I love using the rhubarb & Coleus leaves. Yes, you can carve your own with a carving block but it is a lot more work. There are many many stamp ideas especially since the mold putty is so inexpensive. Imagine using a tree stump or other rustic driftwood…

Finishing the Silicone Stamps:
After casting, the edges of these rubber stamps can easily be trimmed with an xacto knife (or scissors) as desired. If you would like a block or handle added you could also glue one to the back. I find that the flat leaf shape is quite simple to work with.

Wow! Look at those details! This material lasts really well and can even be scrubbed. They have the same qualities as rubber carving blocks. It takes a lot of patience to carve small details with a blade (lino cutter) into a rubber block for your own rubber stamps, which my method avoids.

How to Apply the Ink:
When using these stamps keep in mind what you are going to print onto. Speedball makes a great block printing ink for paper and fabric. Once the ink has cured it can be machine washed. Speedball brand makes water based and oil-based inks. The Oil-based ones take longer to dry, which also give more working time. That also gives extra time when working with the ink.
Use a brayer (roller) to spread a small squeeze of the thick ink on a very flat surface like a piece of glass. Once well spread you can roll the stamp. Make sure all the areas are covered, but without excess ink.
My Secret Tip for Fabrics:
When I am looking for inexpensive fabric for sewing projects I often look at thrift stores for curtains. It seems there are huge amounts available of all kinds of fibre. There is also usually a lot of yardage in a curtain panel.

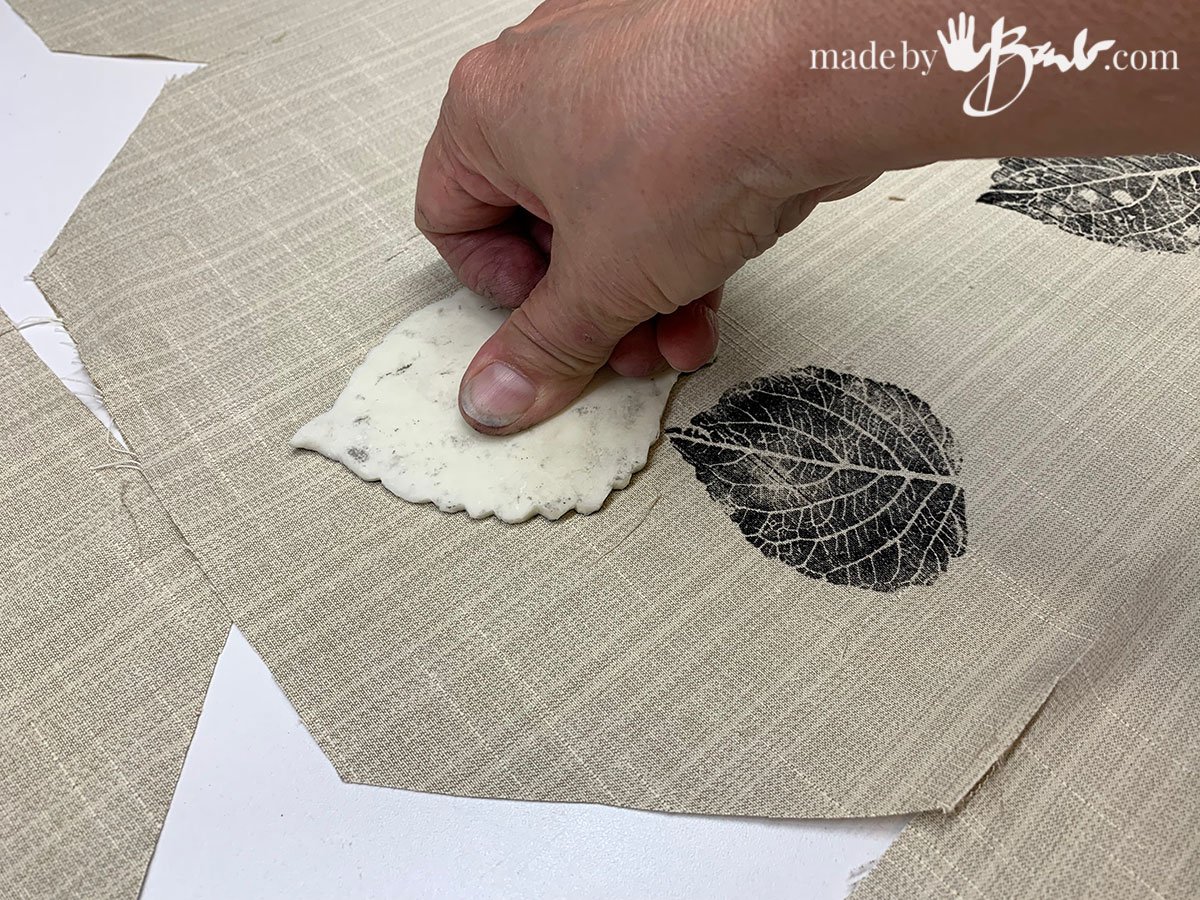
Carefully apply the stamp to the fabric without shifting. Press firmly over all areas of the stamp. I am not a huge fan or symmetrical designs so I chose a very random design. I would rather not have to spend time planing and measuring with a ruler. That also makes this a project that kids could enjoy. With a bit of planning you could make your own logos for stationery as well. (see clean-up tips below)
Let the oil-base printed ink cure for a few days until not tacky anymore. (blow dryer can expedite drying)

I print before sewing in case there are any mistakes but you could use commercially available linens. I have chosen to make placemats with this linen-like curtain fabric. For simplicity (and modern shape) I chose an angled geometric shape.
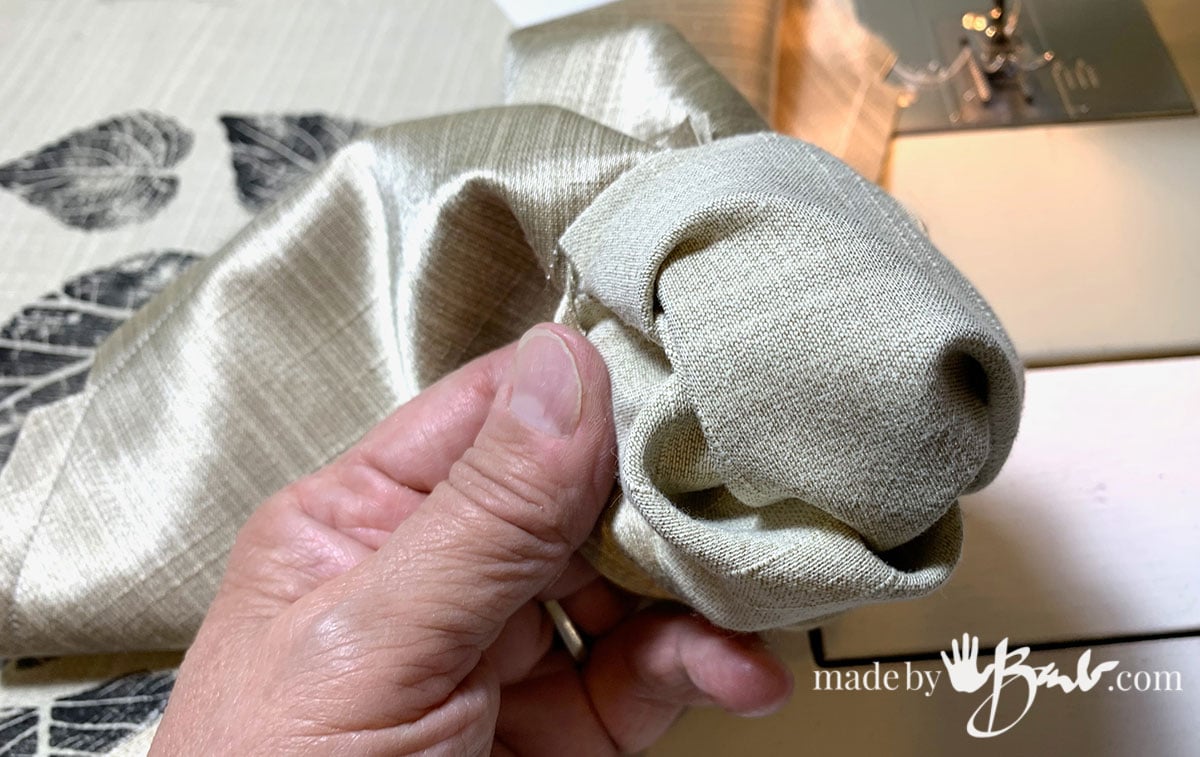
Sew right sides together (like making a cushion) leaving a small opening.

Clip off the points at the corners to give the shape distinct crisp corners. Poke with a dull point to aid in pushing into the corner; a knitting needle or such works well.

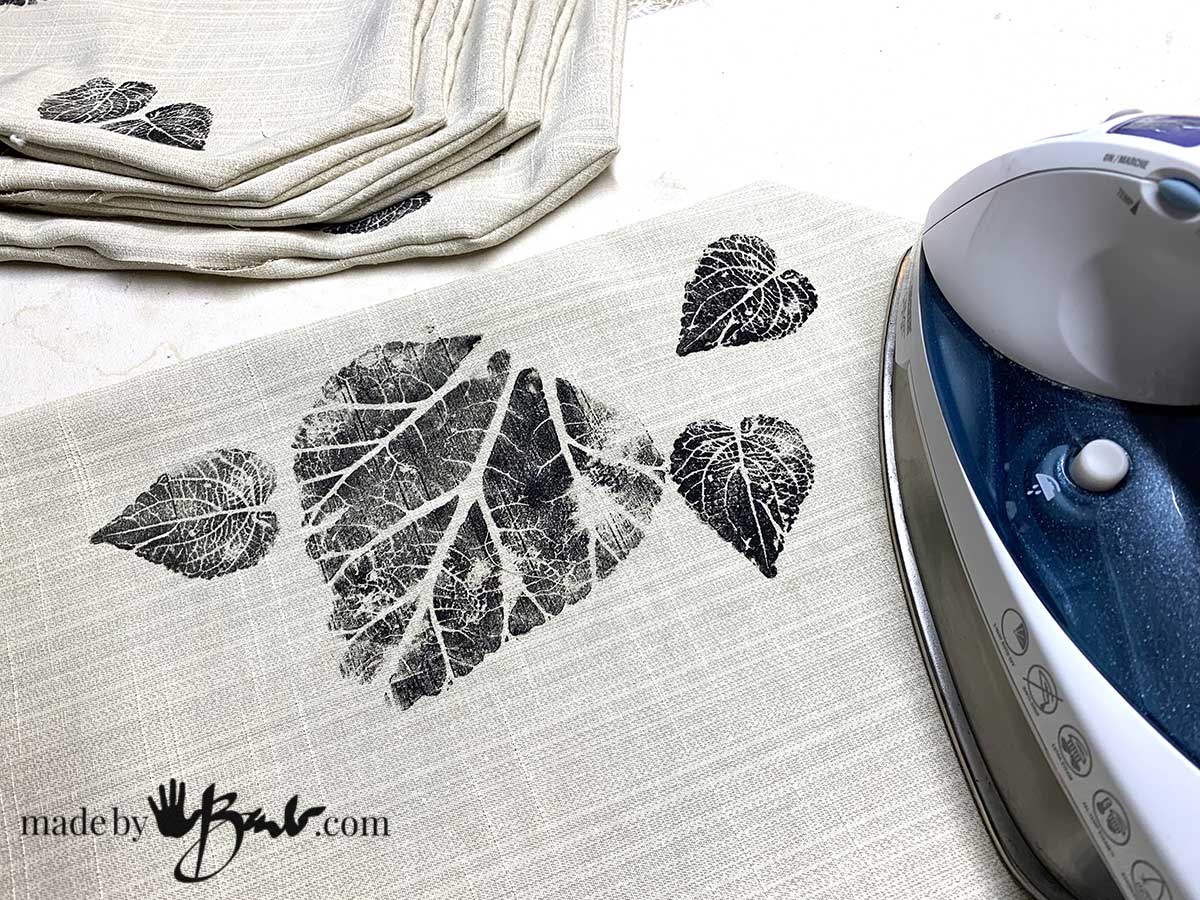
Press the fabric with an iron set to the fabric type. My fabric is a polyester blend. Use a pressing cloth if pressing on the printed areas.

How to Finish the edges:
After pressing (including the opening) sew a small topstitch around the edge of placemat. I usually choose a width in relation to presser foot width to easily follow with my eye.

How clean up:
Do not let the ink dry on the stamps longer than needed. I prefer water-clean up oil-based ink as it dries slowly but cleans up with soap and water.

Wash the brayer (roller), glass sheet and stamps in warm soapy water.

The stamps are strong enough to be able to be scrubbed with a toothbrush if needed. I have used these stamps a few times with no degrading in the surface.

What can you use these stamps for?
For a minimal simple table-scape I made these placemats to follow my theme of nature. The texture is quite amazing! I could imagine these motifs as home-made wrapping paper as well!

A themed wedding could also use them as invitation and envelopes embellishment. If I find some extra fabric I may also make a table runner and napkins!

So wonderful for Mother Nature to offer her designs to make handmade silicone stamps! Print on fabric, or whatever you can think of…. What do you think? Would you use a simple design like this in your space? Where would you print your fabric stamp??
Just a little note from me Barb to once again say thank you for sharing this technique using silicone. The texture/print left behind is really good. I use leaves in my Precious Metal Clay jewellery and try to capture the fine details of Mother Nature in commercial two part silicone. I think this would be perfect for that medium as well as inks on paper and fabric. I’m thinking out loud here but do you think I could use a wood burning tool (while wearing a mask) to help trim the fine details around the edges of the stamps? Thanks again…M.
Thanks! The finished/cured edges are really easy to cut with an xacto, you don not need the the heat at all. I have trimmed some of my molds when they are too thick and marvel how its lovely to carve. I have also used precious metal clay on leaves, it’s great! I’ve even tried this silicone putty for relief molds for plaster and concrete. It did work but it does need a faif bit of pressure so not ideal. Have fun!
Buenos dias,te felicito ,sos muy creativa,Dios bendiga tu vida,muchas gracias por compartir!
You are most welcome,!
Barb, Love this! I do a lot of leaf printing on fabric, using and preserving the leaves and also making foam stamps. I need to try this. Thanks for your inspiration.
It’s nice to meet another ‘leaf-lady’! I think these would add to the type of prints since they pick up a different detail than the veins from contact printing. Let me know how you like it.
After applying the leaf into the silicone approximately how long to cure so you can use it? 30min.? An hour? This looks like it would be great to do. Thank you!
It goes quite quickly, a few minutes it seems. Once you push your finger into the mix and it does not indent it’s cured. I like to keep a leftover scrap piece to test on. DO pick leaves that have defined texture.
Pode lavar o carimbo ?
Oh, yes! They are quite strong! I’ve used the same material to make molds for concrete.
Thank you so much for this! Beautiful!
I wonder…. Could I use this technique to make handprint stamps? If so, what would be your advice?
Hmmm, I am not so sure as it does take some time to cure and since the putty is somewhat stiff it may not pck up the details from the hands as skin is soft. I did use this when I first the hands with alginate and plaster before I made the mold. ‘Hope it helps!
Thank you for such a detailed explanation of how to make a stamp with corn starch and silicone! I love the final result. We stumbled across your page because we are researching the best way to make a “stamp”, or printing block really, of manhole covers. We attempted the silicone and soapy water method, but it was not successful for the large area of a manhole covers. We wasted lots of silicone because our recipe must’ve been off. I want to try this cornstarch method! We could maybe do it in sections? Not sure really. We’re on a very limited budget so we down want to waste any more money. Any words of advice? Thank you for sharing your talents!
Appreciate you.
Shannon Moore
I have this post that explains the process. I caution you that it can get messy if you get the silicone on your hands so make sure to keep the cornstarch around the silicone. I would highly suggest making a tiny test-batch so you can see the consistency and how fast you need to work, how it molds and sticks. I always do a lot of ‘playing’ before I go big. When I made the large garden face mold I did need to add and it worked fine, as the silicone can also act as a glue. I took imprints of an iron table; it was quite amazing. Good luck!