How to make your own Silicone Mold Putty
Making unique Art is fabulous, but being able to reproduce it is even better… It just seems magical when you have a mold and can create many. Let me show you how to make your own Silicone Mold Putty
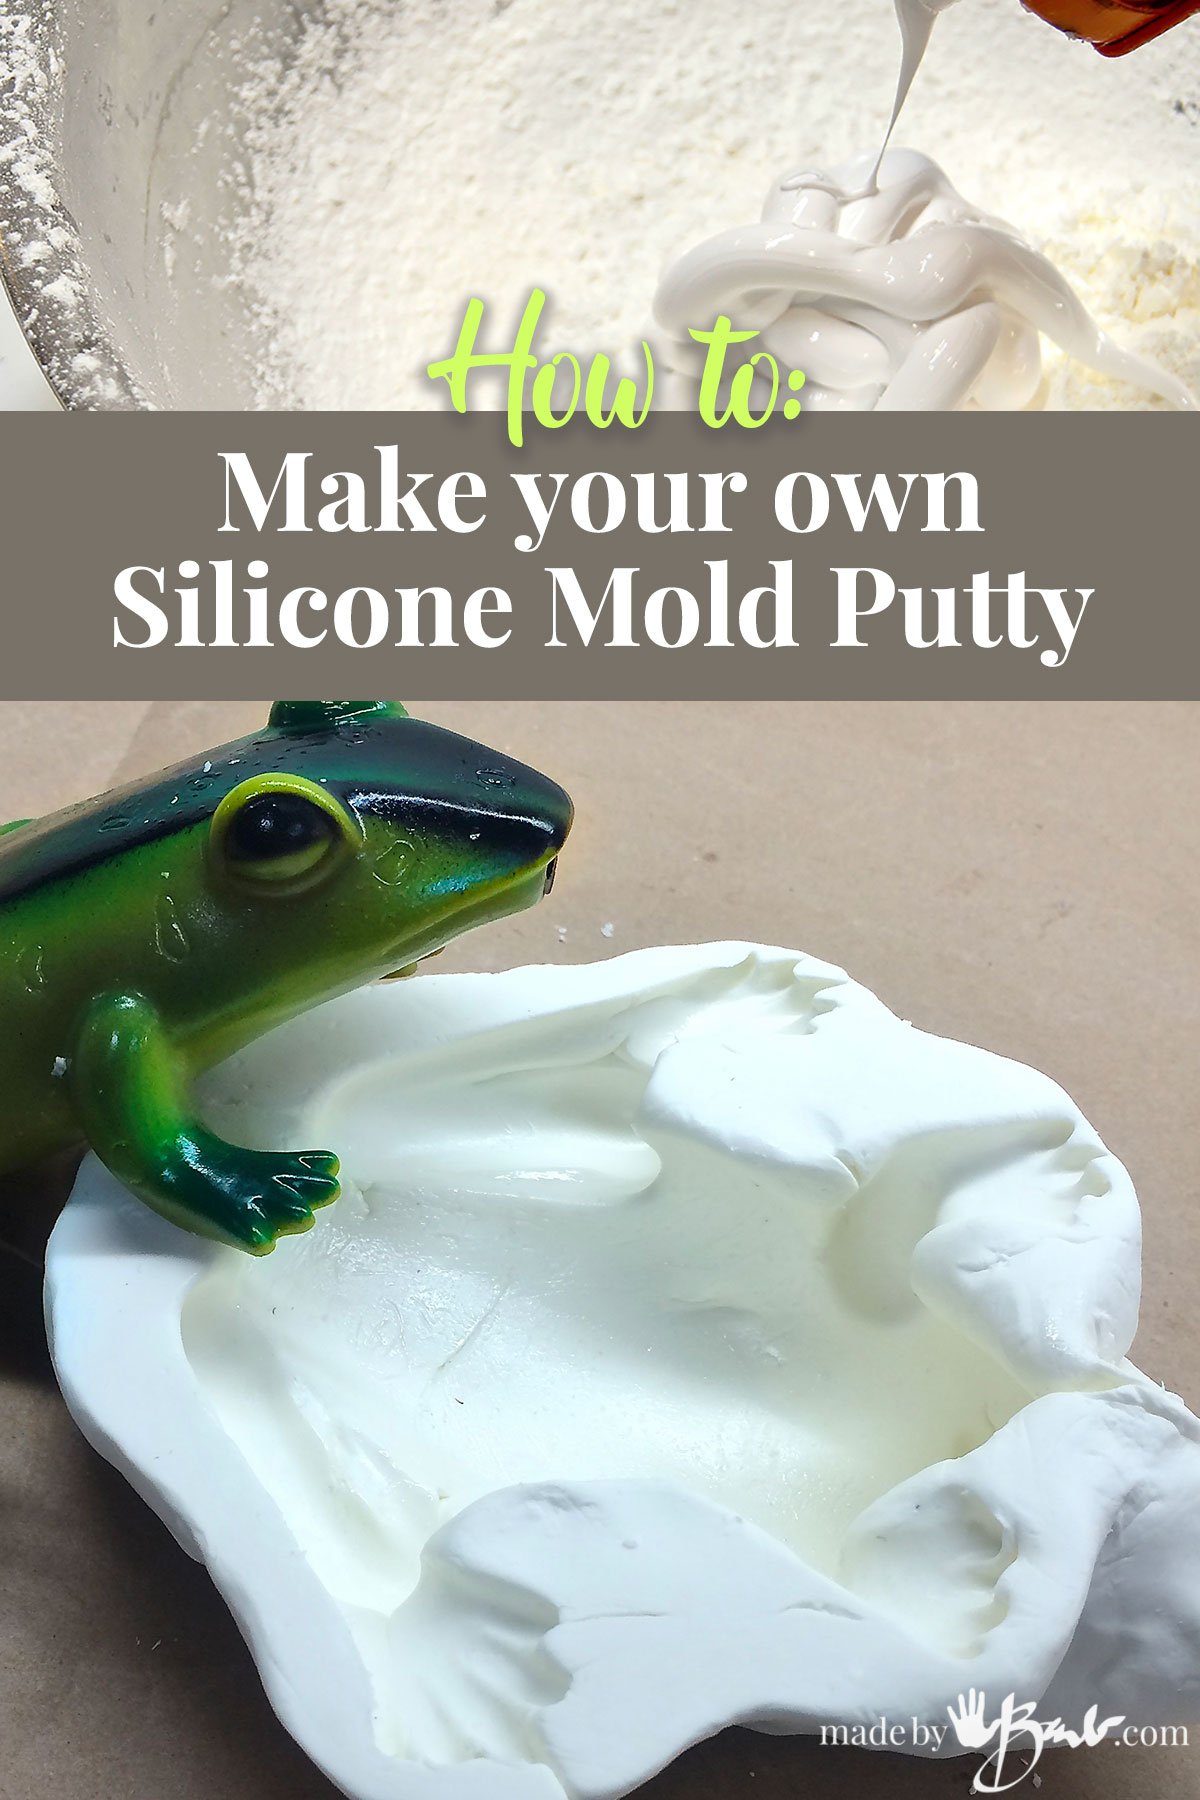
Why make a mold?
I remember being in a craft class as a young child & pouring plaster into a rubber mold. When the item was pulled out I was so absolutely amazed that it has stuck with me ever since! After spending much effort and time on a project it is so satisfying to know that you could easily have many.
I know you should definitely consider what you take molds of. Think about it as a piece of art; someone created it, as their own design. Many people ask me to sell a mold for their use. The problem with that is then it could be reproduced in limitless numbers, with no benefit to the artist. That means molds are often quite expensive if they are special.
Please think about what you plan to make a copy/mold of…
What do I need to make silicone mold putty?
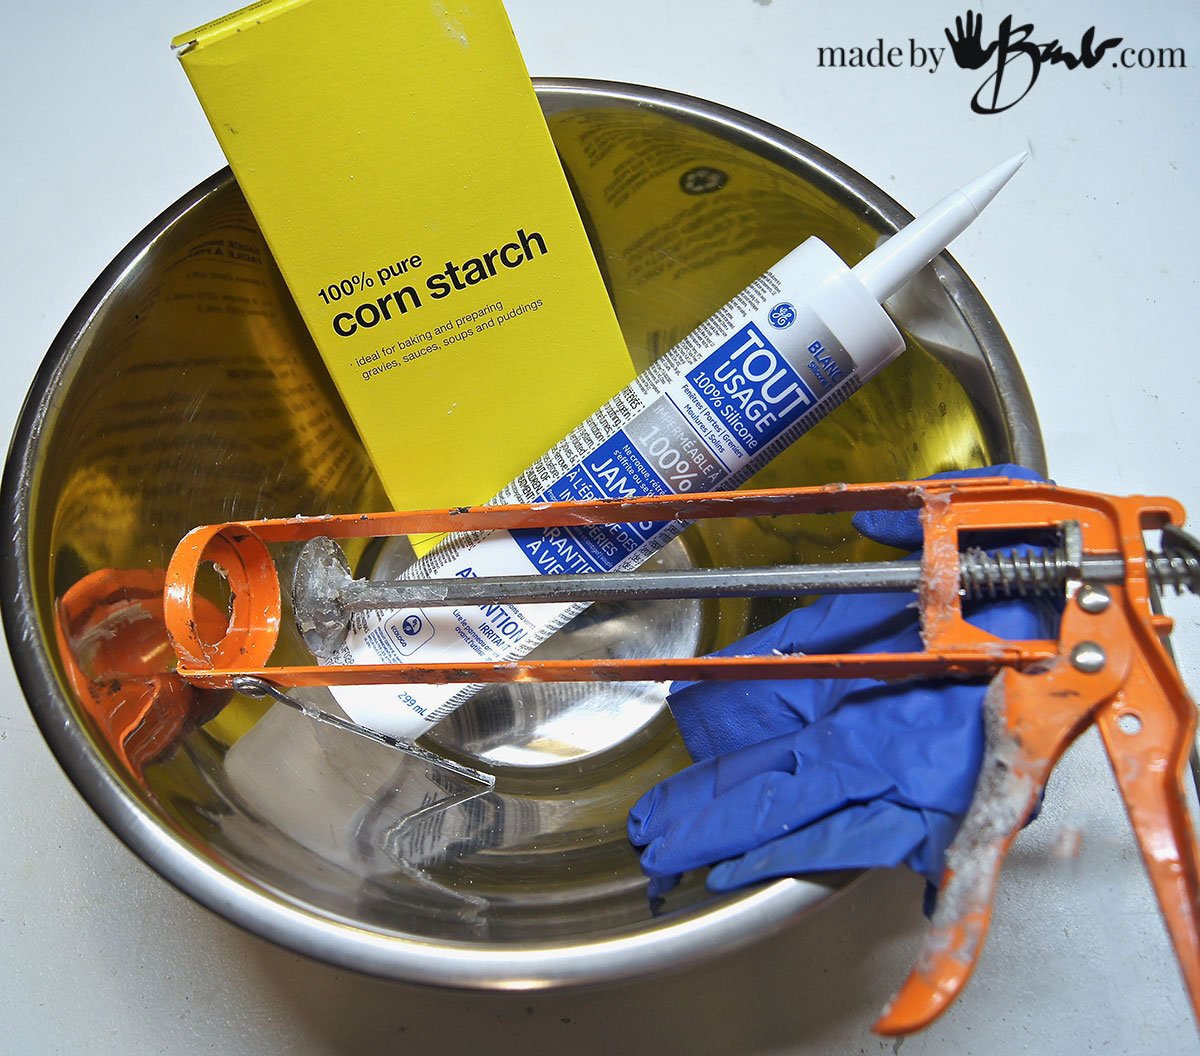
I have been using this recipe and method for many years and have been impressed how these molds have lasted. The equipment is simple; a bowl, gloves, knife and caulking gun.
This recipe is a combination of 100% silicone and cornstarch; making a flexible mold material that has some stretch, but also holds it shape. This will make strong reusable silicone molds but will not be able to pour. The silicone that I prefer is the GE brand Silicone 1 (with the small number 1 on the label). It is different than the Silicone 2 which is a neutral cure and has mold inhibitors. Silicone 1 releases some acetic acid as it cures, so work under good ventilation. The colour of the silicone sealant does not matter. Be aware though that this is not food grade.
Before you start making the putty it is best to get the item ready for the mold putty since it teds to stiffen quickly.
Do I need a Mold release agent?
You want to make sure that the mold putty does not stay stuck to the original shape after it has cured. The texture of the original item also plays a factor; if it is extra rough it may need more preparation or more mold release. Sometimes the item can be painted with a gloss paint (like acrylic medium) to make it more plastic-like.
There are many mold release agents that work. It will depend on the size, material, details of the item. Vaseline (petroleum jelly) is a thick grease that works well and tends to stay in place. Combinations of a wax like beeswax and oil or jelly can also be used and may be less goopy in the details. It may need to be scrubbed into the details.
If I am not sure, I like to do a really small test, mixing up a bit of mold putty and observing how much it sticks.
Make sure to ready your ‘master piece’ with release before you start mixing the mold putty.

Get ready to Make Silicone Mold Putty:
Let’s not get covered in silicone… With a few tricks it won’t be that messy.

When mixing these 2 ingredients it can get quite messy. Place some cornstarch in a bowl (something that is not too precious). Add the silicone as one mass in the middle of the cornstarch. Cutting the tip further down will allow the silicone to come out faster. (see video above)
I compare this mixing technique to making a pasta dough. Keeping the silicone surrounded by cornstarch will make sure it does not stick to EVERYTHING.

Cover the mound of silicone with more corn starch.

Start to gently toss the silicone mass in the starch, keeping the fingers (of gloved hand) covered in corn starch. Keep turning it and lightly poking more & more. As more of the starch is incorporated it will become a bit stiffer and also less sticky. Be aware that it is already starting to set so have your sculpture or master item ready
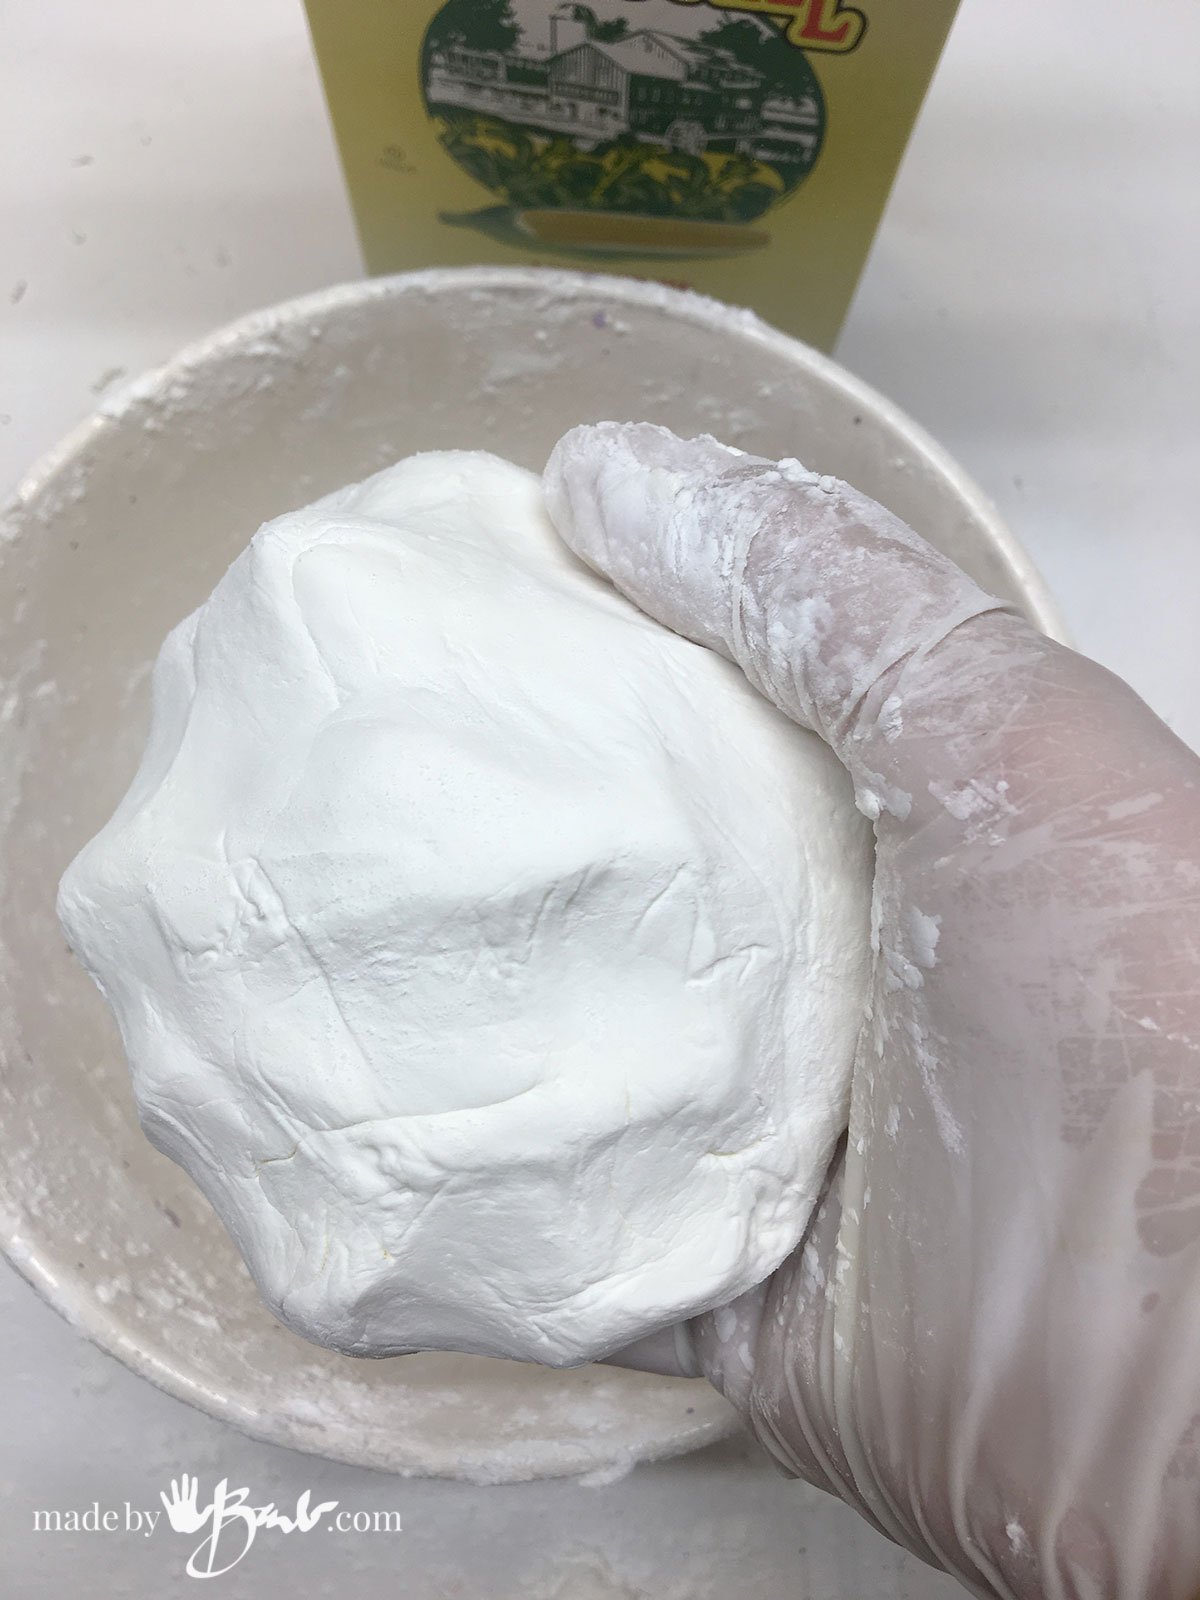
Eventually it will feel like a soft molding clay and not stick to fingers. Working quickly this can be pushed into the object, or the object into the putty. It can also be rolled with a starch-dusted rolling pin.
Making a Mold for Concrete:
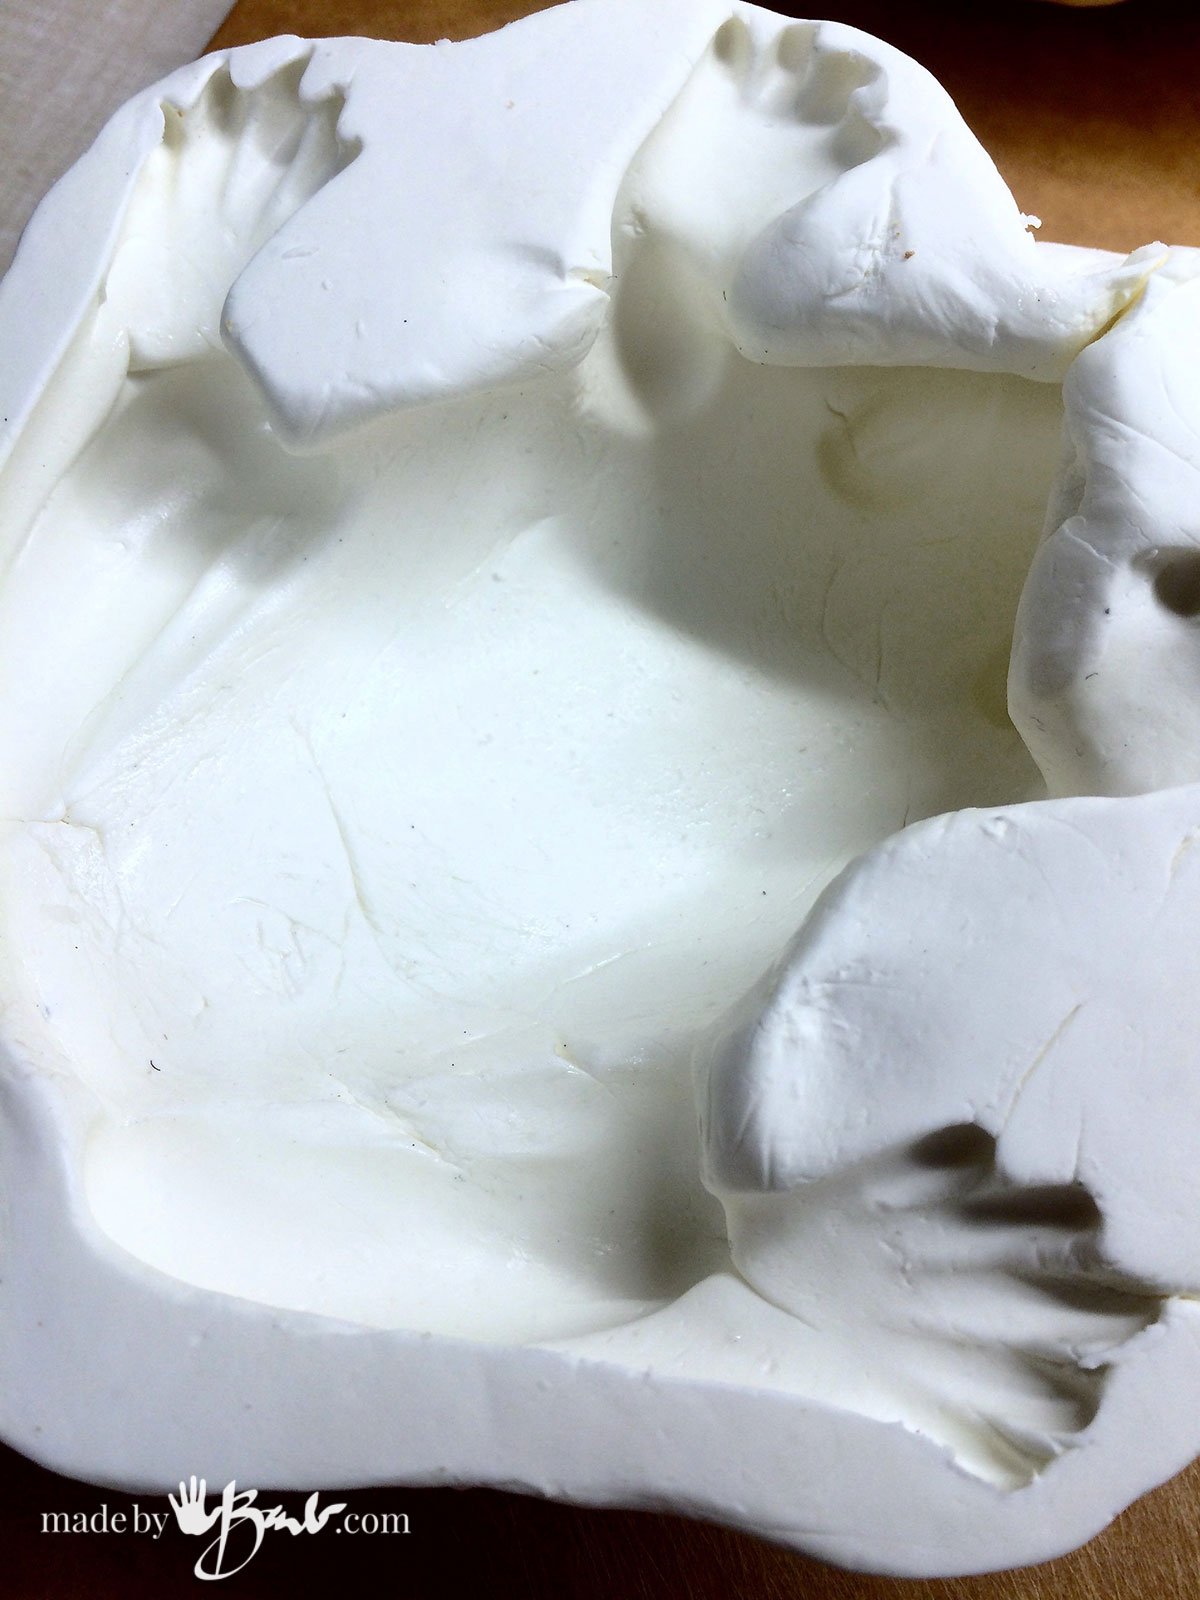
I’ve used this recipe to make a few molds for concrete. They are not effected by the alkalinity of the concrete at all. Some consideration for the type of shape you are making is important. Some shapes need to have a few seams, but that is also a concern when using the pourable mold material like Oomoo that I used for the relief mold (of My Pup).
This mold putty does have flexibility but not as much as a latex mold. The thinner the walls are able to provide more flex and stretch, but often need a structural aid.

When casting concrete into a mold, choose the kind that is appropriate. Thin parts and intricate shapes need extra strong Concrete like the non-shrink type (Rapidset Cementall) Large & simple shapes can use a sand topping mix or regular concrete mix. See here for some tips for picking a mix.
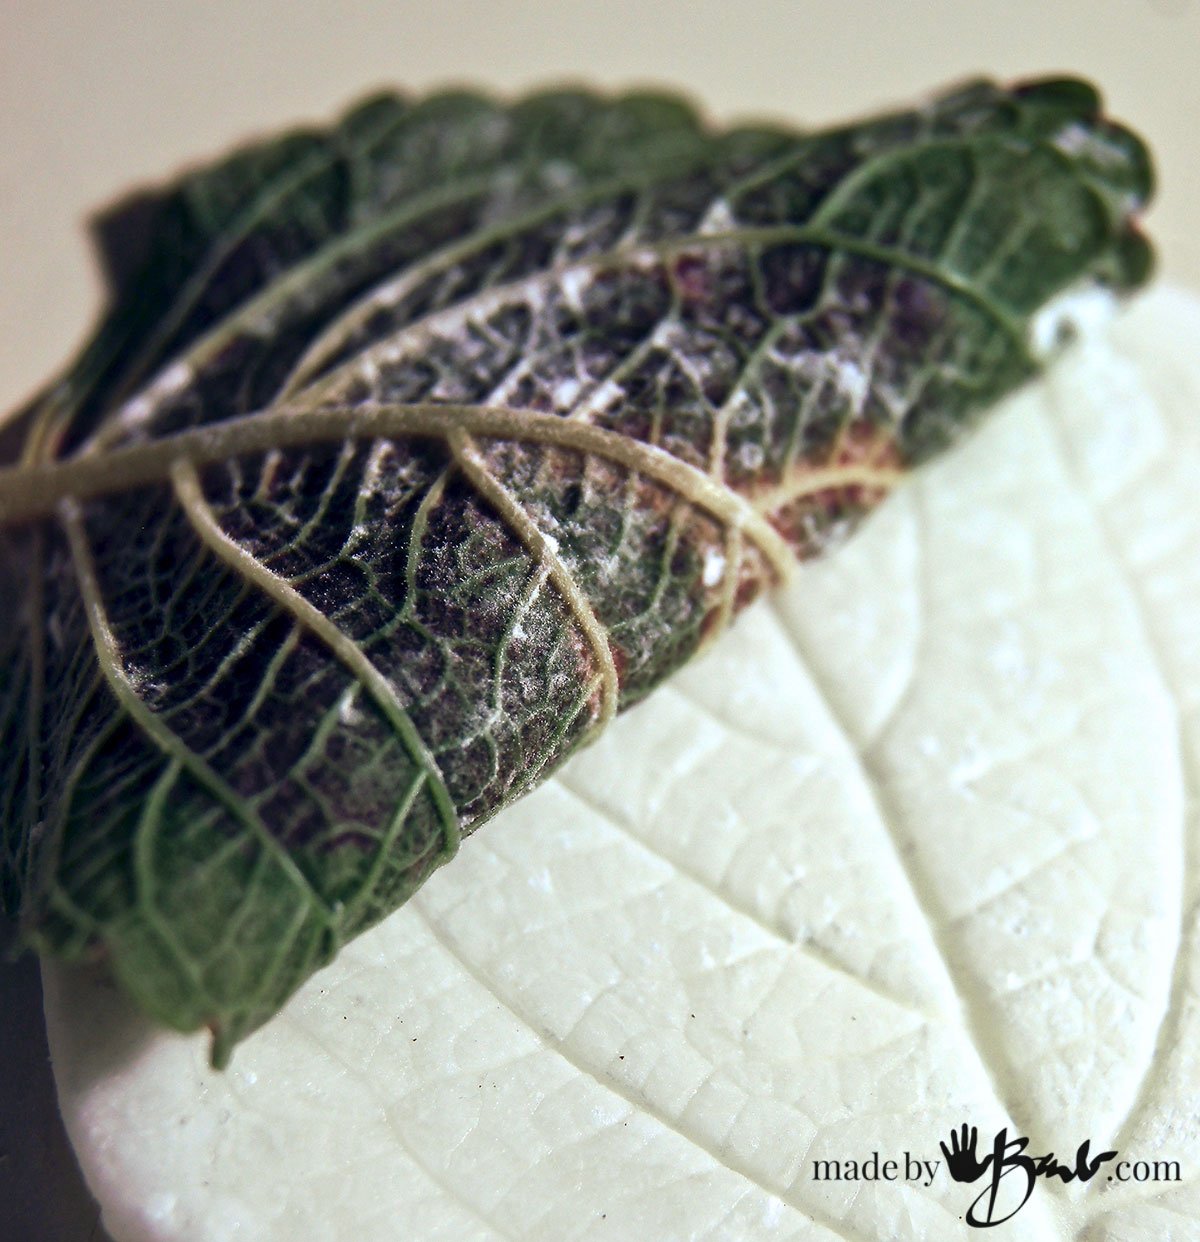
Picking up Textural Details:
My silicone mold putty method can also be used to replicate textures to be used in other ways. The amount of detail that can be pulled from a Coleus leaf is quite astounding!
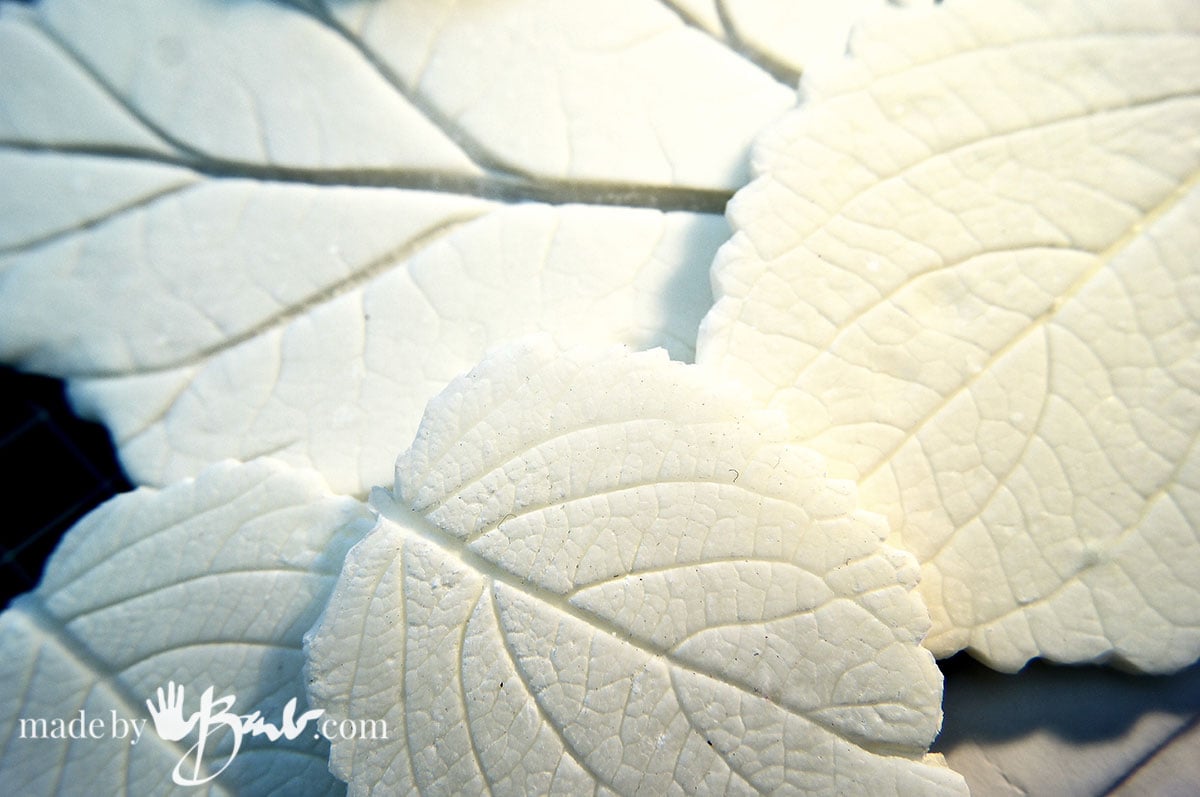
These impressions are used as stamps. They can be used over and over as they are quite scrubbable. When it comes to nature there are som many creative possibilities. ‘And the best part is that is one-of-a-kind and can be reused multiple times.
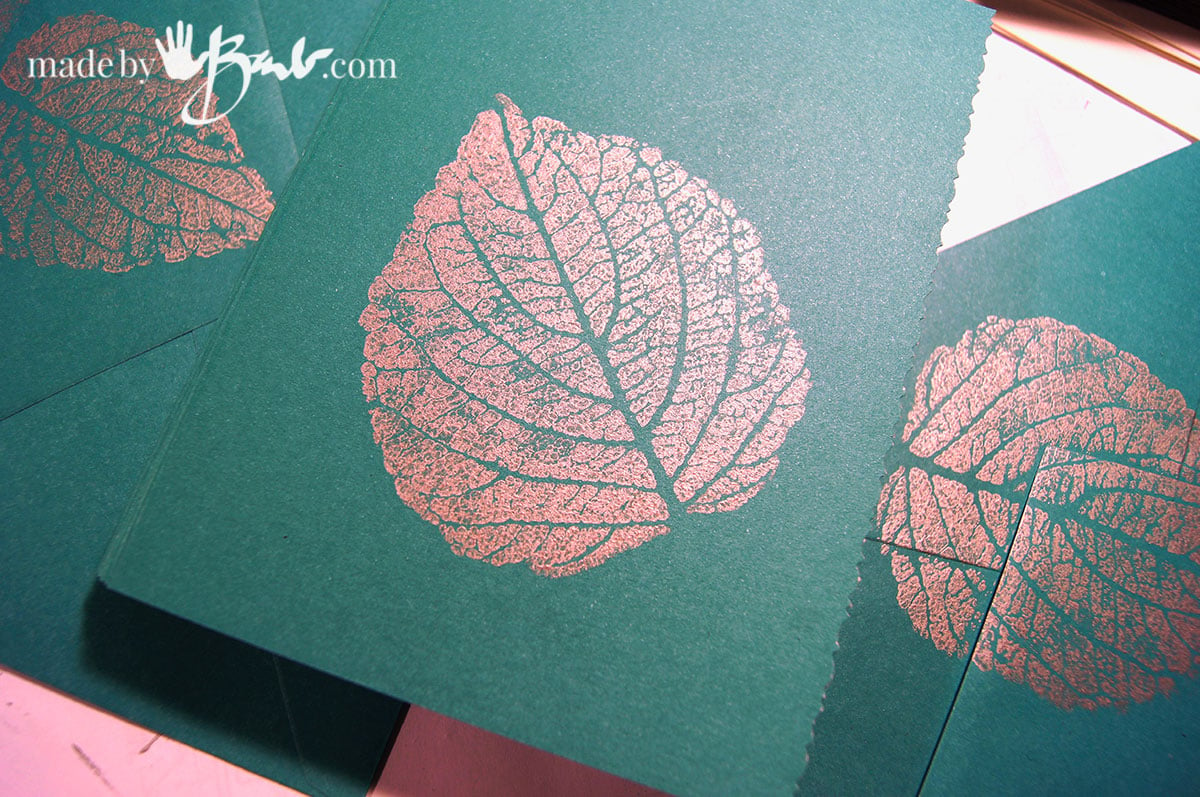
These stamps became some really nice note cards and stationary. I imagine a special impression could be taken of something that holds a lot of sentiment.
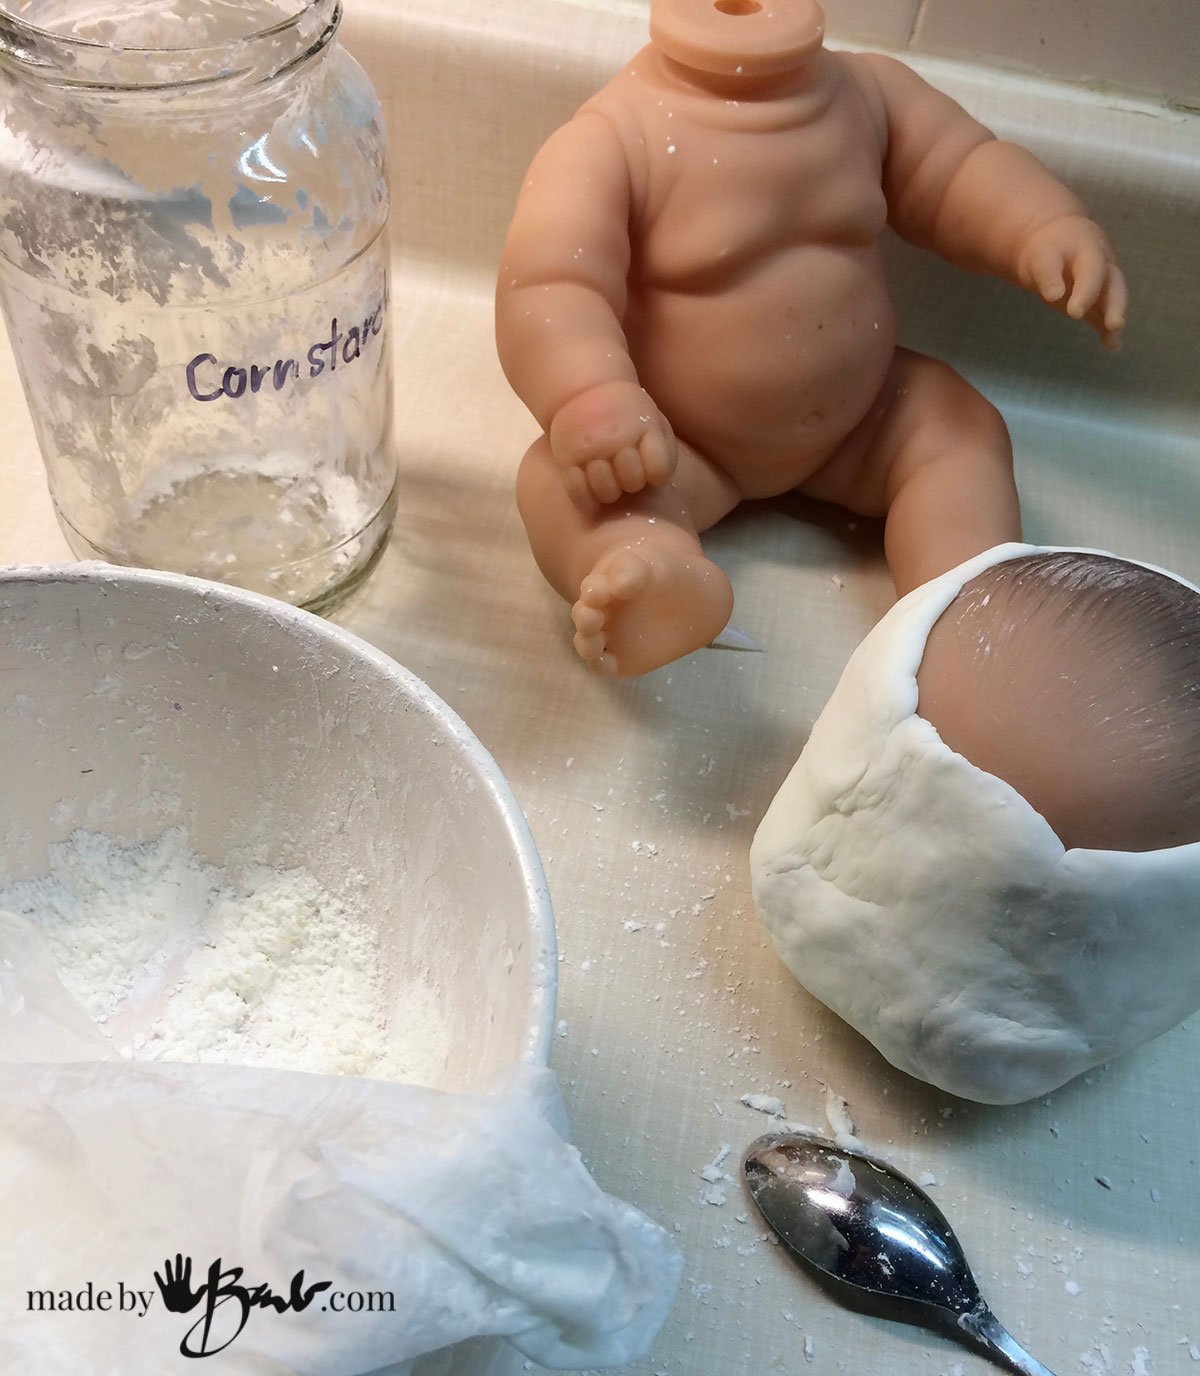
Make a face Planter:
This was a really fun project. Again, this utilizing someone’s sculpture but I only made them for myself, not selling commercially. Pour thickened concrete around the walls inside the mold, simple way to create a vessel.

To give them a bit of age I added a faux moss (since I can never get the moss to grow where I want it to. They have quite the character…

Taking an Artifact Impression:
Perhaps you have some antique item that you would like to make a texture sheet of. This is a very old iron table top that I made a texture casting of. Use this inside a shape to add texture.
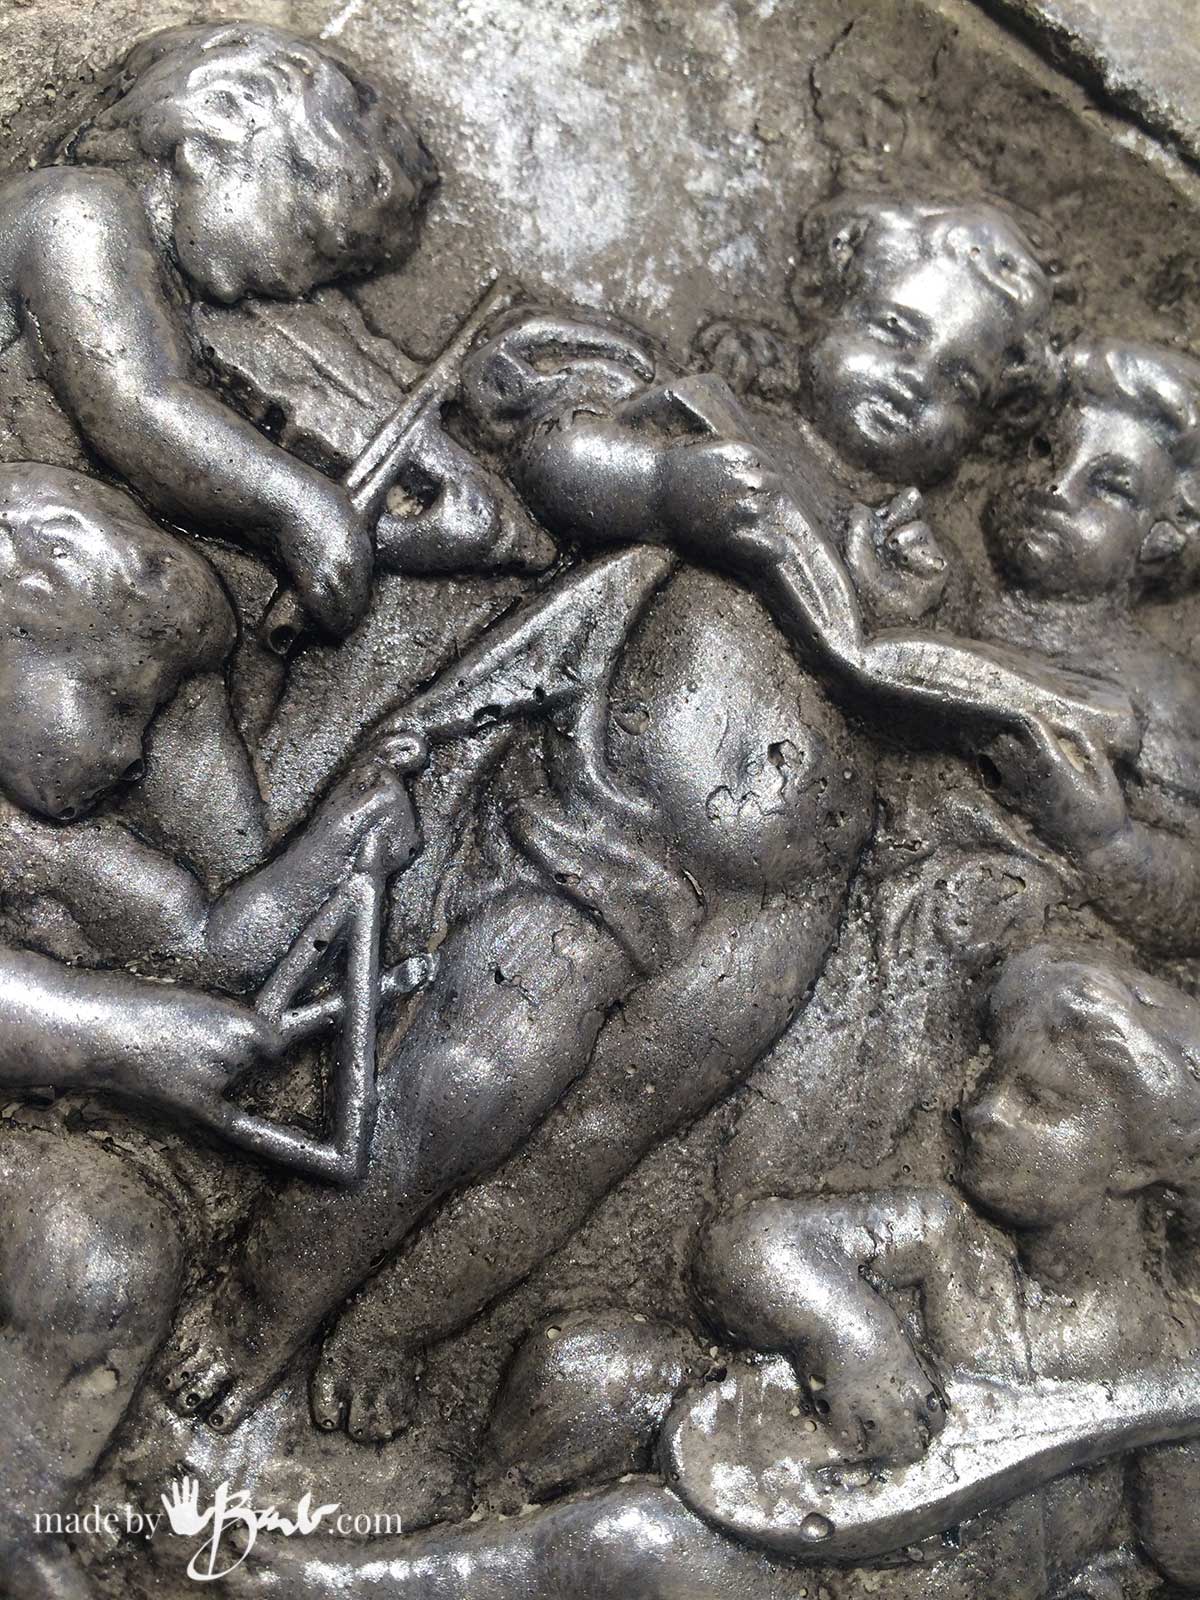
This concrete plaque was cast from an antique, and given a bit of a aged paint finish. Once you start to realize there are interesting textures everywhere, there’s all kinds of art possibilities. Try to think outside the box, and create less typical forms.

Sculpt your own Original:
You can be completely unique if you sculpt your own piece (see instructions) to make reusable molds from. Polymer clay or air dry clay can be used to make the mold from. So far I have not tried it but I bet wood would also work if you seal it first. Keeping it simple is best for beginners, starting with small molds.

This style of sculpture meant that it did not need to be very detailed. The supplies for this mold putty are very inexpensive and readily available.

Make a mold from a Plaster Casting:
Have you ever made a casting using Alginate? It is the stuff that the dentists use to take impressions of your mouth. Alginate is fabulous since it sets quite quickly. It is easy to pull the hands out as it is quite flexible.
I made a mold from that plaster casting of my daughters hands. It allowed me to ‘fix’ anything I wanted to on the plaster before making the silicone mold. The molding putty picked up excellent detail that was in the hands; forget the rubber glove hand casting!

This hand casting has been one of my favourite projects
The Huge Garden Face Mask:
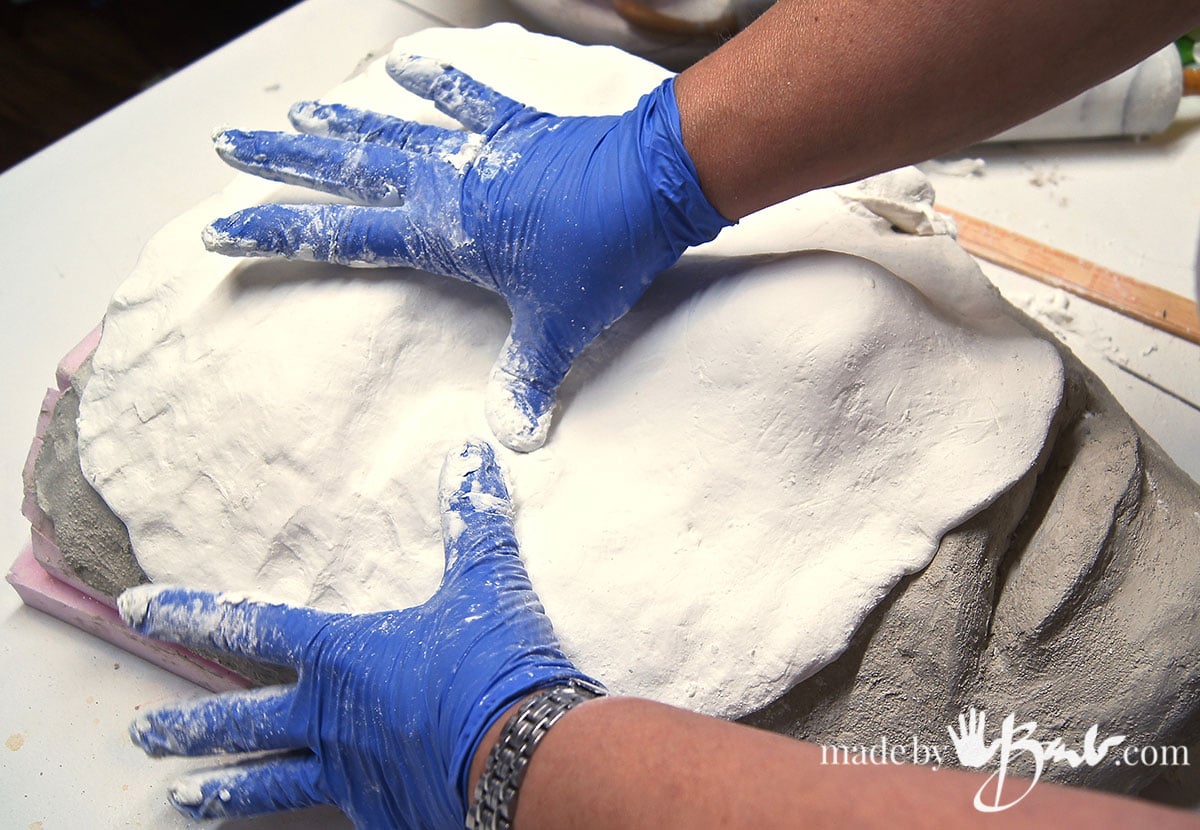
I wanted a huge face for the garden… Since I like using fast setting concrete I used it to sculpt the face & then made a mold from it. I used a lot of the same silicone molding putty but used a rolling pin to get a large sheet. I had even needed to run out and buy more, so I know I can join or fix the molds.

Since it is a pretty simple shape to pull out of a mold it has been a fun one to adapt. You may recognize it as being a part of the Garden Green Man

They hold up well since they do not hold water. They remind me of lost ruins in an ancient land…
Spheres, ball & Orbs:
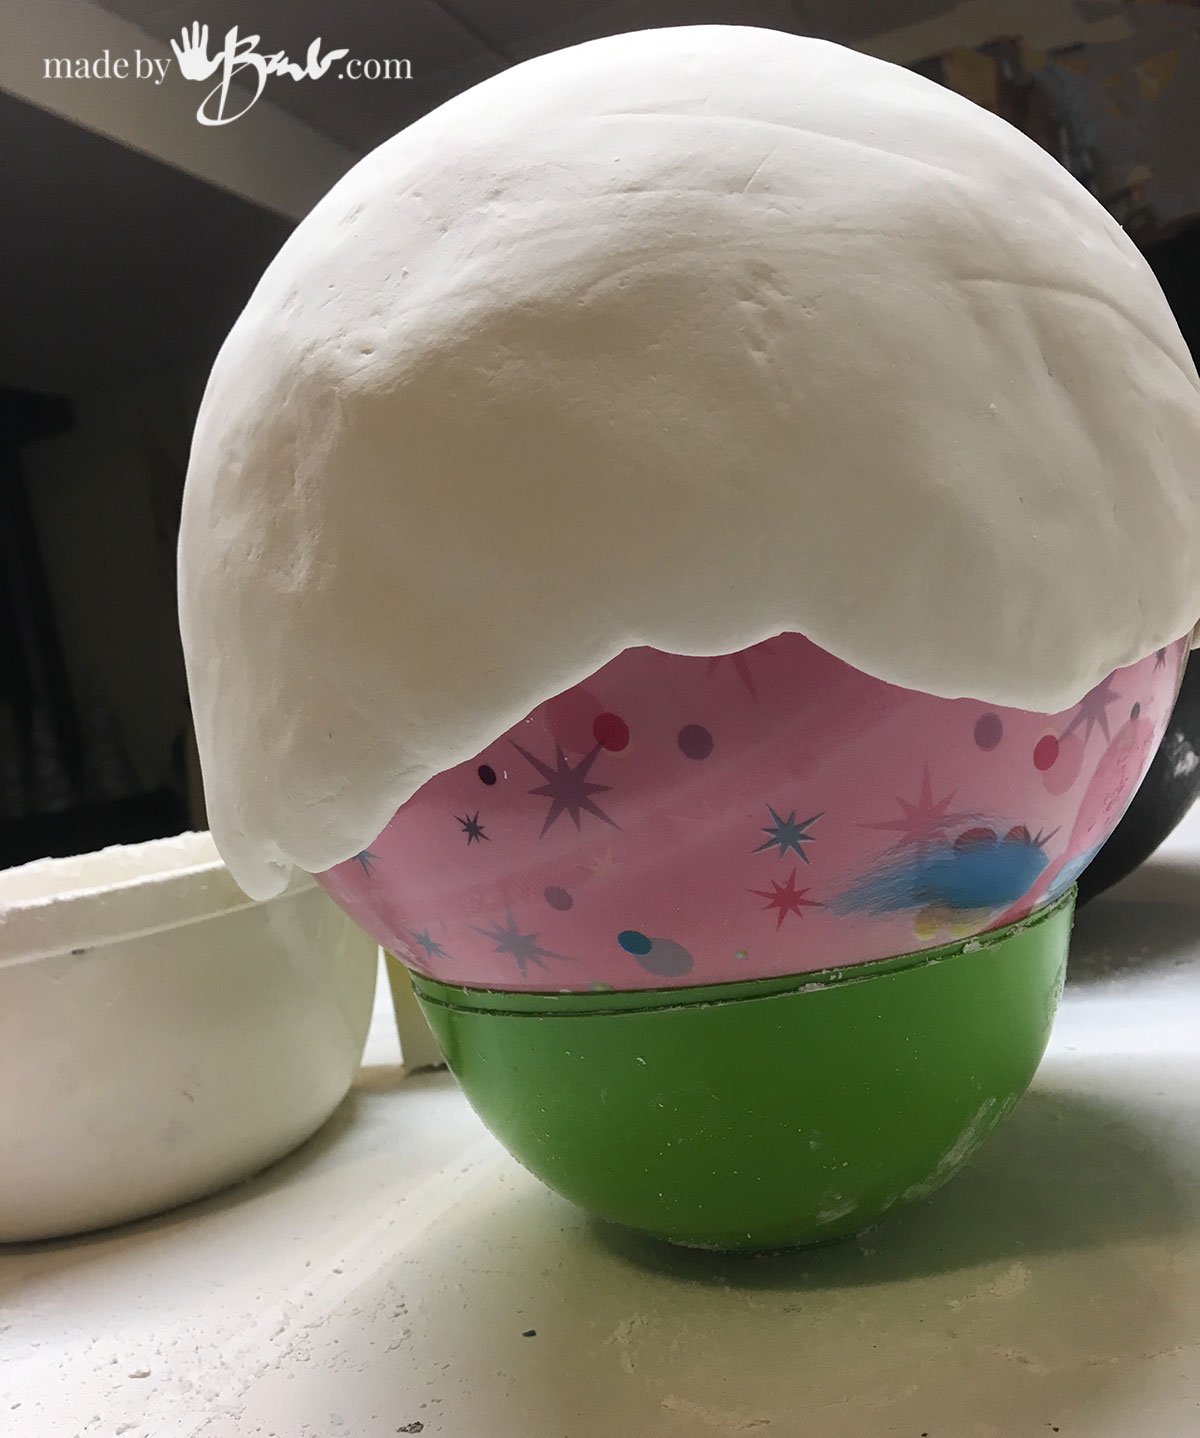
I was looking for a flexible form that I could use for casting a concrete orb inside. I work inside and outside forms with concrete. It was almost impossible to find one, so… I used a ball to make one with the silicone putty.

Since a sphere always has the same diameter, half is enough as you can turn it in the mold and it will still fit; how novel?! My love of rocks and concrete comes together in these small round rock gardens!

Nature inspired and not such a fussy shape to create. This simple type of mold has such possibilities.

Mold making, big or small:
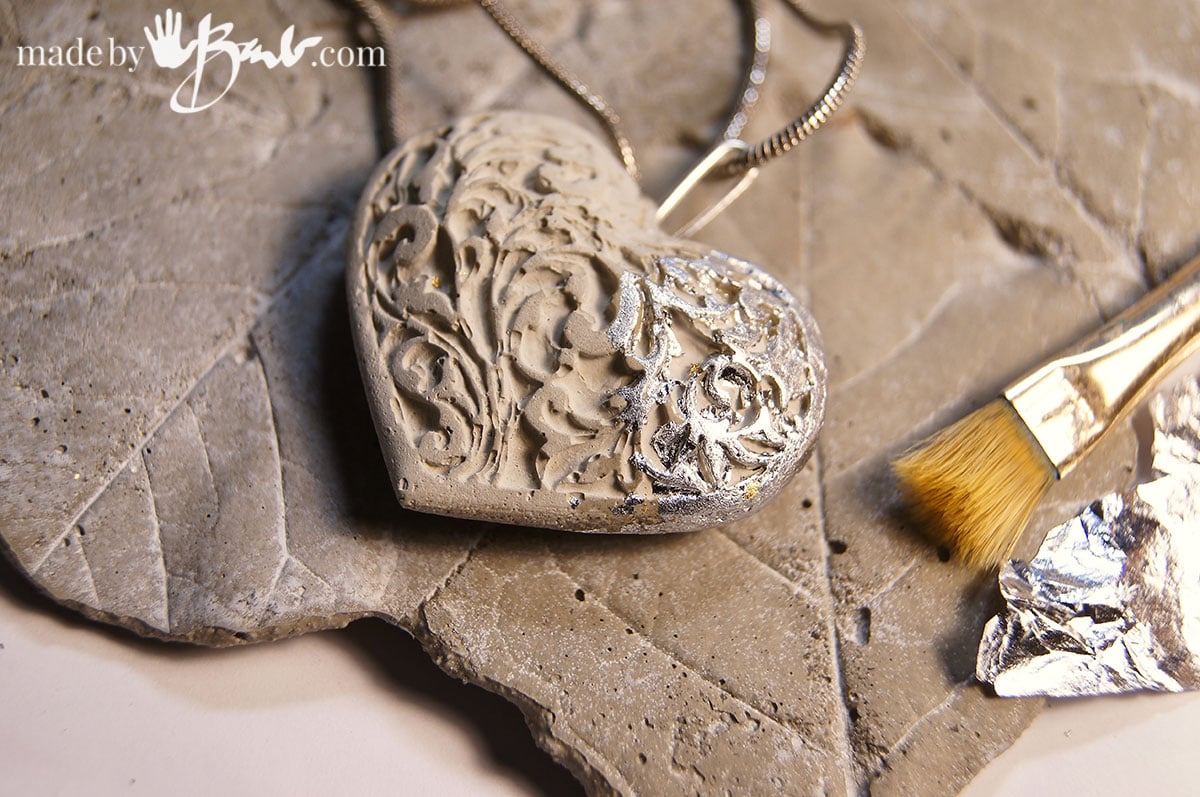
My favourite pendant also became a base for a pretty high quality mold; and then a concrete charm. The expenditures for this recipe are small when comparing to commercial quality molds. A knife cuts through this mold putty like butter, so creating seams is quite easy.
I love ❤️ the potential ways to use this Silicone Mold putty…
What are you going to make a mold of?
Barb, you are amazing! I always look forward to your posts.
Hi Barb
I love your creative projects.. I’ve tried numerous times to watch your silicone mold video. It plays a few sections, goes to a 14 second ad and then goes to another of your videos not the mold making one. Would you kindly fix this.
Thanks.
Hi Barb! I am very impressed with your creativeness and absolutely love watching your videos. Today I was trying to watch your silicone putty video and it only plays for a few seconds before cutting over to a commercial and then back to one of your other videos, repeating the cycle with commercials, but never airing the silicone putty video that I wanted to watch this morning. Is there another way to view your videos, i.e. YouTube or directly through your website?
That’s odd. I know the company does add some video but there is an imbedded one for just the Silicone mold putty.
Sorry, Barb, it’s not there. Switches to another video still.
I’m quite happy to have found this tutorial! I will probably experiment with a couple of smaller molds to get used to working with the material before I go large.
When I do go large, I mean large. I am wanting to make a garden bench for my wife where the legs are stacks of skulls with femur cross supports. I am going to 3d print the shapes for the legs in several parts then combine them into the final shape. Because of the complexity, I am going to make it as a spit mold. It will need serious support as well, so likely I will build a 2 part box and set the original with the silicone/cornstarch mold in and fill with cement. then I will use some material to keep the top half from adhering to the bottom half and fill it again with cement.
Most likely I will us thread rod through the wood of the first half as guild pins. Those will be the trickiest par as they have to be 100% parallel to be able to slide the 2 halves together.
At this point I’m not sure of the design for the seat or back rest. But your cornstarch and silicone mold method definitely is more affordable than the mould kits!
Thank you!!!
I have read this a few times and I’m still not quite picturing it… Myself, I see the skulls stacked and femur cross bone. I would make it similarly to a I made the faux bois chair and build up from an iron form. The real-look skulls I make could then be ‘concreted’ on, and allow me a lot of artistic expression. I bet you are only going to make one… But, sounds like you have some ideas!
I tried to watch the video but it cut out and went to an add and then to a different video. My question is what are the measurements of the silicone and the corn starch to use when making a batch? Couldn’t find any weights or guidelines . I would really like to try this. Could you supply more info. 😊
I do not use a specific recipe as it can be deceiving. I slowly keep tossing and manipulating the silicone until it gets to the point where it isn’t so sticky. Also do try to keep the starch around the silicone so that you don’t get gloved fingers all covered. If you are nervous, it’s a good idea to do a really small test batch, to see how it comes together. ‘Hope that helps.
Wow! your works are amazing. I just love how it is possible to make your mold at home, since easy mold and 2 part silicone is quite expensive where I’m from.
Yes I totally agree. It is also quite strong.
Hi, do you think I could use this recipe for making moulds of buttons, so I can make resin buttons? Would it be malleable enough to go through the holes in the middles do you think?
It is quite malleable depending on how much cornstarch you mix in. I would suggest that the holes be large enough so the mold can be strong enough. I have not poured resin into these molds so perhaps consider a mold release agent for ease of removal. It is quite inexpensive so a small test would be a good idea… Good luck.
You’re amazing! Thank you for sharing your gifts with the world!!