
Fast & Vivid: How to Get Great Eco Prints Using the Microwave

How to Get Quick Eco Prints Using the Microwave
If you love the magical details of botanical printing but don’t always have hours to wait around a steaming or boiling pot, the microwave is your ultimate secret weapon. Just think of all the energy you are saving as well!
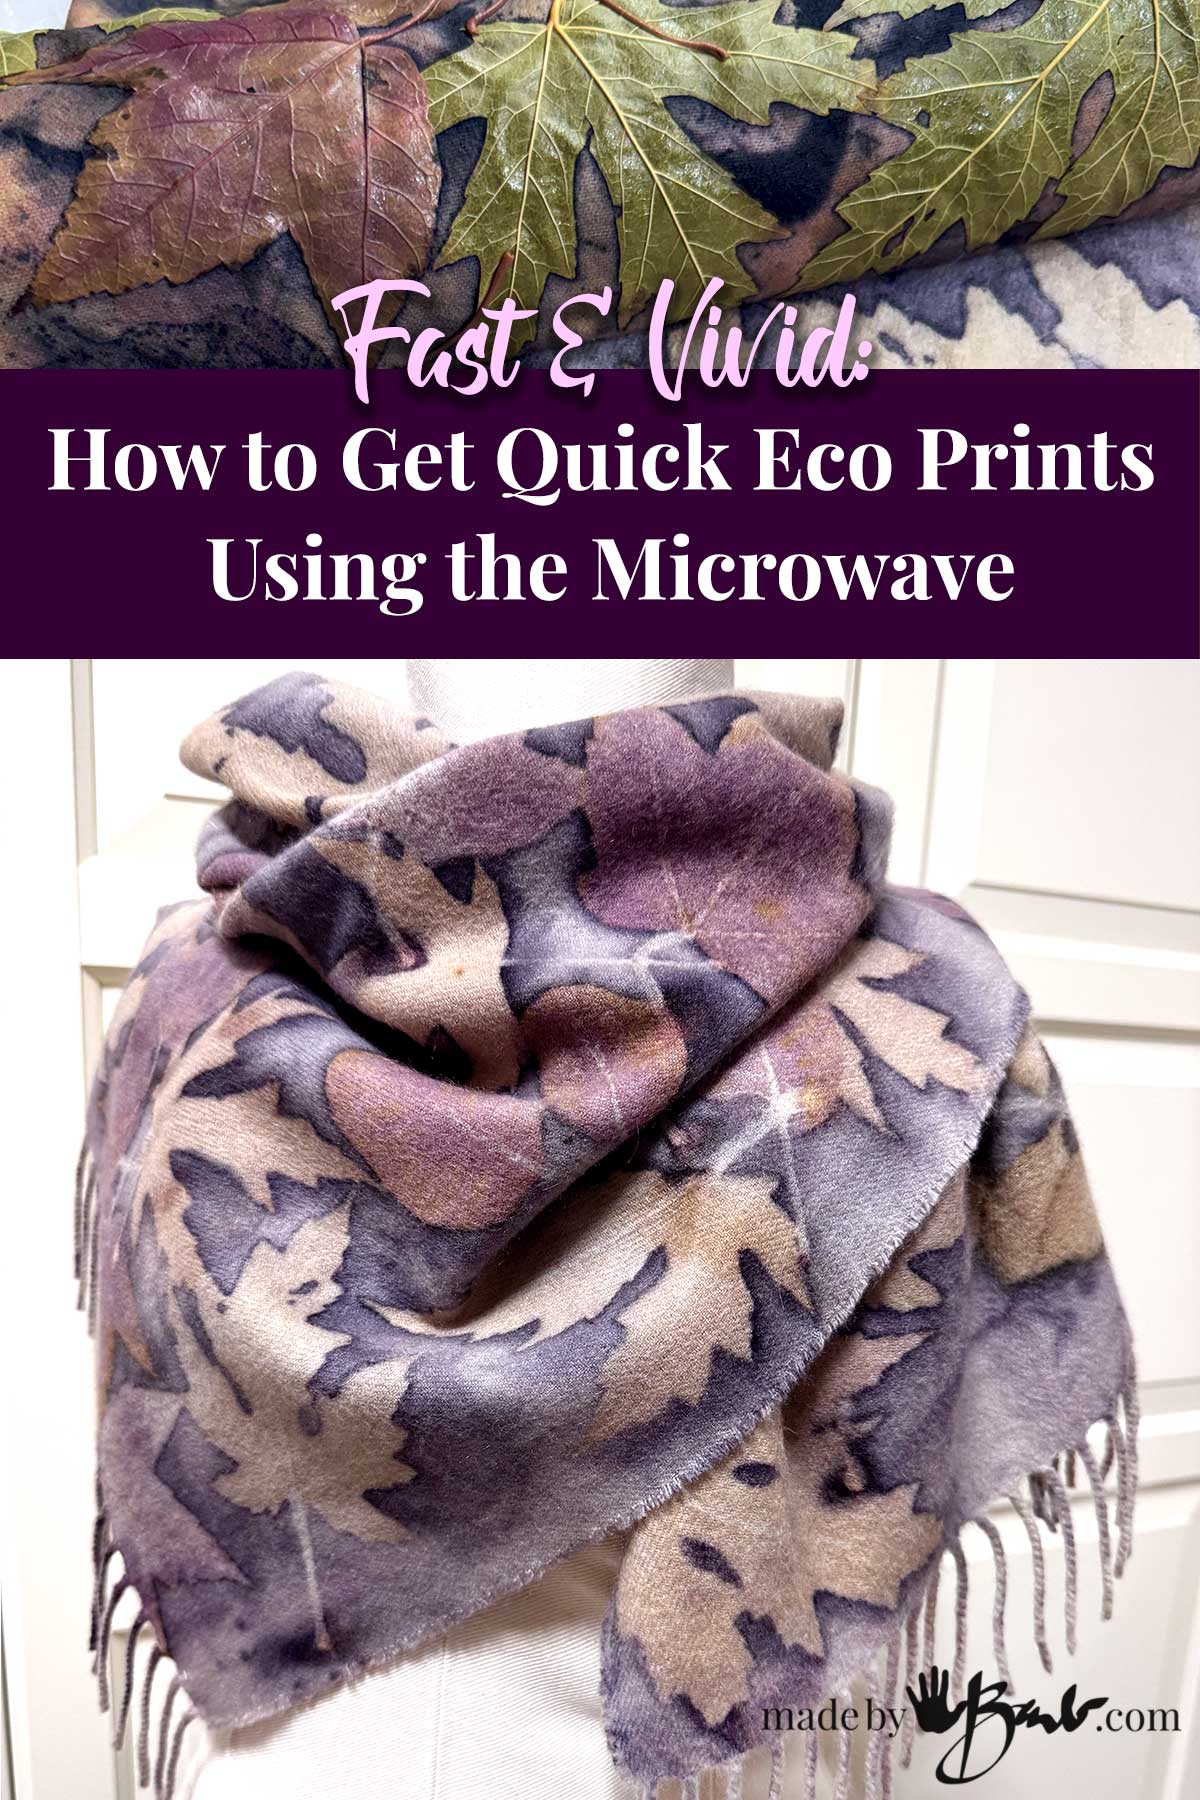
With just a few basic supplies, some freshly gathered leaves, and a couple of minutes in the microwave, you can achieve wonderfully crisp, detailed leaf prints on natural fabrics or paper.
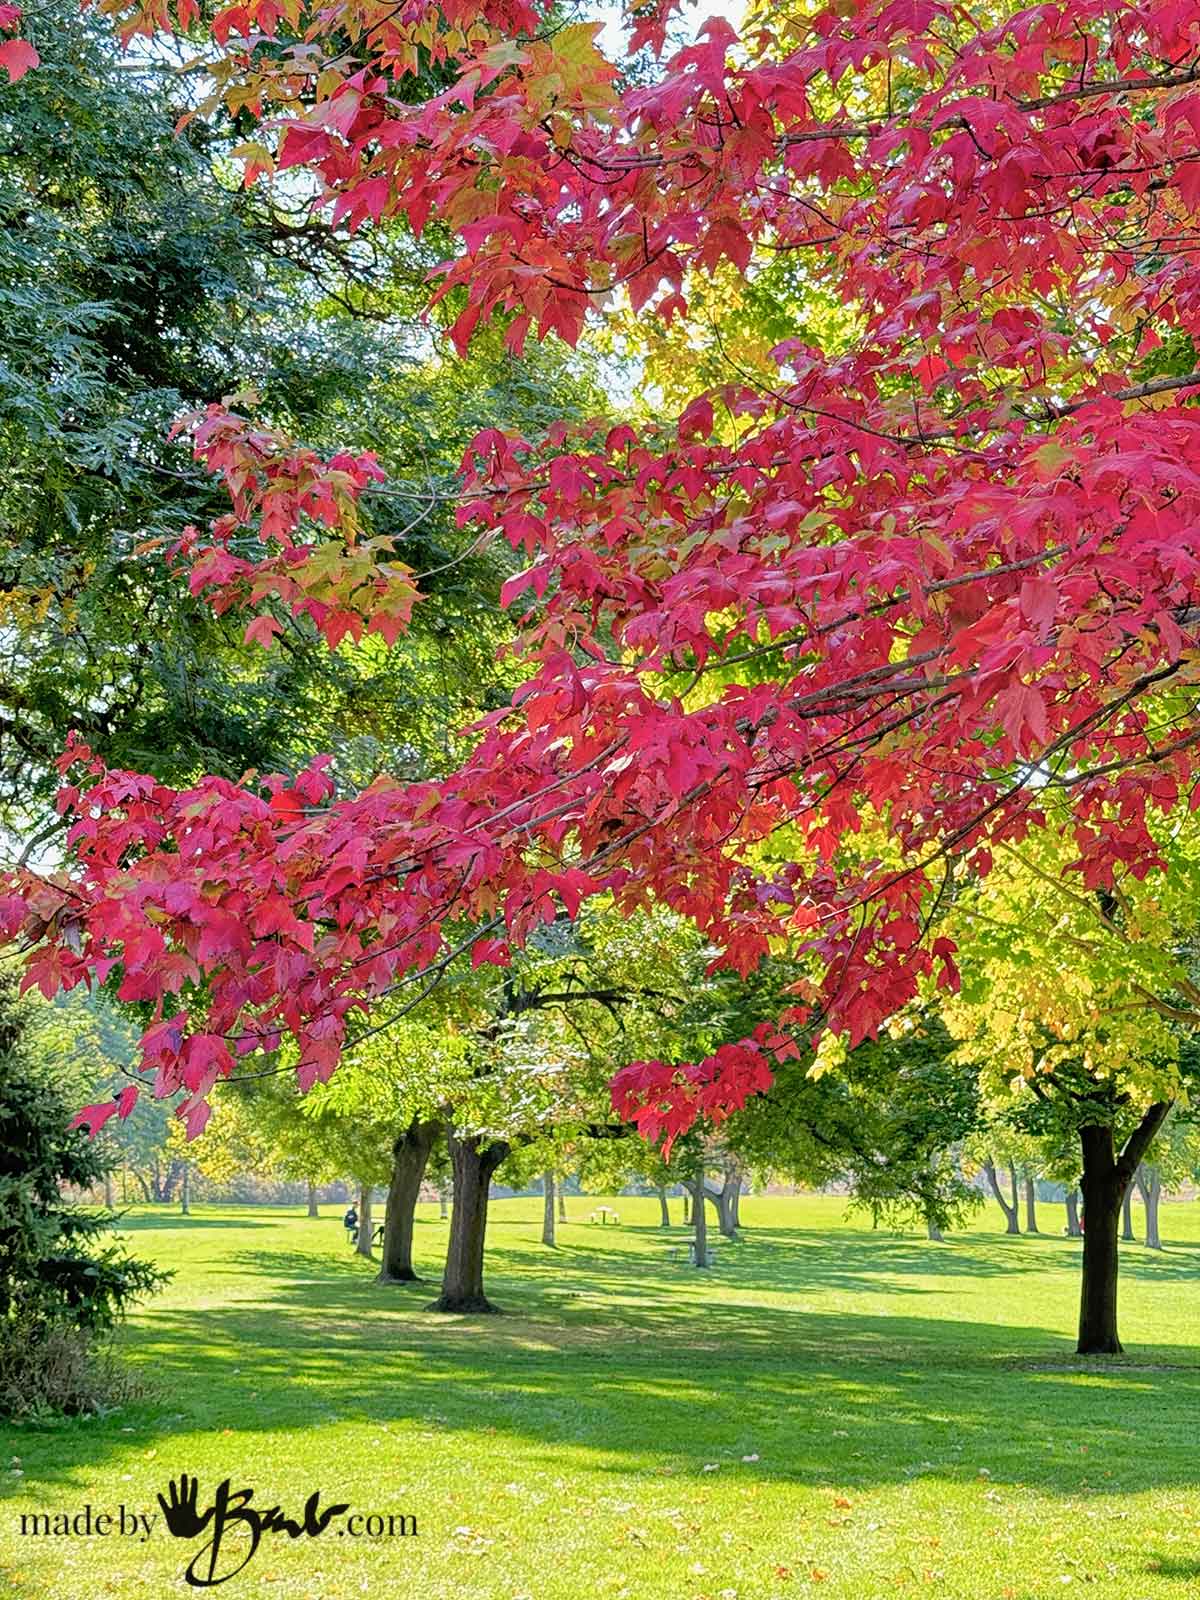
Sometimes I see my favourite tree – such lovely red leaves (Red Maple Acer Rubrum) and I just HAVE TO print! ‘Even if I really have no time… It is a fall ritual for me!
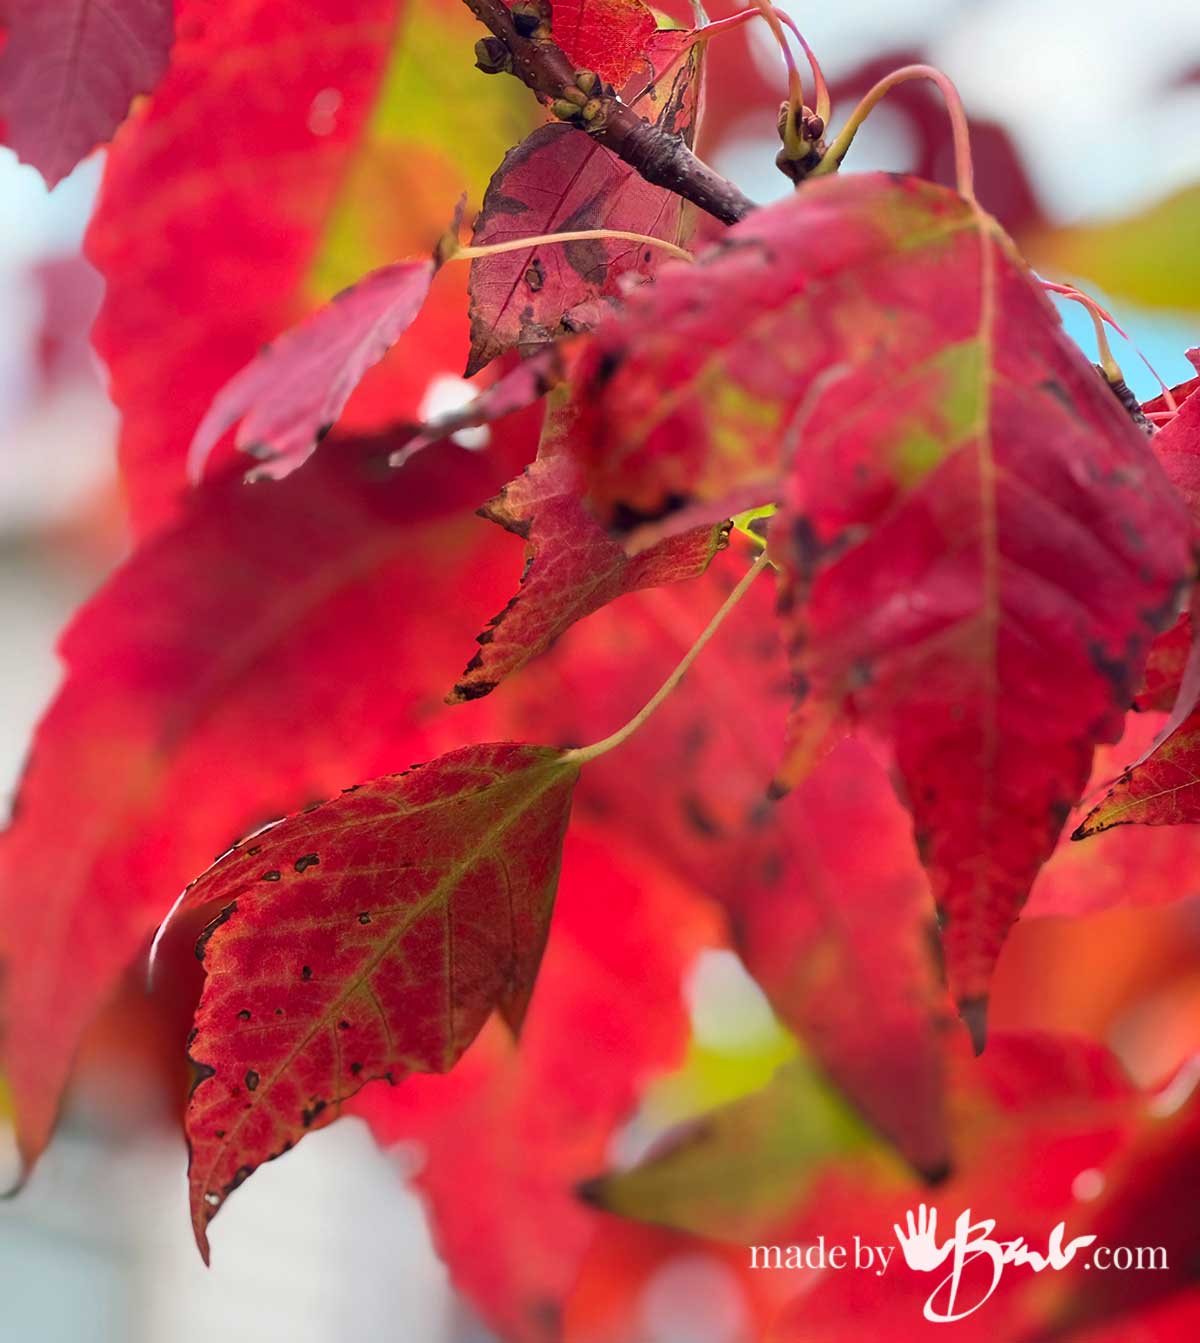
I make sure to catch these leaves before they get too dark in colour and start to decay.
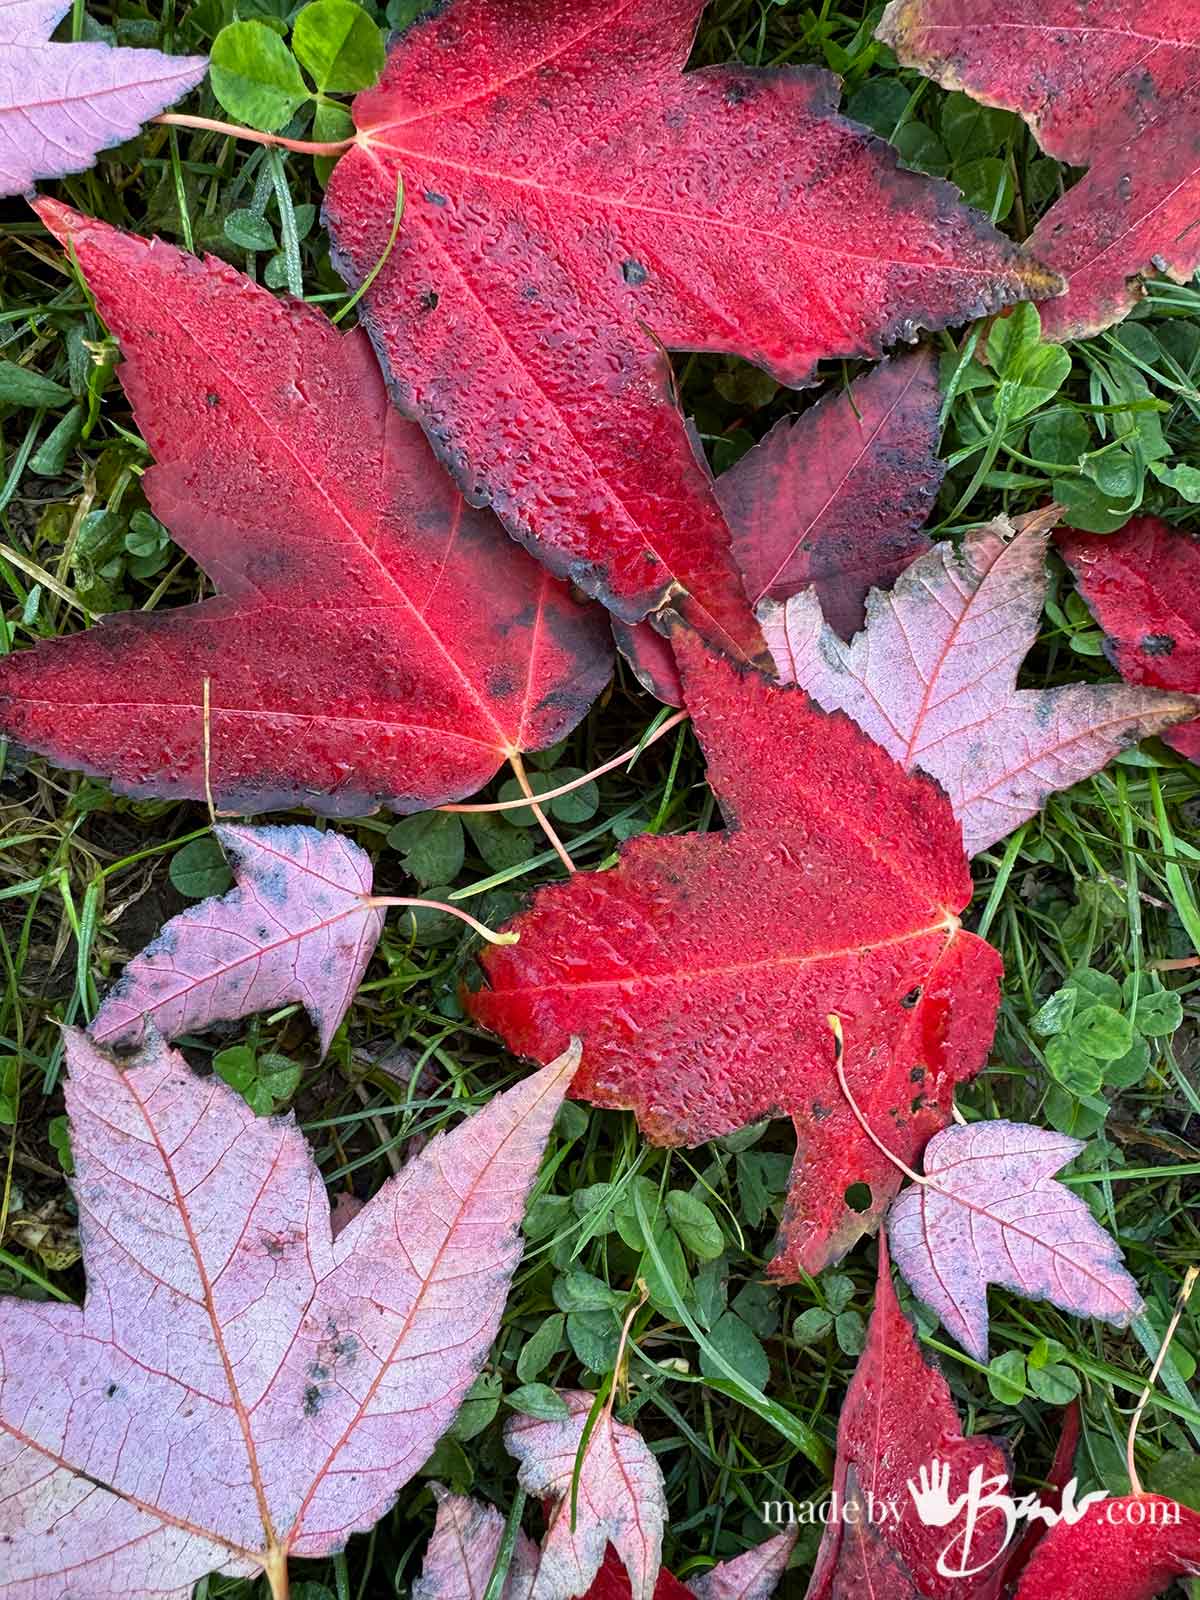
Don’t be fooled; Eco prints do not represent the colours that the leaves are! ‘But some do really surprise us all! This is one of those types…
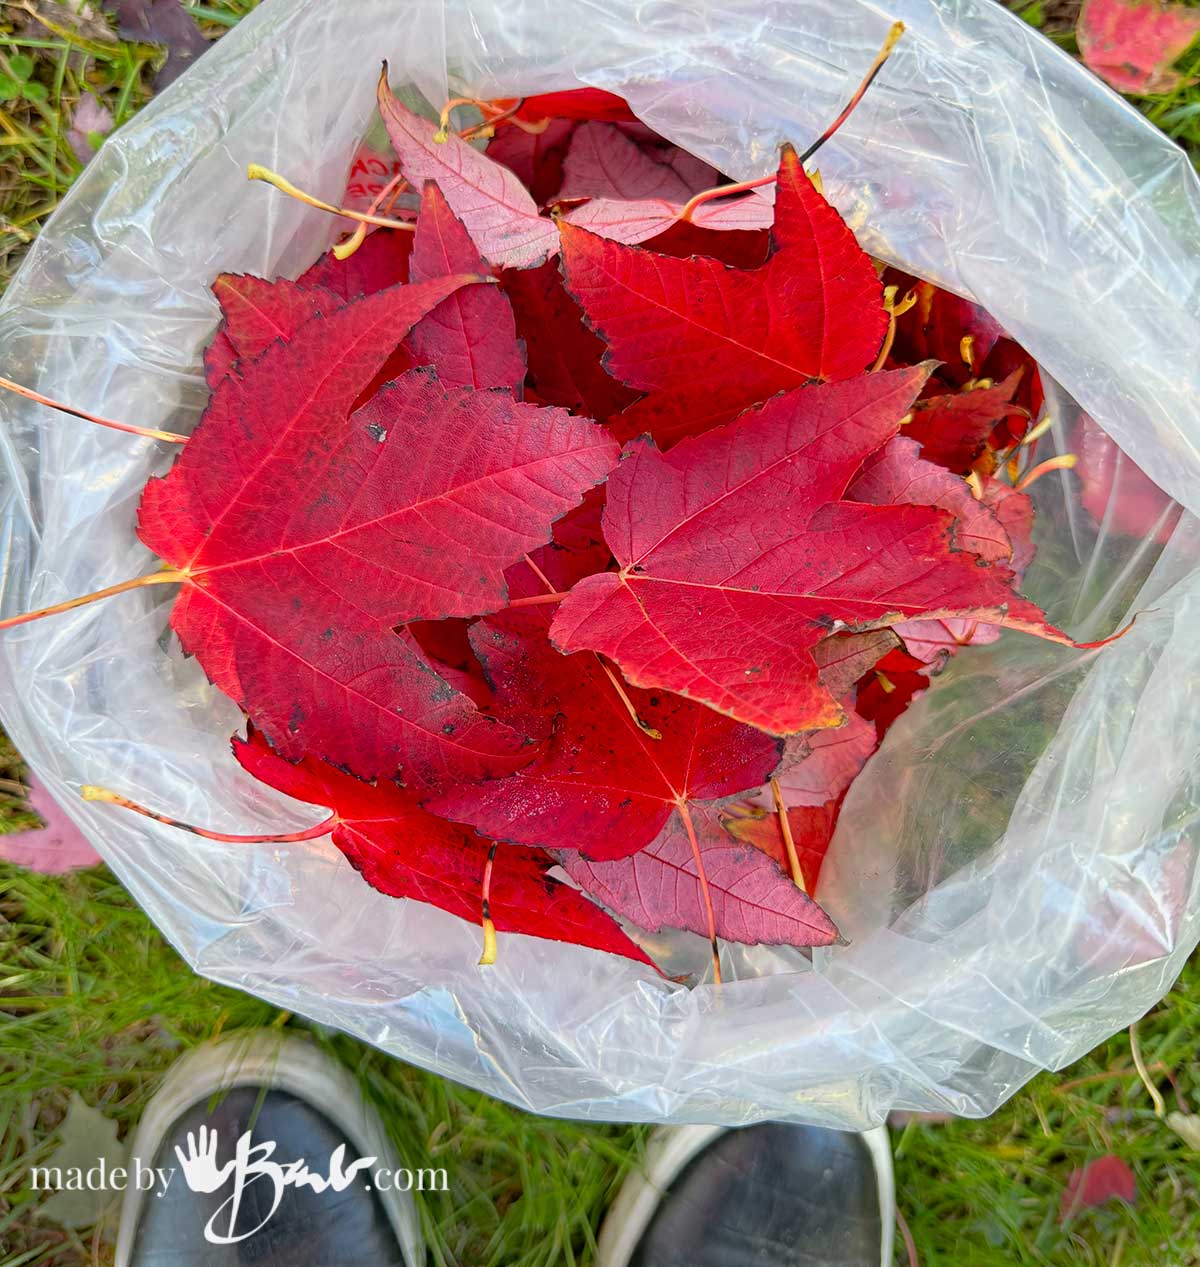
I tend to like the immediacy of grabbing some leaves, rolling up some bundles, super quick Microwave process, resting and great results the next day!
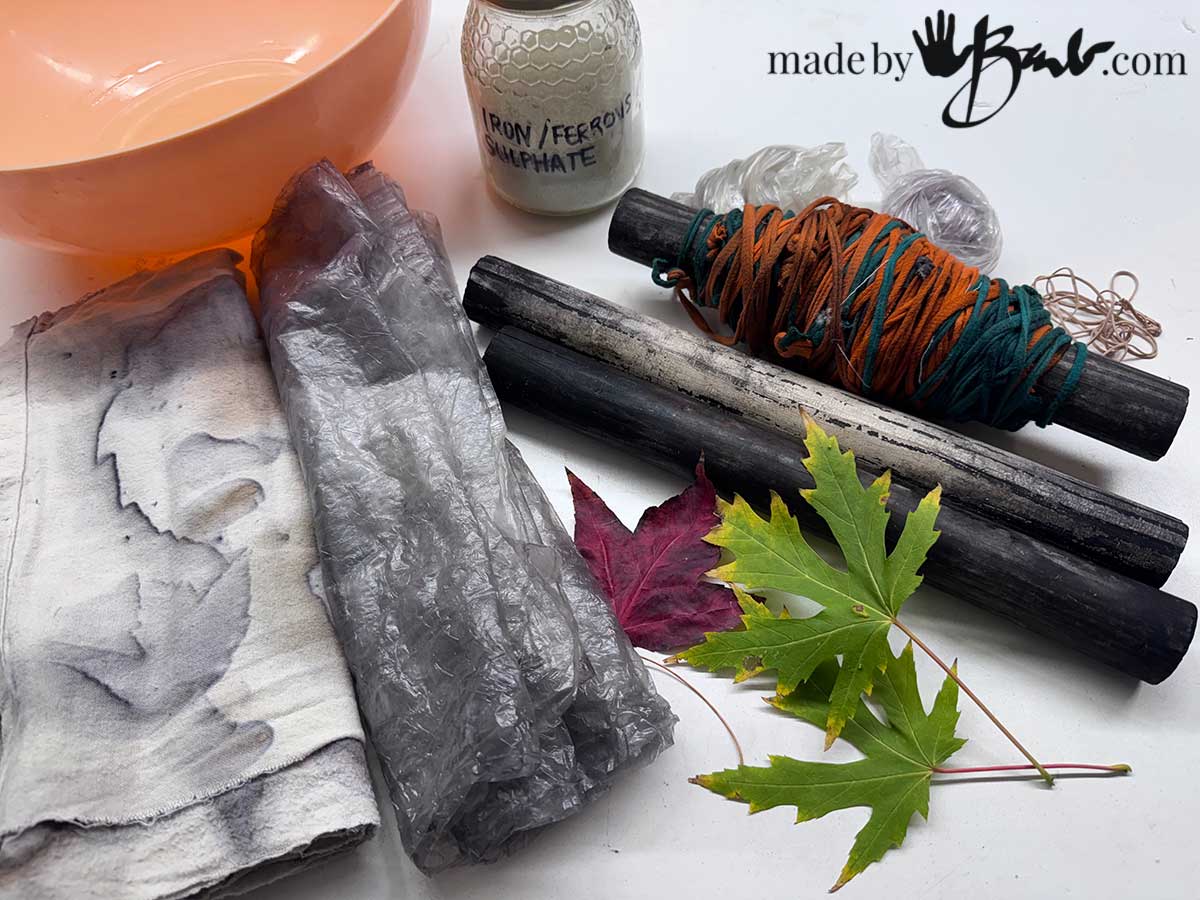
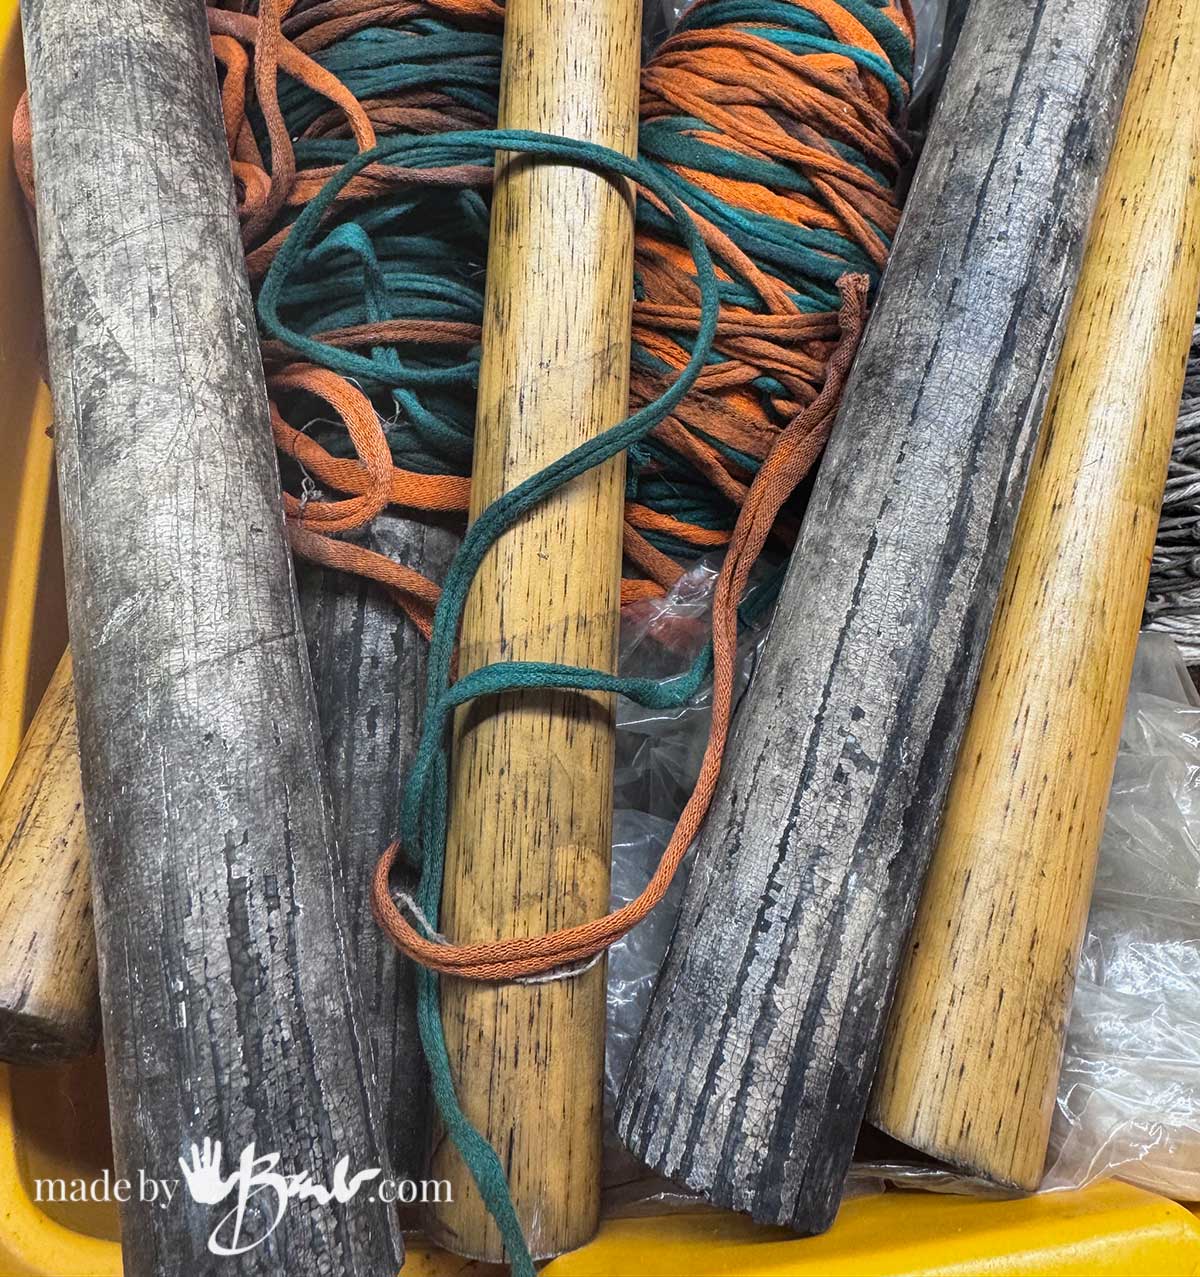
I have a bin with my reusable supplies handy to grab on a whim. Yes, there’s many variable ways to print but this method is my fave for being foolproof and also the least prep work. If you want a variety start here
Some wool fabric, or thrifted wool scarves make great starting points as protein fibres (silk, wool, alpaca, cashmere) print quite readily.
Supplies You’ll Need
- Natural Fabric: Pre-washed silk, light wool. Silk gives bright, razor-sharp results!
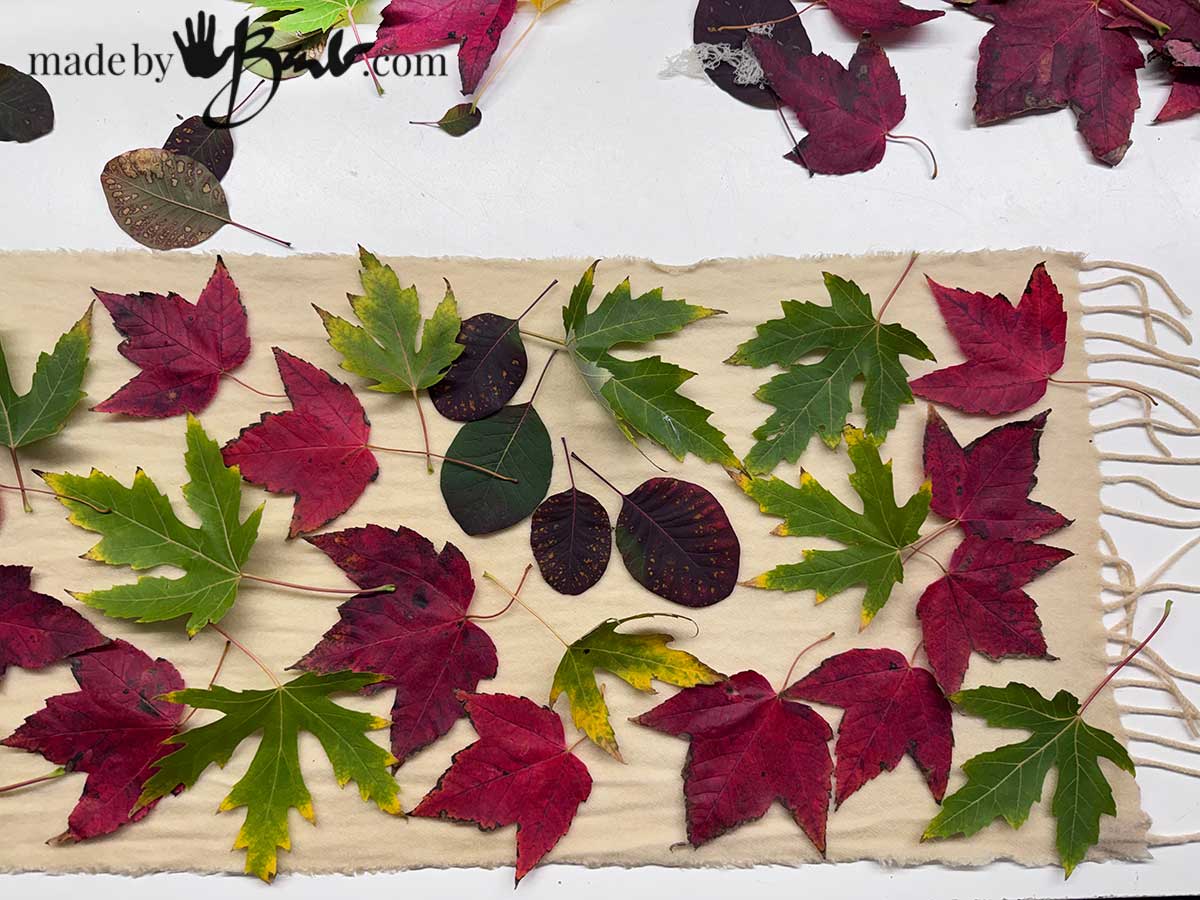
- Fresh Leaves: High-tannin leaves yield the strongest contrast. Great choices include: Red Maple Acer Rubrum, Cotinus, Silver maple Acer saccharinum. (see my faves here)
- Mordant / Dip: Water mixed with a small amount of Ferrous Sulphate (iron water)
- Iron Blanket; cotton or flannel fabric dipped in iron water
- Barrier Layer: Plastic sheet or recycled plastic food bags (cut flat).
- Rolling Core: A wooden dowel/curtain rod,
- Securing Supplies: t-shirt yarn.
- Microwave Plan that the bundle manages to rotate in the microwave.
Safety Tip: Always use dedicated craft tools and containers for dye projects, and keep good ventilation in your kitchen. Avoid using toxic plant species in appliances used for food.
Step-by-Step Instructions for my All time Favourite Method:
There’s many ways to get prints but when I want top be quick and simple I pick this method! Wool and silk are the best for guaranteed results.
1. Prep Your Material
Soak your fabric in your mordant solution (weak iron water) for a few minutes. Squeeze out excess liquid so it’s evenly damp, not dripping wet. I love to up-cycle some wool scarves, especially cashmere!
2. Arrange Your Botanical Design
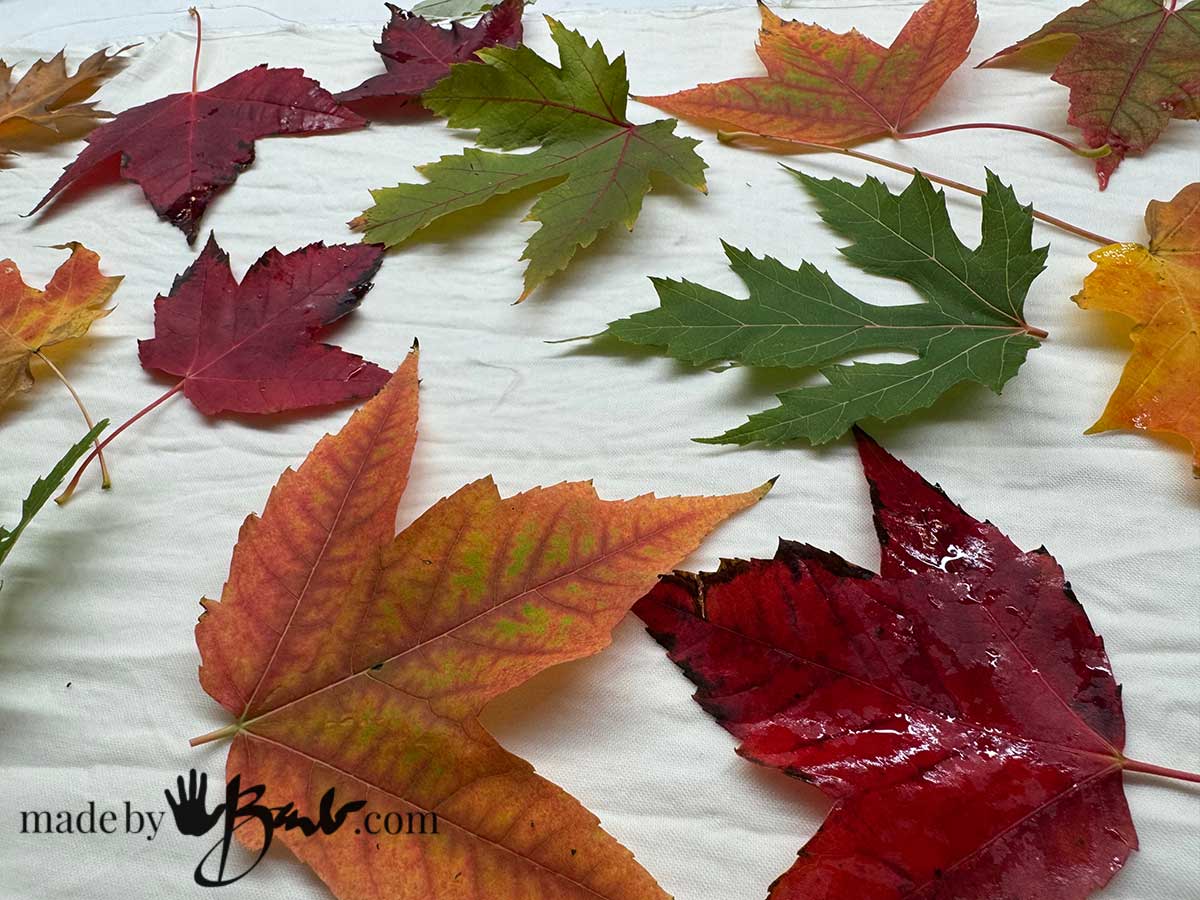
Lay your damp fabric flat. Arrange your leaves vein-side down onto the fabric.
3. Place your ‘Iron Blanket’
Old flannel or cotton sheeting that has soaked in iron water (ferrous sulphate & water) for 20 minutes or more is wrung out. Carefully place this over you fabric and leaves.
4. Roll It Tight
Lay the barrier (plastic sheeting that is used repeatedly) over the iron blanket. Roll the whole sandwich tightly around your dowel. A tight roll ensures close contact between the leaf and the fabric, which is the secret to sharp leaf outlines. Use the t-shirt string to wrap and keep it tight.
5. The Microwave Steam Process
- Wrap the bundle in a damp towel & place it inside a microwave-safe cover/bag. The extra damp fabric will add heat to the bundle.
- Microwave on medium heat in short bursts: start with 1 minute, watching carefully. It should become hot but not excessive heat to burst the bag. Adjust the position to distribute heat.
- Keep an eye on it—you want steam, not drying or scorching! I use my hands as a gauge, if it’s almost too hot to hold it is enough.
6. Rest to process
Carefully remove the hot bundle and place under some thick towels or blankets. The heat will hold for many hours. This resting time is needed to make the great detailed prints. It is almost like when you cook a turkey and let it continue to cook after taking out.
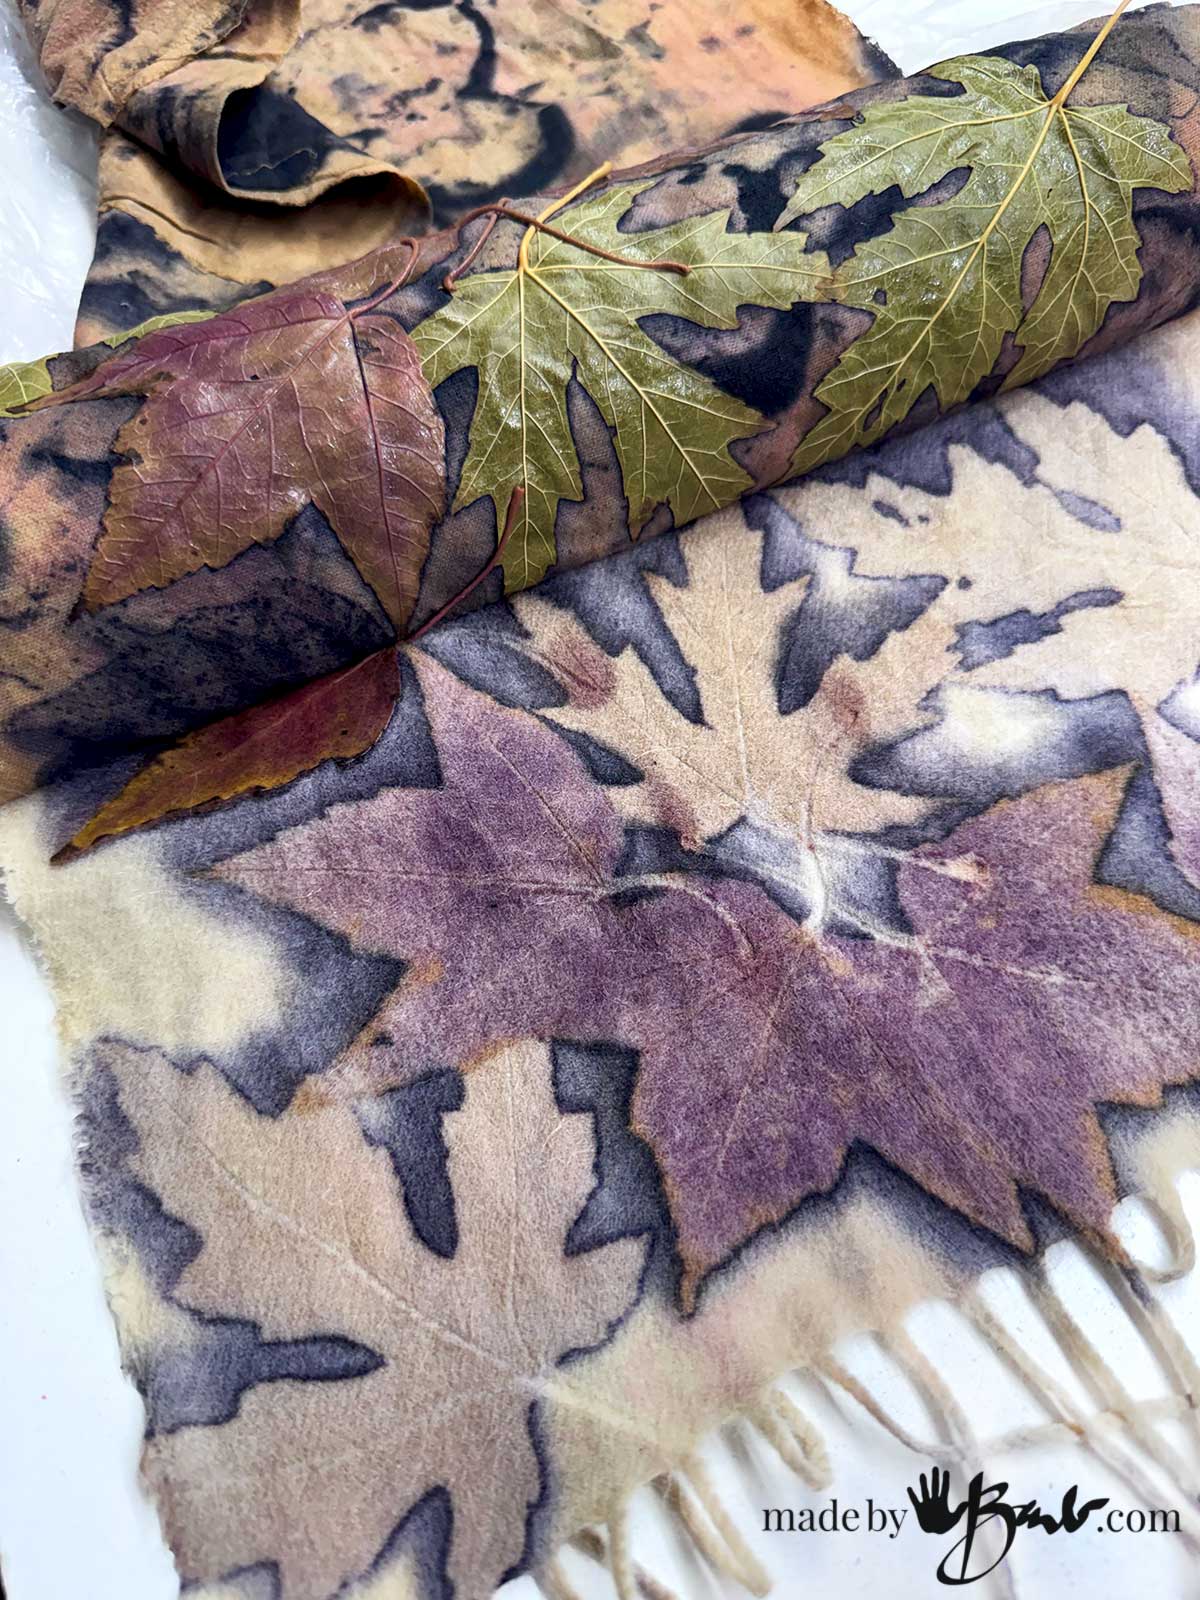
7. Untie and Enjoy!
Unwrap the string (back onto your spool), unroll & peel back the leaves, and enjoy the instant magic!
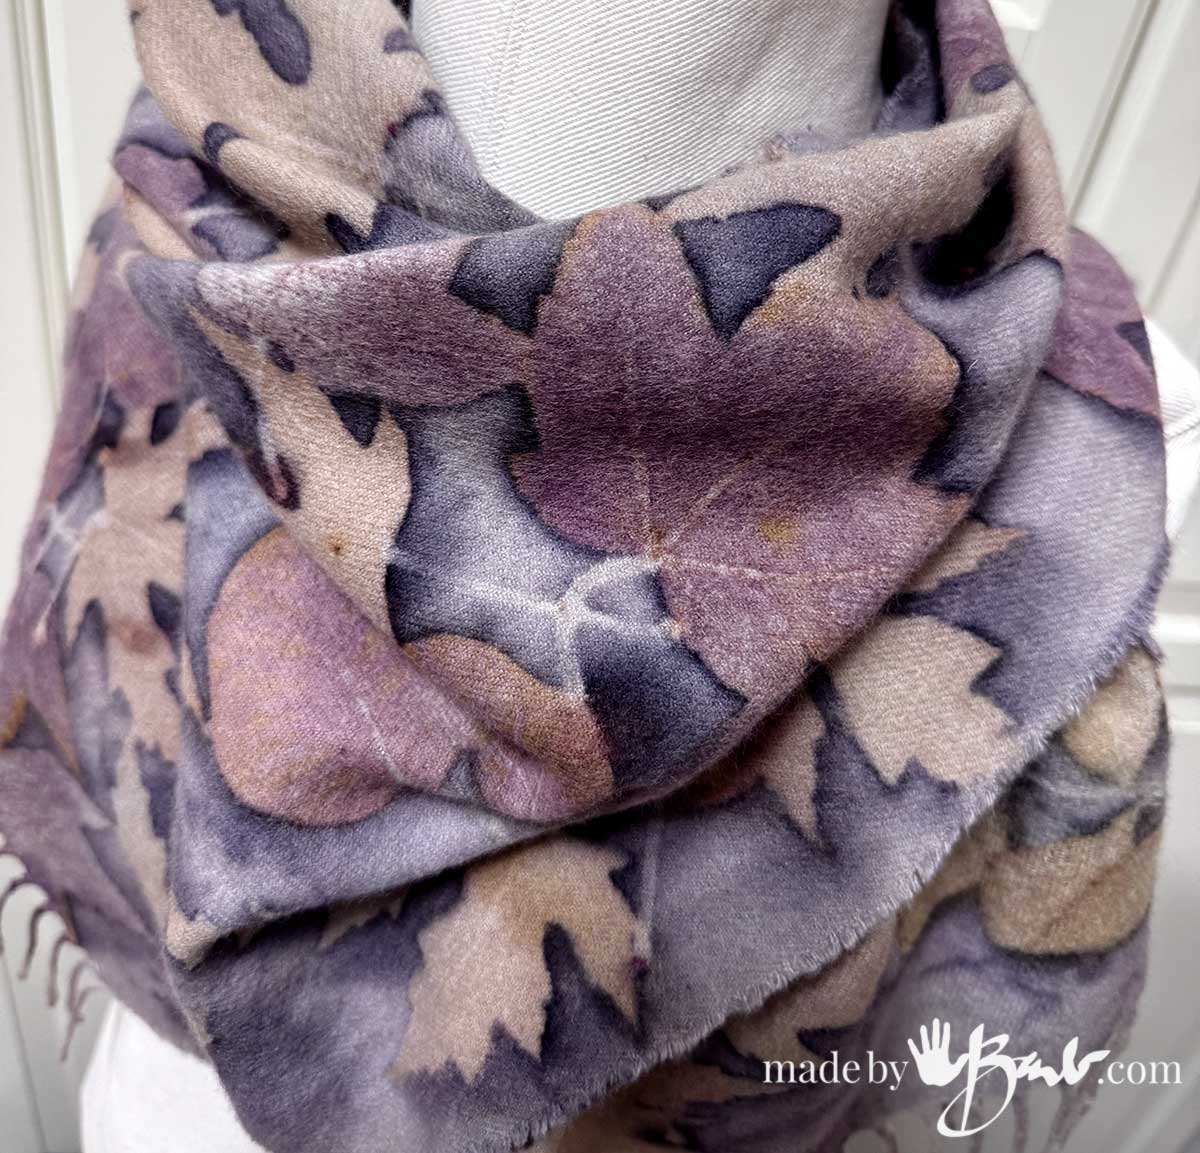
How amazing is that?! (cashmere thrifted scarf) I love the purple from the Red Maple leaves!
7. Wash
The excess tannins need to be rinsed out as well as the iron. Wash with a mild, pH-neutral soap as recommended for the fabric and dry.
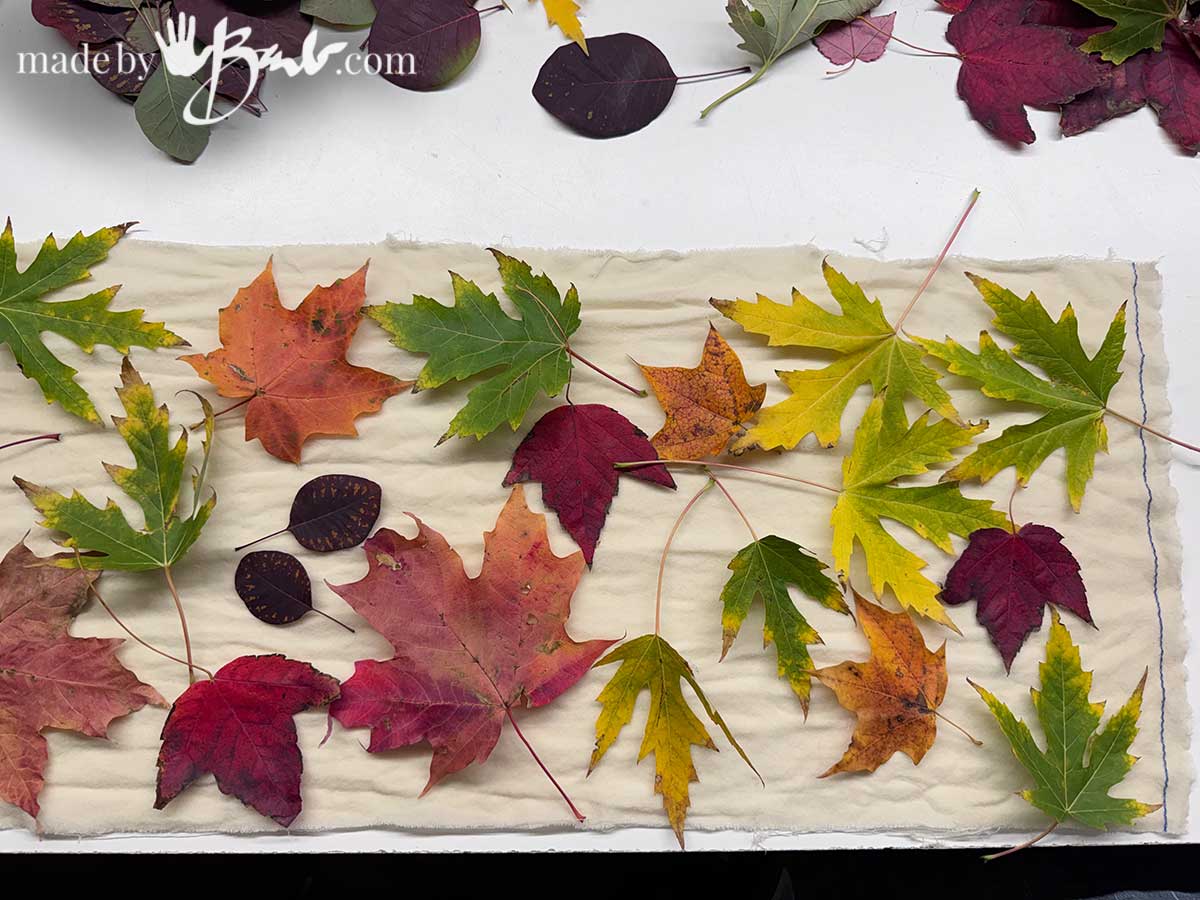
I like to document the before and after so I can take note of how prints compare to the leaves.
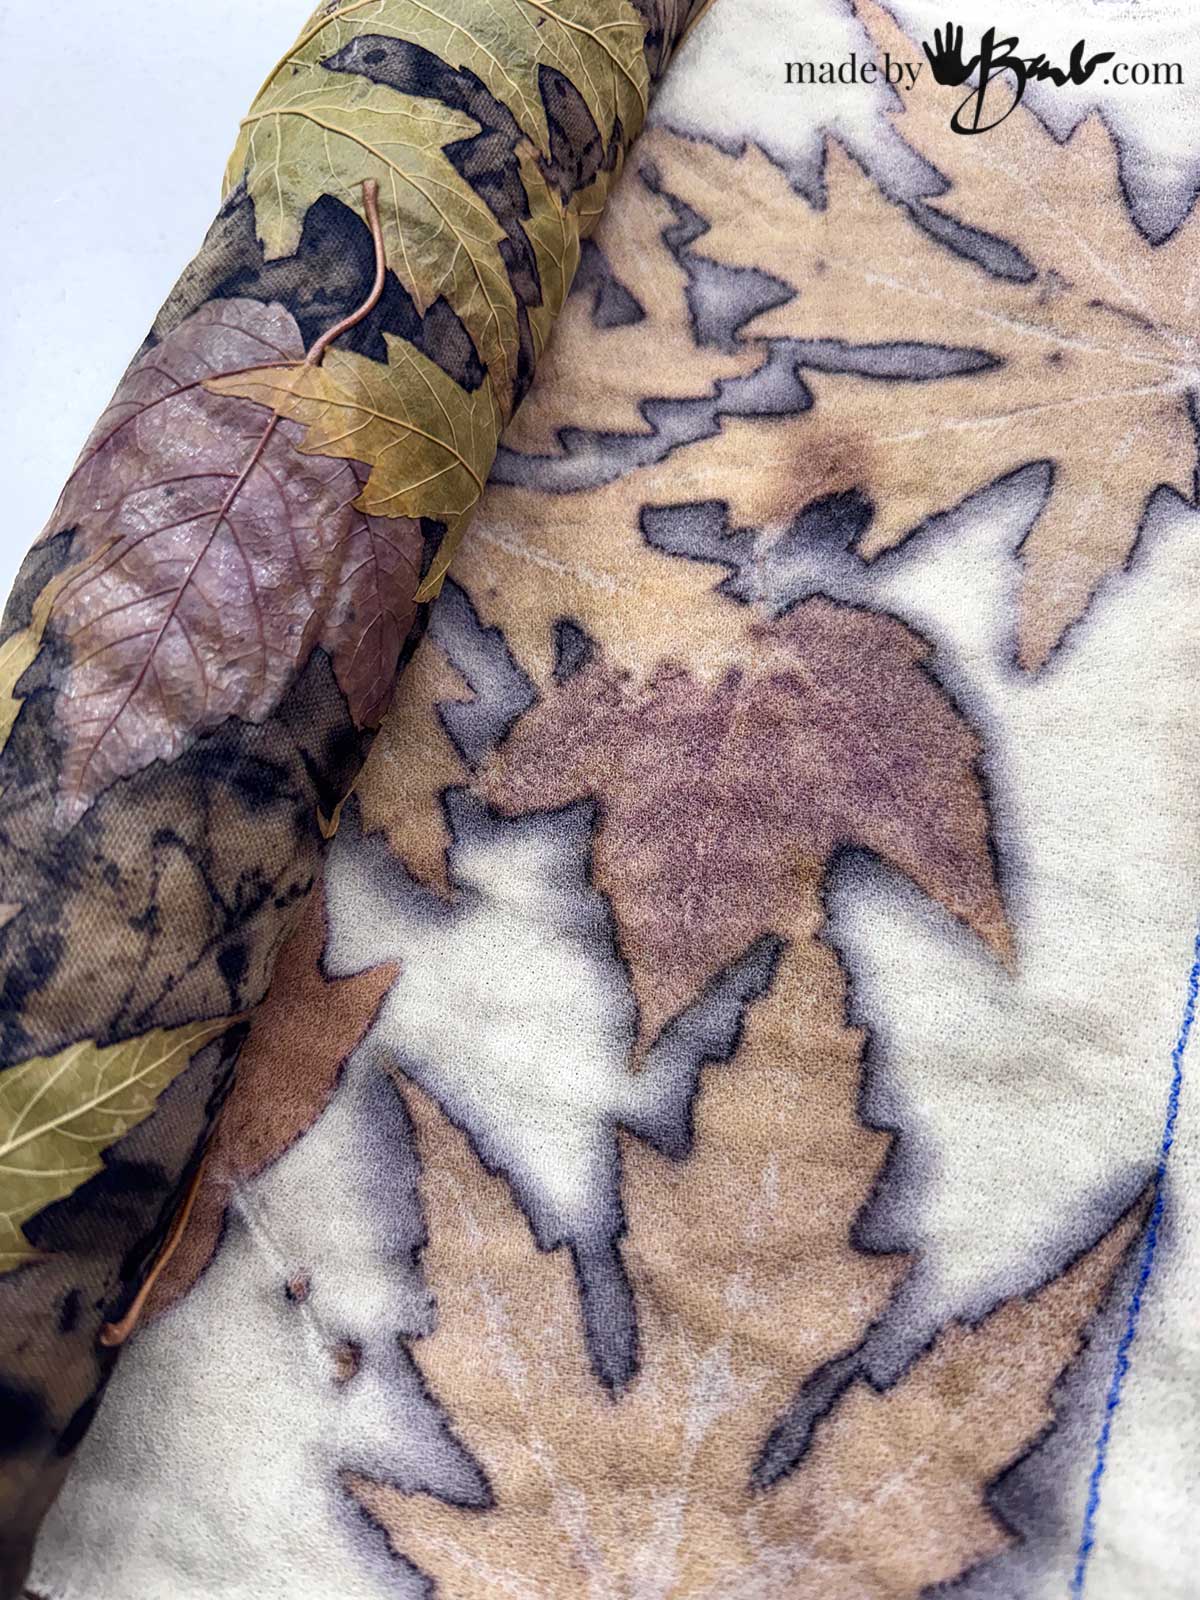
The fall time leaves tend to be more warm colours, with the Red Maple creating a purple on wool and silk. The outline definition is from the use of the iron blanket. There are many options to get different results; Compare methods here.
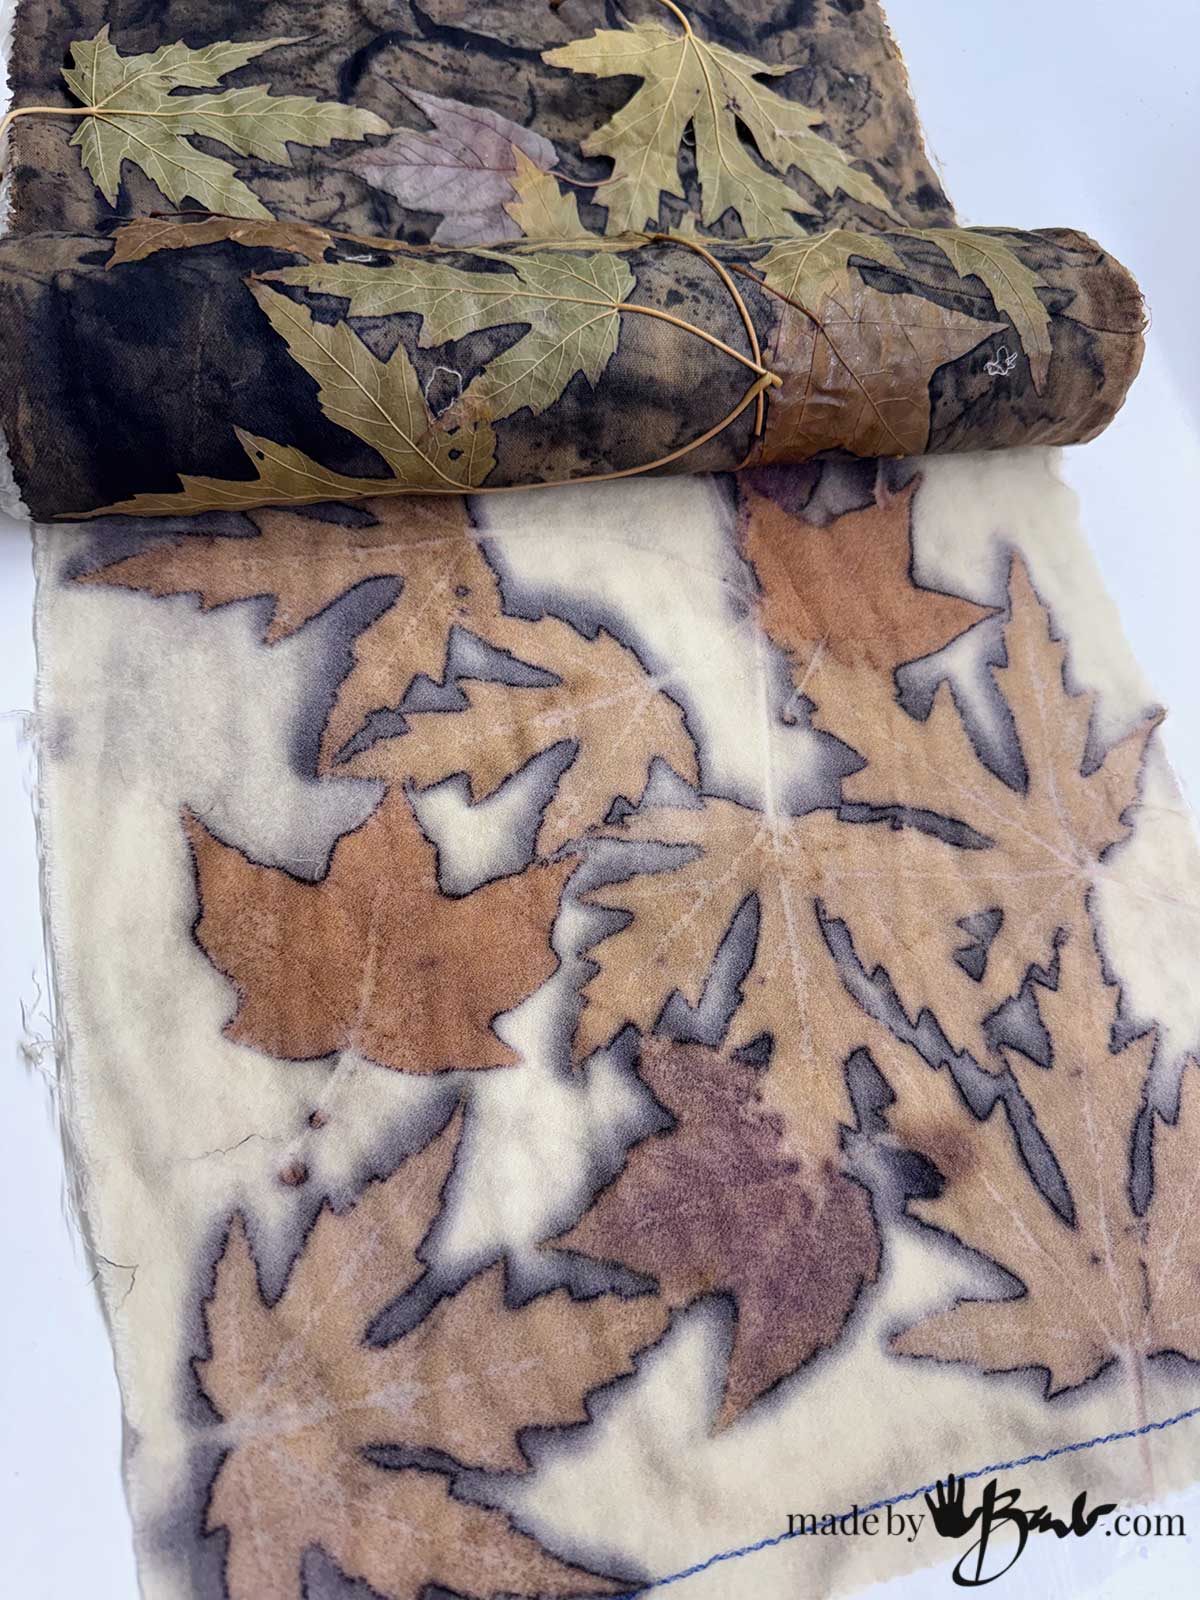
Since the fabric was also dipped in a very weak ‘iron water’ the leaf does also give a print. (this is thin wool fabric)
Enjoy your prints!
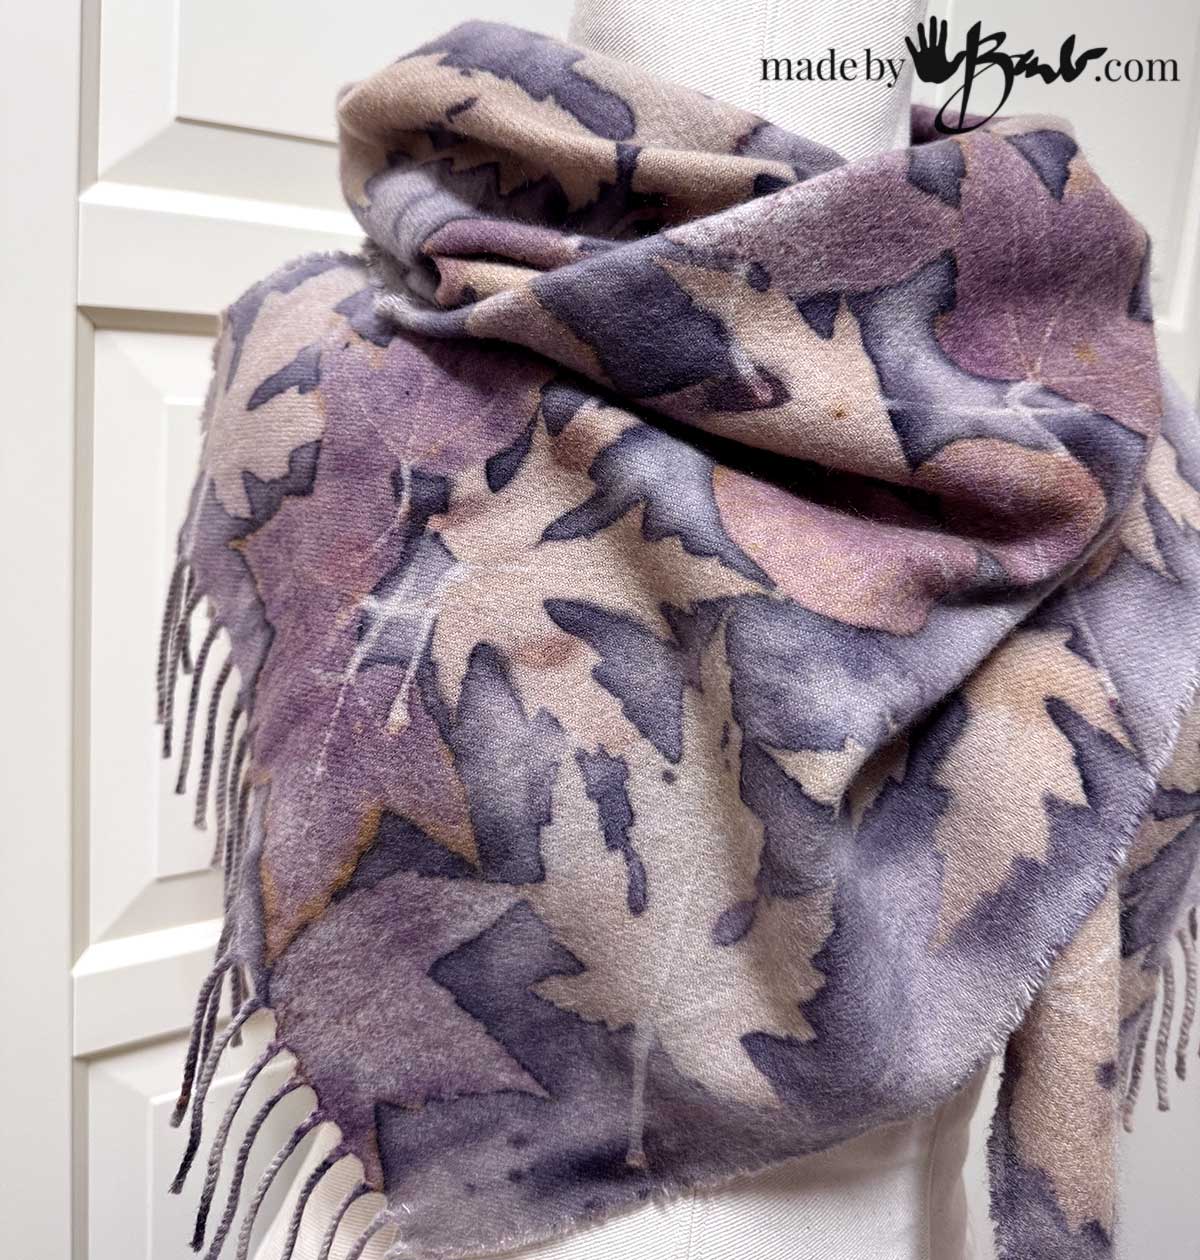
Just be careful when you are driving around and scanning the side of the road for leaves… Don’t ask me how I know!