Bundling Tips for Eco Printing
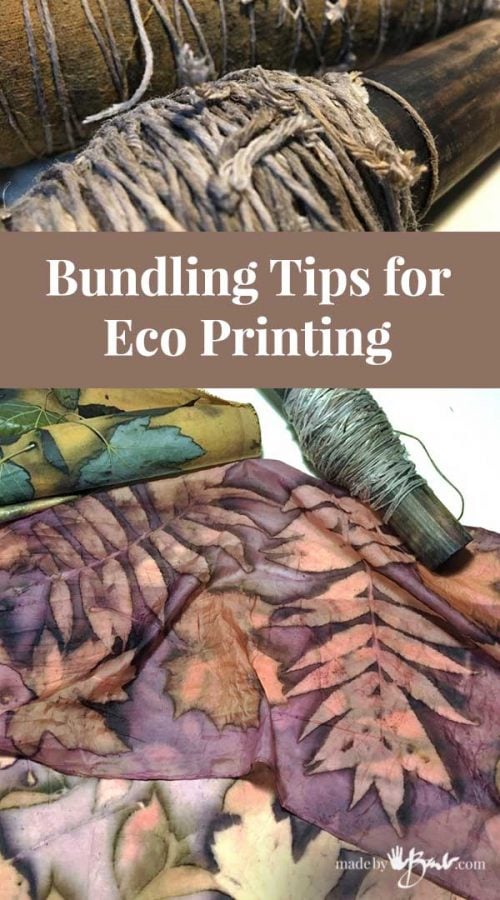
Are you trying to piece together enough information to make some amazing prints using botanicals? Making a tightly wrapped ‘bundle’ is key. Let me share my Bundling Tips for Eco Printing and make things a bit easier…
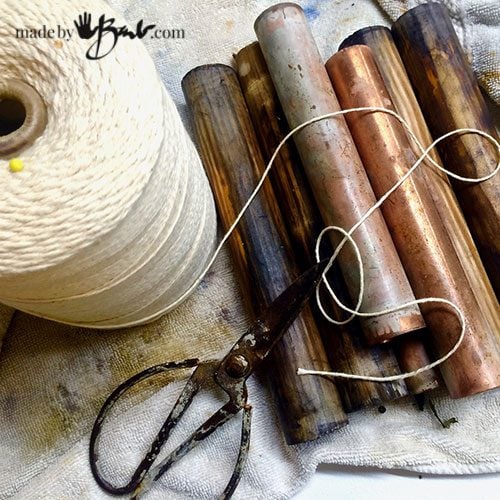
The Stuff:
Honestly, there are no precise exact rules to this ‘crazy’ amazing art form called Eco Printing but there are some common practices. Any method that makes a tight pressure between leaves and fabric can create a print.
I use old wood curtain rods cut into lengths that fit my processing (Lately mostly in the microwave). Some use metal pipes to add some of the metal/iron to the mix. Wrapping with string (or other strips of fabric) is economical and quite common. Butchers twine has enough strength and is made of cotton.

A new idea:
When I taught my self how to tie-dye I needed to have really tight ties. To enable the hands to pull the string tight it is easier when holding it on a roll.

I was tired of throwing away so much string so I wrapped it around an extra dowel… and an idea came to me!

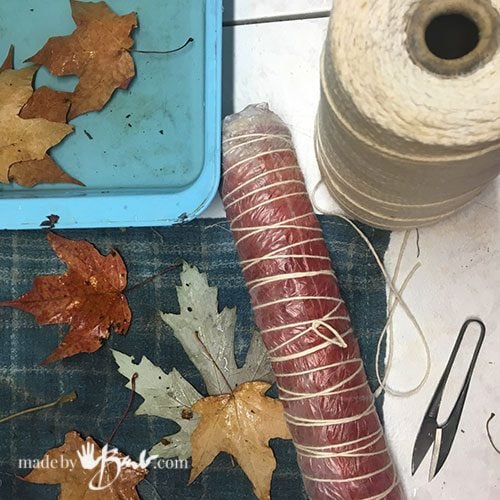
The Innovative Concept:
This works best if both the ‘spool’ and the bundle are similar diameters. If not, you can adjust a bit while wrapping. Cross over the the first couple wraps to anchor the end piece. Start in the middle and ‘bicycle’ your hands round and round. Work out the wraps to the end as close as you prefer and then back to the middle, turn in your hands, and wrap to the other end, back to the middle and tie to the end piece.
If you’d rather watch a video:
How easy is that?! No cut fingers. There are no rules that state you need exact bundles, as India Flint bundles much more randomly and prints turn out differently.

Before you know it you’ve wrapped a few bundles. Reusing is a good choice, so the plastic gets reused many times as well.

Micro-steam:
To keep the bundles in a damp state while processing the the microwave they are wrapped in a wet piece of wool.
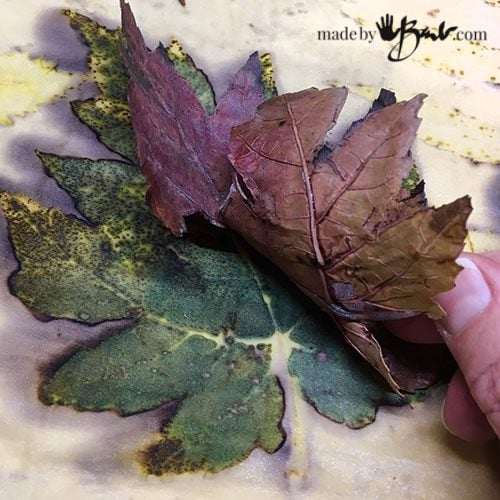
You just never really know what amazing little reactions are happening inside those bundles… Red leaf prints a teal-like green!

Flat Tie Method:
Another problem can sometimes be the fact that the tying makes indents into the fabric especially of it is wool or thick. Since it is steamed it tends to be difficult to remove afterward.

Have you ever rolled a sushi roll? The mat that is used ensures a nice even roll. Using a simple bamboo placemat as a wrap before tying does the same job. It applies pressure quite evenly and also allows the moisture through if need be.

No lines visible from the string wrapping. Lovely isn’t it?! This became a great Wool jacket.
Don’t be afraid to try the Eco Printing bundling tips for some amazing art; silk, cotton, linen, or even paper. Just remember; mother nature does make some of this magic – embrace these kind gifts.
Hi Barb,
I’m a student interested in trying Eco-Printing and I have found your website very useful, and bountiful in information! I have been searching for a solution to this problem: if I want to eco-print on a large piece of silk or paper, how can I fold/roll it in a way that the dye doesn’t transfer to the other sections but I don’t have to use a huge dowel. For example, if I’m printing on a one-meter by one-meter piece of fabric, how can I fold the fabric so that I don’t have to use a one-meter-long wooden rod or ginormous pot/microwave? Thank you!
You can fold the fabric shibori style or use a bendable inner piece like here Also if you fold over and use a barrier then you can roll on a narrower centre. I often have to do that. Check all my eco print posts as there is much info in there. Good luck!