
Concrete Lighted Step-Spook

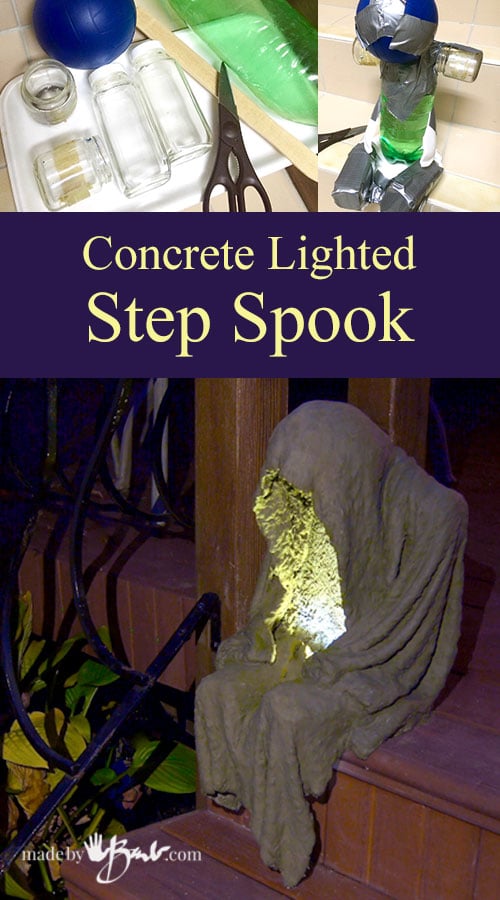
This warm weather lately has let me squeeze in one last concrete project; a Concrete Lighted Step-Spook using fabric draping. It opens a whole new dimension to this art-form. I also like to keep things manageable and somewhat portable so this little fellow can sit on your step and scare the bad ghosts away…
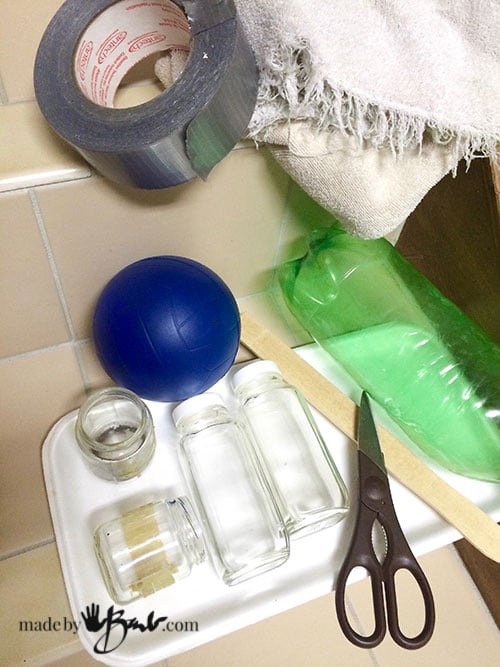
This is extremely low cost. Why throw it away when you can reuse it?!
Materials for the Concrete Lighted Step-Spook:
- a large 2 litre plastic pop bottle (sealed and full of water)
- Duct tape or packing tape
- scissors
- approximate 6″ sponge ball (dollar store)
- paint mix stick
- styrofoam meat tray
- 2 small baby food jars
- 2 longer thin juice jars
- plastic sheeting or bags
- fabric that will absorb concrete (towel or fleece)
- Portland Cement
- water, mixing container/utensil
- cheap acrylic paint
- basic flat paint brush
- battery or solar powered light(s)
(this is the original design by madebybarb.com)

I substituted this fleece for the terry towel. I like the strength that polyester has and it has so much fuzziness to hold the concrete in the fibers.
The structure:
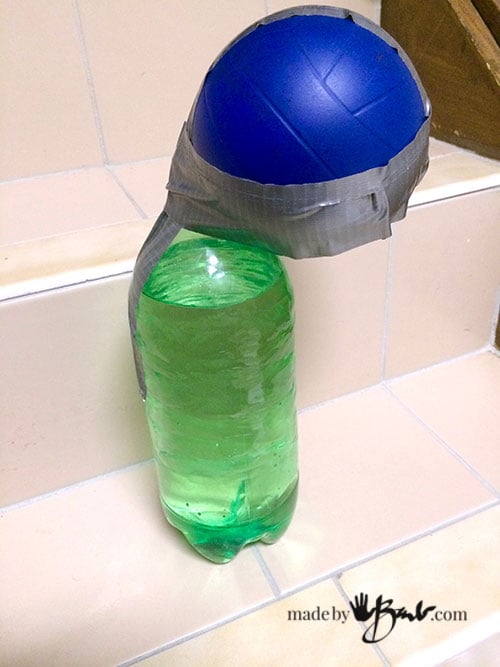
Time to put his body together. Position the sponge ball to the front of the bottle neck. Tape it up the back and around the front. This type of ball ensures that there won’t be any deflating or bursting. I really HATE when a ballon covered in concrete bursts! Choose one that is soft enough to cut up later. (ie, cheap dollar store)
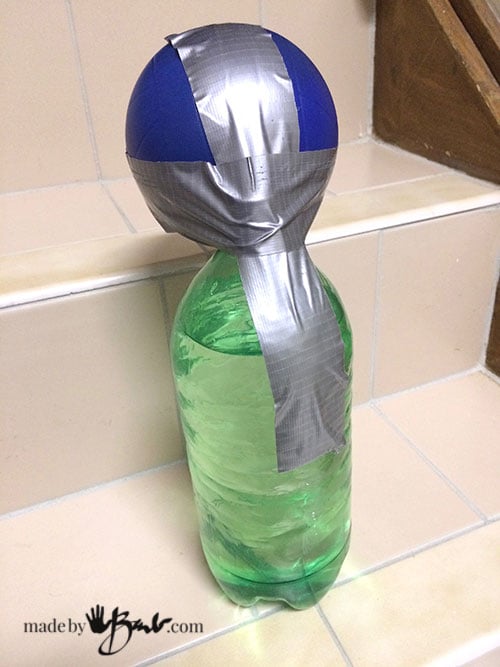
Secure around the ‘head’ from the back.

The shoulders seemed too wide so I cut the paint stir stick a couple inches shorter.
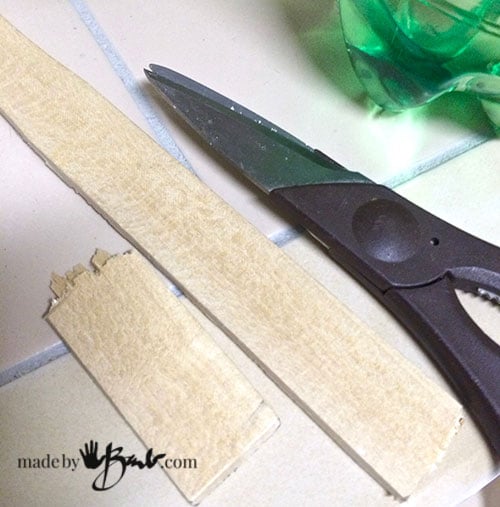
It doesn’t need to be perfect, just shorter.
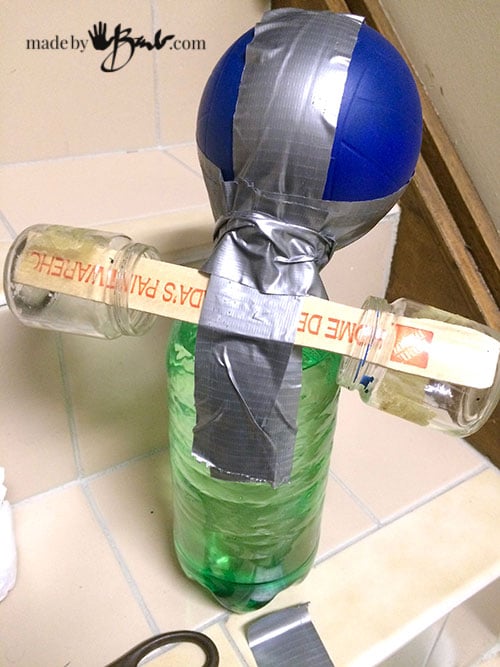
The small baby-food jars are meant to be the shoulders. Test how the proportion is.
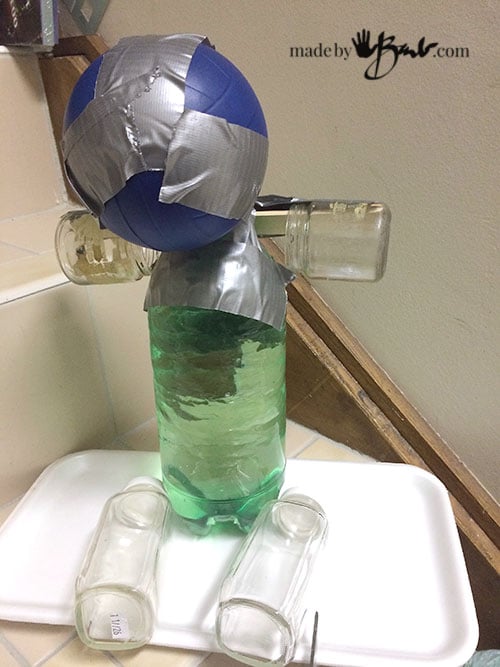
Tape the jars on across the back. He’s taking shape quite nicely… For the upper legs/ thighs I used longer jars and a styrofoam meat tray to have something to anchor to that is easily cut.
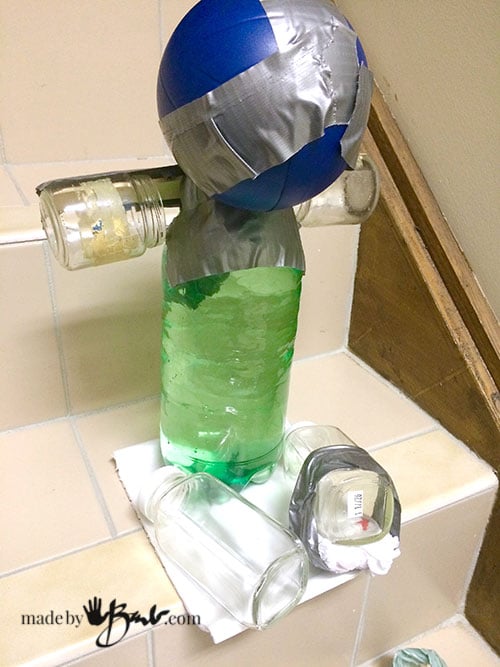
To make it a bit more realistic I propped one leg up a bit with some plastic bag.
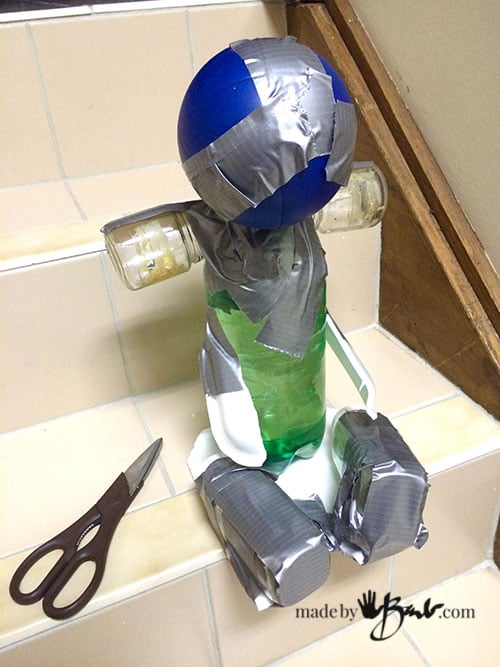
Secure the legs to the tray. The bottle has a fair bit of weight so it will stand on its own pretty well.
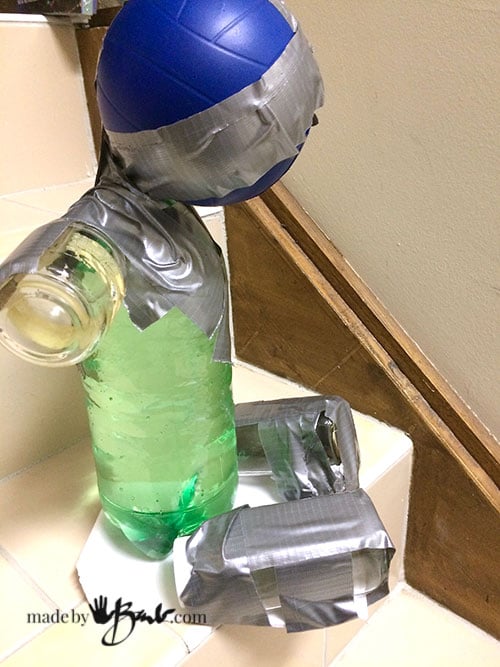
Look at him from all the directions to imagine his proportions.
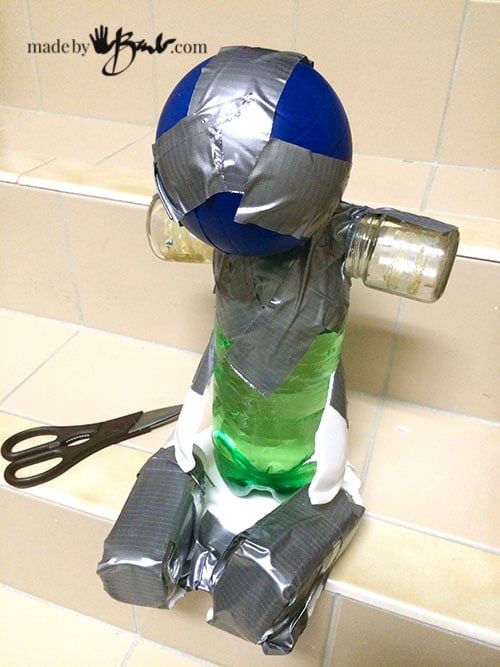
Good job! Minimal expense. The flaps were an attempt to make hands, but could be eliminated.
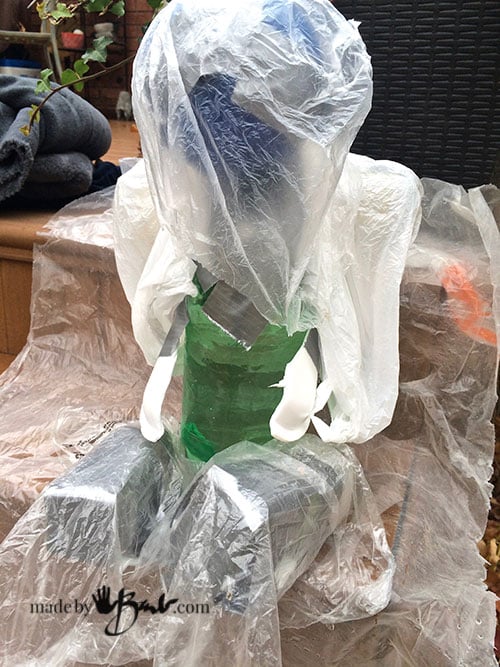
Concrete Draping:
Now it’s time to go outside since it may get a bit messier… Cover him in some plastic sheeting or bags.
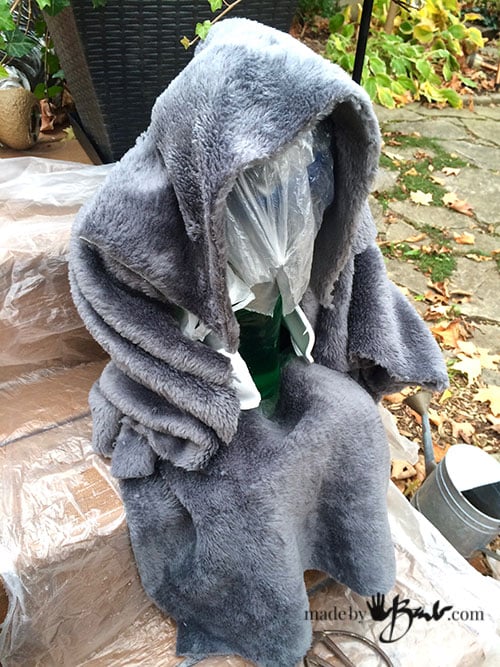
Make sure the fabric is right with a dry fit. I used 3 pieces of fabric. One for the hood (about 14″ x 10″) legs (about 14 ” x 14″) jacket (16″ wide x 14″ tall) It is very forgivable so a bit larger won’t matter. Different fabric may need more for more draping as well. You want something where the cement can get into the fibres.
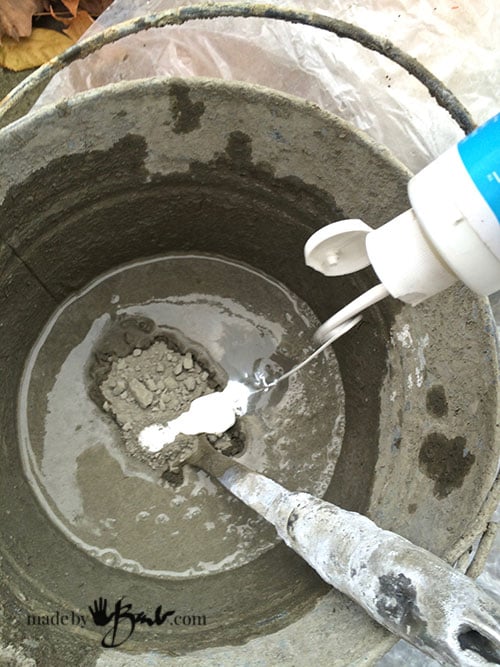
Put a couple scoops of portland cement in a bucket and slowly add water. Add a couple squirts of acrylic paint (I used white) but you could use whatever colour you prefer. Acrylic provides a binder for the concrete and has been known to add strength.
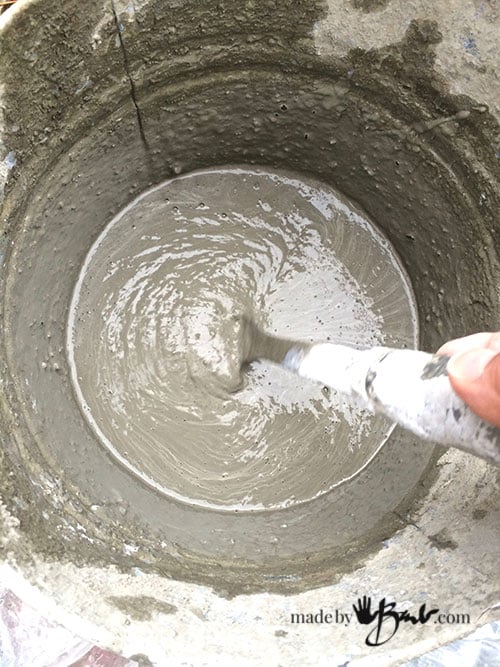
Mix it until its like a milkshake thickness. Make sure there are no lumps.
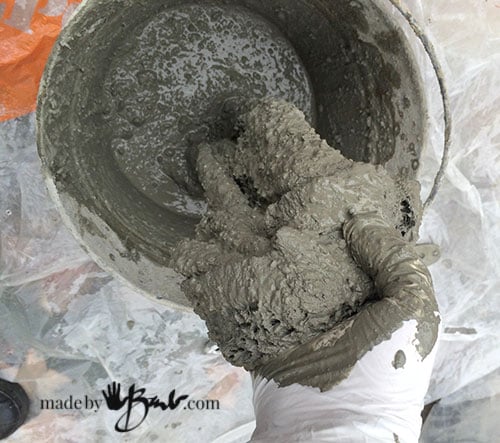
Put the hood fabric in the bucket first and knead it so that the cement gets into the fibres. It will take a fair amount of squishing. If it gets too dry add a touch of water. The fabric tends to suck the moisture out of the mix.

Plop it over the head and adjust the draping.
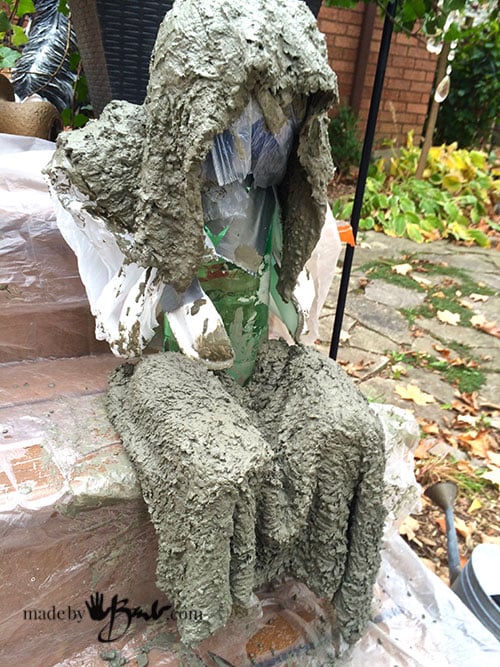
Do the same with the ‘pants’ and tuck at the sides. Make sure the pieces are well saturated.
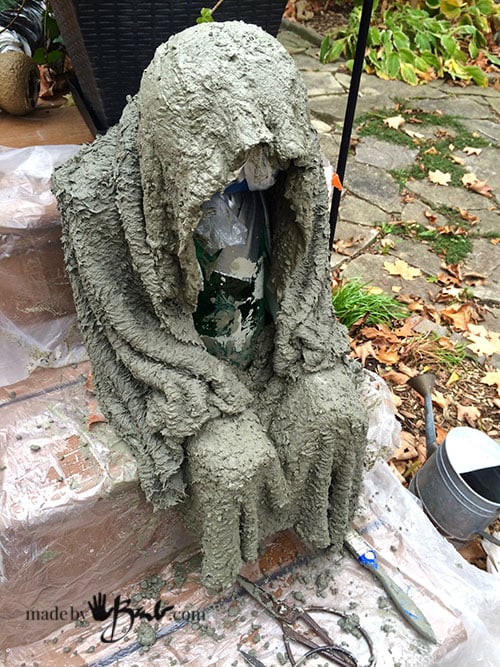
Lastly the jacket goes on. Work it over the shoulders and around the front working the folds evenly. Tuck the ends on the ‘lap’ where the hands would be.
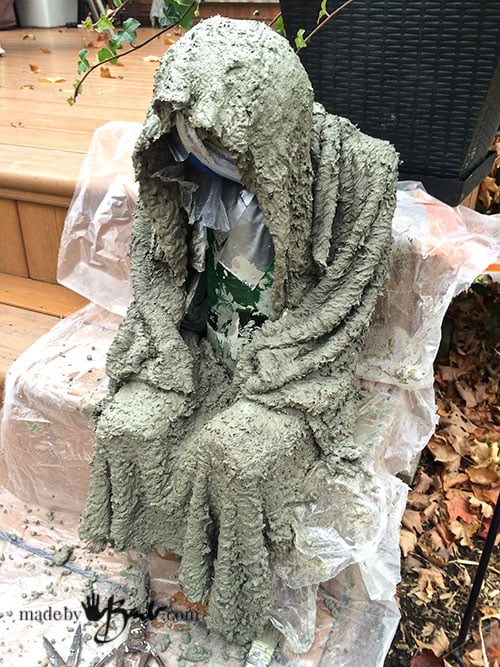
Amazing how easily it comes together. You can fuss wit the draping as much as you want.

The fuzziness of this fabric made it very rough. Very ‘mud-monster-like’! If you like it smoother you can brush down the texture. Once you are happy, give him a chance to rest and cure. Depending on the weather and temperature it could take 24 to 72 hours. I covered mine since it was quite cold here. You don’t want to rush it.

Hollow Out:
Finally… more fun. Now it’s time to pull the ‘guts’ out! Make sure this concrete step spook is sturdy and set enough and then flip him on his back. I left the front very open so that I could pull out the structure. I cut(stabbed) the bottle to empty it and started to disassemble the inside.
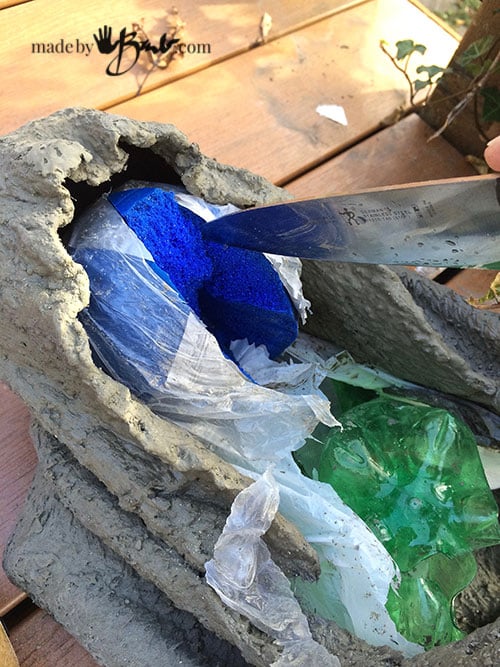
Cut the ball into wedges to pull out carefully. Cut at the tape, squish the bottle and twist out. Pull meat tray from the bottom.
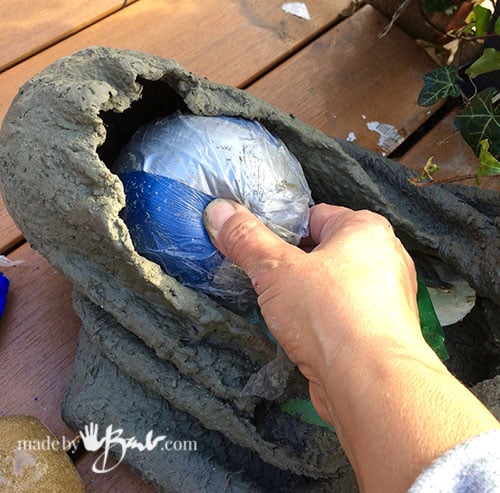
Pull out his head… (hehehe)
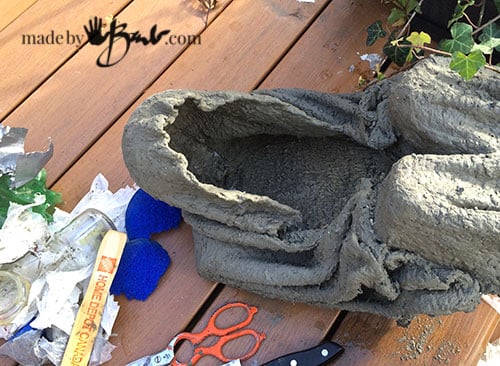
There you go! He’s now body-less; a true SPOOK, a concrete lighted Step Spook!
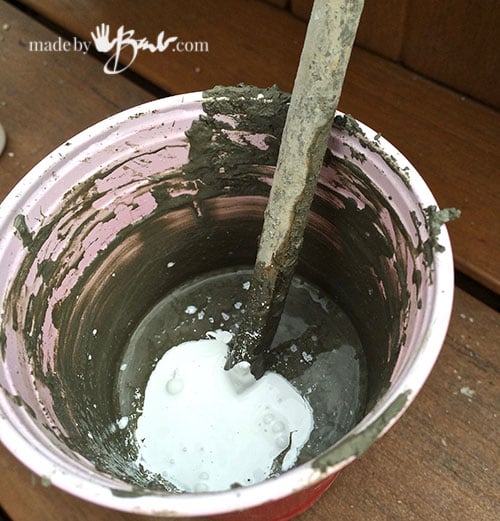
Finishing touches:
You could be happily done or if you are like me, want to perfect the texture…. Mix up a bit of cement slurry with some acrylic paint and water.

I want this to last for years and this coating will reinforce any parts that are a bit ‘soft’.

Brush across the bumps and they will become filled with the cement.

It will get smoother and stronger.
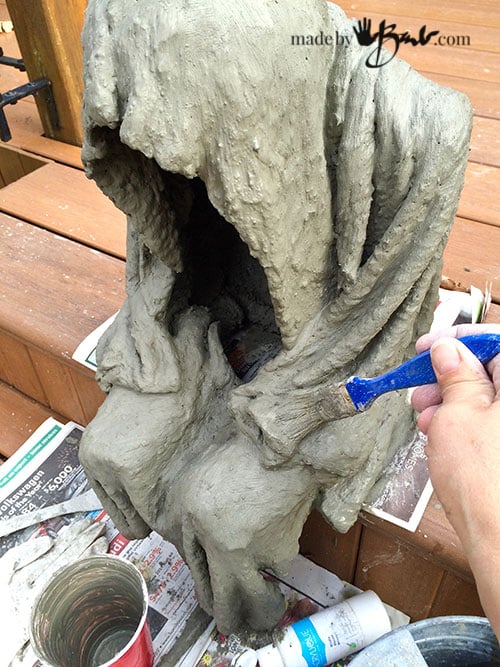
There’s something oddly therapeutic about this… hmmm.
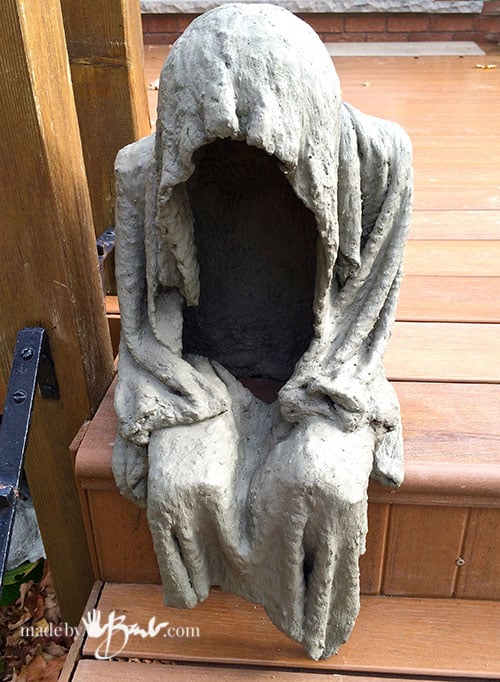
Wowsa, I’m impressed how much personality he has.
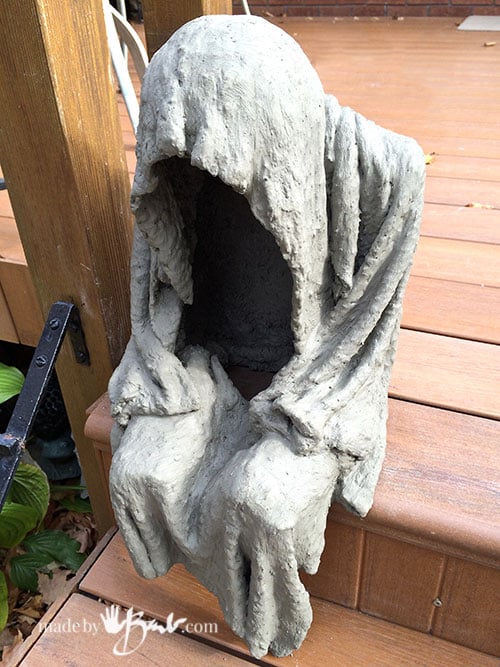
He sits nicely on the step as he was cast there. His weight keeps him sitting quite well.
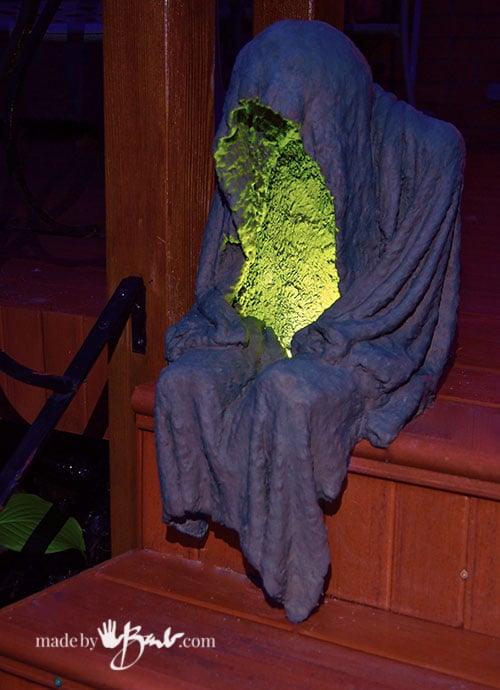
To add light I just added a set of battery operated lights into the open body cavity. You could run a small light cord if that is close by or there is much room in there to possibly even add a candle when supervised.
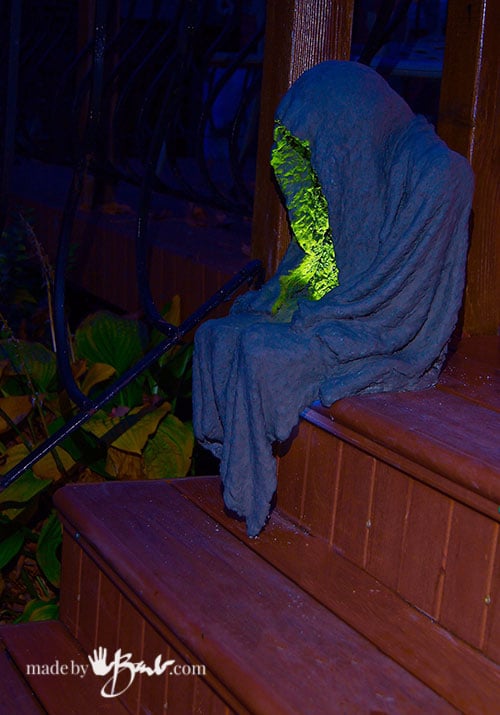
I like the fact that he is portable and can sit anywhere. He weighs about 8 pounds I think.

Oh he is so spooky! And he will be able to withstand all the elements to protect your place year round! Check out his Witch friend, Cat friend and Scarecrow
(Intended for personal use only: Publishing of this design is prohibited without permission)
youre amazing Barb!!! ive studied special fx and character makeup design since i was a 12 year old and ive never thought of casting cement mixtures for art projects!!! I love your site, you’ve opened my eyes to a new way of creation…Thank You!😊
– Cheers,
Jacob
Thanks. Some things just happen by accident. I think it all started for me with my first cast of a rhubarb leaf! Now, I see ideas everywhere I turn… Fall is just around the corner so I have been mixing again…
Love it !!!!!!!
Thanks! I think I should make another one, maybe a standing one. Hmmmmm
This is by far, the best handmade Halloween spook I have ever seen. I never have commented on any before now, but this is just too cool and I can not wait to try it. Looked at some of your other projects and you are totally awesome. You have a gift. Thanks for sharing it with everyone!
Wow, you are so kind! I have always had a knack for dreaming up ideas, so this site has allowed me to share. I think he makes me smile every time I see him sitting on the stump whether in rain or snow!
Mary, I couldn’t agree, more! Most ‘spooky’ Halloween DIYs really just end up hokey looking. This one – even though I’m late to this party – is on my ‘to do’ list, for next week!
Thanks, Barb! LOVE This!
I have him sitting on a stump in my woodsy backyard year-round, and he never loses his charm even under a pile of snow. You would like this one too. She actually became a home to a bird nest this year. Happy making
I have just found your blog/ website and am fascinated! I have been a house/ decorative painter for 43 yrs. And also married on Halloween….my husband and i work together so when i saw your “step spook” , i was hooked…..needless to say i will start smaller with your cement planters, which i love, and eventually work up to the Spook….. thank you for the inspiration to try something new and “permanent” !
Best wishes, Pat
Wow, that is interesting as I have been an illustrator most of my life. This just lets me learn new things and bring more into the artistic mix! There are times when my brain is just on fire with ideas, especially in the middle of the night.
You must like the pumpkin then…
I absolutely love this Halloween decoration! Many thanks for the detailed instructions on how to make him. Just finished him today and couldn’t be happier with the results. Love your blog!
Wow, I am so happy that you made him! Mine sits on a stump in constant view from my table. Even better when the birds are sitting on him. I’m always dreaming up new unique ideas… Thanks
I’ve made 4 of these so far…everyone loves them. The last one I added a book to his hands so he is “reading” and made a “gravestone” that says “EVEN GHOSTS READ” for our local library. They came out great. I would post a picture but don’t know how.
I want to thank you for sharing your talent, especially with such clear instructions. I’ve made the SMILING ROCKS too. The last 2 are missing teeth. Wonderful fun. I was chuckling all days and texting pictures to my adult kids to have them guess what I was making. Haven’t laughed so much in years.
Thanks again
I’m so thrilled! I had mine in a gallery and he was quite the attention grabber. Funny, considering it’s just concrete. Laughter is good for the soul (concrete soul) I wish I had a few elves to get all the stuff done that I want in a day…
Great job, i love it.!
He has been a joy to look at out in the garden, even when the birds sit on his shoulder or he is covered in snow! Pssst, he will have a partner soon… keep a look out!
This is the Worst Blog ever…Let me explain.
Since I stumbled across this I think I have been back here every day !!! LOL I can’t get enough of your concrete creations Barb they are wonderful. The Step Spook is AWESOME. I had been thinking about doing this for days now. Finally this morning went and bought come concrete and proceeded to give this a try. Supposed to rain and is chilly now so he has been relocated. So realistic and is a little creepy but love it so far. Ha ha I am sure he is confused about his “Time Out” in the garage until he cures up and is ready to protect the neighborhood.
Thanks so much for the info and great instructions. You are an ARTIST.. Can’t wait to see your next one.
Cheers !!
Sheron fom Alberta, Canada
Soon there will be spooks all over the place! Have you seen his partner?! She is a darling!
Yes, yes, yes OMGosh !!!! I saw her last night Barb and she is adorable I have already destroyed a new deck mop for her hair LOL and my hubby gave me some wire. You know the rest of the story…right?
Big Thanks
Sheron
Barb,
I love the things you make. Your articles are so interesting and fun. I’m glad I found your blog. I love making thing from concrete.
IMG_1253.JPG
Hope the picture of my life size ghoul came through.
Keep the blog going….LOVE IT!
Debra
Yes, yes, yes OMGosh !!!! I saw her last night Barb and she is adorable I have already destroyed a new deck mop for her hair LOL and my hubby gave me some wire. You know the rest of the story…right?
Big Thanks
Sheron