
Slush Pour your Concrete Mold

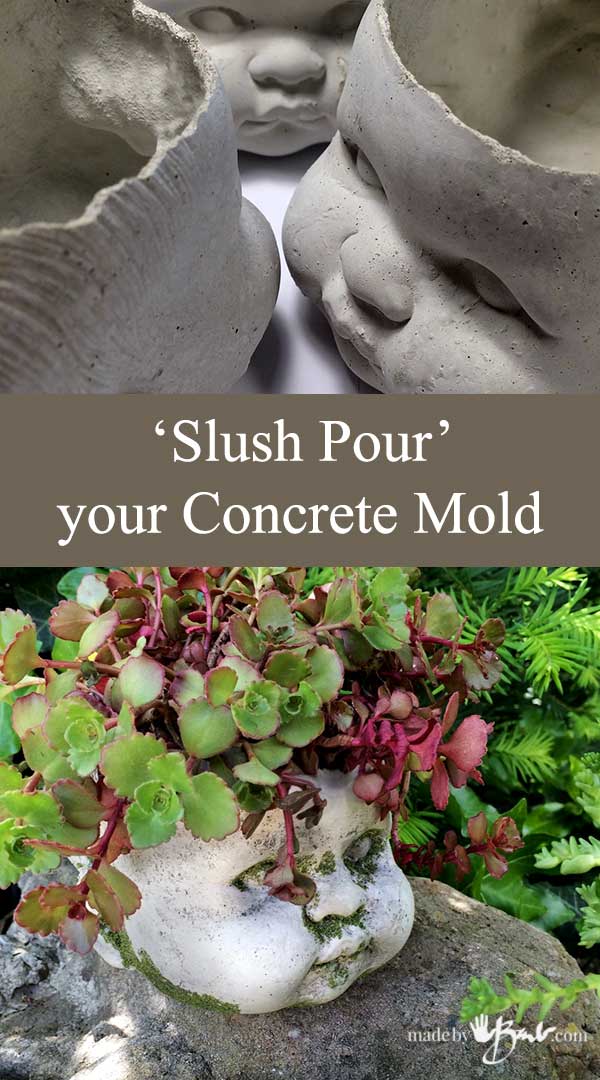
Move over ‘Chia Pets’! Everyone is allowed to be silly sometimes, so it’s my turn. Yes, a ‘head planter’ is a bit odd but it’s purpose was to test a new casting system. Make your concrete pouring simpler and see how to slush pour your concrete mold. I love this method! Besides, I could not resist that baby pout!

To start this mold making I used this cute little fellow…
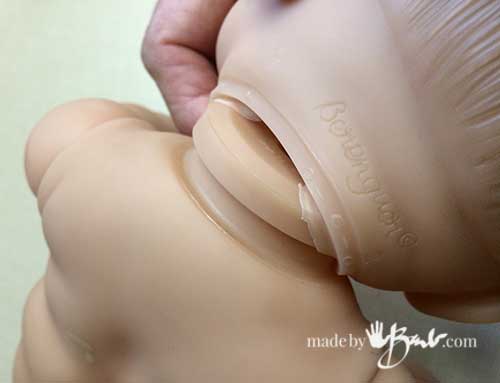
And I popped his head off. (Don’t worry, he is back together now)

My inspiration is this favourite planter of mine. She has aged well and her veil keeps growing gloriously…
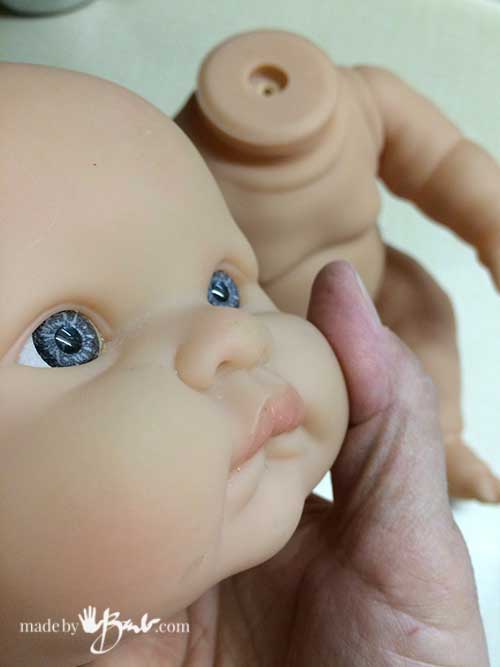
Find yourself some type of head or perhaps even a mask.
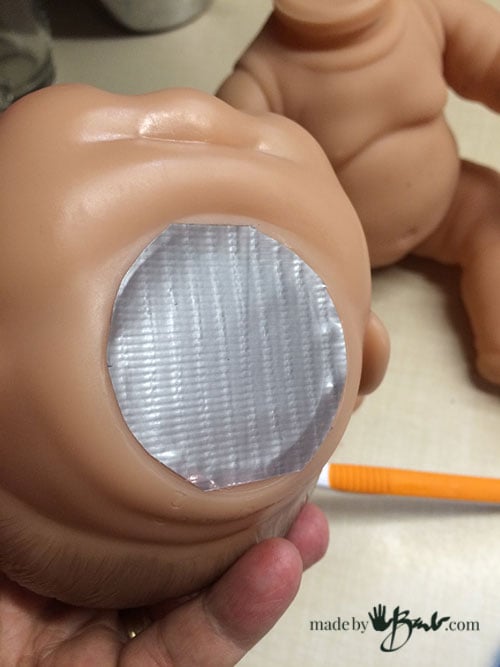
Before casting I needed to fill the hole on the bottom of the neck. A quick patch of — ya, duct tape!
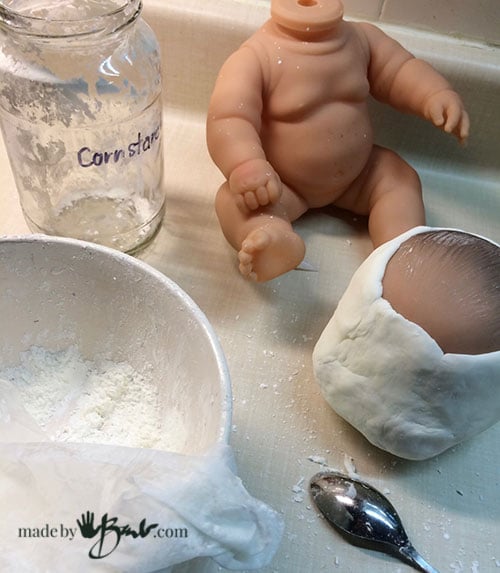
Tools and materials needed to make the form:
- 100% silicone caulking
- cornstarch
- head form
- gloves, bowl (mixing)
- rubber bands/pins
Materials to Cast and finish Concrete:
- RapidSet Cementall & Water (mixing container, utensil, Dust Mask, gloves)
- Concrete reinforcing Fibers (optional)
- Landscape Grass Flocking (moss)
- Liquitex Acrylic Matte Medium & black acrylic paint
- Brushes
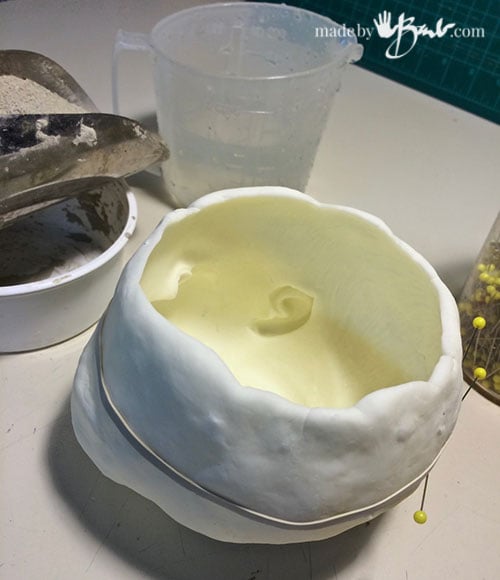
Making the Mold:
The method to make this mold is the same as my first mold making tutorial. Lightly apply some vaseline on the master shape (the head). Mix the cornstarch and silicone carefully in the bowl without getting it all stuck to your fingers. Add cornstarch (just as you would add flour when working with dough) until it becomes workable without sticking.
It should be pliable to spread it around the ‘head’ and keep pushing it till it covers up to the rim of the head and fills the bottom. Spread it until it is an even thickness of at least 1/8″ thick.
It will set in about 30 minutes. Once it is completely ‘rubbery’, you can cut up the back, or at each ear side. Remove the ‘head’, adjusting by cutting as needed. I am alway amazed at the strength of this recipe! Mold is done!
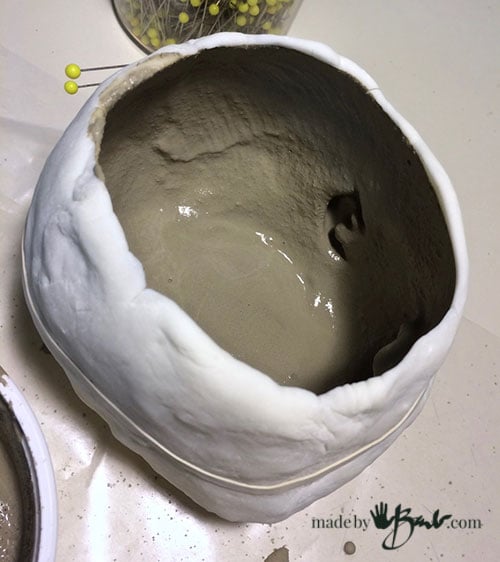
Slush Pour your Concrete Mold:
To ready the mold, use elastic bands to keep the seams closed. Since it is a round shape this works well. To ‘line-up’ any seams you can also use my trick: securing with pins. This works well, as they make sure the edges stay together and later pull out without leaving a hole.
As with many of my projects this casting method works best with a strong, rapid setting concrete. This concrete is quite ‘plastic’ and will mix better if water is added first, and then slowly add premix until it has some flow. It has a working time of about 10 minutes. The flow should be ‘slow’ and somewhat thick.
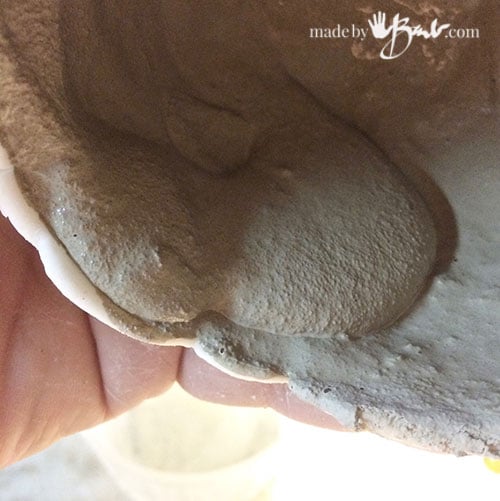
Pour it into the form and start to turn it to coat all the inside. It may take a bit of trial and error until you have the right consistency. Turn slowly and watch for the flow to eventually stop. I discovered this slush-pour method when making the ‘balloon-cast’ monster eggs.

It may not be pretty, but it is easier than having a center form. Let it sit for an hour and then repeat and pour another layer. Depending on the thickness, you may need a third layer. This concrete is VERY strong and can hold well at only 1/8″ thick.
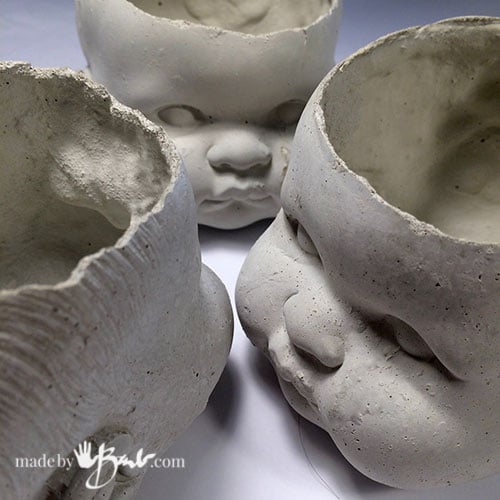
The top edge may be a bit uneven as well, but you can sand it as desired. As a planter it looks quite nice as a ‘broken’ edge style. Don’t worry about any texture that the mold has picked up, it IS concrete afterall.
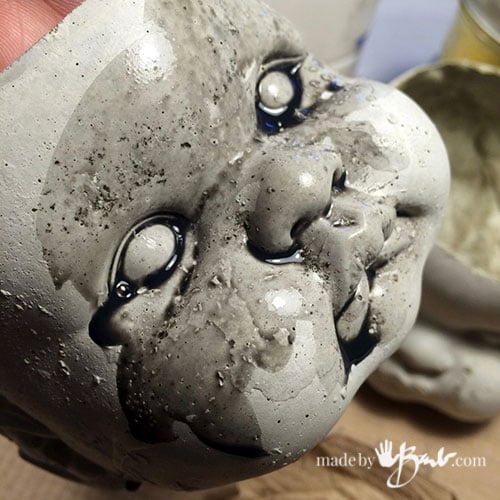
To make it look aged, use some ‘washes’ as in my antiquing tutorial.

Instant Moss:
Do you want the ‘mossy’ look instantly? I came across some of my flocking material from my days as a ‘model builder’. It is also used in model train landscaping and can be found at hobby shops.
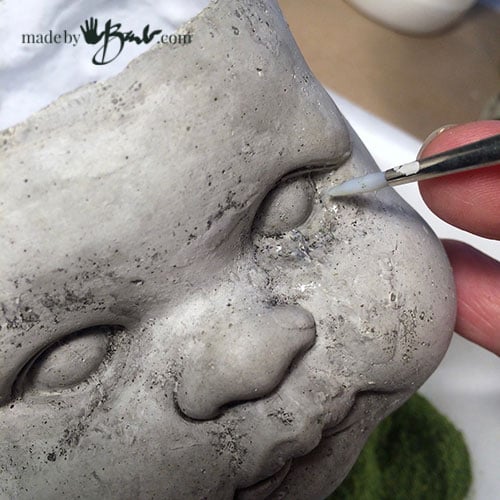
To adhere the flocking; use a bit of matte medium. Brush it in places that would naturally grow moss; areas that would tend to be in shadow.
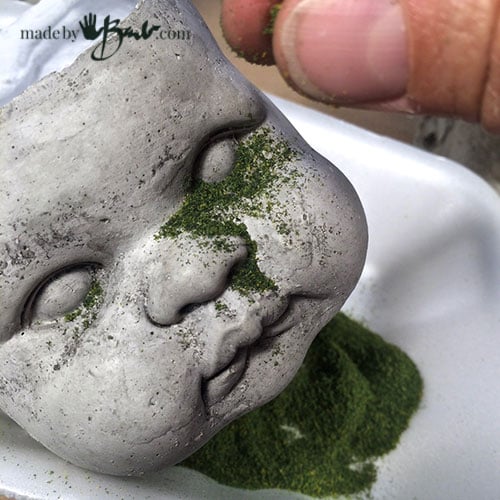
Sprinkle the flocking into the wet medium. It’s the same method you would use for glitter. It’s your preference how much or little. To make it less likely to continue to lose bits, add another layer of matte medium. (If you can’t find flocking maybe you could put some moss in a sacrificed blender/coffee grinder)
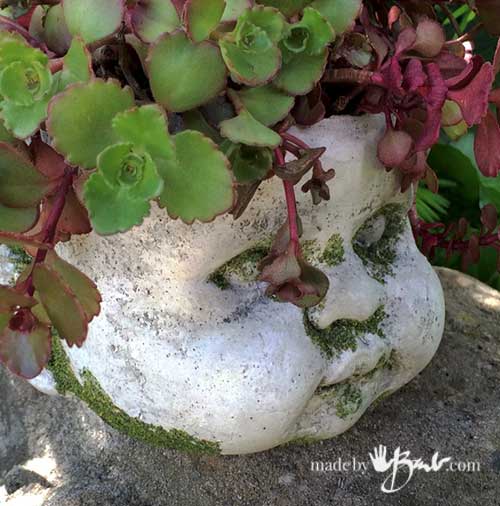
I have tested some sealer methods (soon to be posted) before I planted up these fellows. Succulents are my favourite as they never seem to complain and they propagate like crazy!

Quite the hairdos! But this method is not limited to heads. (more projects in the works) It is somewhat reliant on a strong mix or perhaps a thick wall of multiple pours.
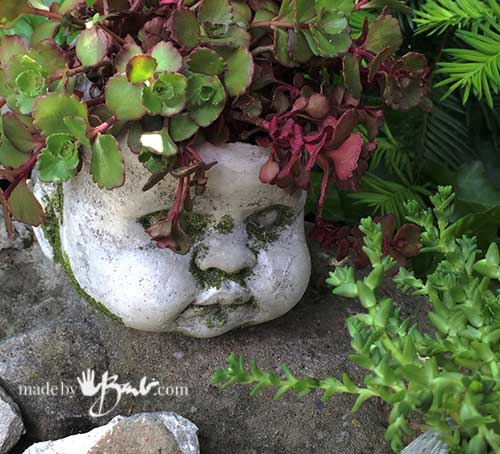
Happy casting and planting!
Can’t get enough concrete projects?! Check out my concrete obsession
Can you use the mold more than once, or is this a one-and-done type of mold?
Love your work and thanks!
It is very reusable! They last really well too!