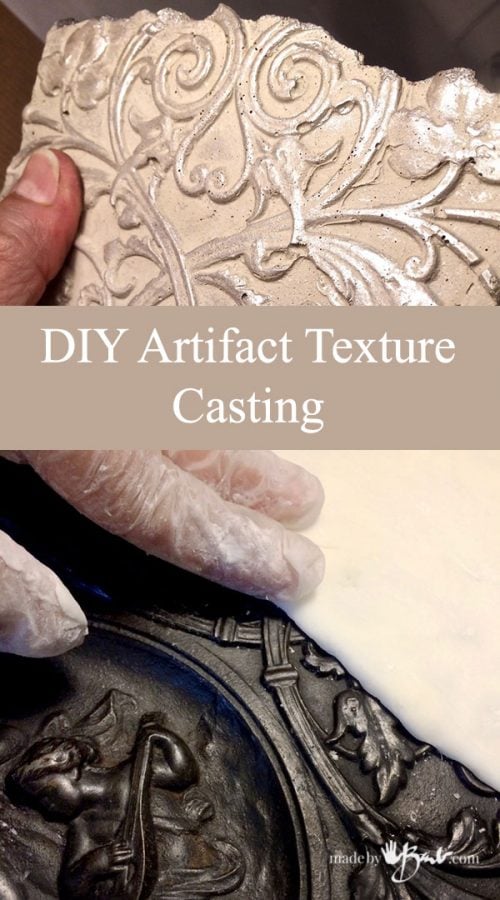
DIY Artifact Texture Casting
Don’t you sometimes just marvel at the detail on some antique relic?! It is sad that we don’t have those kinds of dedicated craftsman anymore. So why not take that artifact into the future by ‘borrowing’ it’s texture so it can be enjoyed even further. This DIY artifact texture casting tutorial will easily open many possibilities for you…
Thanks to family for handing down some amazing antique pieces. This unique baroque table is sand cast in iron with the most amazing details. But it is just one table… and can only be enjoyed here, unless?
As I was sipping my morning coffee the idea to cast from it just popped in my head (yup, that’s how that brain of mine works).
Perfect idea! An easy way to allow even more to admire it’s beauty.
Yes, it’s the easy cornstarch/silicone mix. I have used this to make molds from so many materials so far and it has always given me good results. The only material it has really gotten stuck to is glass, everything else has released quite well; even with minimal greasing.
To Create the casting:
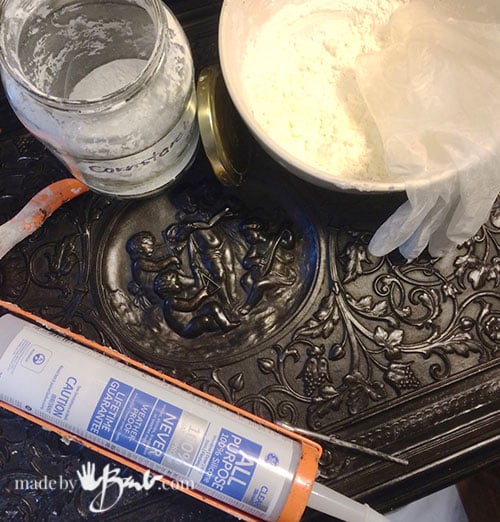
You will need:
- ‘Some Great Artifact’ that has texture (table top, tray, carved medallion, carved frame, – look around)
- Rubber gloves, Mixing bowl
- Cornstarch
- 100% pure silicone caulking + caulking gun
- rolling pin/flat surface (optional)
To make the mix:
As an extra assurance that the mix would not stick too much I used some furniture polish on the table to give it a bit of release.
Ready your silicone by poking a hole in the tube and cutting end off. Put it into the caulking gun. Add a pile of cornstarch to the bowl (sort of like working with flour)
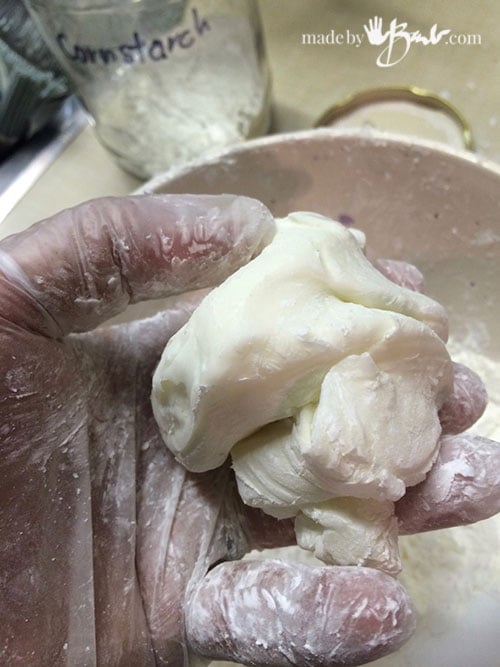
Squeeze the silicone into the bowl trying to keep it in one big lump. (I used about 1/2 tube) With gloved hands add cornstarch over top and start to turn and toss it gently. Keeping the cornstarch between the silicone and your fingers is key! Keep gently kneading it to incorporate the cornstarch. It will be sticky until enough of the cornstarch has been added. Turn and flatten and fold and turn…
As soon as it is getting less sticky and more moldable, start to knead it into a ball with cornstarch around. Give it a good knead into a ball until there are no lumps of cornstarch. (not much different than making pie dough)
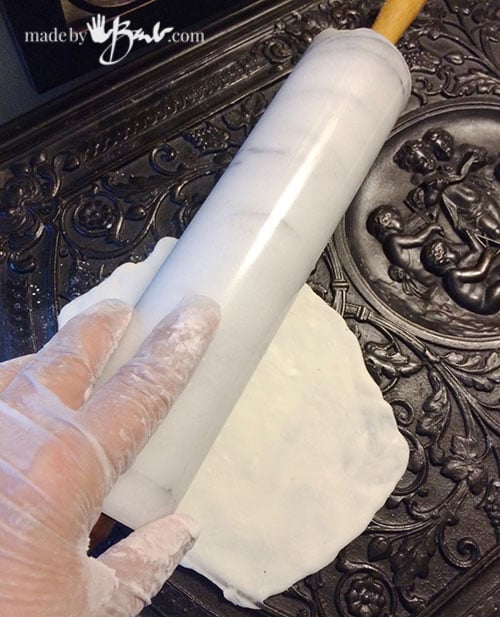
My intention here is to make a thin texture panel that I can use inside molds for concrete. It was important to keep it as evenly flat as possible so the rolling pin helped nicely.
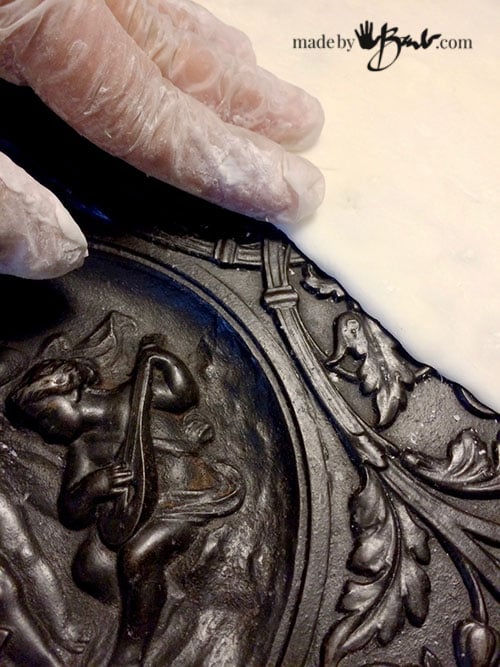
Time to wait… and admire
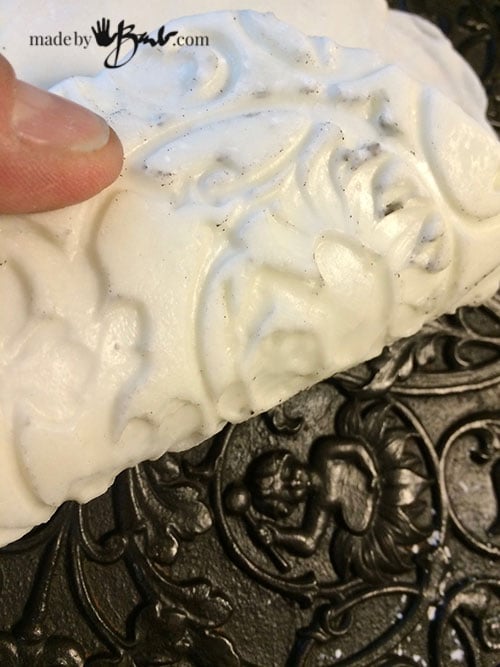
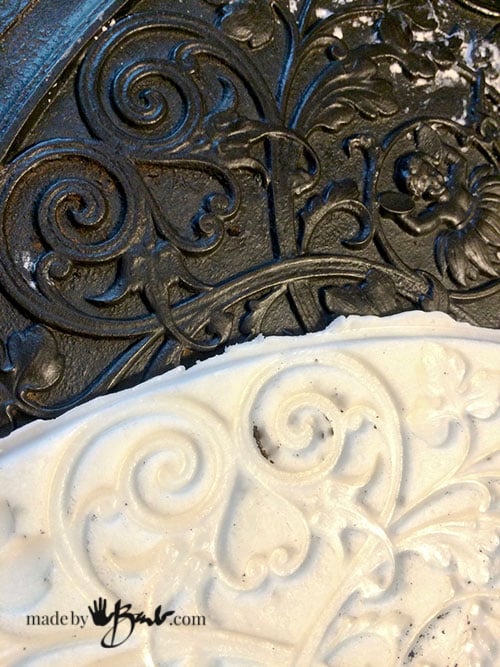
Look at that detail! I was told by a blacksmith that these items were made by carefully carving a wooden ‘master’ that was then pushed into wet sand. The molten iron is then poured into it to cast the surface. Imagine that?! Wow!
Once the silicone mix is no longer malleable it is set. It doesn’t take long, about 20 minutes or less. Peel back the casting and marvel at how much detail it has captured. It even pulled out some loose bits of crud.
You now have a copy that can be used in whatever manner you would like.
Figure out where to use it:
Perhaps it is a medallion in the centre of a planter, or embellishment in a tray. There are no rules… be creative.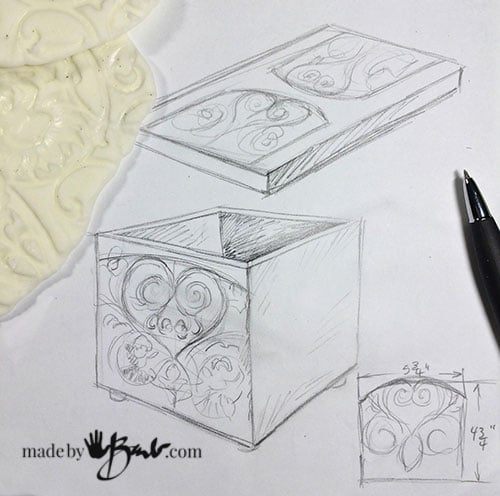
The designer in me always likes to sketch out the ideas. To bring this ‘antique artifact’ into the contemporary I incorporated it into a modern shape; the cube.
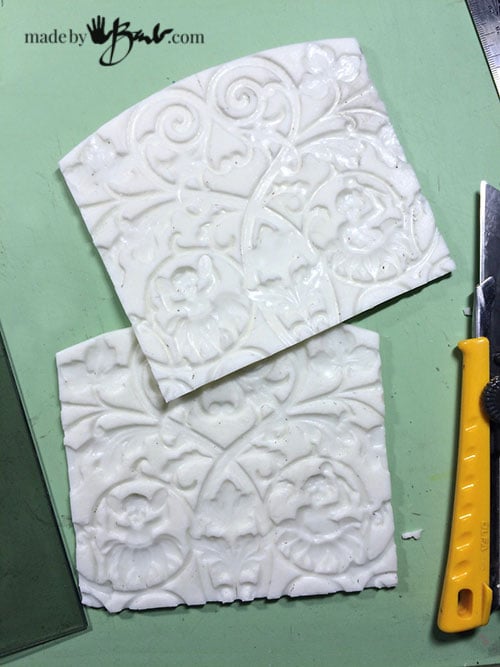
The other great thing about this molding material is that it is easy to cut. To fit the plan it was cut to fit the sides and be symmetrical.
All set; 2 panels ready for use in many ways. (Actually they could even be used to print from)
Make your Mold for the panel:
You will need:
- Sakrete Top N Bond Concrete Patcher
- Mixing container, mixing utensils, water,
- Rubber gloves, Dust Mask
- Vinyl (peel-n-stick) tiles (2)
- Packing tape
- Tools (matt knife, ruler) to cut and secure corners (bulldog clips optional)
My favourite material to make small molds for concrete with is vinyl tiles. They are ‘score and snap’ and hold up well to the moisture of concrete casting. You could also use existing plastic containers but I like the simple shape. Cut your walls and use packing tape to hold corners. As an option you can make some tabs at the corners to allow easy opening with bulldog clips.
Pouring the Concrete:
To pour this in concrete I used my latest method; slush pouring.
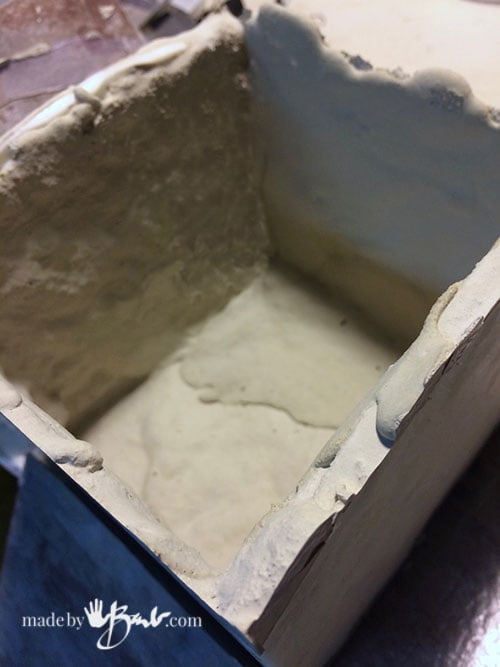
Mix up a thin enough consistency that has some flow. Once ready pour and coat the walls by rotating and flowing. If the walls of the mold are too smooth making the concrete slide off, you can paint a thin layer on to have some ‘grab’. The silicone sections work great with the pouring method. It will take a few thin pours. It is the inside so I was not fussy at how it looked. Alternatively you could make an inside mold as well like I did here
Once the layers are thick enough (about 3-4mm is enough) and it has set for at least an hour (Rapidset) it can be unmolded. It is a very strong mix.
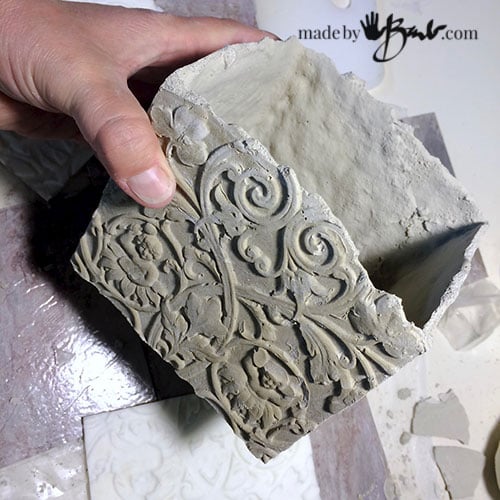
For this application I was not too particular about the top edge as it is supposed to look like an old art relic… If you would like to ‘clean’ the edge you can use some pliers to slightly chip off small bits or sand with some strong emery cloth.
In most cases rustic looks more natural with such a commercial material like concrete so I like to leave it rough.
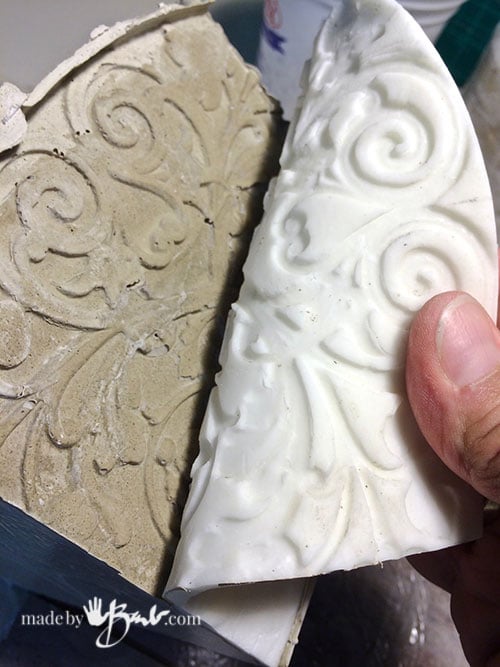
You now have a pretty exact replica of that relic.
How cool is that?!
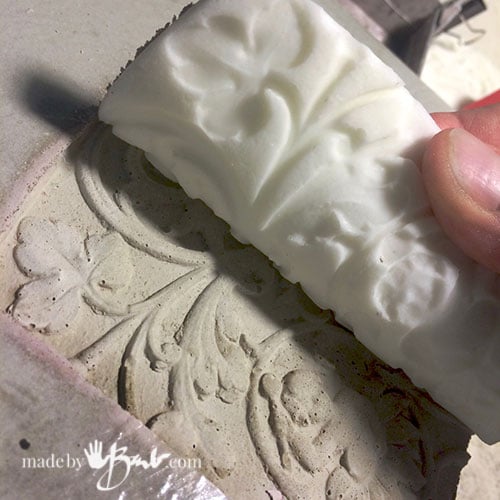
Why not use it to make a tray? Place the panel in the bottom to be revealed once unmolded.
I have seen no deterioration of these silicone molds after multiple uses. Even the ones that have been hanging out in the shed are just like new. Funny; considering they have cornstarch in them.
Matching set; quite unique.
Oh, just had a thought pop into my brain; perhaps some old wood type blocks?! Hmmmm, so many options!
Finishing the Concrete:
The absolute best way to enhance anything that has texture is by the ‘dry brush’ method. I had painted ceramic beer steins many years (decades) ago and it just works.
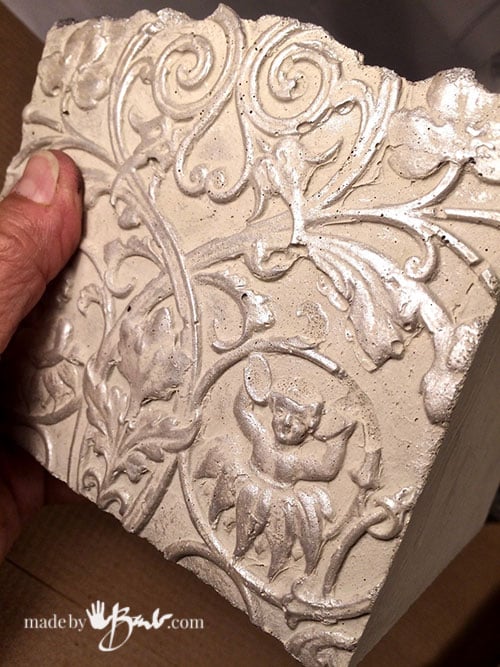
Use a fairly large flat brush. Only apply a bit of paint to it and then wipe most off on a paper towel. Then scrub across the surfaces quite quickly to only apply to the ‘top’ edges. It will build slowly like magic. Metallics or light colours work great. Here I used a subtle silver acrylic.
To further make the texture stand out apply a runny ‘antiquing’ acrylic paint that will darken the crevices like this method
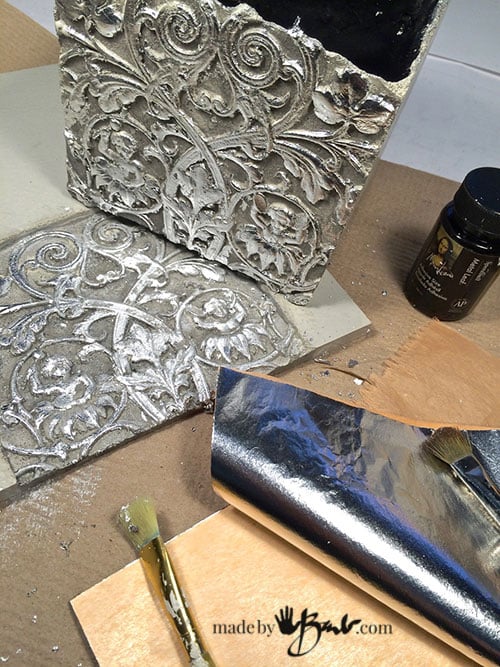
Oh, so you like some bling? Why not then use silver leafing on the surfaces… Concrete in a whole new light.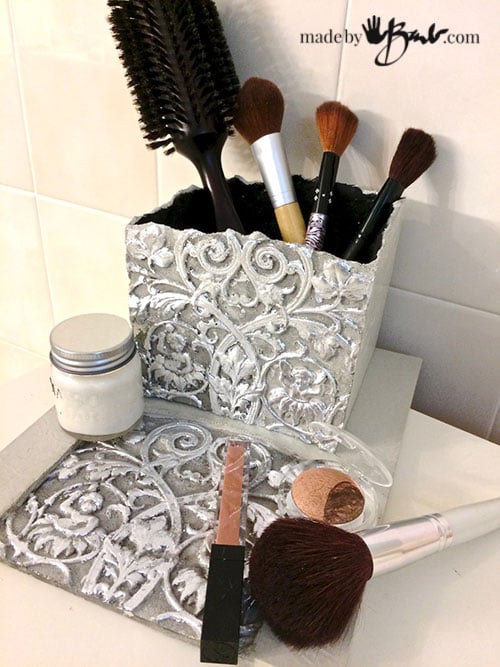
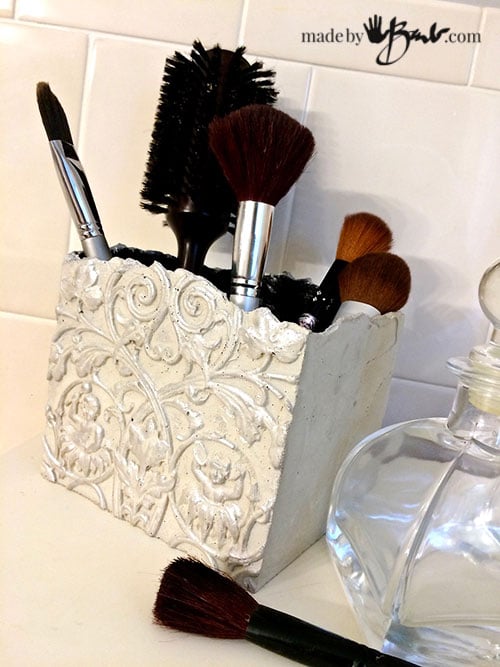
Who says that it has to go outside? It is really a replacement for anything glass or ceramic.
That old craftsman who carved that original master will be so happy… as well as you! Look around, there are many things that have a texture that you can borrow… to create your own DIY Texture panel casting.
Before you now it you will be casting everything in concrete…






Hi Barb,
I just happen to stumble upon your website just now from pinterest and love your share on the silicone molds ….. my question has always been (but never asked until now) does the silicone and/or releasing agent (whether oil, furniture polics, etc) change the color of the artifact or make it look “different”? I have always been afraid to put silicone mold liquid on “things” because I don’t want to ruin the look of it. Do I need to worry so much? Thanks for sharing.
I know what you mean! I always thought I’d rather not have some greasy stuff on my casting. I did not see it change colour or anything like that. I have discovered a mold release that is quite nice, (castor oil & rubbing alcohol) I used it when I cast the Botanical reliefs During my last casting of concrete orbs I used WD40 rubbed on sparingly. I saw no evidence on the concrete. Have fun and look around… much to made!
Hi Barb, I have been wanting to do this for years. My father and his father were architectural modler’s so it’s in my blood. Thank you for the recipe, I’m raring to go now. Regard’s Linda, from Australia.
Wow, I never knew that existed! I love the old vocations! I wonder what is in my blood as well… as I come from across the ocean as well.
Wow … I love creating this kind of work as well. The timing of this article was perfect for me, as I have some projects in my mind and was trying to figure out how I could make them.
Awe great! I know the feeling of having projects in my mind…
Thank you Barb! Excellent post and instructions. I’m going to try it. I just wish I could figure out how much product to use for my pieces I want to mold . That’s where I get stuck. However, this is much appreciated.
Yes, it’s a bit of guesswork. I have an idea; maybe if you use a piece of plasticine to figure out how bit of a blob you need, then use about that much of the silicone. If you have extra, maybe have another item ready when you are making molds. It might be a good idea to do a small test piece first to get the hang of the mixing etc. Good luck!