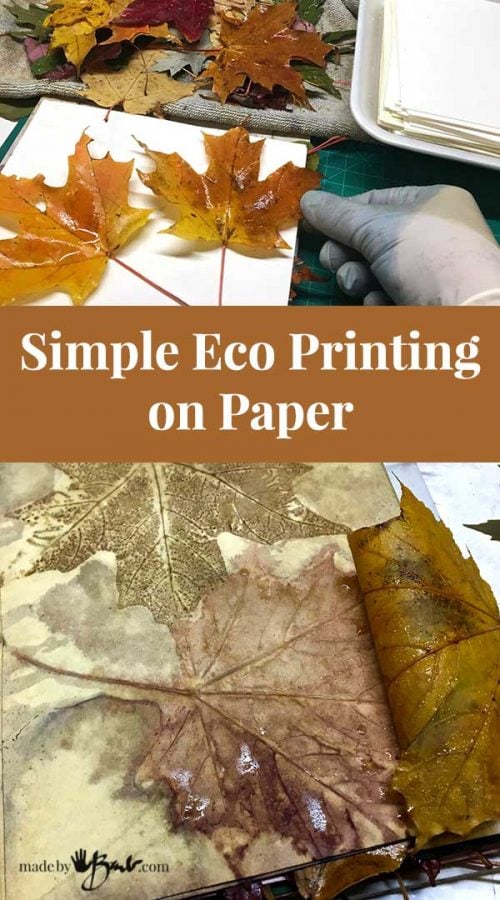
Simple Eco Printing on Paper
Welcome to my continued obsession of Eco-Printing and don’t blame me if it happens to you. After I ran out of fabric and scarves I looked for a new canvas to Eco Print on… anything white is not safe at my place. The good news; it’s worth the effort as this simple Eco Printing on Paper has again amazed me!
What you need:
Since I have been an artist & illustrator for a few decades (hardly believable) I have quite a stock of paper. This method involves some moisture so the paper needs to have some thickness and stability. I have used a multitude of papers and I can’t say any have been awful.
Watercolour paper works well however it may need additional soaking as it’s more absorbent. At first it may be wise to use inexpensive papers. Since my focus was to make cards I decided to go crazy and use whatever I found even using dollar-store card stock. Simple bond card stock has enough weight as well. In my opinion the combination of the leaf and mordant seem to effect the print more than the paper.
Well, yes, I almost forgot; you need leaves! Fresh, dried, frozen, whatever works for you. I use ones that I have dried by pressing and now store flat.
Preparation:
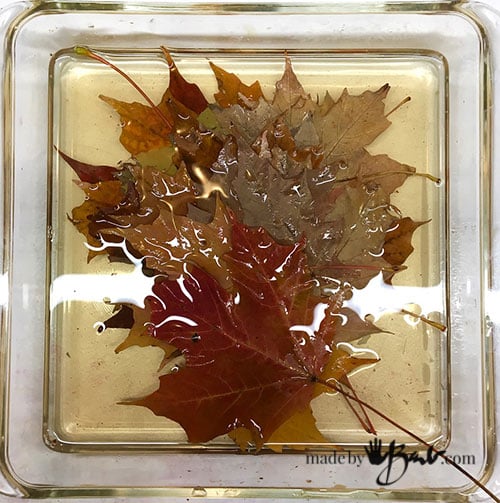
I know everyone likes exact recipes, but this art form is not quite like that. My leaves, water, paper may be different than your’s. I now have somewhat of an understanding of which leaves seem to ‘perform’ for me. Multiple maples, sumac, rose leaves, purple sand cherry, burr oak, walnut, weigela, are some of my favourites. I soak them in a solution of about 35-50% vinegar water that has a bit of iron sulphate added. Sometimes I just use some of my iron ‘liquor’ from my rusty-water-bucket. Don’t ask me how my laundry room looks!
Leaving them for the duration of readying the paper makes for about 30 minutes. The iron starts to react with the tannins in the leaves so I don’t leave them for too long.
Readying the paper:
Just as eco printing has many options for preparing fabric; as does paper. Paper is really just a cellulose fibre like cotton or tree pulp. Alum solution dip is one option but will yield more yellow results so I have simplified even further using just a vinegar/iron dip. You really should experiment to see how varying can affect the results.
I slide each sheet of cut paper (plan the sizes to what your end product will be) through the solution and stack them immediately. They do not get oversaturated but can absorb while waiting for the layering. The thick expensive watercolour papers will need more soak as they are sized for painting on. Sizing makes the paint bleed less so water will also absorb less.
Lets make Sandwiches:
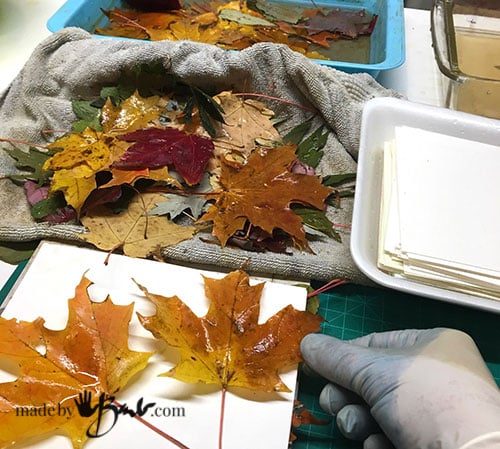
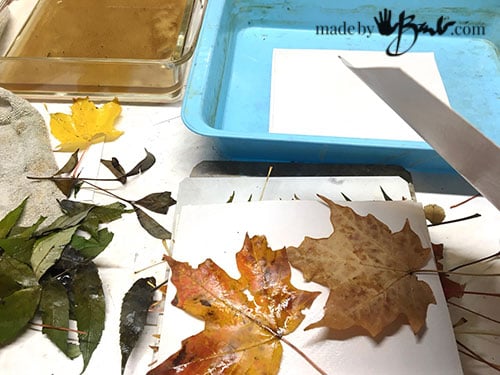
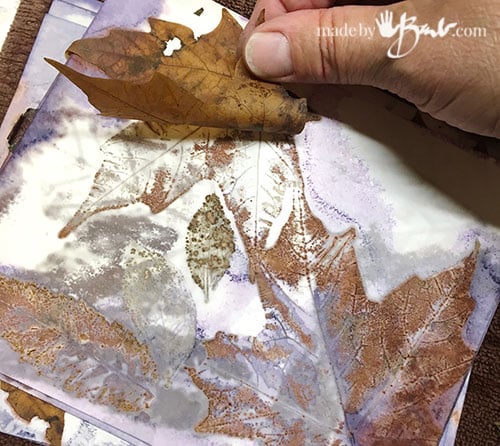
After soaking the leaves blot them on an old towel. Tip: if you would like nicely defined prints it should not be too wet, but also good flat contact. It’s best to wear gloves to place the foliage as you desire. My choice is to layer between each sheet and therefore get a print on each side to choose from afterward. Other options include rolling on a dowel or using folded cards.
Keeping the stacks of the same size helps give good contact.
After stacking you will need a way of applying pressure and keeping them flat in a hot environment. Ceramic tiles bound with elastics or bungee cords work well. I do not use metal since I process in a microwave.
A Little Trick:
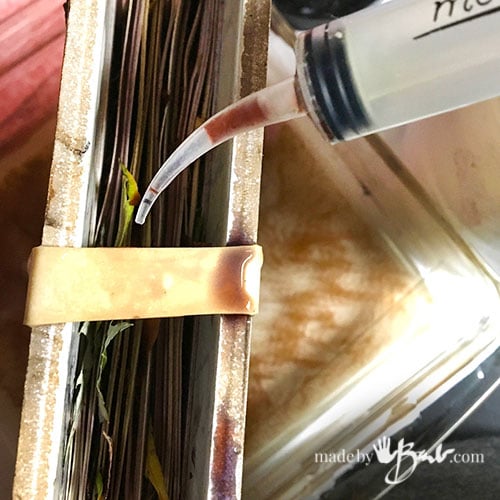
Since I do not submerse my stacks in liquid or dye but do like some ‘watercolour’ effects (not to mention I do have a multitude of jars of different natural dyes in my fridge) I use a plastic syringe to squirt some dye into the stacks and let it run through. Turn and squeeze.
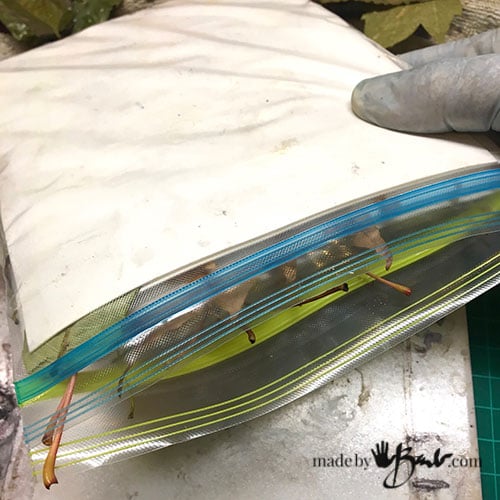
Either the stack can be set in plastic or into a glass casserole (only used for dyeing) to hold moisture. If working a few different dyes (such as madder, cochineal, some tea) each stack can have it’s own plastic pouch. If needed the stems may get snipped off.
Heat Processing:
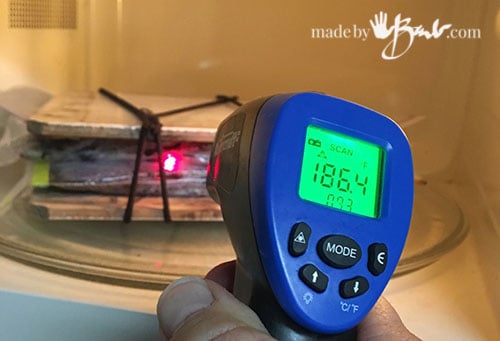
Since having had good success with processing my fabric eco-printing in the microwave I have adapted my paper processing as well. There is some excess moisture in the stack but it s not submersed. Whether in a glass dish or plastic bags I aim to have minimal air leakage (to save the moisture) to assure that everything stays moist and not flammable.
A few minutes to start and checking for temperature (I love my temperature gun) to work up to about 180 -190 degrees. My microwave has a turntable, otherwise manual turning will ensure even heat. After reaching a good hot temperature it needs to sit and retain as much heat as possible so I pop the whole stack into my big old blanket for as long as I like. After a few hours I can stick my finger in and see how much heat it’s held. It is quite amazing! I can again heat it another round. Or not. I’ve had good results either way, as long as it gets a good rest with the heat. Flipping the stacks will also help distribute the ‘liquors’ in the pouch.
After processing I usually let it cool before opening but again that is not a rule. I ‘sooo’ look forward to the opening that I make it like a quasi-reward after cleaning or doing other less desirable tasks. It’s so much fun lifting each page and ‘wowing’ at the art!
Oh, the colour!
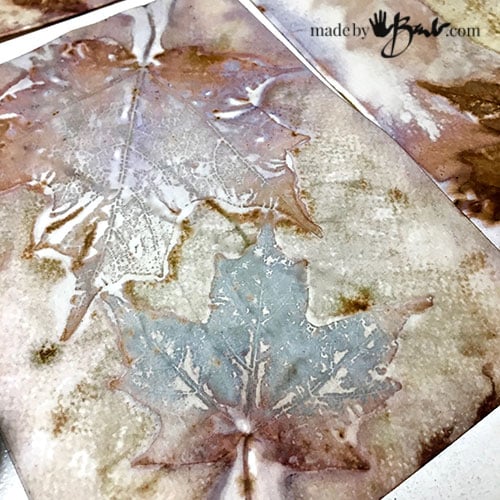
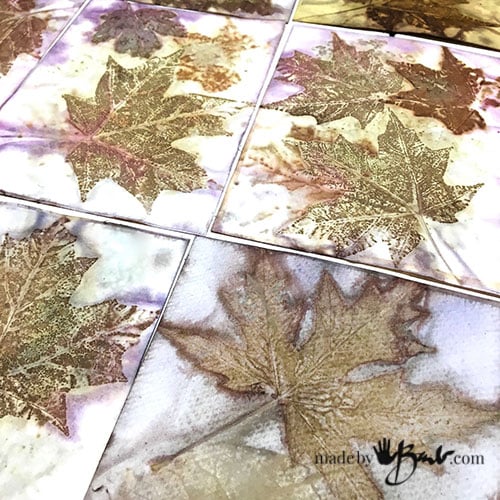
Yup! Maple leaves, sumac and a squirt of old cochineal dye (see my post using cochineal here) I love the purples that it gives since it is so sensitive to the iron and PH levels. Try madder, hibiscus tea, walnut… be creative!
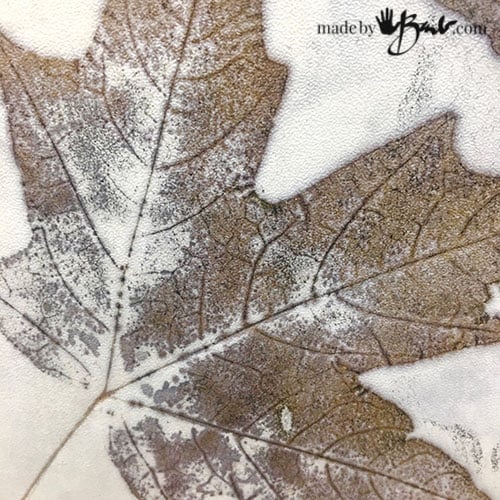
The amount of veining that can print is mind-blowing as well. It’s a balance of heat/moisture/pressure/absorption! Actually it’s a slightly controlled magic!
Can you really pick a favourite!? It might be difficult to give these away as cards…
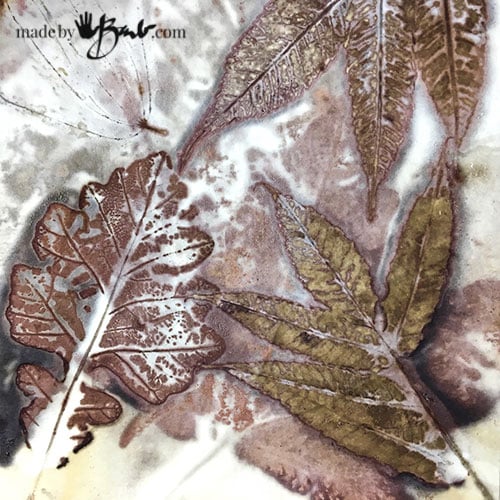
Sumac and Burr Oak! It makes being the ‘crazy lady who picks up leaves’ all worth it!
Sometimes the colours that magically appear are unexplainable.
The lovely soft washes of colour and definition come from the way the liquids run through between the papers and leaves.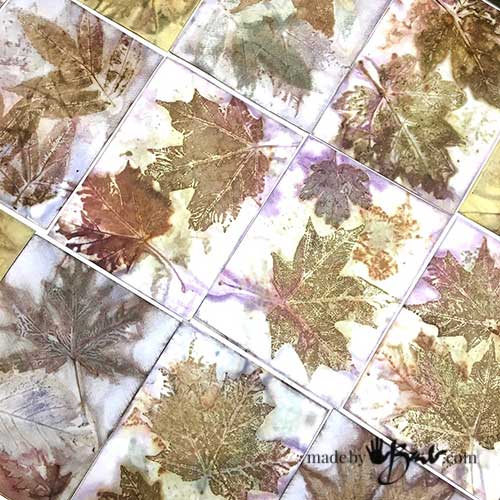
I could not decide which pictures were the best either…
To think of all the hours I would spend meticulously painting details and here I can print 40 cards at once and no 2 can ever be alike!
Flowers can also print however don’t expect the colour of the petals. The bulkiness can also be a problem as the stack will get very lumpy and not have good contact. But usually where there is a will there is a way…
If you are new to eco printing this may be the easiest way to get your toes wet and could be quite inexpensive. Check out more eco Printing posts here





Barb. I was gifted ginko biloba leaves today.. fresh green. Rare here in the Shuswap. Do they print or just resist? Thought you might know.
I have tried the few I found, and they resist more than print. I have seen some get a yellow or green sometimes… Have fun!
I’m just in love with aaaalllll that amazing work of yours! Thank so much for sharing your knowledge!❤
It is so magical! That is what draws you in!
Thanks for being so generous with you knowledge, Barb.
I should have followed your instructions! I ordered ferrous sulfate, but I got too excited, couldn’t wait and crushed up iron tablets instead. FAIL. This is what I did wrong: 1. First I bought Maltofer tablets, which contain FERRIC ions, not ferrous. Does not give much colour. 2. Then I got the right stuff, ferrous sulfate. But it took forever to dissolve them, and I was worried the iron would get oxidised to ferric ions, so I added vitamin c (ascorbic acid) which prevents this. But I didn’t think of the fact that ascorbic acid chelates with the iron, stopping it from reacting with the tannins! Grrr. Just wanted to add this comment in case anyone else thinks of trying this. (It would probably have been fine to add citric acid instead!) Now I will just wait for the pure ferrous sulfate to arrive. Bummed I made this mistake, I even studied chemistry at uni so I should have known!!
Oh wow, I love your chemistry knowledge! I wish I had more of that! You can also make your own ‘rusty’ water by finding some rusty nails, whatever has rust and soaking it in water. Adding vinegar will also make it happen faster. When I started eco printing I was quite successful with just using my rusty water. The only thing is that you do not quite know the strength of it unless you do tests. Happy printing! Oh, the cool thing is you can definitely reprint on the same media (paper) again for even more unique results…
Thank you for sharing your knowledge! This is so helpful and exciting!
I’m glad to inspire. Have fun!
Thank for your detailed and lovely sharing of your processes. I used to do this several years ago but as with all my art endeavours over the years it is lovely to revisit them from time to time.
Thank you so much for sharing!
Feel free to experiment, that’s the magic!
Eco Printing with a microwave??? Love this. I’m a newbie and have my second batch of boiled and steamed cooling off right now. Decided to surf the internet for more ideas and landed here. The microwave sounds so much easier and faster. And requires no pots. I was running into issues with having to limit the size of my paper and dowels due to the size of my crock pot. I’m going to try the microwave next weekend when I’ve refreshed my plant supply. Thank you so much!
With a bit of understanding that most of the time it is being ‘insulated’, it’s so easy and efficient; no pot watching! Let me know how it goes!
Hi Barb,
Always appreciate your posts and knowledge you so happily share! A couple quick questions…Do you use a dedicated microwave for this (crafts only) and do you seal the ziploc bag when heating? Thanks much! Happy creating !
I do have a dedicated old microwave above my washer in laundry room, easier for all the rinsing etc. I close or bind pretty closed and watch carefully. If it starts to puff up it means it is boiling inside and I stop it. I aim to bring up the temp and then pop under the blankets to insulate and keep the heat for a while. Slow & steady wins the race…
Barb, I am so glad I signed up for your emails, you are very generous with your art I can hardly wait to try the eco note cards. I teach silk painting at a local art center and the clients are begging me to do eco dying. I have refused because the time it takes is more than a class, since you have given info on the microwave method, I have gotten all the supplies to try it, Cards first, material next!
Candace I. Barr
I am so happy that you join me! Once you start to eco print you will get hooked! Just realize that results are a bit of magic mix of the kind of leaves, mordant, fibre and process… I would do some test rounds before you have an audience! I know, I taught at a college for over 20 years!