How to Make Amazing Cyanotype Prints on Paper
There’s always excitement when spring/summer comes! I’m so happy to see the green of all the plants and the sun. It’s a perfect reason to get out, take a walk and look at all the beautiful, botanical specimens. My love of dyeing, art, photography and design all come together in cyanotype print making. Let me show you how to make amazing cyanotype prints on paper.

What kind of plants can you use for cyanotype?
I know every part of the world will have quite different vegetation to choose from. You have to look closely to see what kind of details & shapes the botanical specimen has. The options to design with botanical plants and leaves is really endless.
This process uses an emulsion ( 2 chemicals that you mix yourself) that is applied to either fabric (see my post here) or paper to make it sensitive to Ultra-violet light. In this case, I am exploring all the possibilities of printing on various papers. You can use plants that are dried or fresh. The important thing to remember is that in order to get crisp prints you need to have a good contact with the light sensitive surface
The Awesome Allium Plant:
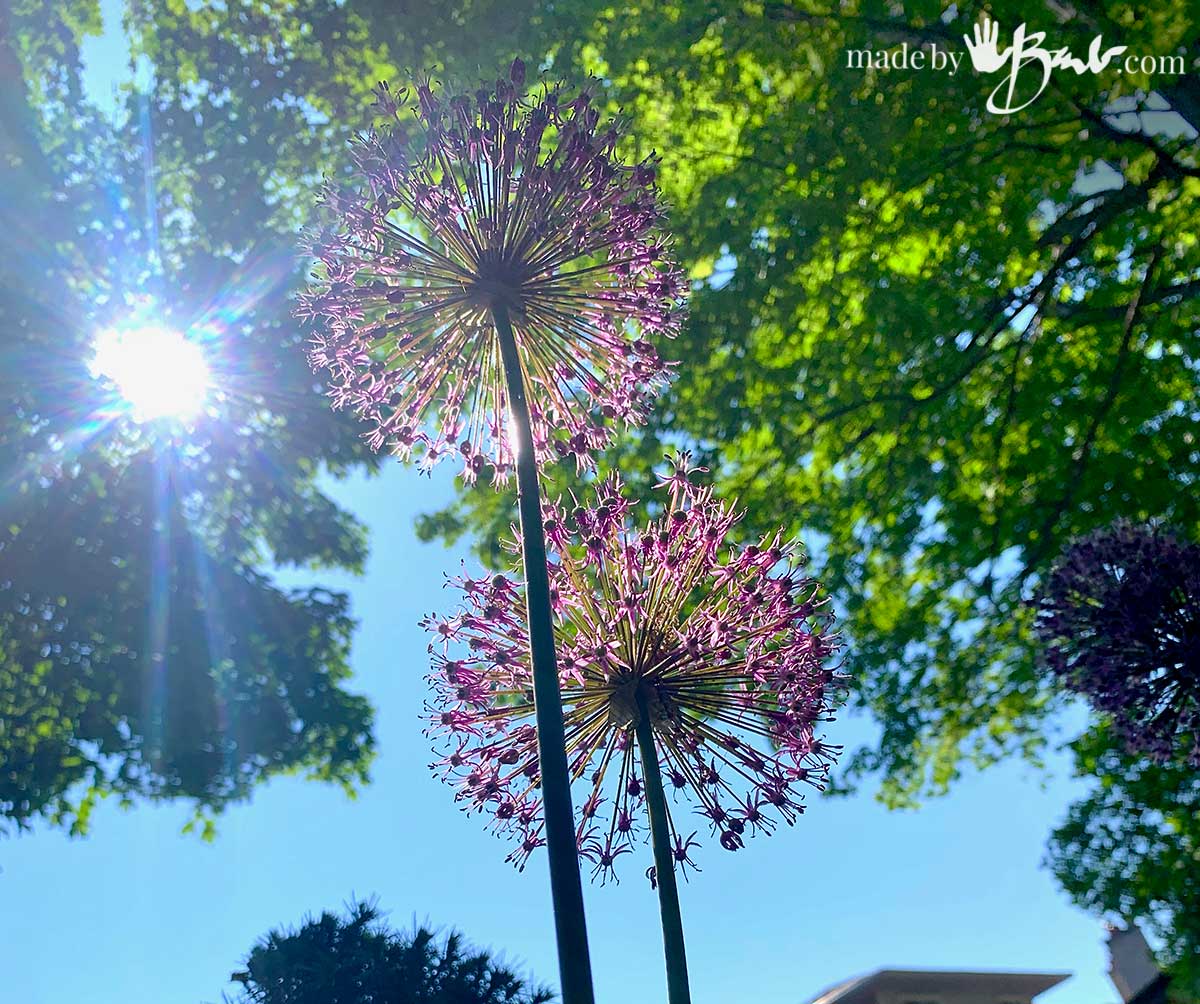
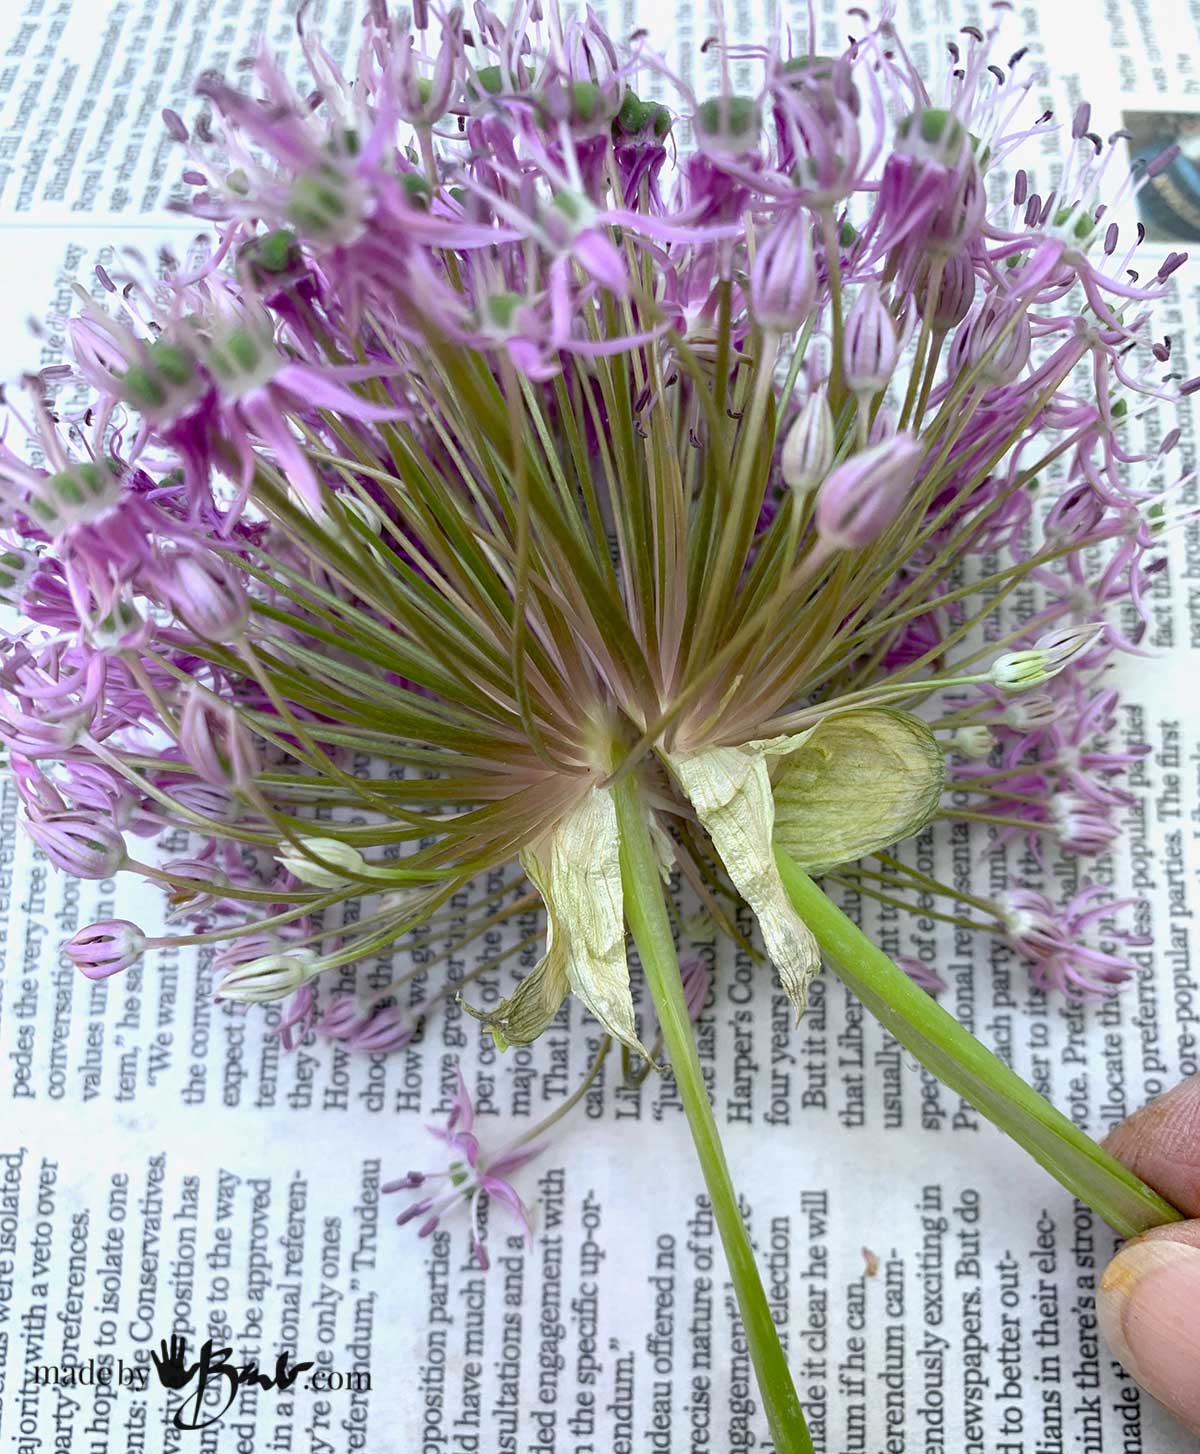
Many years ago, I bought a few bulbs of the Allium plant. I am attracted to plants with great shapes and colours. Now, every spring I have allium coming up all over the place. Alliums are the first to grow in spring (like tulips) but have a flower that resembles a firework. They are almost 4 feet tall when in bloom but however they don’t last long, so I like to use them for some design when I can. Since they are a complete sphere, it is hard to flatten them for Printing. For that reason, I cut the stem in half all the way up to the flower head and also slice that in half.

That makes the flower head, much less bulky, so that it prints with more space between all the tiny flowers. I carefully press that flat between paper so that it can dry.
I’ve also used these beauties for making relief prints (plaster & concrete) with botanicals.

What Paper to use for Cyanotypes:
When it comes to which papers to use for cyanotype printing, there’s many options. Since I have spent quite a few decades as an illustrator and painting with watercolor, I have used many kinds of papers. The best paper to use for Cyanotypes is a good quality, watercolour paper. Please check out the video where I explained some of the details about the papers. Watercolour paper comes in different weights, and they are usually specified in pounds and also gsm (300gsm = 140lb). A very heavy card like paper is sometimes specified about 300 pounds. Lighter weights can even be as low as 90 lb.

The paper finish often comes in a choice of cold press or hot press. Cold press paper has more texture and often little dimples in the surface. Hot press paper has a much more smooth finish. Personally, I prefer cold press paper as I like the finished look of the art as it then does not look like it has been printed by a machine.
Arches, Fabriano, Strathmore and Canson are reputable paper manufacturers. Buying from an art supply store is also a better idea than a department store. I would not suggest using a weight lighter than 90lb (140 gsm) but I prefer over 140lb. The 300 lb paper will not wrinkle as it is as thick as board.

When you look closely at the edge of a good watercolour paper, it has a deckle edge. That is where the fibres are soft & loose from the paper-making process. When you make smaller sheets and want to get the suggestion of a deckle edge, you can score the page, bend it, and then rip it. That will mimic the soft edge that you get with the deckle.
How to Make the Cyanotype Emulsion (light sensitive solution)
Stay safe and use gloves and a good mask while measuring the powders. Prepare your work surfaces in case of spillage. You will. need a scale to measure the chemicals. Prepare a vessel to hold the chemicals once mixed. Since the mixed solution is light sensitive it needs to be stored in a dark bottle. You can wrap a jar with black electrical tape if need be.
There are two chemical ingredients required to create the cyanotype solution, Potassium Ferricyanide, and Ferric Ammonium Citrate. I bought a bit larger quantity from a photo-supply store but you can get convenient kits (jacquard) as well. There are options to buy pre-treated cyanotype fabrics and papers as well to be even more convenient.
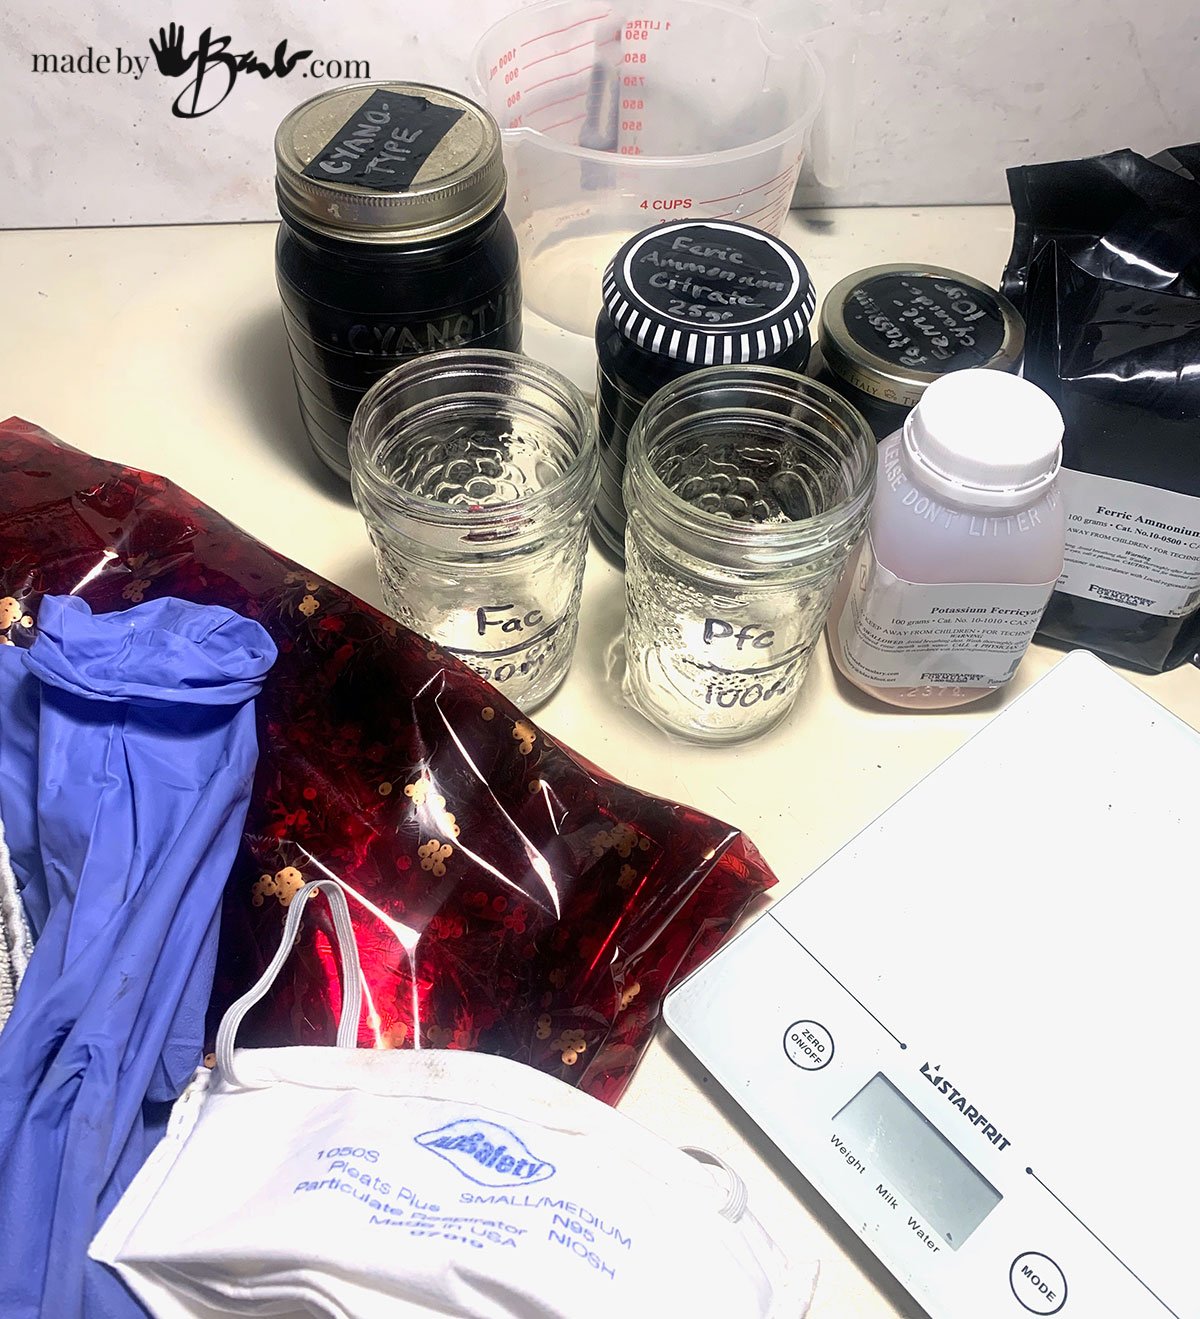
The basic recipe of cyanotype chemicals is 10g of Potassium Ferricyanide mixed with water to make up to 100ml. Measure 25g of Ferric Ammonium Citrate and add water to bring it up to 100 ml as well. Mix these two solutions together and keep in a dark container. The solutions should be well dissolved and it is also recommended to sit for a bit of time.
For more details of making the light-sensitive solution see my post here. This process is very much like photography; as the light sensitive emulsion will react to the sunlight, and create a print. Good quality Paper is like fabric as it is made with fibres that often include wood products or cotton. If you would rather not work with the chemicals, you can also buy cyanotype paper that has already been prepared to print

Apply the Emulsion:
When you have your solution ready make sure to work in an area that does not get sunlight. Use a foam brush, soft or hake brush to paint the solution on the paper. Even our light bulbs have a little bit of UV light. Work quickly and place in a dark area to dry. To experiment I also did not apply the emulsion very flat. I wanted to see how variations of the emulsion application would affect the print.
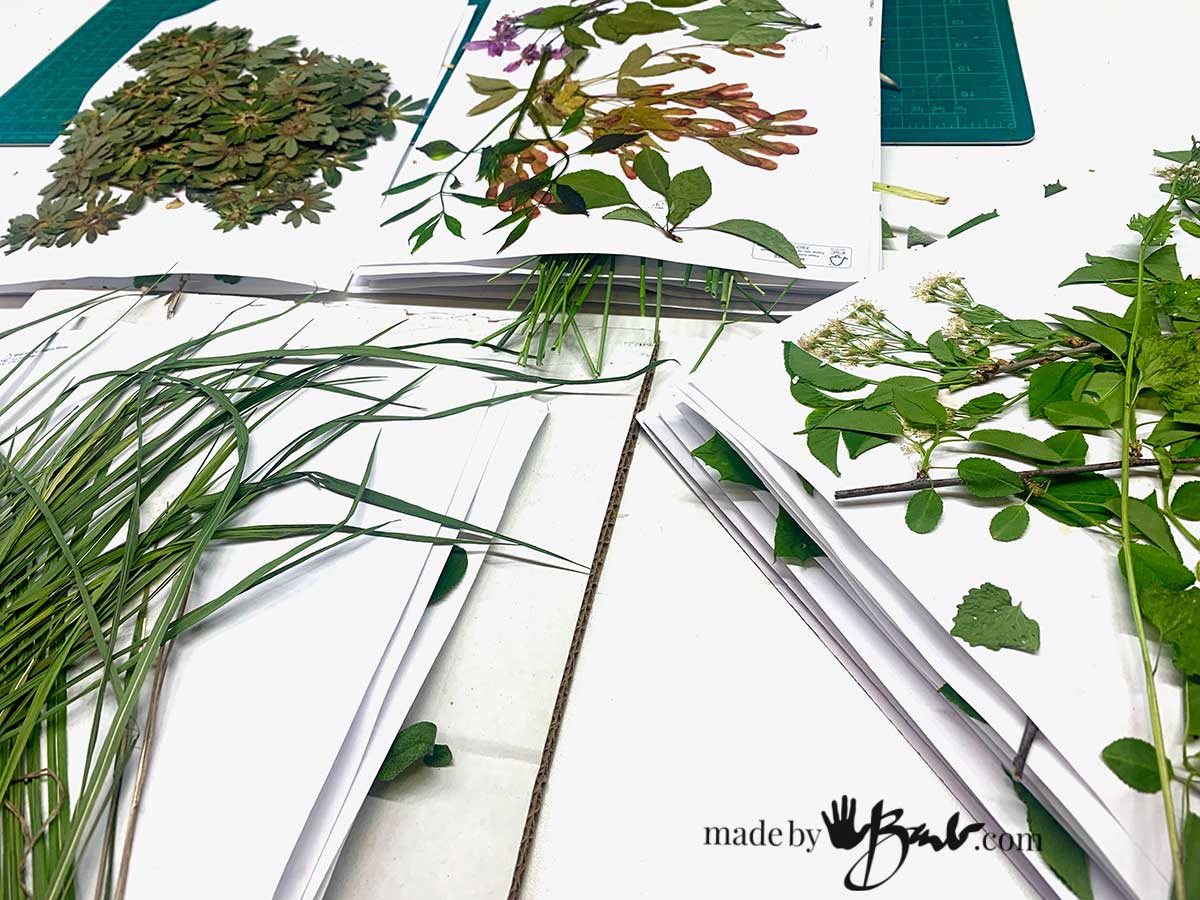
To prepare, I have gathered a lot of different, specimens, weeds, flowers, whatever looked interesting and then store them between paper to keep them flat.

Place the Botanical material:
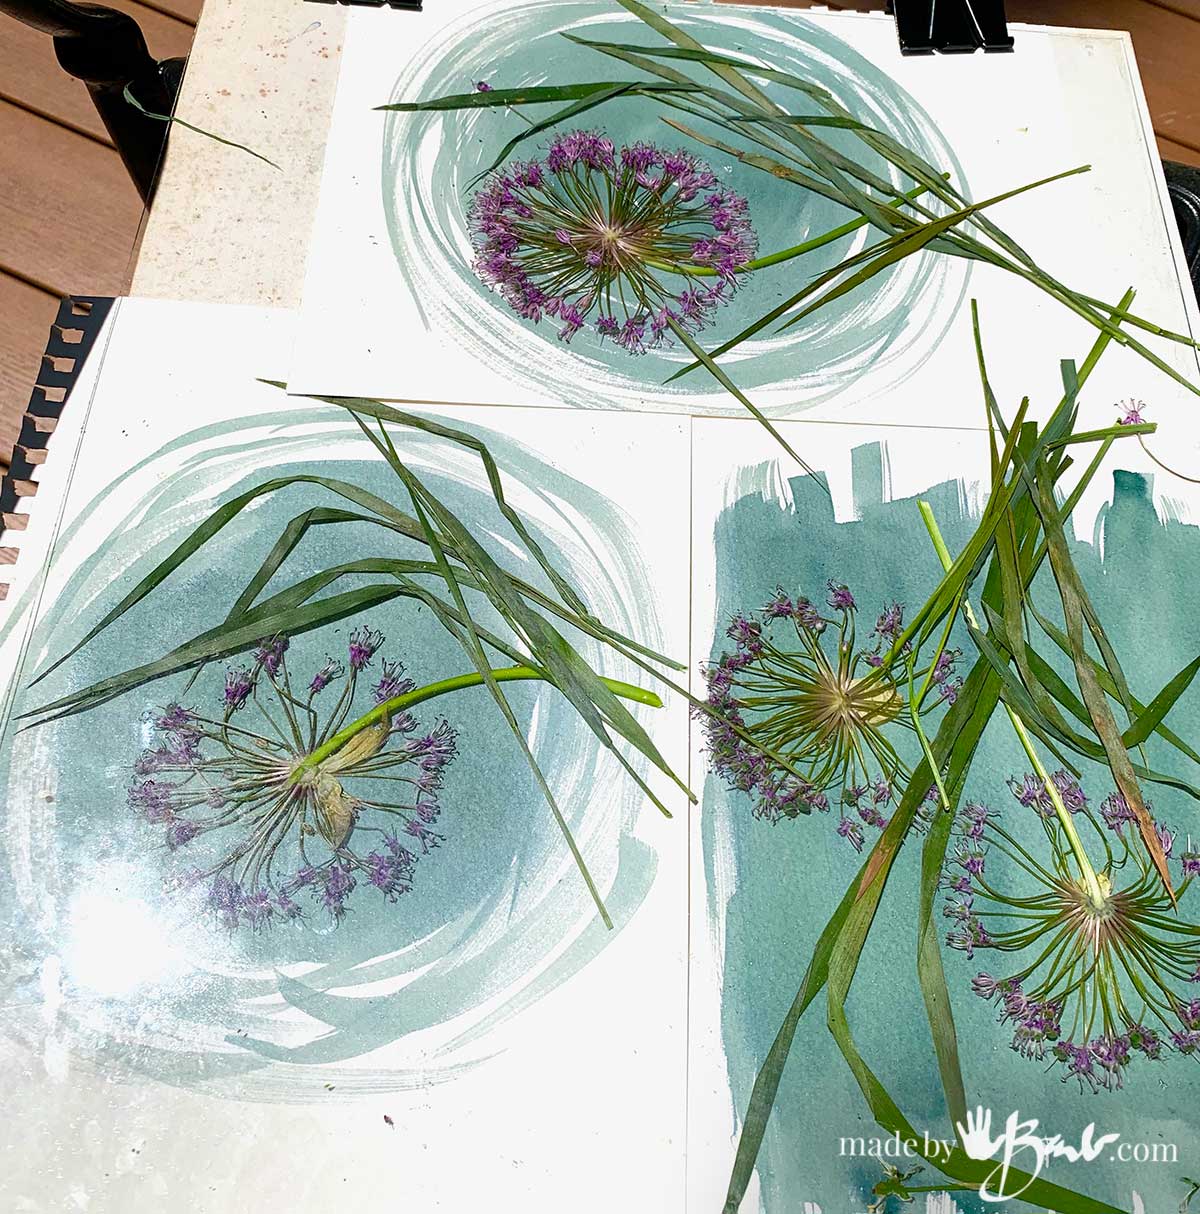
Once the coated paper pieces are dry I arrange the plant material on top. Consider the design of your shapes. I place a sheet of glass on top and secure with binder clips.

During the strong sun of midday, I take the board outside and place in the sun. You will see how the green colour of the emulsion turns to a darker blue very quickly. Exposure time can depend on your UV index. The amount of time of exposure also depends on how much you would like the light to pass through the plant material. It really is just like a photographic printing process, as I remember from my days at art college.
(NEW) If you are having problems getting enough sun I have now (new post) added a UV LED light to my equipment! Check out How to Make an Easy Indoor Exposure Light for Cyanotype Printing
A short exposure time will give you silhouettes that are quite white whereas a longer time may allow too much light to pass through thin specimens. It can take some experimentation.

A longer exposure time may allow the UV light to pass through the plant material and not be as contrasted. You will get interesting affects from some of the puddles of thicker emulsion application.

Here (above), you will see how the prints are affected by the mottled application of the chemical (after rinsing). I will be experimenting to make wet Cyanotypes in the future. Just like art, there are many variations that you can create according to your own style.
Why I love Using Paper for Cyanotype Printing:
Yes, cyanotype printing is a fabulous art. I do really enjoy using paper because the application method of the chemical can also be artistic and unique. The amount of solution that is used for paper is far less than for fabric since it does not absorb as much. Notice the details of the brushstrokes picked up in the final prints.
Play with your shapes and create unique designs.

See the negative image here; printed using the allium and some grasses. So much detail is picked up from the flower head.
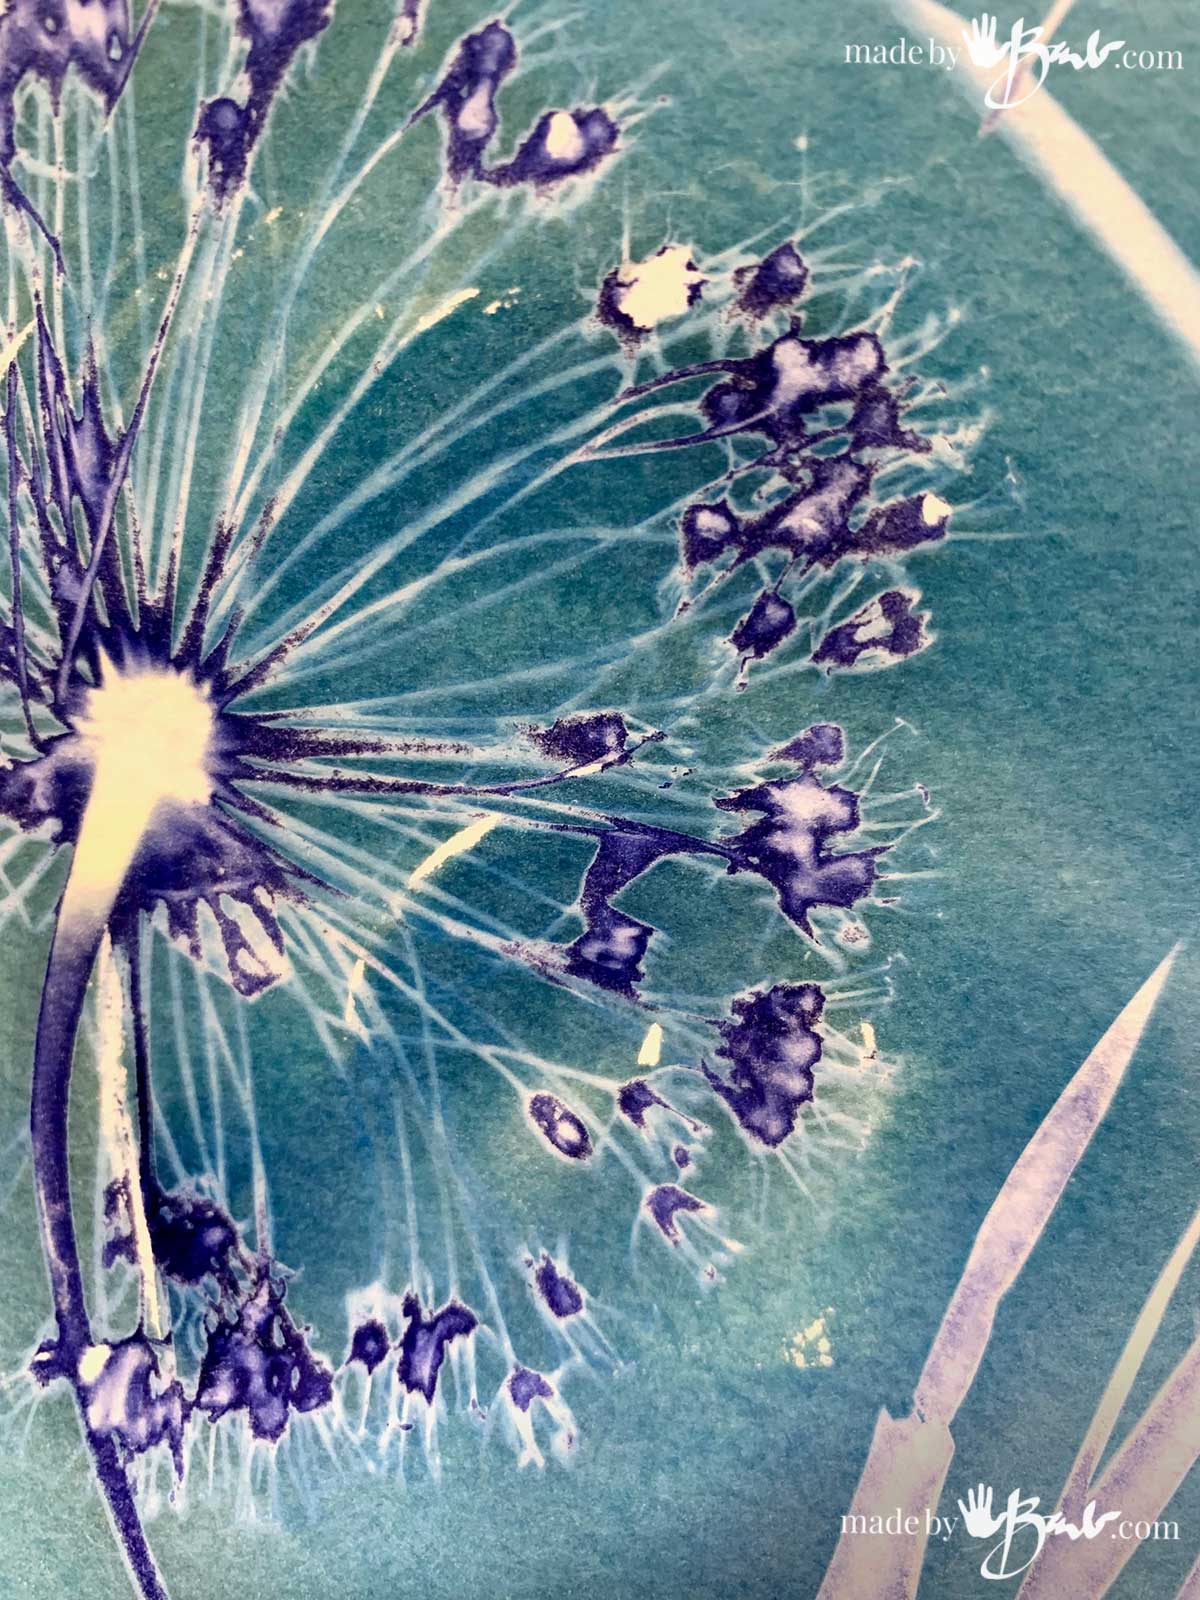
Nature always surprises me. I’m not sure quite how these colours came to be.

Notice how the green emulsion has turned into blue once it is exposed in the sun. There are areas of darker blue that will change. It is now time to rinse the print.
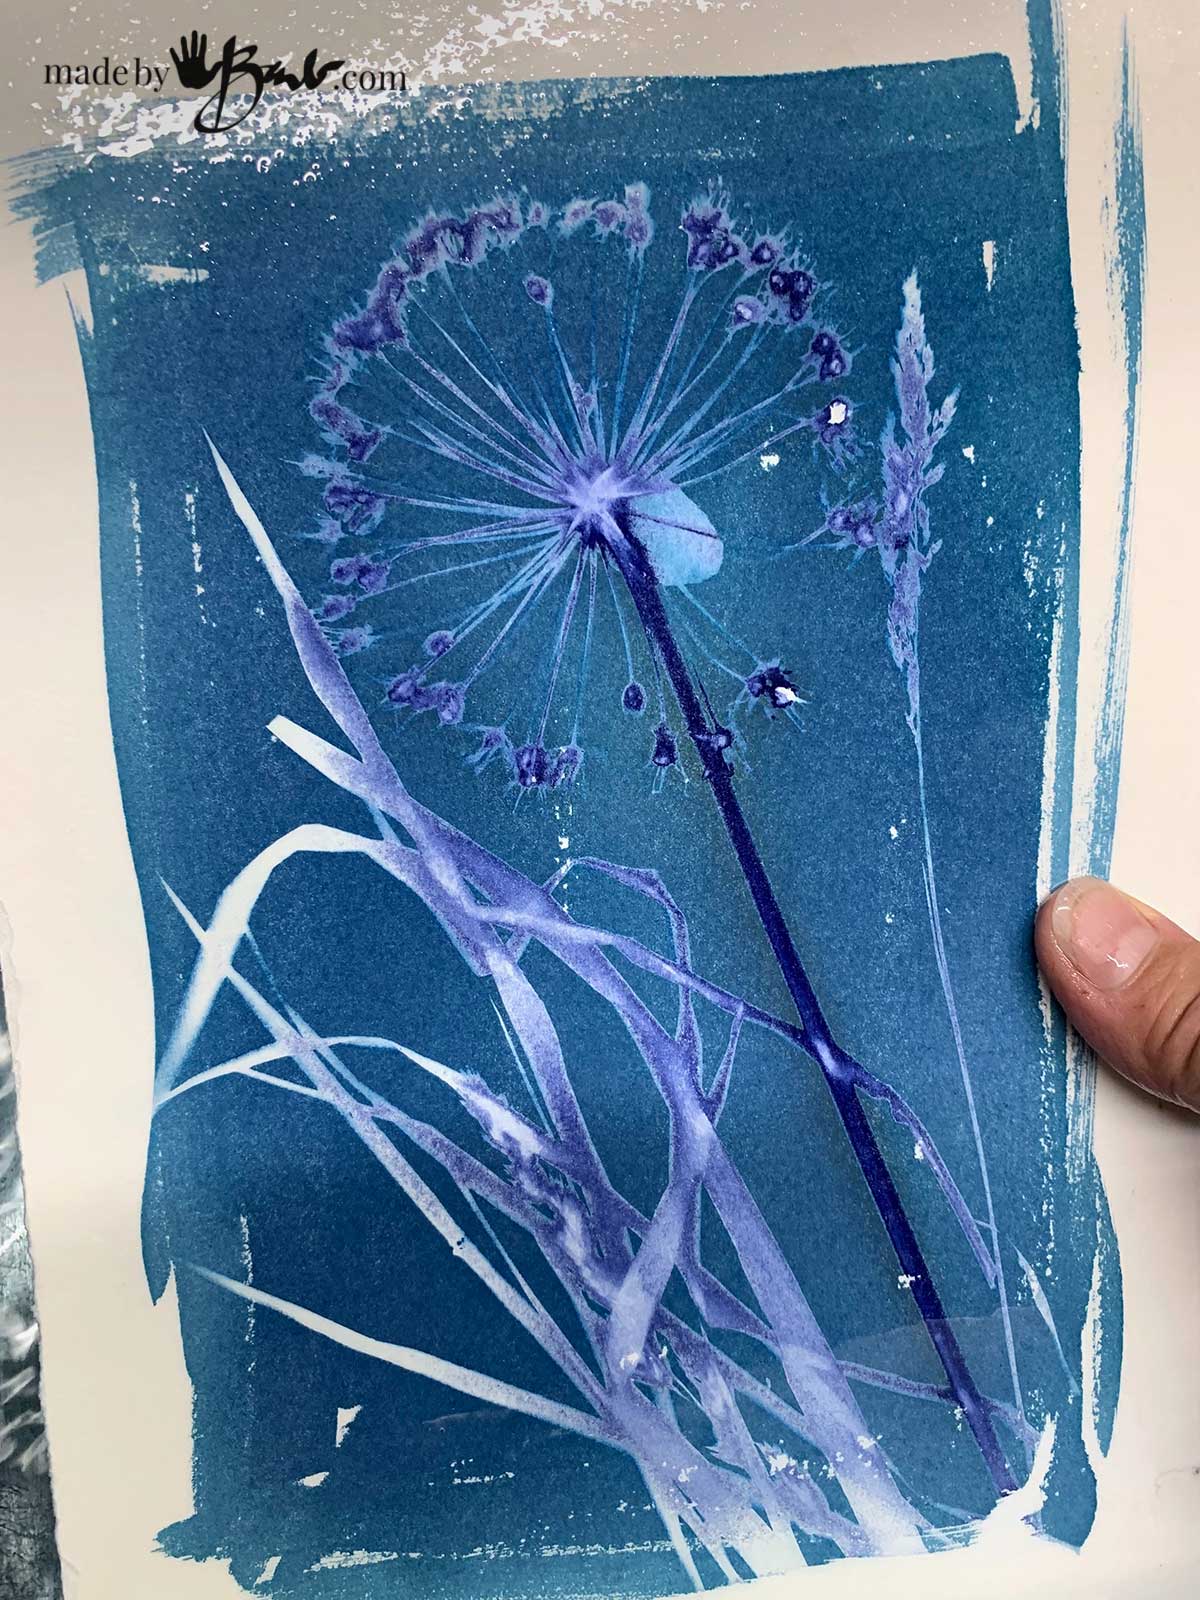
Once rinsing the print in a sink/tray full of (tap) water, the rich cyan blue starts to develop. It is always very fascinating to watch.
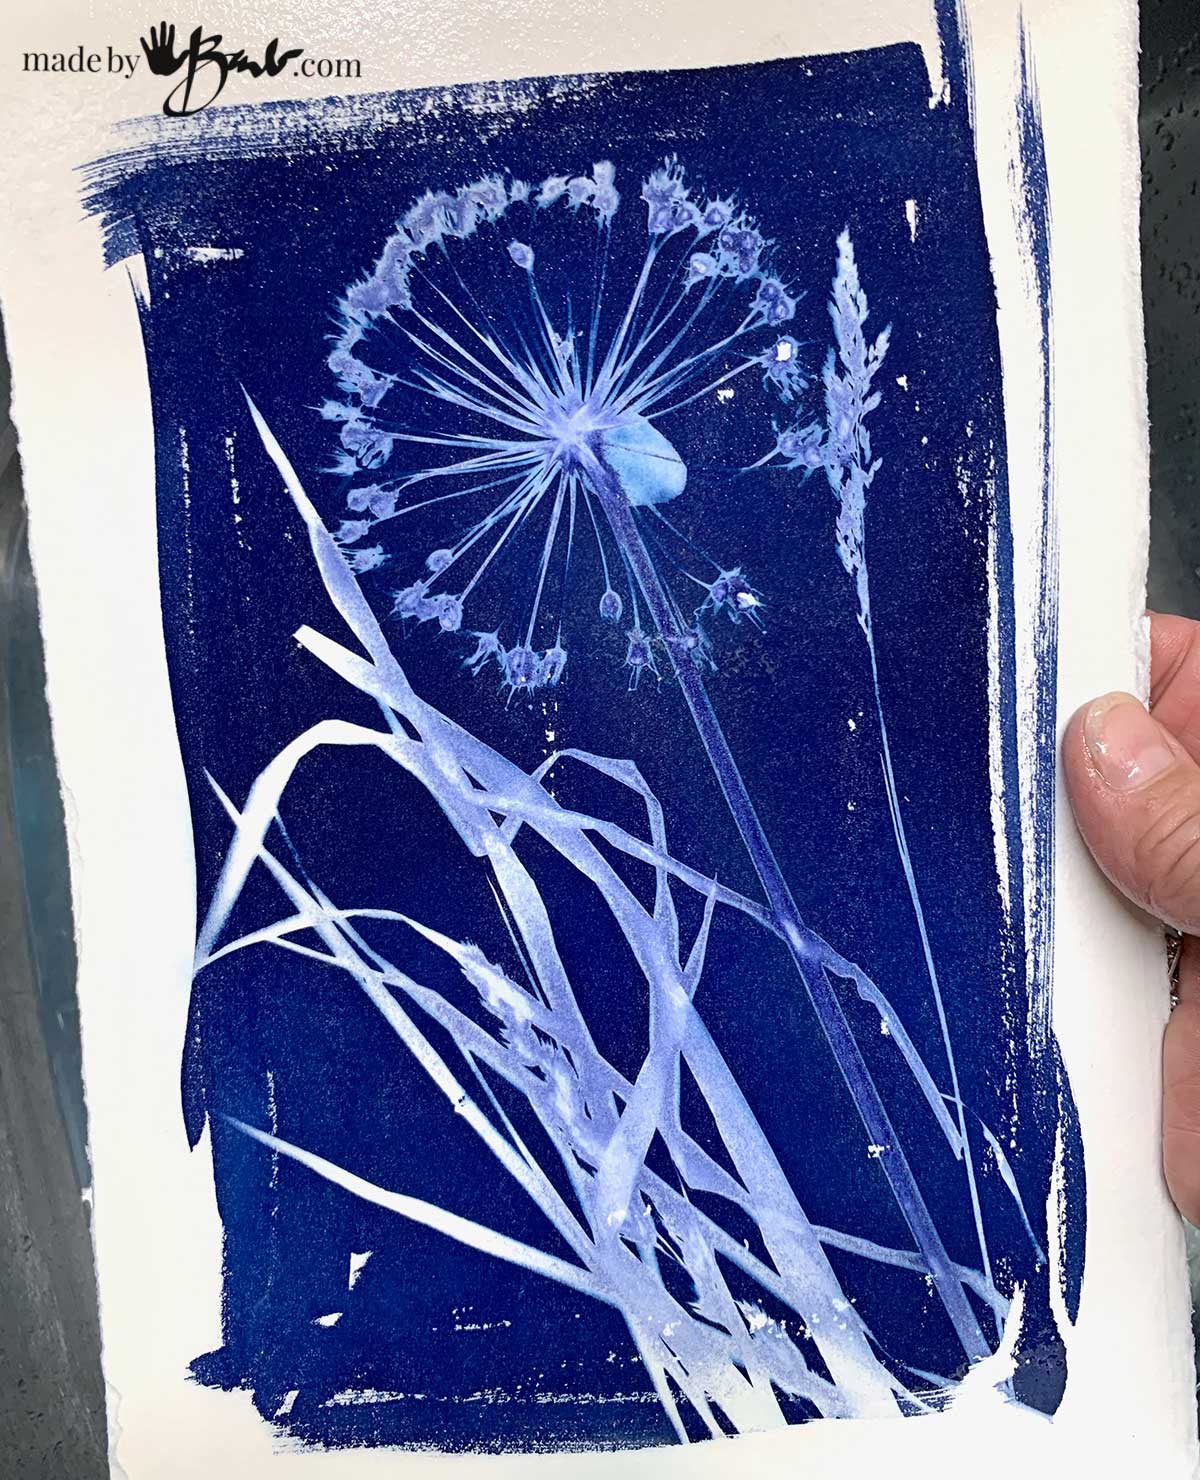
Once it has been rinsed, the print will continue to darken as it dries. If you would like to darken it right away, you can dip it into a water bath that has a tablespoon of hydrogen peroxide added. It will immediately turn into a rich cyan-blue print.
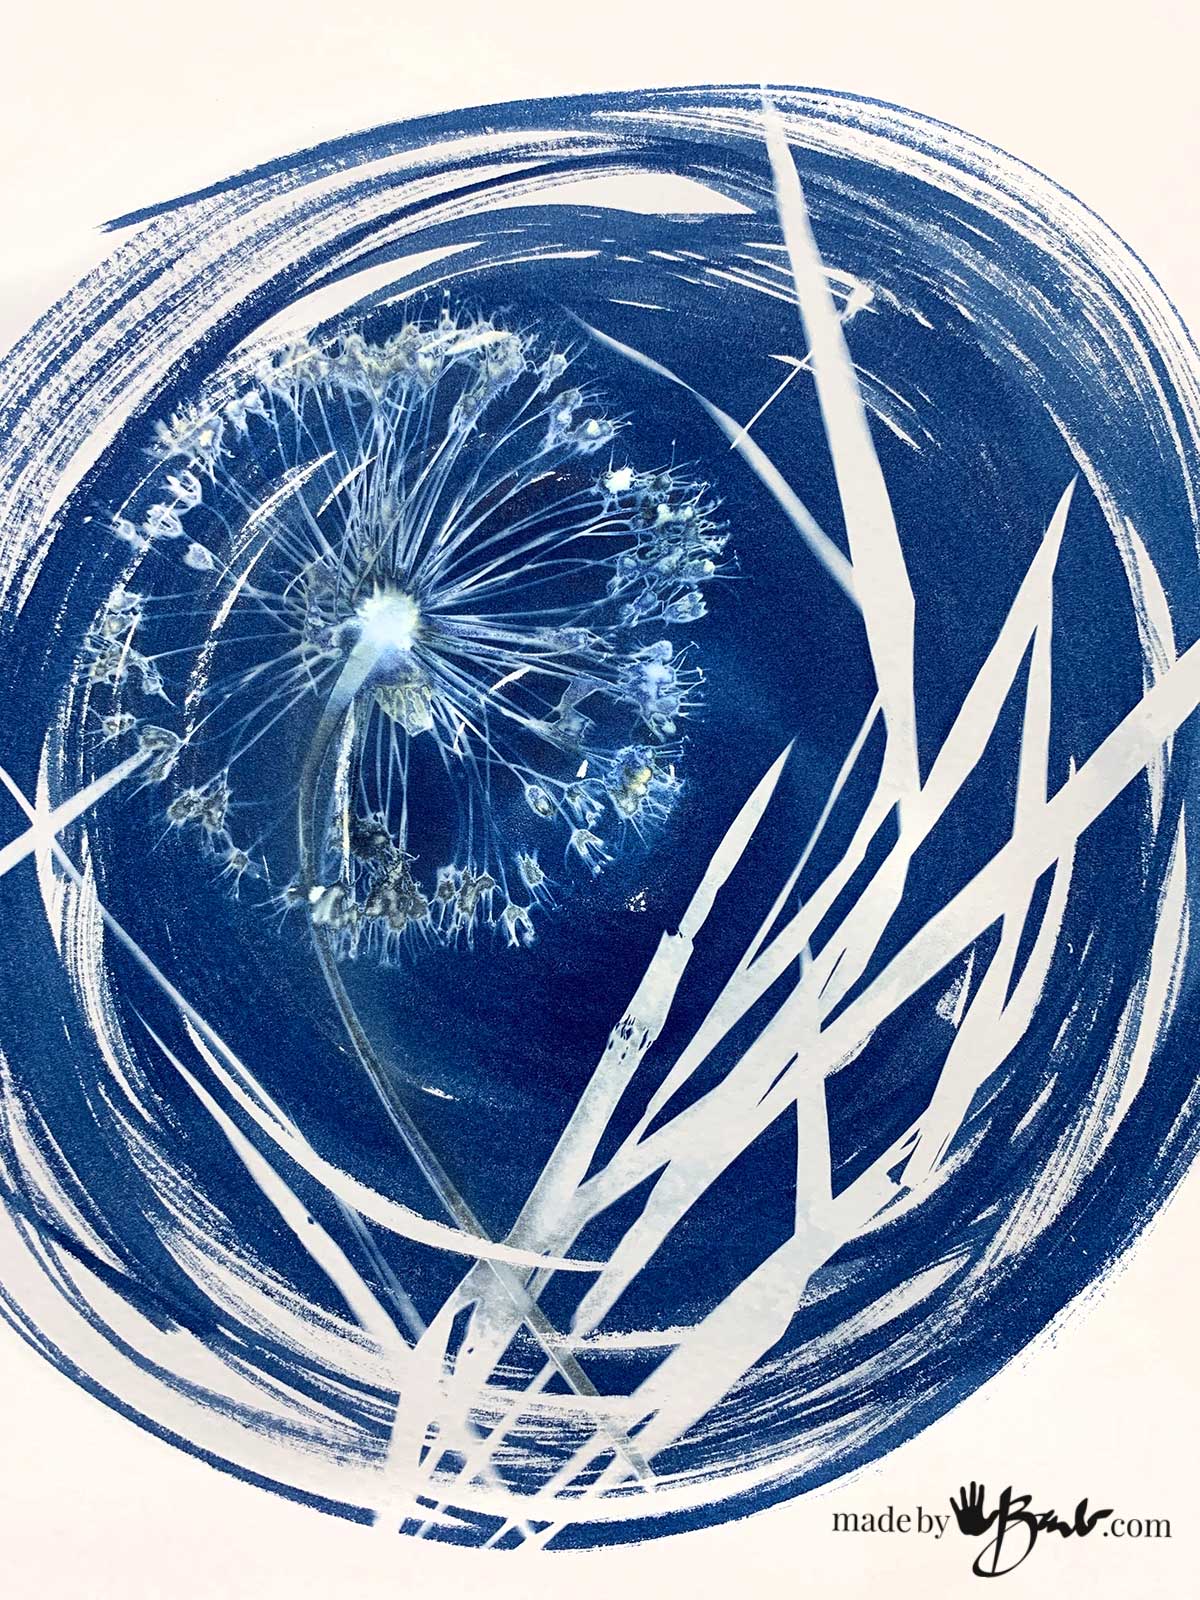
The Cyanotype emulsion was applied in a loose circular way to enhance the circular flower element here.
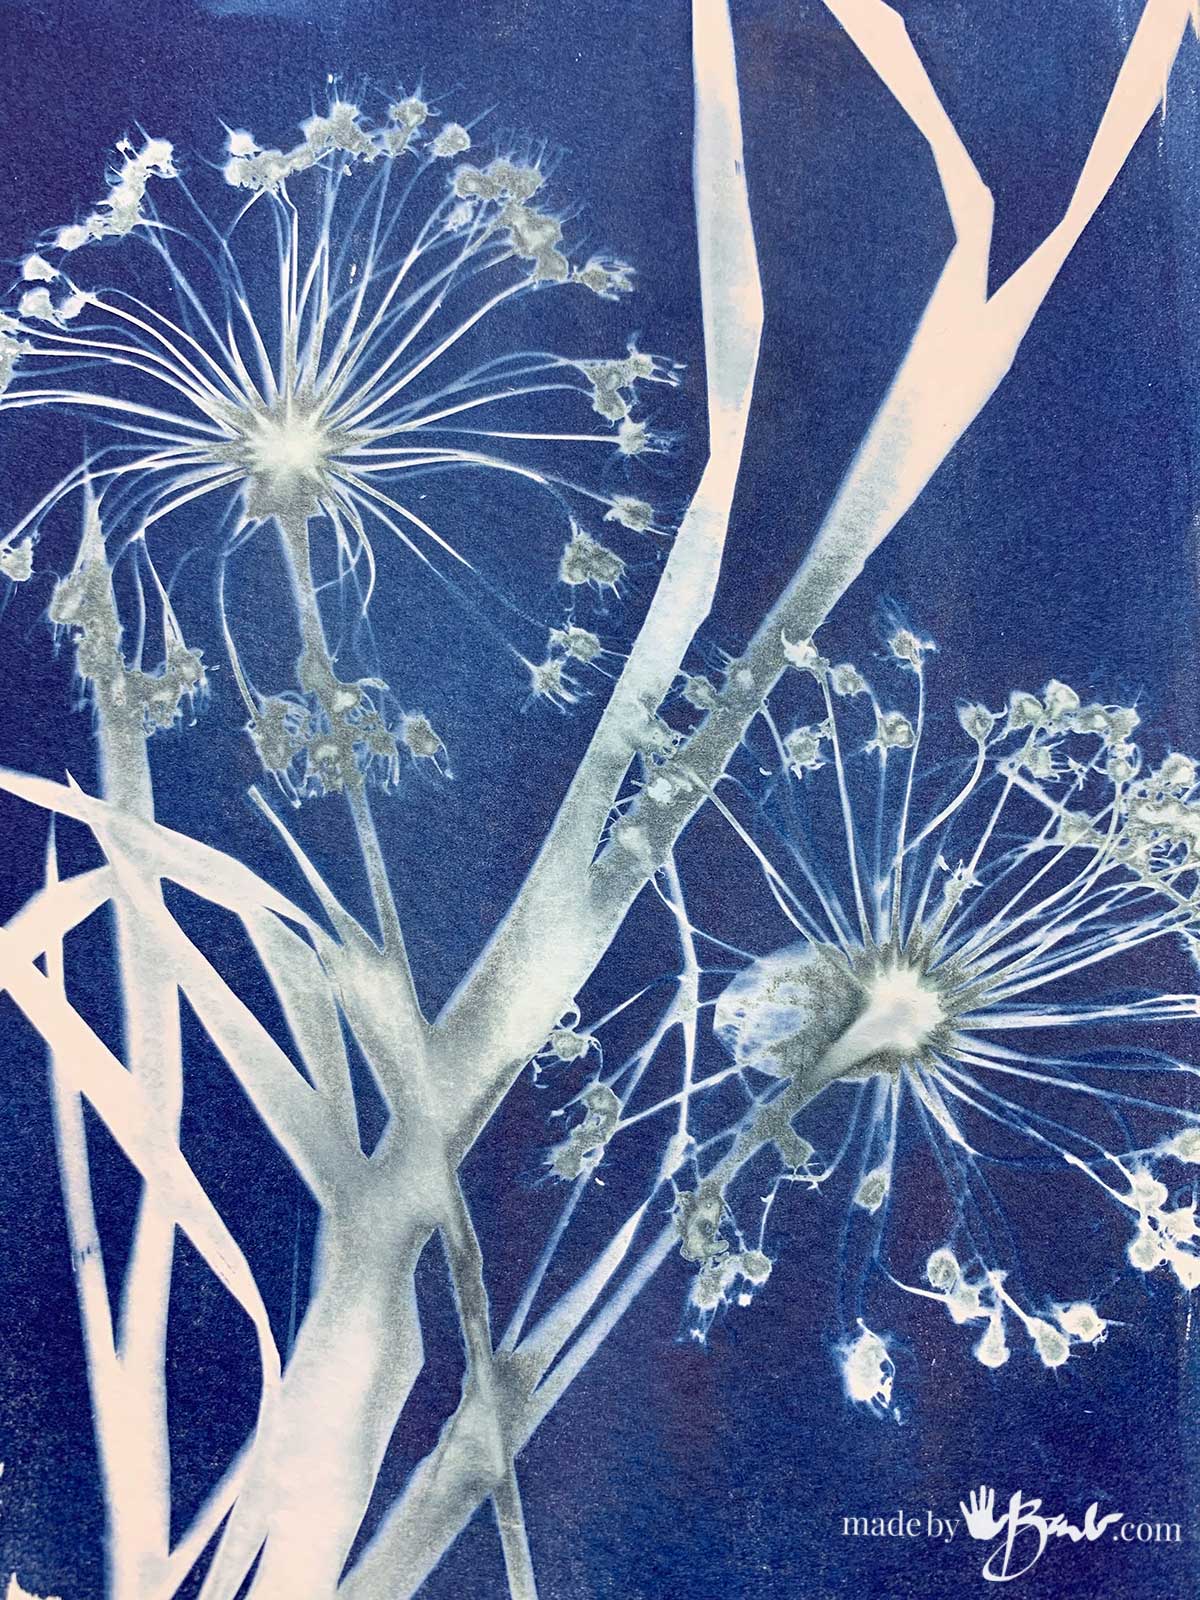
Whatever you choose; the most important is that you are being creative. Enjoying ‘Mother Nature’ is a big bonus! I hope these instructions inspire you to give this sun printing a try…
If you are inclined to take it a step further, there are also ways to tone the blue prints afterward for even more creative options. Check out this new post.
These amazing blue prints are not limited to paper, there’s also fabric, jean jackets, rocks & stone, wood and even Kraft-Tex Vegan Leather Paper Fabric.


You are so creative. how are you feeling lately,hope all is well ,JESUS BLESS.:)
Yes, thanks, I’ve been feeling well. I’m just ramping up for all the summer art projects.
Hello again, Barb. Exquisite work on your papers shown this week. Love the painterly strokes of the solution shown in each, truly enhances the artwork. Lucky for you that you’ve got alliums growing in your own garden. I’ve been eyeing some in a public garden area, and trying to resist cutting a few to play with. So far I have resisted …. but my temptation has gathered force after watching your videos and seeing your results today.
Another paper you might want to try is the very thin, but still strong enough to stand up to the water rinsing after exposure: gampi or mulberry.
With these thin papers you can create background texture by placing textured plastics like bubble wrap or patterned placemats, net bags that avocados come in, to the supporting base. Lay the plastics onto your backing board, then lay the tissue like papers over top. Now apply the solution over all, brushing firmly enough to have the textures below show through to the front of the paper. While still damp lay your botanicals over top, add the glass plate and clamp edges to ensure firm contact. Expose. Rinse. During the rinsing or soaking use a backing board – maybe chloroplast or a glass pane – behind the paper to provide more stability. Works like a charm. Dry and enjoy. These thinner creations will need some pressing under heavy books to flatten, but what you’ve created is so intriguing and wonderful.
Love your blog and your current exploration of cyanotypes. It is quite addicting, isn’t it.
Many thanks, Jennifer Cooper
Wow, thanks for your explanation! That’s funny, I did find some interesting fibrous thin papers that enticed me to buy them when in the art college bookstore. It was a treasure trove for great supplies! The advantage of being ‘old’ is that I was lucky to do a lot of stuff; even did paper-making in the ’70’s (how is that even possible?!) Is it any wonder why my brain is constantly ‘sparking’ ideas! I look at the creative possibilities of a lot of disposable stuff before trashing/recycling. Great, I’ve got some ideas… stay tuned.
Thank you for sharing!
Explore & Enjoy
Hello Barb, I’m a big fan of yours. Everything you do is so lovely and creative. I’m getting ready to try the cyanotype Prints and am clueless about development time. 10 minutes? One hour? Can I get a little more info on that please? Appreciate it!
I assume you mean exposure time. I can’t give you an exact number but some guidance. Watch for the colour to change from the greenish colour to an almost greyish blue colour. I did make a test strip by sliding a piece cardboard at increments. This will help guide you for your amount of sun. On the sunny summer days I usually only need about 10 minutes. Sometimes if you want the light to pass through some items/petals it make take more time. Check back… I am working on using an electric light. Happy making!
Once you apply the chemicals to paper and let it dry, how long are they good for? How long do they stay light sensitive?
I have taken dried prepared papers in a light proof bag and exposed a few days later without a problem. I know sensitized papers can be bought as well but I have not tested for an extended time length. If I had to guess, I’d say I wouldn’t keep more than a week. Happy printing!