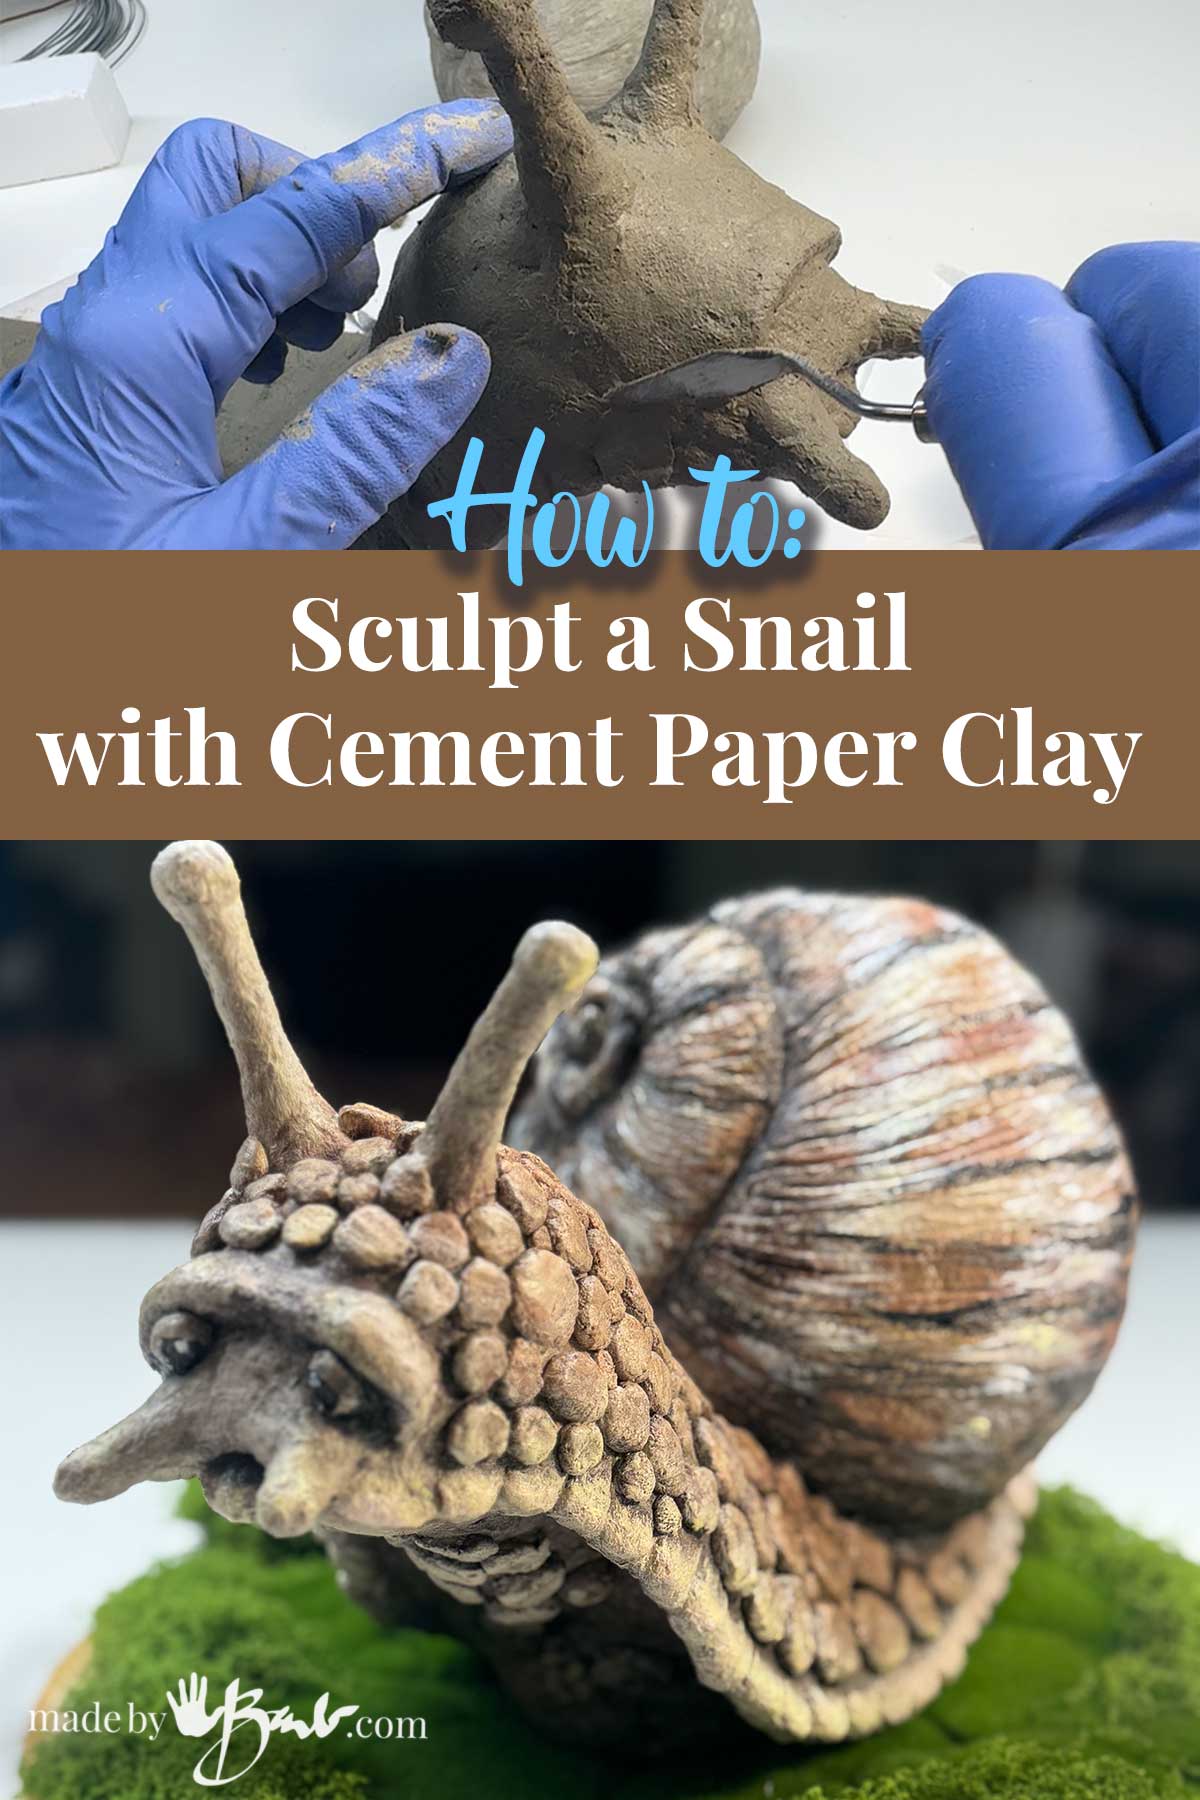
Sculpt a Snail with Cement Paper Clay
There’s something truly magical about turning simple materials into a charming garden inhabitant. If you’ve been dabbling with cement paper clay (that wonderfully durable and weatherproof alternative to traditional paper maché), then sculpting a snail is a fantastic project to try!
These little creatures are perfect for showcasing the versatility of the clay, and once finished, they make delightful additions to any outdoor space.
Shell Yeah! Sculpting an Adorable Cement Paper Clay Snail
Ready to bring a smiling snail to life? Let’s get started!
Shell Yeah! Sculpting an Adorable Cement Paper Clay Snail
Ready to bring a smiling snail to life? Let’s get started! Let me just say; it was a fun project!
What You’ll Need
Before you dive in, gather your supplies. Having everything at hand makes the process smoother.
- Cement Paper Clay: Pre-mixed and ready to go (refer to our previous post on how to make it.
- Armature Materials: This is the internal support for your snail. Good options include:
- Aluminum foil (heavy-duty works best)
- Wire (e.g., armature wire, galvanized wire) for support if making a larger or more intricate snail.
- Plastic bowl, ball or crumpled newspaper (for a larger, hollow shell base).
- Waste styrofoam to build armature bulk.
- Basic Sculpting Tools:
- Your hands (gloves recommended!)
- A palette knife or old kitchen knife
- Various small sculpting tools (e.g., dental tools, wooden sculpting tools) for details
- A bowl of water for smoothing
- Safety Gear:
- Gloves (essential to protect your hands from the caustic cement)
- Dust mask or respirator (if you’re mixing new clay or sanding later)
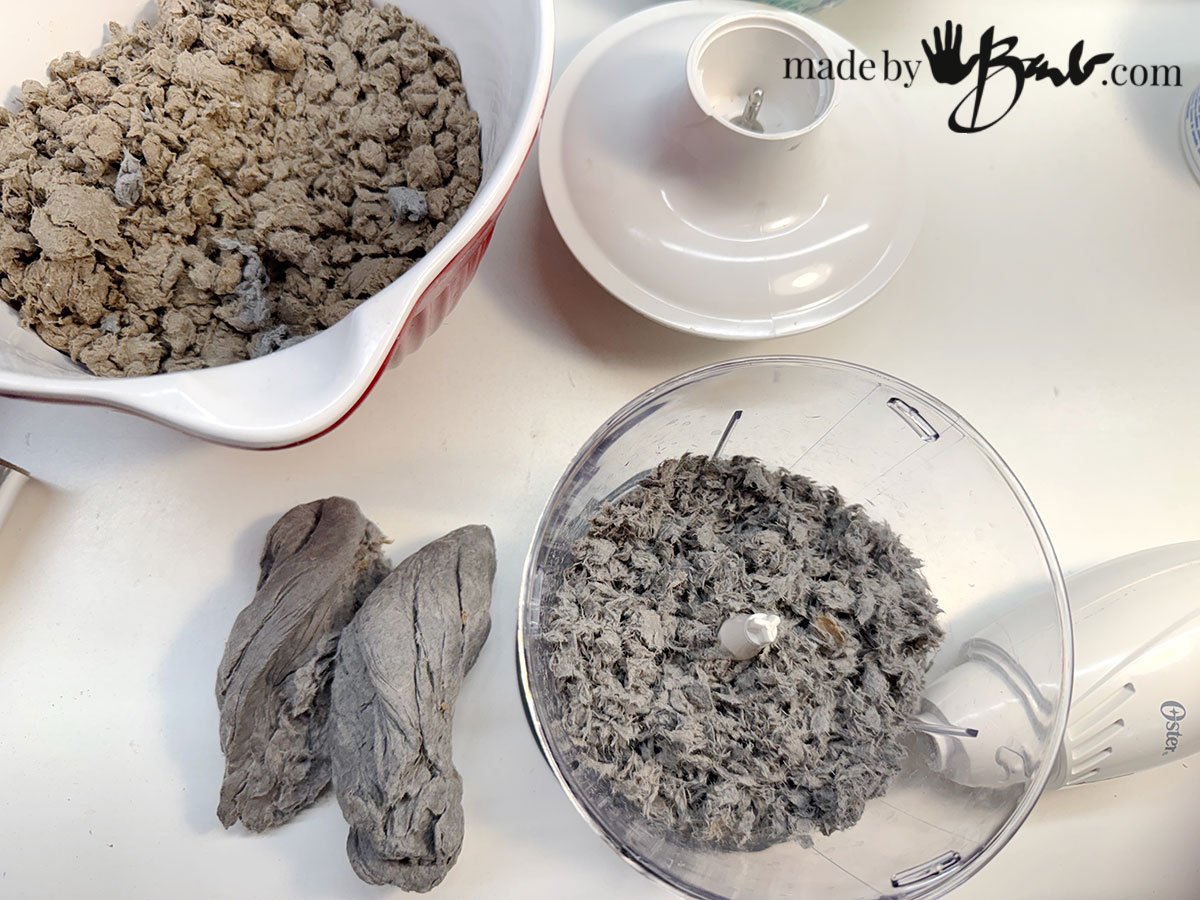
It wonderful to think that what gets thrown away will make Cement Paper Clay. The mixture includes ingredients of pva glue, Portland cement, paper fibres and drywall compound.
Step-by-Step: Sculpting Your Snail
The beauty of sculpting a snail is it’s organic shape, which allows for a lot of creative freedom! You do not need to be a professional sculptor.
1. Build Your Armature (The Snail’s Skeleton)
This internal structure will provide stability and use less cement paper clay.
- For the Shell: This depends on the size you envision.
- Small Shell: Simply crumple foil into a rounded, slightly flattened spiral.
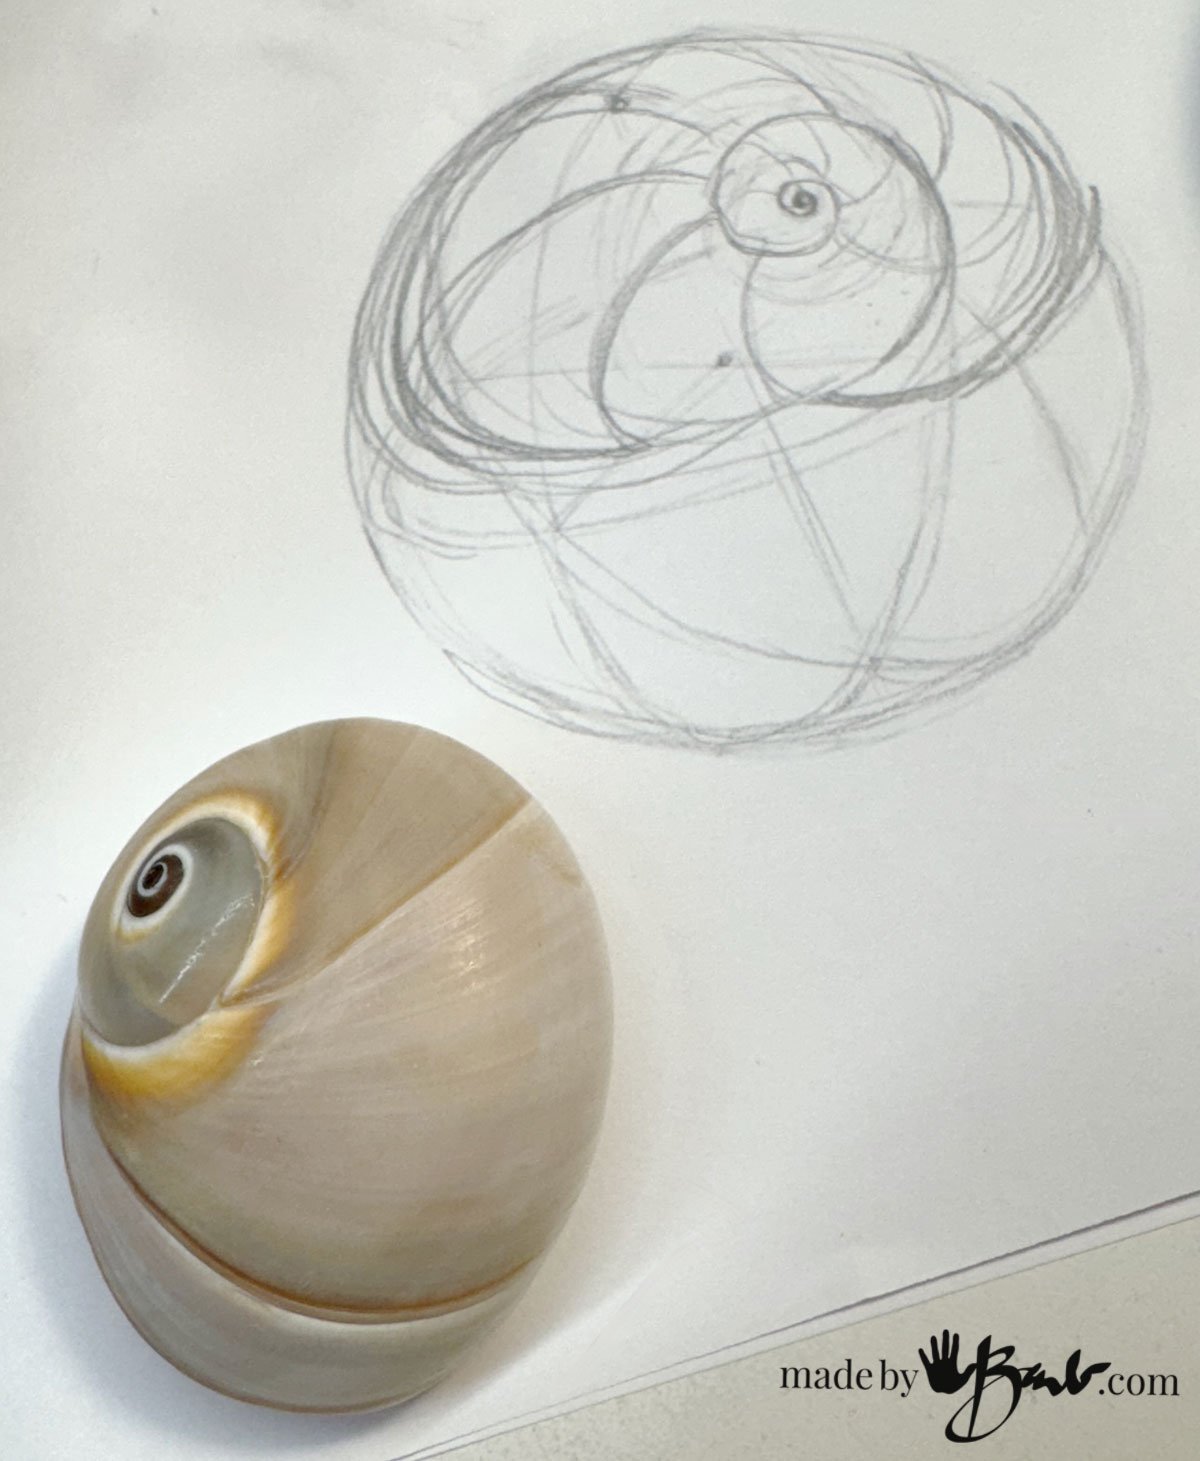
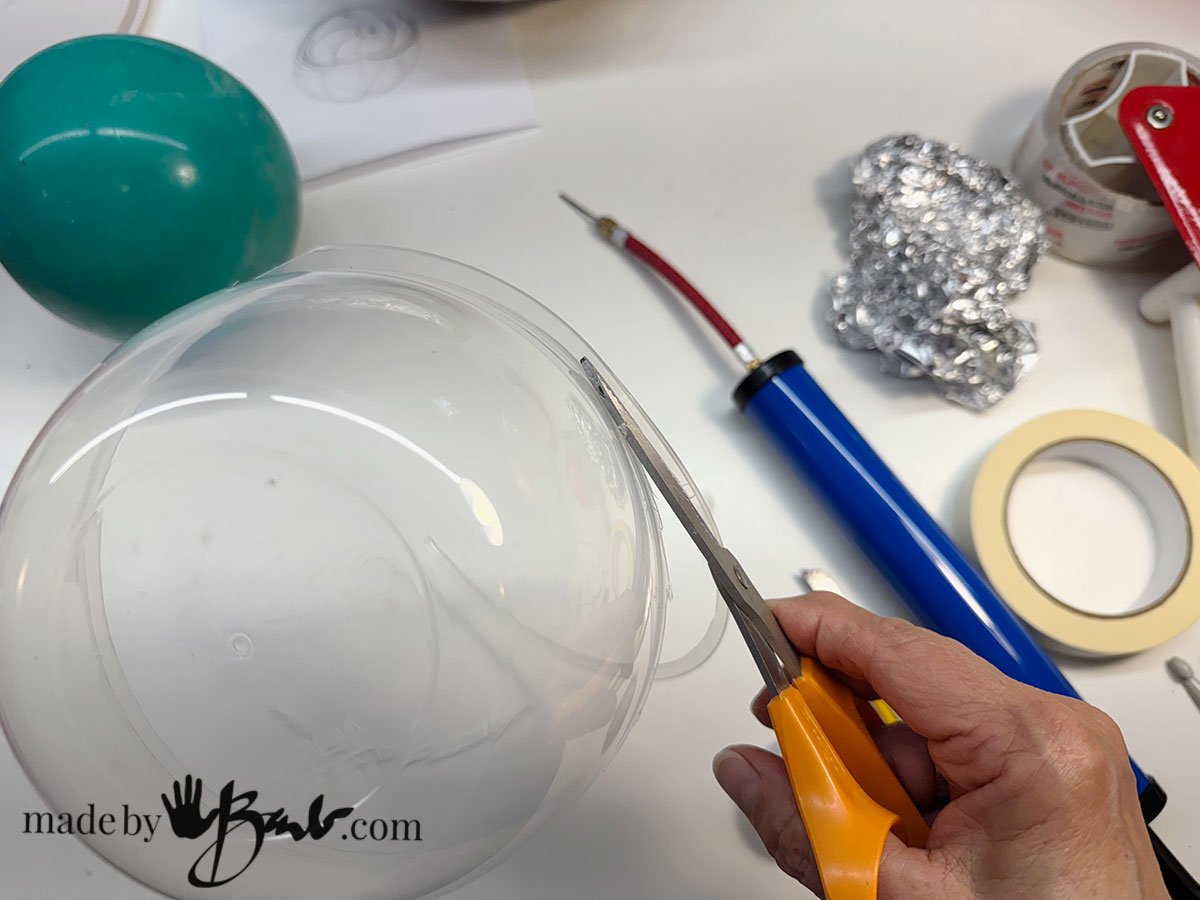
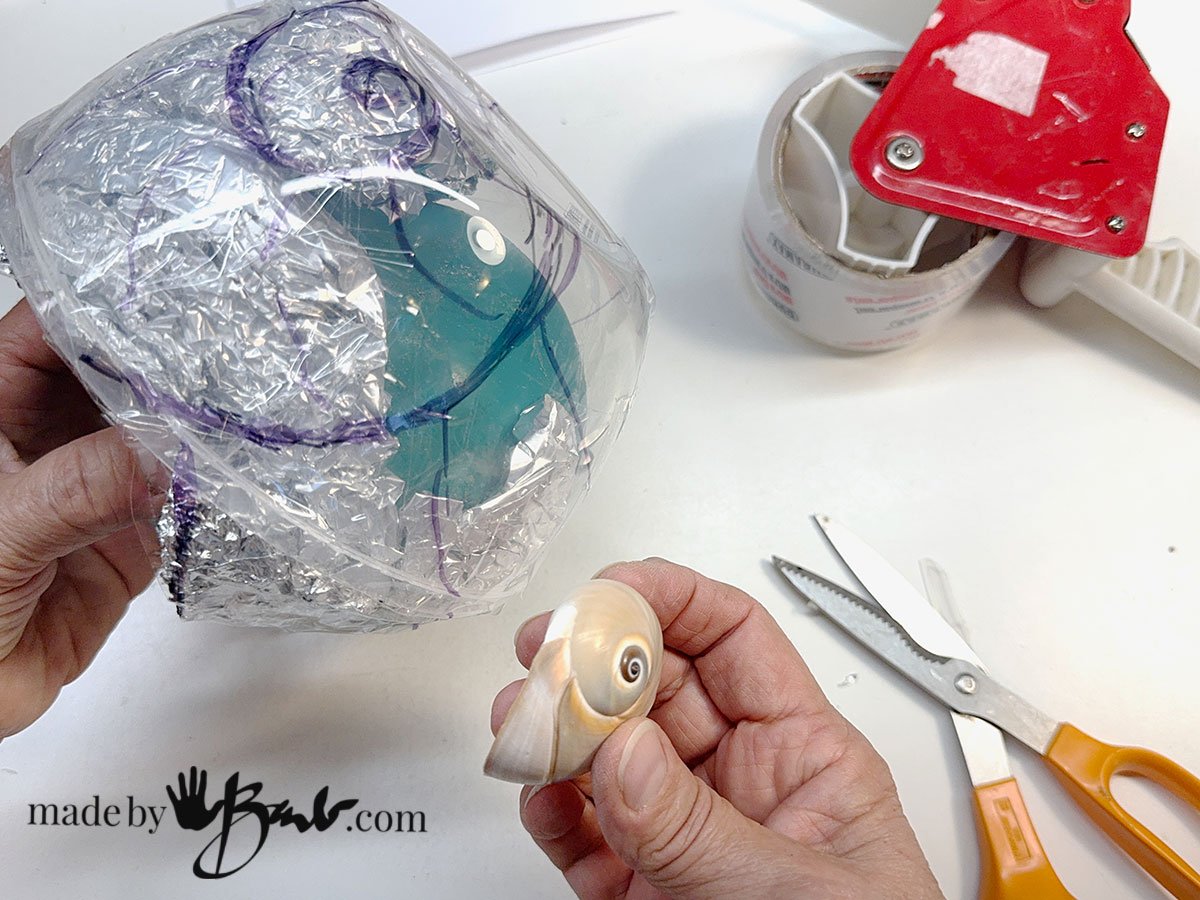
- Larger/Hollow Shell: Find a round bowl or ball to mimic the shell form. (can remain inside after or taken out). It’s great to use a snail shell as a reference.

- To keep the opening so that it will rest on the snail body I opted for a ball that can be deflated and removed. Be creative with what you find. (see video)

To plan the spiral it is sketched onto the bowl.
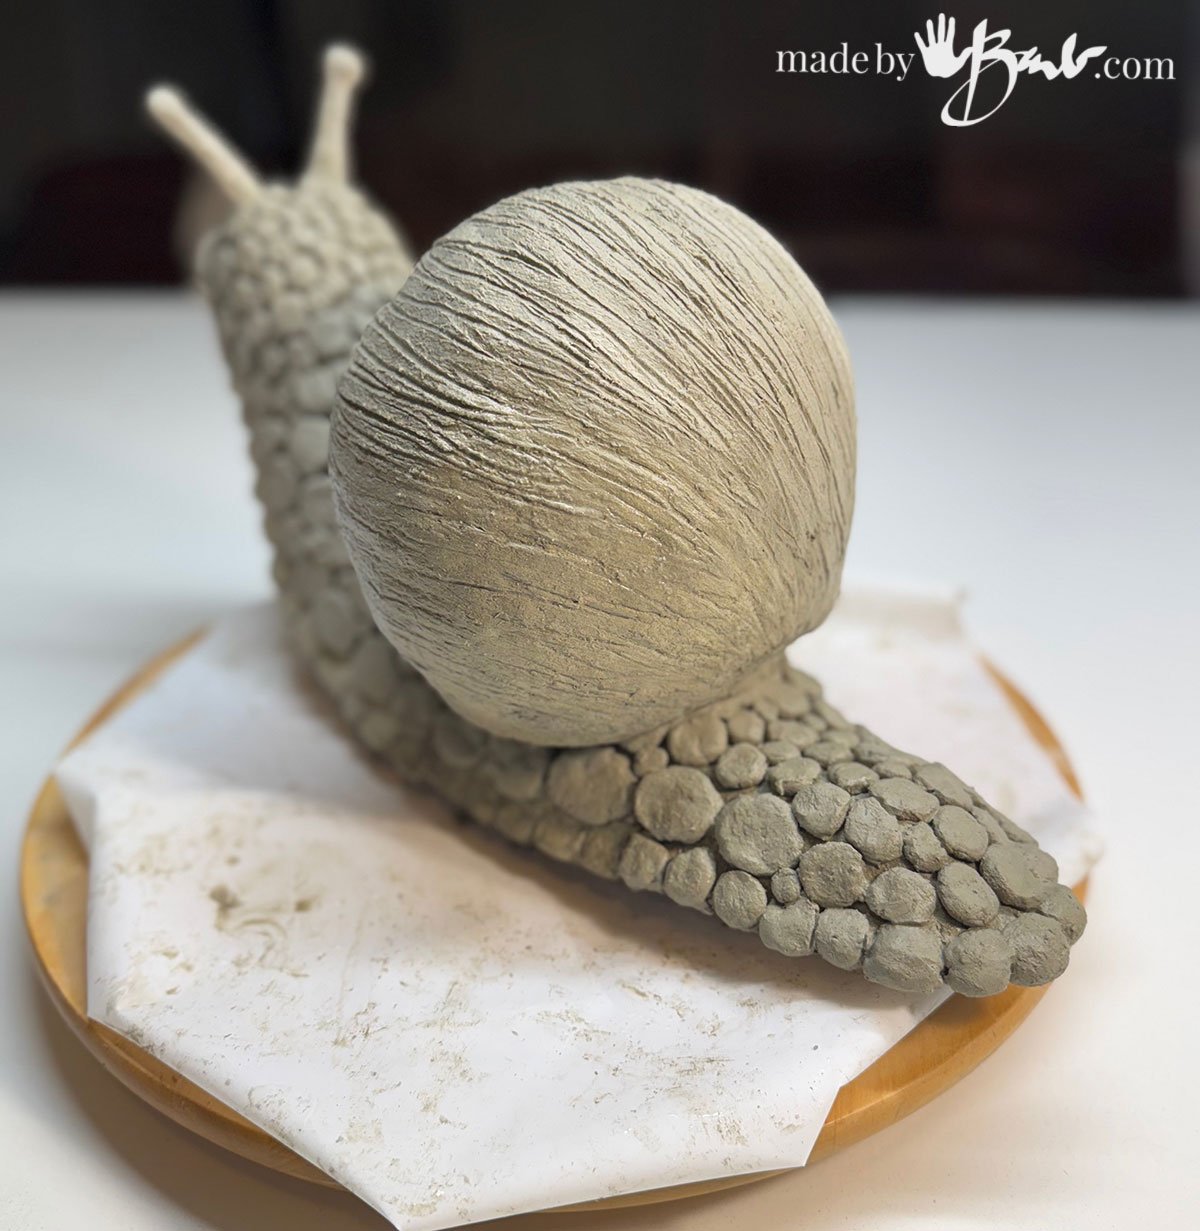
3. Sculpt the Shell
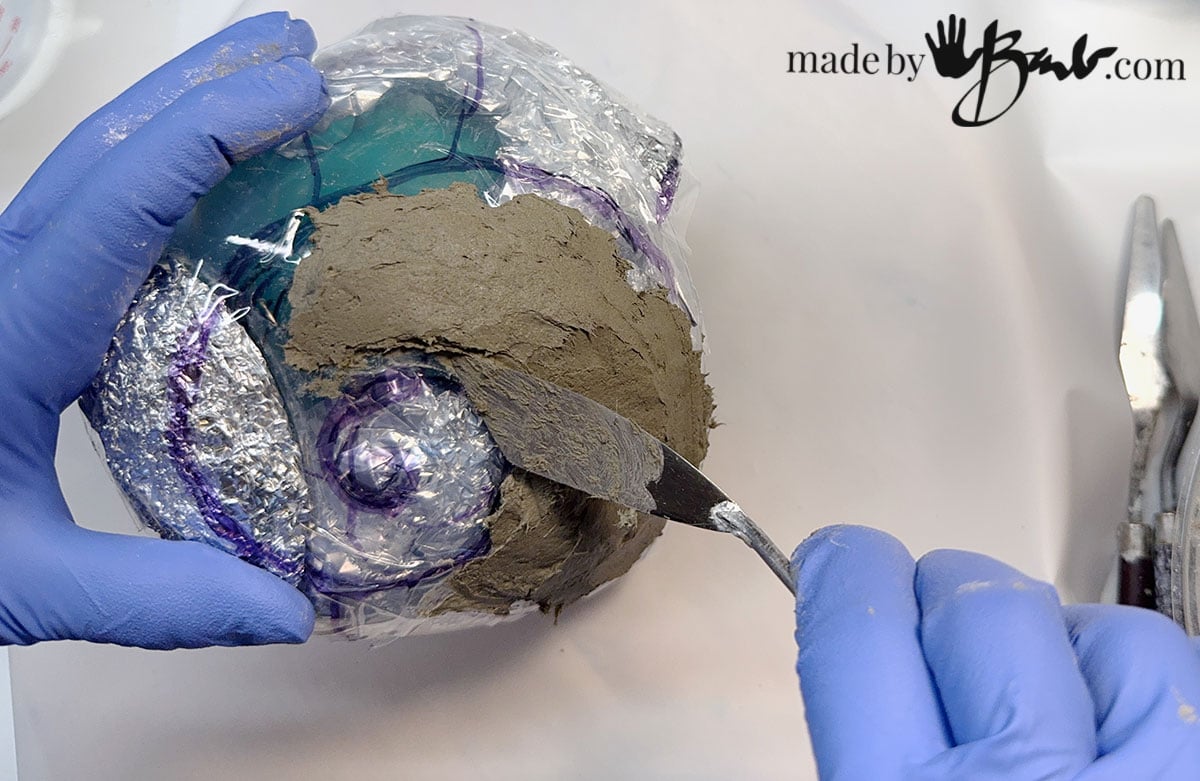
- Cover the Armature: Take your shell armature (foil, bottle, or newspaper) and begin applying clay. Work to spread the clay and spiral outwards, building up the thickness as you go.
- Create the Spiral: Carefully form the characteristic snail shell spiral. Gradually building up the layers. Aim for a distinct whirl.
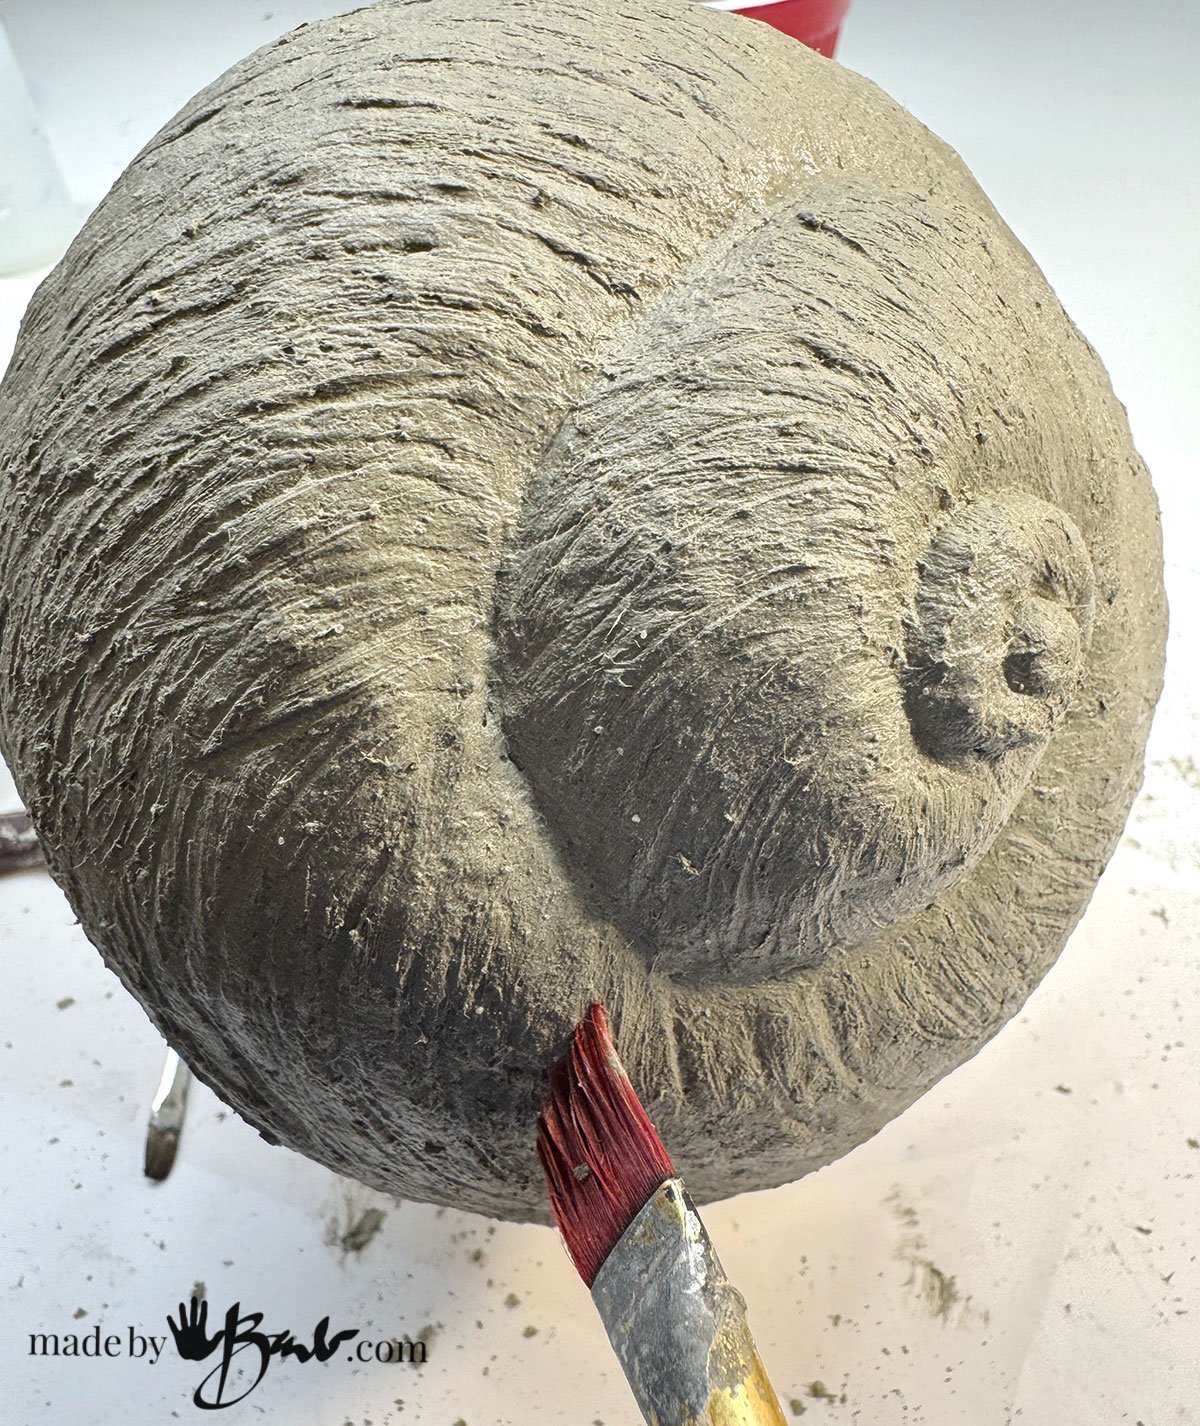
- Texture (Optional): While the clay is wet, you can use a fine-tipped tool or even a fork to create subtle texture on the shell, mimicking natural shell lines.
- A wet brush helps to smooth the clay.
1. Build Your Armature (The Snail’s Skeleton)
This internal structure will provide stability and use less cement paper clay.
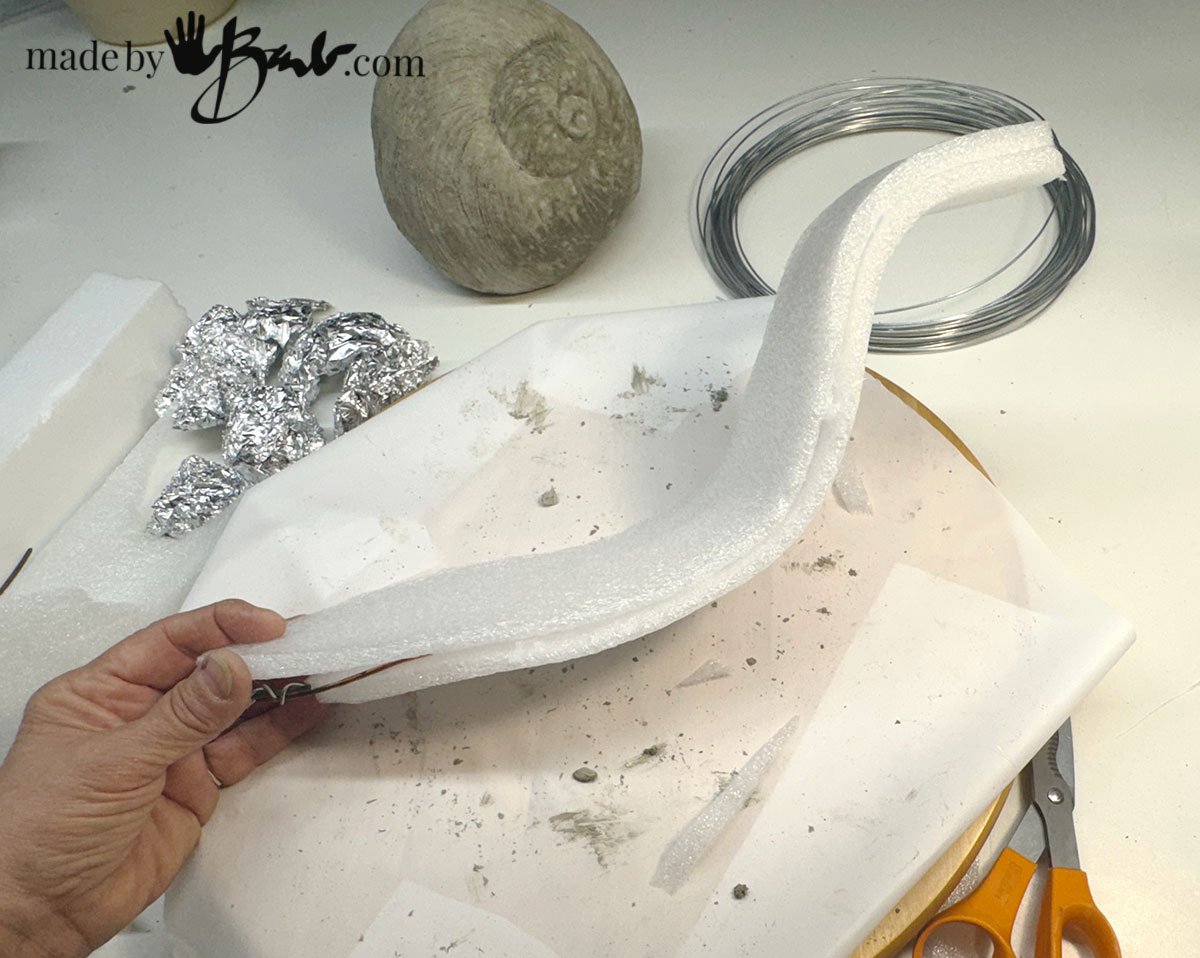
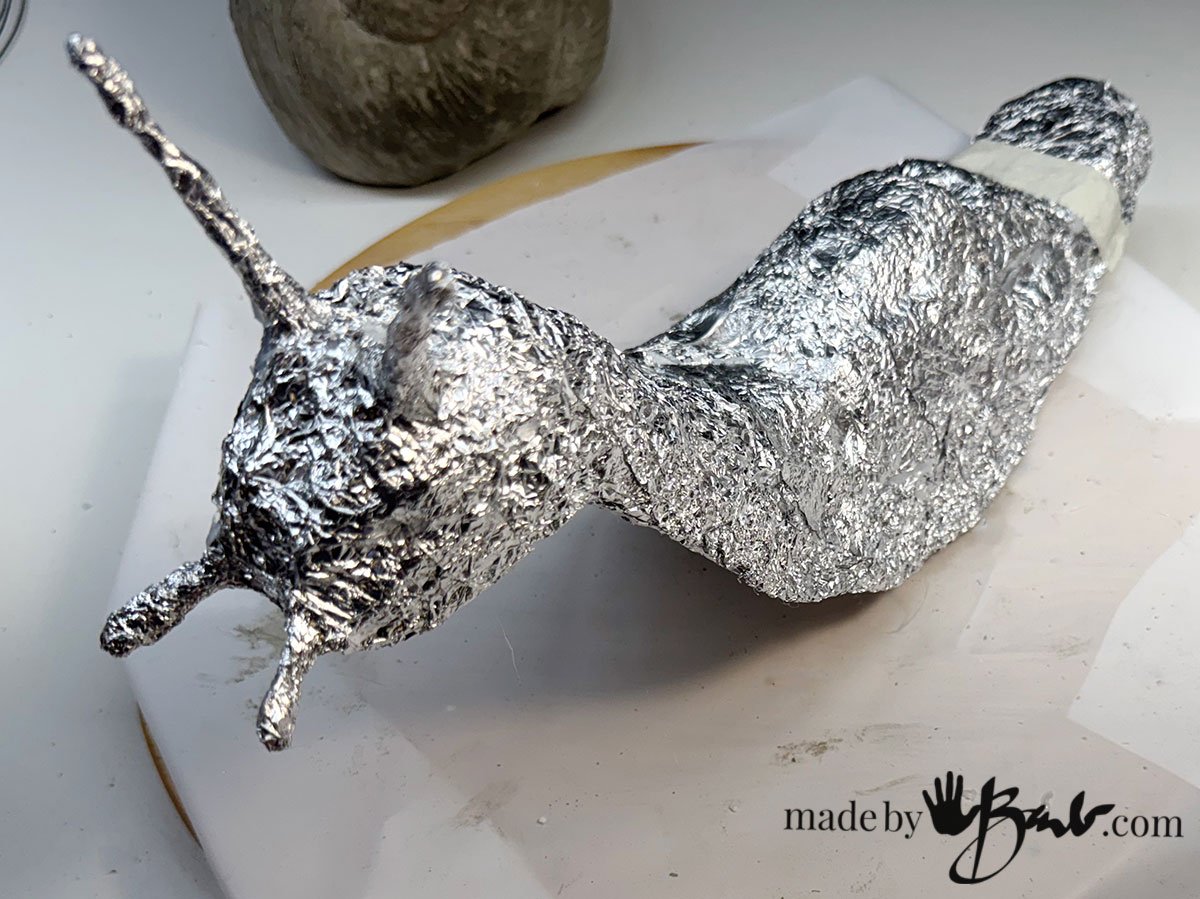
- For the Body: The curved body and head can be built up with leftover or recycled packing material. Wire (like coat hanger) will add sturdiness. Glue together the pieces. Crumple and shape aluminum foil into a long, tapered slug-like form. Start thicker at the back and narrow it for the head. You can bend one end slightly upwards to form the neck/head. If you want a more rigid body, you can wrap wire around the foil.
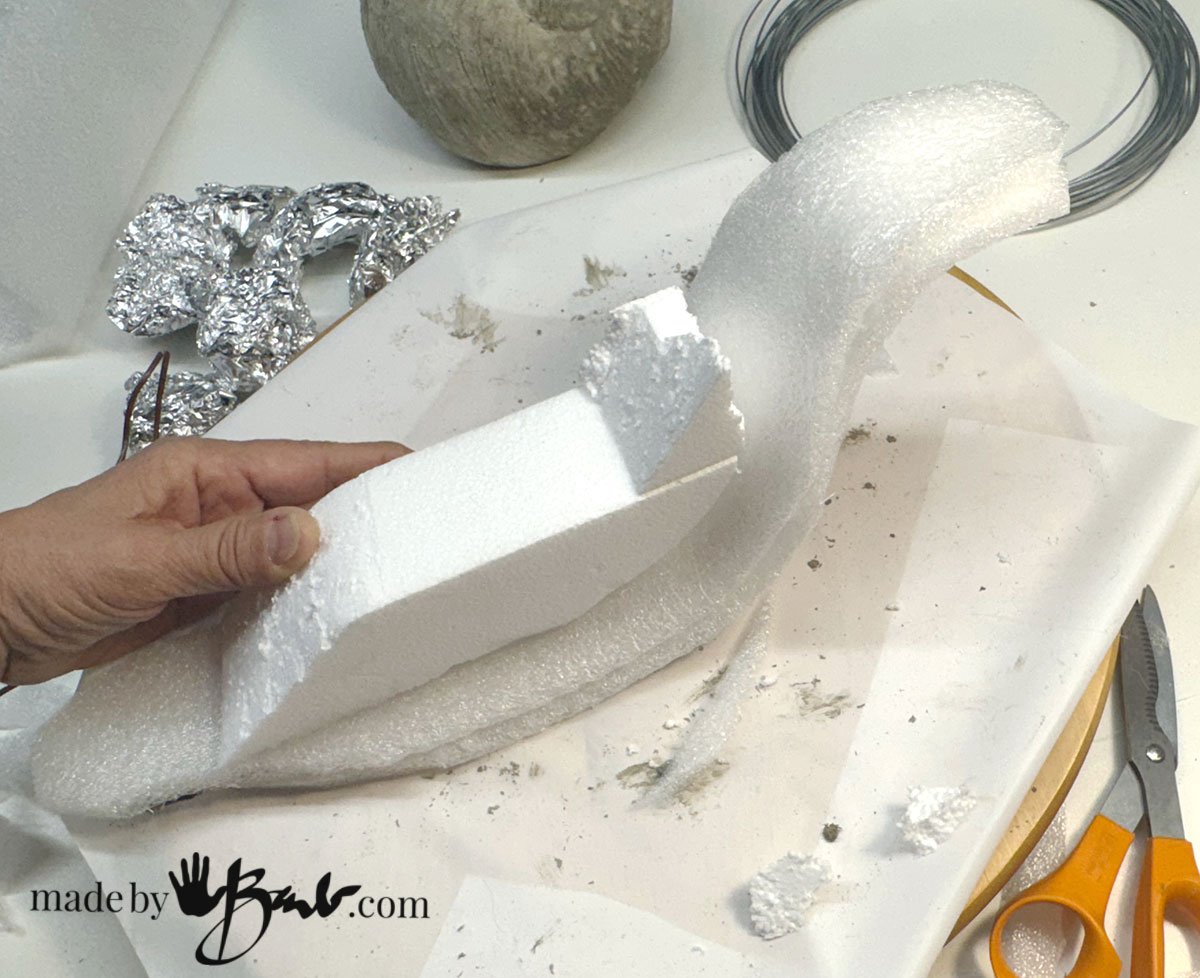
Styrofoam is lightweight and does not absorb moisture so it is ideal to use. I used it inside my Faux Concrete Rocks.
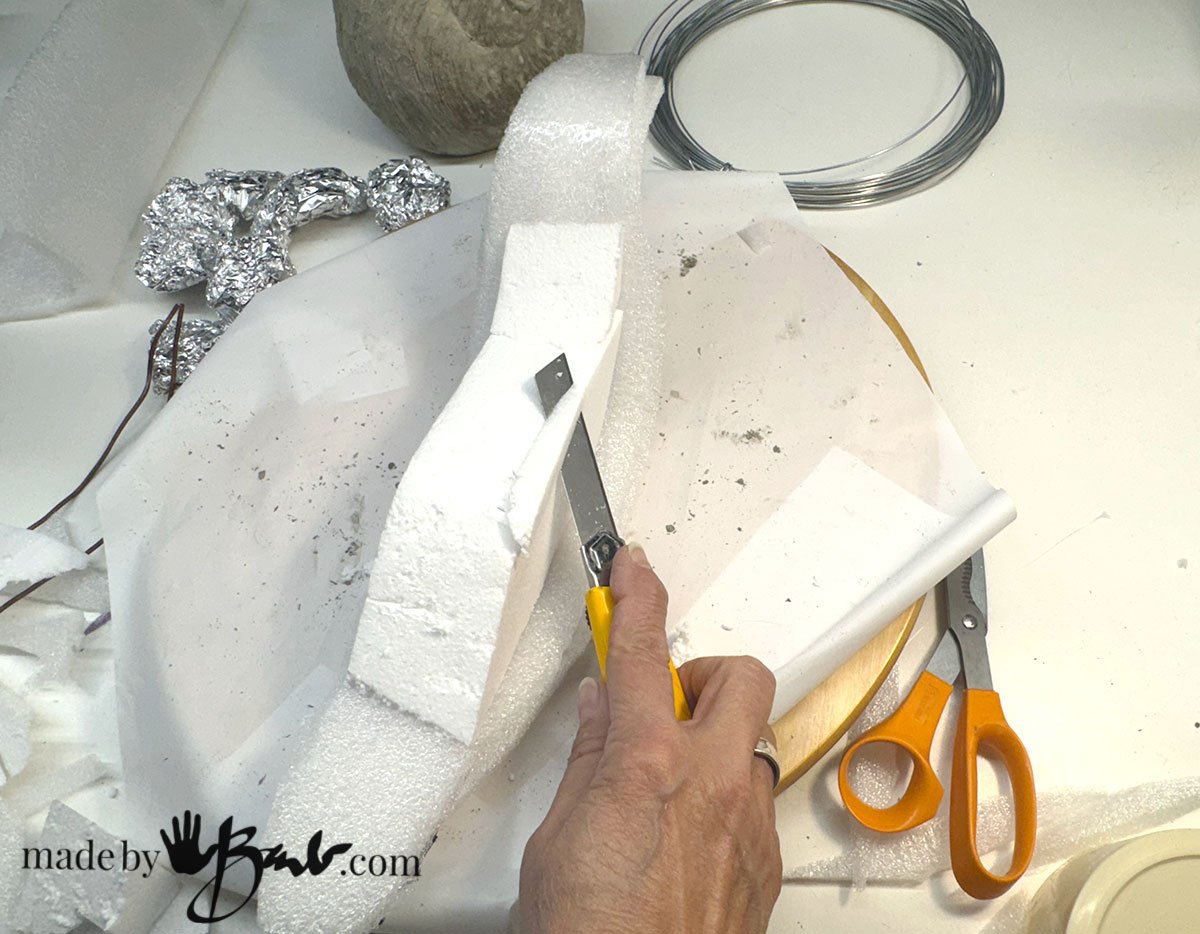
This material is often in packing boxes. It cuts & carves so easily!

See the video for more details.
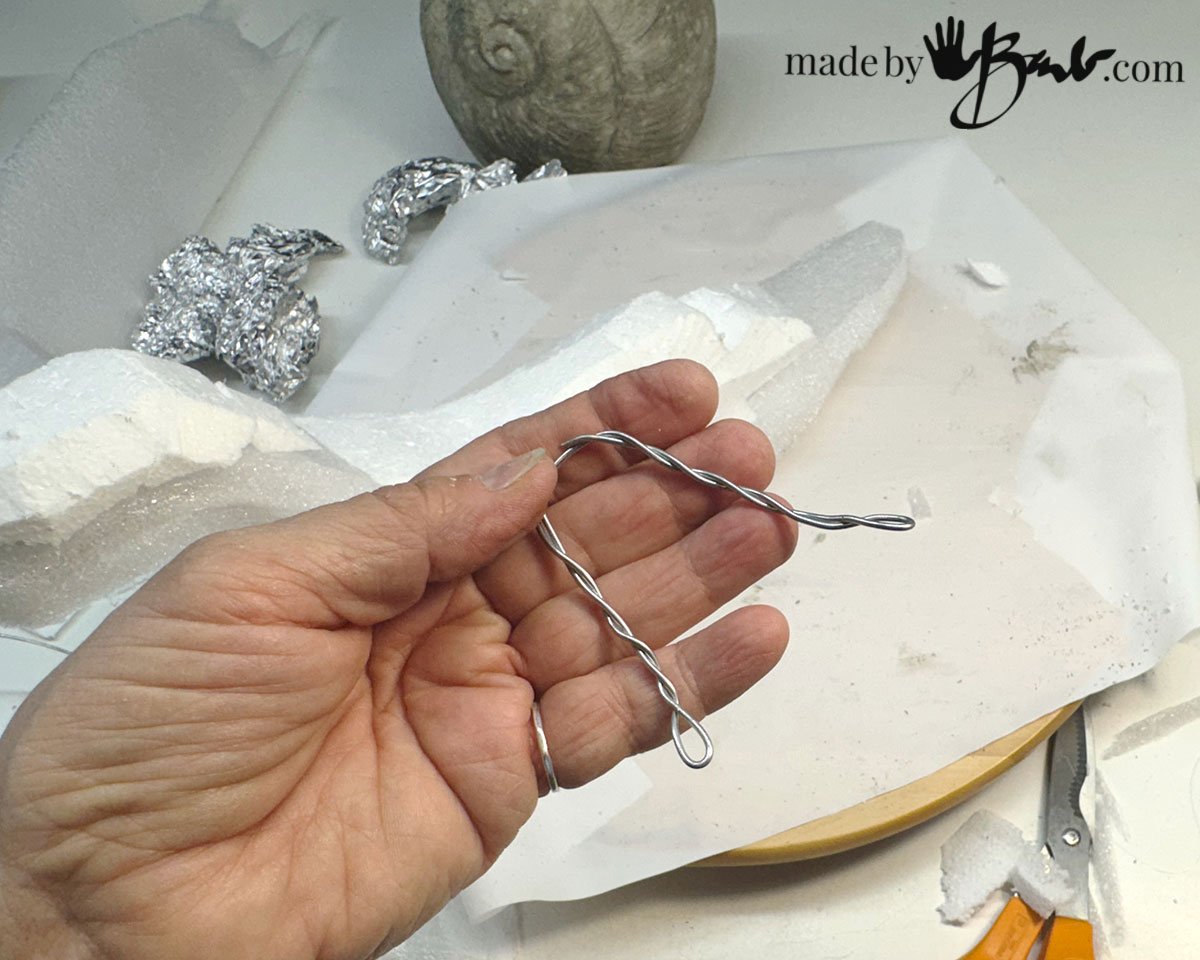
The structure for the antennae is some wire inserted into the head form.
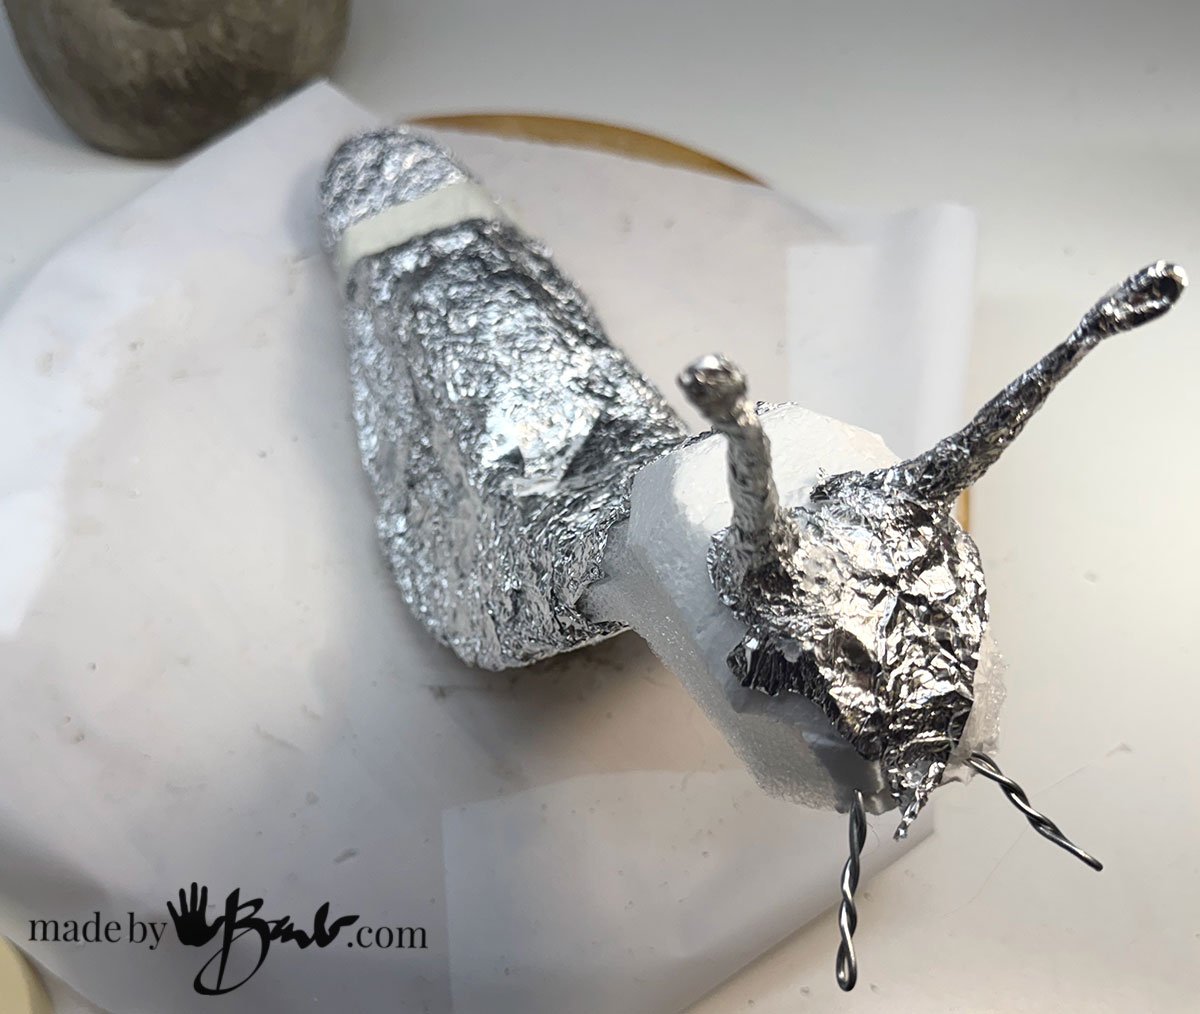
Covering and bulking with tinfoil is simple and effective.
Check video for more details…
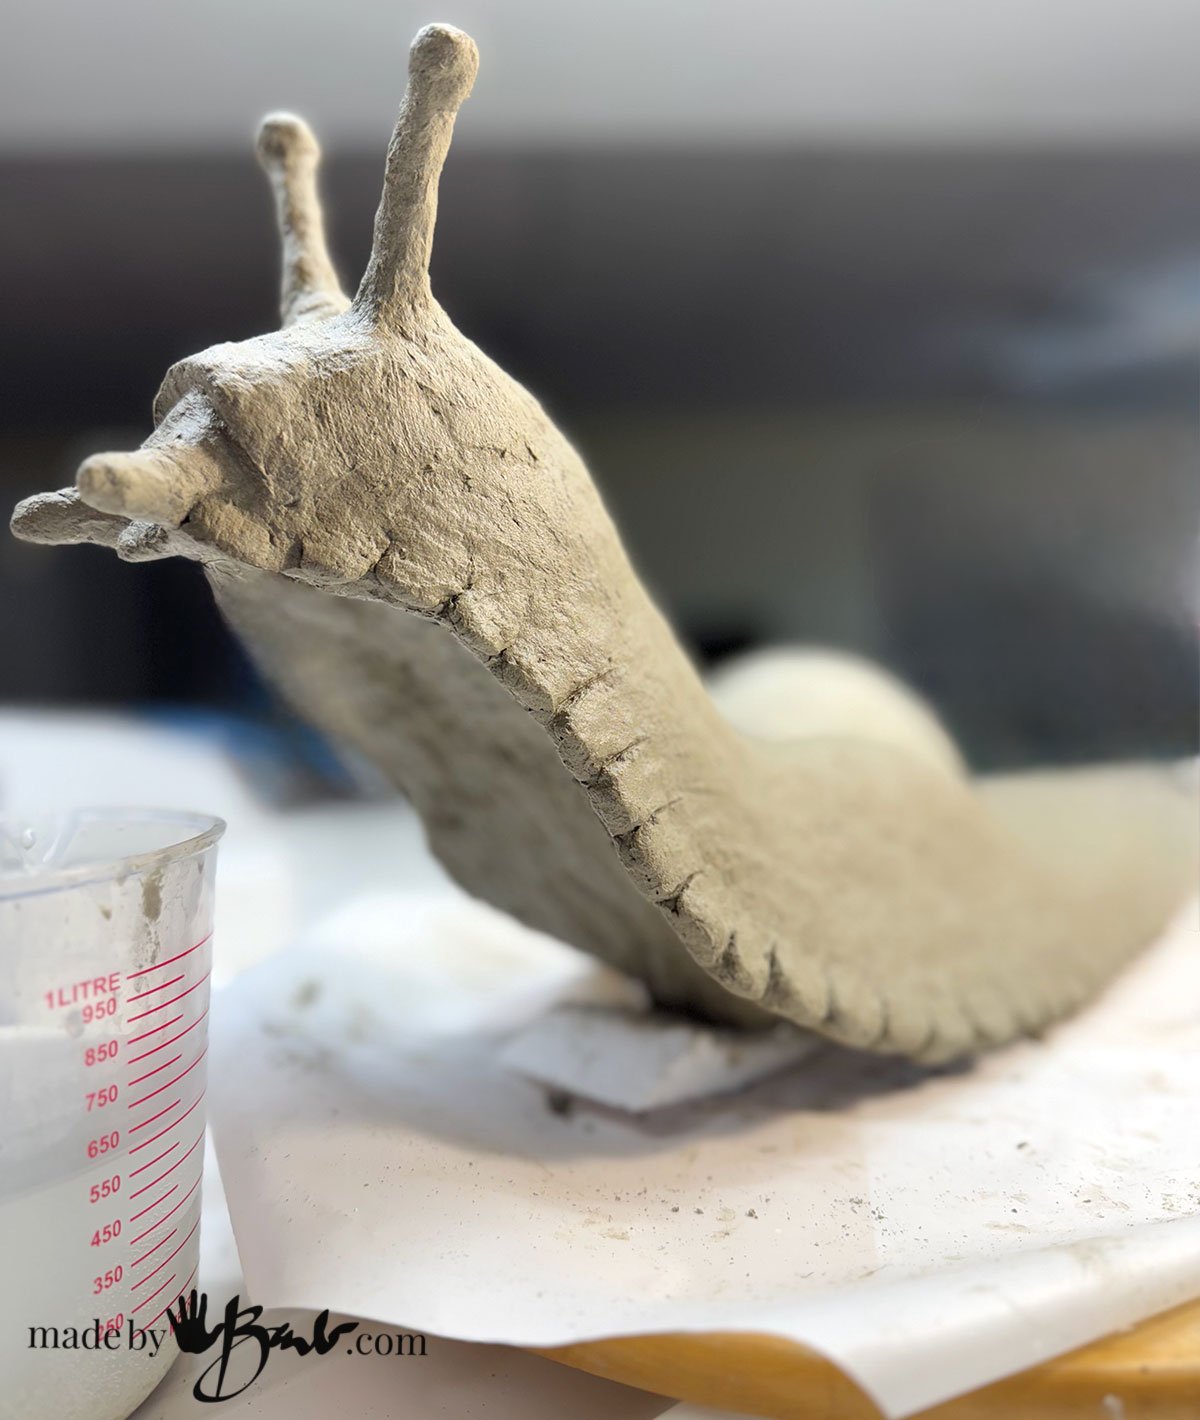
2. Start Applying the Clay to The Body:
Now for the main event – applying your cement paper clay!
- First Layer: Take small handfuls of clay and firmly press it onto your foil body armature. Work from the base up, ensuring you cover the foil completely. Aim for about 1/4 to 1/2 inch thickness.
- Forming the Shape: As you apply, gently shape the body. Define the head area, the gradual taper towards the tail, and the underside. Use your fingers and a little water to smooth out rough patches.
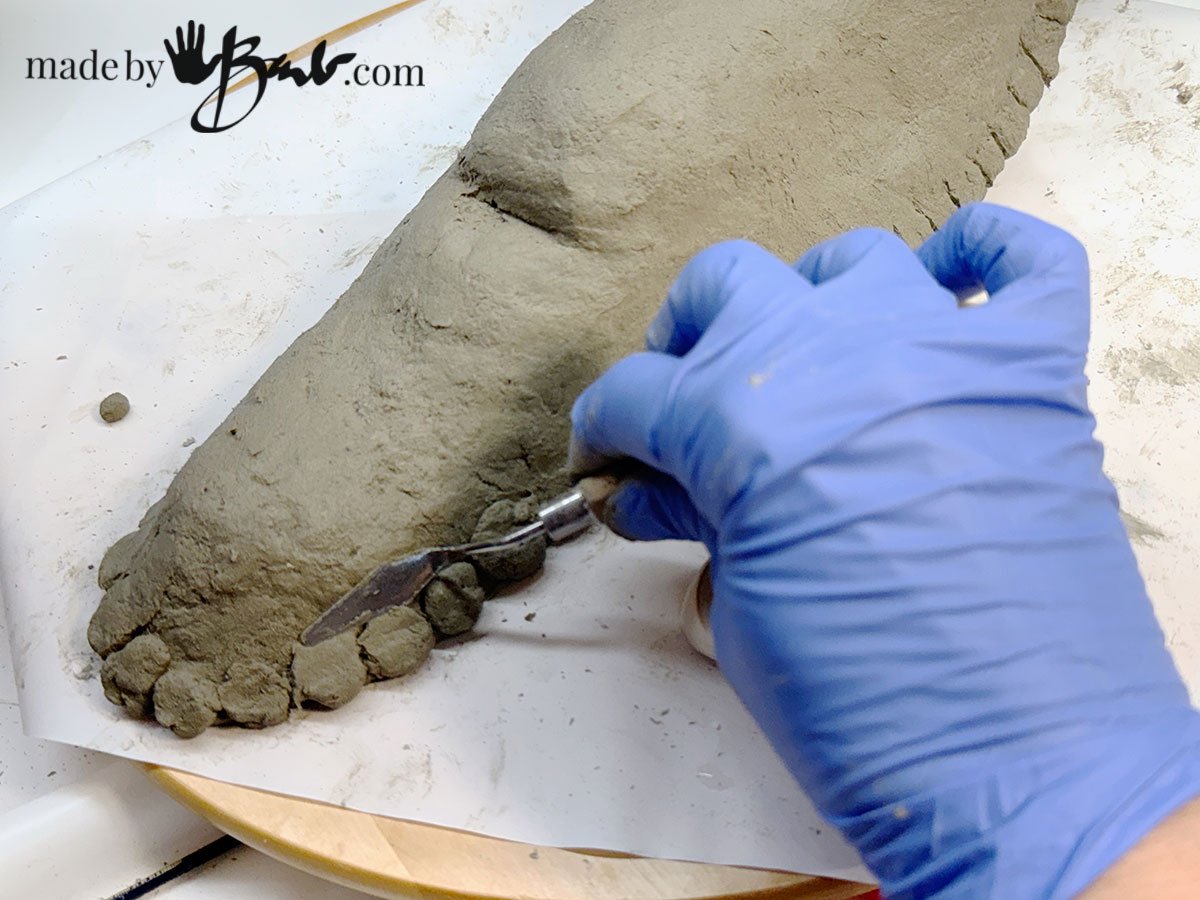
Any details can be added with a palette knife.
Giant snails with amazing textures just fascinated me! I had to add them!
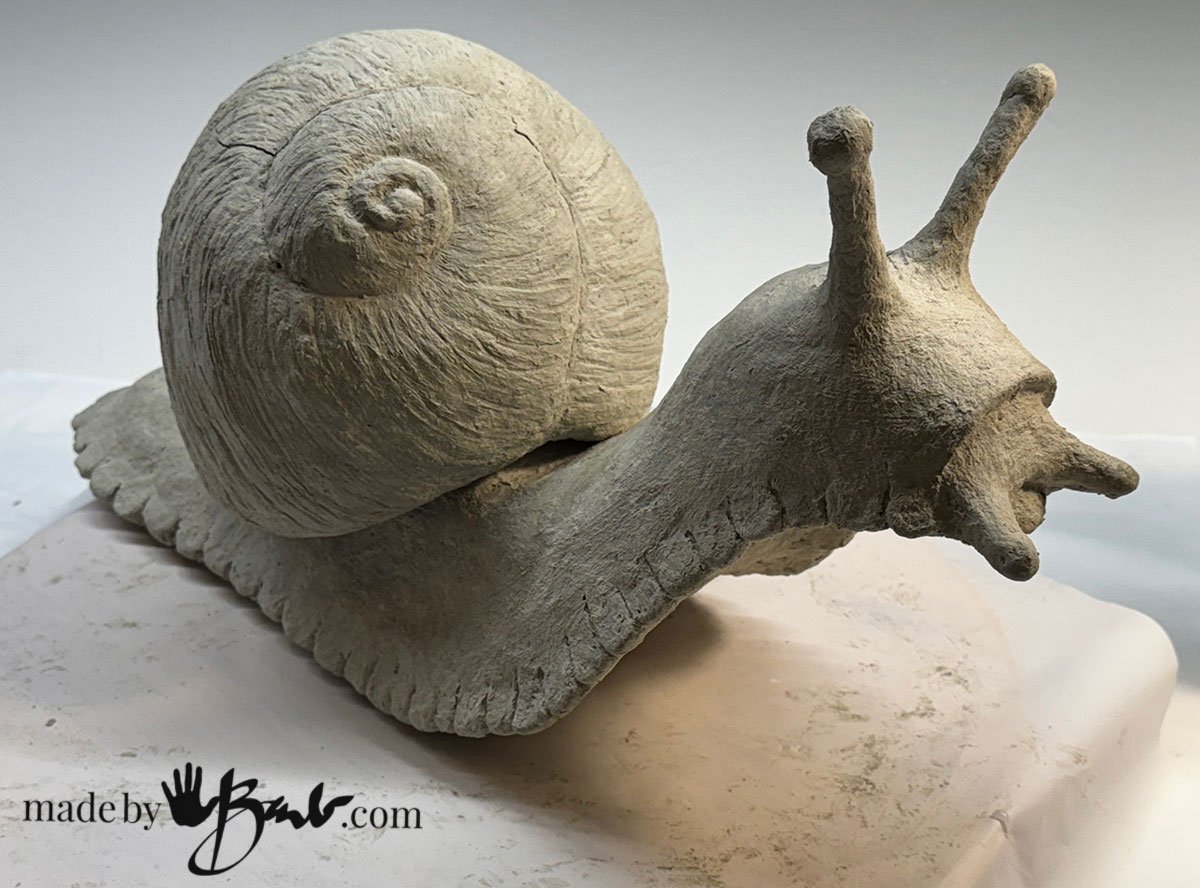
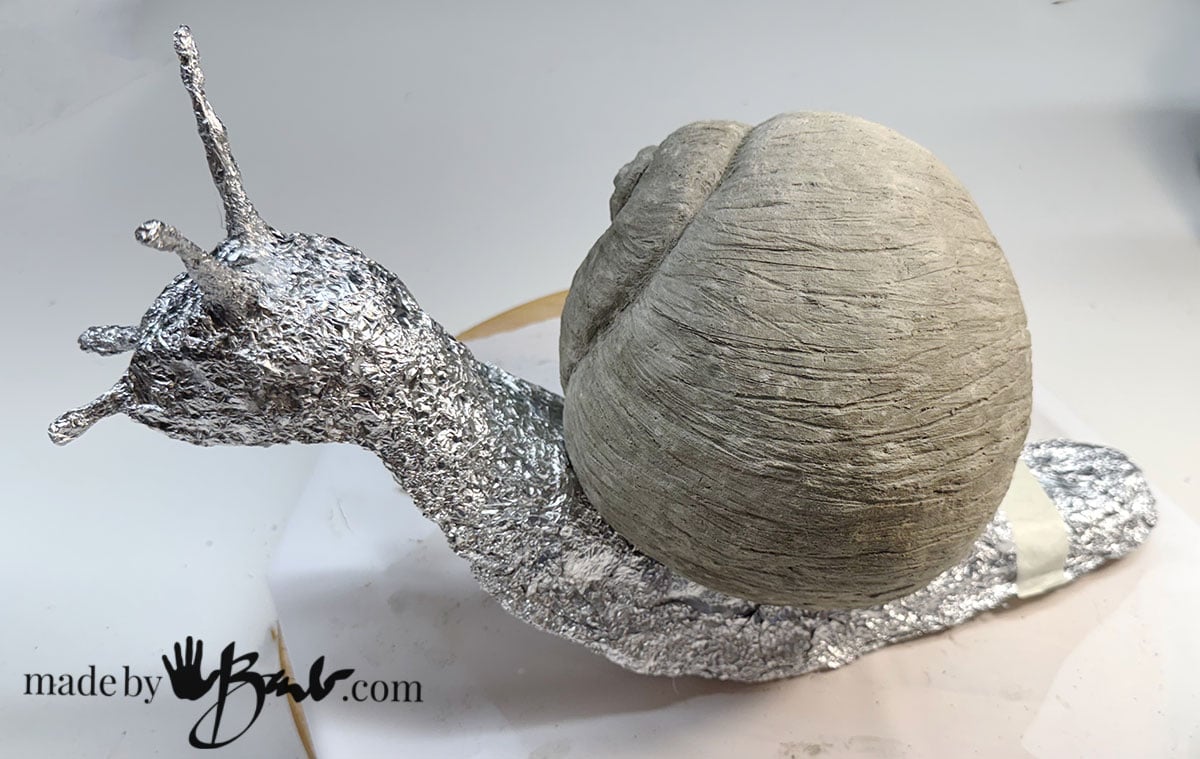
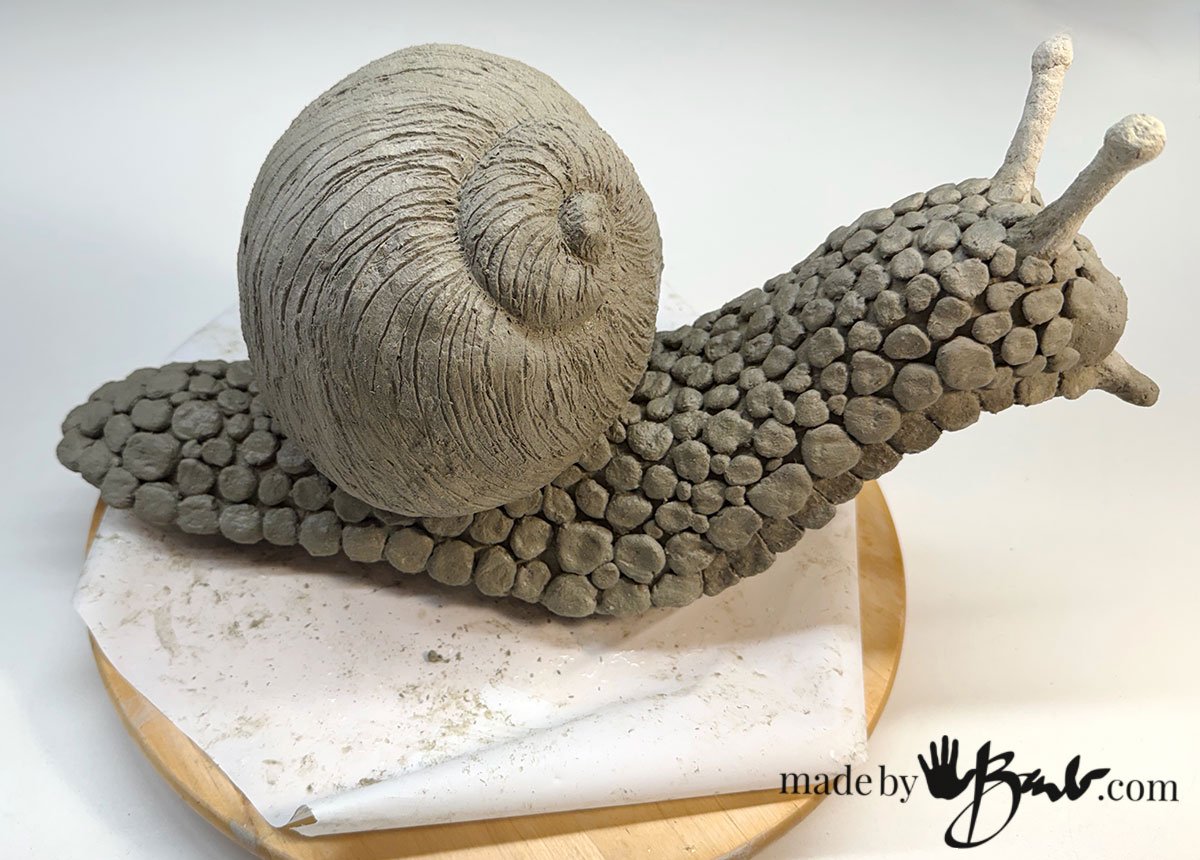
Attach and Blend
- Join the Parts: Once both the body and shell have a solid layer of clay, it’s time to join them. Gently position the shell onto the back of the snail’s body. If either has cured make sure to wet the cured sections before adding newly mixed clay.
- Seamless Blend: Use small bits of fresh clay and water to blend the base of the shell seamlessly into the snail’s body. You want it to look like one continuous piece, not two separate ones stuck together. Smooth out the join lines carefully.
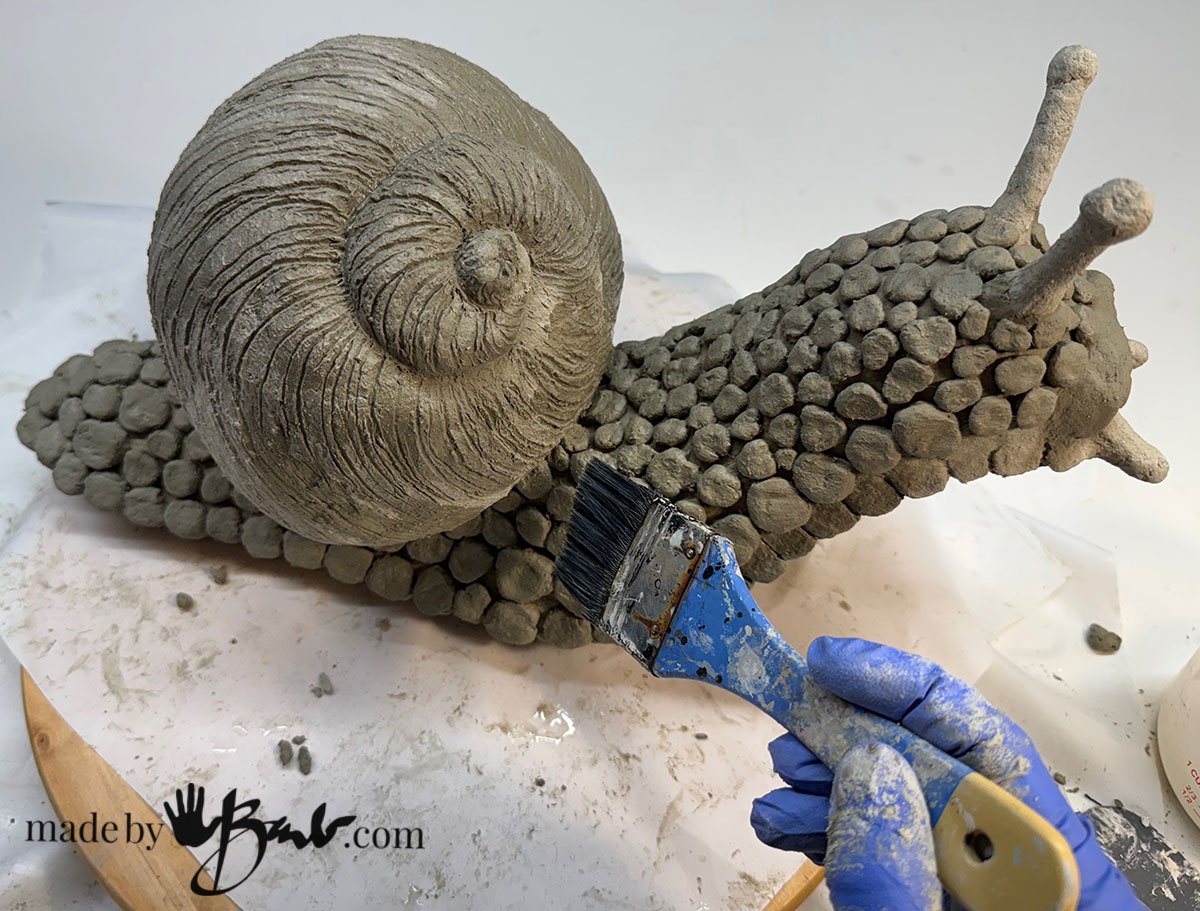
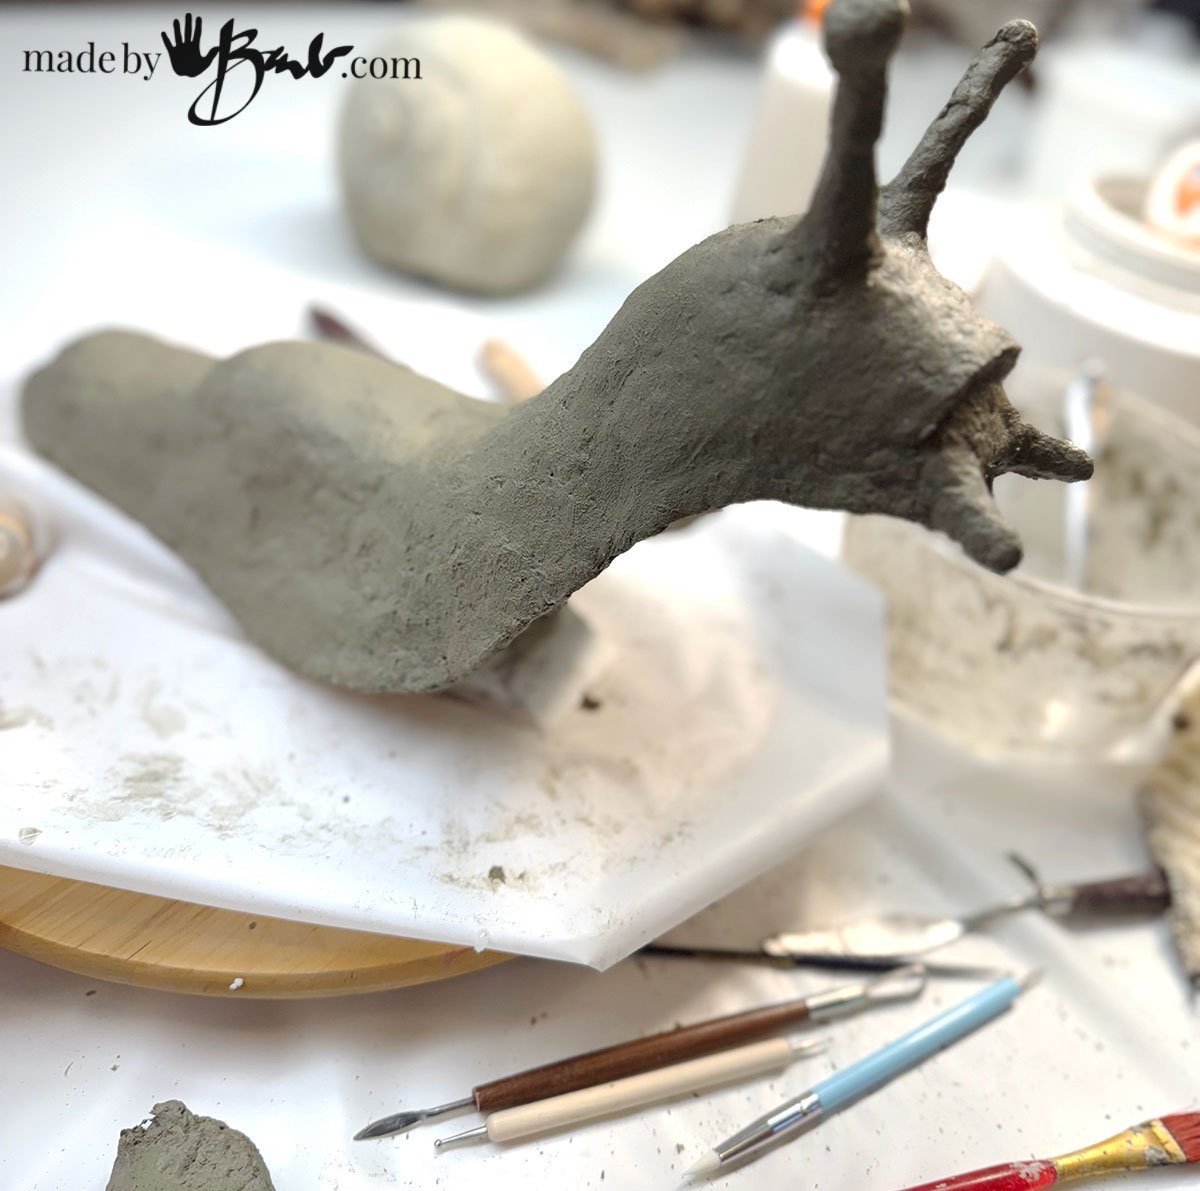
Add Details: Face and Antennas
This is where your snail gets its personality! Little ‘balls’ of clay pushed on made the look of their body details,
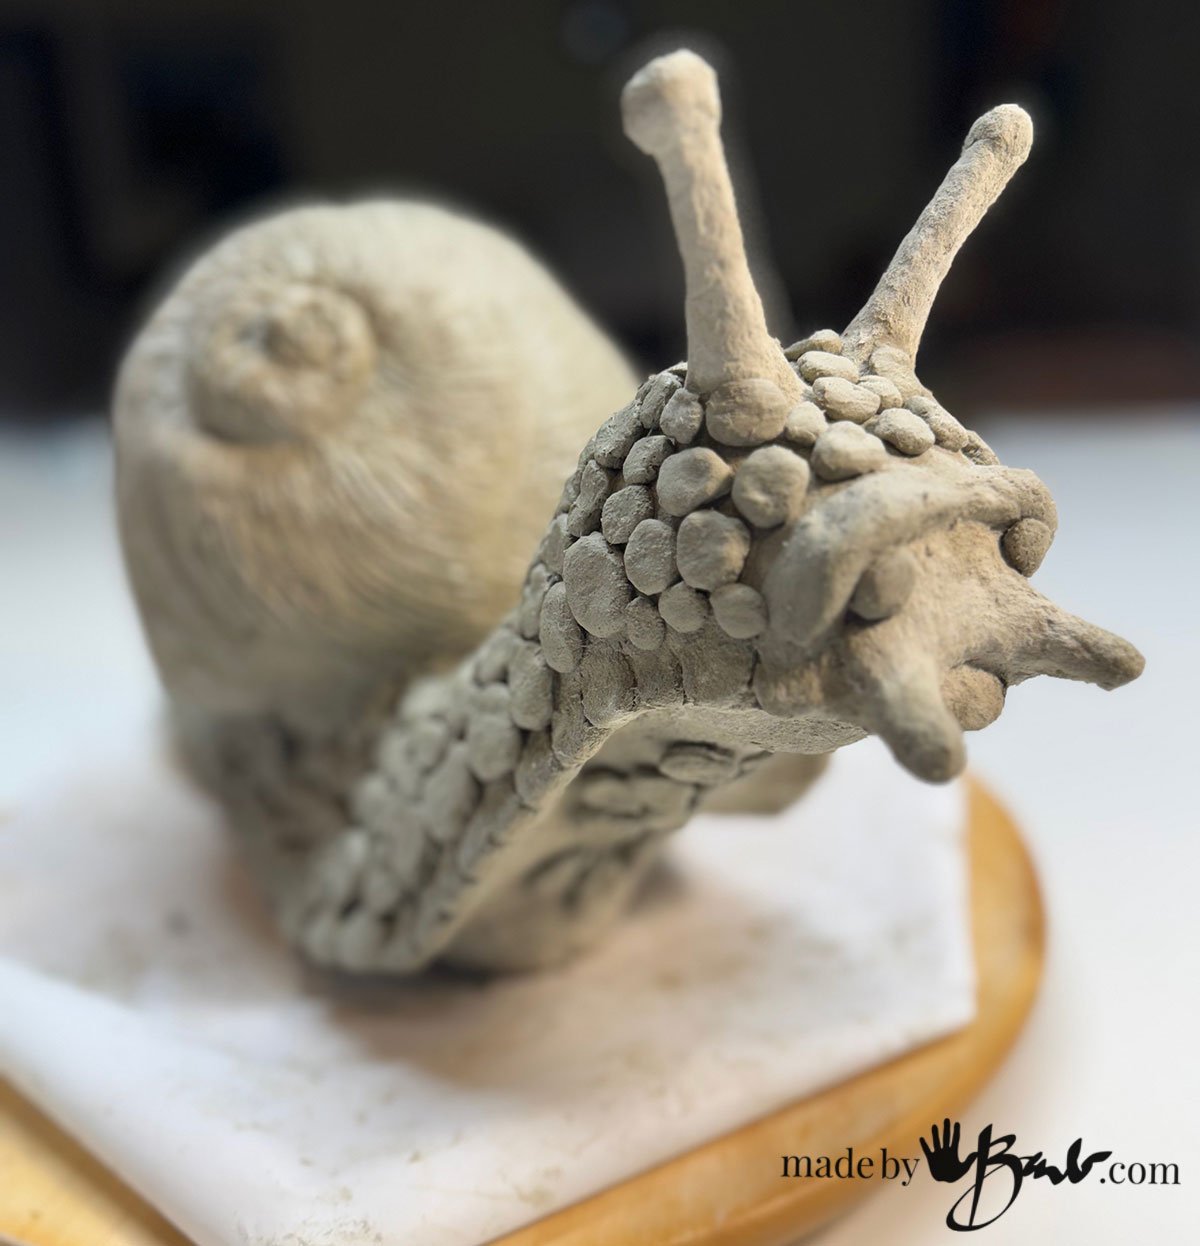
- Eyes: For charming eyes, roll two small balls of clay and attach them to the top of the head. You can make them simple bumps or gently pull them up into stalks. For a truly “cute” look, press a small indentation into the center of each eye for pupils later.
- Mouth/Smile: Use a sculpting tool or the back of a small spoon to gently carve a smiling mouth onto the front of the snail’s face.
- Antennae (Optional, but cute!): Roll two thin, short “worms” of clay. Using a wire will increase strength. Gently attach them to the top of the head, above the eyes. You can curl them slightly for added character. Be aware these can be fragile until fully cured.
6. Refine and Smooth
- Wet Smoothing: Keep a small bowl of water handy. Dip your fingers or a soft brush into the water and gently smooth the entire surface of your snail. This will help eliminate fingerprints and create a more polished finish.
- Tooling: Use your various sculpting tools to refine any details, deepen creases, or further define the shell’s spiral.
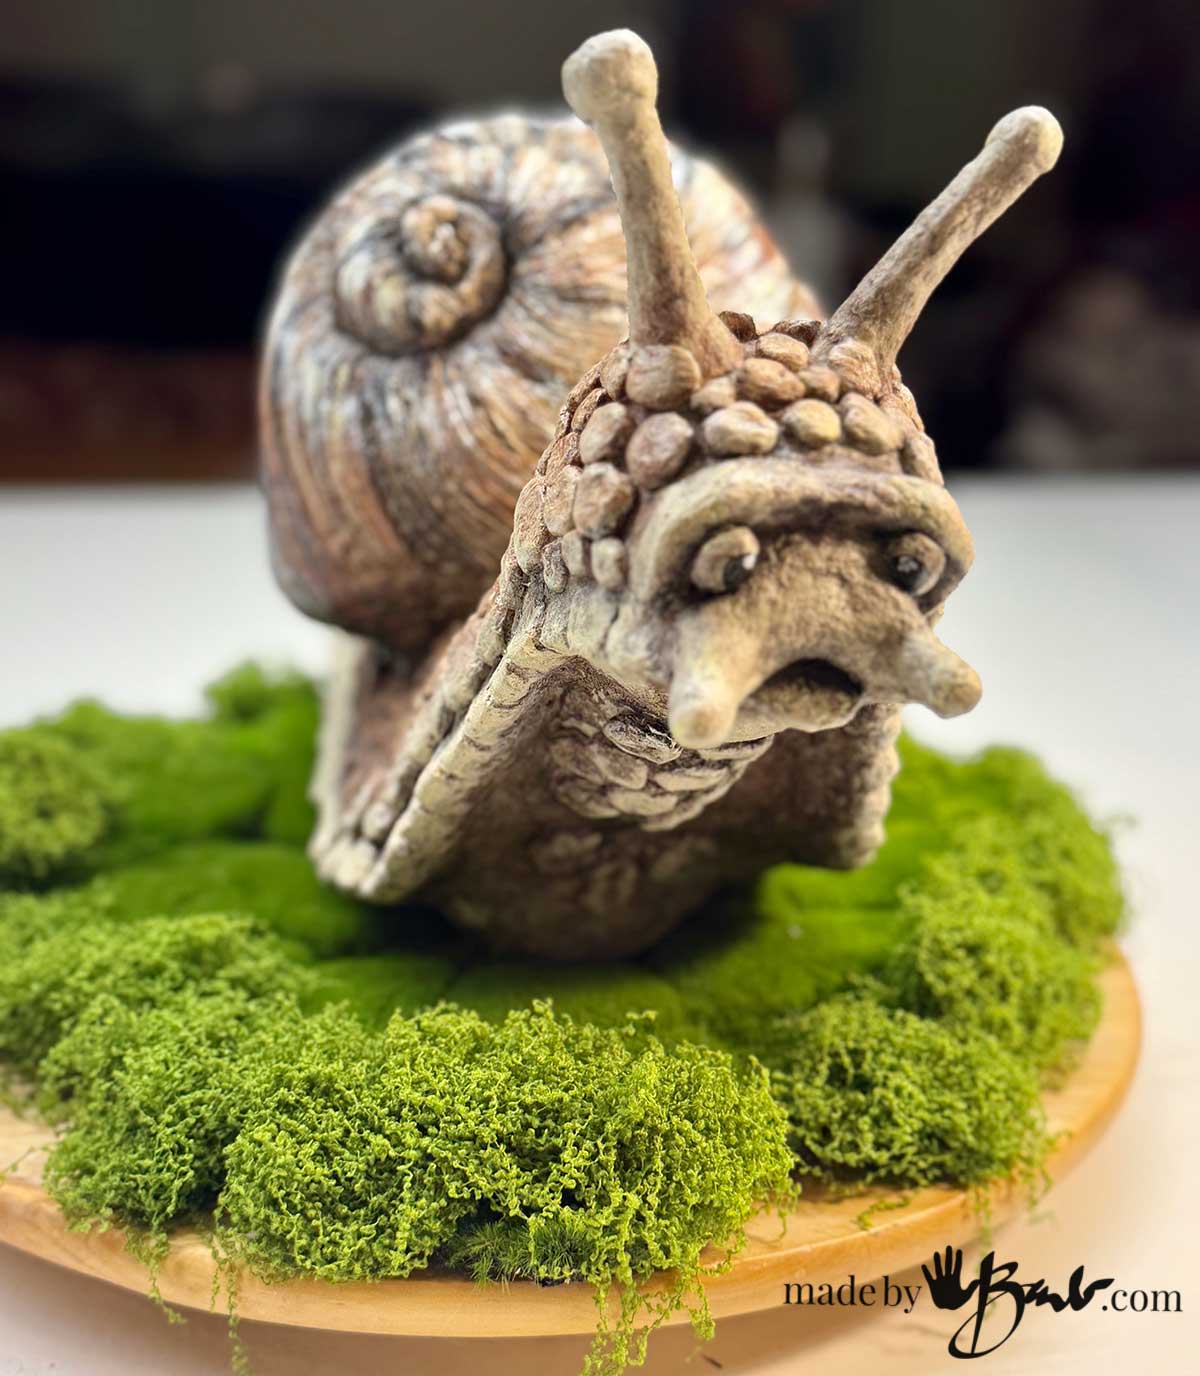
The Finishing Touch: Painting and Sealing for Outdoor Fun!
Once your snail is bone dry and fully cured, it’s ready for its vibrant makeover and crucial protection!
Sculpting with cement paper clay is a rewarding experience, and a friendly snail is a fantastic way to explore its potential. Your finished snail will be a testament to your creativity and a charming addition to your backyard world. Happy sculpting!
If you’d like to try a non-cement version of Paper Maché clay it is also a great sculpting material.
Love this snail!
I so enjoy reading your articles and seeing your creations! Thank you for sharing your work.
I’m so glad as it can a bit challenging to do all the web work. The best part is the actual making!
Absolutely Adorable ❣️
I so enjoy you crazy skills (^▽^)
Thanks! I believe I’m old enough now to make the things I want to make… Follow your heart!
Barb that is an awesome snail. 👏👏👏👏👏❤️
Thanks! It’s almost as I had imagined it!
I love this new concoction of paper and cement. I went out and bought the cement but now I have to find a used blender or a cheap new one. If I use the one we have now my husband will kill me! 🤪
Can’t wait to make something.
Thank you Barb for your creative genius and sharing it wish us! You are inspiring!!!! Judy
If you find a small ‘Magic Bullet’ it also works; just do small batches. Thrift stores are great to find them… Good luck!
Hi, Thank you for your post. It is most inspiring! One question; what brand of joint compound do you use? I’ve read other instructional where specific brands where mentioned and other brands were to be avoided.
Thanks for your help.
I used this one It has worked well for me. Happy making. I always like to play around before a start a big involved project. It helps to get a feel and also see how it sets/cures etc. Have fun!
Hi, you have inspired me to do a sculpture around a mirror with this method!! What would you recommend as sealant and what type of paints do you use (acrylic?)?
Thanks 🥰
I’m so glad! If this is your first tie perhaps you may want to do a small test? Is this mirror going outside? I would worry about moisture getting behind the clay and freezing. If not, why not use the regular paper clay? I made a Faux stone mirror I am quite happy with it hanging in my hallway. Yes, acrylic is my favourite way to seal.