Paint a Cement Paper Clay Snail
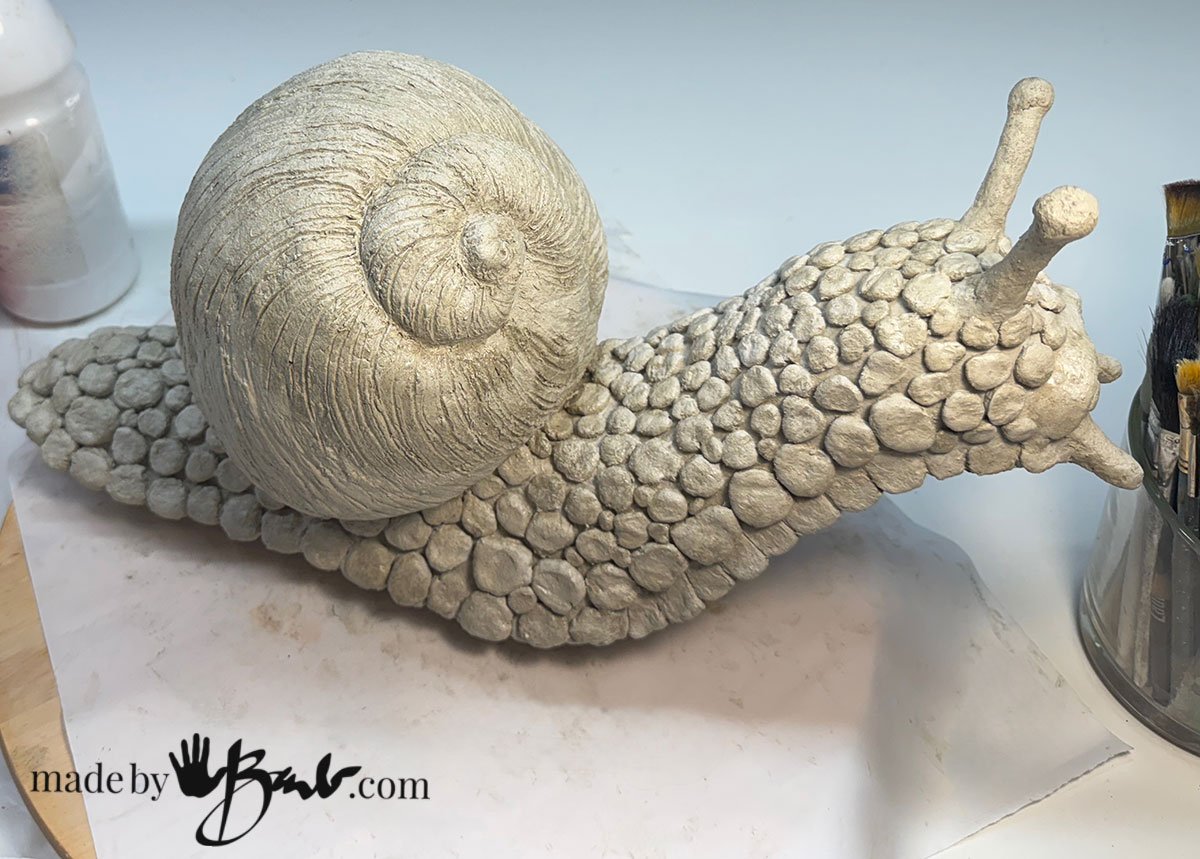
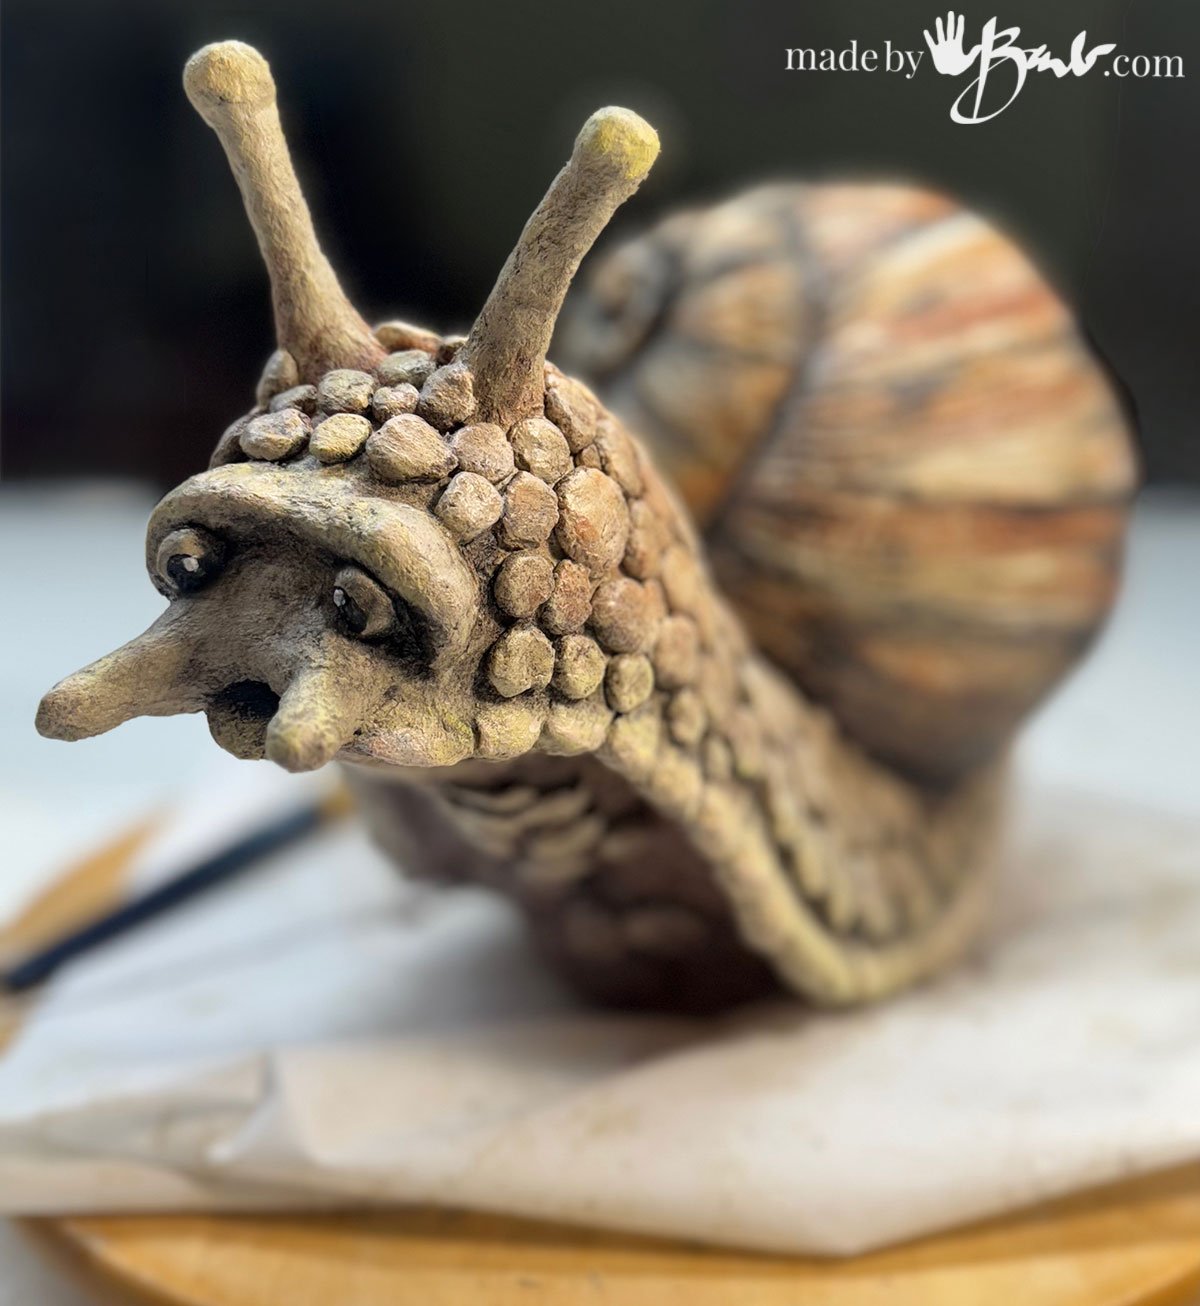
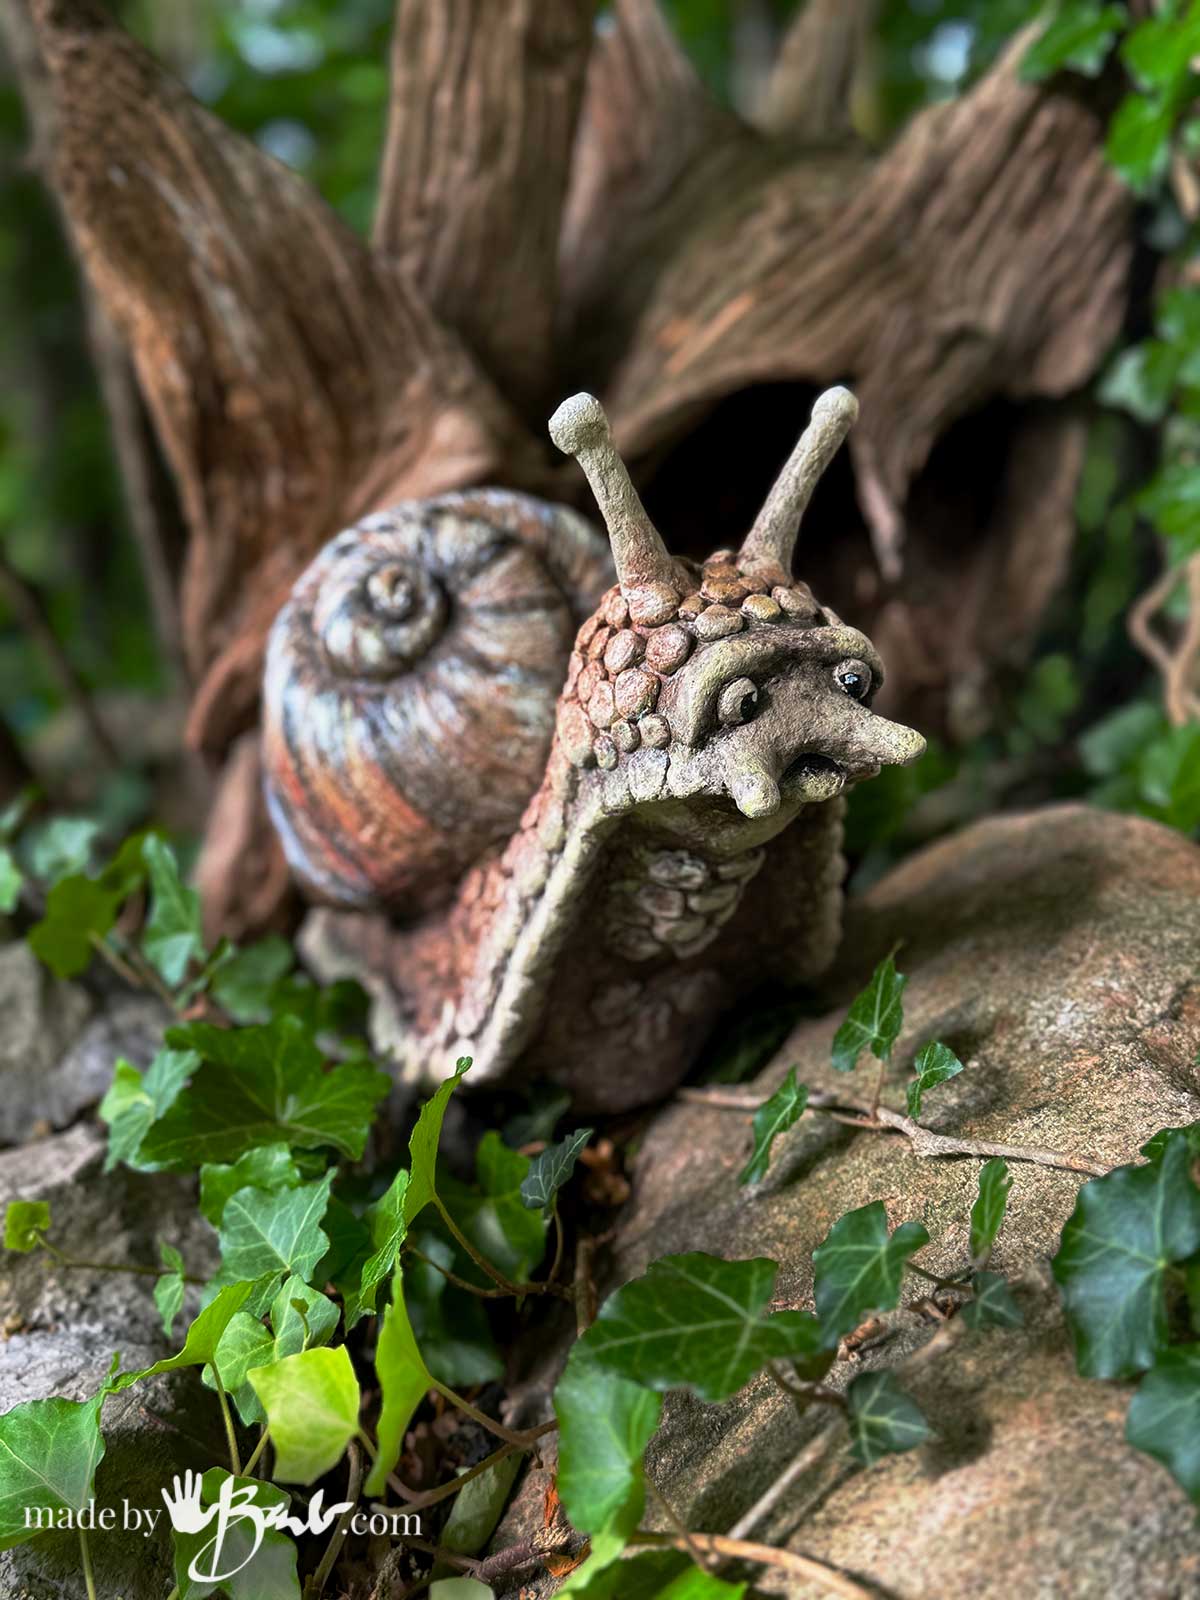
So, you’ve sculpted a fantastic piece out of concrete paper clay – that wonderfully versatile material that combines the best of paper mache and cement! Maybe it’s a snail that you’ve brought to life with paint cement paper clay. Now that your creation is dry and cured, the next crucial step is to protect it from the elements so it can proudly stand guard in your garden, adorn your patio, or simply withstand the whims of Mother Nature.

Sealing and painting are key to ensuring your concrete paper clay sculpture lasts for years outdoors. This unique concrete sculpting media has an ingredient mixture that needs to be protected from the climate.
Before You Start: Ensure Your Sculpture is Bone Dry!
This is critical. Even if your sculpture feels dry to the touch, concrete paper clay can hold moisture deep within since there are paper fibres that can absorb water. (Cement Paper Clay ingredients; pva glue, drywall compound, paper fibre, & Portland cement)
Allow your sculpture to air dry completely for at least 2-4 weeks, or even longer for very thick pieces. Placing it in a warm, dry area or using a fan can help. Any trapped moisture can cause issues with adhesion, cracking, or even mold once sealed.
Concrete Sealers:
I have opted to avoid sealers for many of my projects in the past. The neighbourhood driveways needed constant attention after sealing and the natural ones would stand up pretty as they were. I also like the way concrete ages and gets a ‘patina’ like moss of discolouration to make it look antique. It’s a personal choice but for this there is the added challenge of a porous material (the paper fibres) so I am going to test how sealing will stand up to the Canadian winters.
Step 1: Prep the Surface
- Inspect for Imperfections: Take a close look at your sculpture. Are there any small cracks, rough patches, or areas that need a bit more smoothing? You can use a bit of your leftover concrete paper clay (if still workable), or even an exterior-grade spackle/filler to address these, allowing it to dry fully.
- Clean Thoroughly: Use a stiff brush or a damp (not wet!) cloth to wipe away any dust, debris, or loose particles from the surface. A tack cloth can also be useful. The surface needs to be clean for optimal paint and sealer adhesion.
Step 2: Prime for Success!
Priming isn’t just an extra step – it’s essential for outdoor durability.
- Why Prime?
- Creates a uniform surface for paint adhesion.
- Seals any remaining porosity in the concrete paper clay, preventing paint from soaking in unevenly.
- Provides an extra layer of protection against moisture.
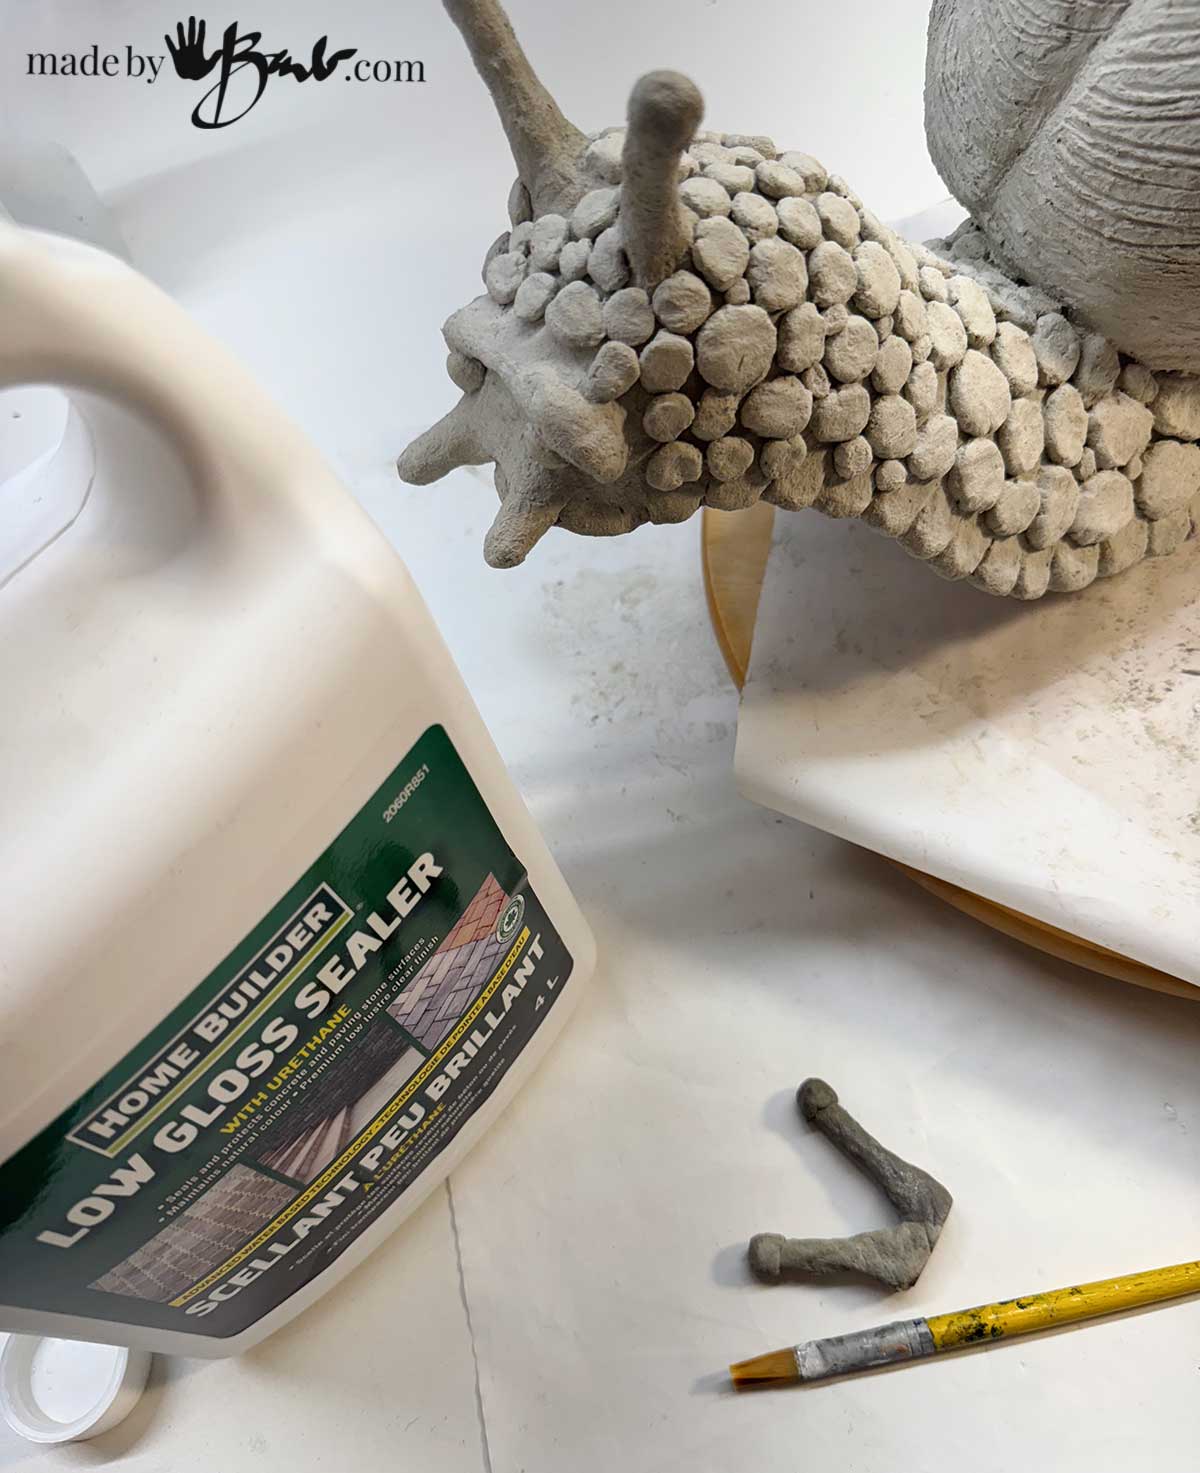
- What to Use: Look for an exterior-grade, acrylic primer or sealer. I used Home Builder Brand Low Gloss Sealer. Some other popular choices include Zinsser B-I-N (shellac-based, excellent adhesion and stain blocking, though strong odor) or Kilz 2 All-Purpose (water-based, easier cleanup). For best results, consider a primer specifically designed for masonry or concrete if you can find one.
- Application: Apply 1-2 thin, even coats, allowing each coat to dry completely according to the manufacturer’s instructions. Don’t go too thick, as this can obscure details.
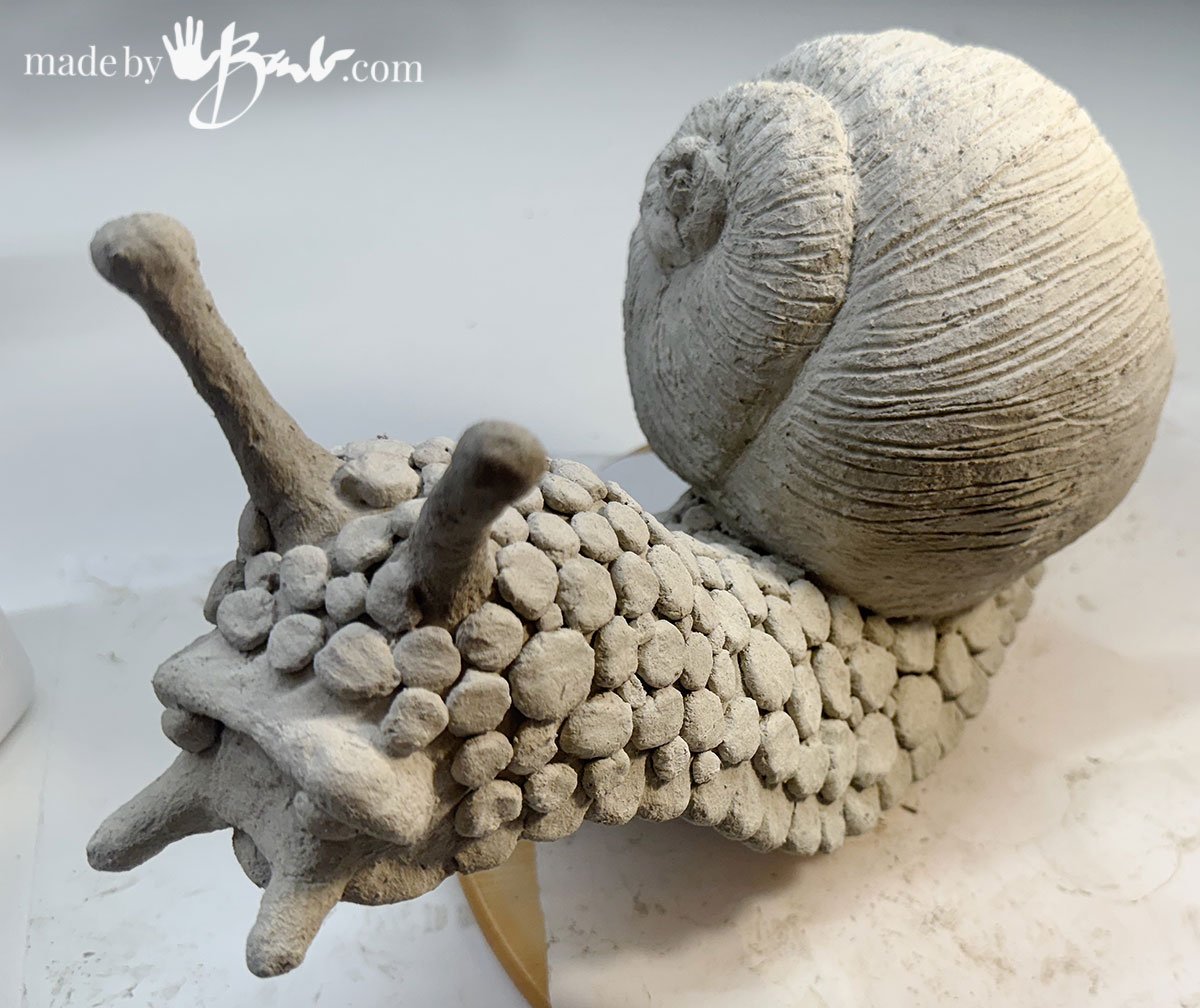
I like the fact that concrete does lighten again once dry. I do not like when sealers affect the colour of the raw concrete.
Step 3: Bring on the Colour! Painting Your Masterpiece
Now for the fun part – adding vibrant life to your sculpture!
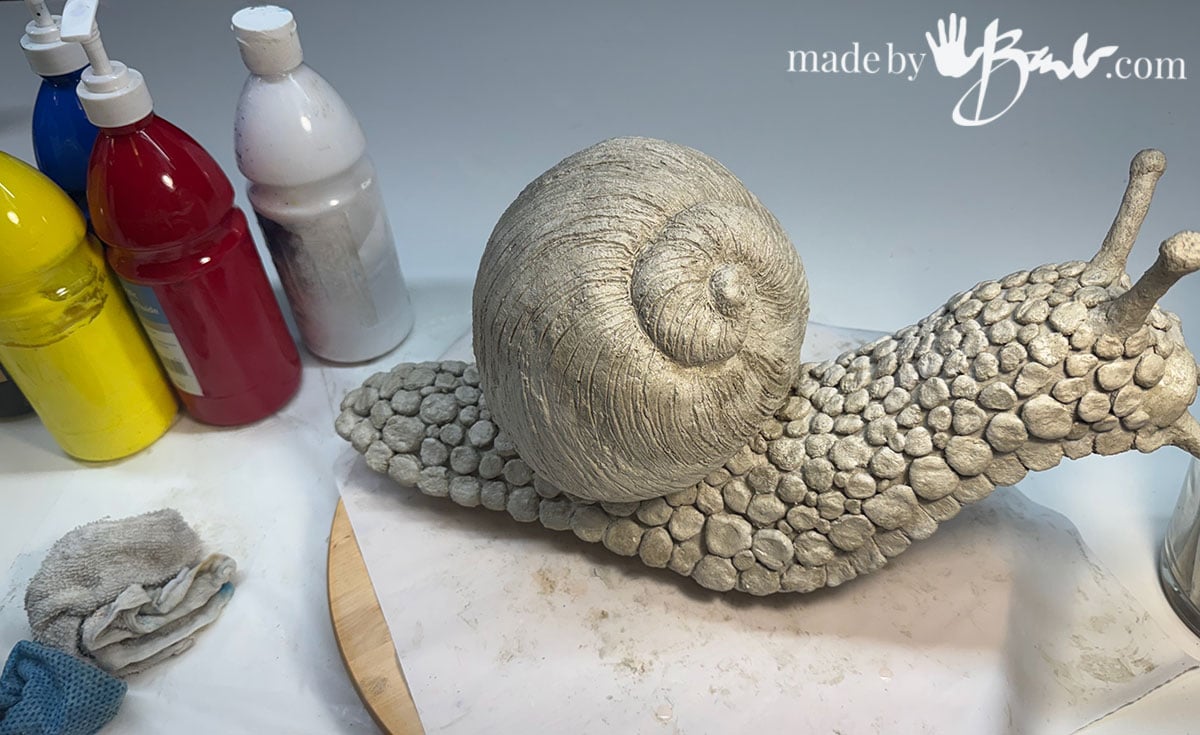
- What to Use: You absolutely need exterior-grade acrylic latex paint. These paints are designed to withstand UV rays, temperature fluctuations, and moisture without fading, cracking, or peeling. Do NOT use craft acrylics meant for indoor use.
- Colour & Coverage: Apply your chosen colours in thin, even coats. Multiple thin coats are always better than one thick coat for durability and appearance. Allow each coat to dry thoroughly between applications.
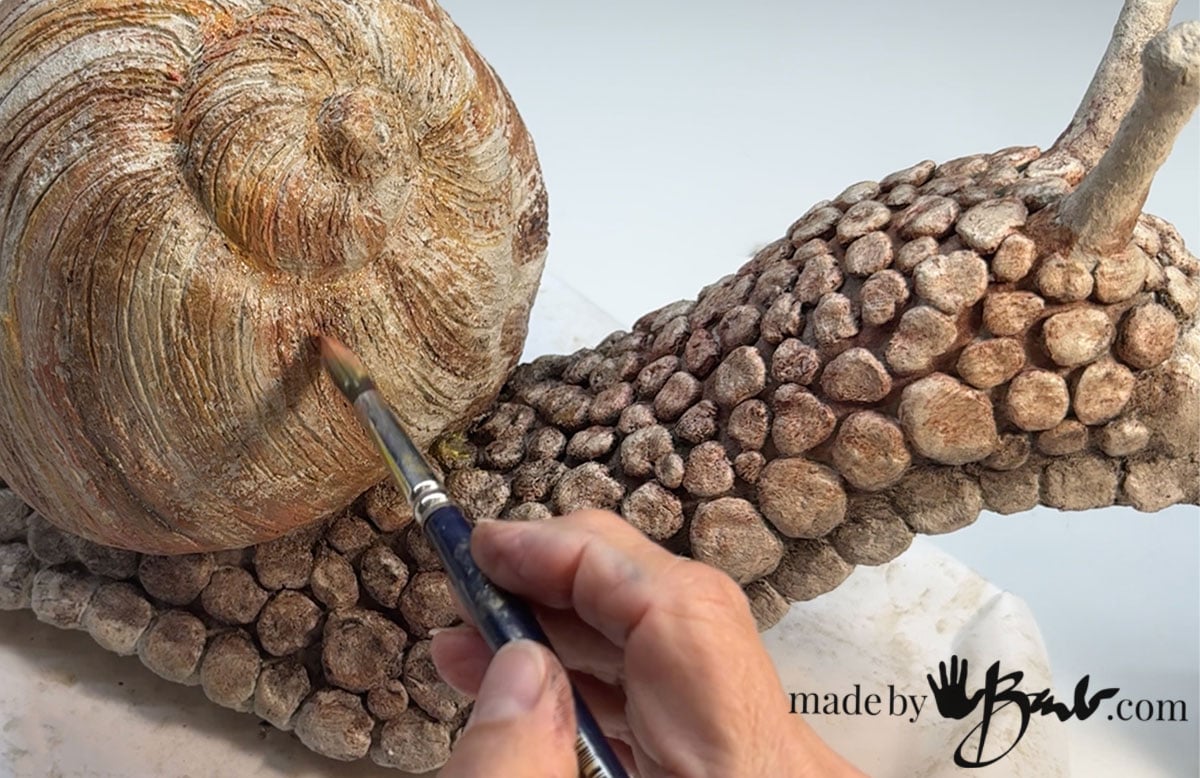
- Details: Use smaller brushes for intricate details. Don’t be afraid to experiment with washes or dry-brushing techniques to add depth and texture. (see video)
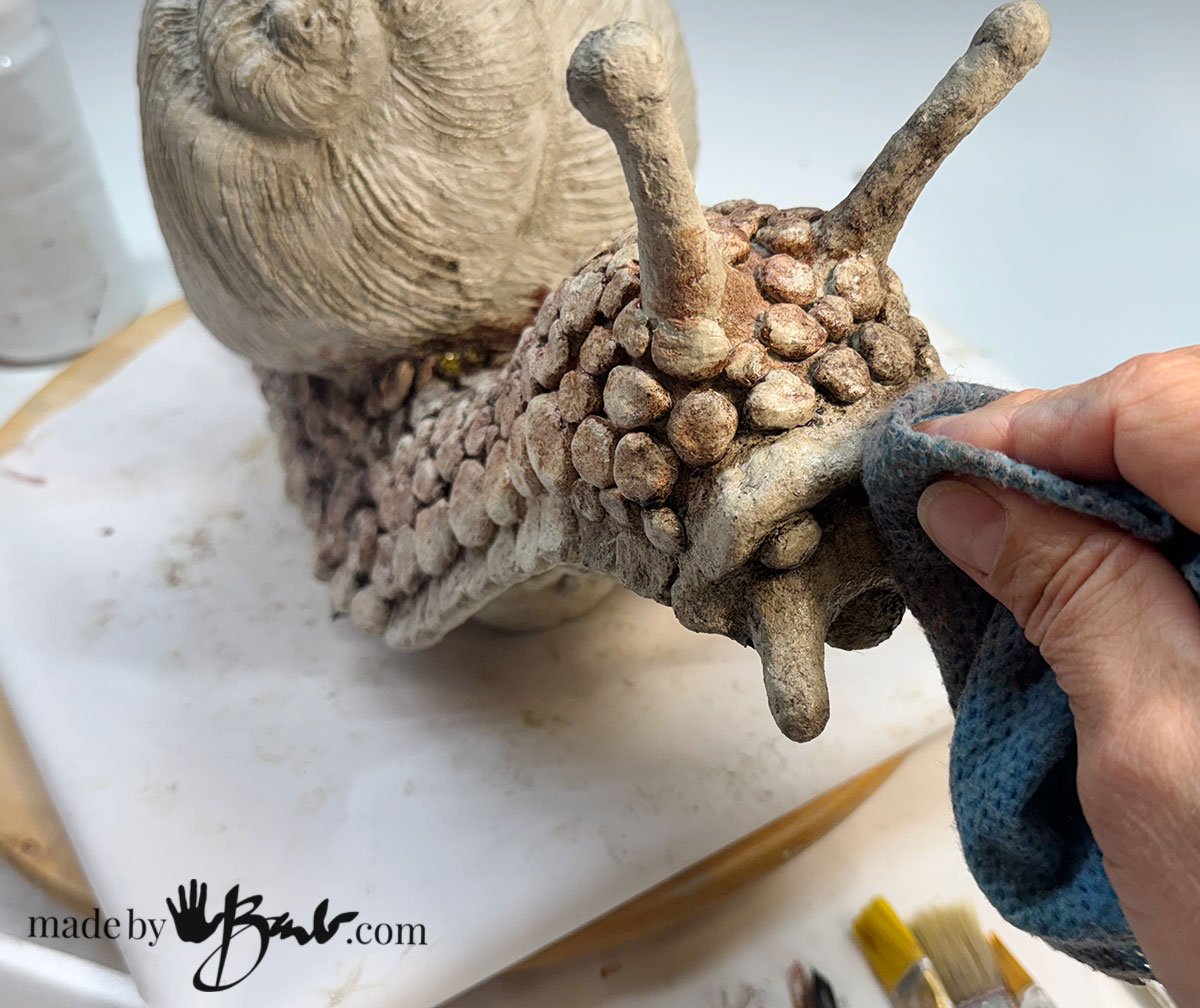
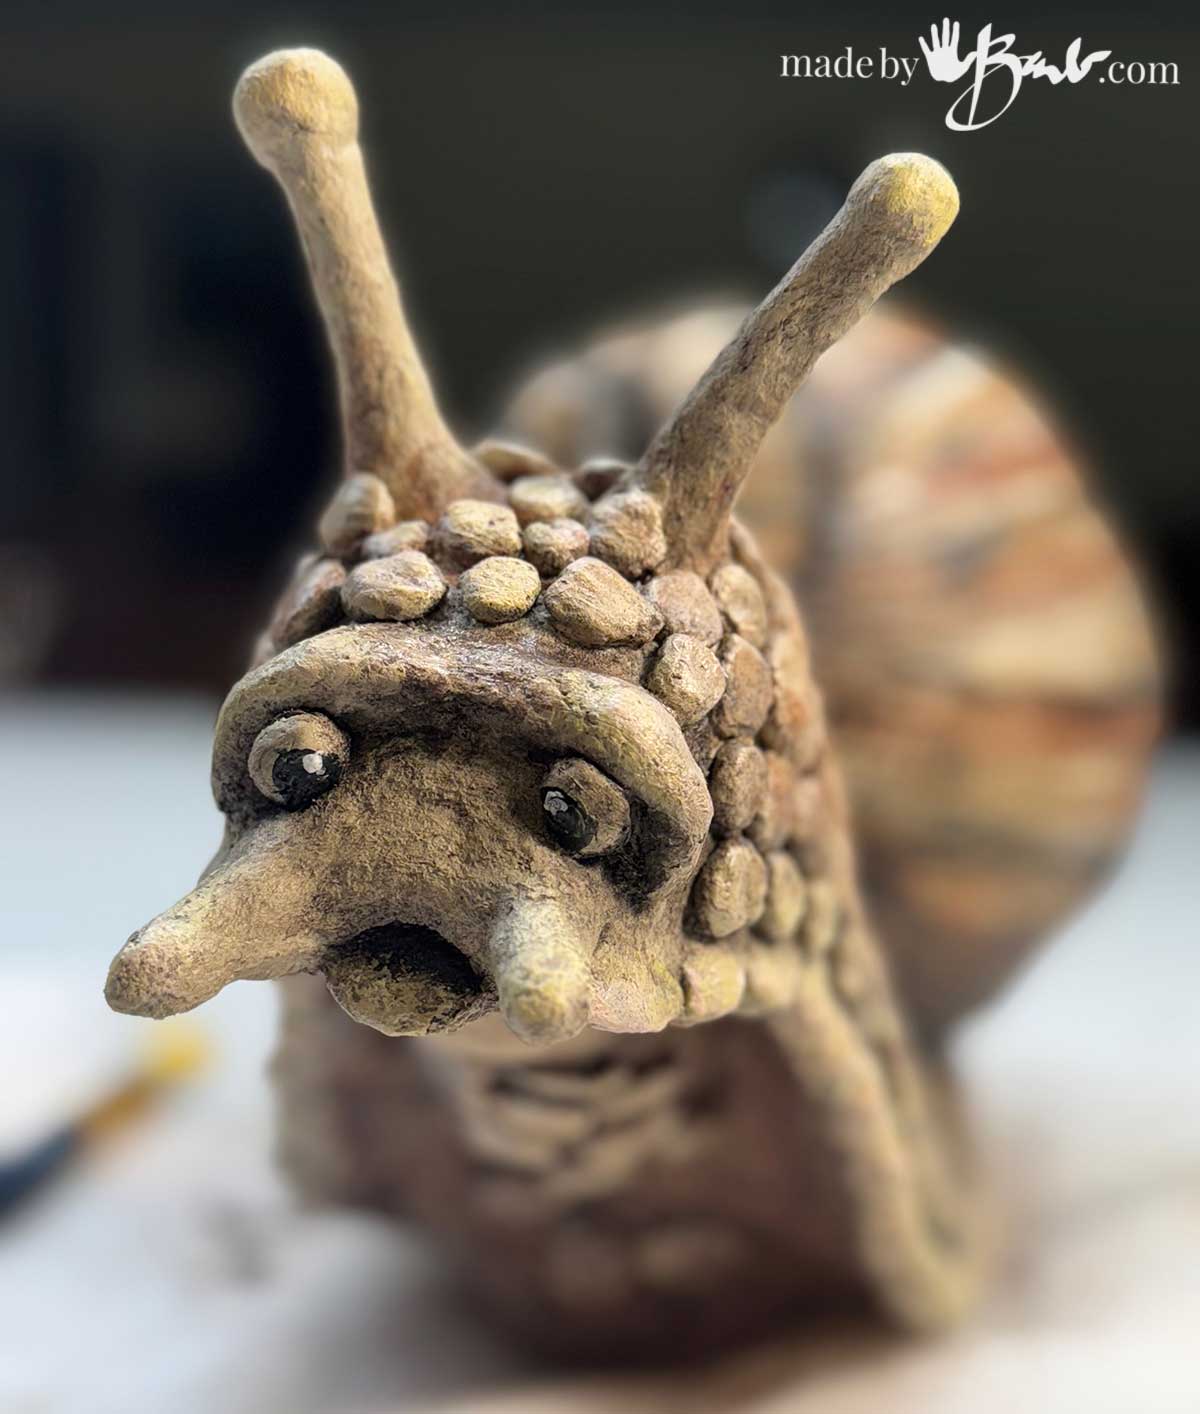
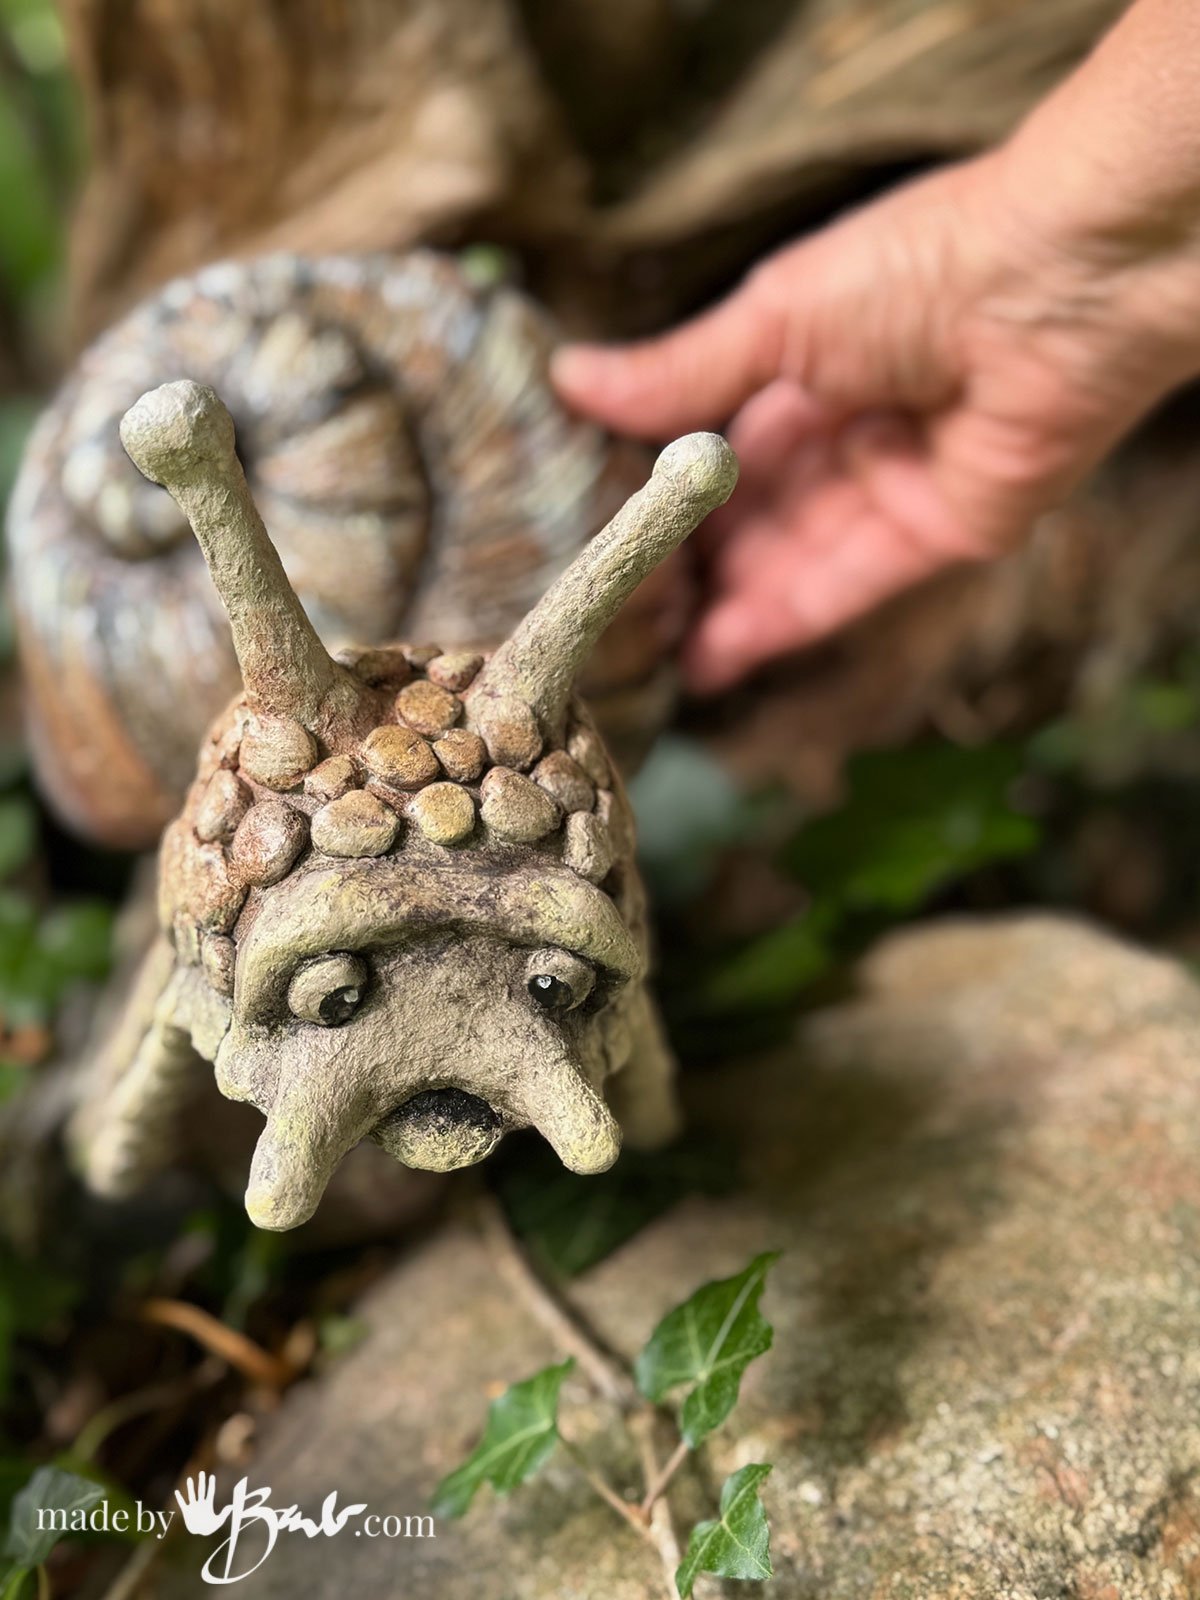
In my opinion I do not like the look of a very solid colour on a sculpture as it makes it look too plastic-like. I prefer an antiquing type of finish that will show off the rustic type of textures and character of the sculpting. I like to wipe off excess paint so it will accent the crevices. You can also see a similar technique here & here
It also is not that evident ‘IF’ the finish ever does fail. Pretty well all exterior paints have a certain lifespan, it is just dependant on a lot of factors…
Step 4: The Ultimate Protection: Sealing Your Sculpture
This is the final, critical barrier between your sculpture and the elements.
- Why Seal?
- Provides a waterproof layer, preventing water absorption which can lead to cracking in freezing temperatures.
- Protects the paint from fading due to UV exposure.
- Adds a durable, protective finish.
- What to Use: Look for an exterior-grade, clear, waterproof sealer.
- Acrylic Urethane or Polyurethane Sealers: These are excellent choices for durability and UV resistance. They come in various finishes so make sure you know what to expect (matte, satin, gloss).
- Concrete/Masonry Sealers: These can also work very well, as your concrete paper clay has similar properties to concrete.
- Avoid: Interior-only sealers or varnishes, as they won’t stand up to outdoor conditions.
- Application:
- Ensure your paint is completely dry and cured before applying the sealer (usually 24-48 hours, or longer for very humid conditions).
- Apply 2-3 coats of sealer, following the manufacturer’s instructions for drying times between coats.
- Apply in a well-ventilated area, and avoid applying in direct sunlight or extreme temperatures, which can affect curing.
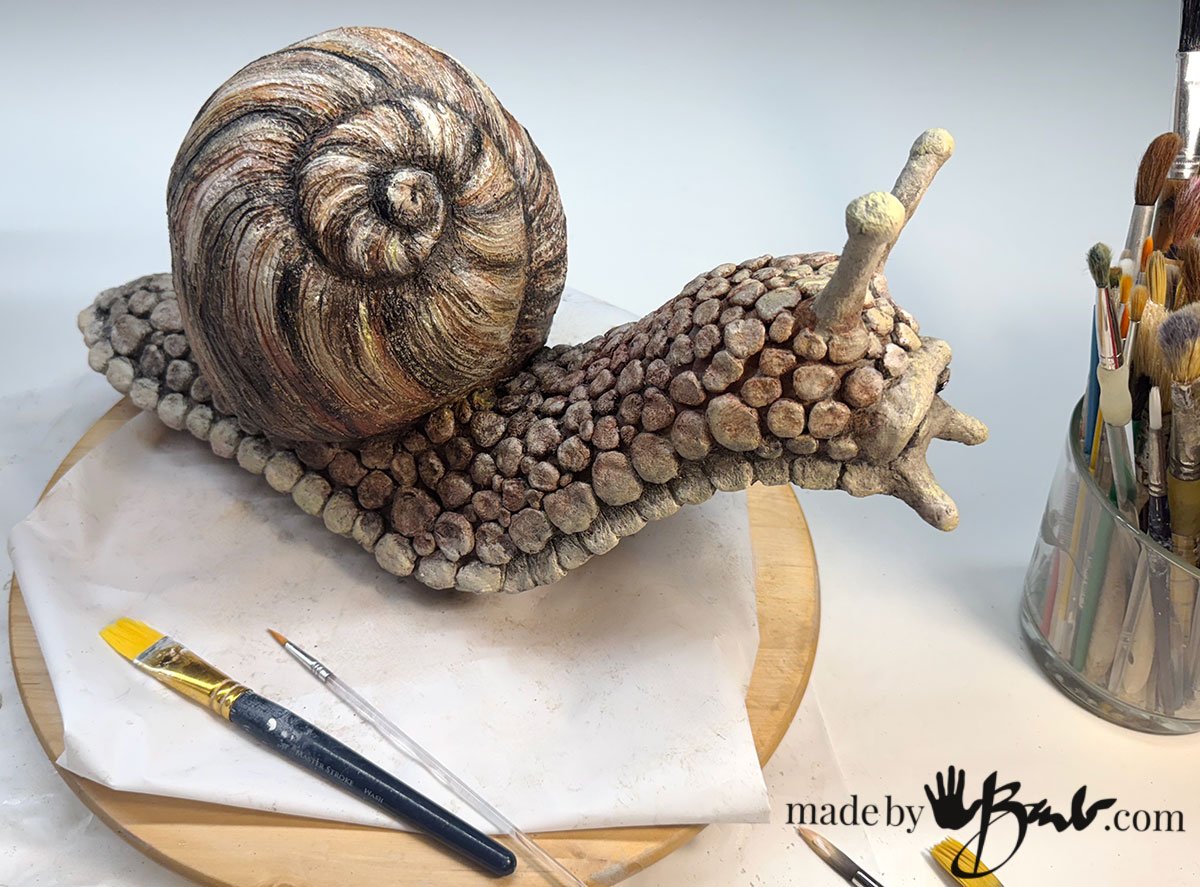
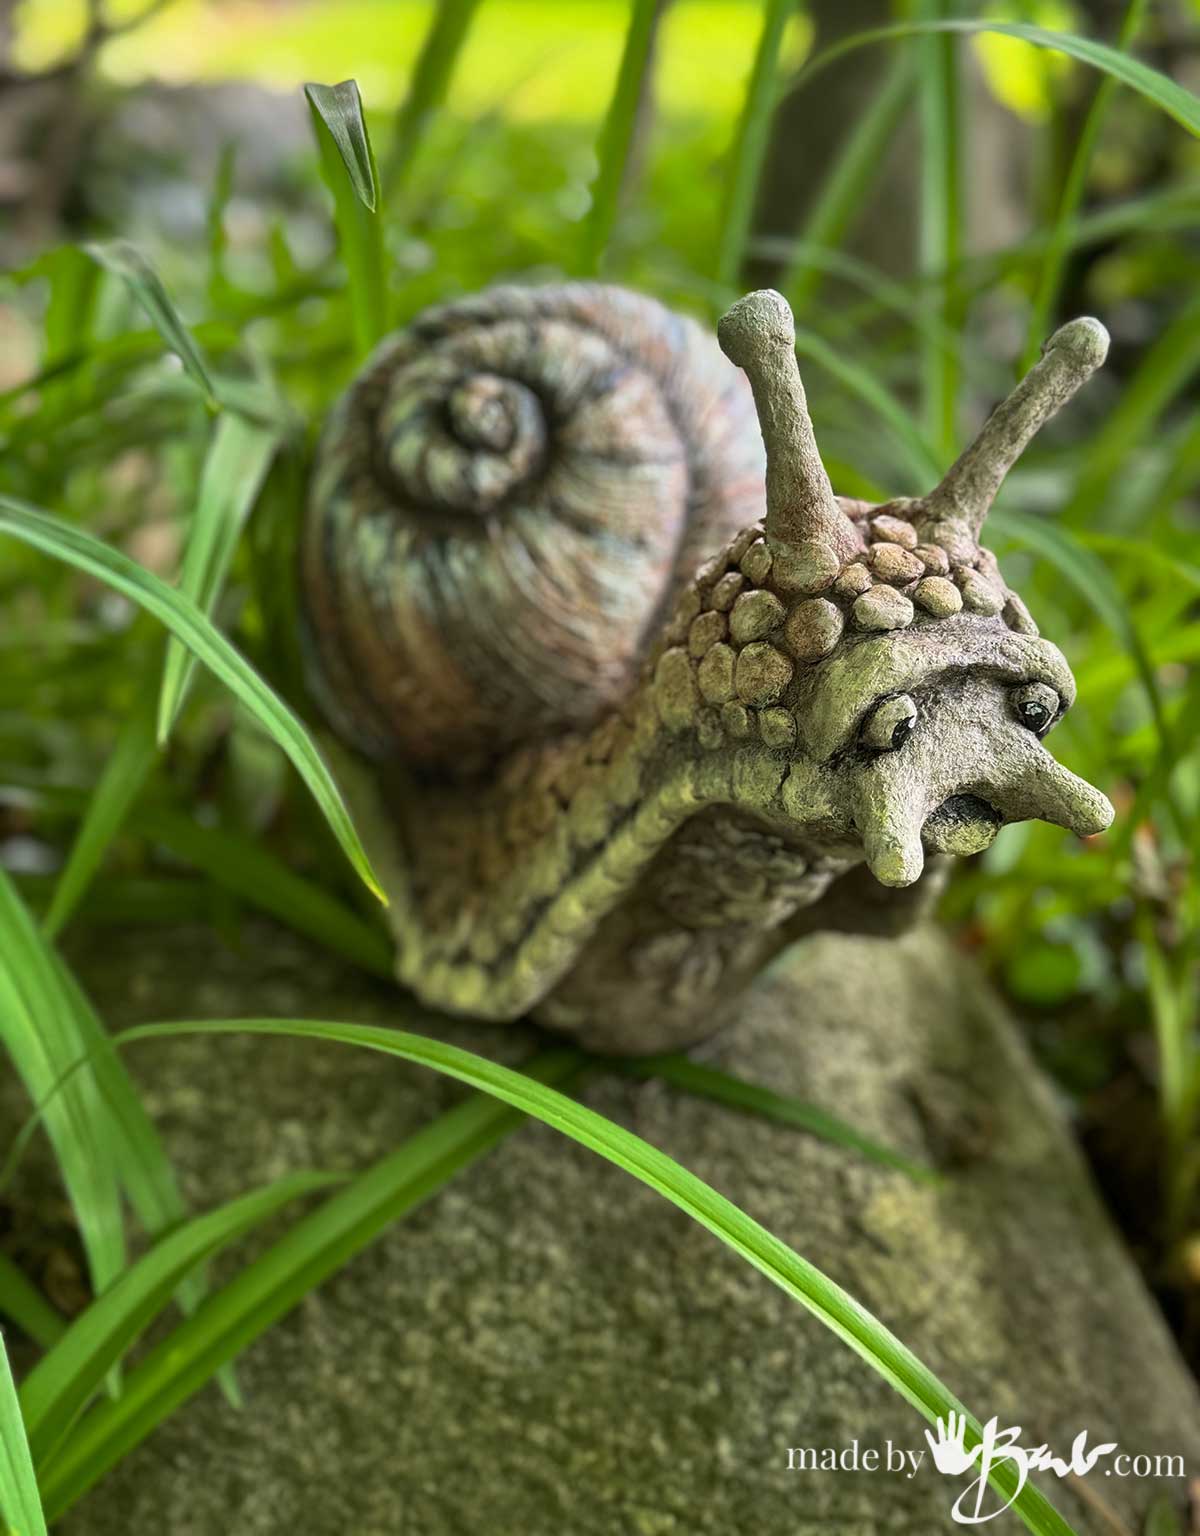
As you can see the amount of paint is minimal. If it loses some of the colour it will not be very obvious. Generally certain colours tend to fade more but Snail are meant to be earthy colours anyways!
What a silly Snail!! That vision I had in my head has become reality and am quite excited to add him to hide in my garden.

Maintenance Tips:
- Annual Inspection: It’s a good idea to inspect your outdoor concrete paper clay sculptures annually.
- Re-seal if Needed: If you notice any dulling, peeling, or signs of wear on the sealer, it might be time for another coat (or two) to keep your sculpture protected.
By taking these important steps, your beautiful concrete paper clay sculpture will be well-equipped to brave the outdoors and bring joy to your garden for many seasons to come! Happy sculpting!
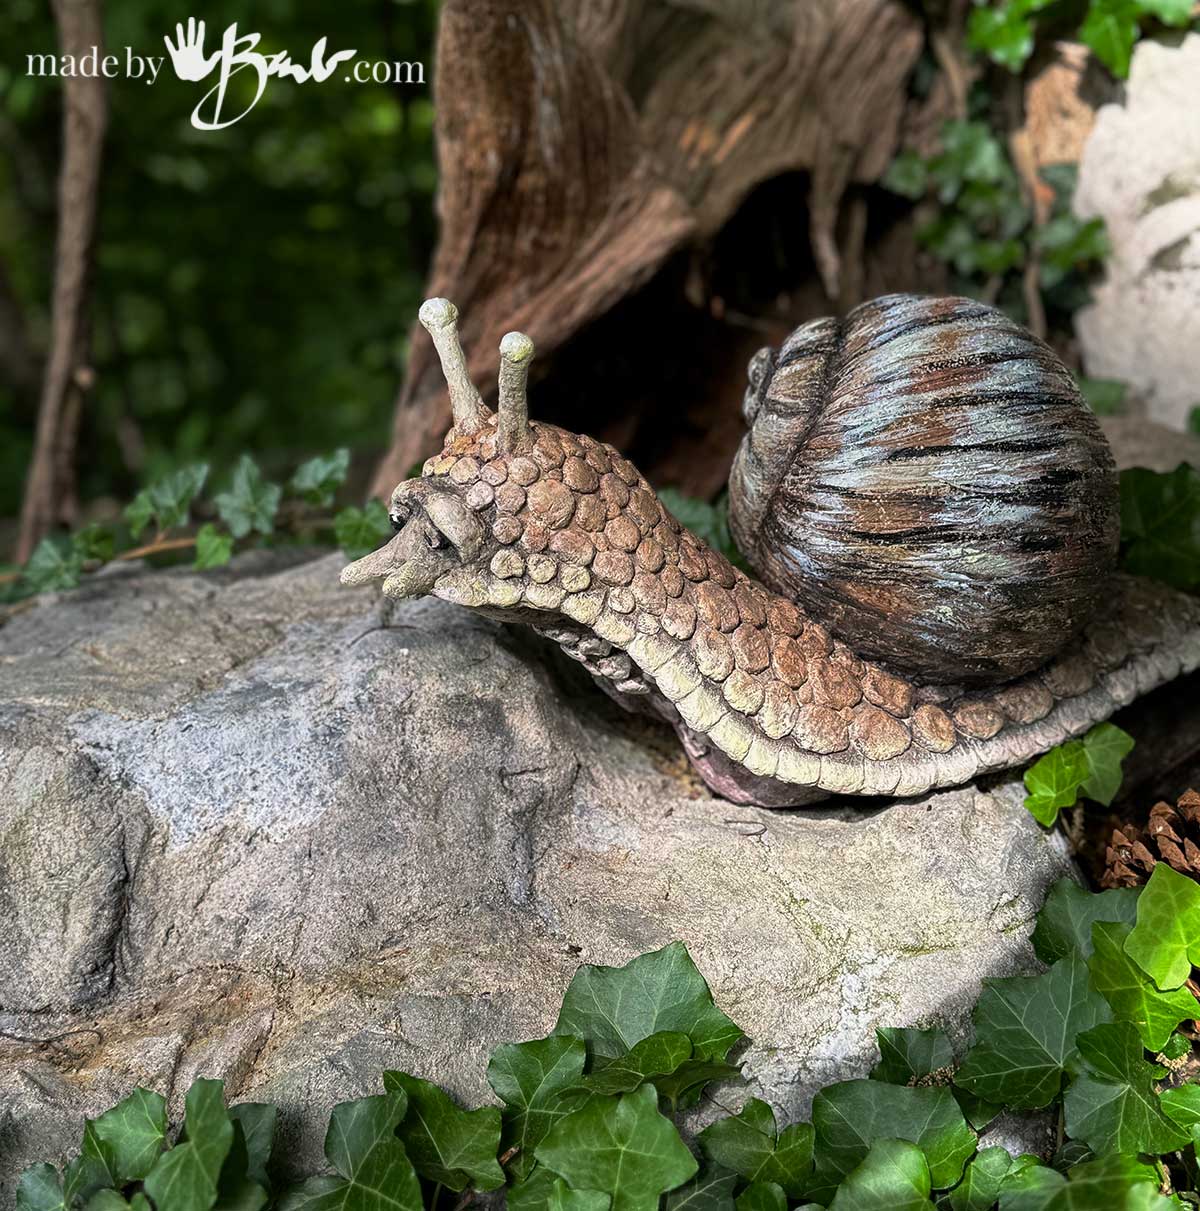
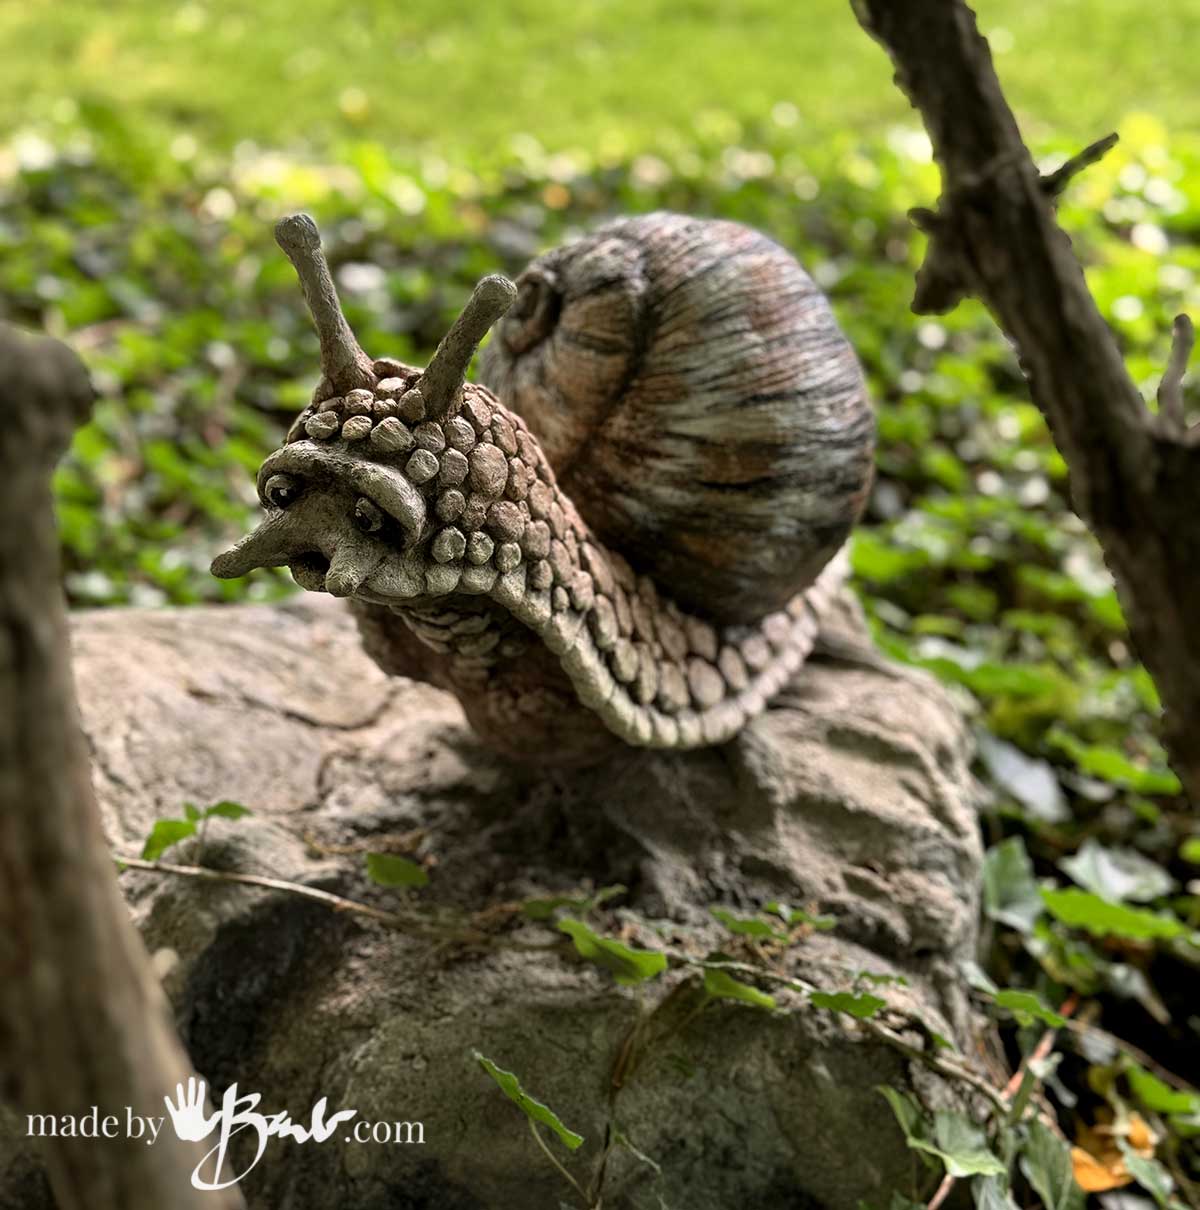
He is sitting on one of my large faux concrete rocks here. (4 years in the backyard garden over canadian winters)
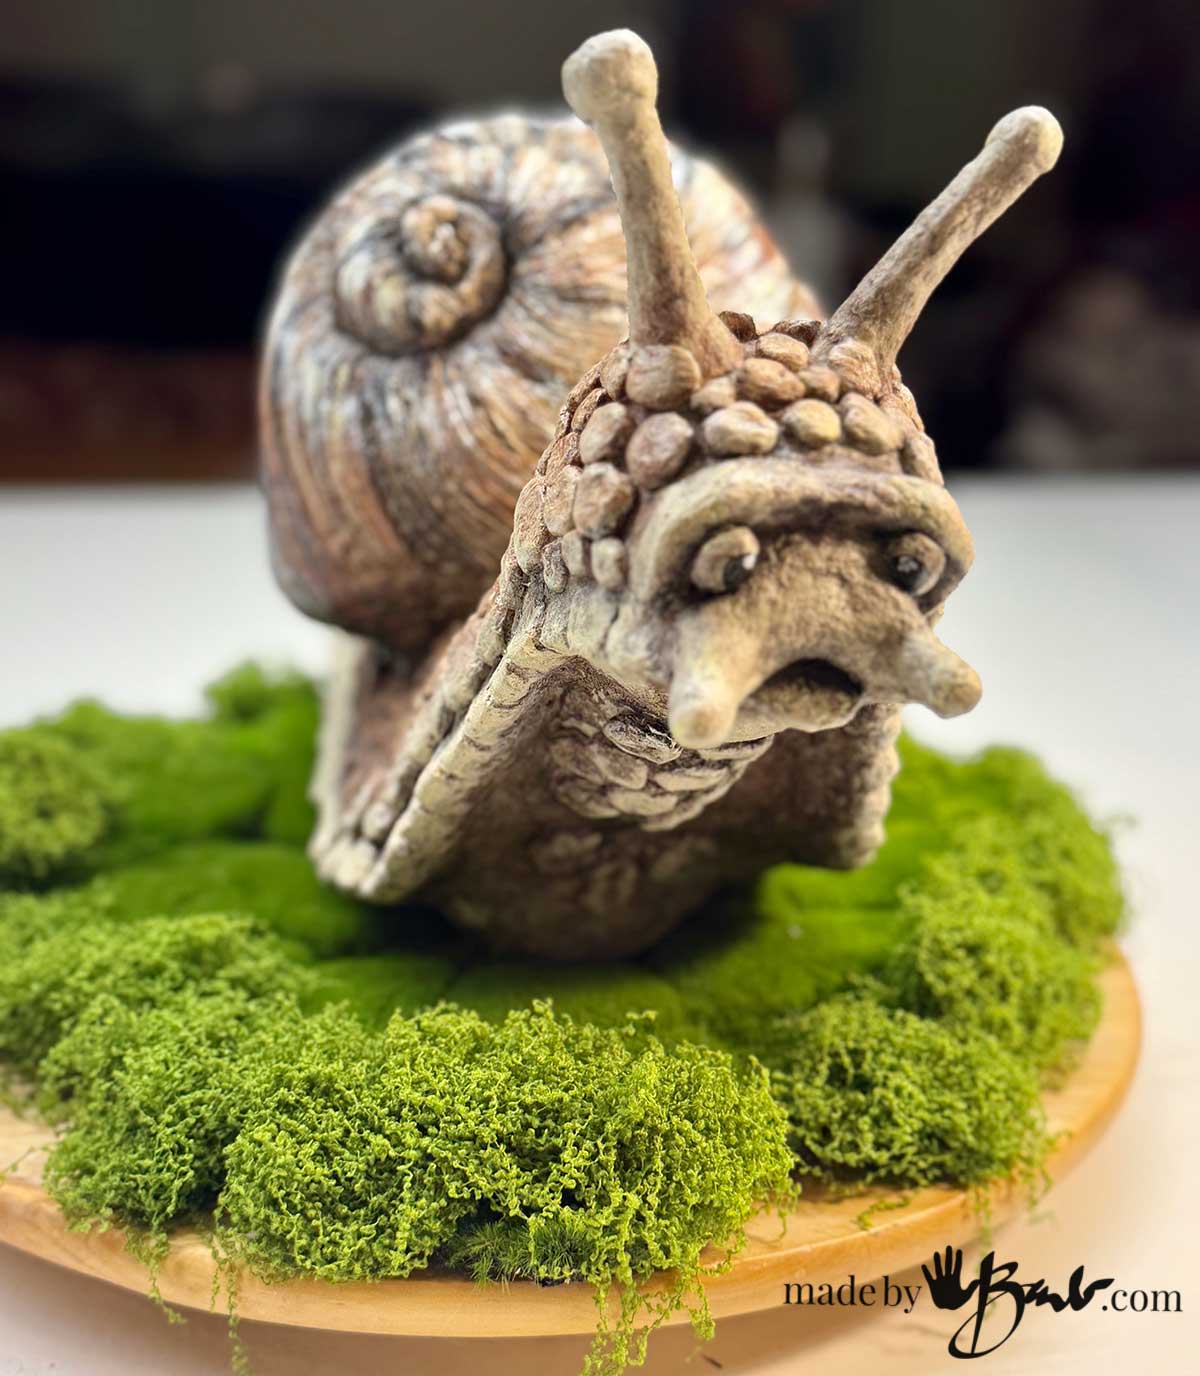
Garden outdoor sculpture art is supposed to look natural!
What strange or unique little creature do you envision?!
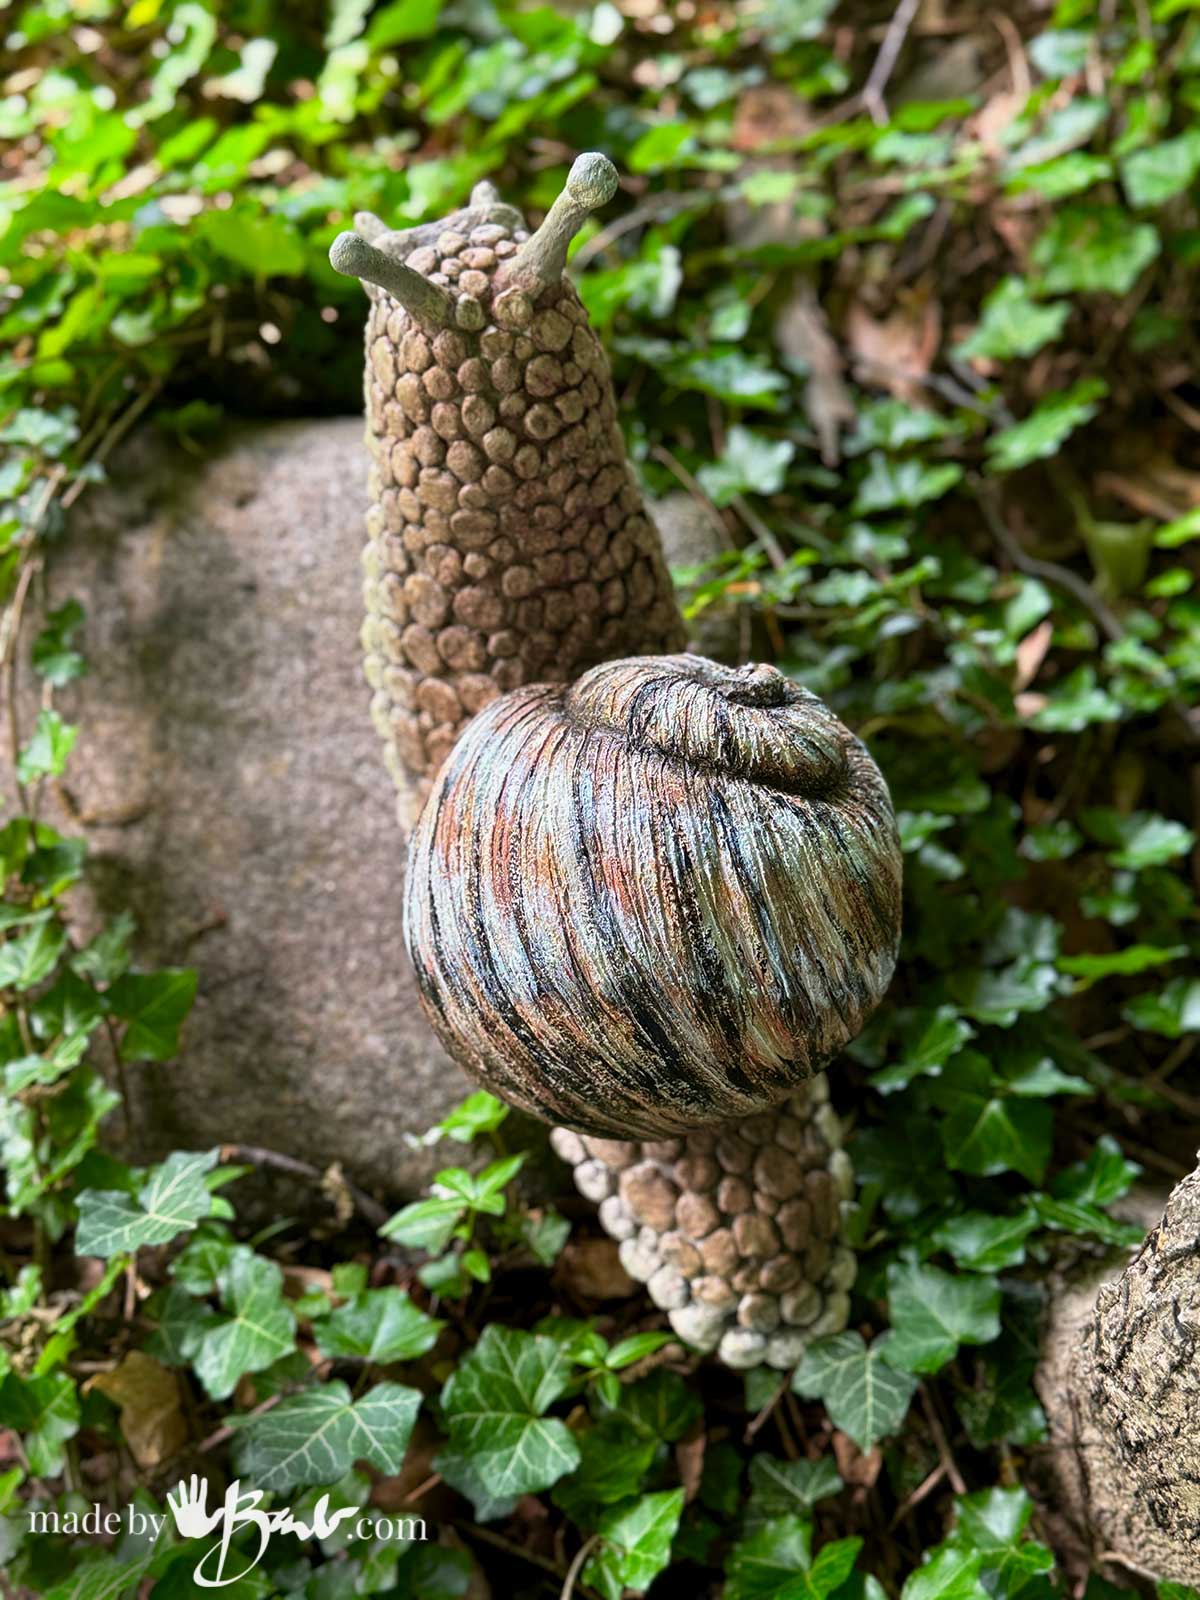
Scale is one design element that can make your creation unique. This fellow is about 18″ long size.

He(?) has not been outside for a winter yet so I will have to update back next year. My Papercrete bird has sat on a stump for about 9 years now, so I am pretty confident. Do not have the placement where there will be some water accumulation though. Water = freezing = expansion = cracking!
Thanks for joining this adventure to paint a cement paper clay snail. I hope I’ve inspired you too…

If you are new to sculpting with paper maché clay, you may also want to try the indoor version and make some mushrooms or a snail… It’s all much fun! Do not worry, almost anyone can be a sculptor…
The paint part looks so fun!!
question- can you/did you use the same sealer for the primer and end sealer??
Liebste Barb,
ich war lange nicht mehr auf Deiner Seite. Und natürlich bin ich mal wieder fasziniert – die Schnecke ist genial. Hast Du etwas zur Stabilisierung genommen?
Ich werde ein bisschen tüfteln und eine Rennschnecke kreieren – sie passt zu mir. Ich will immer schnell, schnell.. aber mein Körper kommt nicht mehr mit 😀
Alles Liebe und die besten Grüße aus Deutschland
Petra
” Dearest Barb,
I haven’t been to your site in a long time. And of course, I’m fascinated again – the snail is brilliant. Did you use anything to stabilize it?
I’ll tinker a bit and create a racing snail – it suits me. I always want to go fast, fast… but my body can’t keep up anymore 😀
All the best and best wishes from Germany
Petra”
Have you seen this post (with video) to see the structure. I will be leaving him outside this winter to see the way the snow and temperatures will affect it. I am optimistic! I ❤️ Deutschland!