How to Make Paper Maché Clay (Super Low Cost)
My love for sculpting led me to explore a way to make clay for pennies. The best part is that I had everything I needed at home! Come see my new fascination; how to make Paper Maché Clay.

Paper maché clay is a versatile, easy-to-make medium that’s perfect for creating sculptures, masks, decorative art and anything you can imagine. Unlike traditional paper maché strips that needed many layers, this clay-like mixture offers a smoother, stronger texture that’s ideal for adding fine details and achieving a polished finish. Best of all, you can make it at home using just a few simple & inexpensive ingredients, no need to buy any Elmers or Pva glue!
Why Make & Use Paper Maché Clay?
- Smoother Finish: Allows for more refined, detailed work than traditional strips.
- Stronger Structure: Dries harder and is less prone to cracking.
- Flexible & Versatile: Great for sculpting, molding, and layering.
- Almost costs nothing; basic household ingredients, no glue needed to buy.

Ingredients for DIY Paper Mache Clay Recipe
Here’s what you’ll need for this recipe:
- 1 Cup of wetted toilet paper (50grams dry/250grams wetted)
- 1 cup of Homemade glue (recipe below))
- 1 cup of Cornstarch
- 2 tablespoons of mineral oil or baby oil (optional, for a smoother texture)
- 1 cup of joint compound or drywall compound (for added strength and smoothness)

Make your own Glue:
It is very easy to make your own glue and it works great to lower the cost of making your own paper maché clay.
Homemade Glue Recipe;
- 1 Cup cold water
- 4 Tablespoons of White Flour
- 2 Teaspoons of Cornstarch
- 2 Teaspoons of sugar
- 2 teaspoons of vinegar

Whisk together ingredients in a saucepan until there are no lumps. Once blended warm this flour mixture on medium heat (just to boil) & stir until thickened. Pour into a container and let cool.
Step-by-Step Instructions;

Step 1: Prepare the Paper Pulp
- Tear the toilet paper into small pieces. Weigh the amount dry.

- Place the paper in a large bowl and add warm water until it reaches the weight.
- Soak the paper and break it down with your hands until it turns into a pulp. (optionally you can use a blender)
- Drain the excess water by squeezing the pulp through a fine mesh strainer or cloth. Weigh again. Eventually you will get a ‘feel’ of how wet it should be.

Step 2: Blend the Mixture
- Add the paper pulp to a large mixing bowl.

- Add the Homemade glue (1 Cup) made previously.

- Knead or blend with a hand mixer or stick blender for a smoother texture. The paper fibres should get well interspersed with the glue.

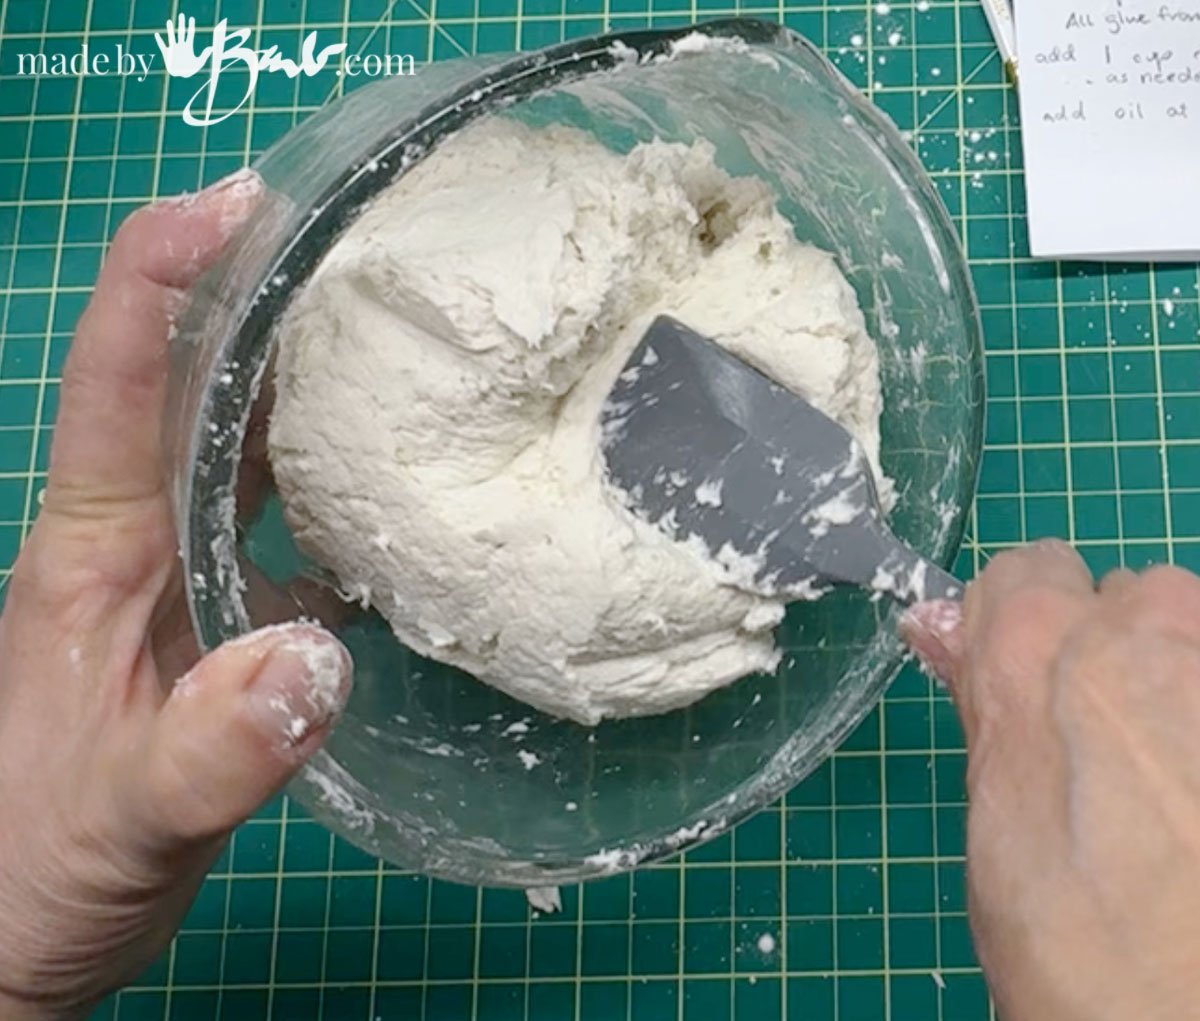
- Use a spatula to scrape the bowl.
- Make sure the fibres are well mixed into the glue

- Add 1/2 cup joint compound to the mix.

- Add remaining 1/2 cup joint compound to the mix.

- Mix well by hand or with an electric mixer.

- Add the corn starch in sections and incorporate well. I do not use the mixer as it tends to fly out and is too thick for the mixer.
- Keep folding to incorporate the corn starch. Silicone tools are quite helpful.

- When it comes together and is less sticky start to knead with your hands.

- It may be messy but once the cornstarch is worked in it will get less sticky. Adding some baby oil (tablespoon) may help. I personally did not add oil.

Add more cornstarch and continue to fold over and knead…

Step 3: Use or Store for later use:
When it is holding it’s shape and forms a ball you can use it right away or store in the fridge for later use. It will eventually get mold if it is an extended time. (depends on introduced bacteria) You could consider some clove oil or other addition to help preserve it longer. I usually use mine up within a week or 2.

To prevent drying out place in a plastic bag and air tight container for storage. More corn starch can be added if too wet, similar to working with dough.

As a small test I made a little bowl, about 2 millimetres thick. After drying I could not believe the strength that it has! I have been won over and will be challenging this media in many many ways, I hope you join me!
The ornaments I made with Cold Porcelain Clay are wonderful but this material adds another element of strength and hardness.

I am already imagining a bunch of ideas and ways to use this sculpting material! I’ve done a lot of challenging concrete but this may be even simpler. Yes, there’s a lot of ways to adjust this mixture and it’s ingredients to your needs; making some unique possibilities! Most often there is a sturdy sub-structure or armature is used as a base for the clay layer. That layer can be applied with whatever tools work as well as fingers! Once dry more detailing can be added or finishing as desired.
Here’s a sneak peek! Yes, I made mushrooms, complete with textured stems and paper gills. If you want to be creative but do not have the budget then this is perfect – only limit is your imagination!
This looks amazing!
Can it be coated on a cardboard 3D form?
I am wanting to make 3d papercraft structure that is coated with this type of material.
Yes it can. I would cover with some tape or foil first though so it does not get too wet from drawing the moisture from the clay. Wet cardboard can lose it’s strength. Happy making!
Thanks for this fascinating recipe! I’m curious about the toilet paper pulp; have you tried making it with paper pulp? I would love to put waste paper to use, if that works. Maybe I’ll try creating that mix. Thanks again!
Yes! The Fibre clay is my fave! I made a lot of bowls with paper fibre! The Driftwood handles are a great additon