
Concrete Lighted Step-Spook

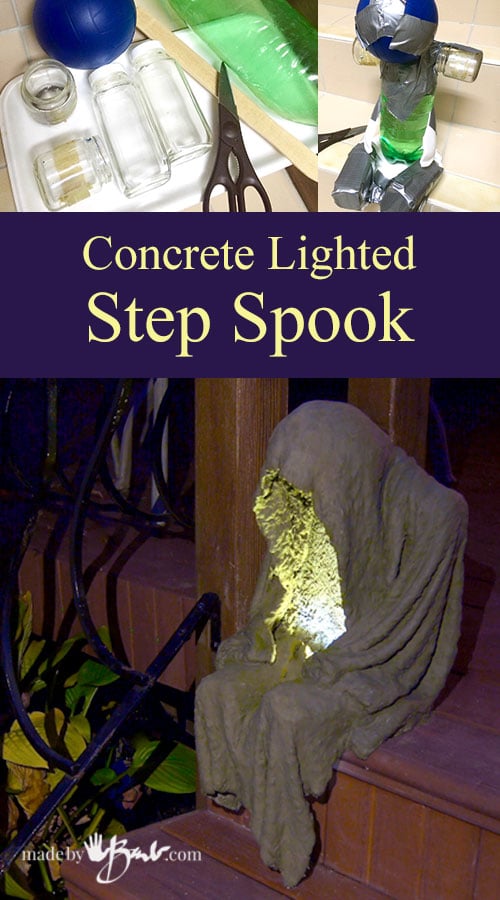
This warm weather lately has let me squeeze in one last concrete project; a Concrete Lighted Step-Spook using fabric draping. It opens a whole new dimension to this art-form. I also like to keep things manageable and somewhat portable so this little fellow can sit on your step and scare the bad ghosts away…
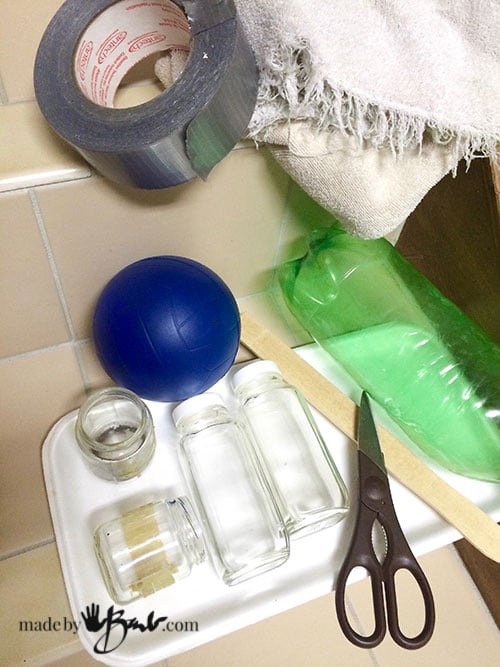
This is extremely low cost. Why throw it away when you can reuse it?!
Materials for the Concrete Lighted Step-Spook:
- a large 2 litre plastic pop bottle (sealed and full of water)
- Duct tape or packing tape
- scissors
- approximate 6″ sponge ball (dollar store)
- paint mix stick
- styrofoam meat tray
- 2 small baby food jars
- 2 longer thin juice jars
- plastic sheeting or bags
- fabric that will absorb concrete (towel or fleece)
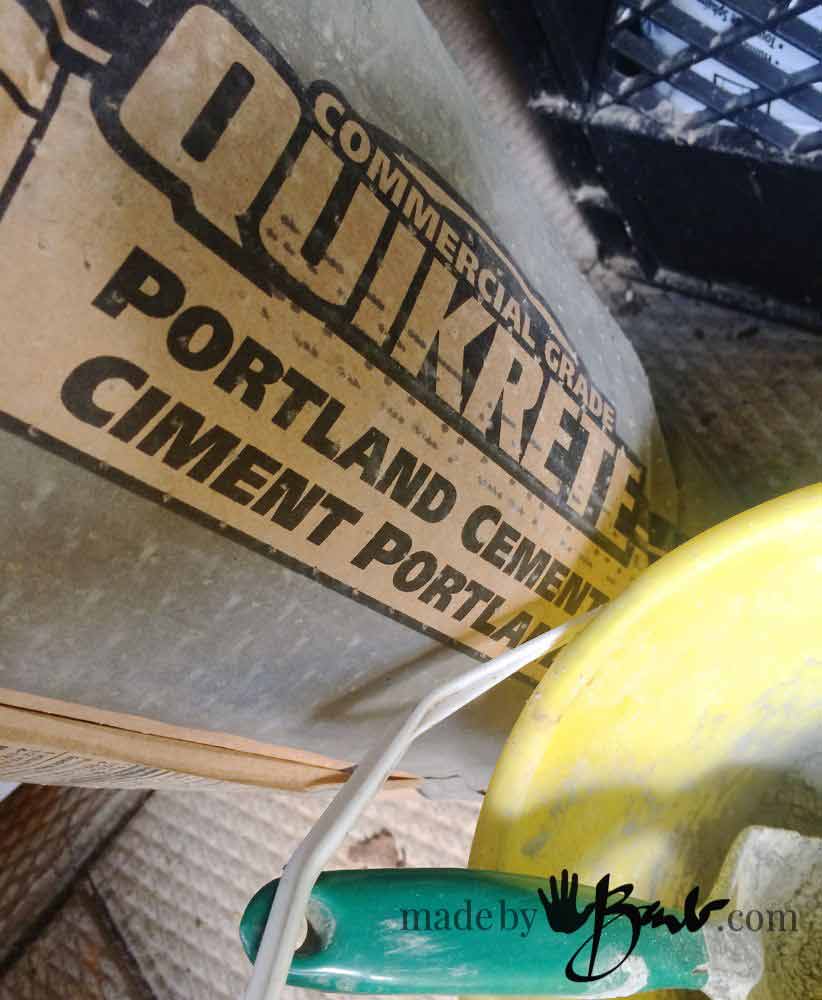
- Portland Cement
- water, mixing container/utensil
- cheap acrylic paint
- basic flat paint brush
- battery or solar powered light(s)
(this is the original design by madebybarb.com)

I substituted this fleece for the terry towel. I like the strength that polyester has and it has so much fuzziness to hold the concrete in the fibers.
The structure:
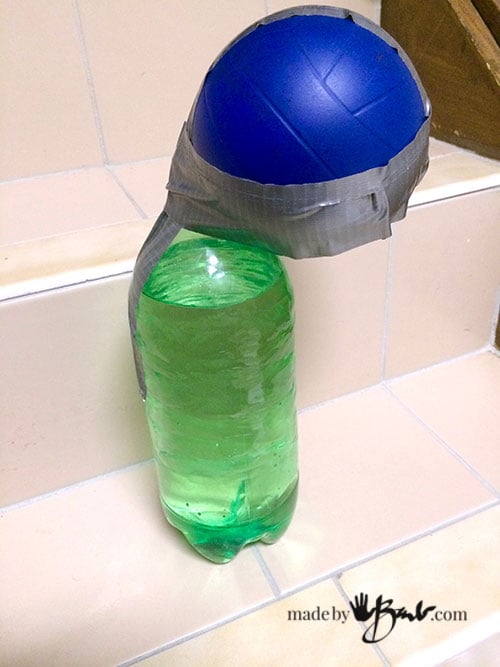
Time to put his body together. Position the sponge ball to the front of the bottle neck. Tape it up the back and around the front. This type of ball ensures that there won’t be any deflating or bursting. I really HATE when a ballon covered in concrete bursts! Choose one that is soft enough to cut up later. (ie, cheap dollar store)
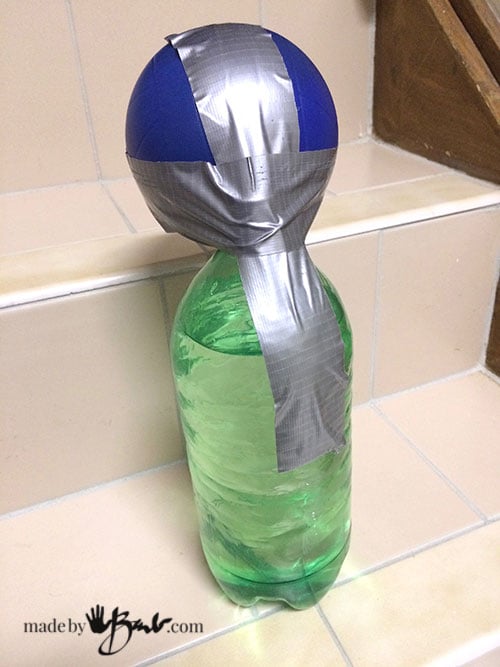
Secure around the ‘head’ from the back.

The shoulders seemed too wide so I cut the paint stir stick a couple inches shorter.
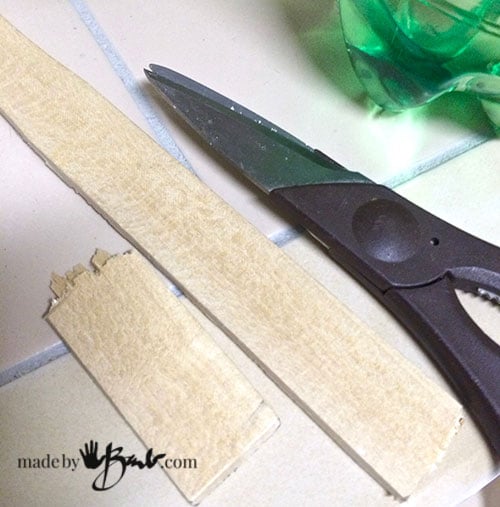
It doesn’t need to be perfect, just shorter.
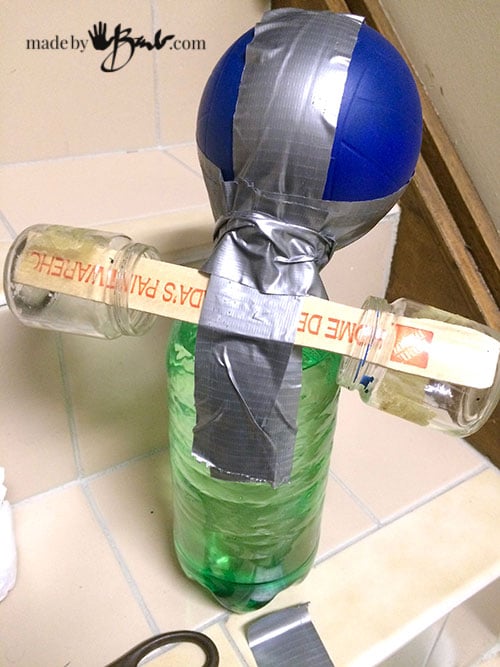
The small baby-food jars are meant to be the shoulders. Test how the proportion is.
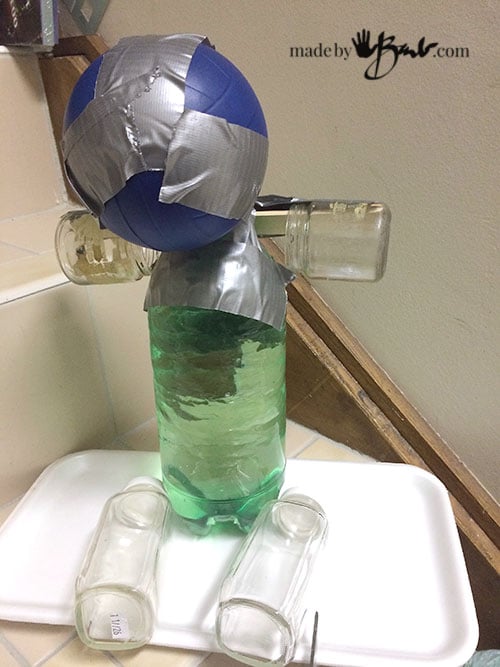
Tape the jars on across the back. He’s taking shape quite nicely… For the upper legs/ thighs I used longer jars and a styrofoam meat tray to have something to anchor to that is easily cut.
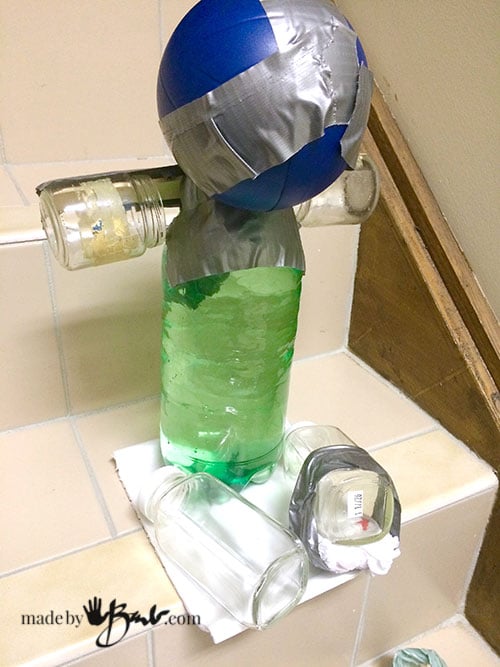
To make it a bit more realistic I propped one leg up a bit with some plastic bag.
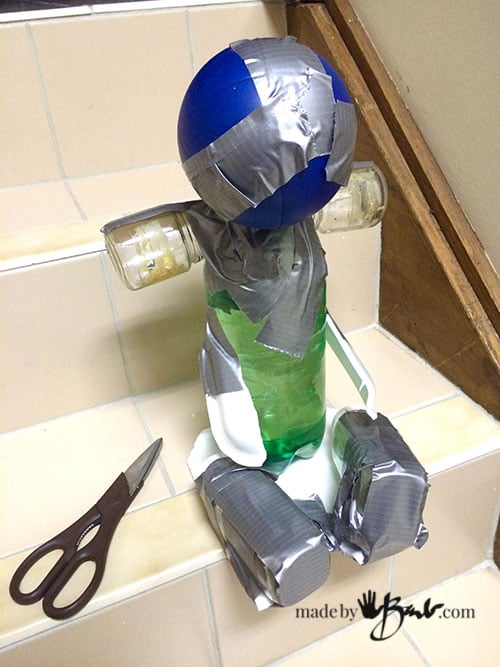
Secure the legs to the tray. The bottle has a fair bit of weight so it will stand on its own pretty well.
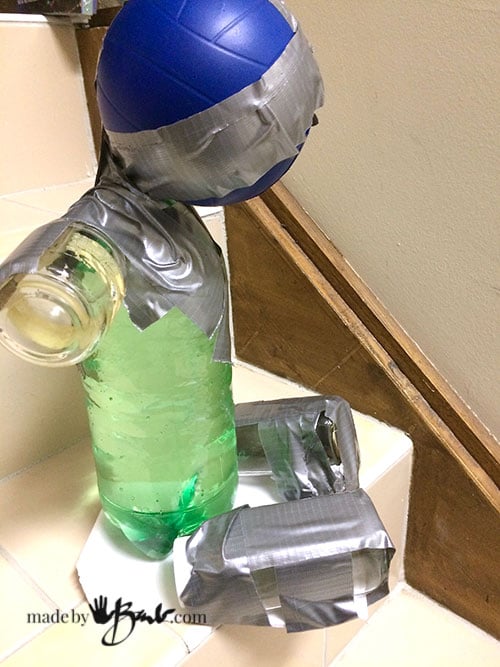
Look at him from all the directions to imagine his proportions.
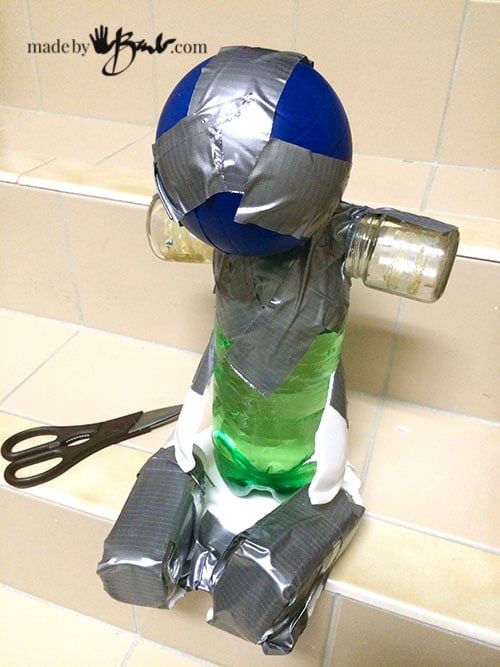
Good job! Minimal expense. The flaps were an attempt to make hands, but could be eliminated.
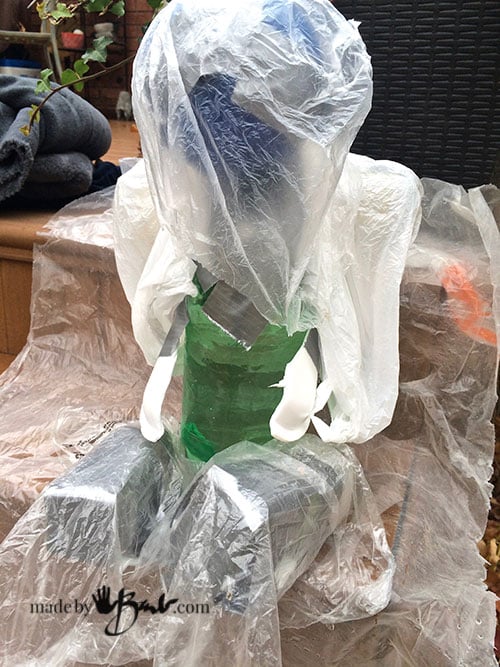
Concrete Draping:
Now it’s time to go outside since it may get a bit messier… Cover him in some plastic sheeting or bags.
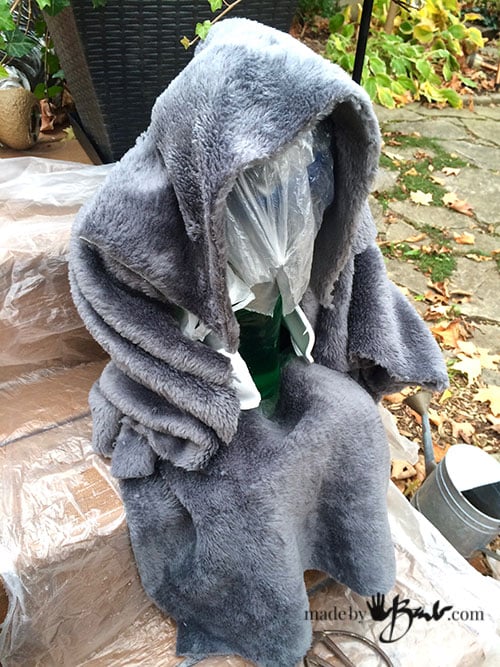
Make sure the fabric is right with a dry fit. I used 3 pieces of fabric. One for the hood (about 14″ x 10″) legs (about 14 ” x 14″) jacket (16″ wide x 14″ tall) It is very forgivable so a bit larger won’t matter. Different fabric may need more for more draping as well. You want something where the cement can get into the fibres.
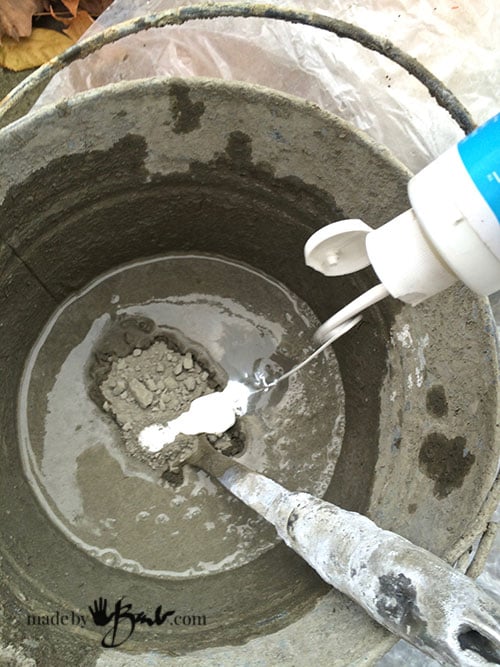
Put a couple scoops of portland cement in a bucket and slowly add water. Add a couple squirts of acrylic paint (I used white) but you could use whatever colour you prefer. Acrylic provides a binder for the concrete and has been known to add strength.
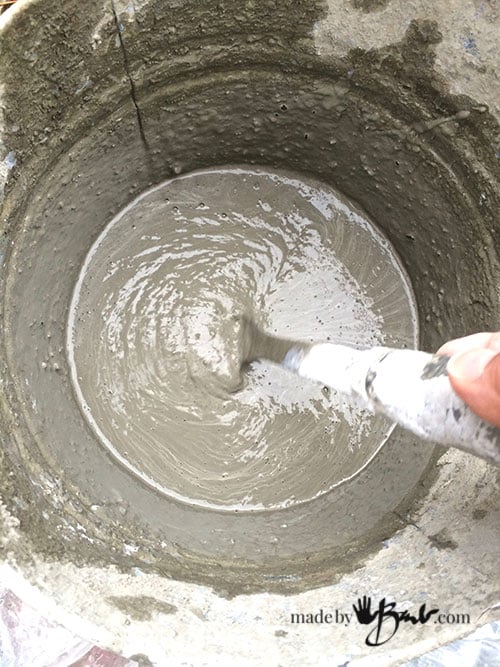
Mix it until its like a milkshake thickness. Make sure there are no lumps.
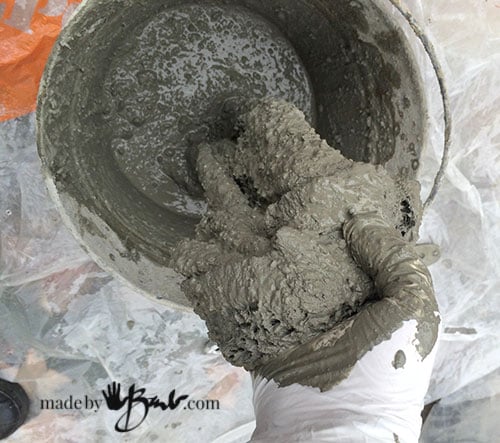
Put the hood fabric in the bucket first and knead it so that the cement gets into the fibres. It will take a fair amount of squishing. If it gets too dry add a touch of water. The fabric tends to suck the moisture out of the mix.

Plop it over the head and adjust the draping.
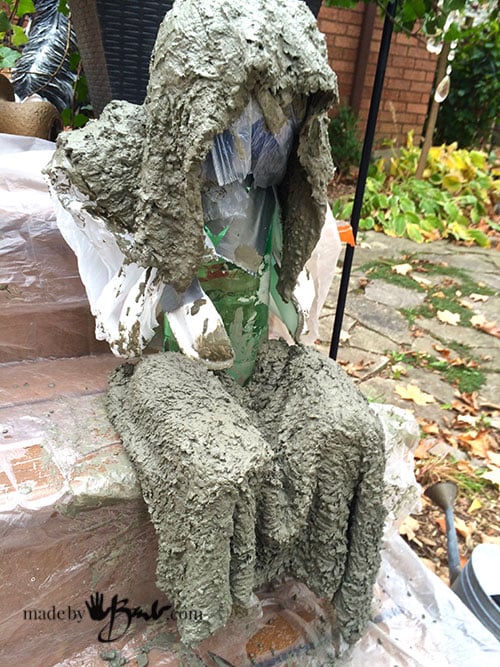
Do the same with the ‘pants’ and tuck at the sides. Make sure the pieces are well saturated.
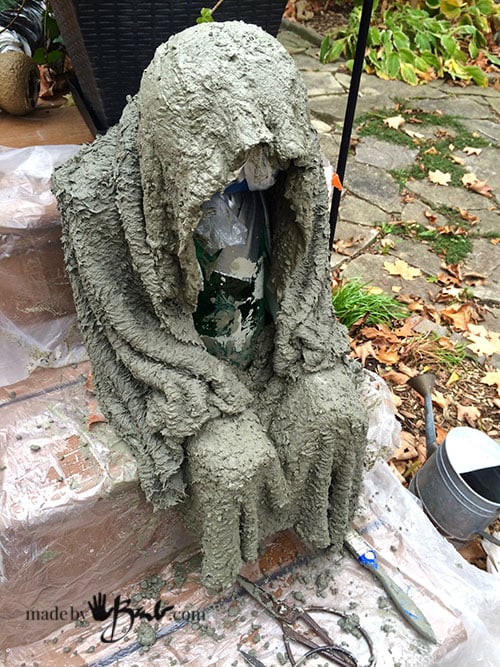
Lastly the jacket goes on. Work it over the shoulders and around the front working the folds evenly. Tuck the ends on the ‘lap’ where the hands would be.
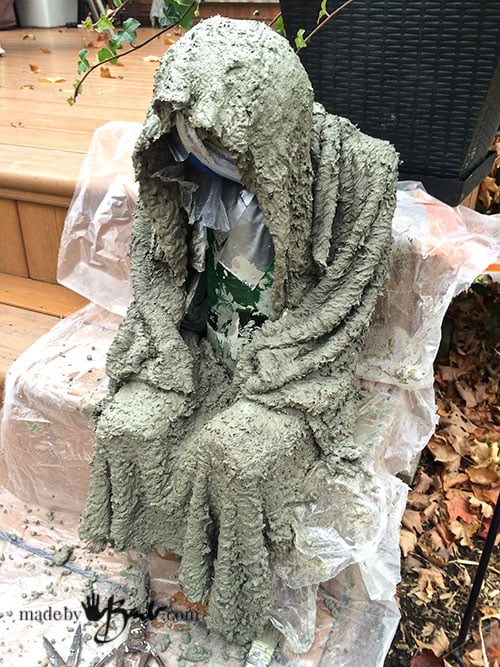
Amazing how easily it comes together. You can fuss wit the draping as much as you want.

The fuzziness of this fabric made it very rough. Very ‘mud-monster-like’! If you like it smoother you can brush down the texture. Once you are happy, give him a chance to rest and cure. Depending on the weather and temperature it could take 24 to 72 hours. I covered mine since it was quite cold here. You don’t want to rush it.

Hollow Out:
Finally… more fun. Now it’s time to pull the ‘guts’ out! Make sure this concrete step spook is sturdy and set enough and then flip him on his back. I left the front very open so that I could pull out the structure. I cut(stabbed) the bottle to empty it and started to disassemble the inside.
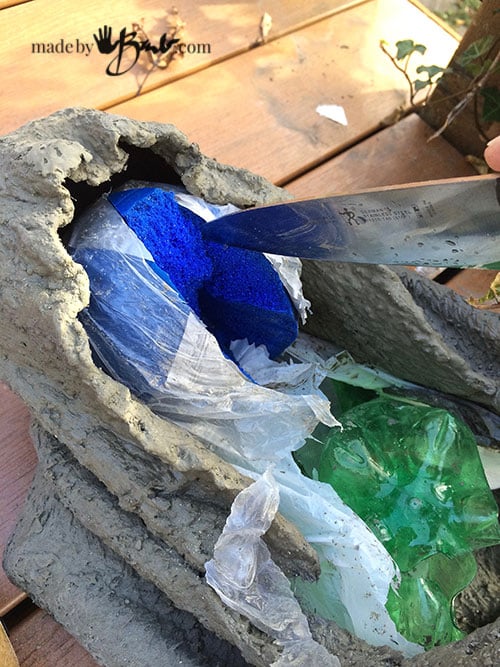
Cut the ball into wedges to pull out carefully. Cut at the tape, squish the bottle and twist out. Pull meat tray from the bottom.
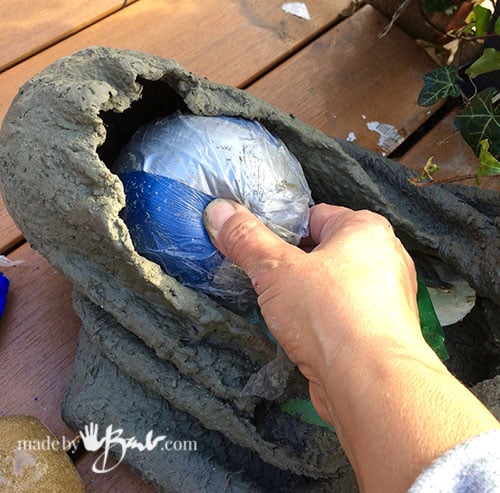
Pull out his head… (hehehe)
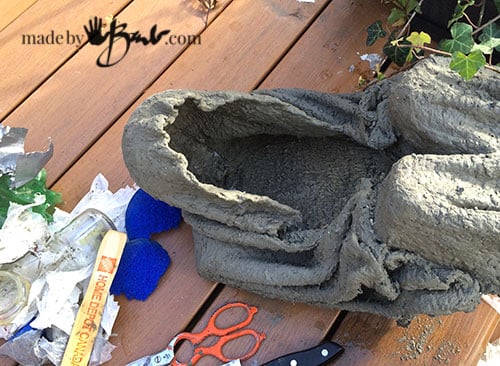
There you go! He’s now body-less; a true SPOOK, a concrete lighted Step Spook!
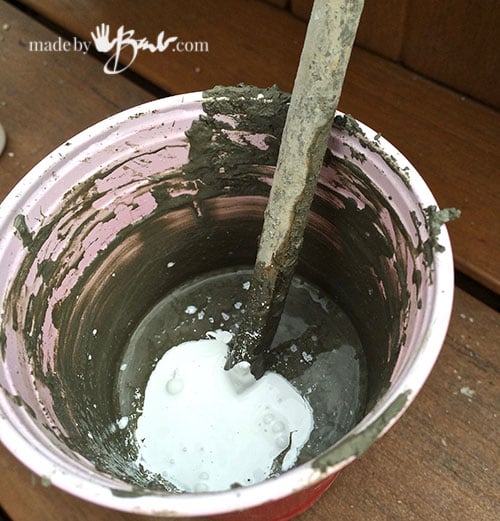
Finishing touches:
You could be happily done or if you are like me, want to perfect the texture…. Mix up a bit of cement slurry with some acrylic paint and water.

I want this to last for years and this coating will reinforce any parts that are a bit ‘soft’.

Brush across the bumps and they will become filled with the cement.

It will get smoother and stronger.
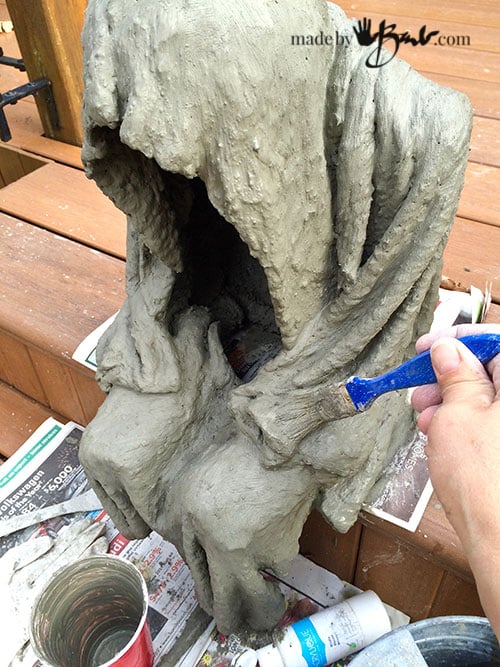
There’s something oddly therapeutic about this… hmmm.
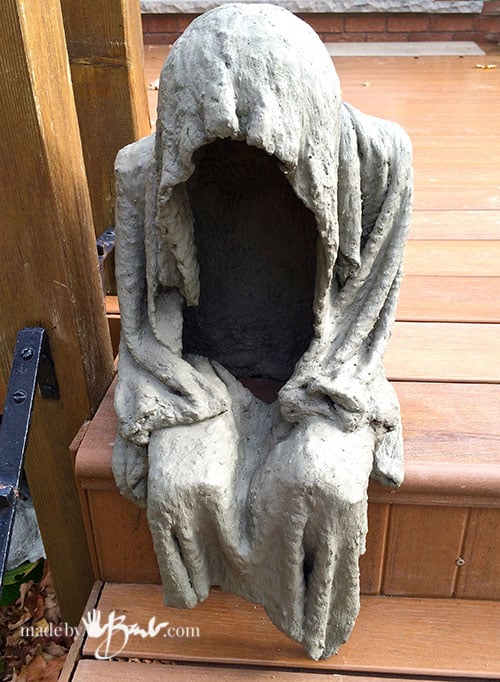
Wowsa, I’m impressed how much personality he has.
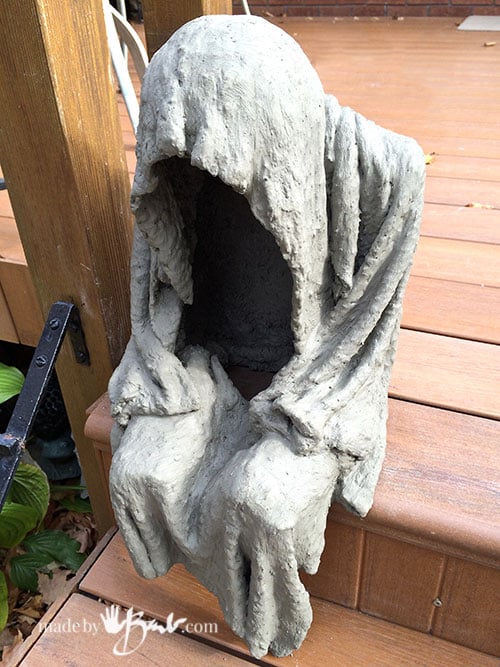
He sits nicely on the step as he was cast there. His weight keeps him sitting quite well.
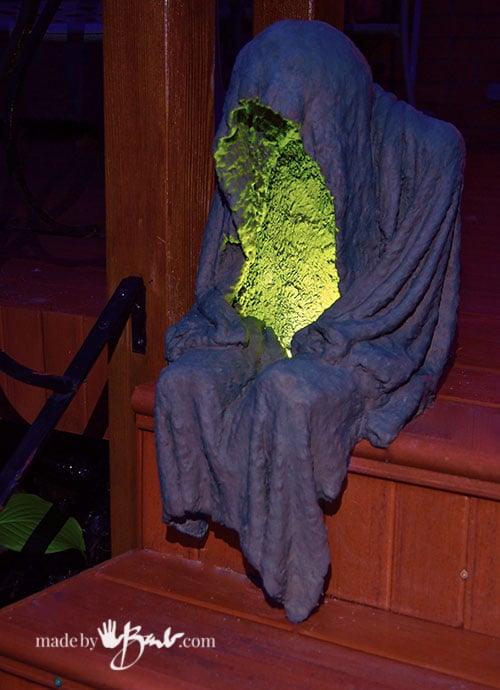
To add light I just added a set of battery operated lights into the open body cavity. You could run a small light cord if that is close by or there is much room in there to possibly even add a candle when supervised.
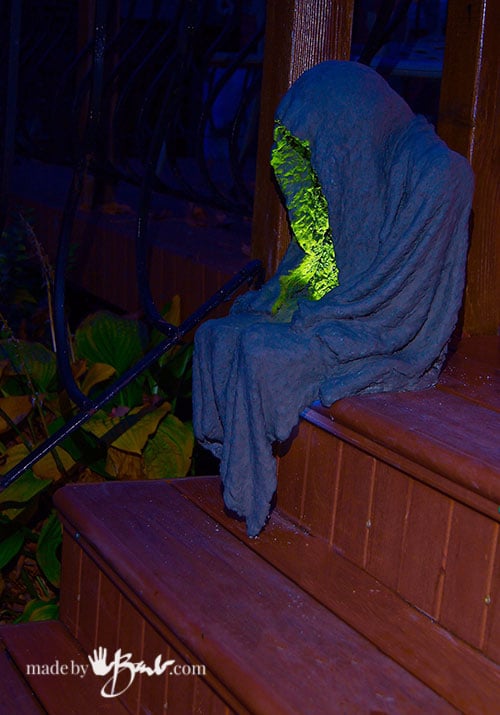
I like the fact that he is portable and can sit anywhere. He weighs about 8 pounds I think.

Oh he is so spooky! And he will be able to withstand all the elements to protect your place year round! Check out his Witch friend, Cat friend and Scarecrow
(Intended for personal use only: Publishing of this design is prohibited without permission)
I am making this now and am using a 1.5 litre bottle and 5″ ball. The shoulders are narrow and the fabric is way to small. I had to make the jacket 14 x 28 for it to wrap around. It just barely made it. I’ll send a photo when completed. Fun making it. And easy.
Oh really? Wow, maybe mine did stretch somewhat. I always do a dry-fit. If you want more creases then add more fabric, it can always be folded up or adjusted. When I made the Scarecrow, he had sleeves and pant legs… no rules. All’s good in concrete fun!
Have you ever tried putting a small bowl of water in the cavity and plunking some dry ice in it? Could give a nice misty “spirit in the robe” effect, although dry ice doesn’t last particularly long to my knowledge and also needs to be handled with care to prevent freezer-burning your fingers. Maybe a fog machine could be connected behind the head with some tubing and it would sort of flow down the inside and over the legs, although if it was too heavy of a fog flow it might look like it was just pouring out of him (which still might look kind of neat) unless you built a hollow pedestal for him to sit on that the fog could continue to fall into and be funneled out the rear of the pedestal below or away via another piece of tubing. Might look great or it might just look like a spooky freezer that was left open…
I think there are small room size ‘mist’ machines I’ve seen. That would really cool. I just like seeing him sitting on his stump during all seasons! He’s the same as he was when I made him. I like to hear peoples imagination!
I can not even begin to tell you how happy this makes me!
You rock, you clever person!!!!
Oh thanks! I see him from my table all seasons of the year. You will like his friends as well…
You inspired me to feat! I made it. This quarantine gave time to do something interesting! I have never seen such incredible work before !!! Thanks a lot!
Glad you love them….
i can not wait until it gets a little warmer. i’ve been DYING to make these and already have my body forms ready to go!!
Yes, me too! Still freezing. It’ll prob be too hot soon. Happy concreting!
I’ve been wanting to make this for several years and finally got around to it. I used a large bottle of drinking water to make him bigger and he looks great! I can’t wait until he dries!
Ooooohhh Sounds like fun! Glad you are being creative! That’s what it is all about!
I am beyond excited to try this tomorrow. Since i stumbled upon your site a couple of weeks ago i have been experimenting and i cannot wait to give this one a go!
I love everything of yours i have seen so far … loads of adoration from sask!
THANK YOU! I hope to make a bunch more!
I finally did it and I love my little spook. I wish I could show you a picture. But then it occurred to me, if I made another, slightly smaller and put a ring of lights on their heads, they could be Nativity figures …I guess I just need to wrap a bottle in cement bandages for baby jesus
You are on a roll now! There is so many options! I was ‘dreaming up’ an angel! I just need about 40 hours a day! Now you too will be looking at every bottle/vessel/container as potential uses. Happy concreting!
Can’t wait to try this, I think it looks fabulous and would look great with a little hanging plant in it. Can I ask if there is any reason you didn’t add a bottom to him? Maybe after it was set enough turning it over and adding some cloth over the base.
Thanks! I don not as anywhere that will collect water will potentially freeze. I have never really missed that he is bottomless! He’s been doing great over all the seasons here in Canada.
Hi Barb, I finally made one you being my inspiration, thank you for being so creative and also for all the information you gave us about cement concrete and all other materials, this is my first time working with cement. I still have a question, mine has on the surface small cracks, very fines like hair fine but still it makes me feel maybe will not stand the weather in my backyard. How to make a slurry to resurface it?
You can mix a bit of portland cement to a thickness of paint. Maybe your concrete dried too quickly before curing. Hopefully the mix can be painted on and fill the cracks. Wet the old concrete first though. Let it cure slowly. Another issue may be that the cement shrank more than the fabric… not sure. I hope that helps.