Huge Concrete Geode Eggs
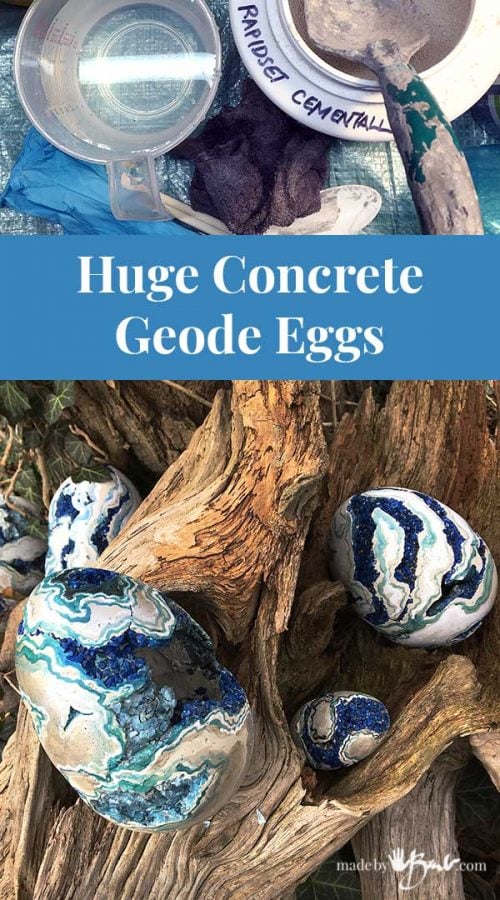
There’s still time to ‘whip up’ some concrete before Easter! But then again, who says these huge concrete geode eggs can’t accent your garden & home any time of year?!
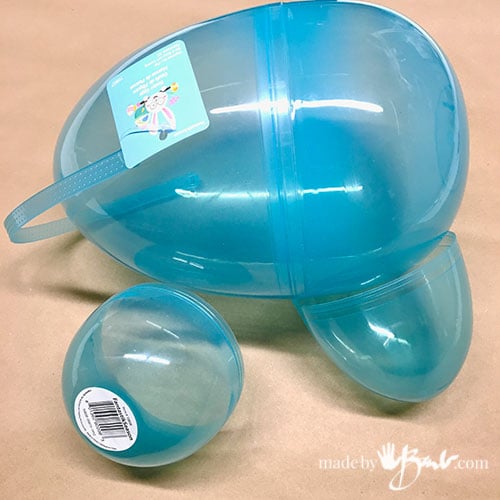
Once you have poured concrete in a mold you are always looking at everything as a potential mold. ‘Hence came my discovery of the usual Easter eggs but now available in huge sizes. AND they come apart without a huge seam – bonus! I especially like that they are HUGE – up to 12″ and transparent.
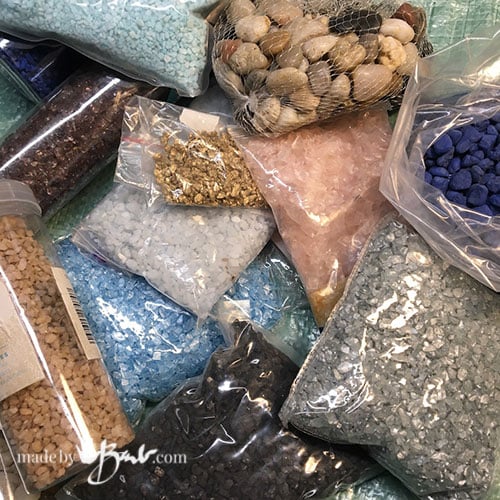
Rocks & stone:
To add some details these ‘Geodes’ will need some stone or rocks. You could use glass pieces as well but I’d avoid anything plastic as it does not ‘stick’ well with the concrete.
Hint: Pick a colour theme of similar colours as it looks more natural. I’ve even used aquarium gravel, pea gravel and broken car windshields.
Concreting in the house:
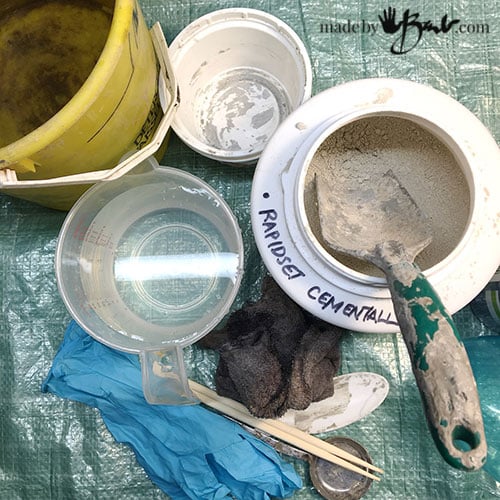
These eggs have been in the works for a while, even before it is warm enough outside. Yes, with a bit of planning it does not need to become a huge mess. There are some tips to working with concrete here
- A bucket of water to dip dirty hands or tools in
- a container of water
- Some Rapidset Cementall Concrete mix (best not to substitute) & scoop
- Mixing tools (attached chopsticks)
- Mixing container (flexible yogurt or sour cream container)
- Gloves
- Dust mask
- Covered table surface
- Rag

You know how much like to use this Rapidset Cemetall mix as many of my projects use it. It is super strong and super fast. It mixes with far less water so it is suggested to start with water and add mix.
Add mix to make a consistency of ‘sour cream’ and then wait…
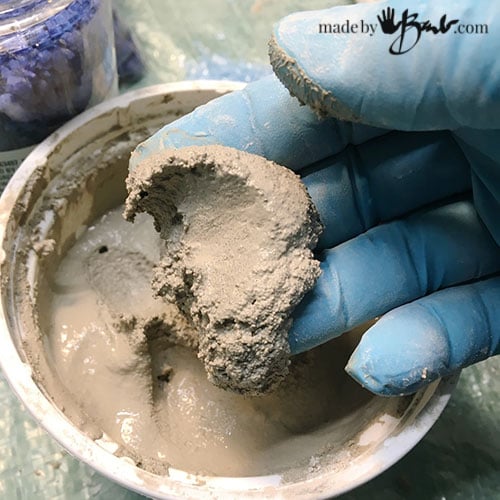
After a couple minutes it will already be more ‘moldable’ and allow some manipulation with your hands.
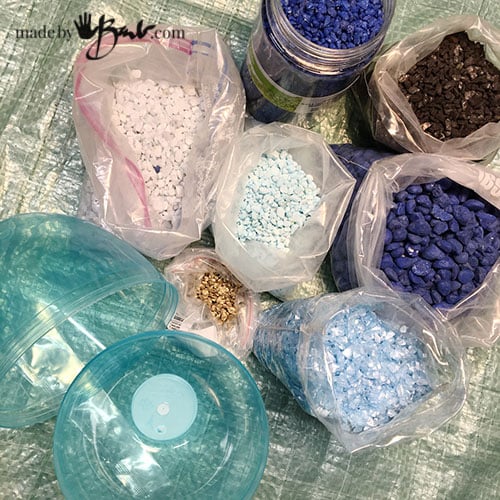
The Plastic egg mold does not need any release agent since concrete will not stick to the plastic. Have the rocks/stones ready
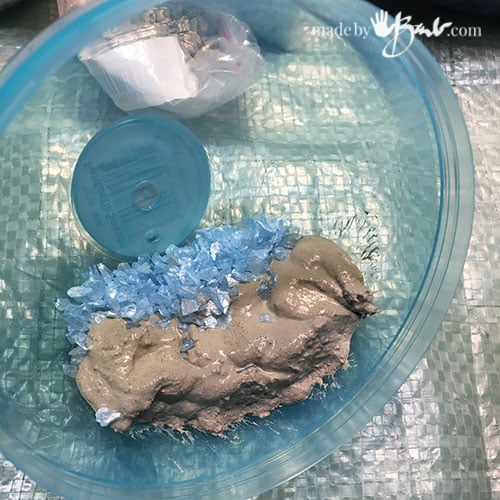
These eggs are not solid so they are much lighter. To get natural looking ‘veins’ in the geodes this method is somewhat unpredictable.
Put blobs of the thickened mix into the each half and add slivers of sections that have the added stone. Then add more concrete and cover the sections of the stone. Do not force the concrete too much as then the stone will ‘drown’ in the mix. If you take a peak you will see how the stone areas are between the concrete.

Work bottom areas first and then as it hardens (minutes)you can turn the egg and get more sides. The bottom half and top half will each need the mix added even though you could leaves a hole as desired.
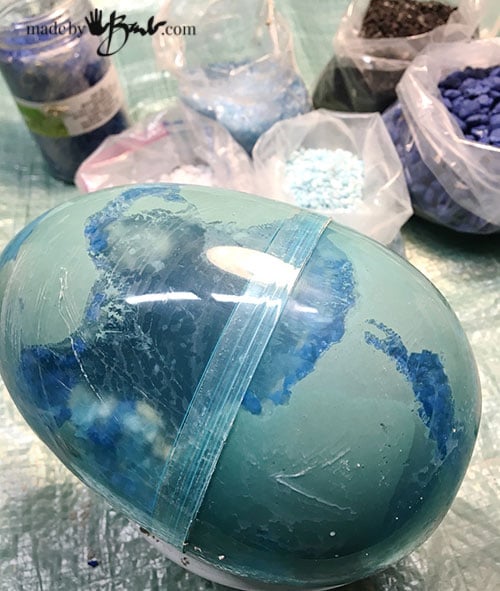
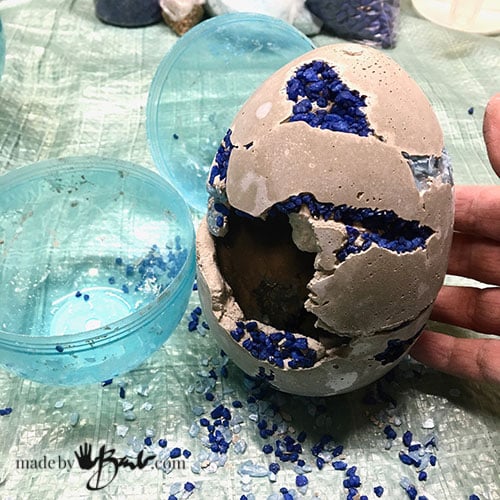
I was aiming to have an opening, like a broken egg. I then carefully without too much pressing snapped the 2 halves together. This mix heats up quickly and in an hour you can unmold it
Surprise:
When you un-mold it some of the stone will fall out, as it is not imbedded enough in the concrete, that’s ok. The shapes that the concrete makes tend to look very stone-like & natural. I love this ‘random’ look, as it mimics the layers in many nature created geodes.
An Egg with an opening:
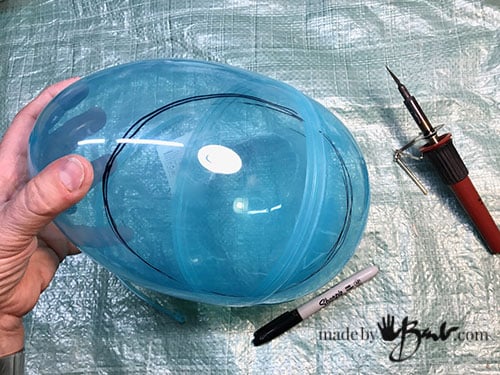
These eggs were very inexpensive so I thought it may be easier to leave an opening. Using my hot knife (xacto knife can also work)I cut a large opening.
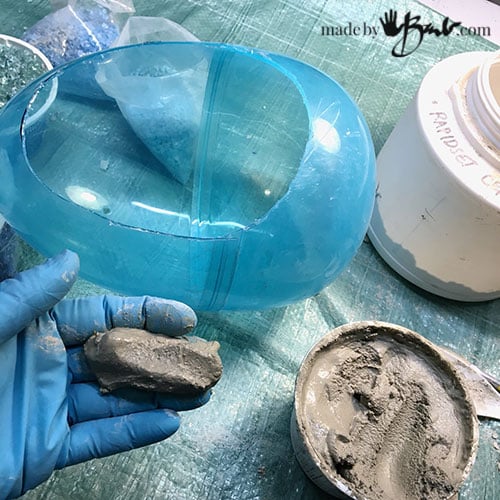
Before starting this one you do need to tape the semas with a packing or clear tape. Mix the concrete and wait until it malleable.
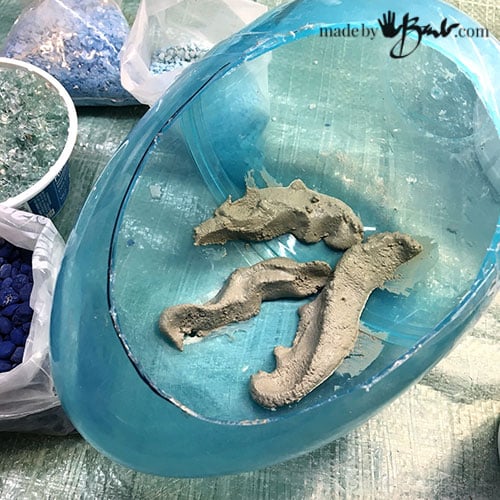
To get even more ‘stone veins’ I made thin sections of mix.
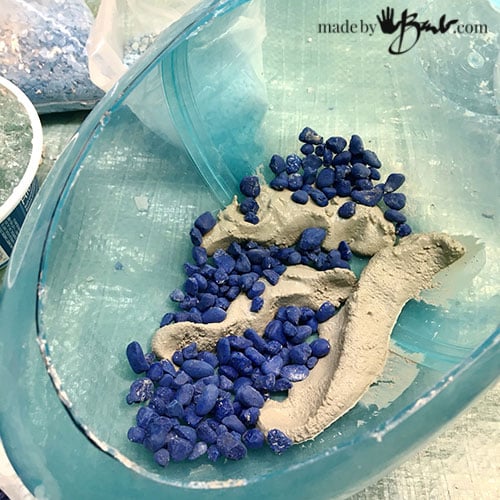
Drop in the stones between the veins.
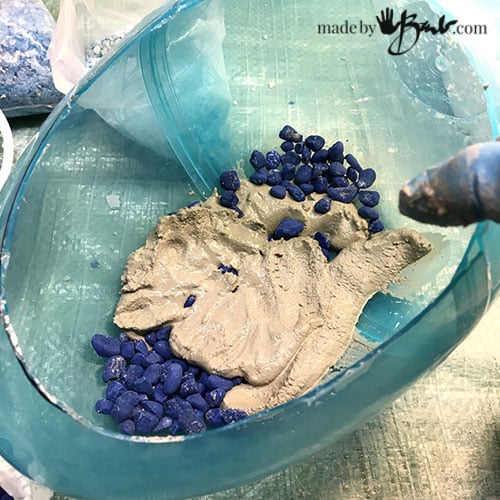
Add more mix and cover the stone as well. Whatever is close to the surface will show later. The walls can be as thins as 1/2″.
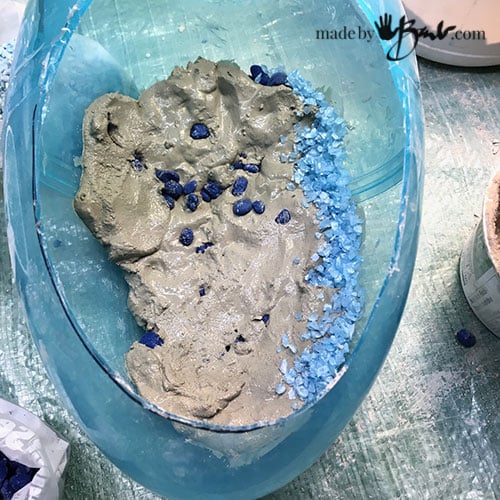
Since the inside is rally not that visible I don’t worry about how smooth it is. Note the light blue strip of stone for another vein.
TIP: since they like to roll around it helps to nestle it in a bowl or towel. Rotate once the section has stiffened enough (only minutes).
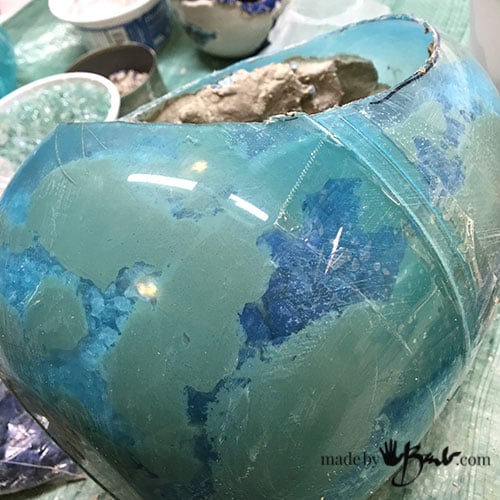
Notice the shapes of stone here? Much like the veins in natural stone.
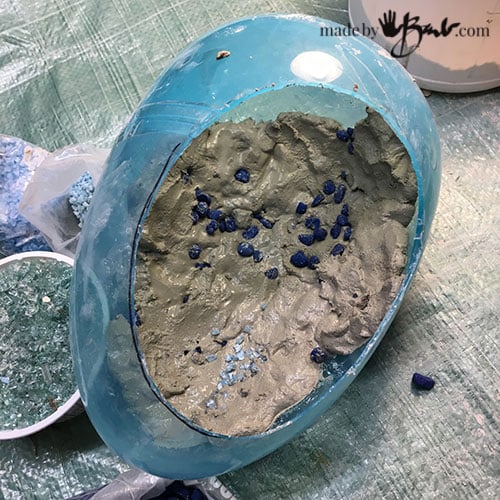
It’s coming along nicely since the huge size let my hands fit in easily.
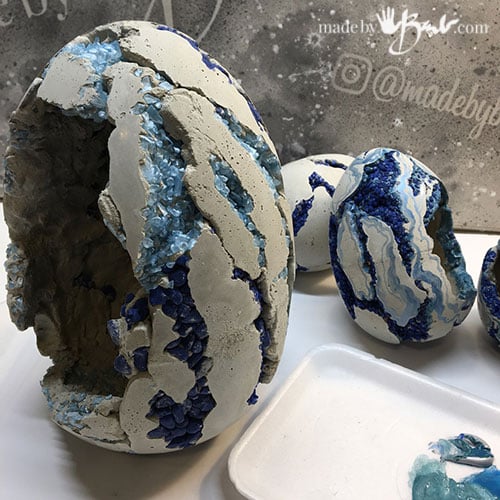
Did I mention that it’s great to be able to see the outcome in an hour?! The way the concrete ‘squishes’ looks very stone-like.
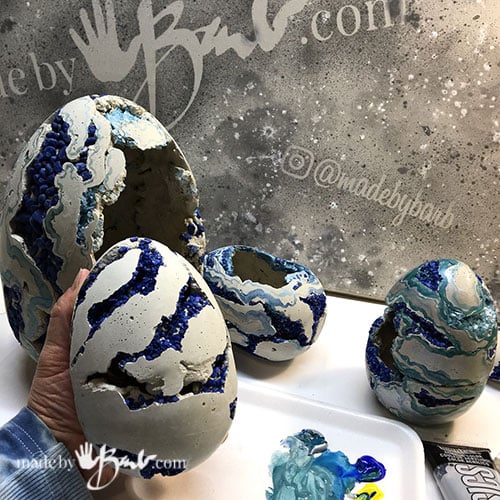
Huge Concrete Eggs!
I’m so pleased with how easy these are and the do not take a lot of mix either.
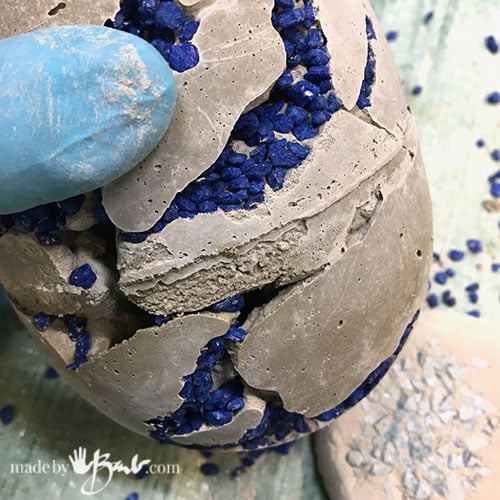
IF the seam is too noticeable it may needs some sanding.

Whenever I have extra concrete mix I may small disks on a flat surface to cure. These become ‘sanding discs’. Sandpaper doesn’t last well since it is only paper; these work well for quite a while.
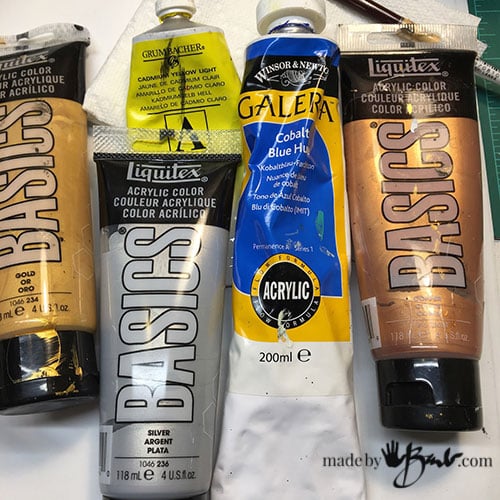
Getting Colour & Design
Yes, you can just leave these as is, or as in my case I like to embellish. It’s what I do, never can leave well-enough-alone.
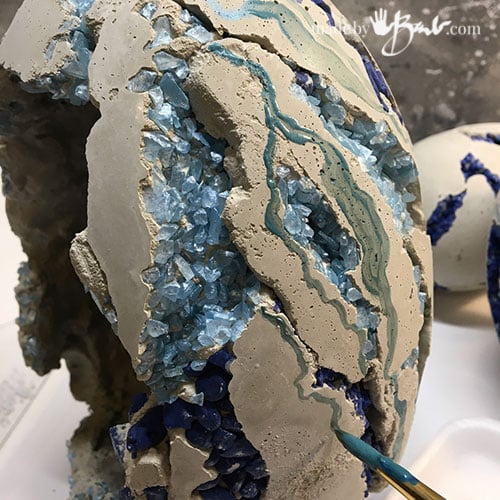
It doesn’t take much, just a bit of added details. Look up some images of stone and geodes and gather some inspiration. Some thin ‘squiggly’ crack lines or some subtle colour.

Maybe a bit of metallic sheen from some silver, copper or gold. I liked the addition of silver to the blue colour scheme. White also added a sparkle.
To make the veins look deeper you can mix a thin watery dark colour and let it run into the cracks. Don’t put very thick paint as it will look too artificial. And if it does eventually peel off it will not be very noticeable since it’s minor. I have concrete bowls that have acrylic paint on them outside for years and they have held well considering the climate in canada.
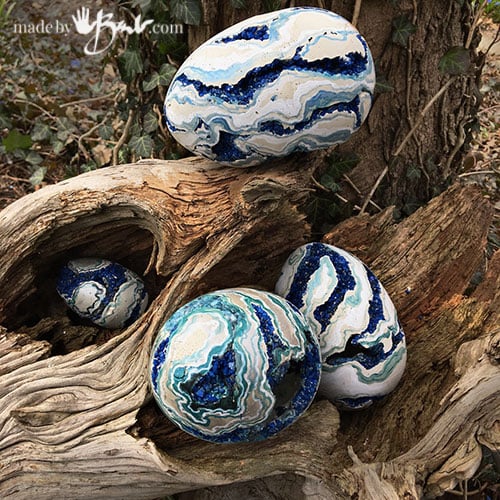
Amazing little surprises in the garden that look like they just happened naturally.
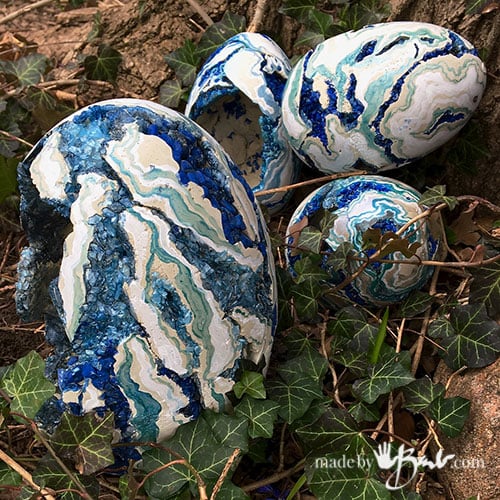
These are a little like my rock & concrete orbs but a little more Geode-like. I plan to plant some moss and maybe some succulents into the open ones as soon as it s warm enough. Yes, the garden gives me some well-needed refuge from what is happening in the world right now. ‘Food’ for the soul…
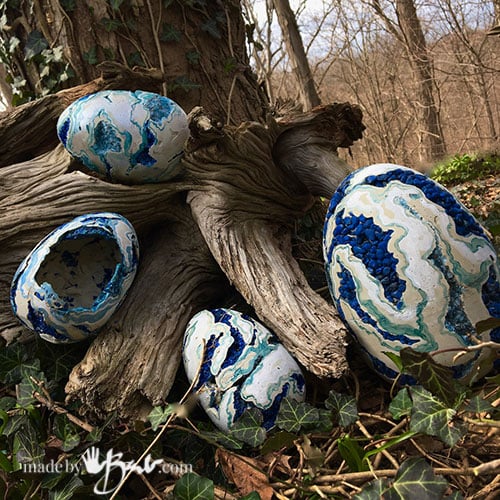
Enjoy you garden, embellish it a bit & make something that can give you even a small smile when you pat yourself on the back. Maybe an Easter centrepiece on the table with some greenery.
Be safe & healthy my friends!
Hi Barb,
I just LOVE these!! This is a project I must try! The plan is to also make some stepping stones as soon as my rhubarb leaves are large enough. If they don’t grow big enough there is a catalpa tree across the street on the edge of a field I can use. I love making cool stuff!
Thank you again for sharing – Please keep up your great work!
Judy
Yes, every time I pick rhubarb I feel I should make some leaves. All my walk paths are made of these leaves, some maybe 12 years old. When I didn’t have enough rhubarb I used the large thistle leaves from the roadside ditches. They worked too… actually I have used all kinds of leaves – even cabbage and these All fun!
WOW ❣️ I LOVE THESE 🥚. Long ago I used to make concrete rhubarb leaves after watching Martha Stewart and Washington state couple Lewis and? It’s been about 15 years. Need to get back to it with these gorgeous eggs. each one of your projects are better than the rest. 🥚❣️
These are beautiful! I’ve been in 25 days now, I can’t wait until all quarantines are over so I can look for eggs!
Is there a way to keep the small rocks to stay in the cracks so they don’t fall out? Absolutely love this and many of your creations. Have not done cement but you make or look so easy and fun!
If you haven’t work in concrete maybe start with an easy project. I have made geode orbs and used epoxy for the glass, you could do that here too. I found that enough did stay stuck into the concrete. You’d like these geodes too Good luck!
Beautiful as usual Barb 😊 xx
Glad you like it…
Hey Barb, I’ve been following your posts and the geode eggs have me excited…and I finally have time for a project! Can you tell me where you found the plastic eggs? I don’t want to go wander the stores needlessly. 😀
I am in Canada so I got them at our ‘Bulk barn’. There are some on amazon but quite pricey. If you can’t find one you can also make a mold as I did with these as I wanted a round flexible mold. I look at everything as a potential mold!
Having never worked with this medium, I am SO looking forward to experimenting. Post Easter may be a good time to find the “eggs” online since we MUST ALL respect the quarantine. This will give me all sorts of outlets for my active imagination?
Thanks for sharing your work.
Yes, they should be on clearance! If not maybe adapt and make a mold for a sphere like I did for this one. Where there’s a will there is a way… Good luck
Hi, thank you for such a brilliant post. I have been reading some blogs that gives me more knowledge about huge concrete geode eggs; I must say this is one of the best among them. You have done a great research for I feel, thanks for sharing.
I used a plastic egg, but I can’t get the egg to release. Any help?
If you run hot water over the outside that helps. Sometimes it needs a bit of ‘air’ as it has a vacuum to release. Slip a knife tip carefully under edges… Speak softly to it, lol!!! For the love of Concrete!!!
Hi Barb
Your work is gorgeous! My question is, when making the geode eggs, how do you prevent the stones from falling out after you unmold?
Thx
Carol
Well, not all the stones will adhere. That’s part of the rustic nature. If you are really concerned you could epoxy more back in. I like the voids that are left. Usually the stones will adhere when they are next to the concrete. Also smaller voids will allow more to ‘stick’. It’s a bit of playing, good thing concrete is pretty cheap…