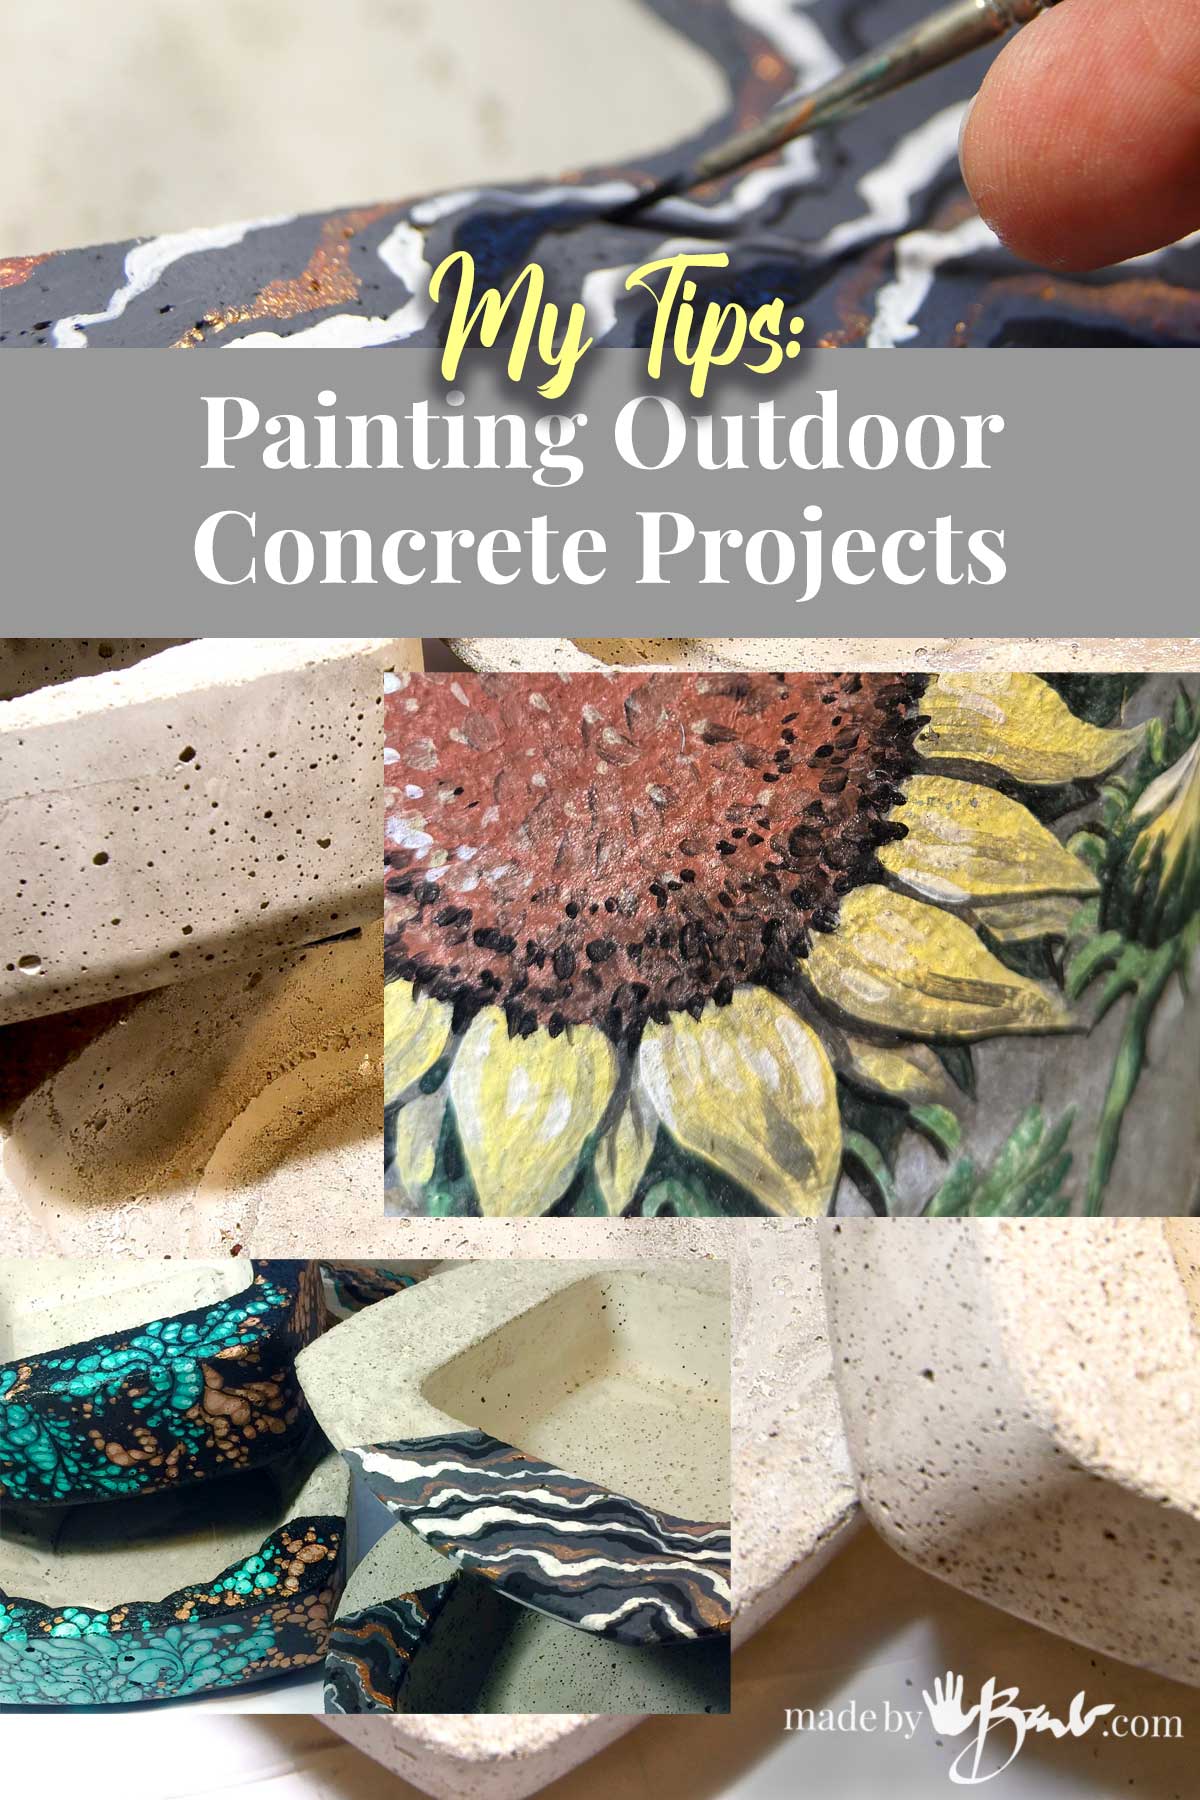
My Tips; Painting Outdoor Concrete Projects
After creating amazing concrete art comes the big question; should I ‘paint it’ and ‘how’? Here’s some of my own experiences and how they lasted over time…
Can you imagine that this bucket has been in my backyard for 15 years?! I painted this old galvanized bucket so long ago and it’s still great! Yes, paint can last outdoors even through our tough Canadian winters! I’ve had great results with concrete as well, here’s my tips.

Tips for Painting Outdoor Concrete Projects
Make your cement creations stand the test of time (and weather!)
Concrete is a wonderful canvas for creativity—especially when used for garden art, sculptures, planters, or stepping stones. But painting it for the outdoors? That’s where a few key tips can make all the difference between a long-lasting masterpiece and a weathered disappointment.

1. Start With Cured, Clean Concrete
Paint sticks best to bare concrete that’s fully cured (typically after 28 days). Make sure your project is clean, dry, and free of dust, oils, or mold. Scrub with soap and water or use a vinegar rinse, then let it dry thoroughly. Typically paint will adhere best to rough surfaces at it gets into all the tiny crevices.
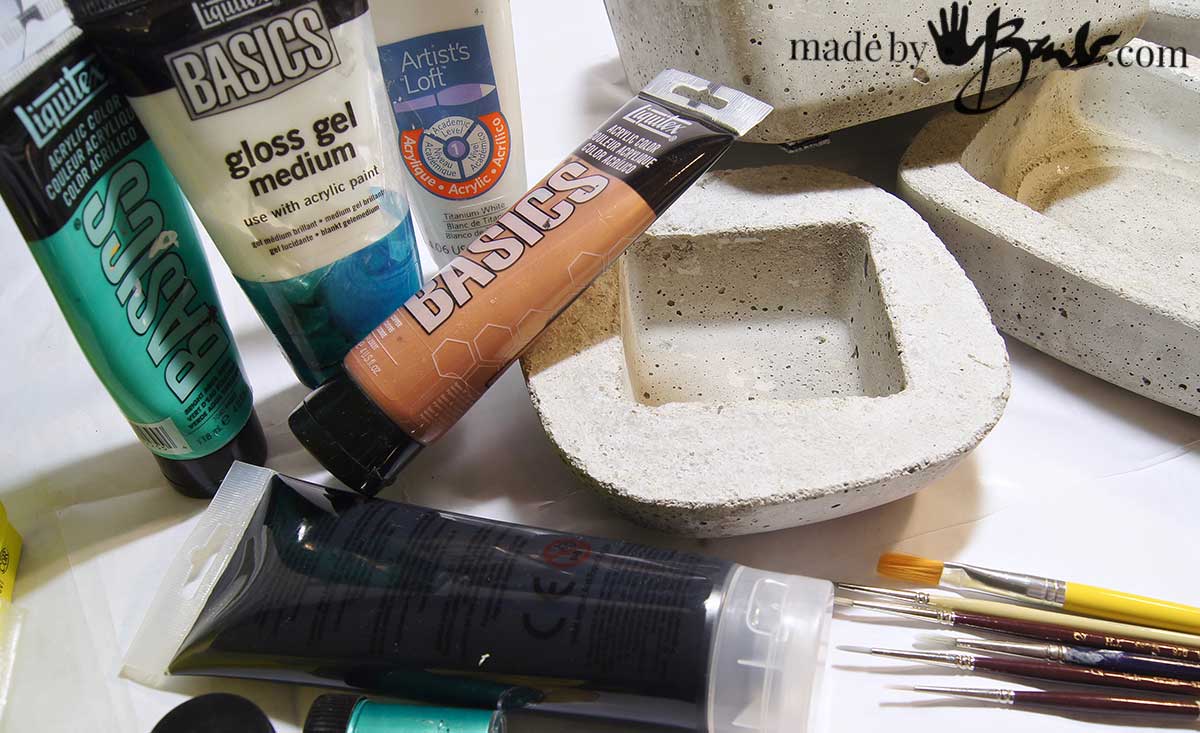
2. Choose the Right Paint
Not all paints are created equal. I often push the limits of the acrylic paint that I use since I have so many! For outdoor concrete, the best options include:
- Acrylic Exterior Paints like DecoArt Patio Paint (used to paint the Sunflower Bucket)
- Masonry Paint (designed for porous surfaces)
- Good Quality Acrylic Paint
- Metallic Acrylic Paint

I will admit, I’d rather use what I have. I have often used my artist quality acrylic paint on some of my DIY project concrete bowls and then left them outside all year long!
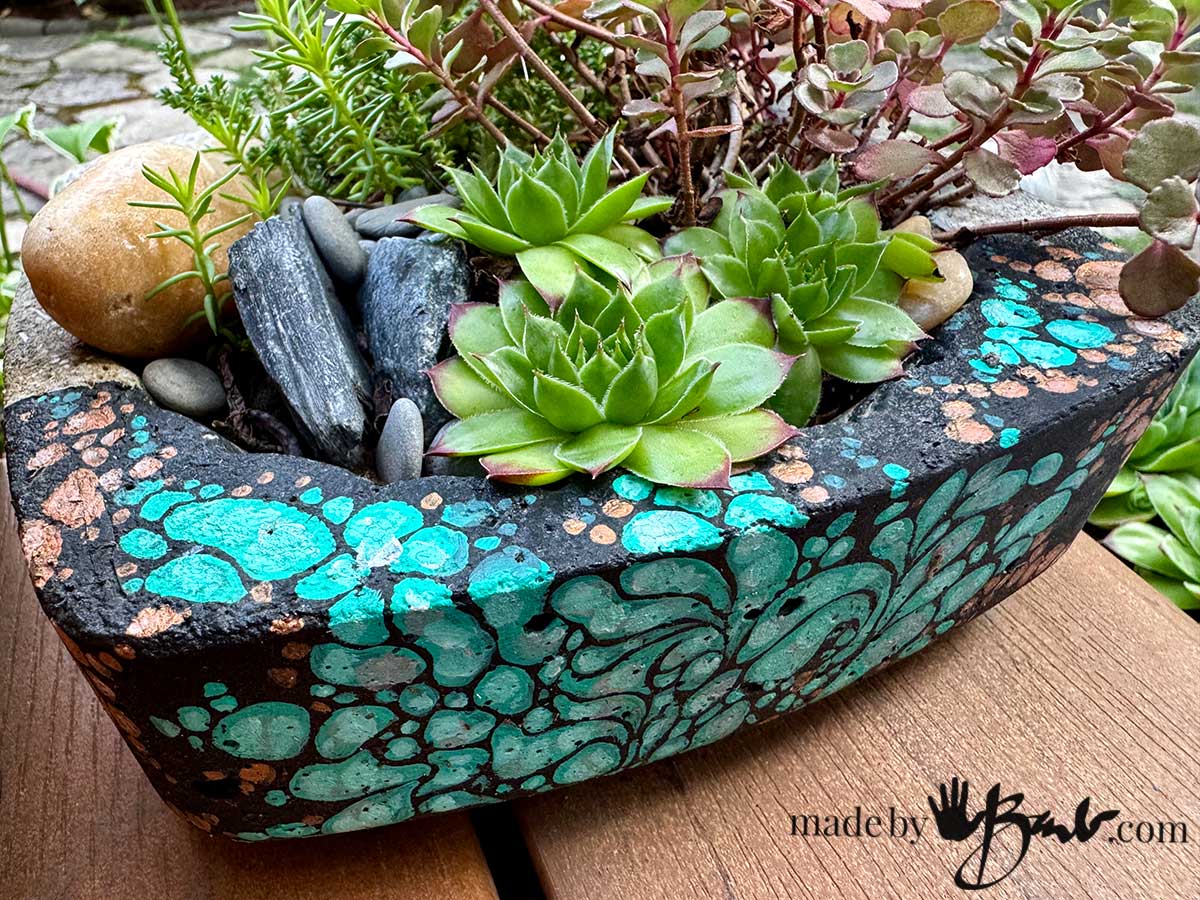
I am happy to report that they held up well for over 9 years. But there are always factors that may affect the longevity. Water & moisture are always detrimental so location is key. During winter it is best to keep the pieces away from areas that accumulate water/ice. In my conditions my concrete is not in full sun all the time so I do not see much fading. Some colours do not fade as much as others. Darker and more vibrant colours like reds, blues, and blacks tend to fade faster in sunlight than lighter colours, according to some sources. This is because these colours absorb more UV radiation, which causes the dye molecules to break down more quickly.

I have also discovered that the metallic paints seem to last quite well. Perhaps it’s due to the fact that they contain minute particles of metal. This Concrete Geode Egg has been out in the elements for over 5 years!
3. Use a Primer—Or Not?
Some concrete surfaces benefit from masonry priming to even out absorbency and boost paint adhesion. My theory is that if I cover the concrete too densely it may be more likely that the thick ‘plasticy’ layer will peel off. Moisture trying to ‘escape’ may push off the paint as concrete likes to breathe.
4. Mind the Weather
Paint in dry weather between 10°C–30°C (50°F–85°F). Too cold or too hot, and your paint may not cure properly. Humidity can also extend drying times.

5. Apply Thin, Even Layers
Use a brush or sponge for detailed work, and foam rollers for smooth coverage. Apply multiple thin coats instead of one thick one for better durability. Consider keeping some areas uncovered to allow any moisture to escape as concrete often absorbs water. The water will want to evaporate at some point so I found that partial coverage works well over the years for longevity.
Sometimes sparing coverage will also make any failure not be as obvious. This technique works well as it also gives the look of aged concrete.

6. Seal It Up
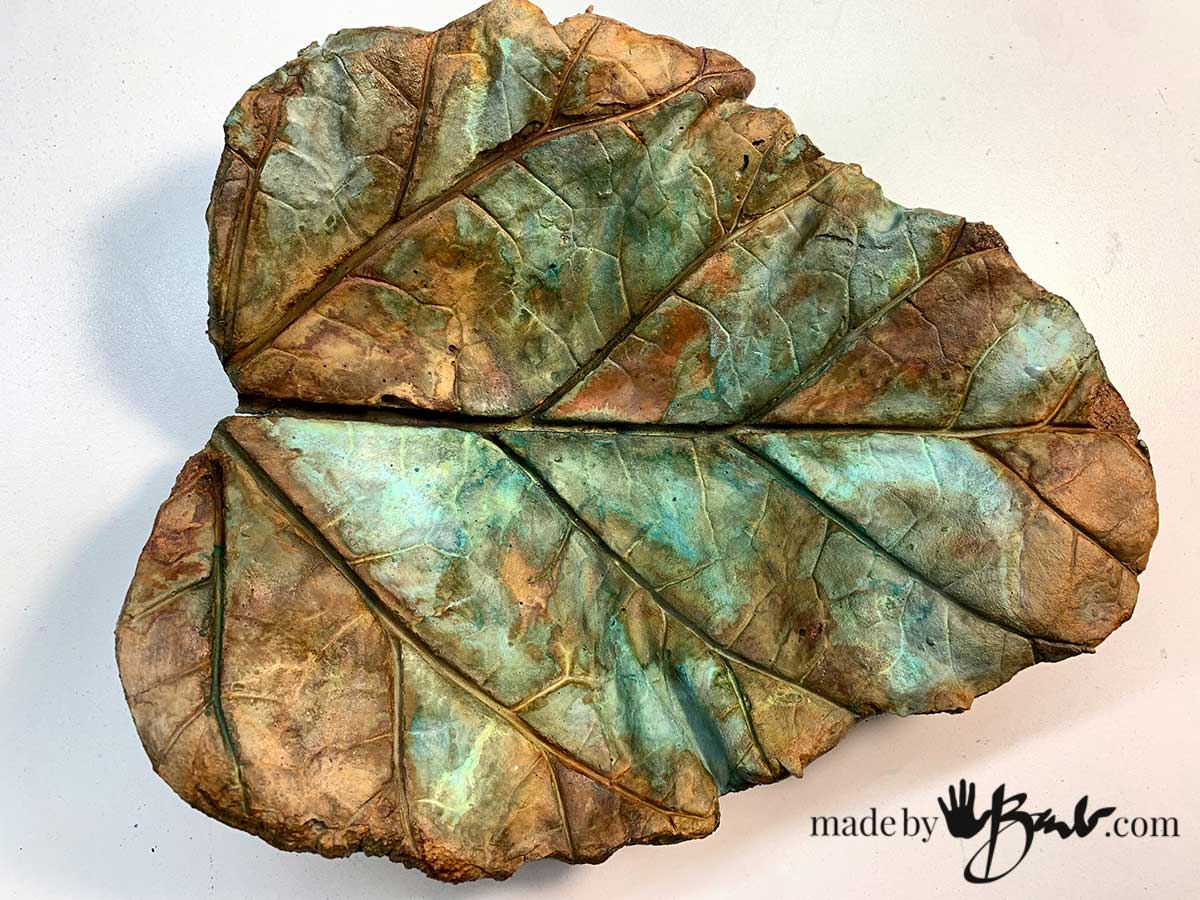
A UV- and water-resistant clear sealer is key to making outdoor concrete art last. Look for products labeled for concrete or masonry use—either matte or glossy, depending on your desired finish. However if you want to encourage any patina or moss growing I like to leave the concrete unsealed (concrete Stepping stones). This will allow some of the algae, mould, and mildew to grow if there is sufficient moisture.
If you do notice, most sidewalks, concrete patios and driveways last well and never get sealed. The porosity of concrete allows it to absorb moisture and then dissipate again. Dirt and stains will likely affect unsealed concrete though.
7. Let It Fully Cure
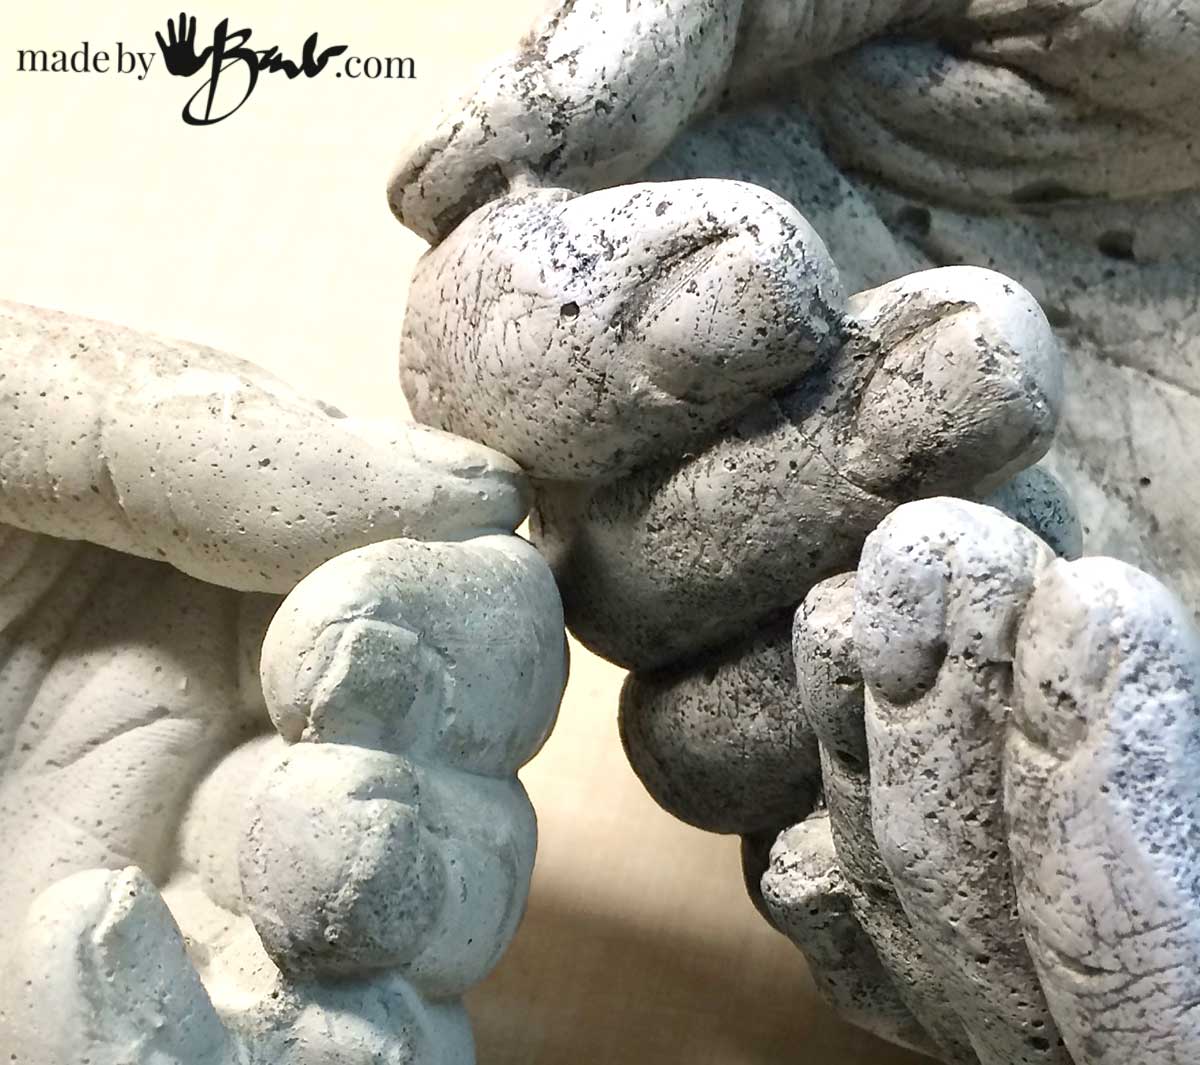
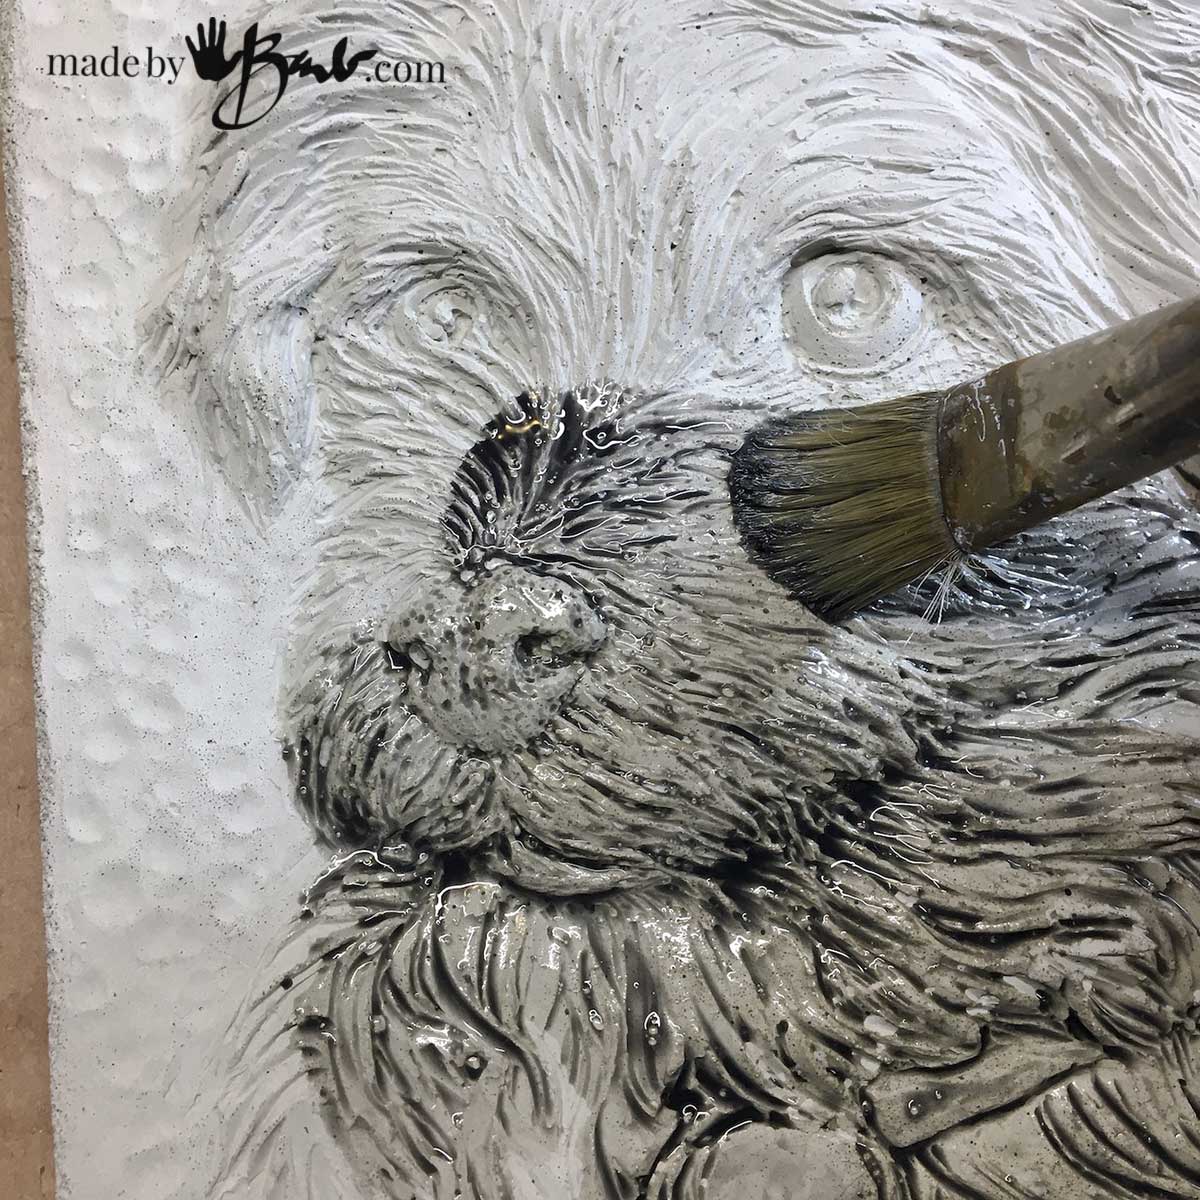
Sometimes accenting any texture (like this technique for painting relief concrete) will provide the best finish without taking away the character of the concrete. Even after it’s dry to the touch, allow painted projects to cure for several days before placing them outdoors—especially in wet or freezing conditions. Always check manufacturer’s instructions. This antiquing wash technique makes the slight details stand out even more.
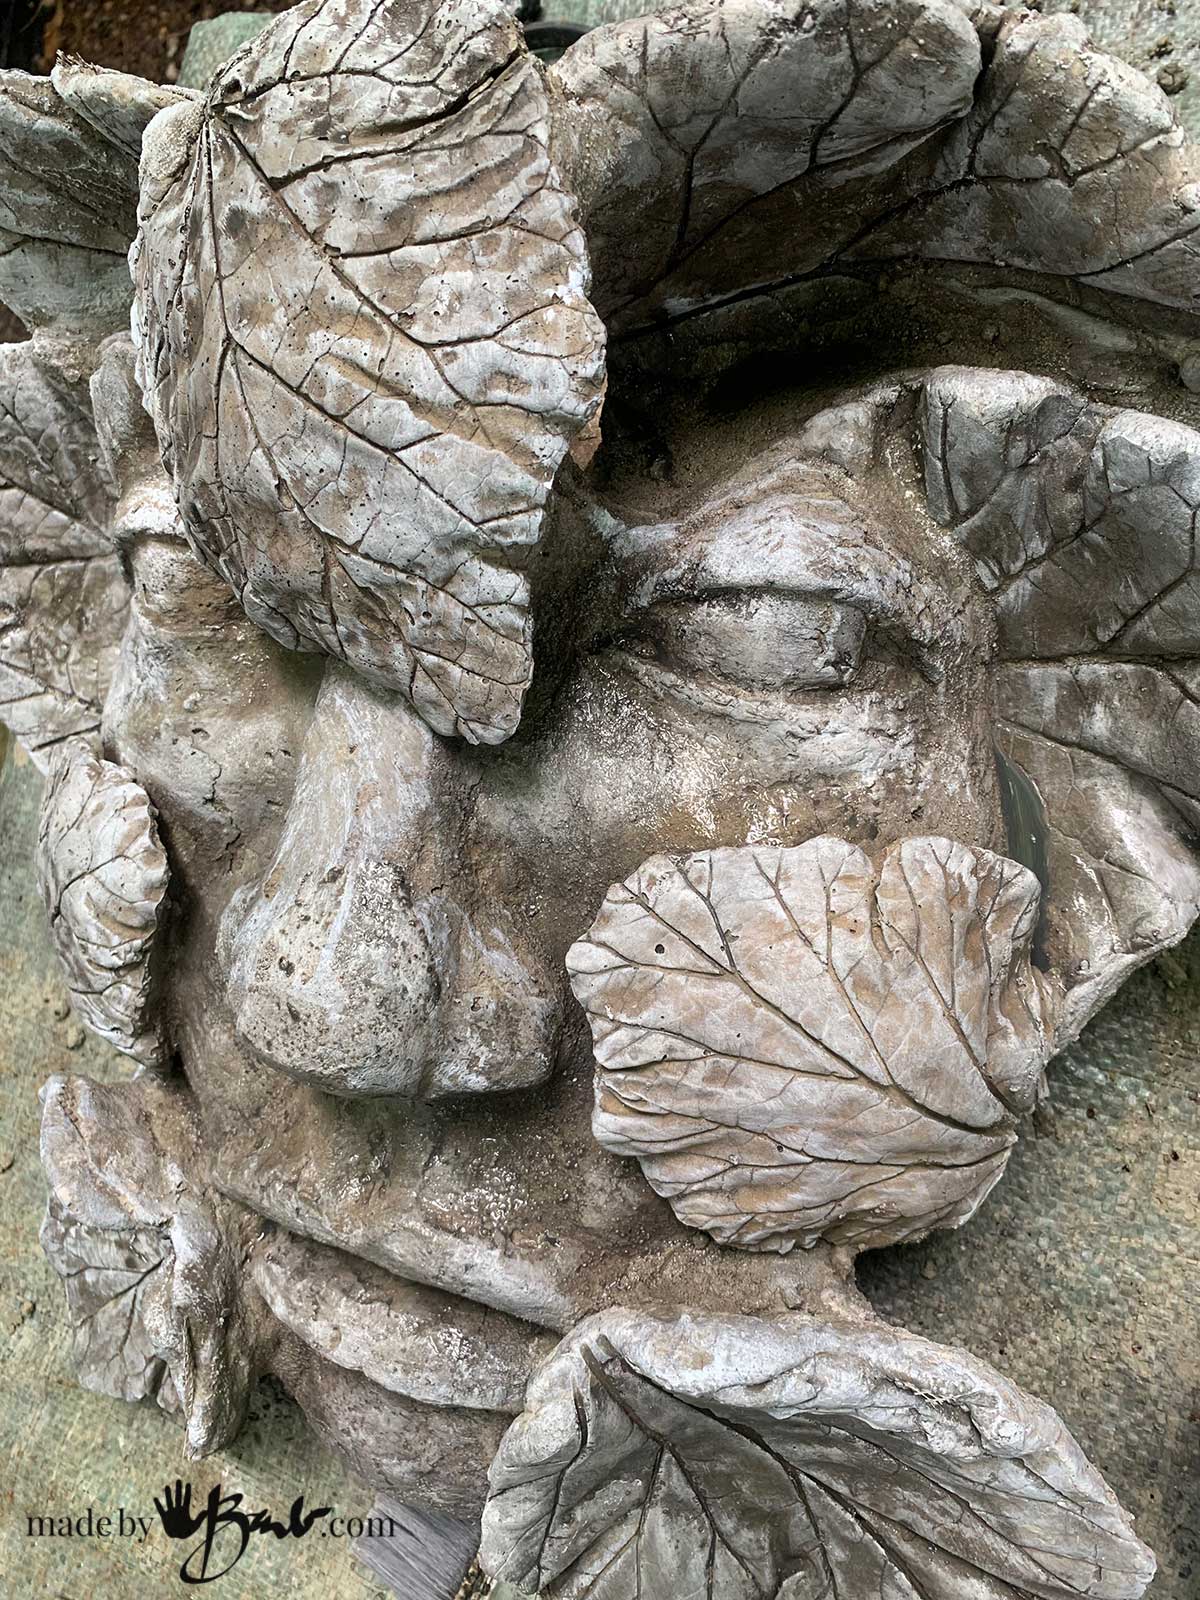
The rustic nature of concrete is perfect to blend into the garden decor & design so I am not too concerned about perfect coverage; making it look more ‘plastic’.
Bonus: Barb’s Project Inspiration
Here’s a few of my faves:

Many of them incorporate subtle painted details to enhance texture, age, or highlights without overpowering the raw beauty of concrete.
Stain instead of Paint:
Perhaps you’d rather not use paint but stain to achieve some colour. Here’s how to use Homemade Acid stain
With the right materials and technique, your painted outdoor concrete projects can bring joy—and colour—to your garden or patio for years. So grab your brush and let your cement creations shine!
Good, practical info. I appreciate that you go beyond the project’s completion and put thought into the rest of its life. Our art is a part of ourselves made shareable when we are not around.
Thanks! It’s great to think how long some of the concrete creations can last! Awesome!